-
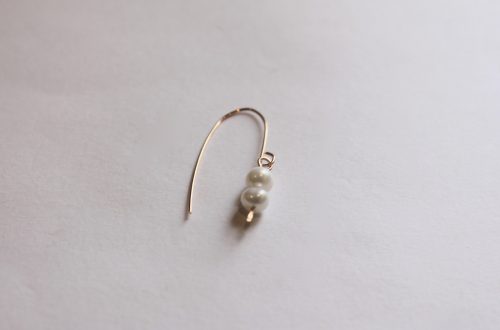
Here’s how to make a pair of pearl earrings with matching curved ear jackets.
This tutorial makes such a cute pair of earrings! A pair of pearl studs with matching ear jackets that hug the ear with a little pearl on the end. Simple to construct but looks incredible. I love ear jacket designs because you can mix and match them with other stud earrings, it’s a fun way to add versatility to your jewellery collection.
Please note that this tutorial contains affiliate links for which we may receive a commission.
Here are all the tools and materials you’ll need to make your own pair:
1: Two pieces of 0.8mm sterling silver wire cut to earring post length (you can cut them to length using cutting pliers or a saw blade. It is best to file and emery them so that they aren’t sharp after cutting.)

You can get sterling silver wire here:
And you can get sterling silver earring posts here:
2: Two pieces of sterling silver wire approx 4-5cm long, the length you use might change depending on your ear lobe size. I made mine a tiny bit smaller than I would like.

You can get sterling silver wire here:
3: Four pearls. I used two white freshwater pearls and two smaller black ones.

You can get half-drilled white pearls here:

You can get black half-drilled pearls here:
4: Earring backs. I used sterling silver ones.

You can get earring backs here:
5: Two part epoxy glue. Be sure to follow the instructions on the packet for safe use.

You can get glue here:
6: A scrap piece of paper for mixing glue.

7: A skewer or toothpick to mix and apply the glue.

You can get skewers and toothpicks here:
8: Round flat pliers.

You can get a pair of round-flat pliers here:
9: Flat nose or parallel pliers.

You can get parallel pliers here:

You can get a pair of flat nose pliers here:
10: Half-round flat pliers.

You can get a pair of half-round flat pliers here:
11: Something round like a pen to form the wires around. I used a jewellery scribe.
Here are all the steps you need to make your own pair of sterling silver pearl earrings with curved ear jackets.
1: First step is to shape the ear jacket wires.
2: Take each wire between the jaws of a pair of flat nose or parallel pliers and bend it to form a right angle.


3: Bend the shorter part of the wire using the flat round pliers to form a loop. Adjust it using your flat nose pliers.


4: Now bend each of the wires around the pen or round item to give it it’s curved shape.

5: Once you have the initial shape you can adjust it using the half-round flat pliers.


6: Now all your wires are shaped you can prepare to attach the pearls.
7: Squeeze a small amount of glue onto the scrap paper and mix it well using the skewer.


8: Dip one of the earring posts into the glue, wiping off excess, and place it into one of the white pearls. Repeat for the second white pearl so that both have earring posts.


9: Repeat step 8 with the earring jackets, adding glue to the ends of each wire and placing them into the black pearl.


10: Set the components aside to cure and dry.

11: Once the pearls are secured in place, your earrings are ready to wear! So cute.

Here’s how they look on.

If you love ear jacket designs, here are some other tutorials you can follow:
-
Here’s how to make some pearl wiggle charms to add to some charm connector earrings.
I love charm connector earring findings, because you can make your own unique charms to create a one of a kind pair of earrings. This tutorial shows you how to transform some silver wire into some playful pearl charms that add some personality to your earlobes!
Please note that this tutorial contains affiliate links for which we may receive a commission.
You’ll need the following tools and materials to make these earrings:
1: Two pieces of sterling silver wire with the ends filed, about 4cm long.

I used wire recycled from a previous project, but you can get some here:
2: Two half drilled pearls.

You can get pearls here:
3: A pair of charm connector earrings. I used some peridot ones I made some time ago.

You can get some charm connector studs here:
4: A pair of flat nose pliers.
You can get some here:
5: A pair of parallel pliers.
You can get a pair of parallel pliers here:
6: A pair of round-flat pliers.

You can get a pair of flat-round pliers here:
7: Two part epoxy glue like Araldite or similar.
You can get some glue here:
8: A piece of scrap paper.
9: A skewer or toothpick for mixing the glue.
You can get some here:
10: A piece of scrap wire or something small to apply glue to the wire and pearl.

With all your tools and materials gathered, you can follow these steps to make your wiggly pearl earrings.
1: Use the parallel pliers to bend the tops of the wires to form a right angle.


2: Loop the bent ends of the wires into a circle shape using the round-flat pliers.


3: Grasp the wire between the jaws of the flat pliers and bend it to form an angle.

4: Then move the pliers down and bend the wire back in the opposite direction to form a zig-zag shape.

5: Continue making the wiggles until there is a little bit of the wire left. This will be the part that is glued into the pearl.


6: Push out some of the glue onto a piece of paper and mix it.


7: Add glue to the end of the wire and the pearl using the piece of scrap wire.


8: Place the wire into the pearl and wipe off any excess glue. Set the charms aside to dry.


9: Once your charms are dry and secure, use your pliers to attach the charms to the loops on the bottom of the charm connector earrings.


Once your charms are connected, your earrings are finished and ready to wear! So cute and unique. I can’t wait to wear these out!


-
Here’s how to turn some beads into a pair double-charm stud earrings.
These earrings are pretty fun. With the right selection of beads you can create a cool pair of earrings that feature two dangling charms!
You’ll need the following tools and materials to make your double charm earrings:
1: Pliers. I used my round nose and cutting pliers.


2: Two glue on stud earrings and earring backs.

3: Two flat beads. I used these round love heart beads.

4: Four charm beads. I used these silver-tone plastic star and flower beads.

5: Two eye pins.

6: Four head pins.

7: Glue. I used a two part epoxy glue.
8: Scrap paper for mixing the glue on.

9: A skewer for mixing and applying the glue.
Follow these steps to make your double charm earrings:
1: Add the flat beads to each of the eye pins.

2: Bend the pins to form a right angle.

3: Trim the excess pin using the cutting pliers, leave approximately 1cm.


4: Form the end of the pins into loops using the round nose pliers.


5: Add the charm beads to each of the head pins.

6: Repeat steps 2 to 4 for each of the charm beads so that you end up with four charms with loops at the top.


7: Attach each of the charms to the flat centre beads. I added one star bead and one flower bead to each heart bead.


8: Mix up the glue on the scrap paper and apply it to both the flat beads and the stud earring findings.

9: Place the earrings onto the centre beads and leave them to dry. I suggest using a little less glue than I did because I ended up with some drips on the sides of my earrings.


Once your earrings are dry you can pop them on and have some fun!


Here are some other ways to turn beads into stud charm earrings:
This tutorial contains affiliate links.
-
Stud Earrings are Classic! Use some beads to make your own statement studs
These stud earrings are made using some plastic beads and some head pins and they look adorable!
You will need the following tools and materials to make your stud earrings:
1: Two flat bed earring findings.

2: Two large head pins.

3: Two small head pins.

4: Two small jump rings.

5: Two part epoxy glue, I used Araldite.
6: A piece of scrap paper.
7: A skewer.
8. Four beads. I used two large resin beads and two small blue plastic beads.


9: Pliers. You’ll need your cutting pliers, flat nose pliers and round nose pliers.

Follow these steps to make your stud earrings:
1: Add the small beads to the small head pins.

2: Curl the ends of the pins around your round nose pliers to secure the beads in place. Do this for both beads.


3: Add the larger beads to the larger head pins.

4: Bend and trim the pins so that the pins protrude around 1cm from the bead.

5: Loop the ends of the pins using the round nose pliers.


6: Attach the small beads to the larger ones using the small jump rings.


7: Squeeze out the glue in equal parts onto the scrap paper and mix with the skewer.
8: Add the glue to the earring posts and place them on the backs of the large beads and leave them to dry.


Once the earrings are dry you can wear them! How cute are they?!

Note: This article contains affiliate links
-
Two trends in one! Shells and Hair clips

Are you keen on the hair clip trend and the shell trend? Why not make a shell embellished hair clip? Contains affiliate links.
You will need the following tools and materials to make your shell hair clip:
1: A hair clip finding

2: Araldite glue
3: Skewer
4: Scrap paper
5: Shells

Follow these steps to make your shell hair clip:
1: Squeeze out the glue in equal parts and mix it using the skewer.
2: Add the glue to the clip.

3: Add glue to the underside of each shell and place them on the clip.


4: Set the clip aside to dry. You might need to add a prop to each end to stop the shells from sliding off while the glue is still wet.
Now your shell hair clip is finished and ready to wear!
Here are some other DIY tutorials that use beautiful shells:
-
Gaudy crystals are in! Here’s how to make some bold crystal earrings.

These crystal earrings pack a visual punch! Perfect for spicing up your go to outfit. This tutorial contains affiliate links.
You will need the following tools and materials to make these rhinestone crystal earrings.
1: Two strands of rhinestone crystals. I made mine approximately 12cm long.

2: Two larger rhinestones.

3: Two glue on stud earrings with backs.

4: Araldite glue
5: A skewer.
6: Scrap Paper.
Follow these steps to make your rhinestone crystal earrings:
1: Squeeze the Araldite glue out into equal parts and mix it on the paper.
2: Add the glue to the edge of the first large rhinestone.

3: Drape one of the rhinestone strands around the rhinestone and set it aside to dry. I recommend placing them on a cutting mat so that you don’t get paper stuck on your earrings.

4: Repeat steps 2 and 3 for the second set of rhinestones.
5: Add more glue to the earrings and place them on the back of the large rhinestones.

Once your earrings are dry they’re ready to wear! How perfect are these?
Here’s another pair I made using shorter pieces of rhinestone chain.

-
Here’s how to make your own shell stud earrings! So cute for summer!!!
These shell studs are simple to make and will defs be your summer staple (or perfect for bringing some summer vibes to the winter months).
You’ll need the following tools and materials to make your shell stud earrings:
1: Two shells. Look for shells that have a flatish base to glue your stud onto. I used these mismatched shells that I found a while ago (If you can’t find any try buying some, but I think that making earrings with shells you have found yourself is more special!).

2: Blu tack. You’ll need this to keep your shells still while the glue is drying.

3: Two earring posts (and earring backs).
4: Araldite Glue.
5: A Skewer.
6: A piece of scrap paper for mixing glue on.
Follow these steps to make your earrings:
1: Pop your shells onto the blu tack with the underside exposed.

2: Squeeze out the glue in equal parts and mix it using the skewer.
3: Add glue to each of the shells and the tops of the earring posts. Place the posts onto the shells and leave them to dry.


4: Once the earrings are dry they are ready to wear! How easy was that?!

Here’s another pair I made using a matching pair of shells (as matching as unique shells can be).

Another tip: If your shells are looking a bit dull and dusty rub them with a soft cloth and a little bit of cooking oil (I used peanut oil because it was in the kitchen) to give them back their lustre!
-
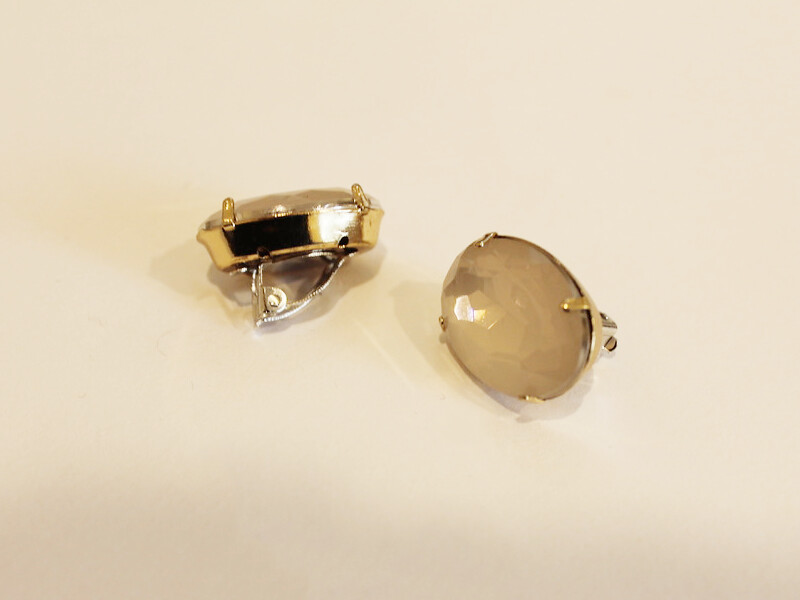
Don’t have pierced ears but want to get in on the statement earring game? Make your own clip on earrings!
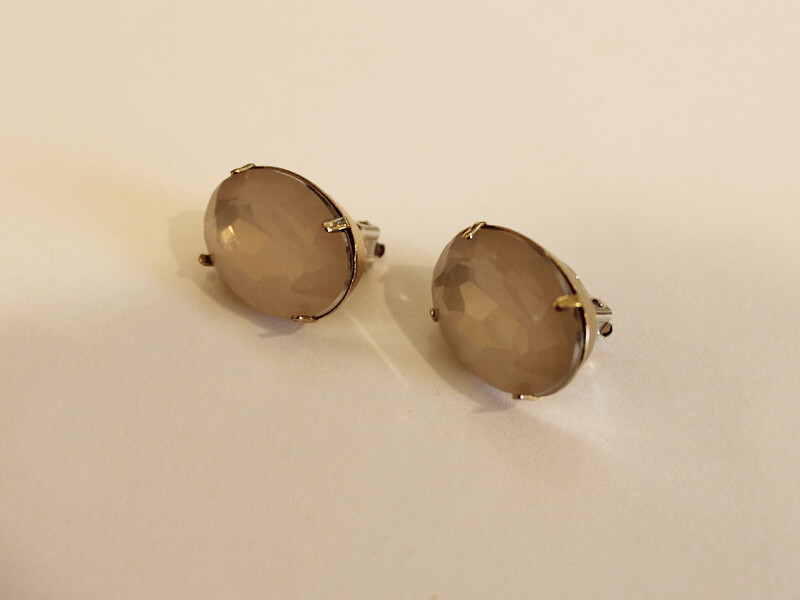
Do you want to get in on the earring game without getting your ears pierced? Here’s how you can make your own clip on earrings!
You will need the following tools and materials to make these earrings:
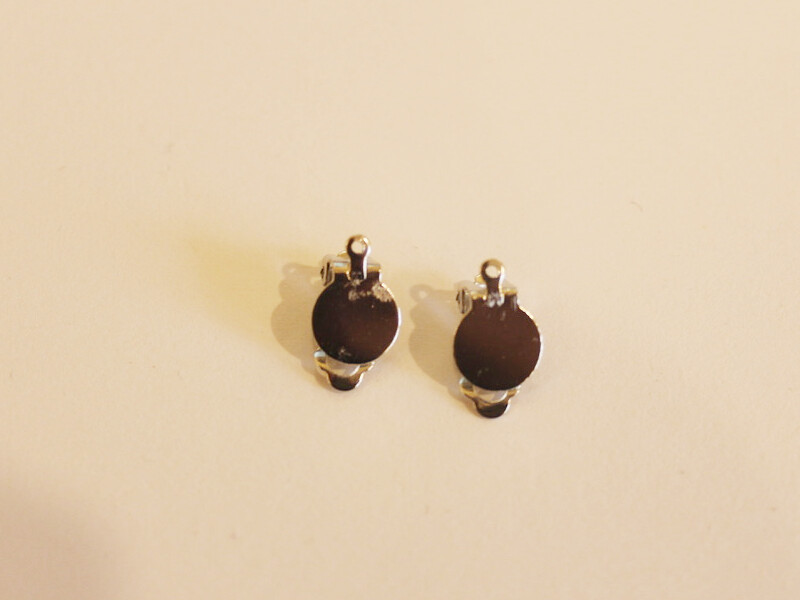
1: Two clip on earring findings.
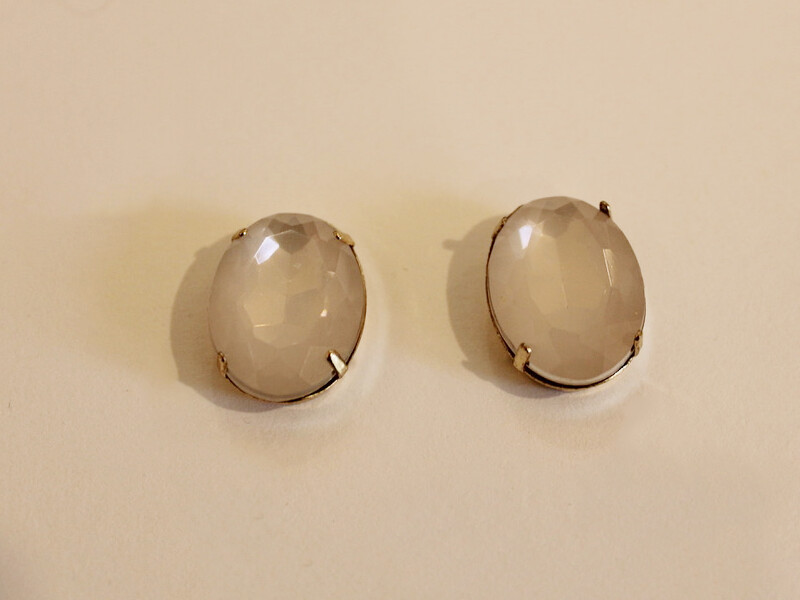
2: Two charms. I used these large pink rhinestones.
3: Araldite glue.
4: A skewer.
5: Scrap paper.
Follow these steps to make your clip on earrings:
1: Squeeze out the glue in equal parts onto the scrap paper.
2: Mix the glue with the skewer.
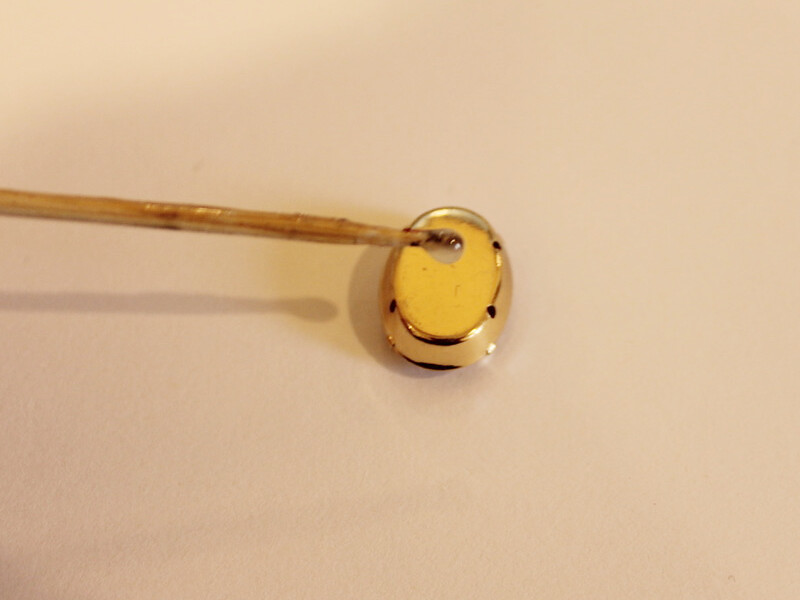
3: Add the glue to the backs of both rhinestones and the clip on earrings. (Open the earrings so that the clip doesn’t get glued shut).
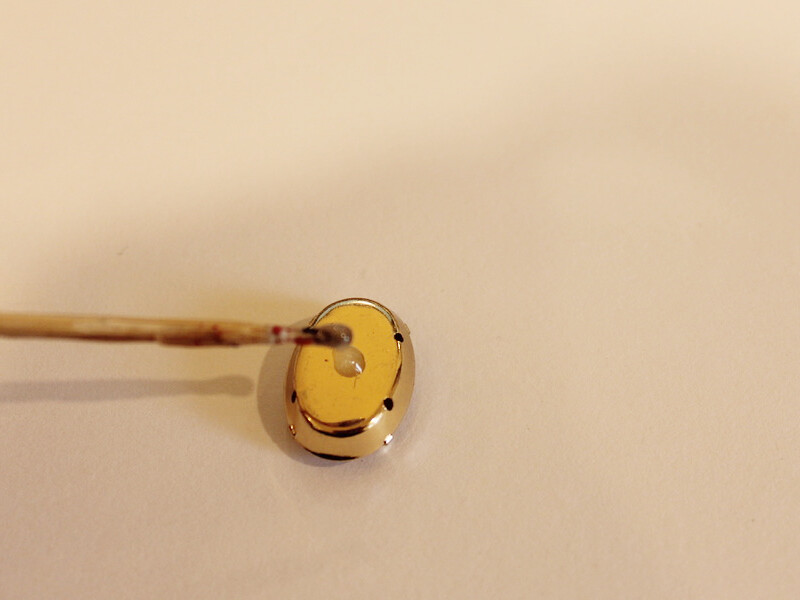
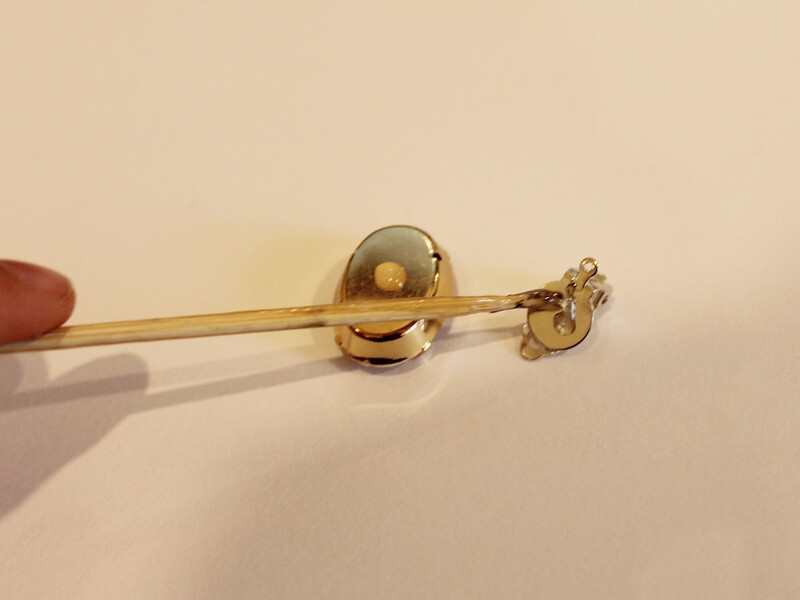
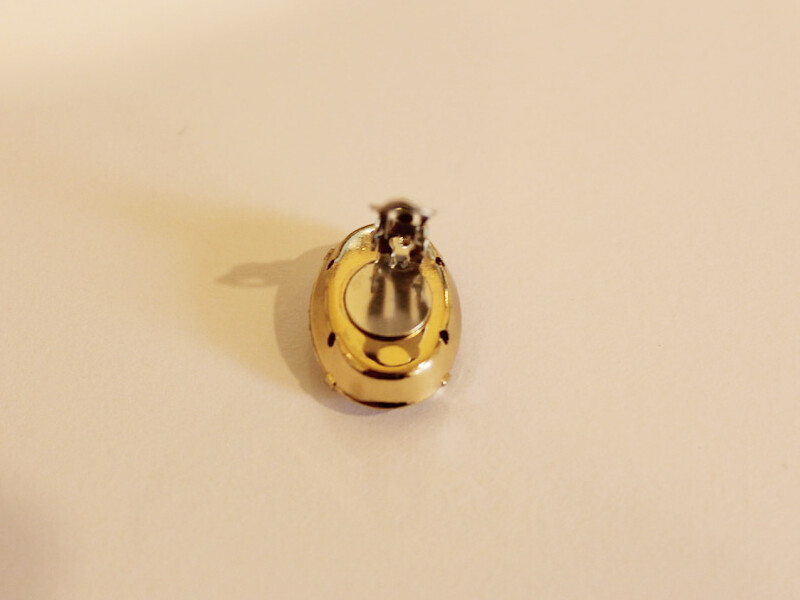
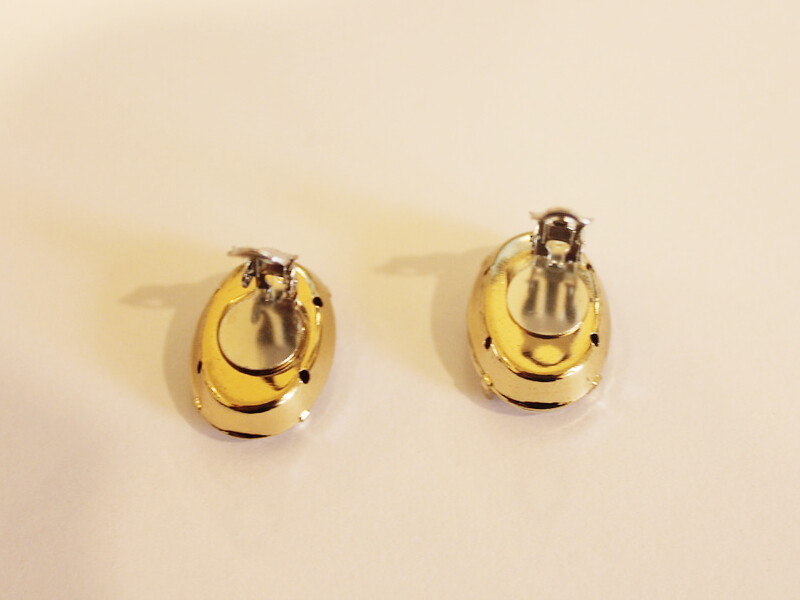
4: Once your earrings are dry they are finished and ready to wear!!!
-
Here’s how you can update your old ugly headbands… With Rhinestones!

Do you need something fun to add to your festive outfits? This embellished headband is for you! If you’ve got an old ugly headband lying around this tutorial shows you the perfect way to jazz it up. Contains affiliate links.
You will need the following tools and materials to make this headband:
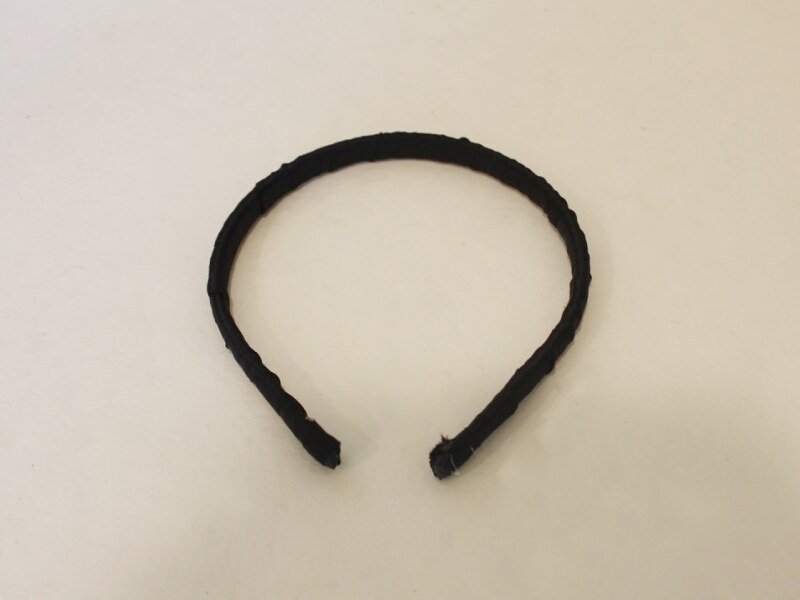
1: A headband. I used this old headband I had lying around at home.

2: Some ribbon.

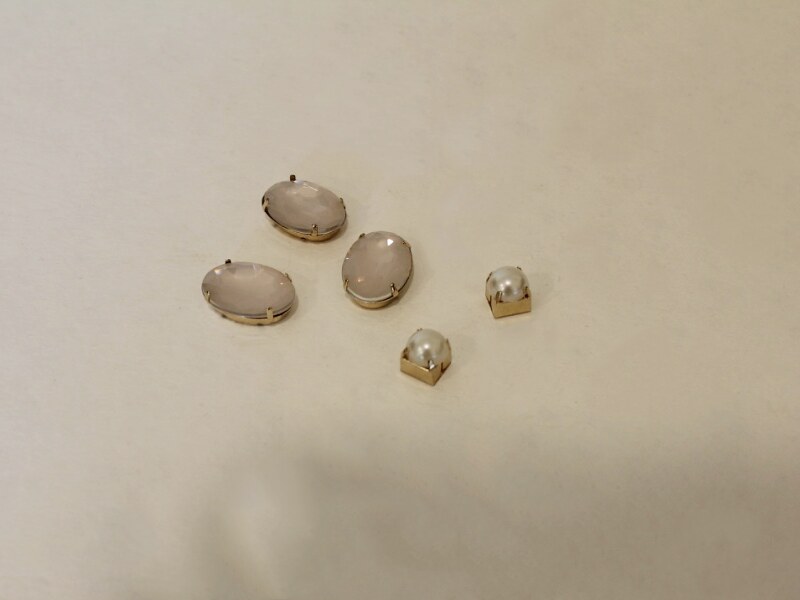
3: Rhinestones.
4: A hot glue gun and glue sticks.

5: Scissors.

Follow these steps to make your headband:
1: Add some glue to the inside of the headband with the glue gun.

2: Stick on end of the ribbon to the glue, being careful not to burn yourself as the glue will be hot.

3: Begin wrapping the ribbon tightly around the headband. Overlapping the ribbon to ensure that the headband is completely covered.

4: Continue wrapping the headband until you reach the other end.
5: Add more glue to the other end of the headband and place the ribbon over it to secure the end.


6: Use the scissors to trim the excess ribbon.

7: Add some glue to the top of the headband where you want your embellishment to sit, I mine slightly off center.

8: Place the first rhinestone onto the glue.

9: Repeat steps 7 and 8 for the remaining rhinestones until you are happy with your embellishments.
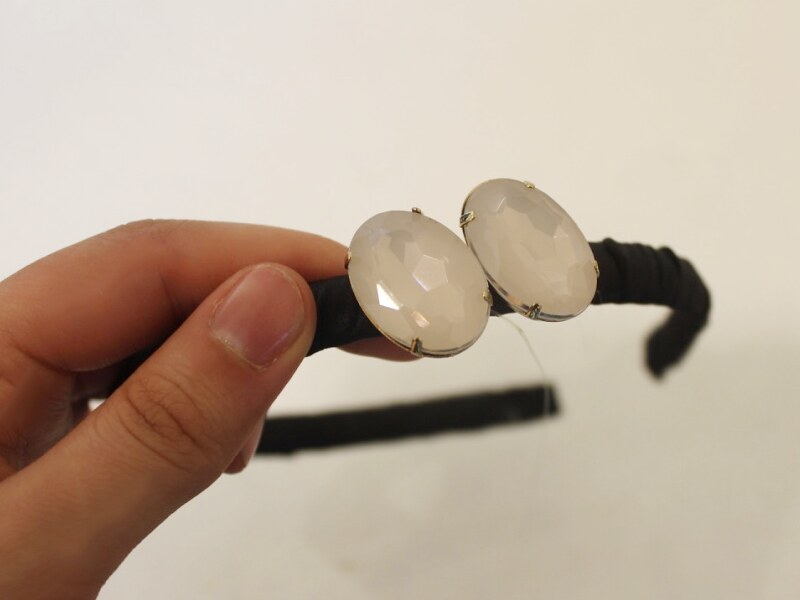


Once all your rhinestones are in place your headband is finished. Wait for the glue to dry and trim any of the excess glue strings before you pop it on!

-
Do You Have Any Special Pieces You Wish You Could Wear as a Pendant? Here’s How You Can…
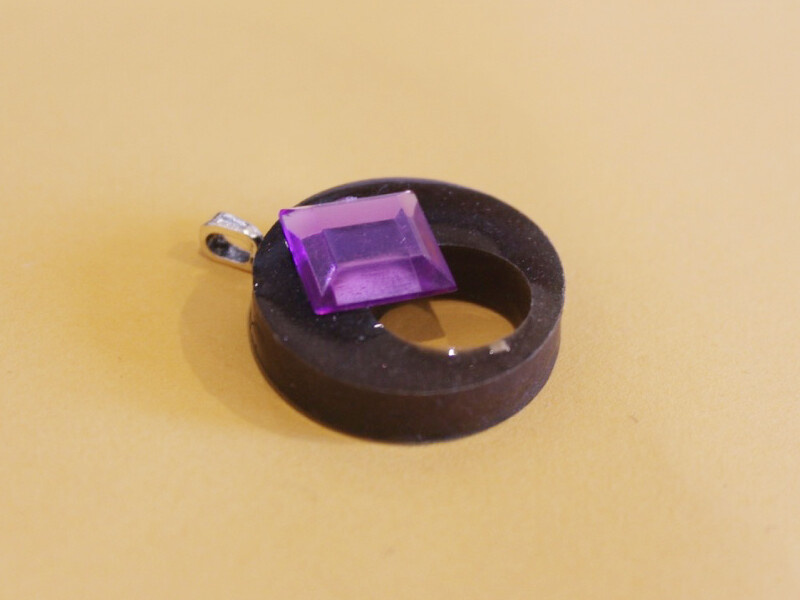
With a glue on bail you can turn almost anything into a pendant. Here’s how to use one!
You will need the following tools and materials to make this pendant:
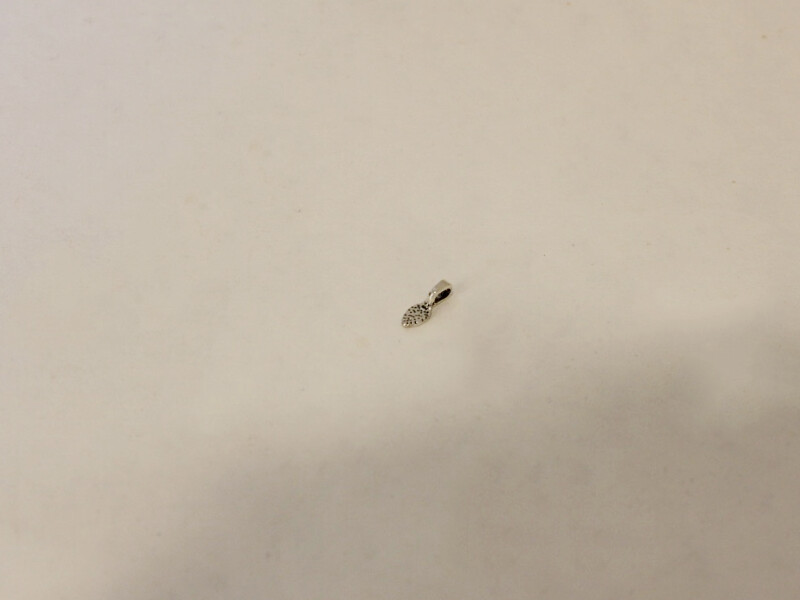
1: A glue on bail.
2: Araldite glue.
3: A skewer.
4: A scrap piece of paper.
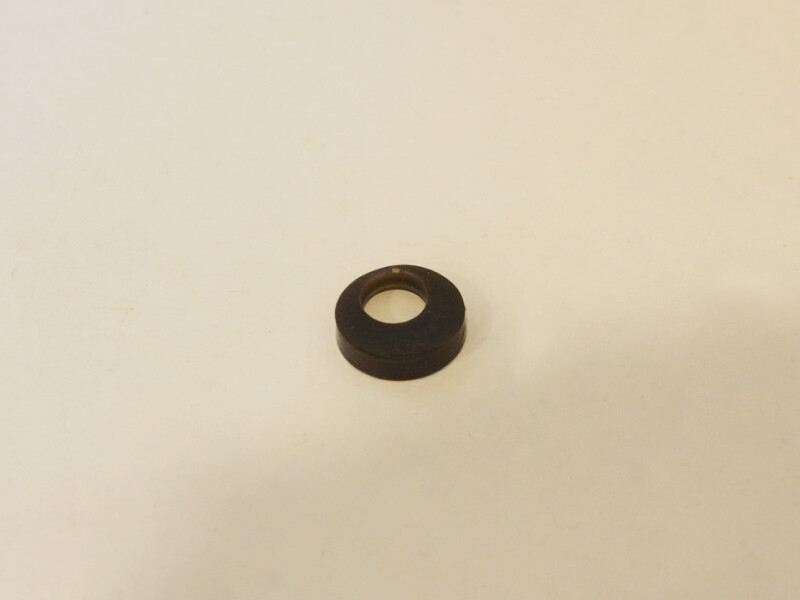
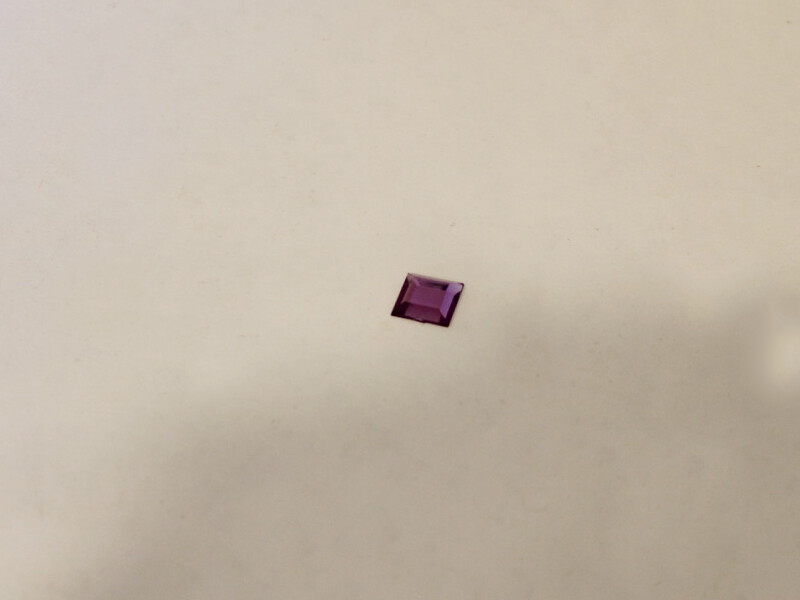
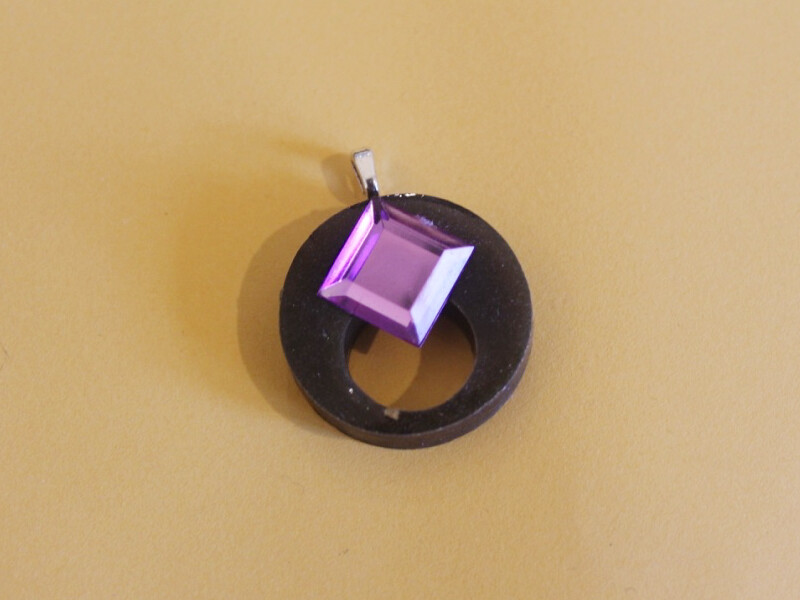
5: A plastic charm/decoration. I used this circular resin piece and a plastic gemstone.
Follow these steps to make your pendant:
1: Squeeze the glue in equal parts onto the piece of scrap paper.
2: Mix the glue using the skewer.
3: Add the glue to the bail and to the back of the charm where you want your bail to sit.
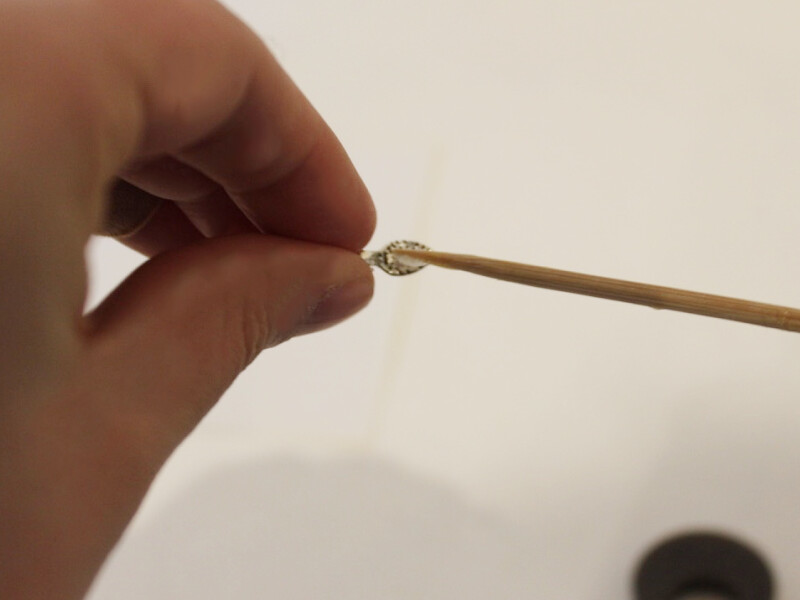
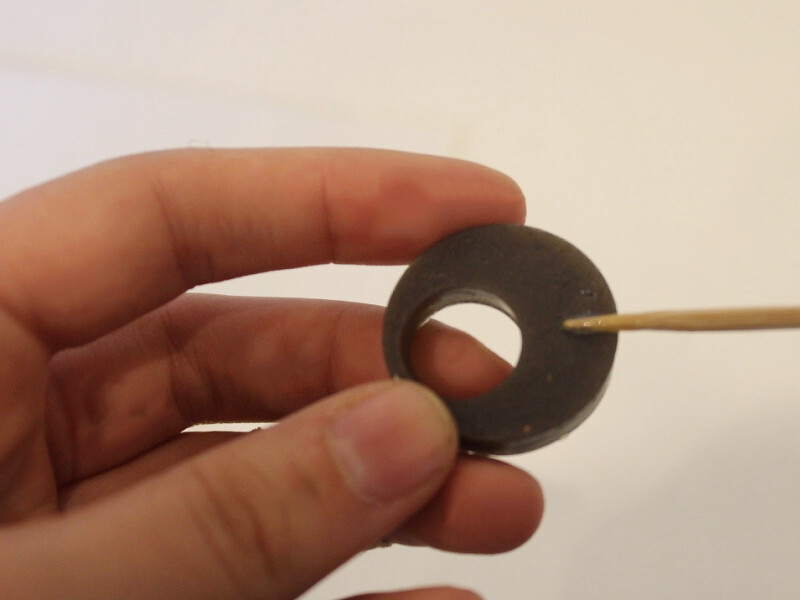
4: Place the bail onto the charm and wait for it to dry.
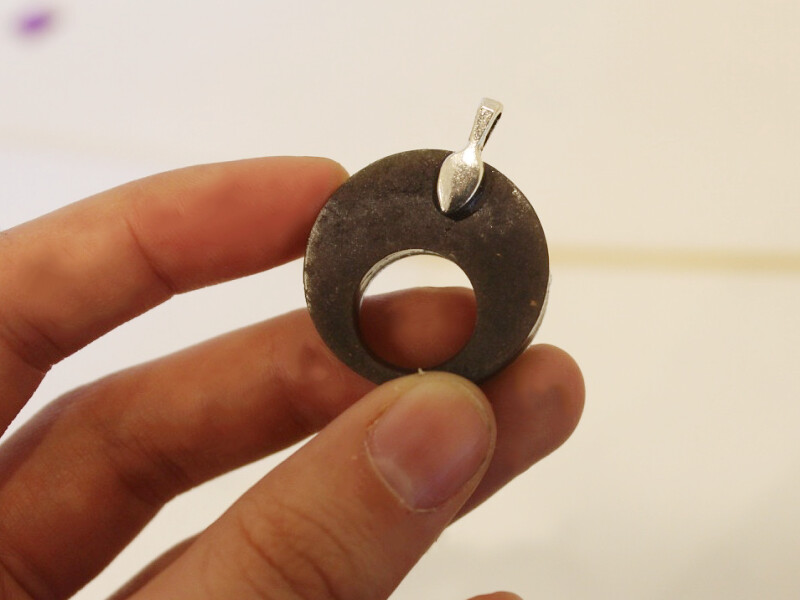
5: Depending on how long it takes for the bail to dry you might need to mix up some more glue.
6: Add more glue to the back of the plastic gemstone and place it on the front of the other charm.
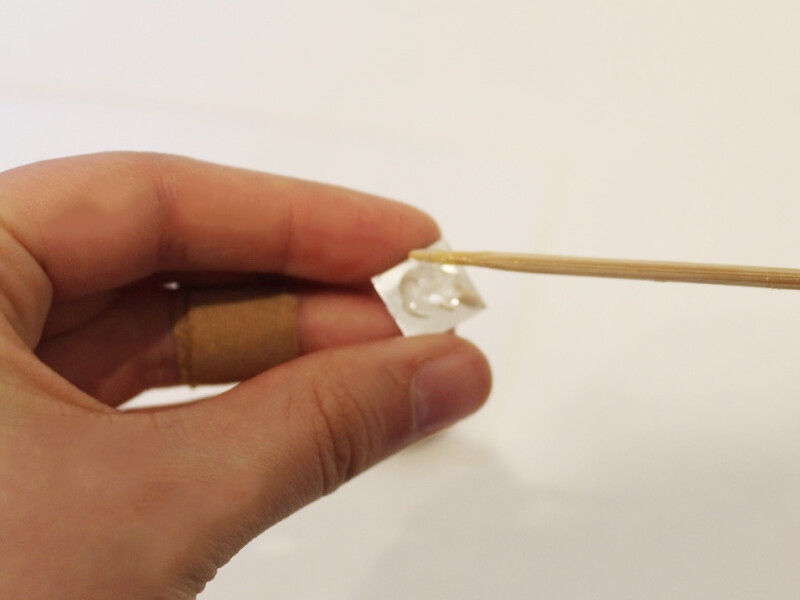
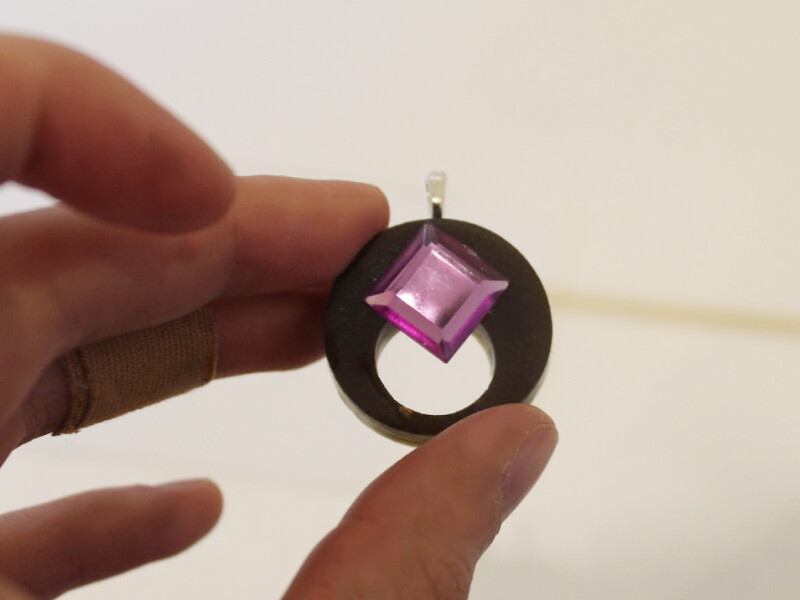
Once the charm is completely dry it is finished and ready to attach to a chain and wear!
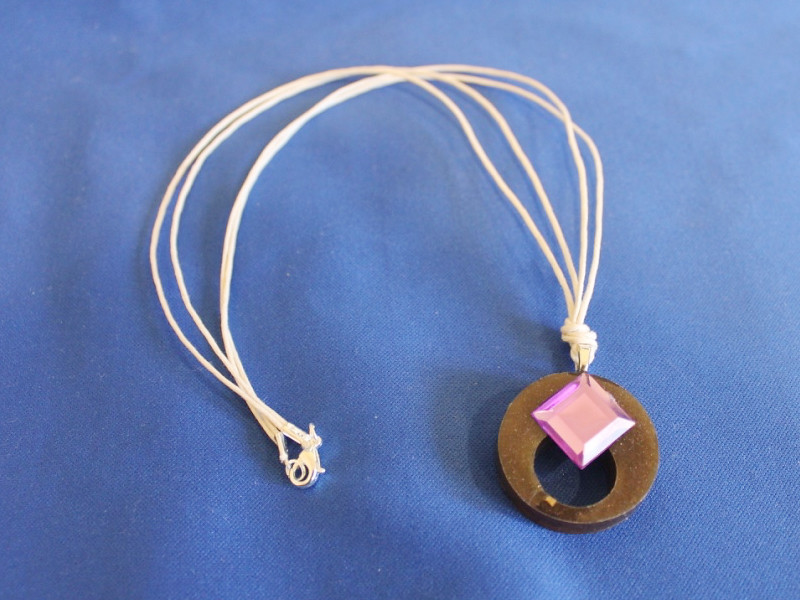
I attached my pendant to some string to wear as a necklace.

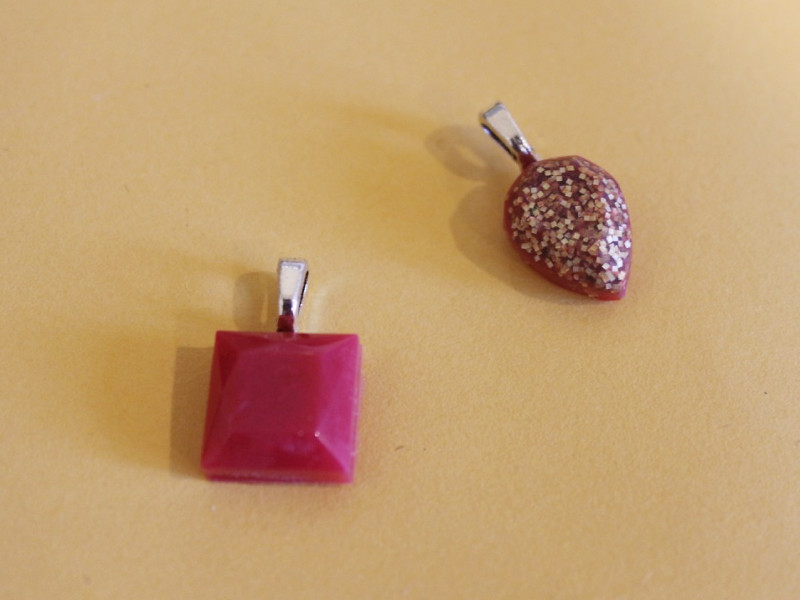
Here is another pendant made from a broken button.
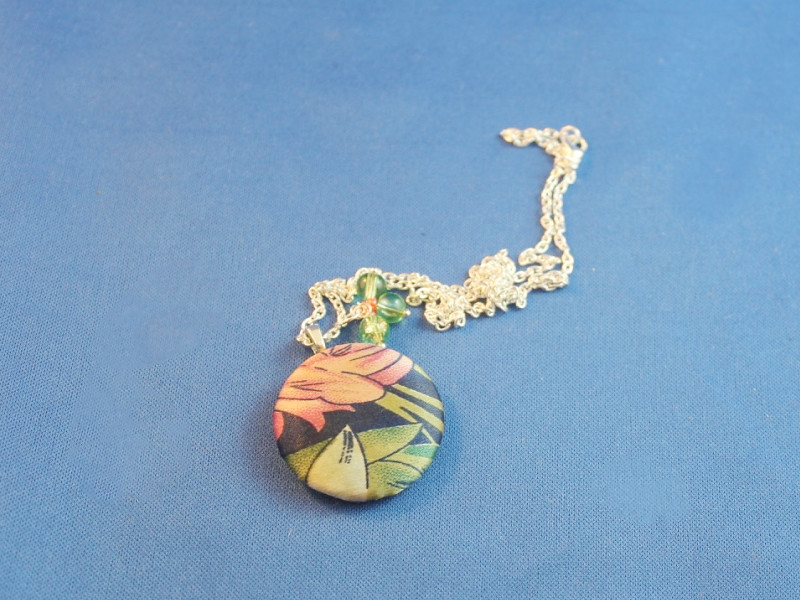
And a couple of small pendants made from resin cabochons