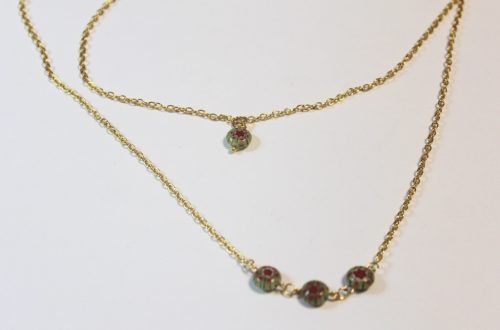
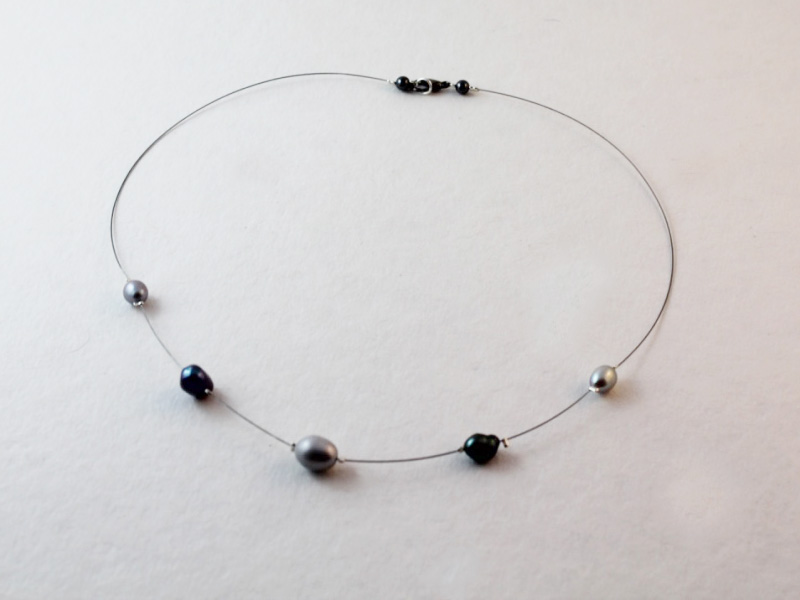
-
Here’s how to turn a chain into a lariat that holds your wireless ear buds
Wireless headphones allow you to roam freely, but they can also get lost easily, so here’s a tutorial that shows you how to make a chain that holds your headphones, can can also be worn as a lariat necklace when you’re not using it. How handy? Please note that this tutorial contains affiliate links for which this website may receive a commission.
You’ll need the following tools and materials to make this lariat.
1: A chain. I used this silver tone snake chain that is quite long. Make sure you have some jump rings to add to either end or that the chain necklace already has them in place.

You can get a similar chain here:
You can purchase jump rings here:
2: Two hair elastics.

You can get some here:
3: Wireless earbuds. Hopefully you already have these 😉

Follow these steps to make your headphone holder lariat:
1: Take one of the hair elastics and slide it through the jump ring at one end of the chain.

2: Loop one end of the elastic through the other and pull it tight around the end of the chain. Add a knot above it to secure the elastic in place.


3: Add a knot in the middle of the elastic, make it sit closer to one end so that it is small enough to sit tightly around your ear bud.

4: Repeat steps 1-3 for the other end of the chain.


Once you have both elastics in place, your ear bud holder lariat is ready to use. Slide the elastic around each of your ear buds and pop them in your ears. When The ear buds are in use, the chain will hang around your shoulders like a glasses chain, when you are finished, you can pull the ear buds out of your ears and loop the chain around your neck like this. So handy!


If you want some other ideas for how to keep track of your headphones you can check out these tutorials.
-
Here’s how to make a super cute lariat!
This tutorial shows you how to put beads on a chain necklace! This bead and chain lariat is really pretty and surprisingly simple to DIY at home. This design is perfect if you are looking for an at home craft activity or want something new to spice up your zoom outfit!
Please note that this tutorial contains affiliate links.
You will need the following tools and materials to make your beaded lariat:
1: Pliers. I used my cutting pliers, my round nose pliers and my flat pliers.

2: You’ll also need some chain. I used two pieces of gold-tone rolo chain, one long enough to fit around my neck and another that was a bit shorter, approximately 12cm long.


3: A selection of beads. I didn’t use all these beads but it’s good to have a range to choose from!

4: Some eye pins. You’ll use these to add beads to your chain necklace.

5: One head pin.

6: A couple of jump rings.

7: A lobster clasp.

Follow these steps to make your own chain beaded lariat. Have fun with this one ;):
1: First separate your long chain into two halves. Depending on what kind of chain you have you’ll need to cut it or open up one of the links with your flat nose pliers.


2: Add a jump ring to one end of each of the chain halves.


3: Add a lobster clasp to one of the chains and set them aside.

4: Add one of the beads to one of the eye pins.

5: Bend the eye pin to form an angle.

6: Trim the length of the pin using the cutting pliers so that it is approximately 1cm long past the bead.


7: Create a loop at the end of the pin by bending it around the barrel of the round nose pliers.


8: Repeat steps 4 to 7 for the other beads, I put 7 beads on eye pins, 6 round beads and one long bead which I used as a feature bead.

9: Add a couple of beads to the head pin and loop the top as you did with the other bead charms.


10: Add the long bead to one end of the short chain and the head pin charm to the other end.


11: Link three of the round beads together to form a mini chain.


12: Repeat this for the second set of beads so you have two chains made up of three beads each.

13: Attach the bead chains to the loop at the top of the long bead.


14: Attach each of the necklace chains to each of the short beaded chains to finish the lariat off.


Now your bead and chain lariat necklace is finished and ready to wear!


Here are some other lariat tutorials you can make at home:
- An adorable lariat with a cute love heart bead detail
- A handmade beaded chain lariat made with mixed vintage beads
- This pretty lariat with a double hole bead detail
- A beaded strand with a chain detail lariat
- This chunky gold curb chain lariat
- This fun lariat with round beaded charms
- A triangle detail lariat necklace
- This special charm that you can attach to any necklace to turn it into a lariat
-
Here’s how to make an adorable lariat with mini heart beads.
This necklace is so so cute! It features a lariat design with three cute yellow glass hearts that dangle at the end. This lariat is so fun and great to layer with other delicate pieces. Please note that this tutorial contains affiliate links.
You’ll need the following tools and materials to make this triple heart lariat:
1: Pliers. I used my flat nose pliers and round nose pliers for this design.


2: Three pieces of chain, two that add up to be long enough to fit around your neck and one small piece around 6cm long. I used this silver rolo chain.


3: Three small jump rings.

4: A lobster clasp.

5: Three small glass heart beads. I used these yellow floral glass beads.

6: Two eye pins.

7: One head pin.

Follow these steps to make your love heart lariat:
1: Add one of the jump rings to one side of one of the long pieces of chain.

2: Add the lobster clasp to this jump ring.

3: Close the jump ring to secure the clasp in place.

4: Add another jump ring to the second long piece of chain. Close it to secure it onto the chain.

5: Clip the two pieces of chain together.

6: Join the other ends of the necklace using the last jump ring and slide on the smaller chain before closing the jump rings.


7: Set the lariat aside.
8: Add a bead to each of the eye pins and the head pin.

9: Bend each pin to form a right angle and then curl the top into a loop using the round nose pliers.


10: Attach the three charms together to form a chain.


11: Attach the three hearts to the bottom of the lariat chain, close the top loop to secure the beads in place.

Now your triple love heart lariat is finished and ready to wear! So cute and fun!


Here are some other lariat necklace tutorials you can follow, we’ve got a few designs you can make:
- A bead chain lariat.
- A chain lariat that uses a double hole bead as a feature.
- A bead strand necklace with a chain lariat feature.
- A chunky curb chain lariat.
- A lariat with a beaded circle detail.
- A beaded triangle detail lariat.
- A clip on charm that turns any necklace into a lariat.
- A cute pearl lariat.
- A leather wrap lariat.
- A chunky chain belt that can also double as a lariat necklace.
-
I am super into lariat necklaces right now, here’s another way to make one with a double-hole bead.
Lariat necklaces are so elegant and cool. I really like how they look with a low cut top that hints at cleavage! We already have a few lariat tutorials on the site, but this is one that has a bit of a twist. All the materials and steps are listed below! This tutorial contains affiliate links.
You’ll need these materials and tools to make your lariat:
1: A bead with two holes. I used this hematite bead recycled from a bracelet I had as a kid.

2: Two accent beads. I used these round hematite beads.

3: Chain. I used some gold-tone rolo chain.

4: Two head pins.

5: Two short eye pins.

6: Two large jump rings.

7: Two small jump rings.
8: A lobster clasp.

9: Pliers. I used my flat nose and round nose pliers to make this lariat necklace.
Now here are all the steps you can follow to make your new lariat necklace:
1: Add one of the eye pins to one of the holes in the two-hole bead.

2: Bend the bead to form an angle.

3: Create a loop on the pin using the round nose pliers to secure the bead on the pin.

4: Repeat steps 1-3 for the second eye pin in the second bead hole.


5: Add each of the accent beads to the head pins.

6: Use the round nose pliers to loop the tops of the head pins.


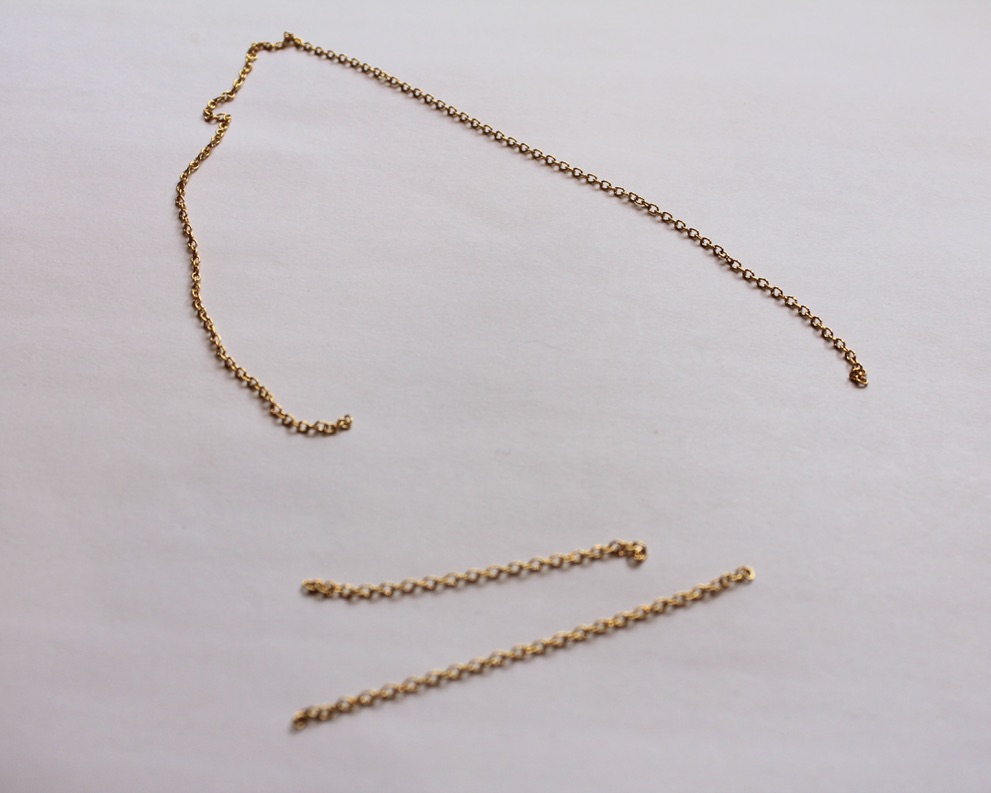
7: Section out three pieces of chain, one long enough to fit around your neck and two shorter pieces, the shorter pieces will form the centre part of the lariat. I made one longer than the other.
8: Attach one of the short chains to one side of the two hole bead charm.

9: Attach the other chain to the other side of the charm.

10: Attach the long chain to the top of the two hole bead charm.


11: Split the necklace chain in half.

12: Attach the larger jump rings and the lobster clasp to the middle of the split necklace chain.


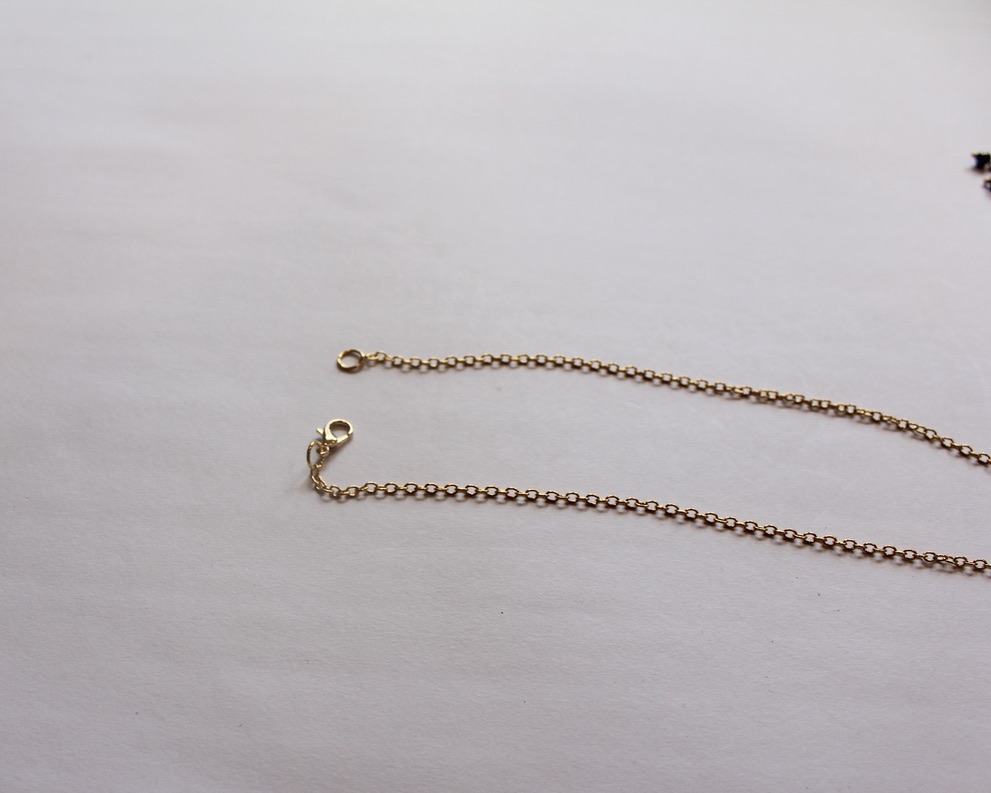
13: Add the accent bead charms to the end of each short chain using the small jump rings to finish the lariat off.


Now your cool new lariat is ready to wear!
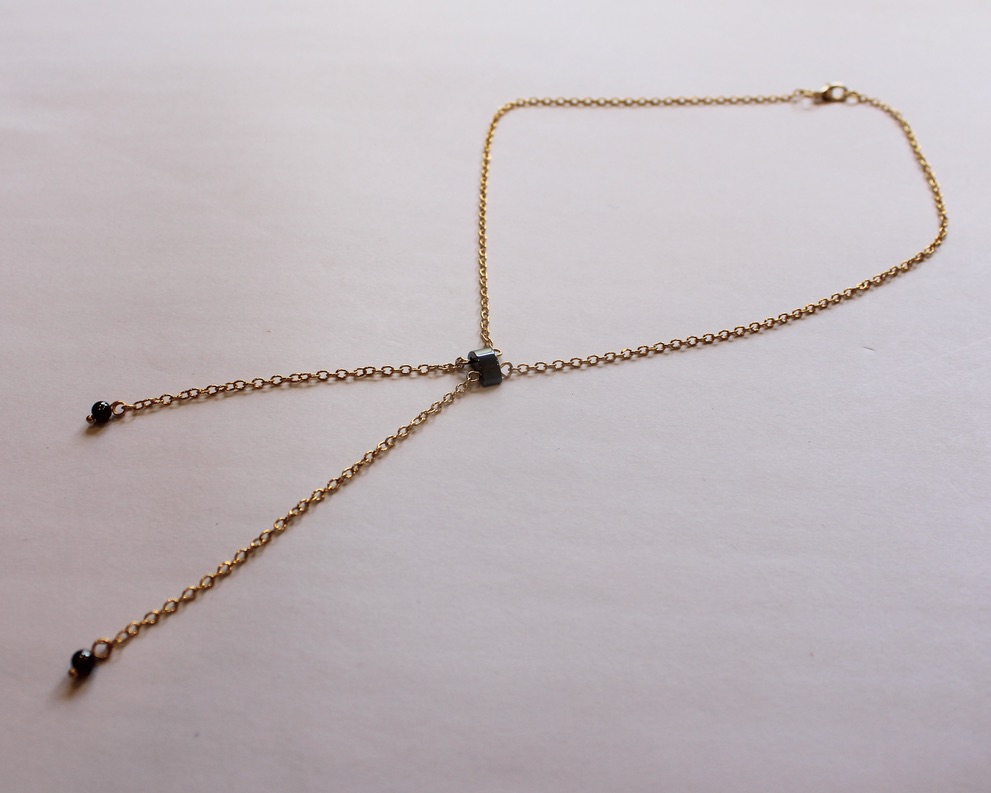
I suggest trying to make this necklace using materials you already have. If you don’t have the right pieces lying around this tutorial contains affiliate links so that you can buy them.
If you love a lariat too, here are some other ways you can make them:
- A bead and chain lariat
- This lariat is made with chunky gold-tone chain
- A lariat with two beaded circle charms
- Triangle charm lariat
- This chain charm that lets you transform any necklace into a lariat
- Make this chain belt that can also be worn as a lariat necklace
- How cool, this long leather strand can be worn as a lariat
- Our original lariat tutorial, a cute pearl lariat
-
How to make a mixed material lariat necklace
Do you like lariat necklaces? I think they are really elegant and kind of sexy. We have done some lariat tutorials in the past but this one is a bit different. It is made using a small piece of chain which hangs in the middle of a beaded strand like a pendant. I really like beading projects because they take time and patience, perfect for passing the time inside. This tutorial contains affiliate links.
You’ll need the following tools and materials to make your mixed material lariat:
1: Tiger tail wire. Cut it to your desired length (plus a bit extra). I think lariat necklaces look best when not too long.

2: One lobster clasp.

3: Four crimp beads.

4: Three smaller jump rings. One slightly larger than the other two.

5: One large jump ring.

6: A length of chain, approximately 10cm long (3.9 inches).

7: Beads of your choice. I used green and yellow glass beads.

8: Pliers. I used cutting pliers, flat nose filers and round nose pliers.
Follow these steps to make your own mixed material lariat necklace:
1: Add crimps to the end of the wire.

2: Add a jump ring and fold the tiger tail wire around the jump ring. Thread the end of the wire through the crimp beads.

3: Squash the crimps using the flat nose pliers.


4: Add the beads in your desired pattern.


5: Once your strand is fully beaded add the remaining crimp beads.

6: Add the other small jump ring and thread the end of the wire back through the crimp beads and the first few glass beads.


7: Squash the crimp beads using the flat nose pliers.

8: Trim the remaining wire using the cutting pliers.

9: Add the clasp to one side of the beaded strand.

10: Add the third smaller jump ring to one end of the necklace.

11: Add the large jump ring to the top of the piece of chain and then close it.


12: Add the chain to the beaded strand to finish the necklace off.

Now your necklace is finished! What colour will you make yours in?


Here is another one I made using mixed glass seed beads.

Here are some other lariat tutorials:
- Circle charm lariat
- Beaded triangle lariat
- Clip on lariat charm
- Belt/lariat tutorial
- A leather wrap lariat
- Pearl charm chain lariat
This tutorial contains affiliate links.