-
Here’s how to make a pair of pearl earrings with matching curved ear jackets.
This tutorial makes such a cute pair of earrings! A pair of pearl studs with matching ear jackets that hug the ear with a little pearl on the end. Simple to construct but looks incredible. I love ear jacket designs because you can mix and match them with other stud earrings, it’s a fun way to add versatility to your jewellery collection.
Please note that this tutorial contains affiliate links for which we may receive a commission.
Here are all the tools and materials you’ll need to make your own pair:
1: Two pieces of 0.8mm sterling silver wire cut to earring post length (you can cut them to length using cutting pliers or a saw blade. It is best to file and emery them so that they aren’t sharp after cutting.)

You can get sterling silver wire here:
And you can get sterling silver earring posts here:
2: Two pieces of sterling silver wire approx 4-5cm long, the length you use might change depending on your ear lobe size. I made mine a tiny bit smaller than I would like.

You can get sterling silver wire here:
3: Four pearls. I used two white freshwater pearls and two smaller black ones.

You can get half-drilled white pearls here:

You can get black half-drilled pearls here:
4: Earring backs. I used sterling silver ones.

You can get earring backs here:
5: Two part epoxy glue. Be sure to follow the instructions on the packet for safe use.

You can get glue here:
6: A scrap piece of paper for mixing glue.

7: A skewer or toothpick to mix and apply the glue.

You can get skewers and toothpicks here:
8: Round flat pliers.

You can get a pair of round-flat pliers here:
9: Flat nose or parallel pliers.

You can get parallel pliers here:

You can get a pair of flat nose pliers here:
10: Half-round flat pliers.

You can get a pair of half-round flat pliers here:
11: Something round like a pen to form the wires around. I used a jewellery scribe.
Here are all the steps you need to make your own pair of sterling silver pearl earrings with curved ear jackets.
1: First step is to shape the ear jacket wires.
2: Take each wire between the jaws of a pair of flat nose or parallel pliers and bend it to form a right angle.


3: Bend the shorter part of the wire using the flat round pliers to form a loop. Adjust it using your flat nose pliers.


4: Now bend each of the wires around the pen or round item to give it it’s curved shape.

5: Once you have the initial shape you can adjust it using the half-round flat pliers.


6: Now all your wires are shaped you can prepare to attach the pearls.
7: Squeeze a small amount of glue onto the scrap paper and mix it well using the skewer.


8: Dip one of the earring posts into the glue, wiping off excess, and place it into one of the white pearls. Repeat for the second white pearl so that both have earring posts.


9: Repeat step 8 with the earring jackets, adding glue to the ends of each wire and placing them into the black pearl.


10: Set the components aside to cure and dry.

11: Once the pearls are secured in place, your earrings are ready to wear! So cute.

Here’s how they look on.

If you love ear jacket designs, here are some other tutorials you can follow:
-
Here’s how to make some pearl wiggle charms to add to some charm connector earrings.
I love charm connector earring findings, because you can make your own unique charms to create a one of a kind pair of earrings. This tutorial shows you how to transform some silver wire into some playful pearl charms that add some personality to your earlobes!
Please note that this tutorial contains affiliate links for which we may receive a commission.
You’ll need the following tools and materials to make these earrings:
1: Two pieces of sterling silver wire with the ends filed, about 4cm long.

I used wire recycled from a previous project, but you can get some here:
2: Two half drilled pearls.

You can get pearls here:
3: A pair of charm connector earrings. I used some peridot ones I made some time ago.

You can get some charm connector studs here:
4: A pair of flat nose pliers.
You can get some here:
5: A pair of parallel pliers.
You can get a pair of parallel pliers here:
6: A pair of round-flat pliers.

You can get a pair of flat-round pliers here:
7: Two part epoxy glue like Araldite or similar.
You can get some glue here:
8: A piece of scrap paper.
9: A skewer or toothpick for mixing the glue.
You can get some here:
10: A piece of scrap wire or something small to apply glue to the wire and pearl.

With all your tools and materials gathered, you can follow these steps to make your wiggly pearl earrings.
1: Use the parallel pliers to bend the tops of the wires to form a right angle.


2: Loop the bent ends of the wires into a circle shape using the round-flat pliers.


3: Grasp the wire between the jaws of the flat pliers and bend it to form an angle.

4: Then move the pliers down and bend the wire back in the opposite direction to form a zig-zag shape.

5: Continue making the wiggles until there is a little bit of the wire left. This will be the part that is glued into the pearl.


6: Push out some of the glue onto a piece of paper and mix it.


7: Add glue to the end of the wire and the pearl using the piece of scrap wire.


8: Place the wire into the pearl and wipe off any excess glue. Set the charms aside to dry.


9: Once your charms are dry and secure, use your pliers to attach the charms to the loops on the bottom of the charm connector earrings.


Once your charms are connected, your earrings are finished and ready to wear! So cute and unique. I can’t wait to wear these out!


-
How to make some pearl earring jackets to add some elegance to your stud earrings
I love a stud earring, but sometimes I feel like I need some extra elegance in my outfit… in comes, the earring jacket. This simple and elegant pearl earring jacket can be added to any of your studs to turn them into stunning drop earrings. A versatile way to make your existing earring collection work even harder. Please note that this tutorial contains affiliate links for which we may receive a commission.
You’ll need the following tools and materials to make your own pearl earring jackets.
1: Two pieces of 0.8mm sterling silver wire cut to length. I made mine about 5cm long. You can make yours longer or shorter depending on how dramatic you want your look!

You can get some here:
2: Two pearl beads (or any other statement bead of your choice).

You can get some here:
3: A pair of earrings. I used the earrings I made in this tutorial.

If you aren’t up for making your own, you can get some here:
4: A hammer.

If you don’t have an ordinary hammer at home, you can get a jewelry hammer here:
5: A steel hammering block.

You can get one here:
6: Flat nose or Parallel pliers.
You can get some flat nose pliers here:
You can get some here:
7: Round nose pliers.

You can get some here:
8: A file and sandpaper.

You can get a file here:
Follow these steps to make your pearl earring jackets.
1: File the ends of the wire to smooth them out, then use sandpaper to make sure they aren’t too sharp.

2: Put the wires on the hammering block and hammer the ends flat. Make the ends wide enough to stop the bead from sliding off.


3: Use the flat nose or parallel pliers to gently straighten the wire if it is curved like mine. You can achieve this by gently squeezing the wire between the jaws of the pliers.


4: Add the pearl beads to each of the wires.

5: Create a right angle on the ends of the wires using the flat nose or parallel pliers.


6: Curl this bent portion of the wire into a loop using the round nose pliers.


7: Once each earring jacket has been looped, they are ready to attach to your earrings, do this by sliding the studs through your piercings and then adding the jacket to the post at the back before adding the earring backs.
Here’s how the finished earring jackets look with the pearl studs! How cool?!


If you like this tutorial, here are some other earring jacket tutorials you can follow:
-
Here’s how to assemble a pair of pearl stud earrings!
Have you ever wanted a pair of pearl earrings, but been curious wether you could make them yourself? Well look no further than this tutorial. We’ve got all the steps to show you how to make your own pair of pearl studs. So cute and elegant. Please note that this tutorial contains affiliate links for which we may receive a commission.
You’ll need the following tools and materials to make your pearl earrings:
1: A pair of half-drilled pearls.

2: A pair of sterling silver pearl post studs. I had flat pearls so I used a flat post, but if your pearls are more rounded, I recommend using a cup stud finding. If you want to be extra fancy, you can also buy posts made in solid gold.
You can get some pearls here:

I used these ones:
You can get some similar ones here:
3: Two part epoxy glue. I used Araldite but you can use other brands too.
You can get some here:
4: A piece of scrap wire or something thin for applying the glue.
5: A scrap piece of paper.
6: A skewer or paddle-pop stick for mixing the glue.
You can get skewers here:
7: A pair of earring backs.

You can get some here:
Follow these steps to construct your very own pair of pearl stud earrings:
1: Squeeze the glue out in equal parts onto the scrap piece of paper.

2: Mix the glue using the skewer. You will need to work quickly once your glue is mixed to ensure the glue holds well.
3: Using the thin wire, apply a small amount of glue to each of the pearl posts and the holes in each of the pearls.

4: Place the pearls on the posts and wipe up excess glue
5: Set the earrings aside to dry.
Once the glue is set, and you have added your earring backs, your new pearl stud earrings are ready to wear! A gorgeous and simple DIY that you can do in an afternoon. Here’s what the finished product looks like. Simple and lovely.


-
Let me show you how to make a pretty pair of beaded earrings!
Mixed beads seem to be all the rage right now! These beads feature a variety of gemstones and a couple of cute little glass heart beads for a cool look. Use your choice of beads to create your own twist on this simple-but-bold design. Please note that this tutorial contains affiliate links.
You’ll need these tools and materials to make your own pair of beaded statement earrings:
1: Two earring hooks.

2: Two long eye pins.

3: Two small head pins.

4: A variety of beads. I used some gemstone chip beads, some pearls, shell beads, round lapis lazuli beads and two glass heart beads.

5: Pliers. I used my round nose and flat nose pliers.

Follow these steps to make your beaded earrings:
1: Add each of the heart beads to the small head pins.

2: Loop the top of the pins using the round nose pliers and then set them aside.


3: Add beads to one of the eye pins in the pattern of your choice.

4: Bend the top of the pin to form an angle.

5: Loop the top of the pin using the round nose pliers.


6: Repeat steps 3 to 5 for the second eye pin re-creating the pattern you established with the first pin.

7: Attach one of the heart charms to one of the beaded eye pins.

8: Attach the other heart to the other eye pin.

9: Attach an earring hook to each of the pins to finish the earrings off!


Now your sweet earrings are finished and ready to wear! These are so lovely and fun! Perfect for a playful but glam look!


If you loved these earrings, here are some other pearl earrings you can make at home:
-
Here’s how to make some crescent moon shaped earrings with wire :)
These earrings look one way when you lay them down… but then when you hang them from your ears they turn into beautiful crescent moons. So cute! Please note that this tutorial contains affiliate links.
Here are the tools and materials you will need to make your own crescent moon earrings:
1: Pliers. I used my cutting pliers, round nose pliers and flat nose pliers.

2: Some bracelet length memory wire cut into four half circle lengths.

3: Four small jump rings.

4: Two larger jump rings.

5: Six small head pins.

6: Earring hooks.

7: Beads. I used mixed glass seed beads and six pink freshwater pearl beads.

https://rover.ebay.com/rover/1/705-53470-19255-0/1?mpre=https%3A%2F%2Fwww.ebay.com.au%2Fitm%2F1kg-SUPER-MIX-Glass-Seed-Bugle-BEADS-Mixed-Assorted-Sizes-Colors-BULK%2F322739925149%3Fhash%3Ditem4b24cc709d%3Ag%3AXHgAAOSw791ZuJjX%26frcectupt%3Dtrue&campid=5338747881&toolid=10001&customid=5338747881 
Follow these steps to make your cute crescent moon earrings:
1: Add each of the pearls to the head pins and curl the tops using your round nose pliers to secure the pearls in place. Once you have made all your pearl charms you can set them aside.


2: Take one of the memory wire pieces and create a loop at one end using the round nose pliers. I curled my wires in towards the inside of the curve.


3: Add beads to the wire until there is about 1cm left without beads.


4: Loop the other end of the wire to secure the beads on.

5: Repeat steps 2 to 4 for the remaining three pieces of memory wire.

6: Take two of the pieces of memory wire and attach them at one end using one of the small jump rings.

7: Attach the bottom of the memory wire pieces together using another of the small jump rings to form an oval shape.

8: Repeat steps 6 and 7 using the remaining beaded memory wire pieces and small jump rings.

9: Add three of the pearl charms to one of the larger jump rings and attach it to the end of the memory wire ovals. Repeat this for the remaining three pearls and attach them to the other memory wire charm.


10: Add an earring hook to the top of each of the ovals to finish the earrings off.


Now you can hang them from your ears and have some fun!


-
Combine gold wire and pearls with these amazing statement earrings
These earrings use different materials to create a loop of gold wire and rainbow beads with a sweet dangly pearl in the centre. This tutorial contains affiliate links.
You’ll need the following tools and materials to make your earrings:
1: Pliers. I used my cutting pliers (left), flat nose pliers (right) and round nose pliers (middle).
2: Two pieces of 0.8mm wire approximately 7-10cm long. I used gold fill wire.

3: Two pieces of tiger tail wire, around 10-15cm long.

4: Four small jump rings.

5: Two head pins.

6: Two larger jump rings.

7: Post earrings with charm loops.

8: Beads. I used mixed glass beads.
9: Two pearl beads.

10: Eight crimp beads.

11: Something round to form your wires around. I used a bead container.
Follow these steps to make your earrings:
1: Take one of the pieces of tiger tail wire and add two crimp beads and a small jump ring to the end.

2: Loop the end of the wire around the jump ring and through the crimp beads. Pull it tight.

3: Squash the crimps using flat nose pliers.

4: Add beads to the tiger tail wire until you have a length you like.

5: Once fully beaded add another two crimp beads and another small jump ring to the end of the wire.
6: Pull the end of the wire around the jump ring and back through the crimps and last few beads.

7: Squash the crimp beads at the end and trim the excess wire.

8: Repeat steps 1 to 8 for the second bead strand.

9: Add each of the pearl beads to the head pins and use round nose pliers to curl the tops, this secures the beads on to the pins.


10: Add the pearls to each beaded strand.

11: Bend the wires around your round thing to form an arch shape.


12: Add a loop to either end of the wire using the round nose pliers.


13: Attach a bead strand to each of the wires using the jump rings.


14: Add an earring post to each earring, attaching it using the remaining two larger jump rings.


Now your earrings are finished and ready to put on! Perfect for adding some color to neutral outfits!


-
Hop on the pearl trend with these beaded pearl hoop earrings!
I am loving the pearl jewelry trend right now! Here’s how you can DIY your way into unconventional pearl earrings. Contains affiliate links.
You will need the following tools and materials to make your beaded pearl hoops:
1: Pliers. I used cutting pliers to cut my wire, round nose pliers and flat nose pliers.
2: Some wire. I used this wire that I reclaimed from an old jewelry project.

3: Charm connector stud earrings.

4: Two small jump rings.

5: Two medium jump rings.

6: Two larger jump rings.

7: Two small head pins.

8: Two pearl beads. I used these freshwater pearl beads.

9: Seed beads. I used these mixed glass seed beads.
Follow these steps to make your beaded pearl hoops:
1: Curl the end of the wire to form a loop using the round nose pliers.

2: Add the seed beads to the wire.

3: Once the wire is beaded and there is only about 1cm left of the wire left use the round nose pliers again to curl the end into a loop.

4: Repeat steps one to three for the second piece of wire.

5: Form the beaded wires into circle shapes.

6: Join the ends of the wires using the two small jump rings and then set the hoops aside.


7: Add the pearls to each of the head pins.

8: Create a loop at the top of each pin using the round nose pliers. This will secure the pearls on the pins.

9: Attach each of the pearl charms to the beaded hoops using the medium sized jump rings.


10: Attach the earring posts to the top of the hoops using the largest jump rings.

Once the earring posts are in place they are ready to wear! How cute are they?!

Here’s another pair I made with some green pearls.


-
How to Make Pearl Tassels for Your Hoop Earrings

These pearl tassel hoops are a fun way to get on the pearl jewelry trend! Contains affiliate links.
You’ll need the following tools and materials to make your pearl tassel earrings:
1: Pliers. You will need round nose pliers and flat nose pliers to make these earrings.
2: A pair of small hoop earrings. I used these skinny silver hoops.

3: Two eye pins.

4: Six head pins.

5: Two jump rings.

6: Two pearl beads.

7: Mixed beads for the tassels.


Follow these steps to make your pearl tassel earrings:
1: Add the pearls to each of the eye pins.

2: Loop the ends of the eye pins using the round nose pliers to secure the beads on the pin.

3: Add beads to each of the head pins in your chosen design. Make two of each tassel so that your earrings match.

4: Loop the ends of each head pin with the round nose pliers to secure the beads in place.


5: Add three head pins to one of the jump rings and attach the tassel to the bottom of the pearl charm.

6: Repeat step five for the remaining head pins attaching them to the other pearl charm.

7: Slide a tassel on each hoop earring to finish them off.

How cute are these little hoops? Pop them on and turn heads!
-
Here’s how to combine pearls and plastic to make some amazing earrings!
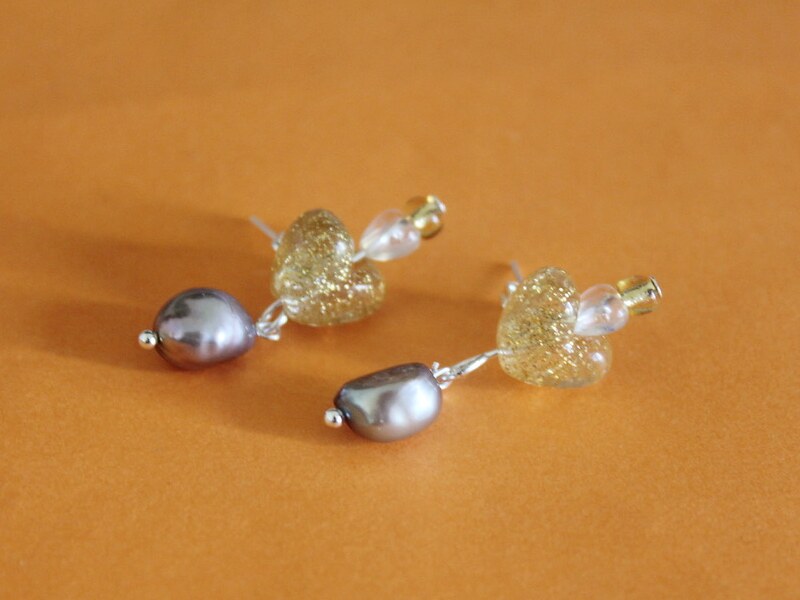
Pearls and plastic are a surprisingly awesome combination. I’ve been making lots of different variations. Here’s one way you can make your own pair of pearl earrings using some kitsch plastic beads. Contains affiliate links.
You will need the following tools and materials to make your pearl earrings:
1: Pliers. You’ll need your round nose pliers and flat nose pliers.
2: Two long head pins.
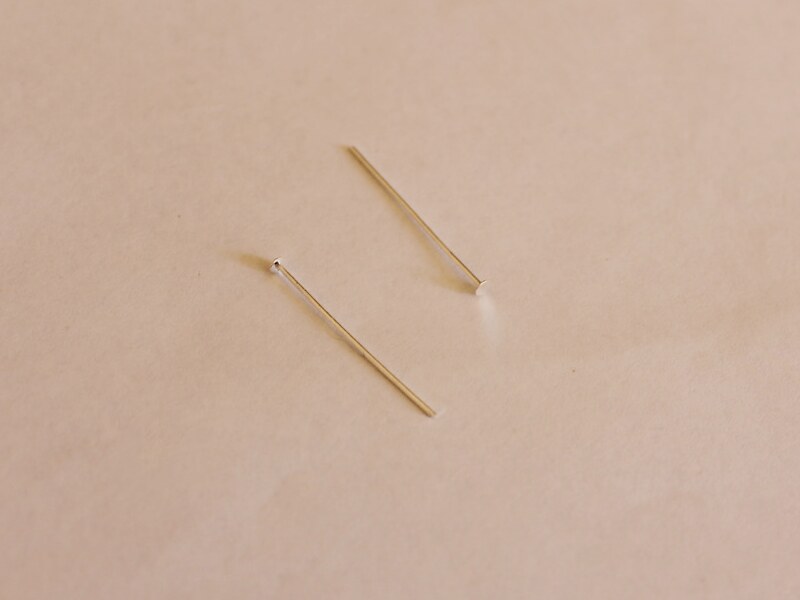
3: Two small head pins.

4: Two flat bed earring posts and earring backs.

5: Araldite glue.
6: A skewer.
7: A scrap piece of paper.
8: Two freshwater pearl beads.

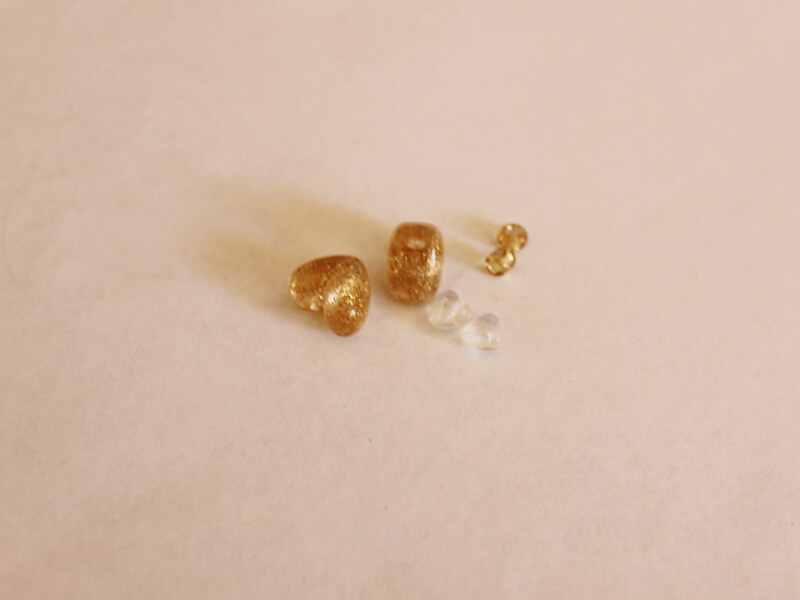
9: An assortment of plastic beads (make sure you have two of each so your earrings match). I used these gold heart beads, small white heart beads and two glass yellow e-beads.
Follow these steps to make your pearl earrings:
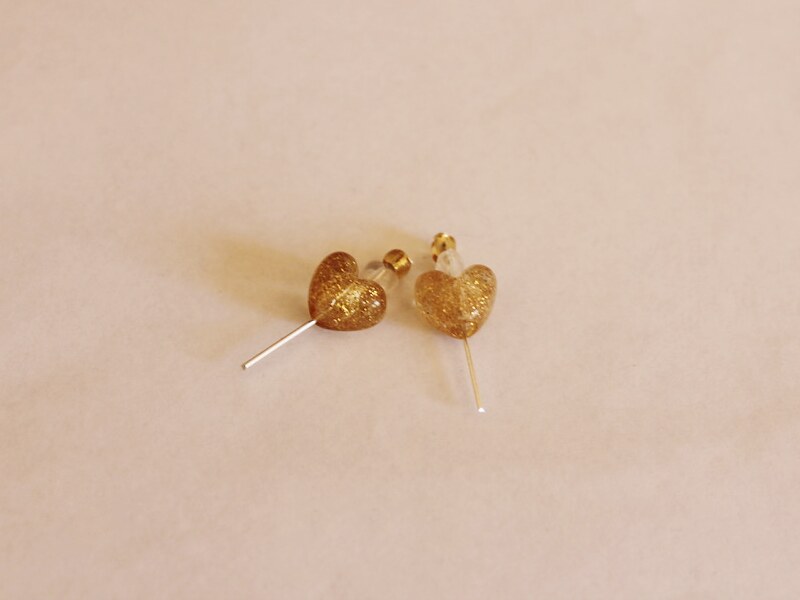
1: Add the beads to each of the head pins.
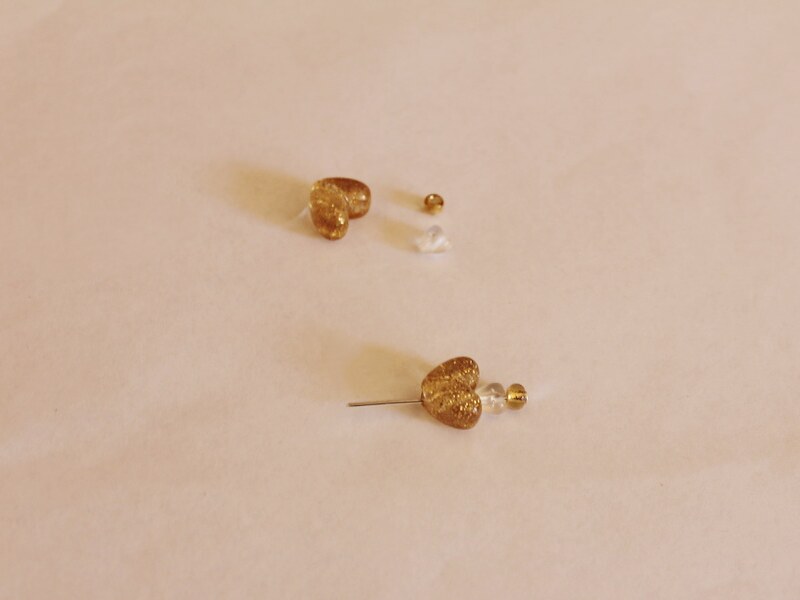
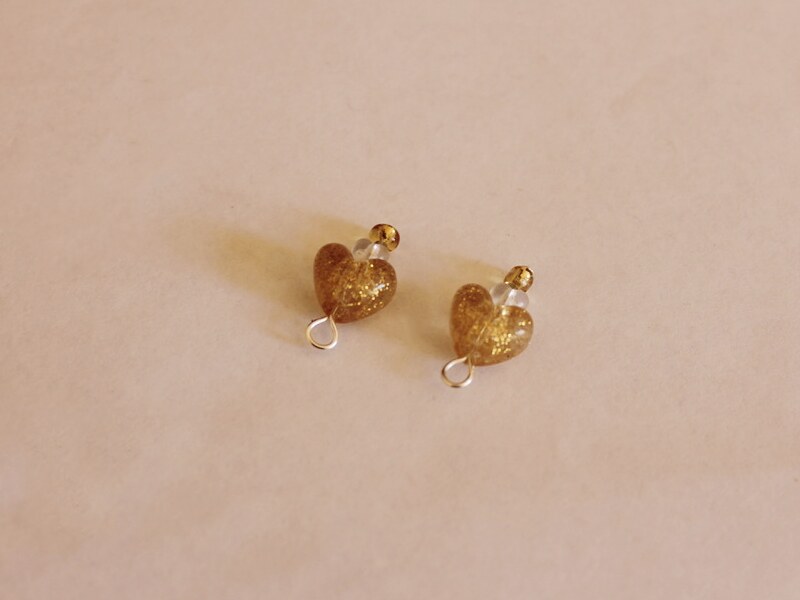
2: Bend each pin to form a right angle and then form a loop to secure the beads in place using the round nose pliers.

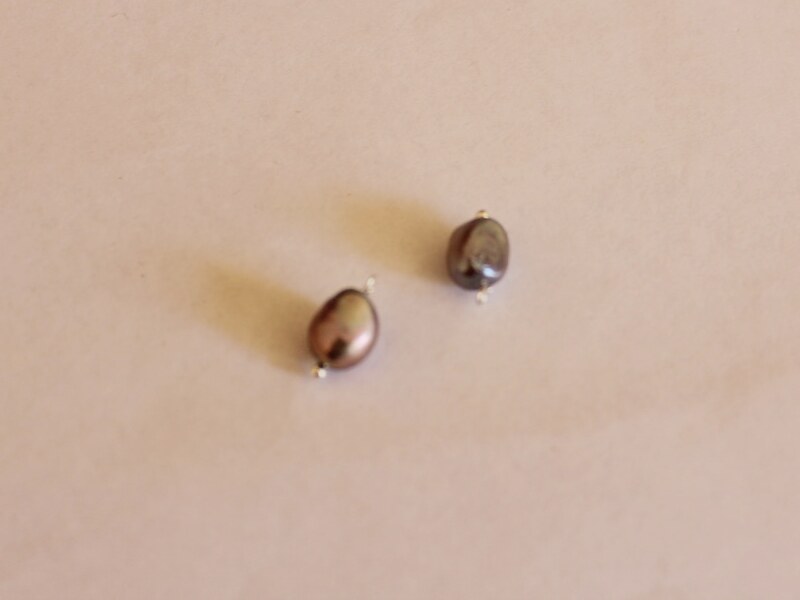
3: Add the pearl beads to the small head pins.

4: Create a loop at the end of each pearl pin using the round nose pliers.
5: Attach the pearl charms to the loops at the bottom of each plastic charm pin.
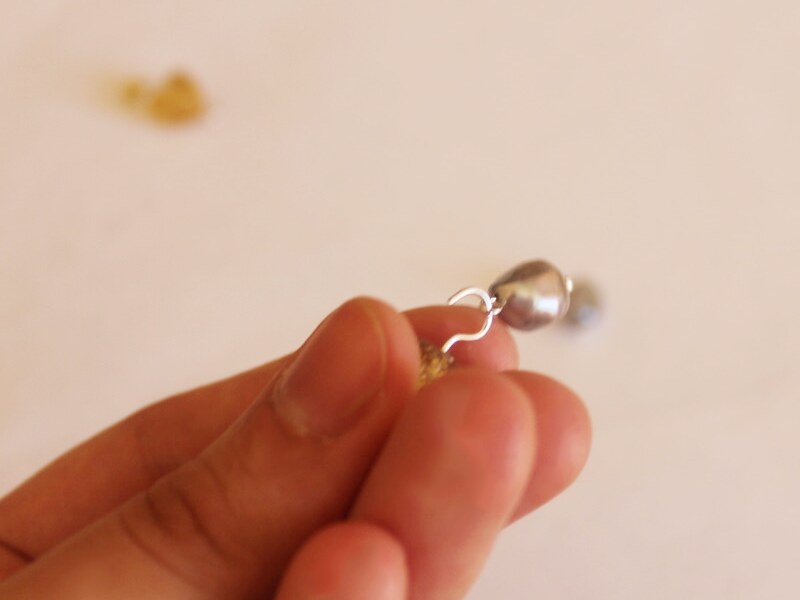
6: Squeeze out the Araldite in equal parts and mix with a skewer.
7: Add the glue to the earrings and the backs of the large hearts.
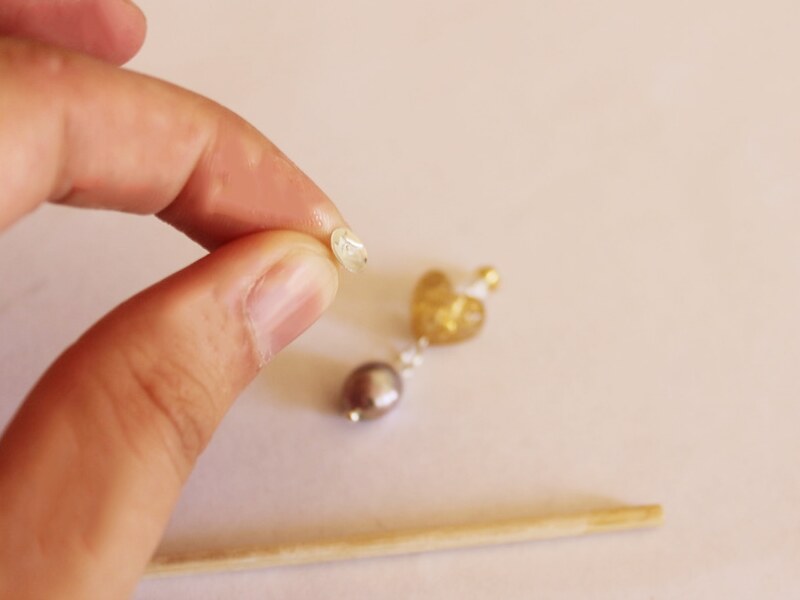
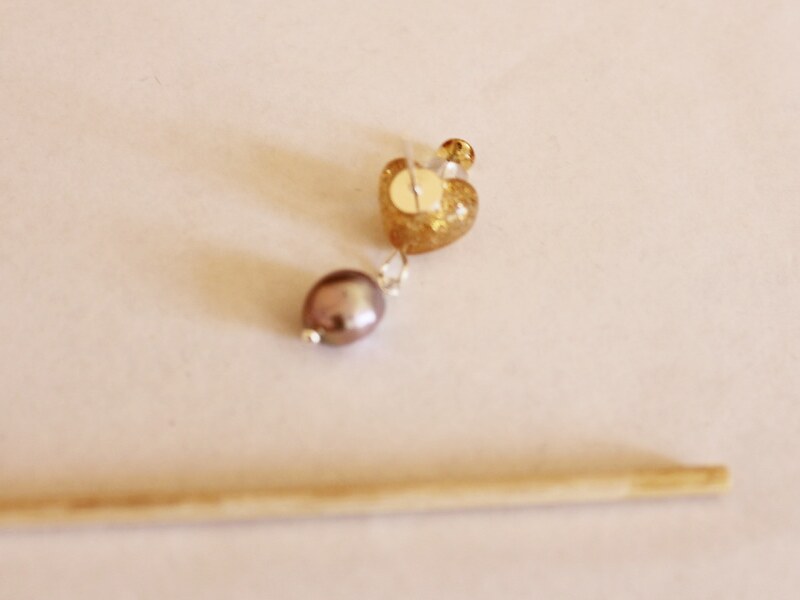
8: Place the earrings onto the heart beads and set aside to dry.
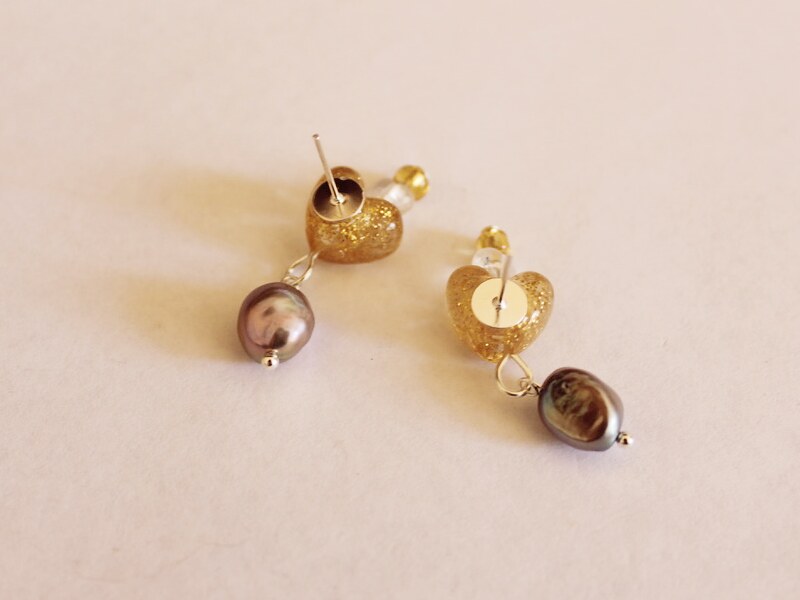
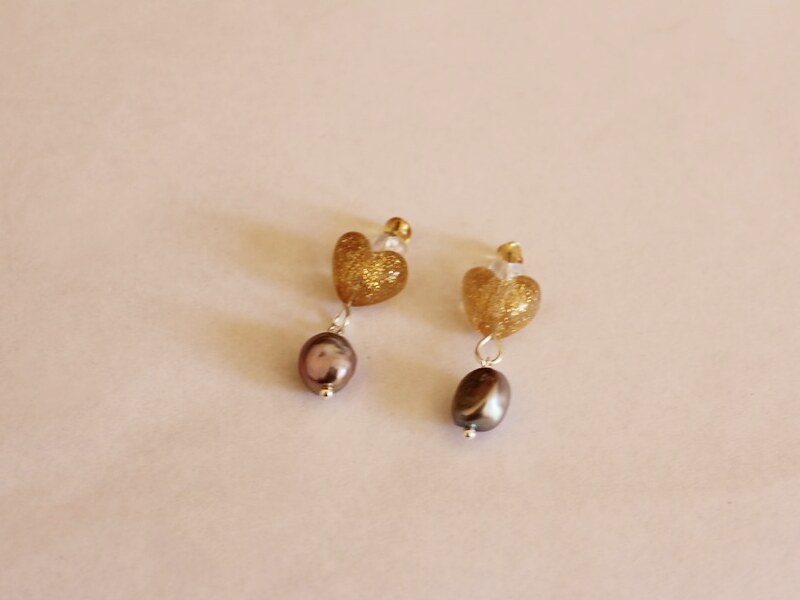
Once your earrings are dry they’re ready to wear!
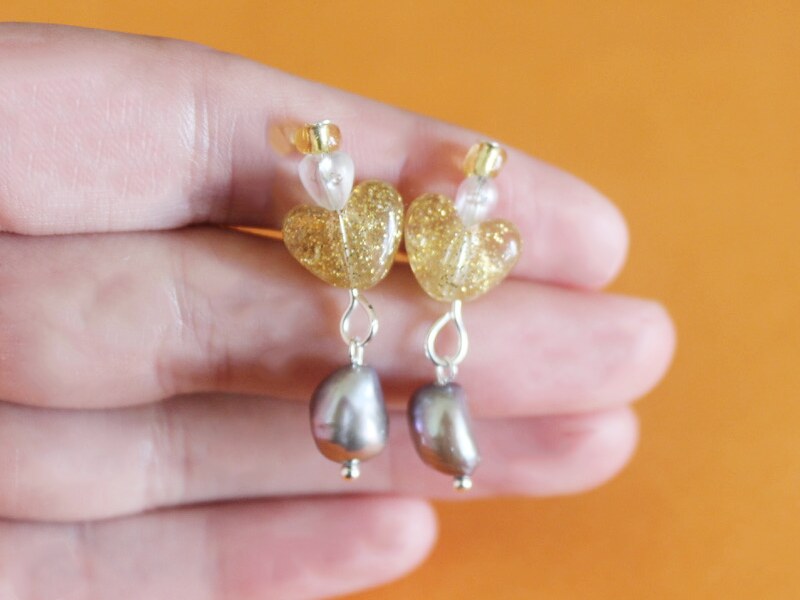
Here are some other pearl and plastic earrings I have made for some extra inspiration.