-
Looking for fun ways to store your jewelry? Why not make a cute little ring dish?
I love having my jewelry out on display so I can admire it even when I’m not wearing it. I usually keep my special pieces in little bowls and dishes so they can add some sparkle to my home. This tutorial shows you how to make an adorable trinket dish using air dry clay. Please note that this tutorial contains affiliate links.
You’ll need these tools and materials to make your trinket dish:
1: Air dry clay. I used terracotta colour but you can also use white clay if you prefer. White clay will give a base for more vibrant paint colours when you come to decorate your designs.

2: A dish filled with water. This allows you to smooth out the clay.

3: A pen or something else round like a bottle, or a mini rolling pin for rolling out your clay. I used a marker pen.

4: Paint. I used some pink acrylic paint, you can use any colour you like.

5: Paint markers. I used a metallic blue paint marker.

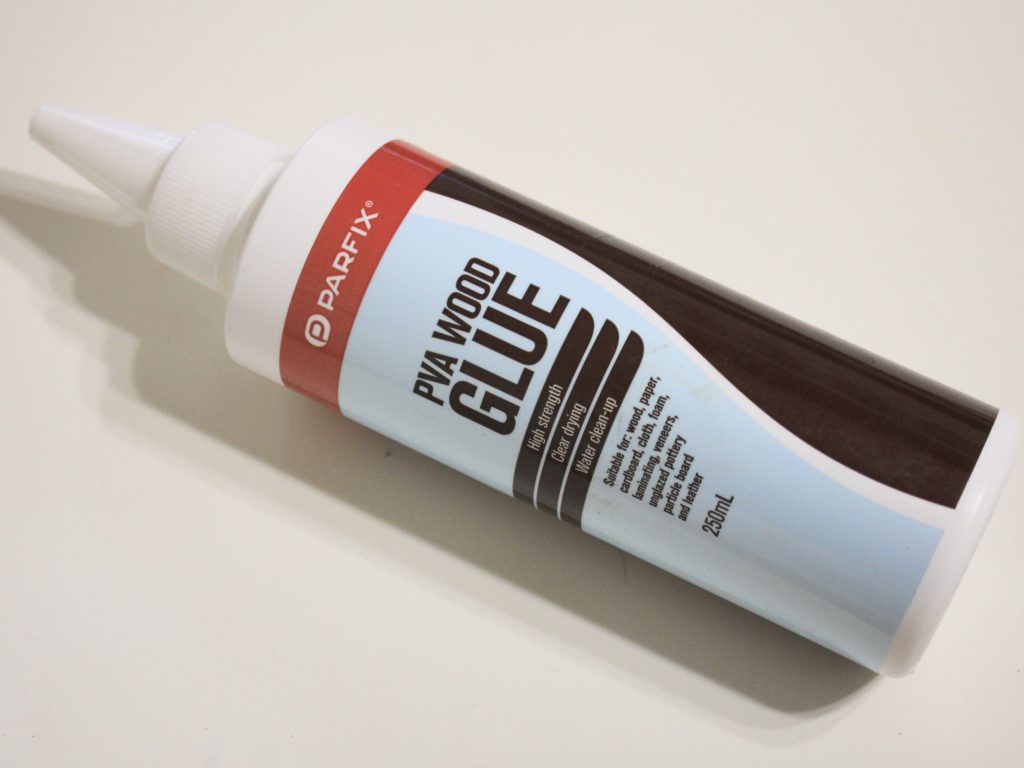
6: Some PVA glue for adding a shiny top coat to the dish.
7: Paint brushes.

Follow these steps to make your adorable trinket dish.
1: Grab a chunk of clay.

3: Roll it out flat, trying to keep it in a circular shape. Keep the thickness of the clay consistent by using a rolling pin or something similar to flatten the clay.


4: Take one side of the clay circle and pinch it. This will form a fold in the clay and start to form a bowl shape.

5: Pinch the other side of the clay to finish forming the bowl shape.


6: Dip your finger in water and use it to smooth out the edges of the bowl.


7: Set the bowl aside to dry, depending on how dry the air is where you live, this could take a few hours to a couple of days. I accidentally left mine in the rain so it took a little longer to dry!

8: Once your bowl is dry, you can add paint. I painted mine with pink acrylic paint. I suggest doing a couple of coats of paint, waiting to do the inside and the outside so that the paint doesn’t smudge while its drying.


9: Once you are happy with your paint coverage, add extra decoration using paint markers. I added metallic blue dots to mind.


10: Coat the bowl with PVA glue to give it a glossy topcoat that also protects the clay from moisture.


Now your trinket bowl is finished and ready to use! Here’s mine with some silver rings inside.


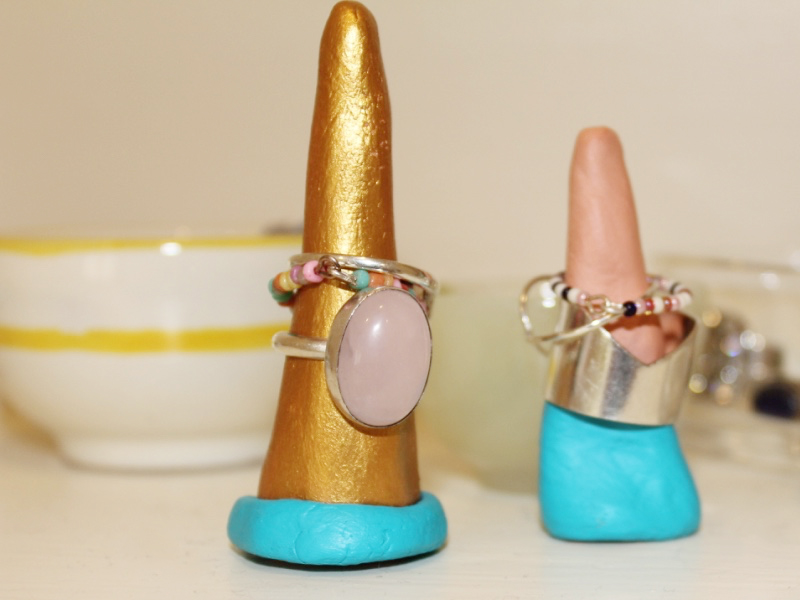
If you liked this tutorial, you can also learn how to make a ring stand out of air dry clay here.
Here are some other air dry clay tutorials you can follow:
-
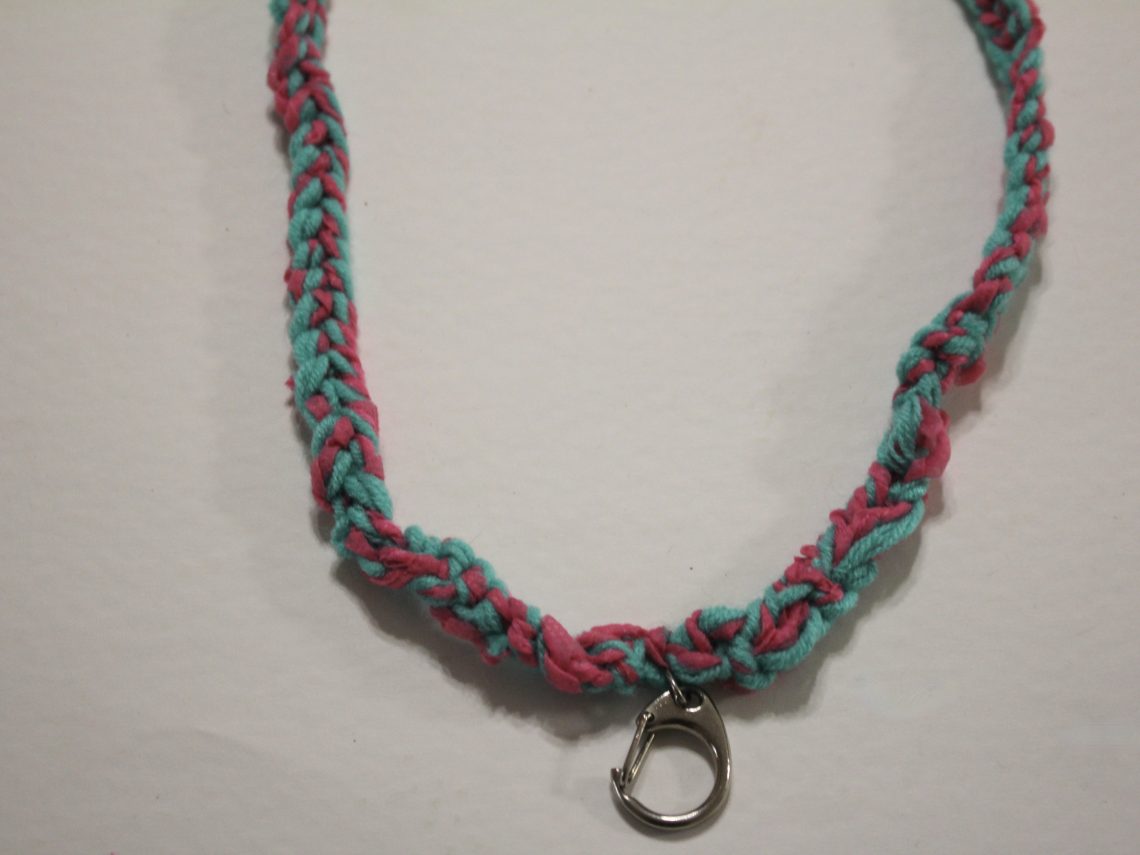
Here’s how to make a colorful crochet lanyard!
I have a teacher friend who loves a colourful lanyard, so this tutorial is inspired by her! This lanyard uses basic crochet combined with a large claw clasp to create a fun and practical accessory. I think this tutorial is a great way to use up scrap yarn and turn it into something useful. Please note that this tutorial contains affiliate links.
You’ll need these tools and materials to make this lanyard:
1: A crochet hook, large enough for chunky yarn. I used a 7mm hook.

2: Some yarn. I used three strands held together, two green strands and one pink strand.

Green yarn
Pink yarn
3: Scissors.

4: A darning needle.

5: A large lobster claw or similar. I used this chunky one that was recycled from an old keychain.
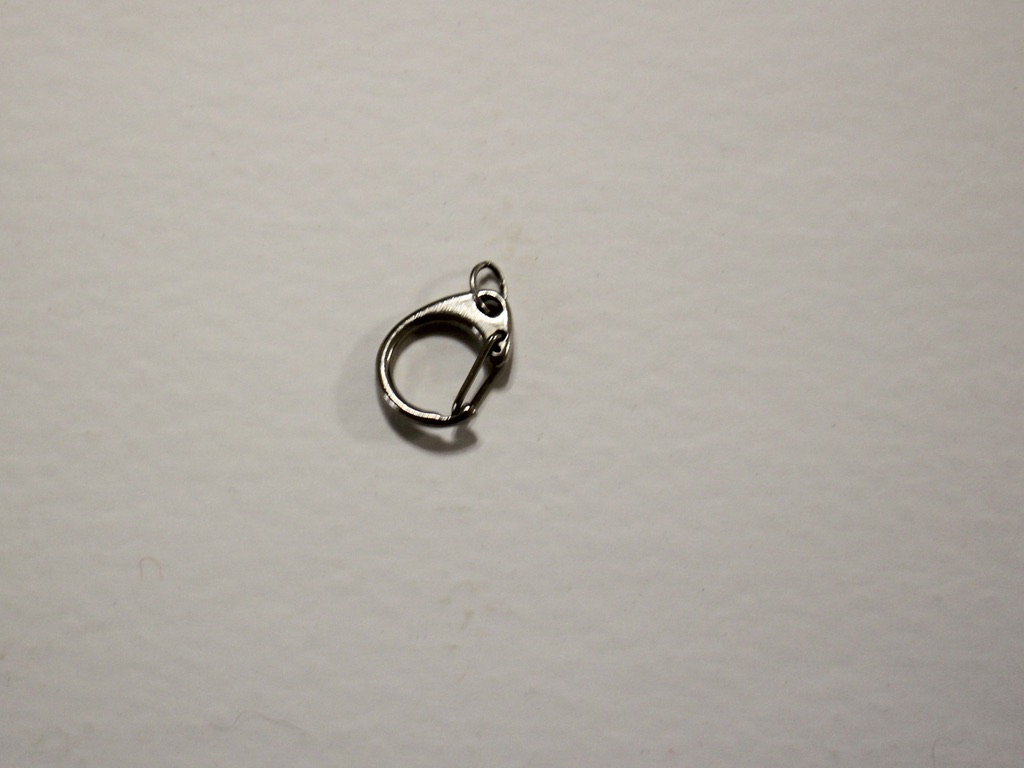
Here are the steps to make your own crochet lanyard.
1: Gather the three strands together.

3: Create a slip knot.

4: Place the loop around the crochet hook and pull the short end of the yarn to tighten it around the loop.

5: Take the long end of the yarn and wrap it around the hook before the first loop you made.

6: Grab the first loop and pull it over the top of the yarn you just wrapped around the crochet hook. This will leave you with just one loop on the hook again.

7: Repeat steps 5 and 6 to start creating a single row of crochet. Here’s a video that shows you what that looks like.

8: Continue crocheting until you have a length you like.

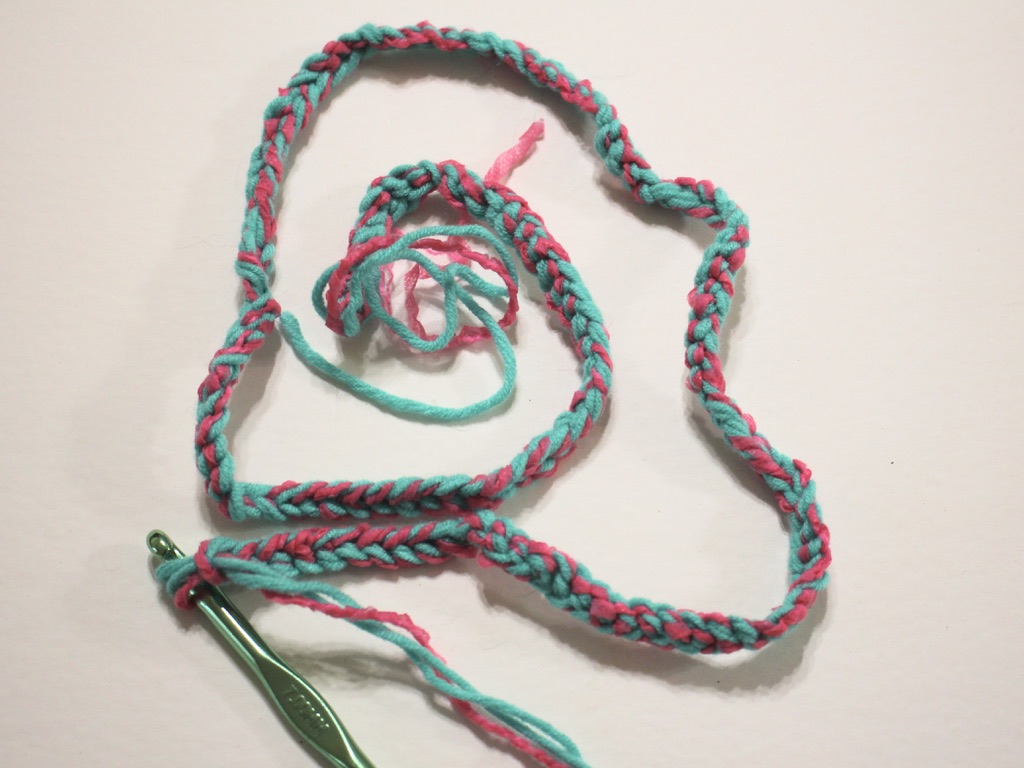
9: Cut the yarn leaving a reasonably long tail, about 15cm.

10: Remove the crochet hook and then loop the end of the yarn through the loop at the top.
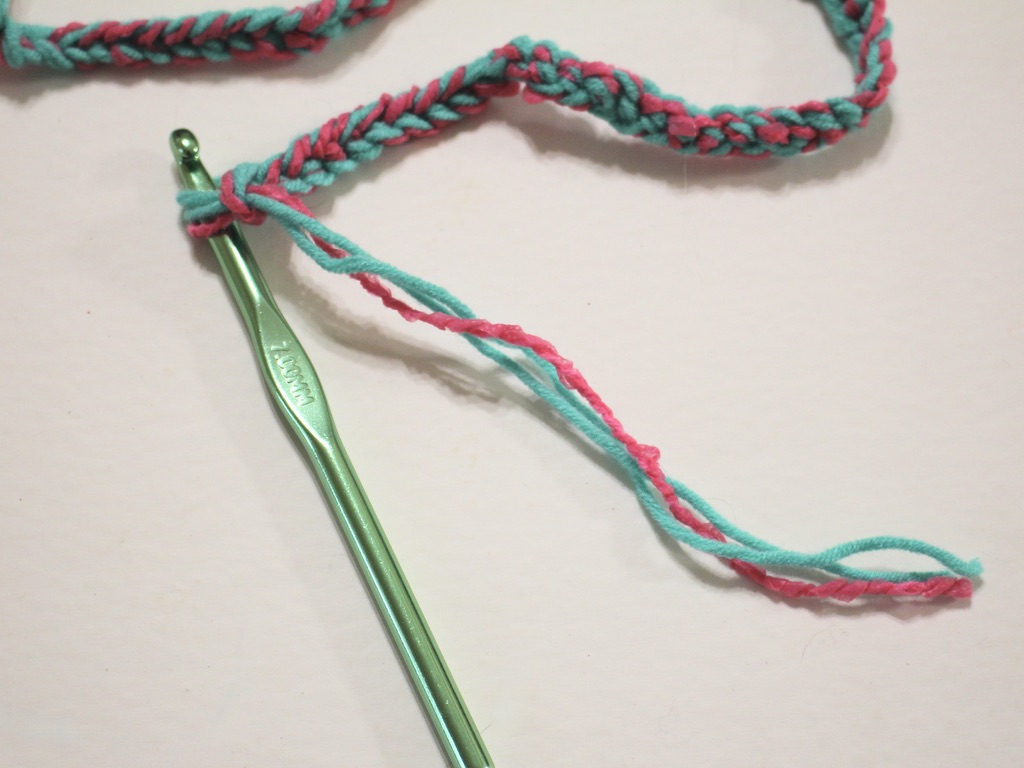
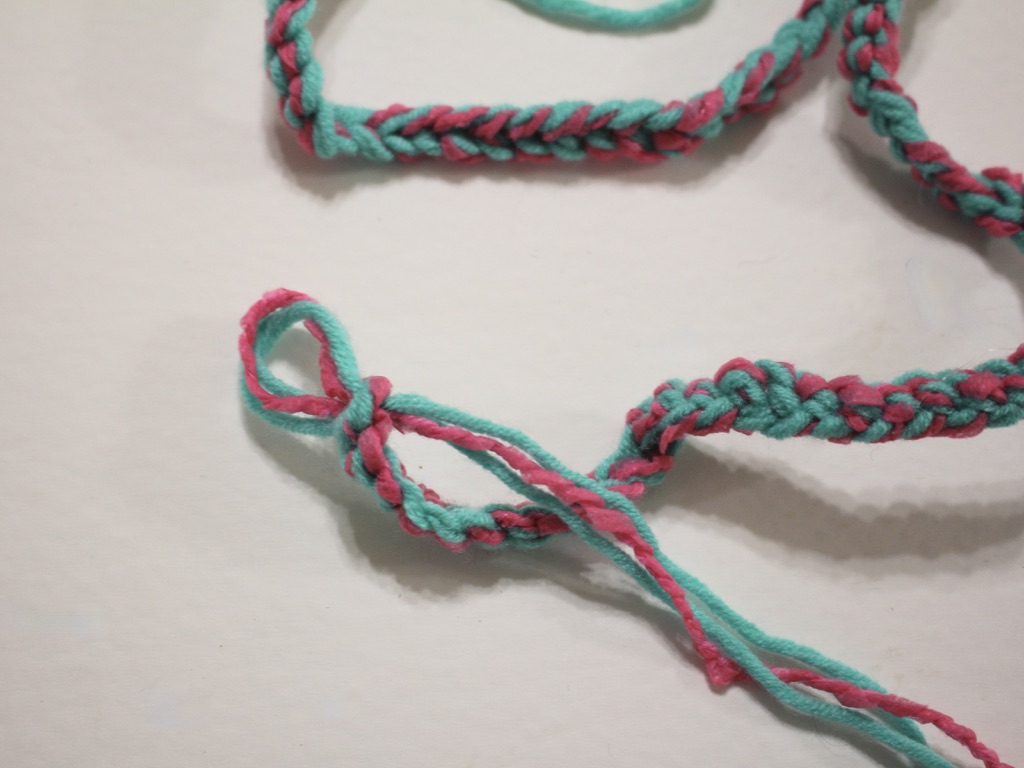
11: Pull the yarn tight to secure the end of the crochet cord closed.

12: Once you’ve got your preferred lanyard length and have the ends secured, take two of the strands (out of three) on each side and tie them together.


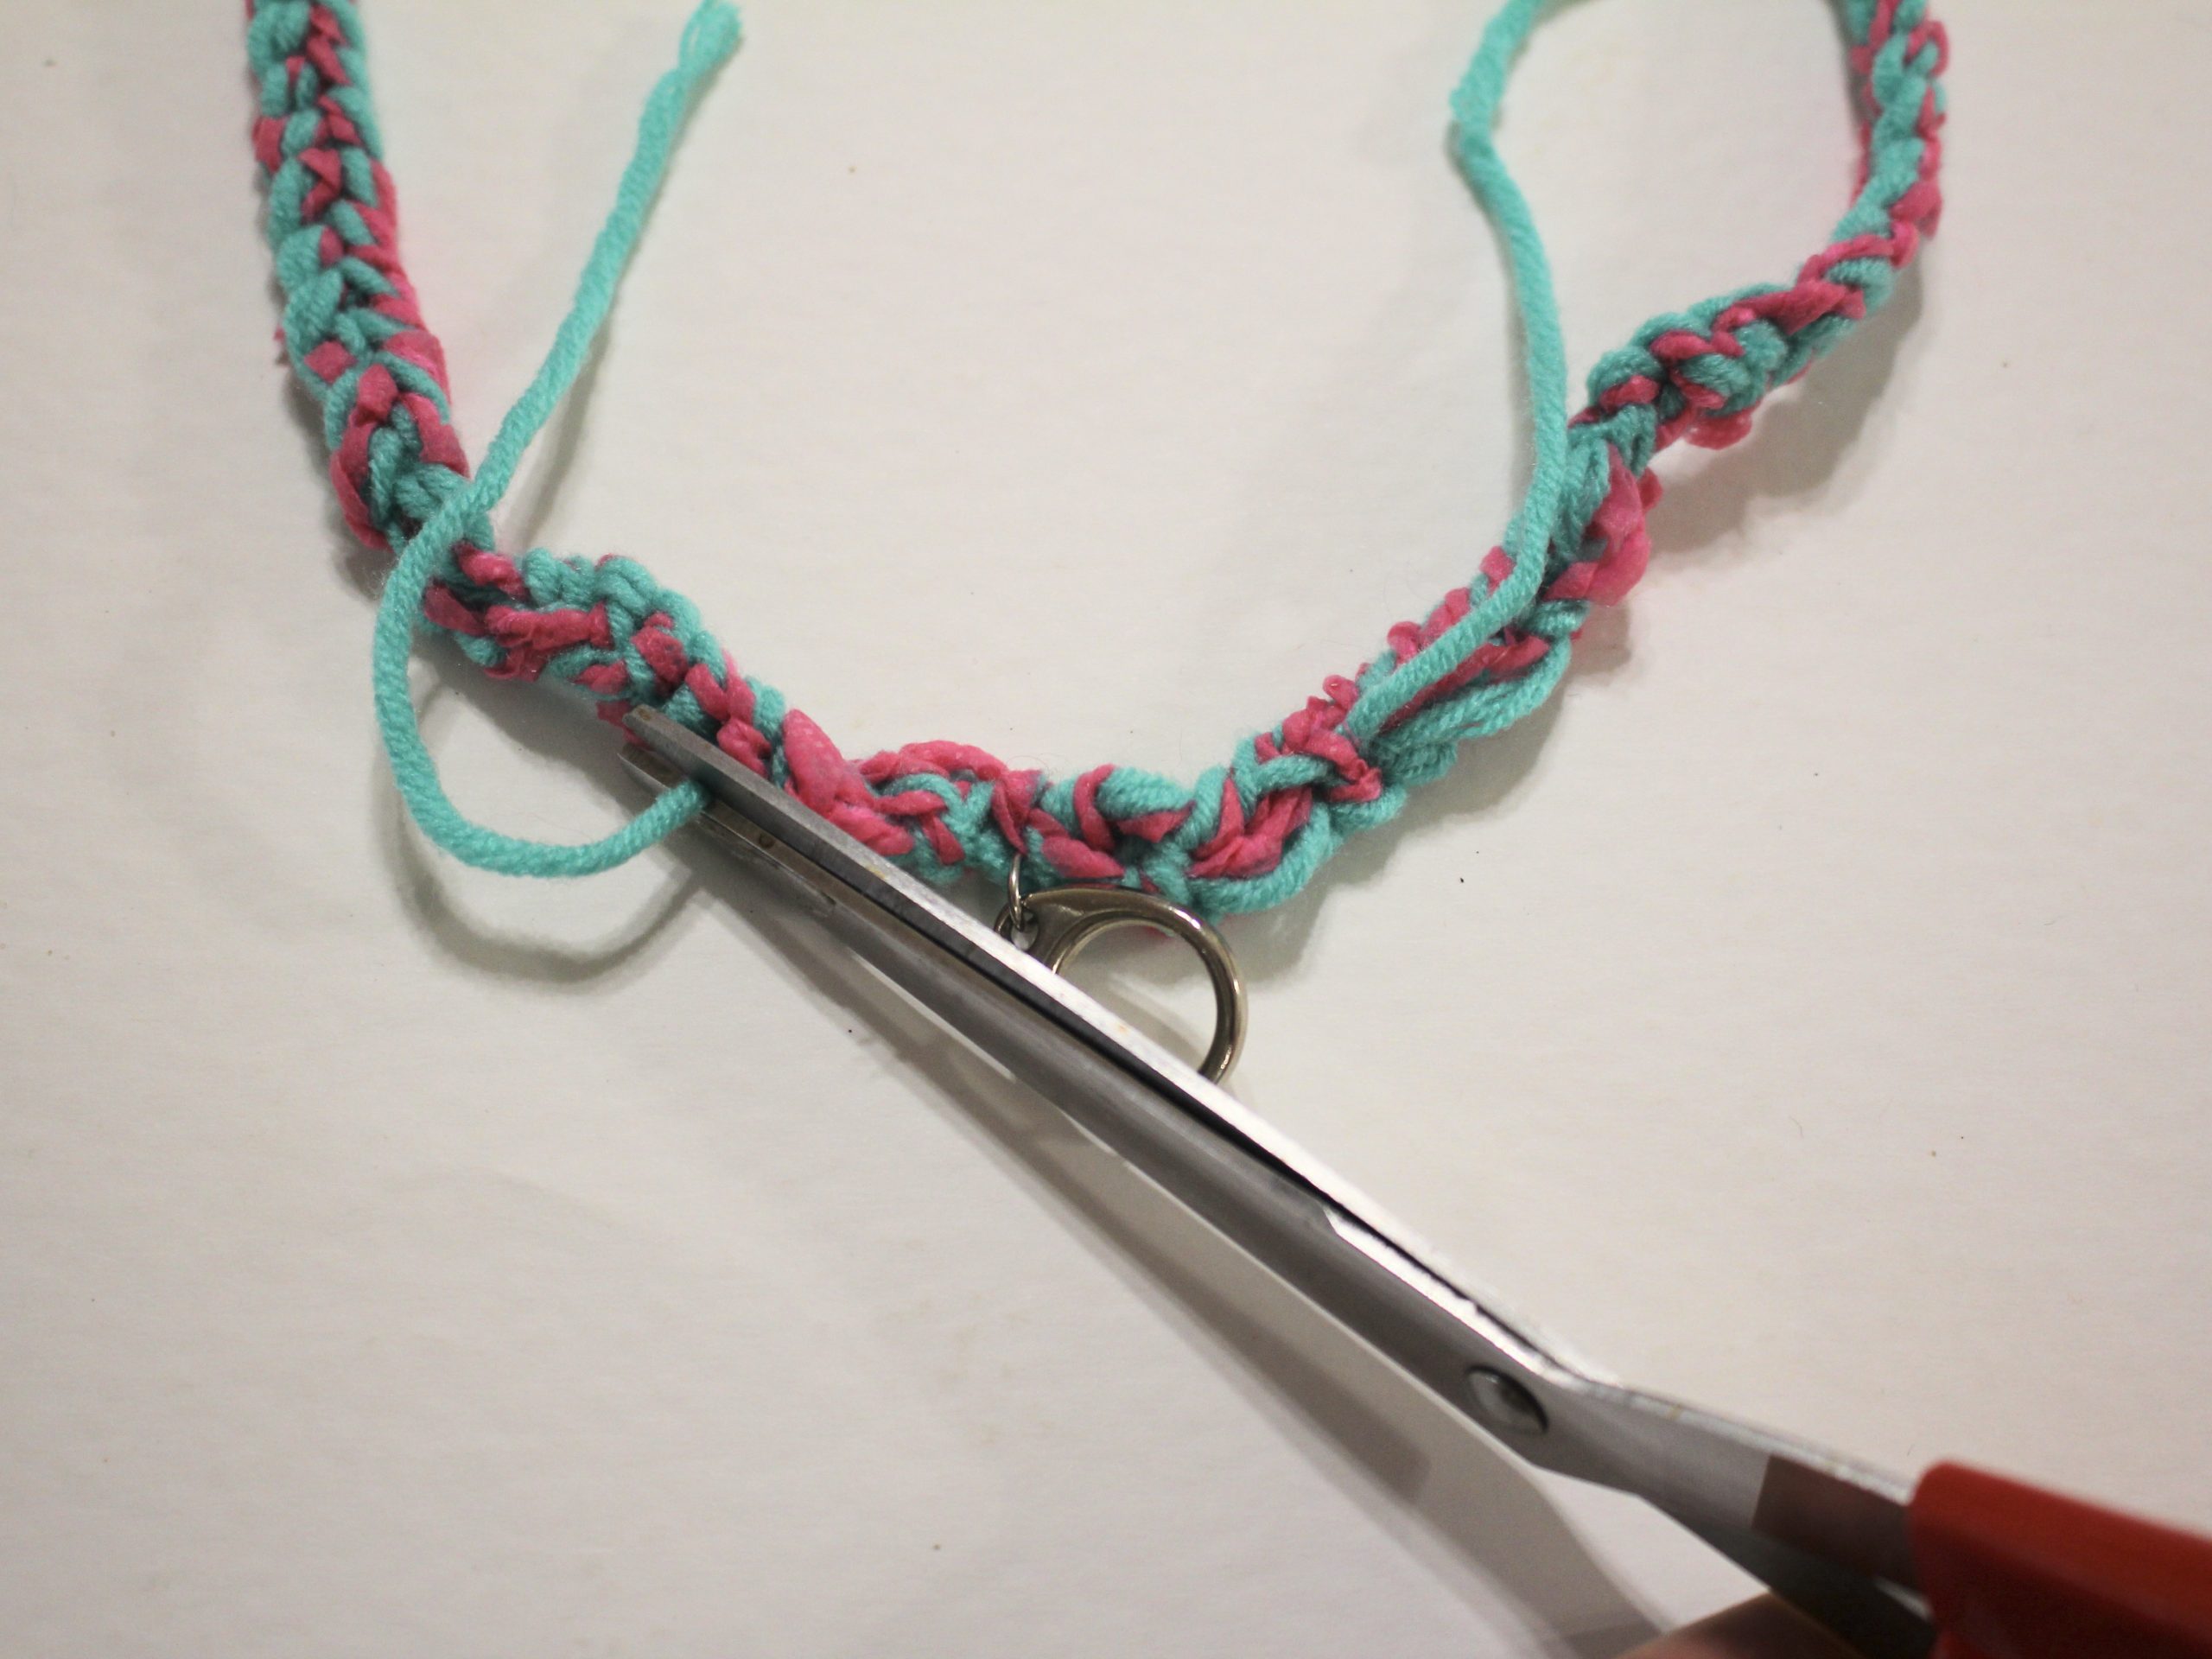
13: Use the needle to weave the paired threads through the crocheted part of the lanyard, trim the ends when you’re done. Do this for both sides of the lanyard.


14: Use the remaining strands to tie the claw clasp to the lanyard. Do a couple of knots to secure it, and then use the needle again to weave in the ends. Trim any excess yarn.


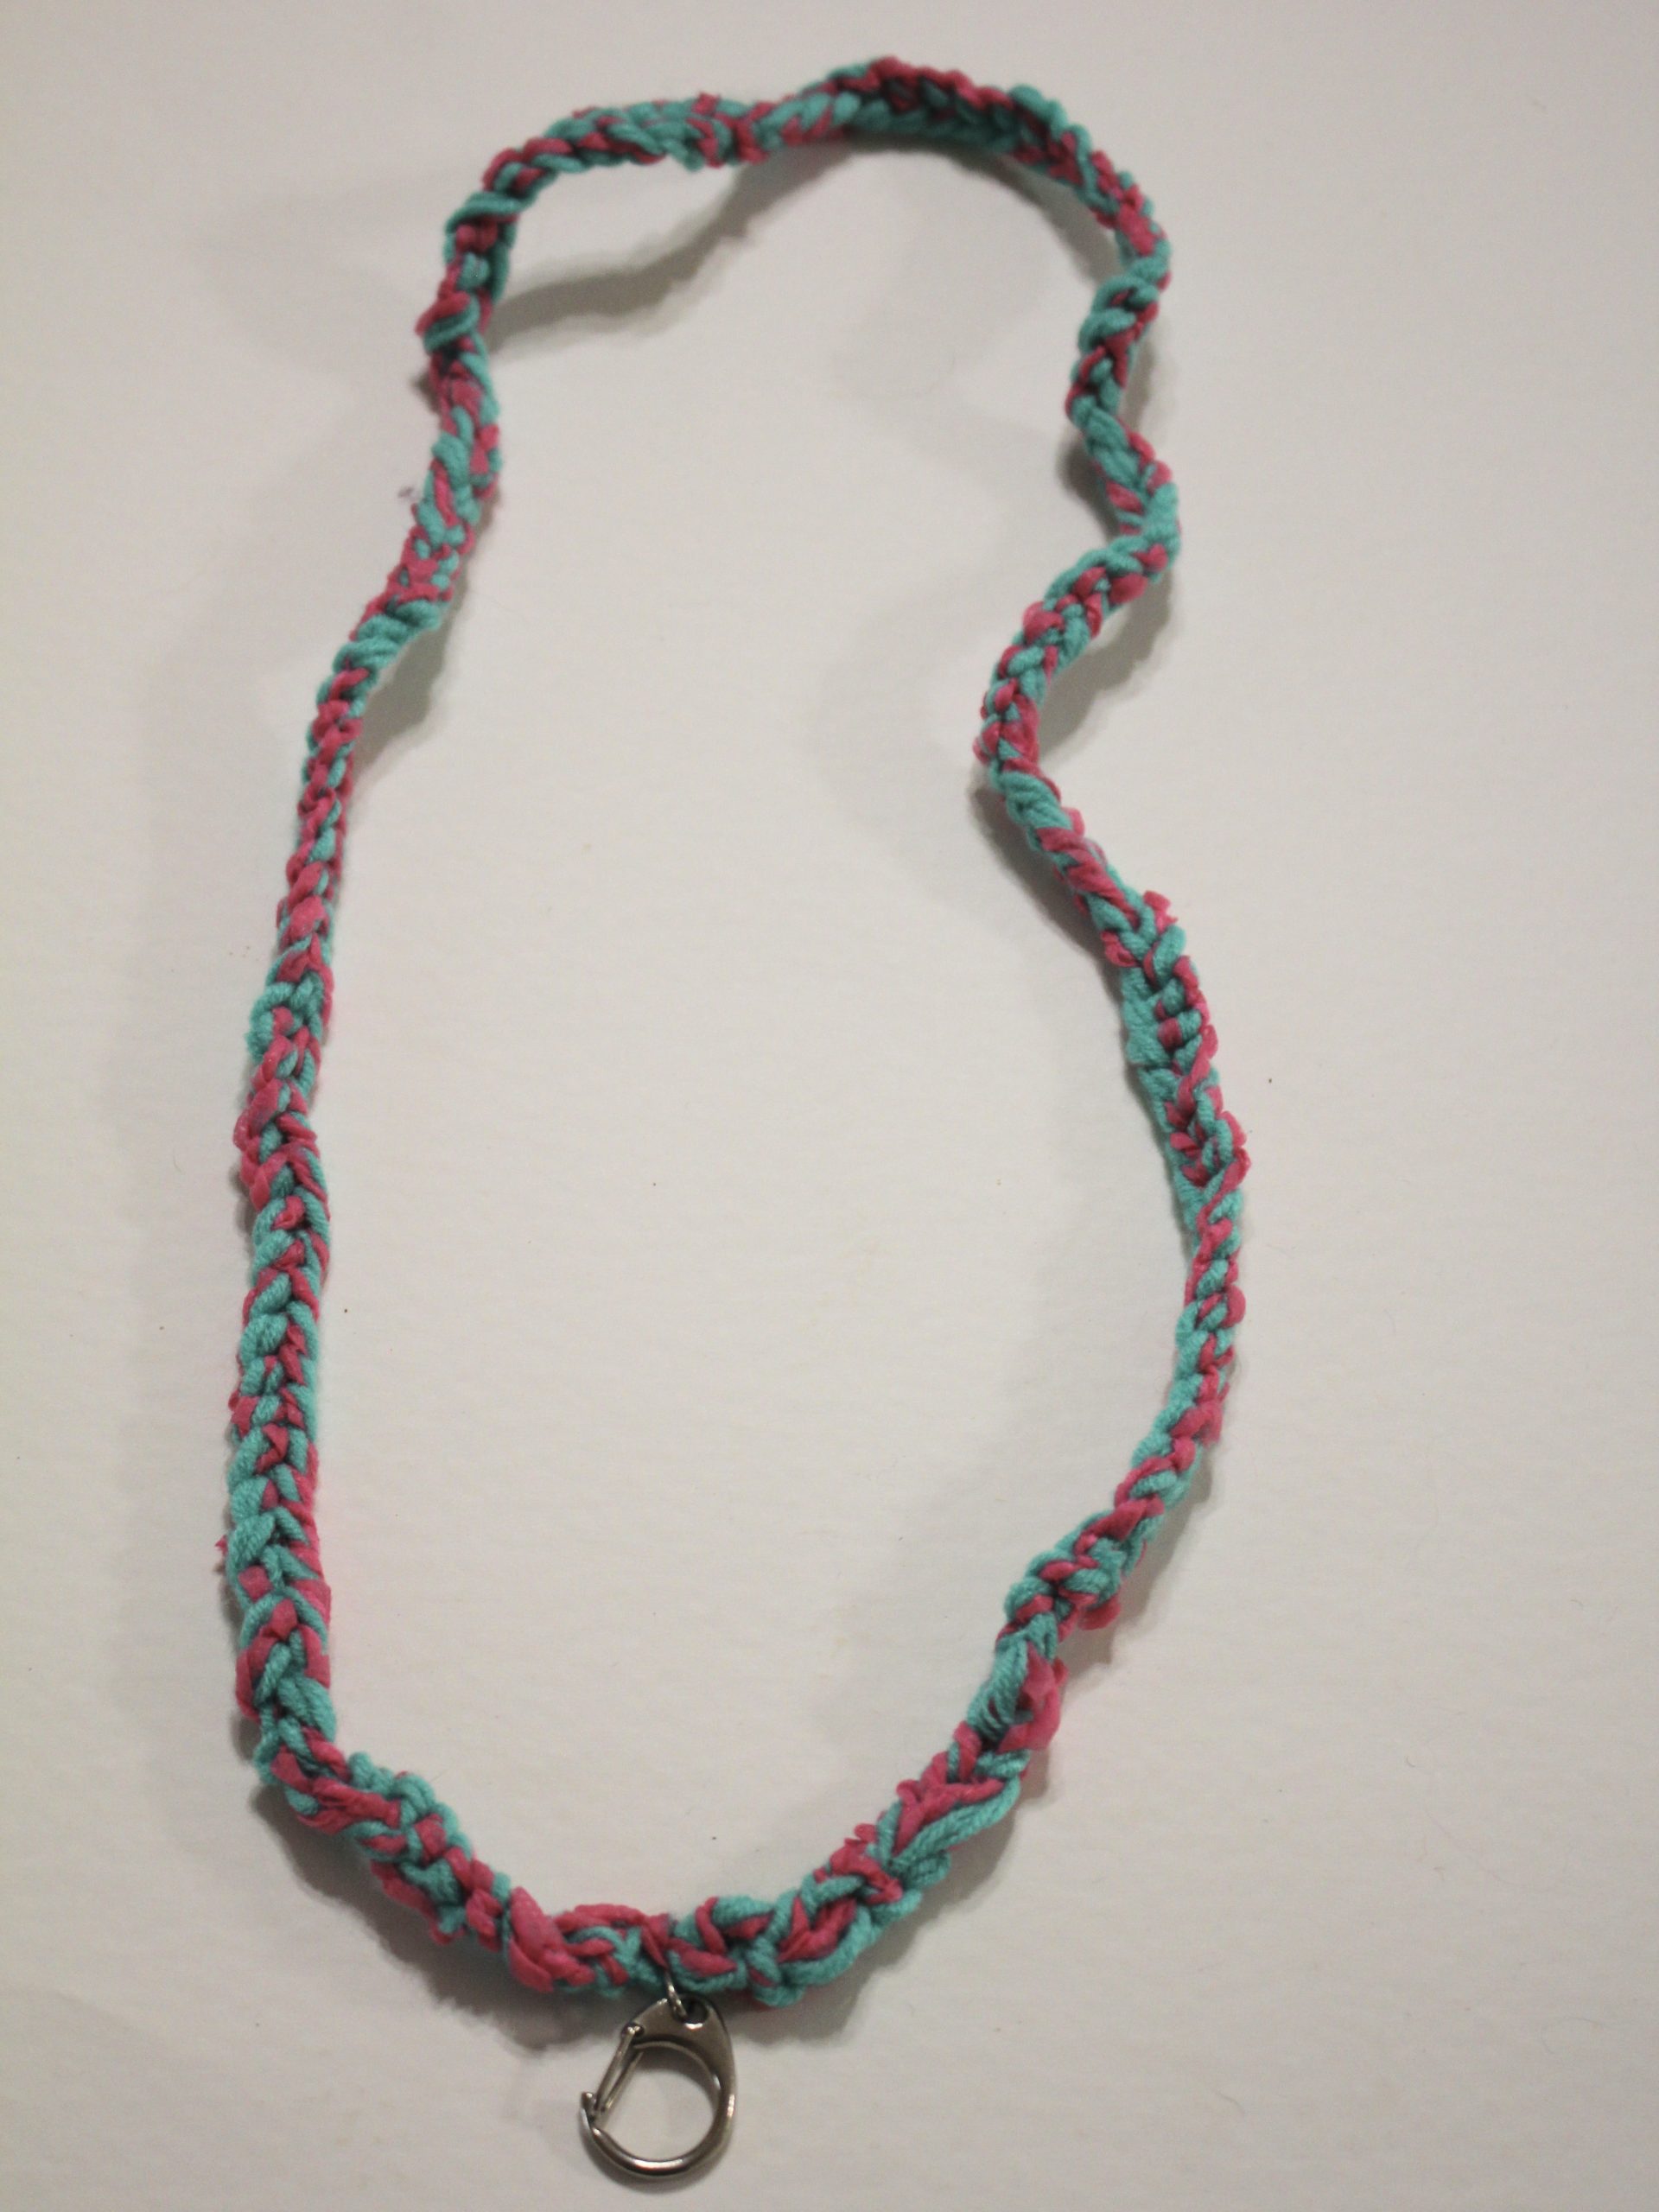
Once you’ve completed this step, your lanyard is ready to wear! Here’s what it looks like on using my needle sleeve as a sample ID 😉


What colours will your crochet your lanyard in? This is such a versatile technique, once you have your crochet base, you can add decorations by sewing in beads or buttons! You can even use a beaded yarn to add beads right from the start!
If you want to develop a lanyard collection, you can find out how to make a beaded lanyard here.
Here are some other yarn-based tutorials you can follow:
-
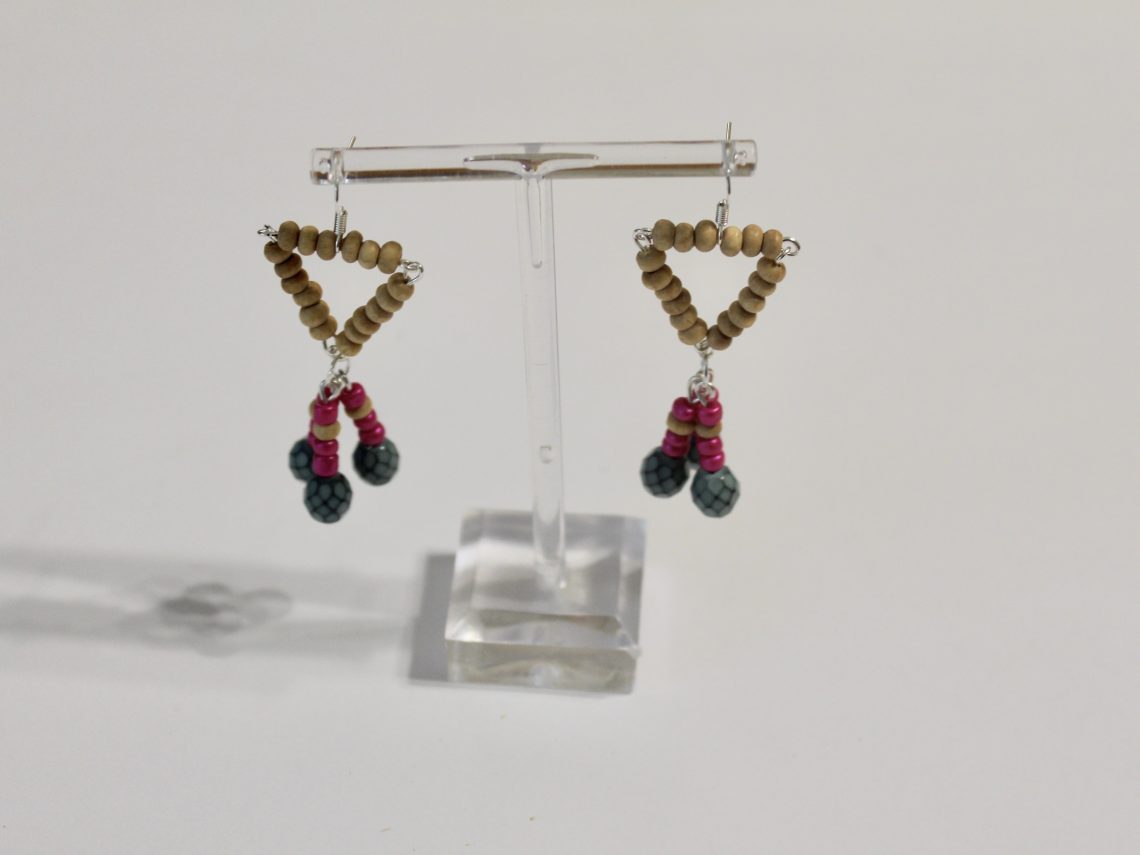
This vid shows you how you can make beaded triangle tassel earrings

This video is a little longer than some of my other video tutorials, but it shows you, in detail, all the steps you need to take to make a cool pair of beaded triangle tassel earrings.
Here are some affiliate links so that you can get all the tools and materials you’ll need to make a similar pair of triangle tassel earrings:
1: Eye pins
2: Earring hooks
3: Head pins
4: Jewelry pliers
5: Wooden beads
6: Pink glass beads
7: Blue faceted beads.
Here are some other tassel earring tutorials:
-
Here’s how to DIY a fantastic pair of polymer clay tassel earrings.
I’m a bit of a novice when it comes to polymer clay, but I can show you the basics! Here’s how to put together a pair of polymer clay and tassel statement earrings.
These tools and materials will help you make your polymer clay earrings:
1: Pliers. flat nose and round nose pliers.


2: Polymer clay. I used pink and purple Sculpy because it is nice and soft which makes it easy to work with.

3: A foil tray for baking your clay on.

4: Some baking paper for moulding and baking your clay.

5: Four large jump rings.

5: Two charm connector stud earring findings.

6: Two head pins.

7: Two small beads.

8: A hot glue gun and glue.

9: Two tassels.

10: A skewer.

11: An oven.
Follow these steps to make your polymer clay earrings:
1: Roll the clay into balls and strands and then squeeze them into a circle shape.


2: Poke two holes in each of the polymer clay circles using the skewer.


3: Put the clay pieces onto the baking paper and place them in your foil tray.
4: Bake the clay pieces. I baked mine in my oven on the lowest setting for about 20 minutes. I recommend following the instructions on your clay packet for the best results.
5: Let your pieces cool once you’ve taken them out of the oven.
6: While you are waiting for the polymer clay pieces to bake and cool, follow the steps in this video to make two tassel charms.

7: Add one of the large jump rings to one of the polymer clay charm holes.

8: Attach one of the tassels to the open jump ring and close it to secure the pieces together.

9: Repeat steps 7 and 8 for the other earring.

10: Add a the remaining jump rings to the tops of the polymer clay charms and attach the earring posts. Close the top jump rings to secure the earring posts to the polymer clay charms.


Now your earrings are finished! How cute are these statement earrings?! I love how high impact they look with the long dangling tassels.

Here are some other tassel tutorials you can follow:
- Pearl tassel hoops
- Chain tassel necklace
- Gemstone and tassel earrings
- Beaded tassel earrings
- Tassel wrap necklace
- Gemstone tassel necklace
If you like making your own beads and charms check out these tutorials
- How to make clay beads and charms
- Turn your clay charms into scented diffusers
- Make a double strand necklace with clay statement beads
- How to make a love heart charm out of clay
- Make a flower necklace out of clay beads
Here are some other ways you can use polymer clay in your jewelry designs:
- A polymer clay charm bracelet
- How to make a polymer clay ring
- And here is some design inspo… a mismatched pair of polymer clay earrings
This tutorial contains affiliate links.
-
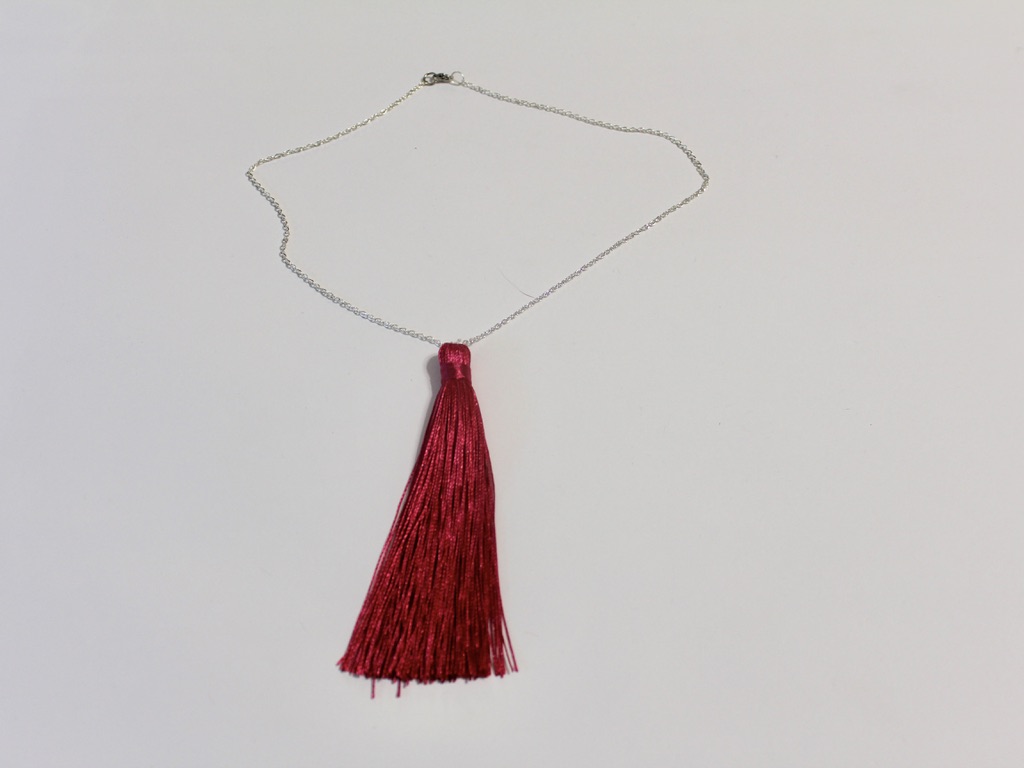
This video will show you how to make a tassel pendant necklace
This tassel pendant tutorial is another one of those simple DIY’s that have MAXIMUM impact! How cute is that dangling tassel? I am super stoked on this design and I hope you enjoy it too. This design is versatile, wear it to spice up all kinds of different outfits.
You’ll need some tools and materials to make this tassel pendant necklace, here are some links so you can find what you need:
1: Jewelry pliers including flat nose pliers, round nose pliers and cutting pliers.
2: A large tassel. I used a hot pink tassel.
3: An eye pin. I used a medium length silver-tone eye pin.
4: One spare bead. I used a yellow glass e-bead but you can use whatever you have lying around.
5: Necklace chain. Here’s a link to a simple silver chain.
6: A hot glue gun with glue. Don’t worry, you won’t need much messy hot glue to make this tassel pendant :).
I hope you enjoy this video tutorial and make yourself some super cute tassel jewelry!
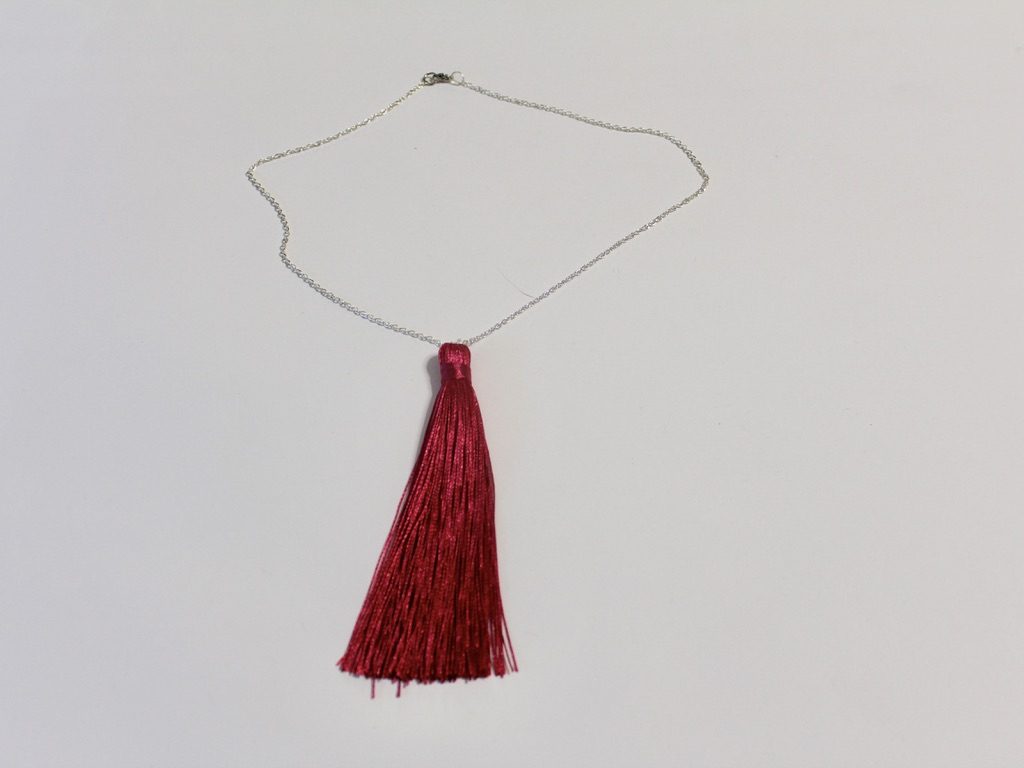
Here’s the finished product! Attach the tassel pendant to a chain for a simple and elegant look.
And here is another tassel pendant attached to a yellow beaded memory wire choker. I love this version, especially the combination of yellow and pink. Yellow and pink is such a cheery and high impact color combination. Perfect for adding an extra punch to a blah outfit!
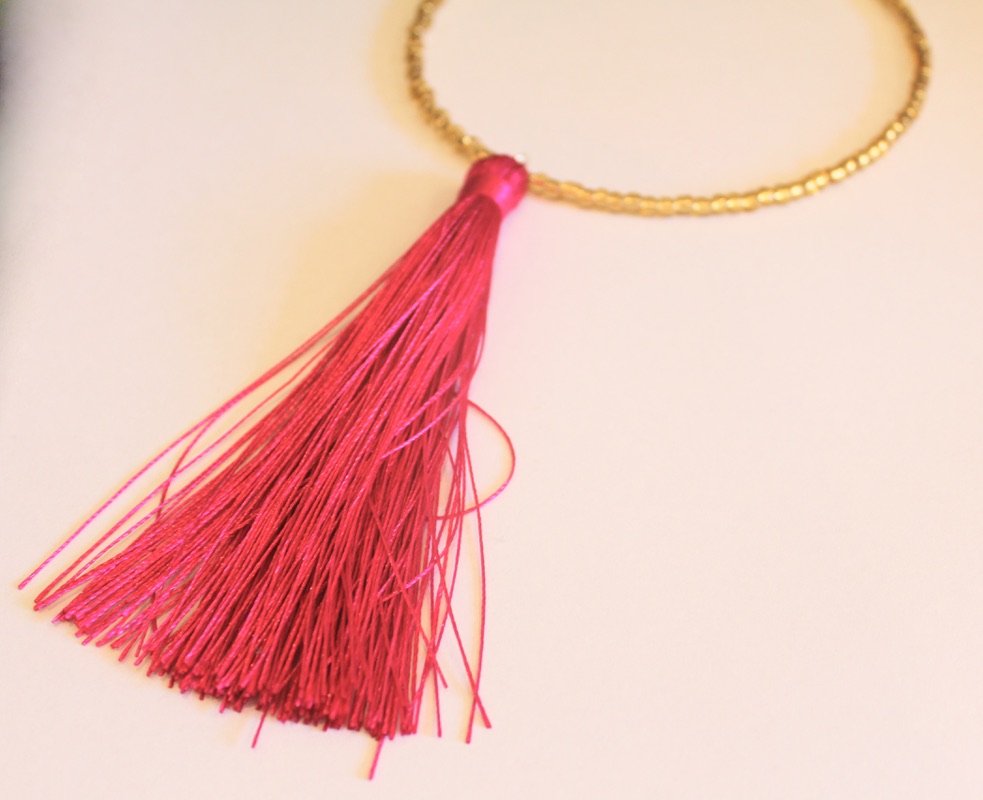
You can buy memory wire and glass beads here to make a choker necklace like the one pictured above:
If you are into tassel jewelry here are some other tutorials:
- Beaded tassel hoop earrings
- Chain tassel necklace
- Tassel and gemstone earrings
- Beaded tassel earrings
- Beaded tassel wrap necklace
- Beaded tassel pendant necklace
This tutorial post contains affiliate links.
-
Do your earrings need an update? Try making these interchangeable earring jackets!
Here’s a tutorial for some earrings that you can switch up! Make multiple charms to add to the backs of your earrings for a new look each time.

You will need the following tools and materials to make your earrings with interchangeable ear jackets:
1: Pliers. You will need round nose pliers, flat nose pliers and cutting pliers.

2: Six head pins.

3: Two charm connector stud earrings.

4: Beads of your choice. I used these faceted plastic beads.

Follow these steps to make your interchangeable earrings:
1: Add beads to each of the head pins in your choice of pattern.

2: Bend the tops of each head pin to form a right angle with the beaded section.


3: Trim any pins that are too long using the cutting pliers.


4: Create loops at the top of each pin to secure the beads in place.


5: Add two of the bead charms to the loops on the charm connector stud earrings.

6: Slip the ear jackets onto the posts of the earrings behind your ears. Switch them up as you see fit!


-
These are amazing! Here’s a tutorial to make some beaded fringe earrings.
These beaded fringe earrings look so pretty! Use a variety of glass beads to make your own versions of the design. Contains affiliate links.

You will need the following tools and materials to make your beaded fringe earrings:
1: Pliers. You will need your flat nose pliers and round nose pliers.
2: Sixteen head pins.

3: Two eye pins.

4: Two earring hooks.

5: Beads of your choice. I used some different colored glass beads and four pink plastic beads.


6: Four jump rings.

Follow these steps to make your beaded fringe earrings:
1: Add beads to twelve of the head pins.

2: loop the tops of the pins to keep the beads in place.


3: Add the different colored beads and the pins in a pattern to the eye pin.

4: Add the earring hook halfway along the beaded eye pin.

5: Finish beading the eye pin and create a loop at the other end of the pin to secure the beads and charms in place.


6: Repeat steps 3 to 5 for the second earring.

6: Add the plastic beads to the remaining four head pins.

7: Loop the ends of the four extra charms.

8: Attach the four charms to either end of the top of the earrings to finish them off.


Now your fringe earrings are finished and ready to wear!
I also made a pair using black and white glass beads.

If you like the look of fringe jewelry, check out this beaded fringe necklace.
This tutorial contains affiliate links.
-
Here’s how to make the perfect glasses chain for summer!

Summer in the Southern Hemisphere is coming! If you’re like me and hate losing your sunglasses you’ll need to get this handy glasses chain into your accessories arsenal.
You’ll need the following tools and materials to make your glasses chain:
1: Pliers. You’ll need your flat nose and round nose pliers.
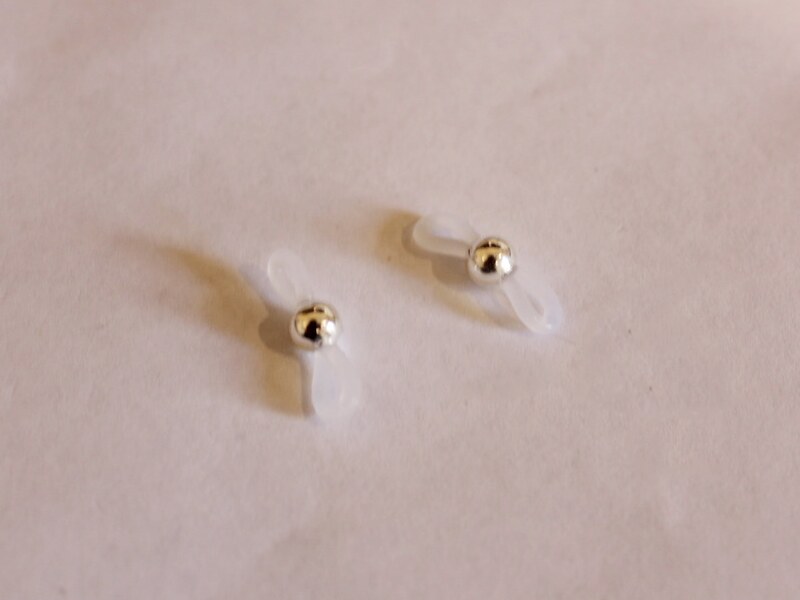
2: Two glasses holder findings.
3: A piece of chain approximately 50cm long.

4: Ten eye pins.

5: Two jump rings.

6: Ten beads. I used these pink glass beads.

Follow these steps to make your glasses chain.
1: Add each of the beads to each of the eye pins.

2: Loop the top of each pin using the round nose pliers. This will secure the beads on the pins.


3: Link five of the beaded pins together to form a chain.


4: Link the remaining pins together to form a second chain.

5: Attach one of the beaded chains to one side of the long piece of chain.


6: Attach the other beaded chain to the other side of the long chain.

7: Attach a glasses holder to each side of the chain using the jump rings.


Now your glasses chain is finished and ready to wear! Perfect for keeping your sunnies secure during summer activities.