-
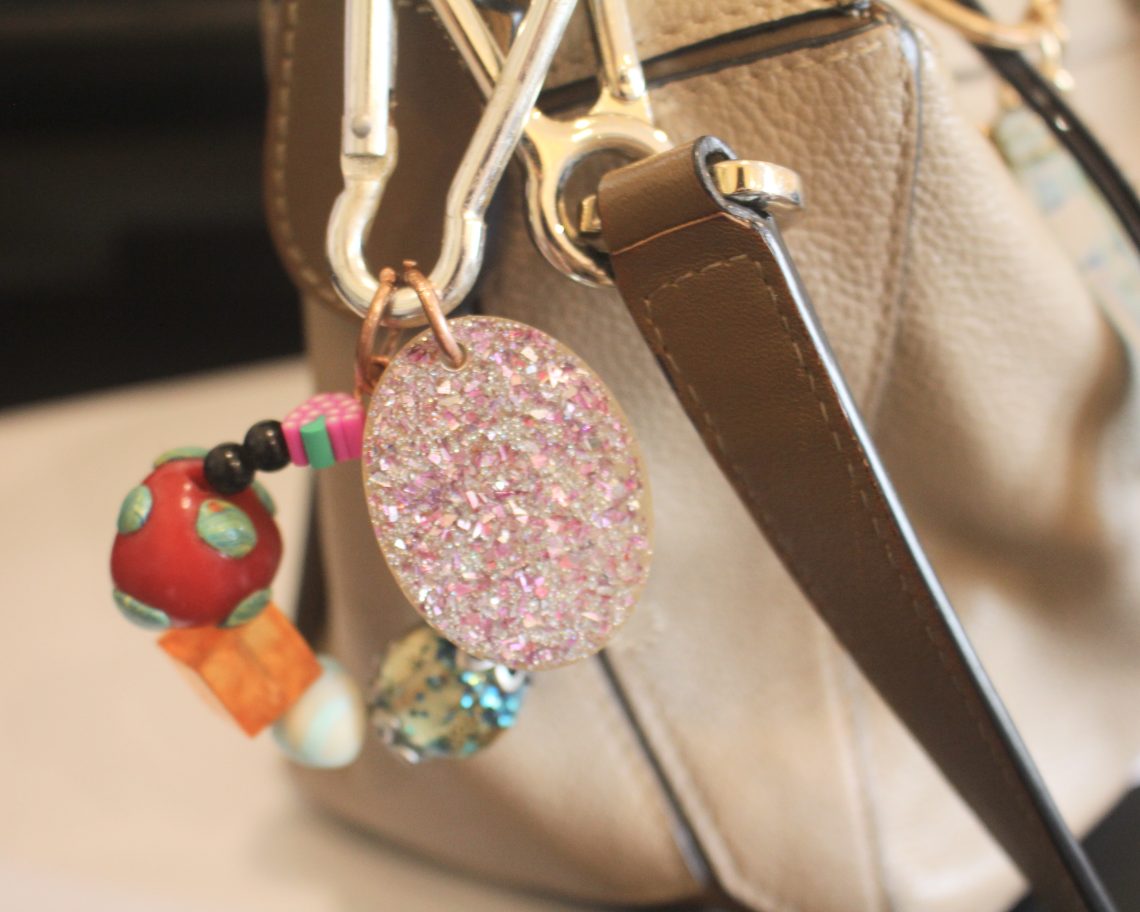
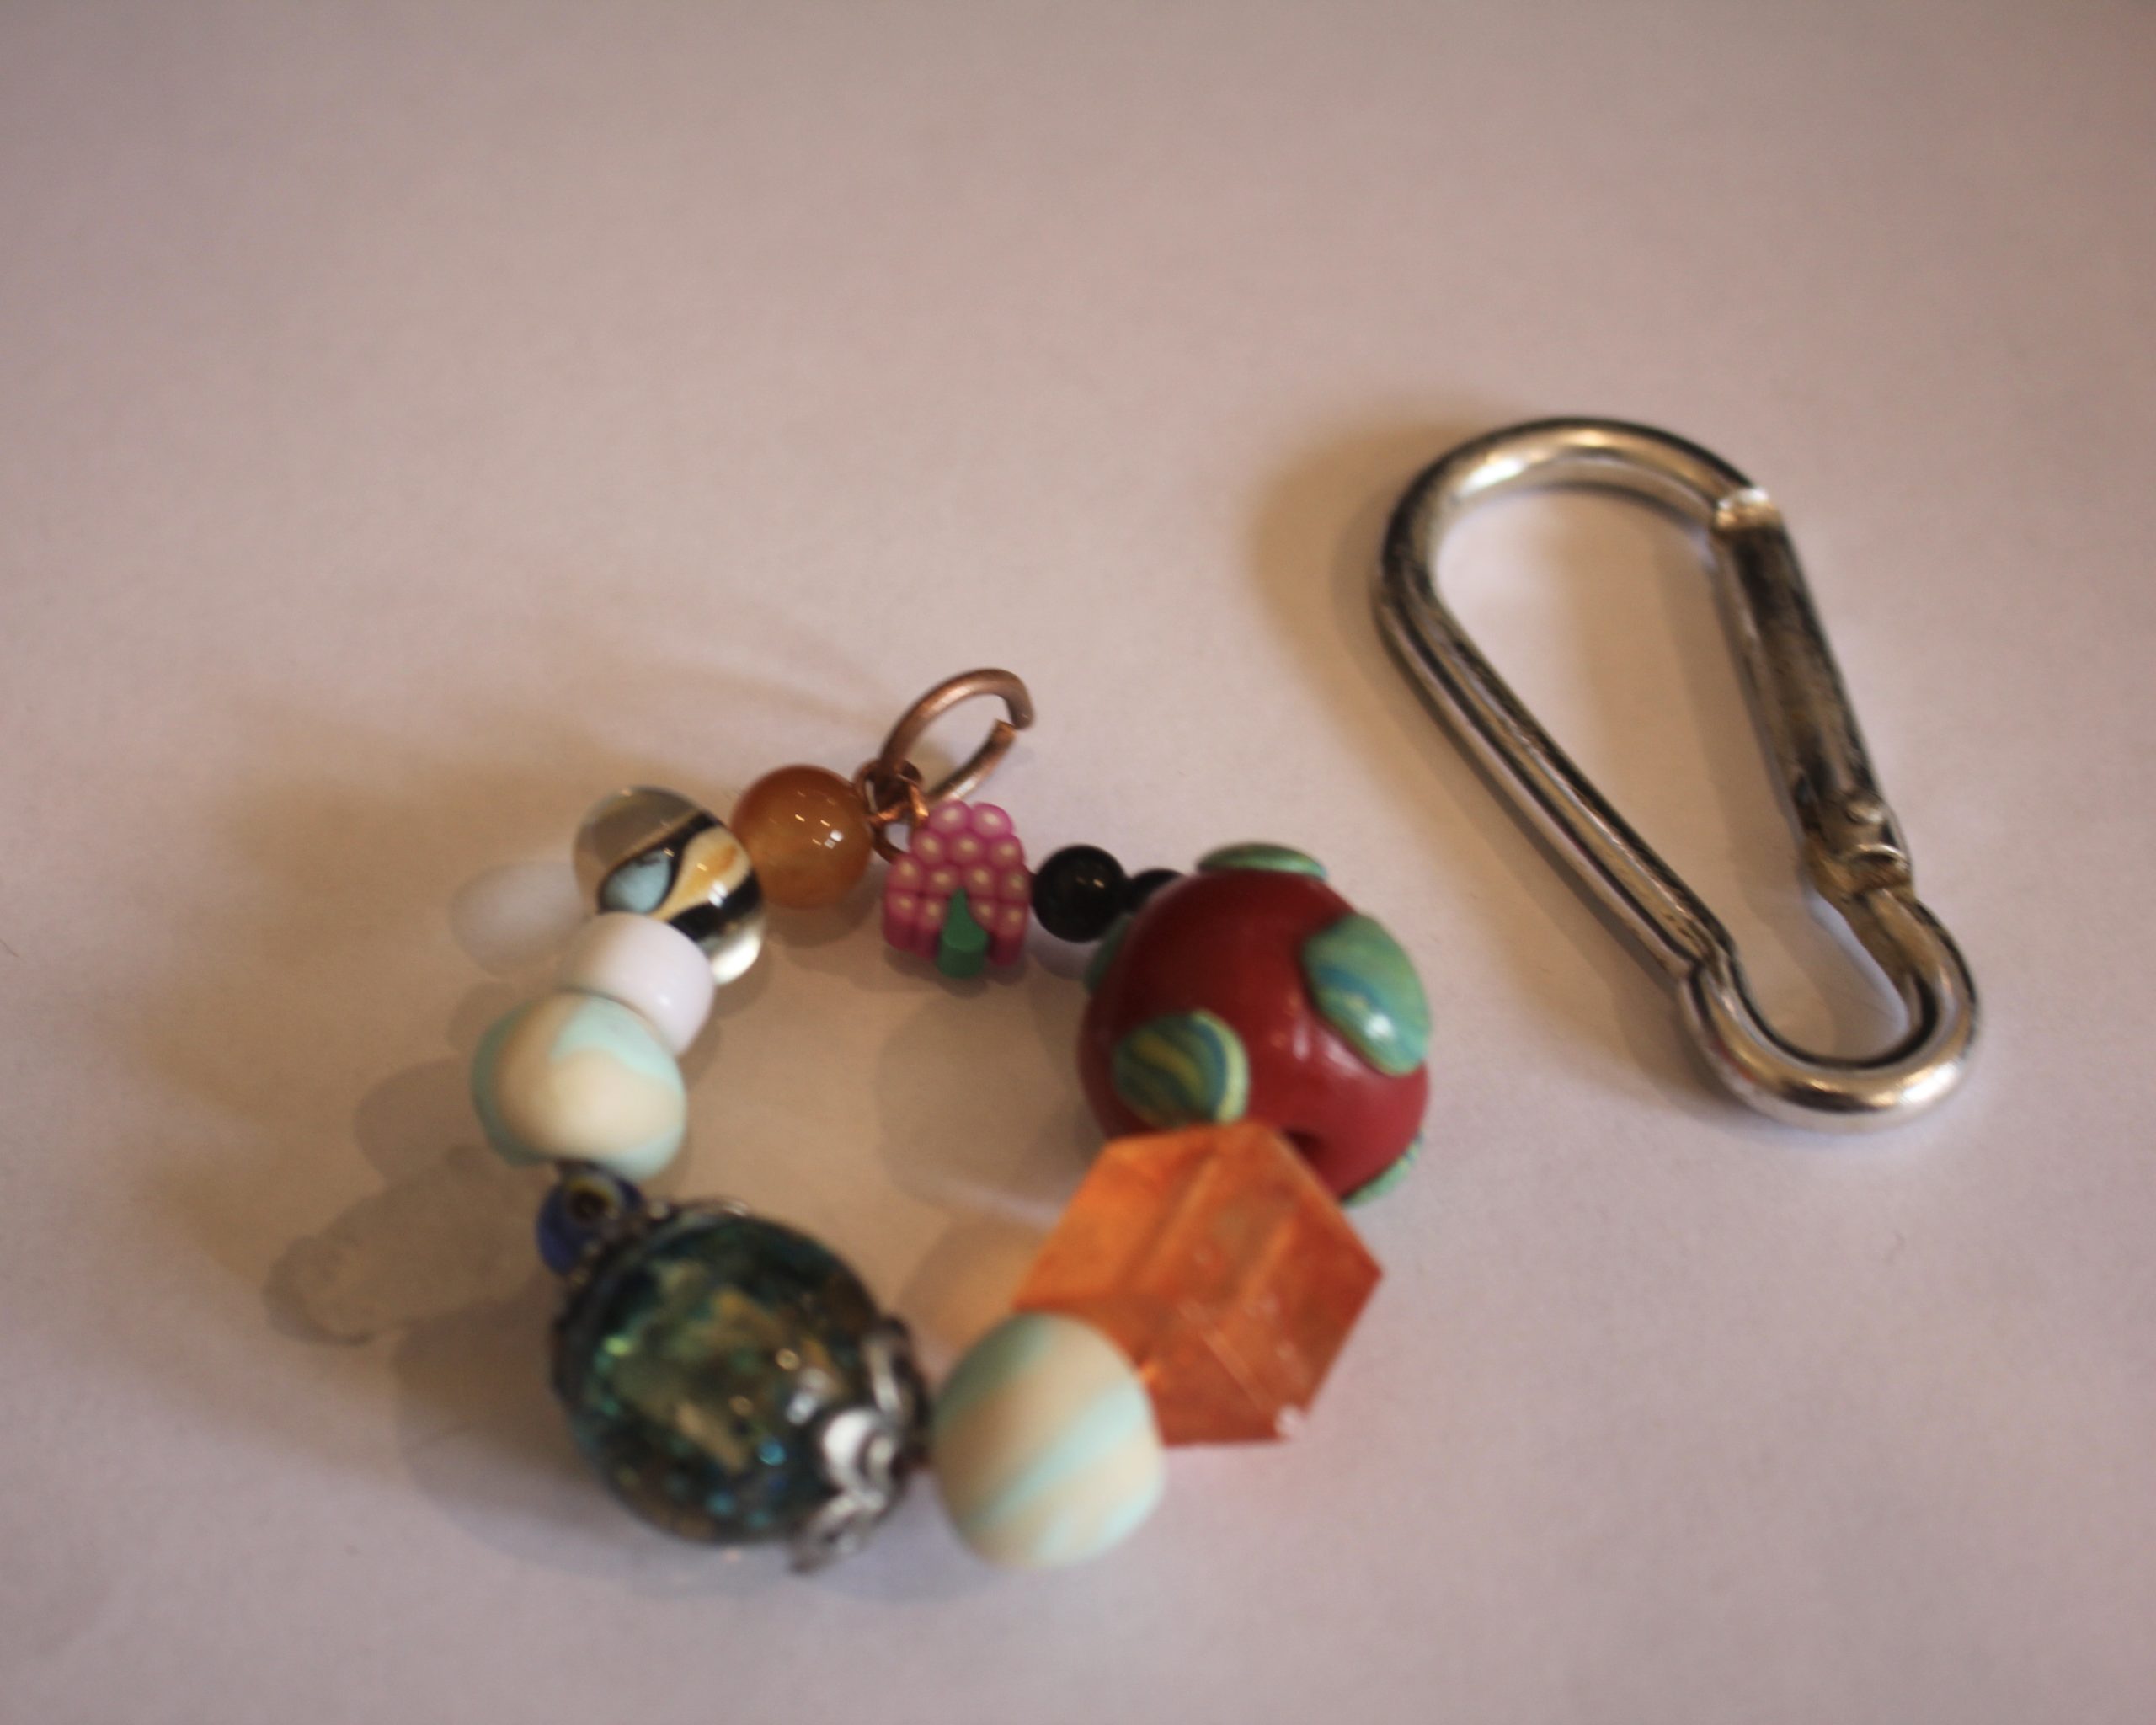
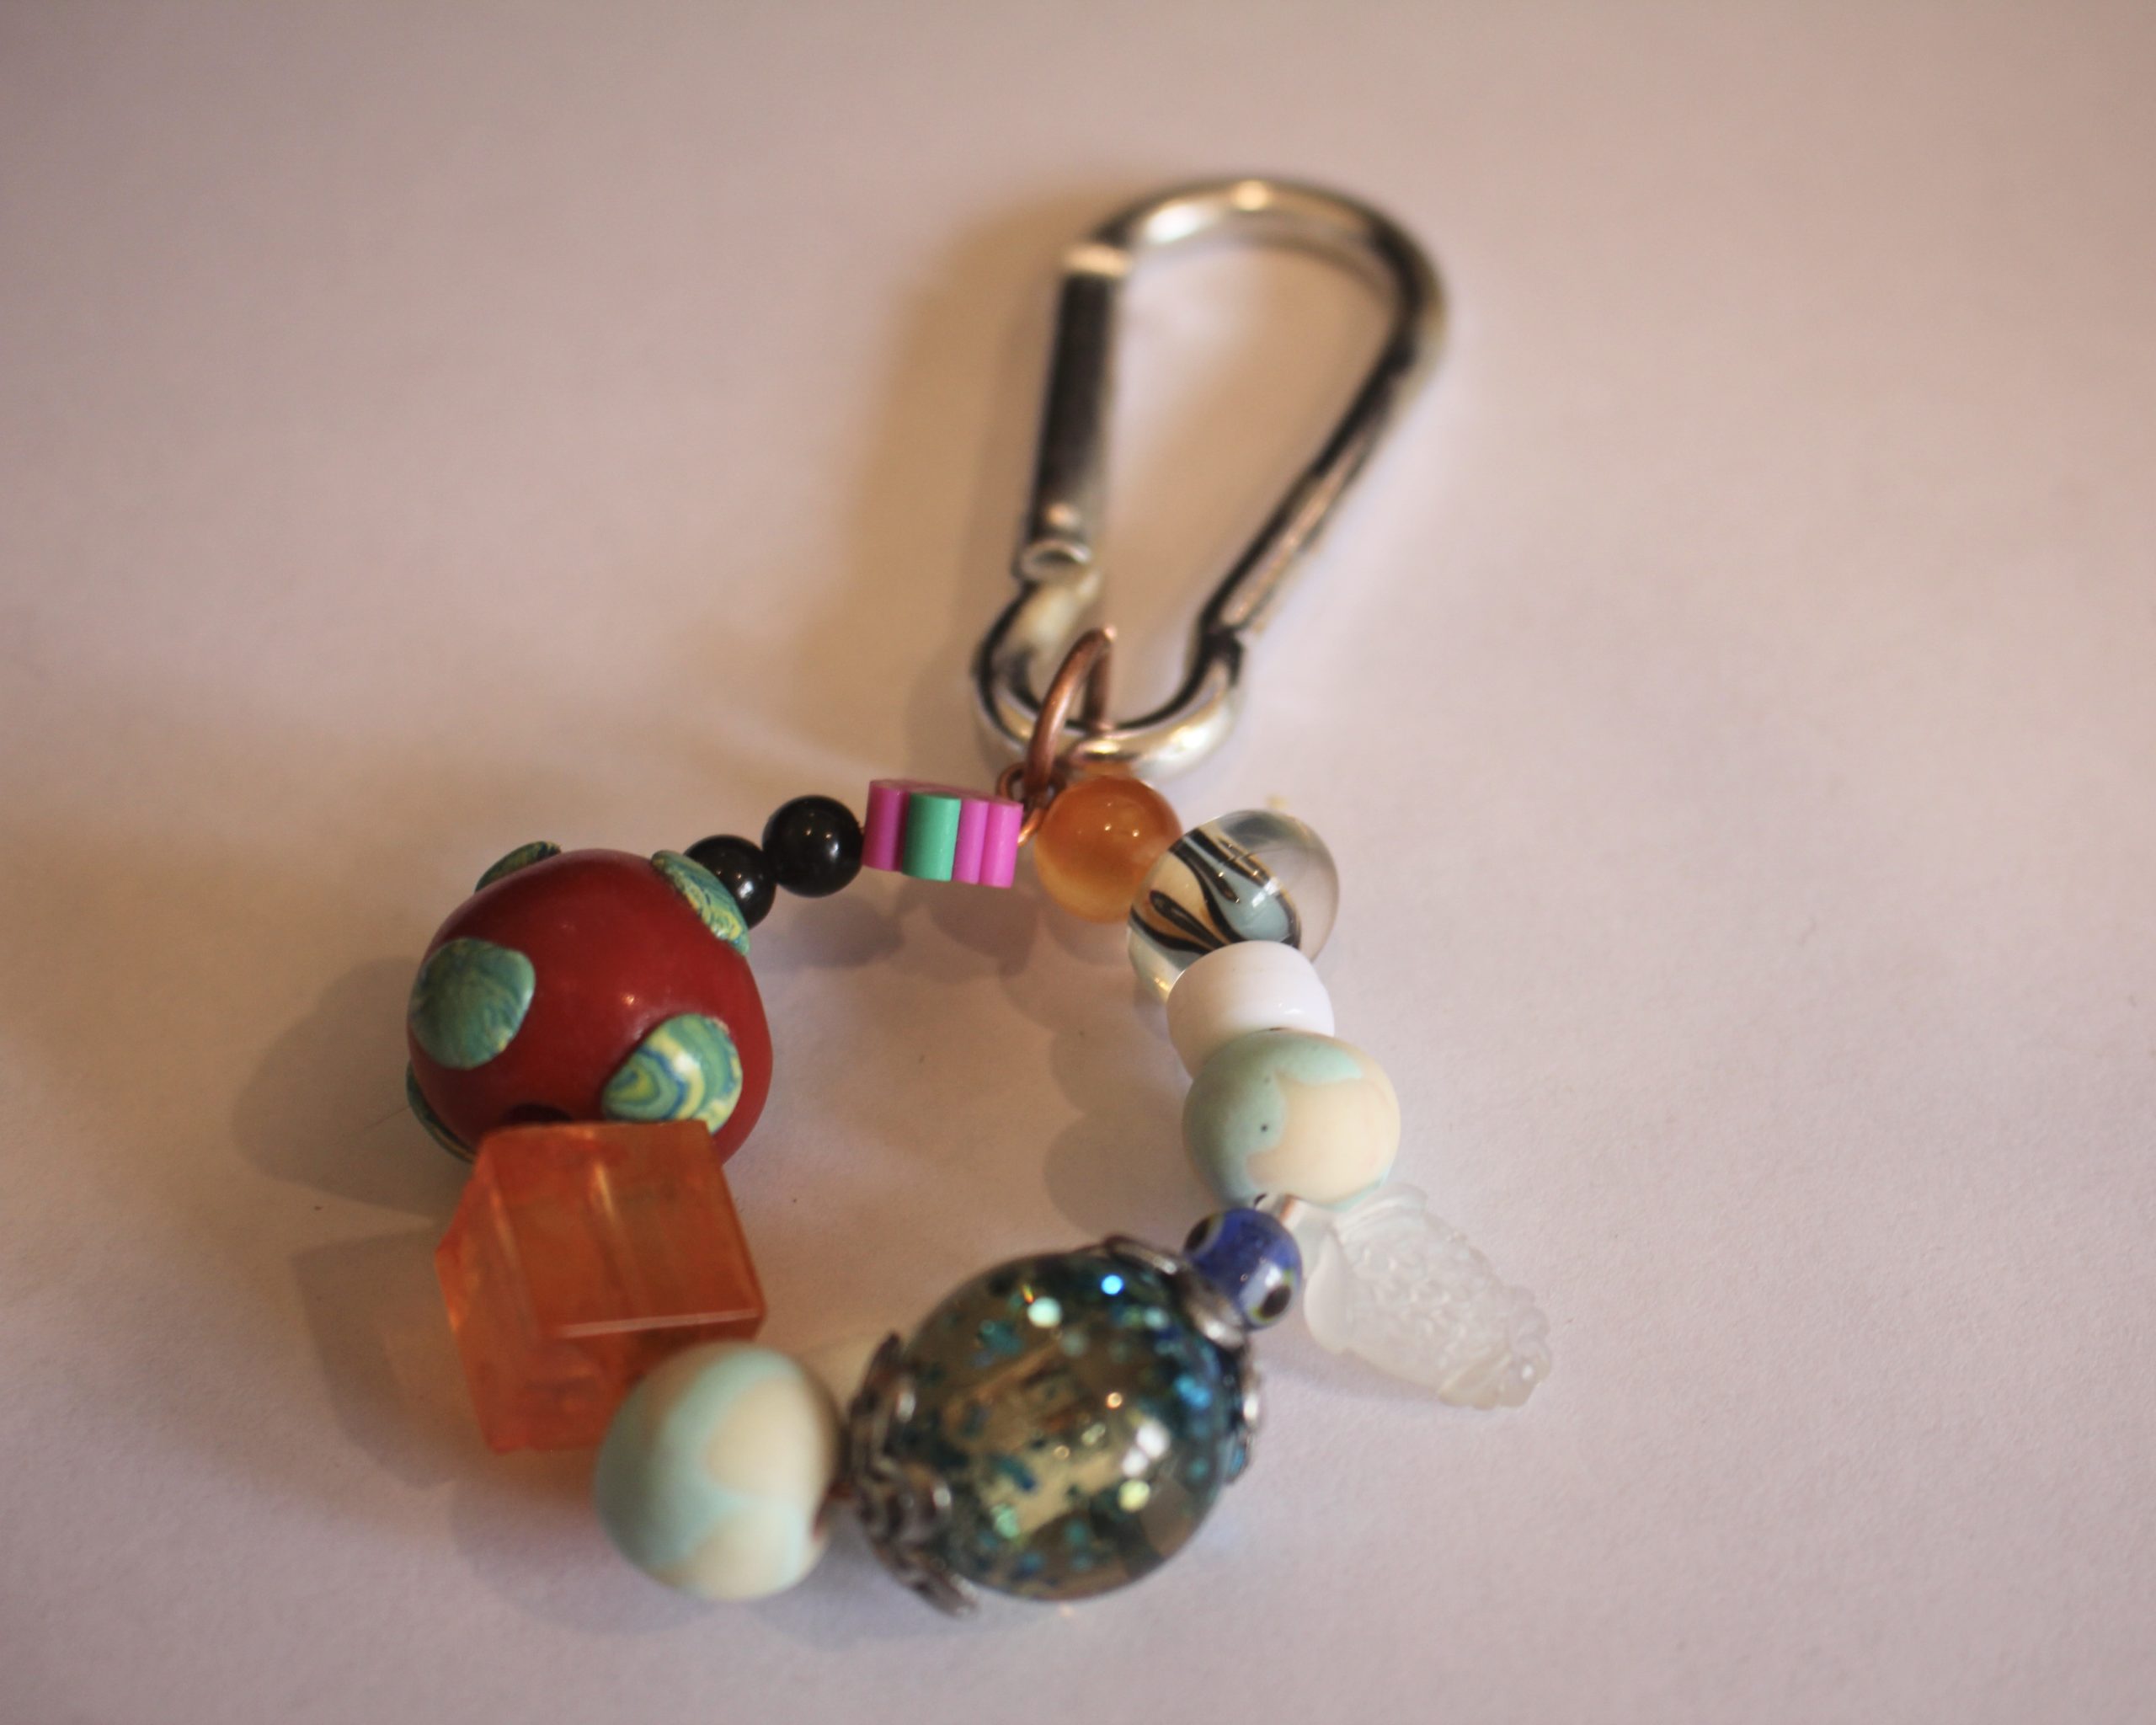
How to make a clip on beaded bag charm! This is such a fun project
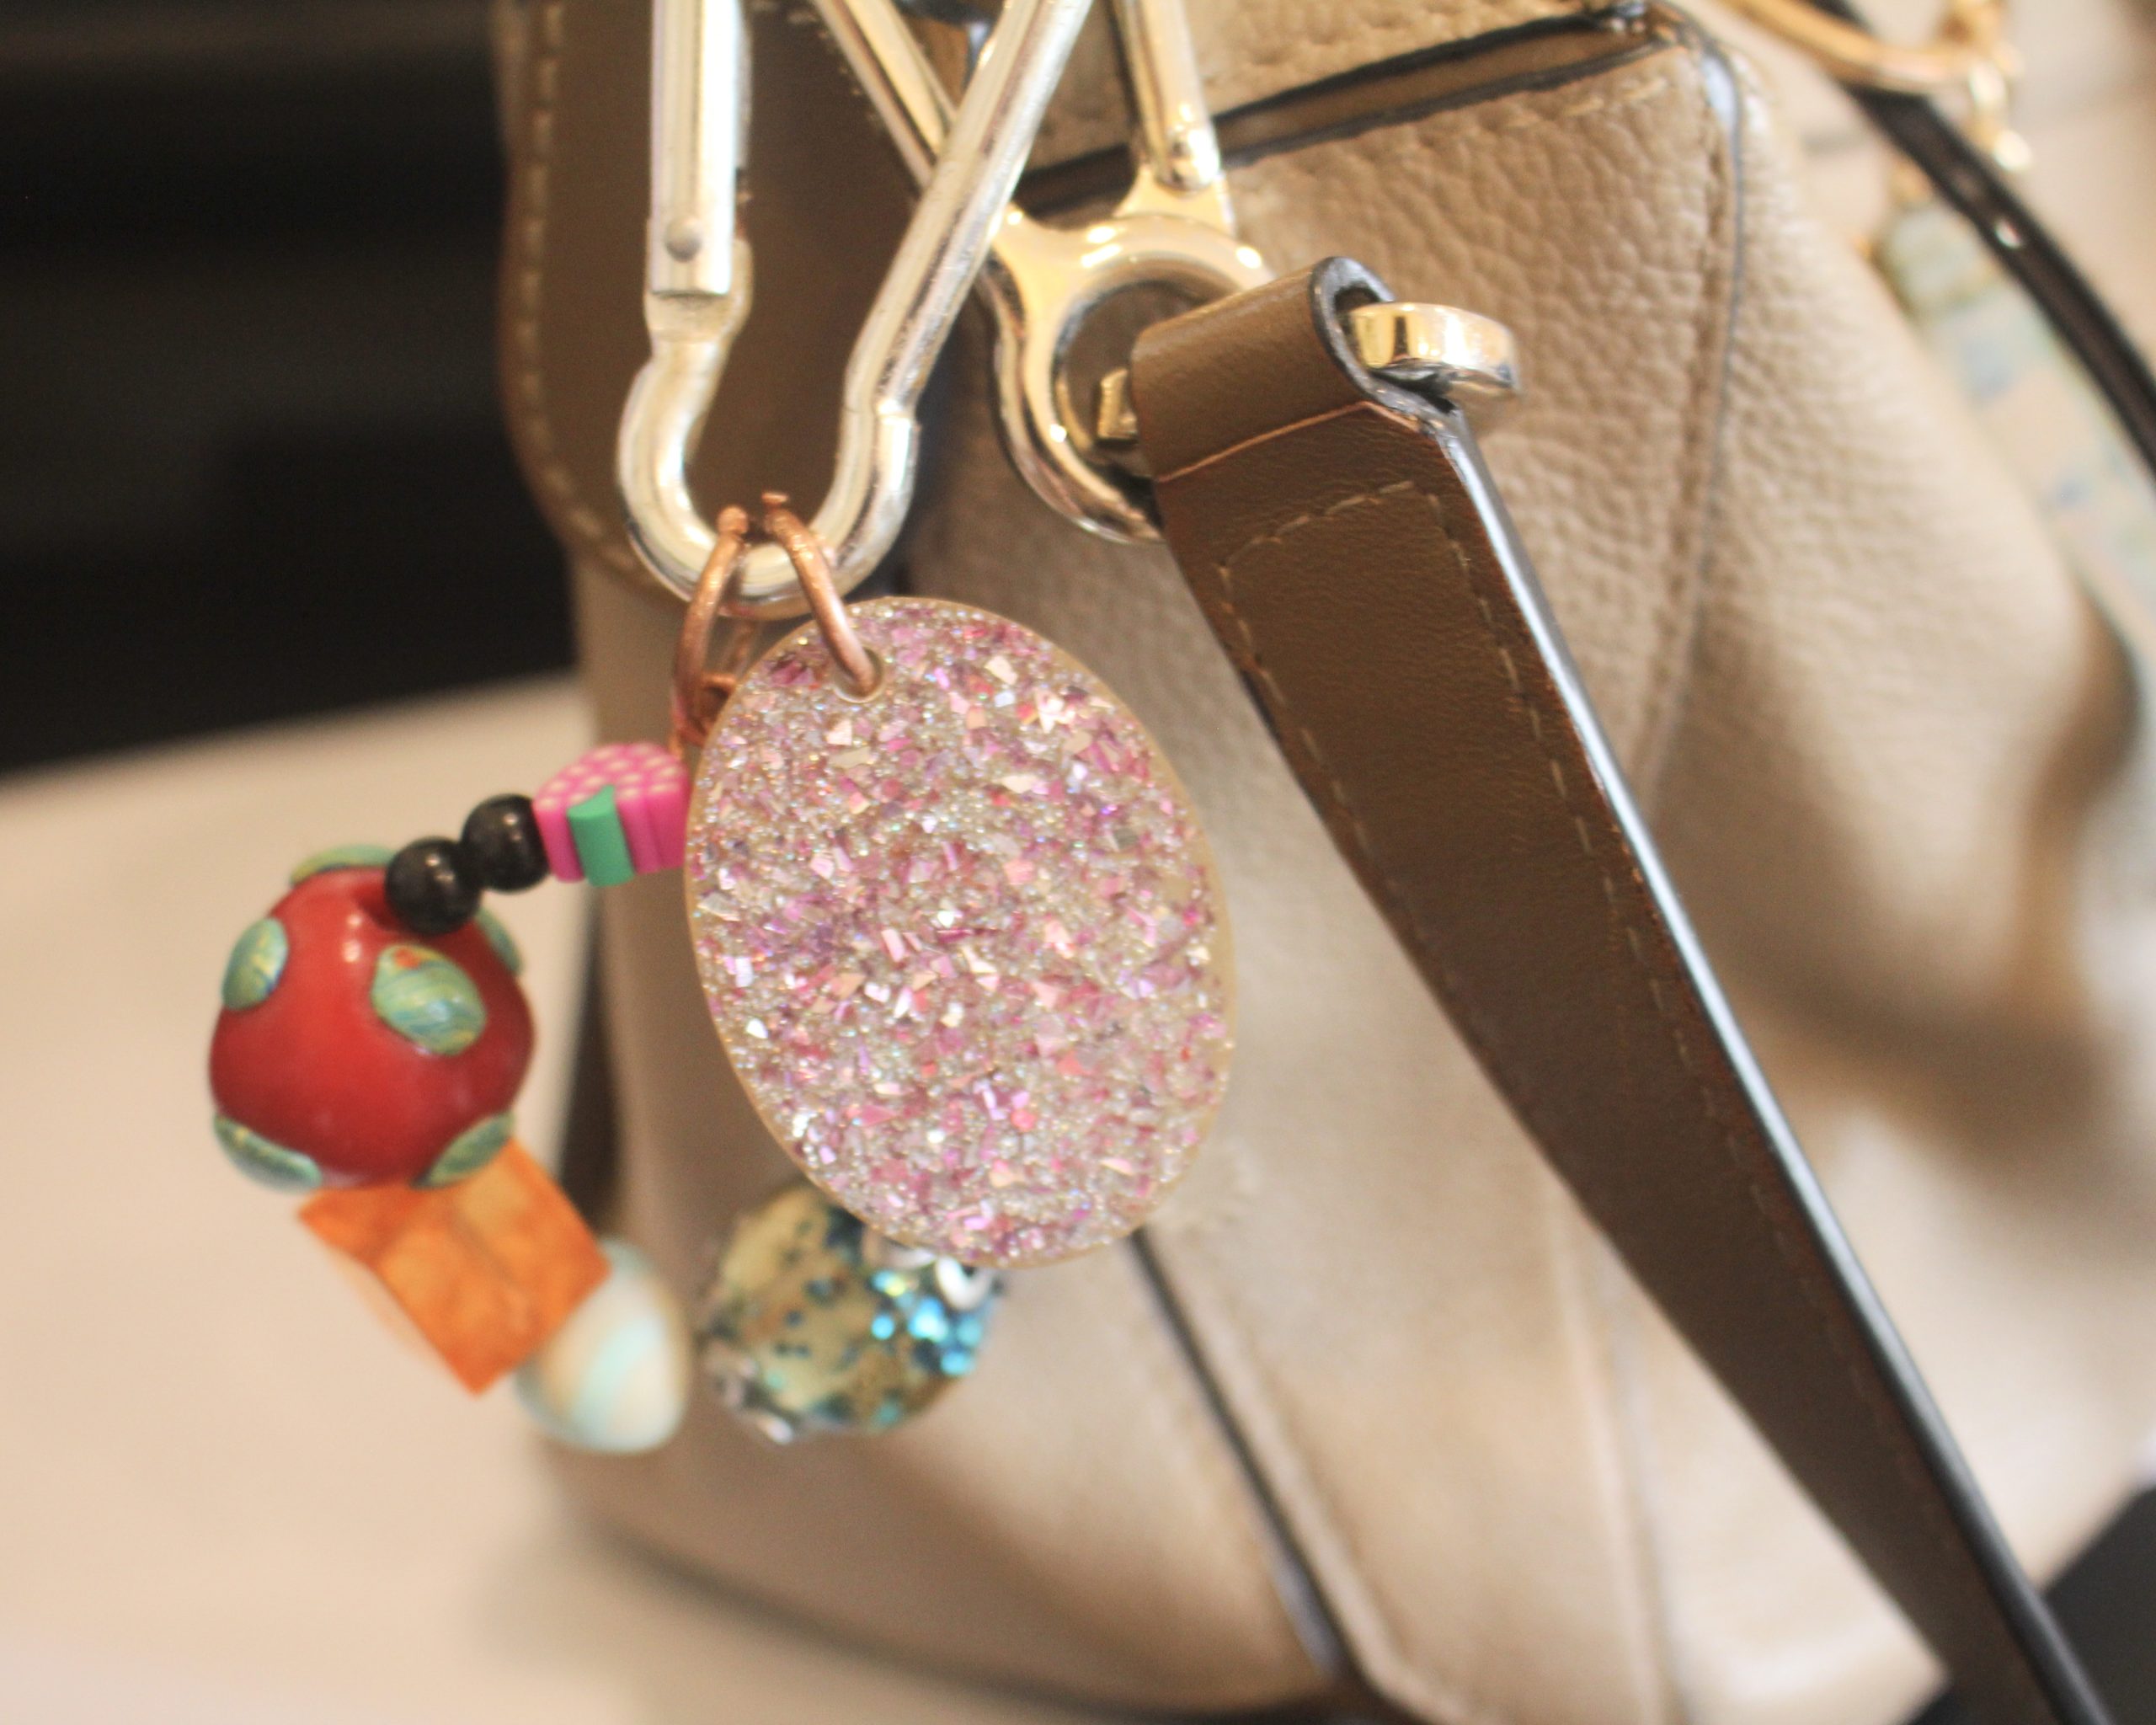
Bag charms are everywhere at the moment and if you prefer something a little more personal to adorn your fave handbag, this tutorial is for you. This bag charm features a fun smattering of beads and a resin charm to add some personal pizzaz to your outfit. Super simple but super high impact!
Please note that this tutorial contains affiliate links for which we may receive a commission.
You’ll need the following tools and materials to make this beaded bag charm:
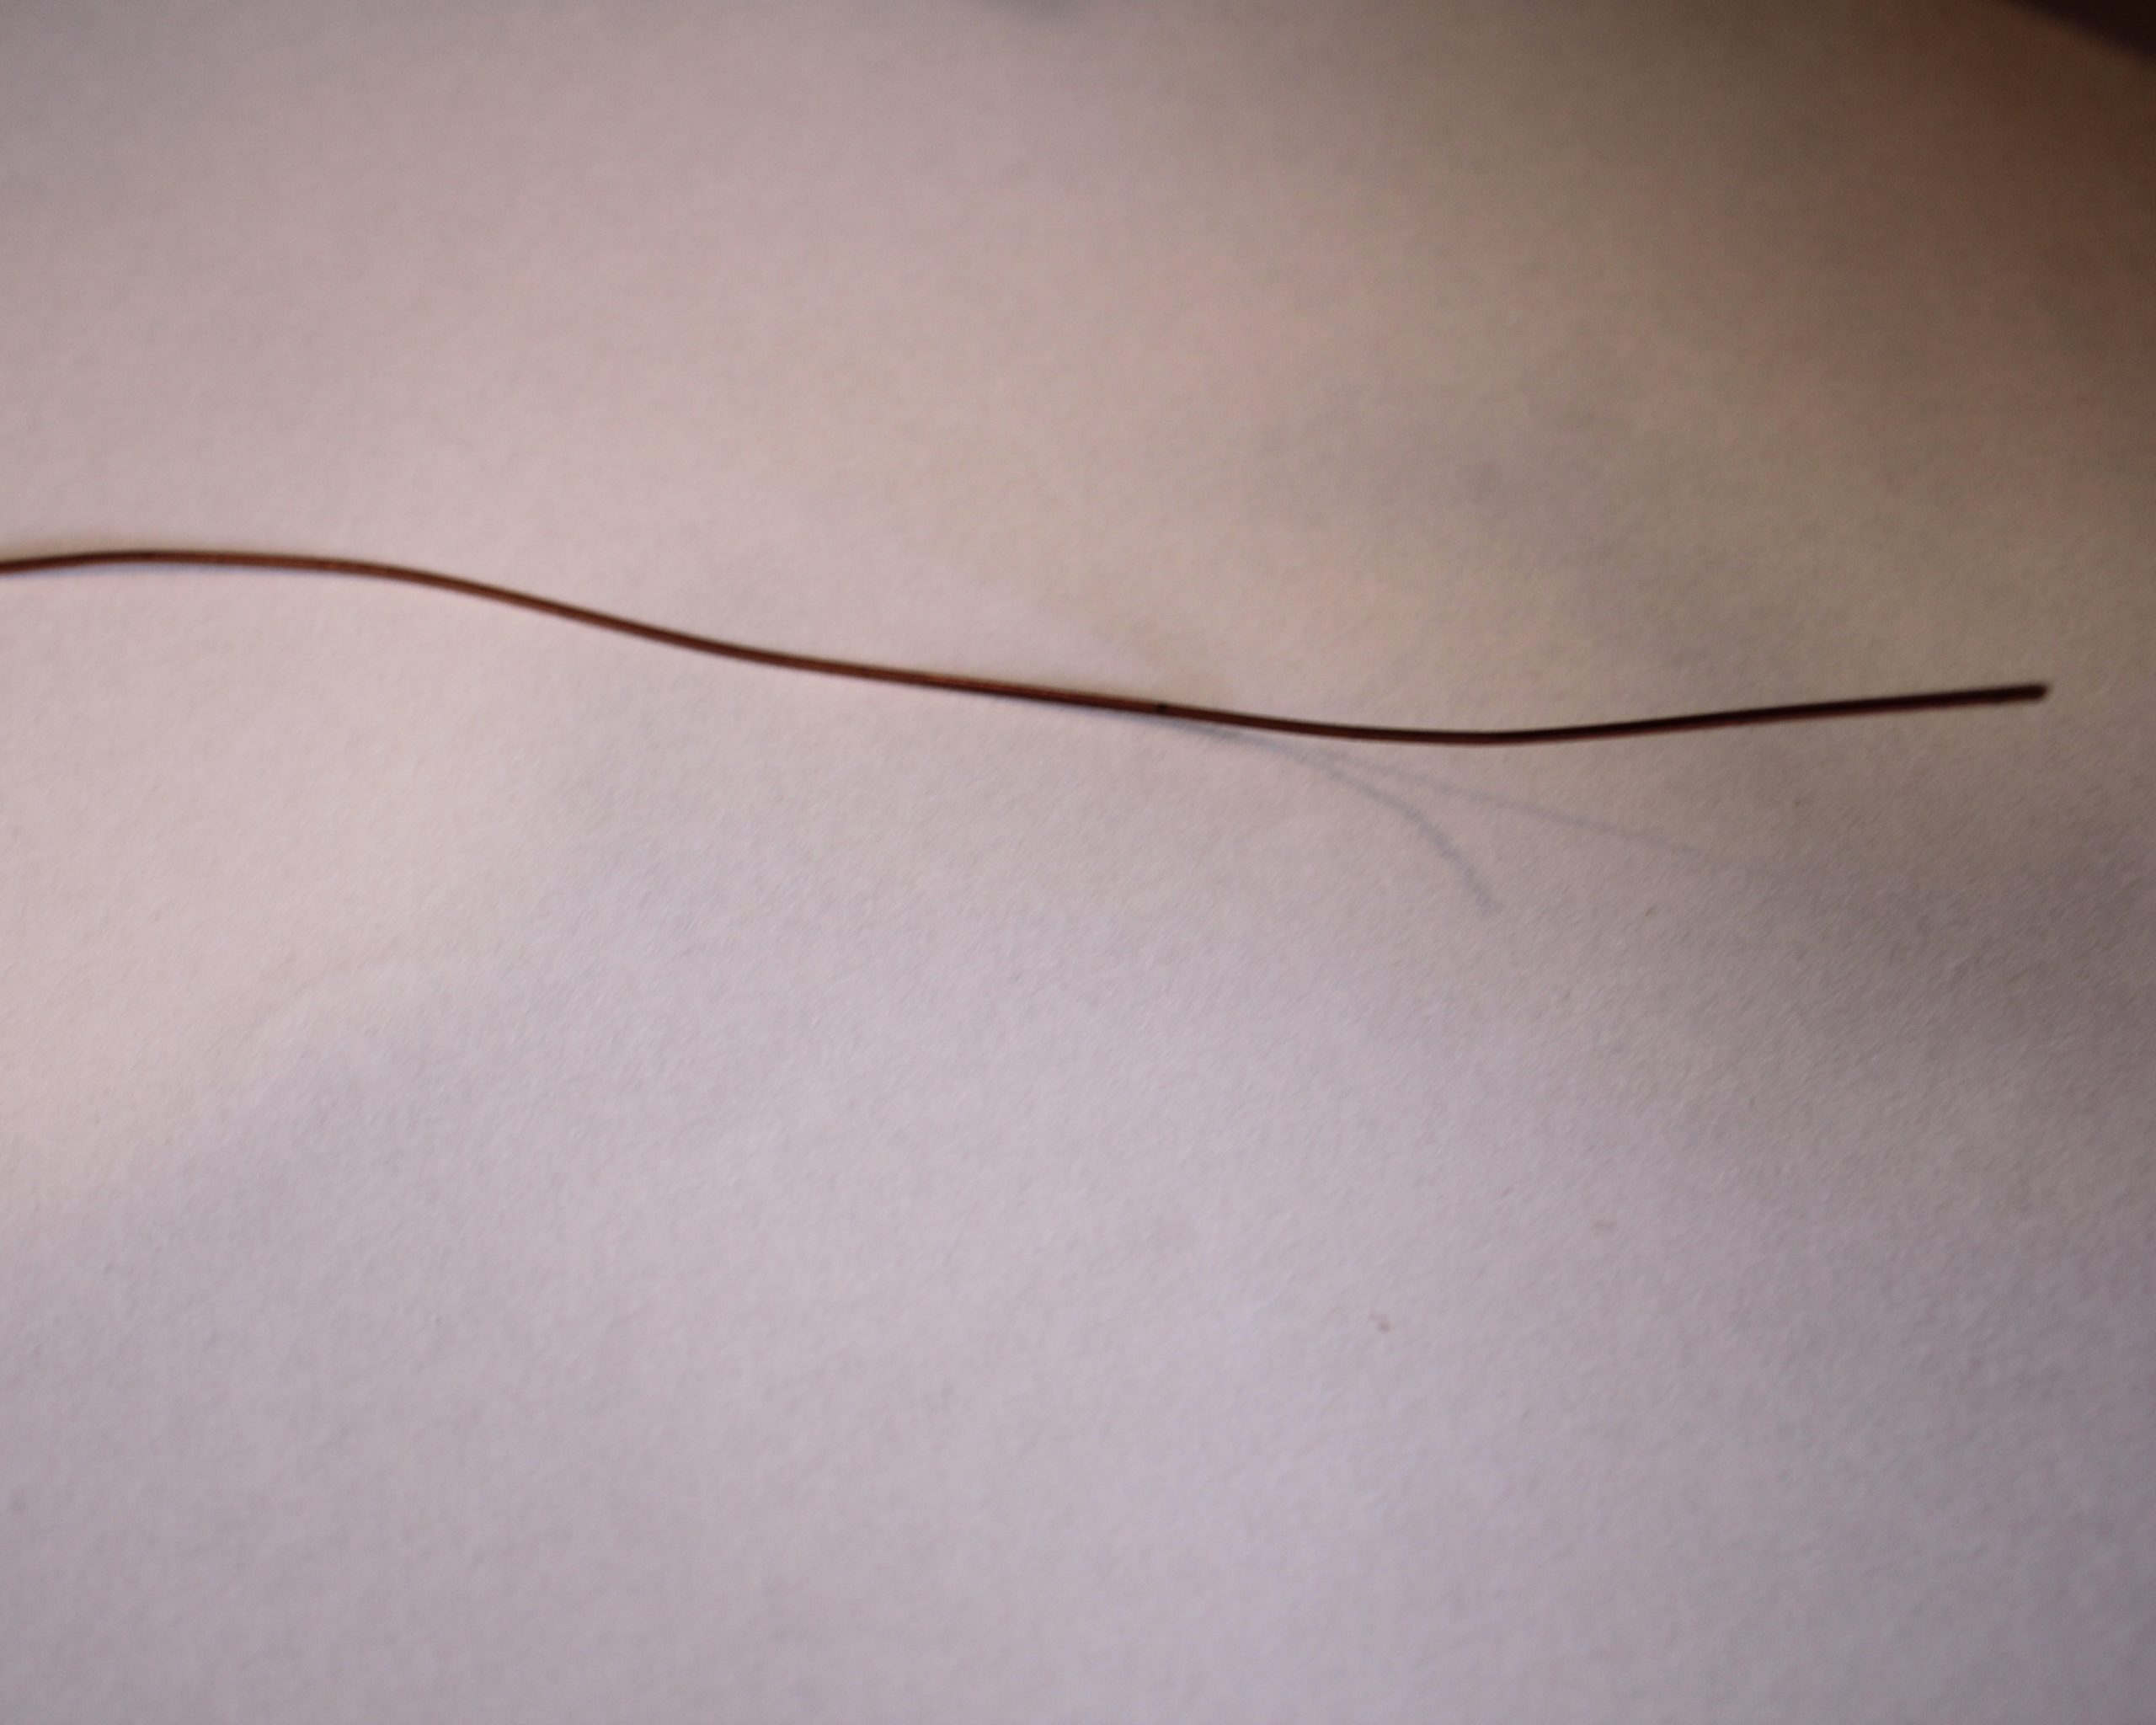
1: Some wire. I used this copper wire.

You can get some copper wire here:
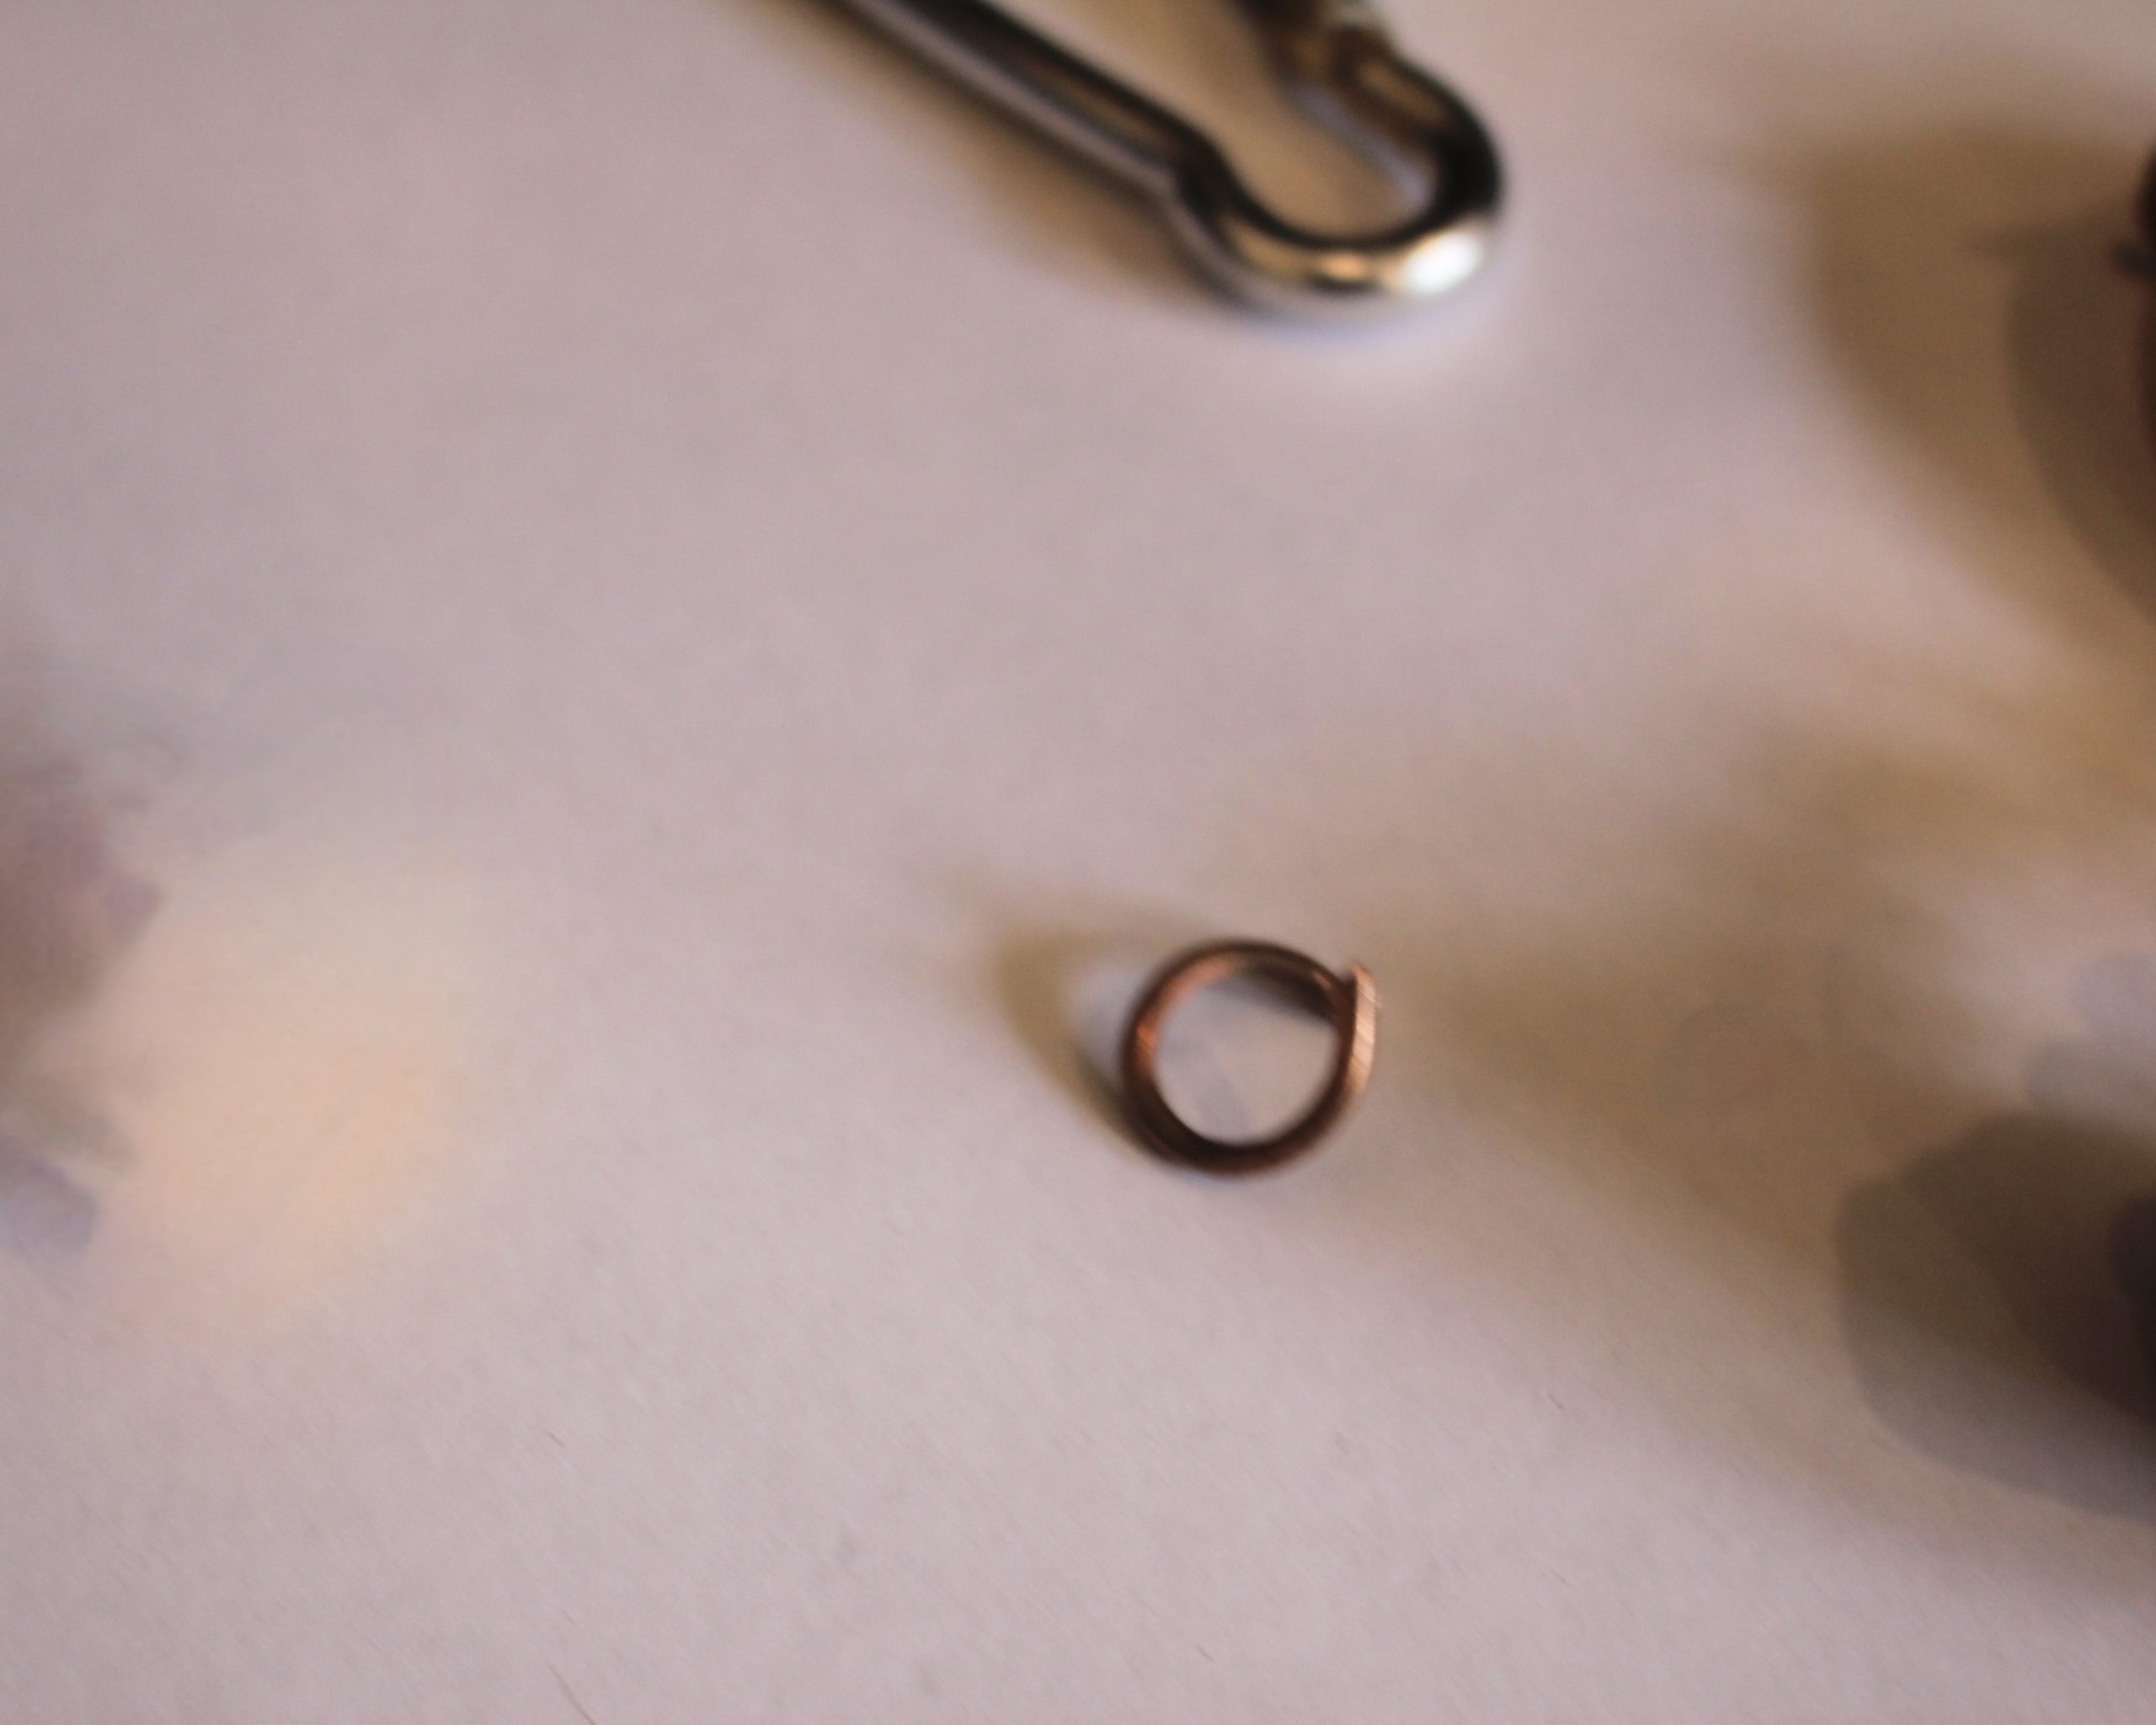
2: A large jump rings. I used a copper one.
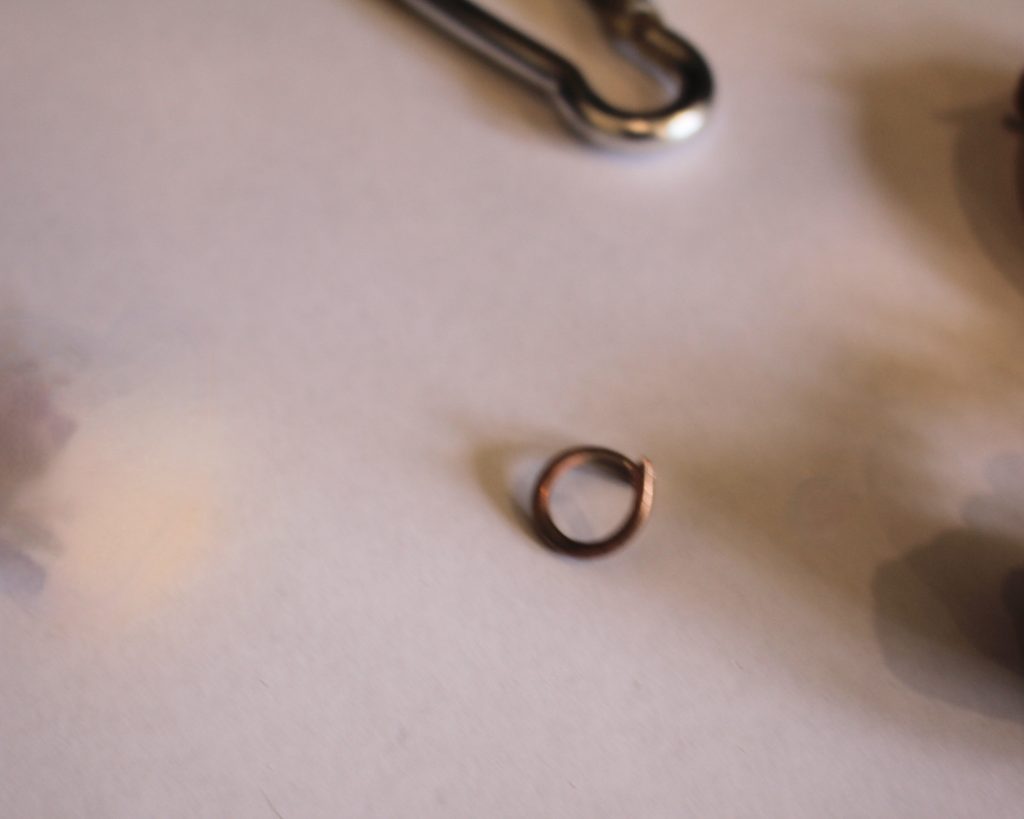
You can get copper-tone jump rings here:
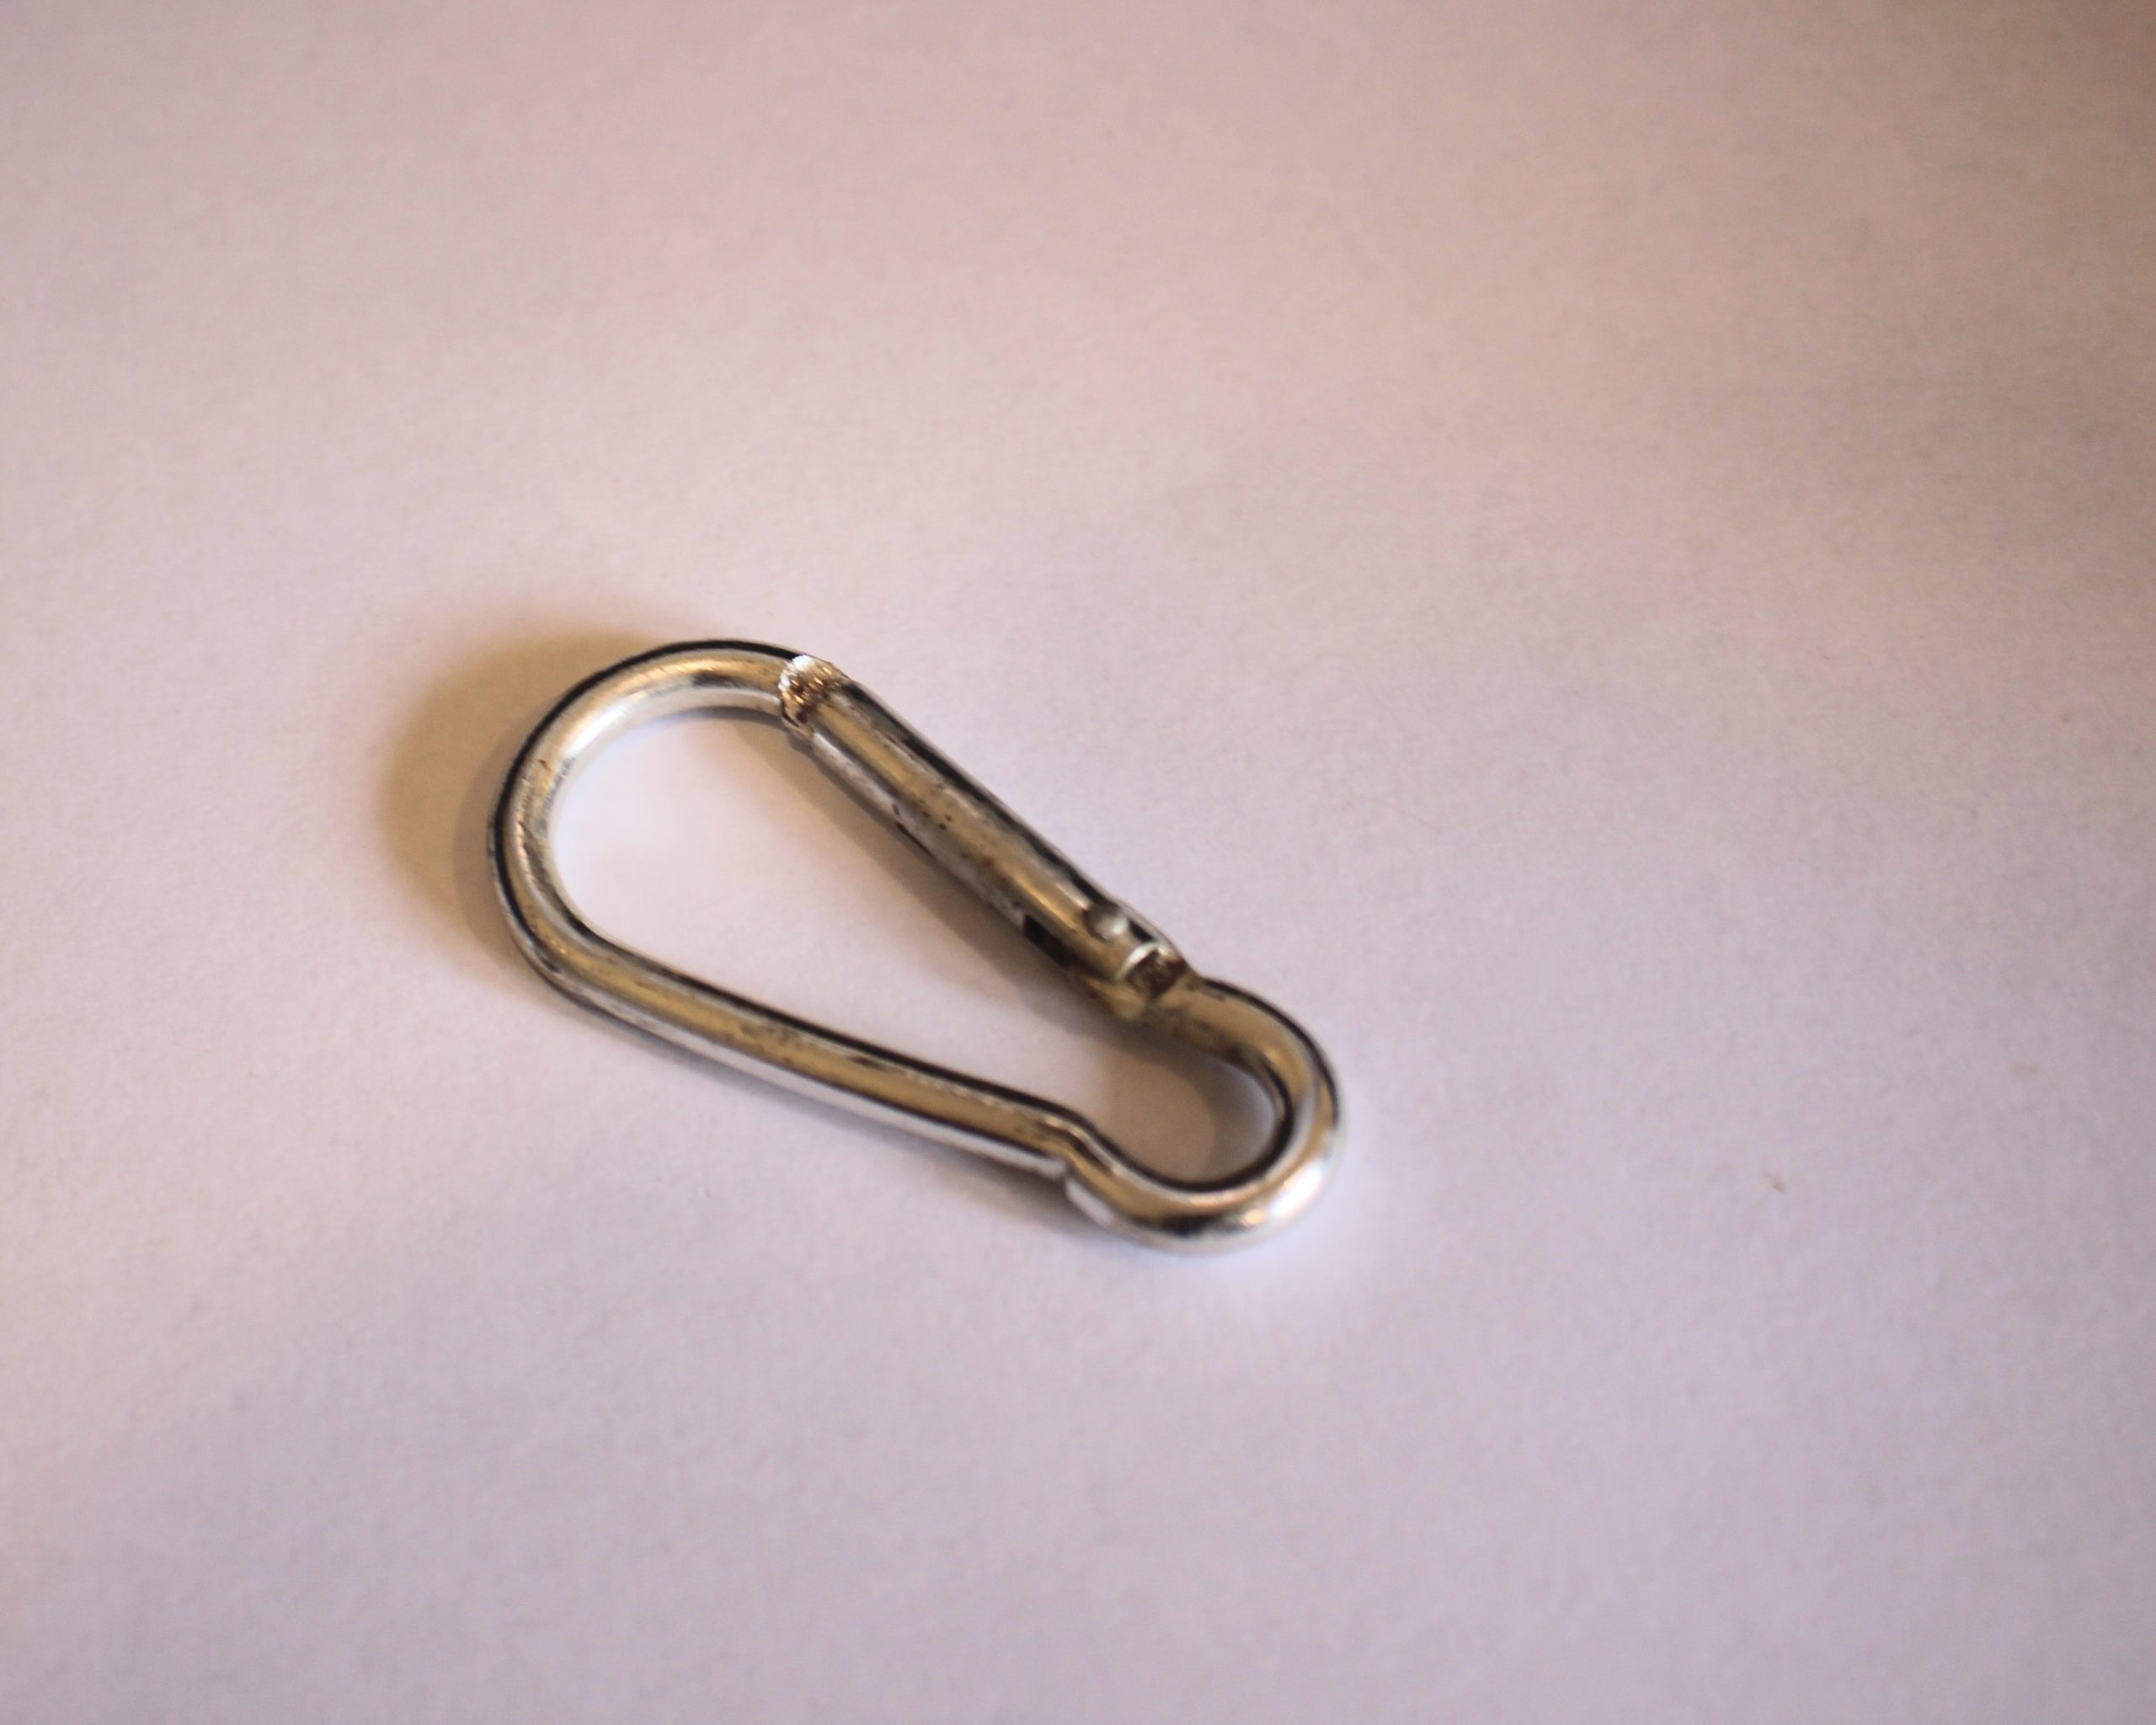
3: A carabiner. I used one recycled from a broken cord.
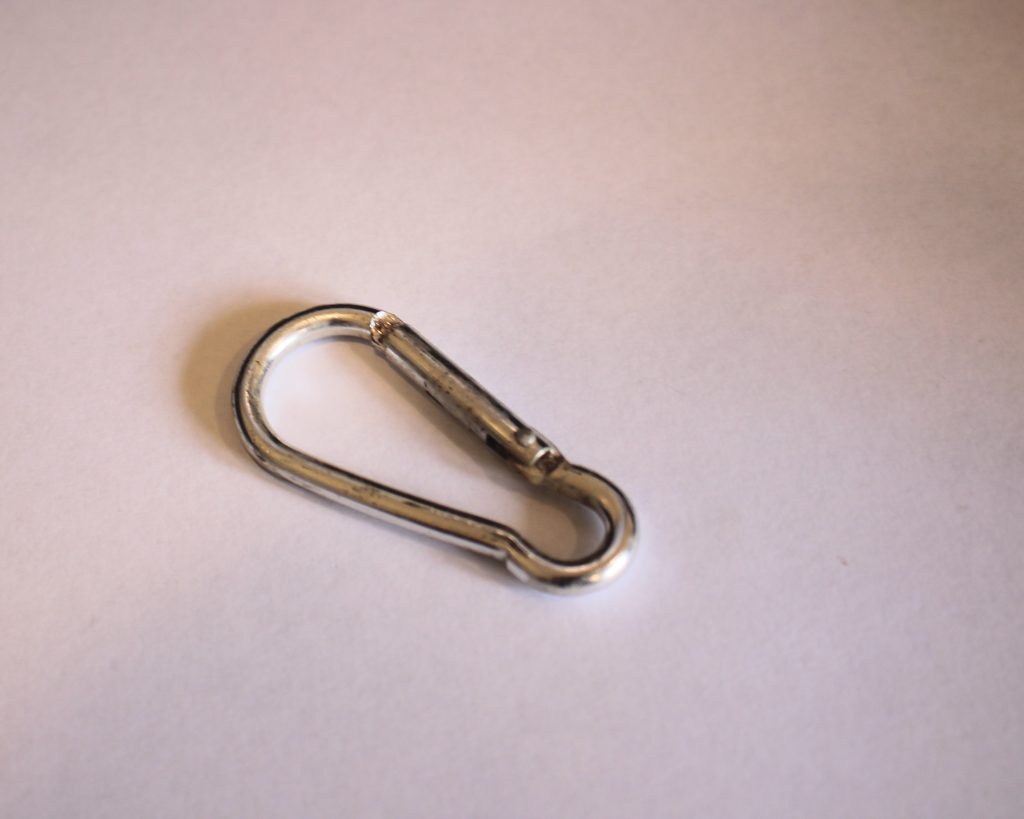
If you don’t already have one, you can get one here:
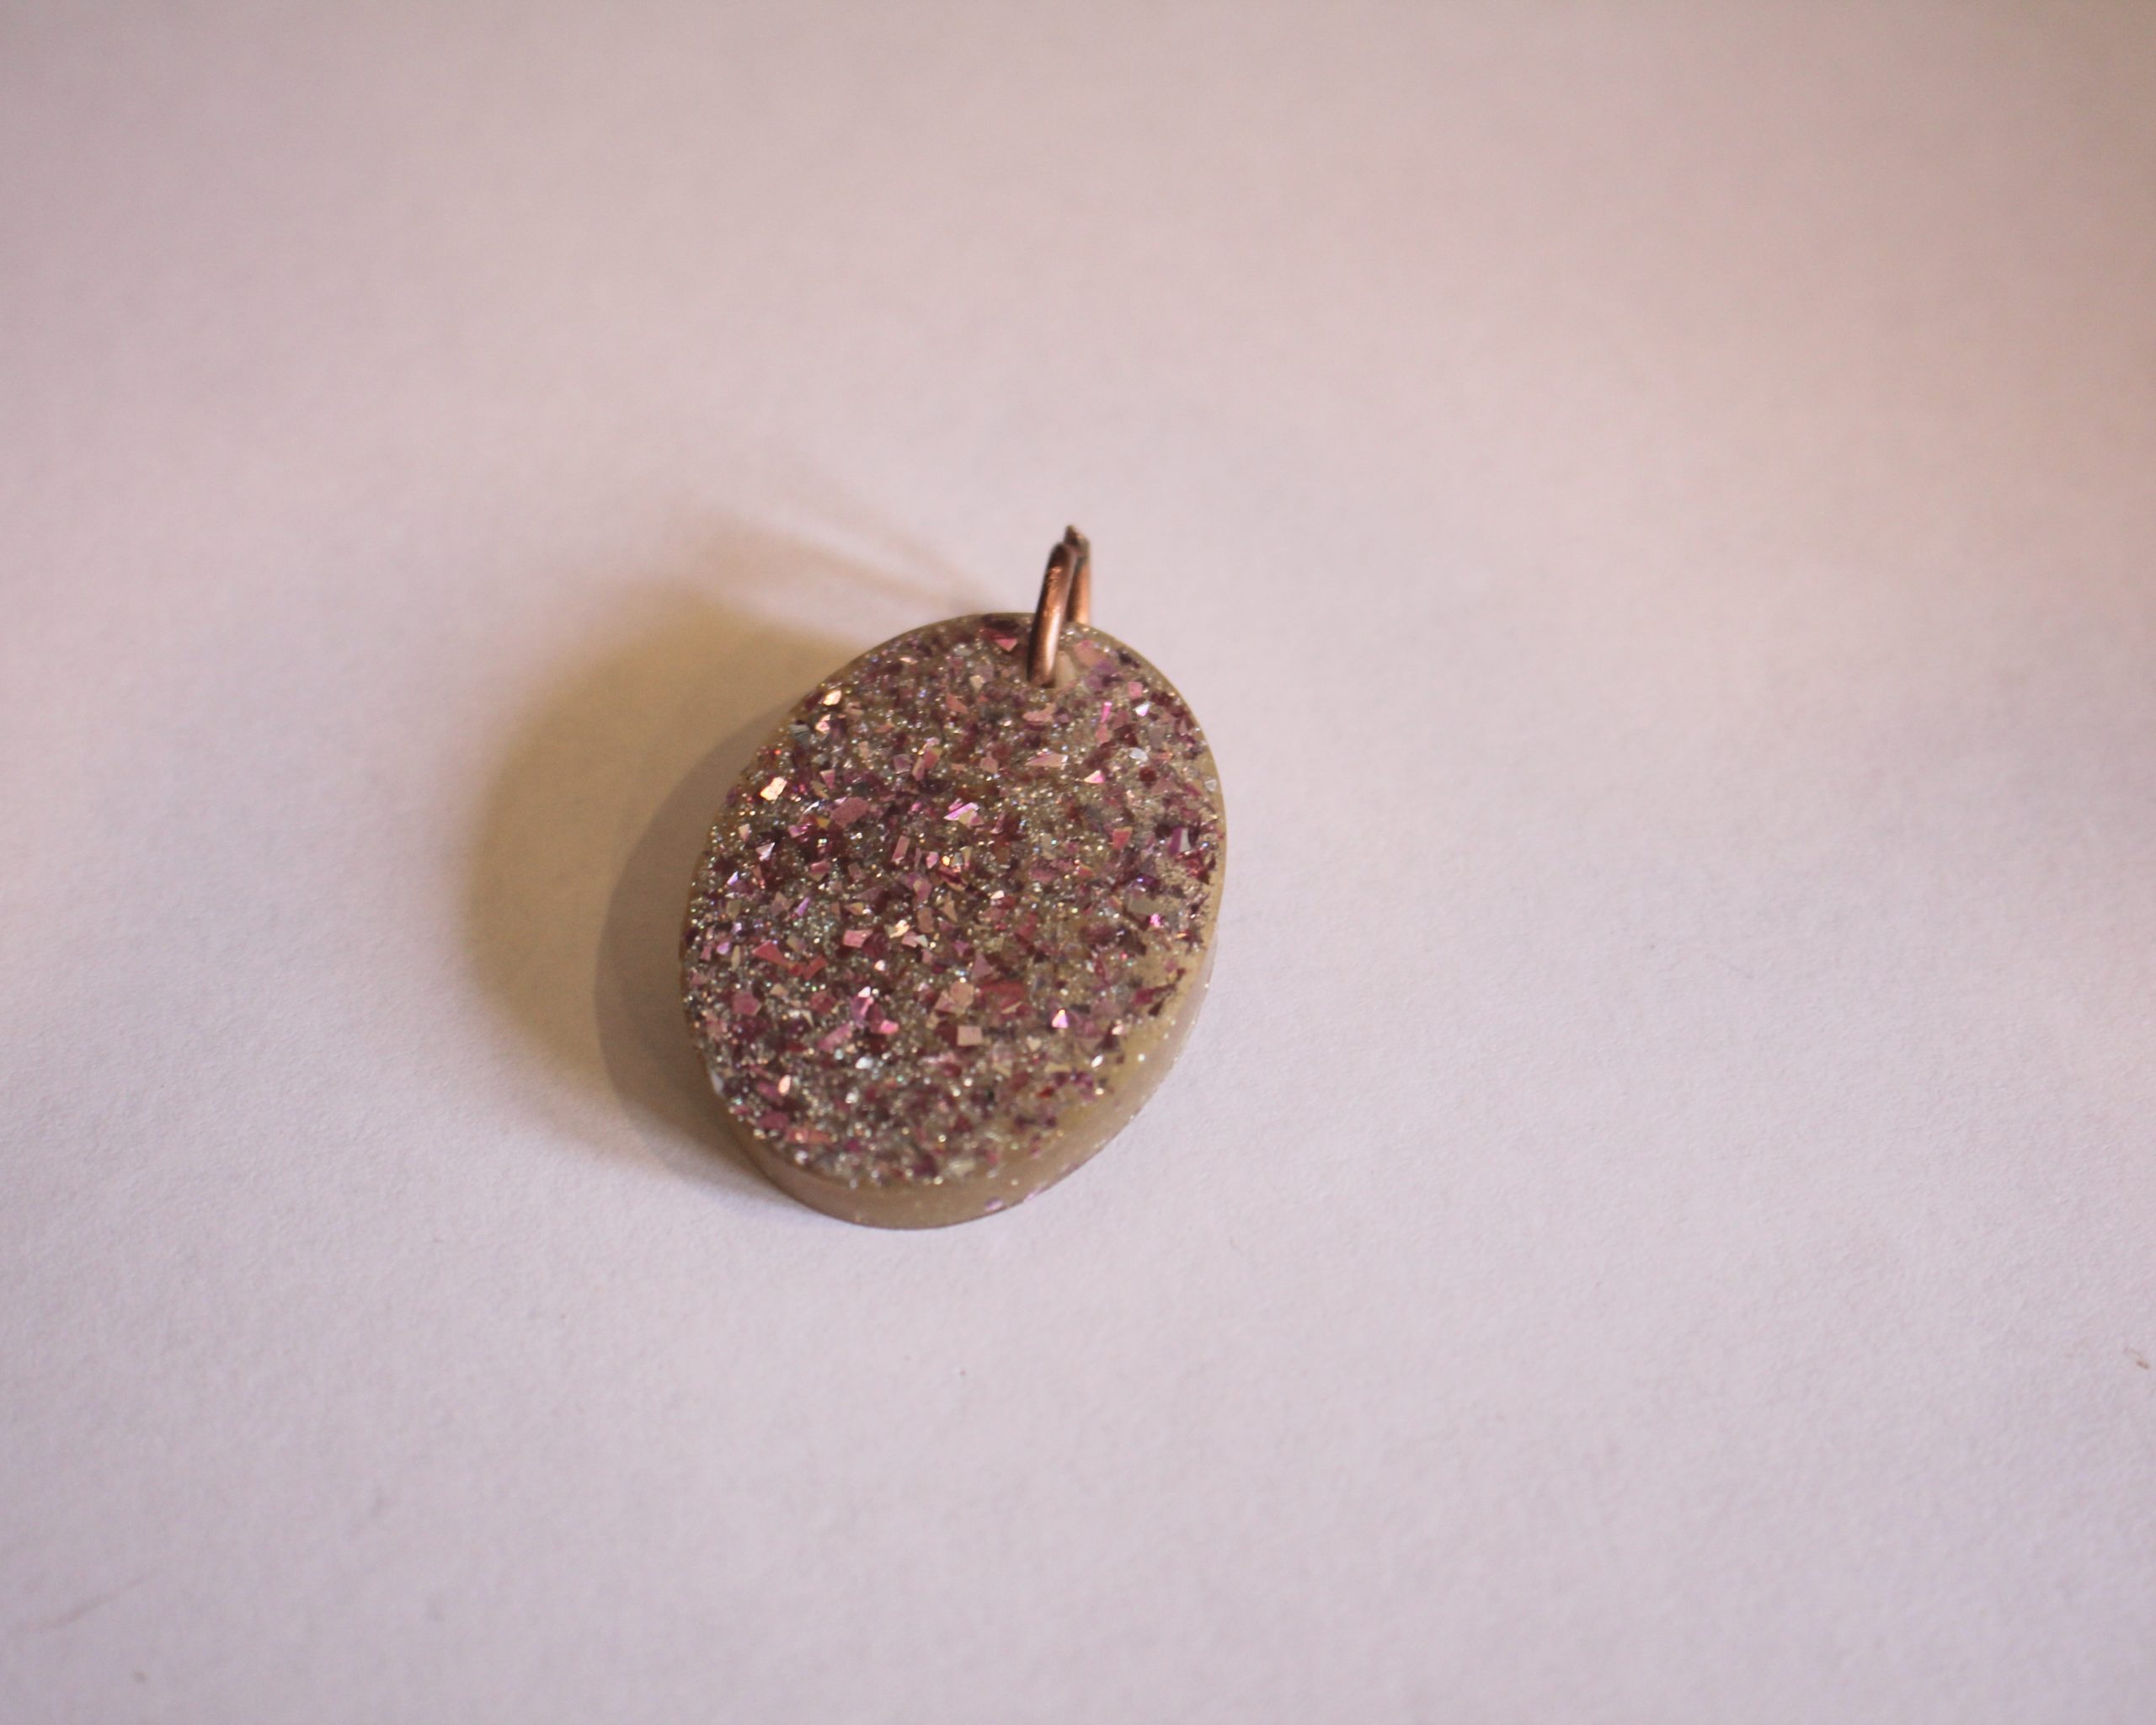
4: A charm. I used this pink resin glitter charm with a jump ring attached to the top.
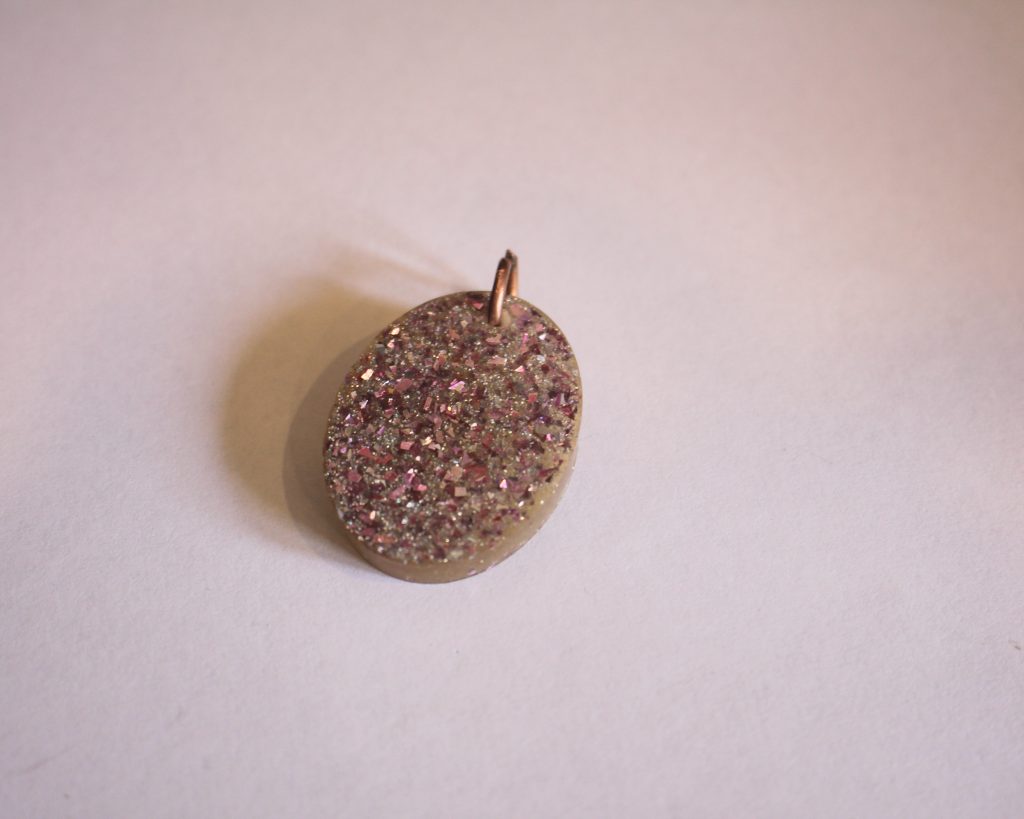
You can get pink resin charms here:
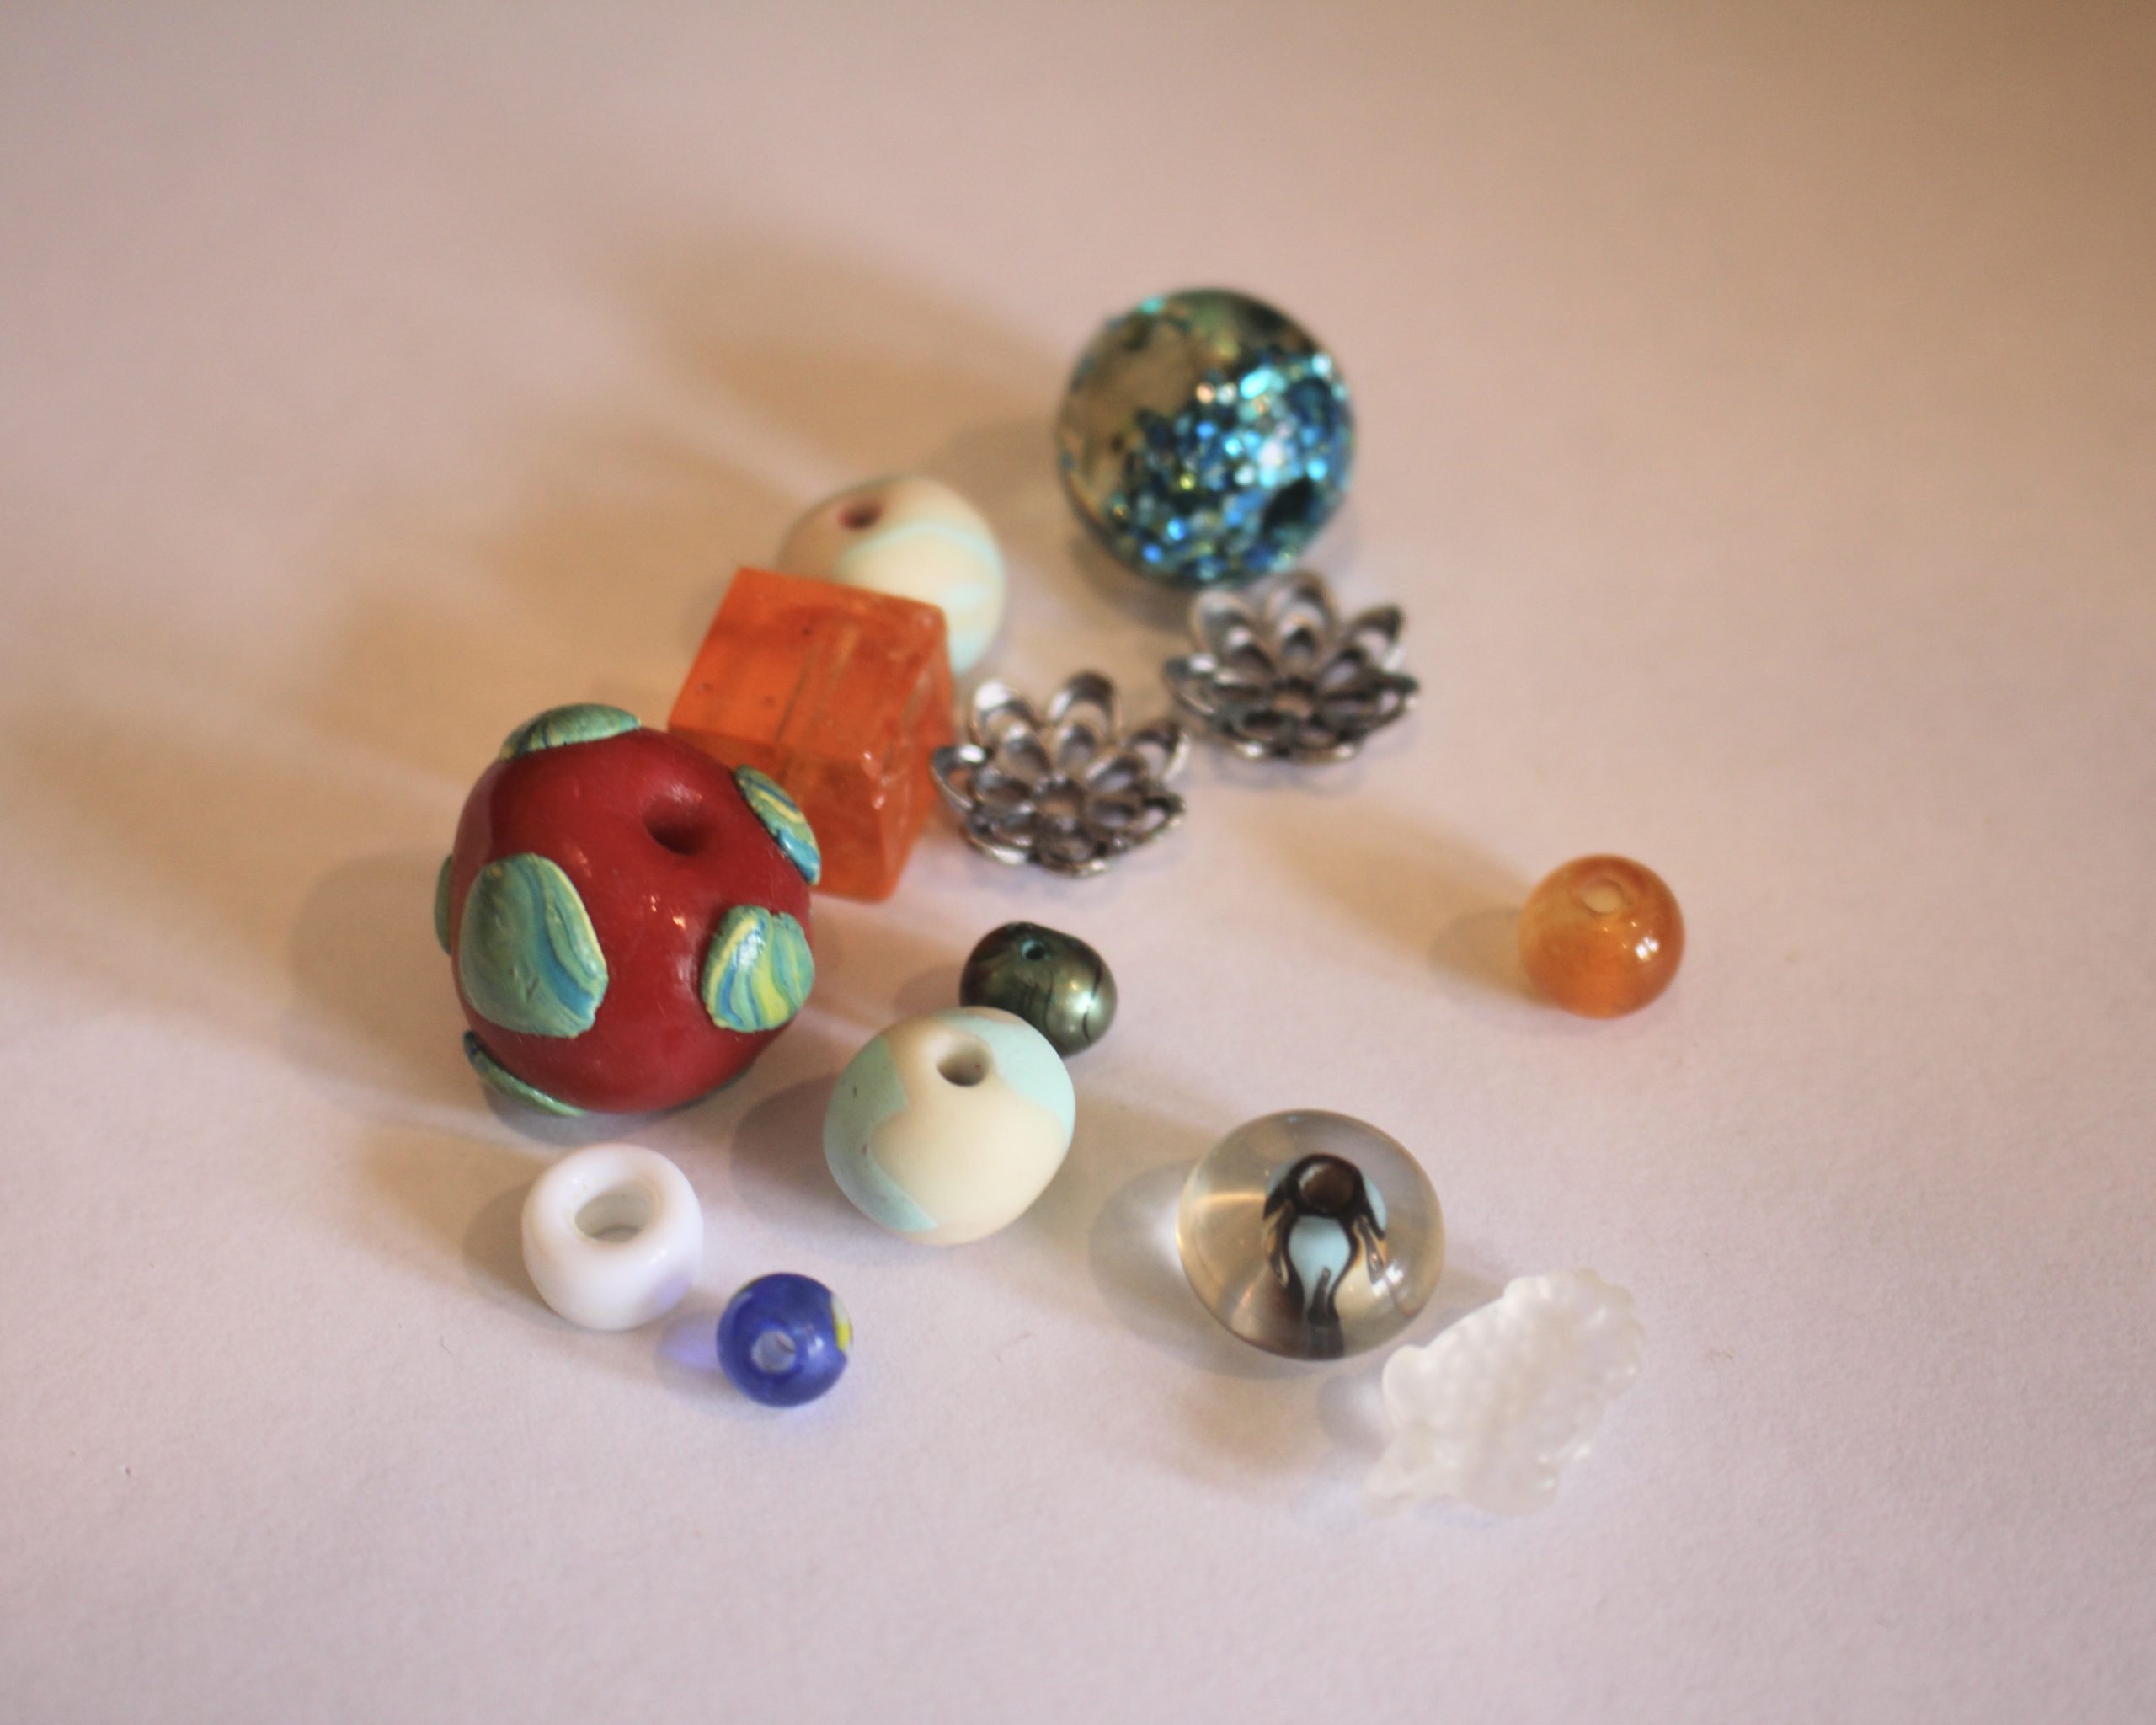
5: Some beads. I used a selection of random beads in different materials. This is a great project for using up and showcasing your eclectic bead collection.
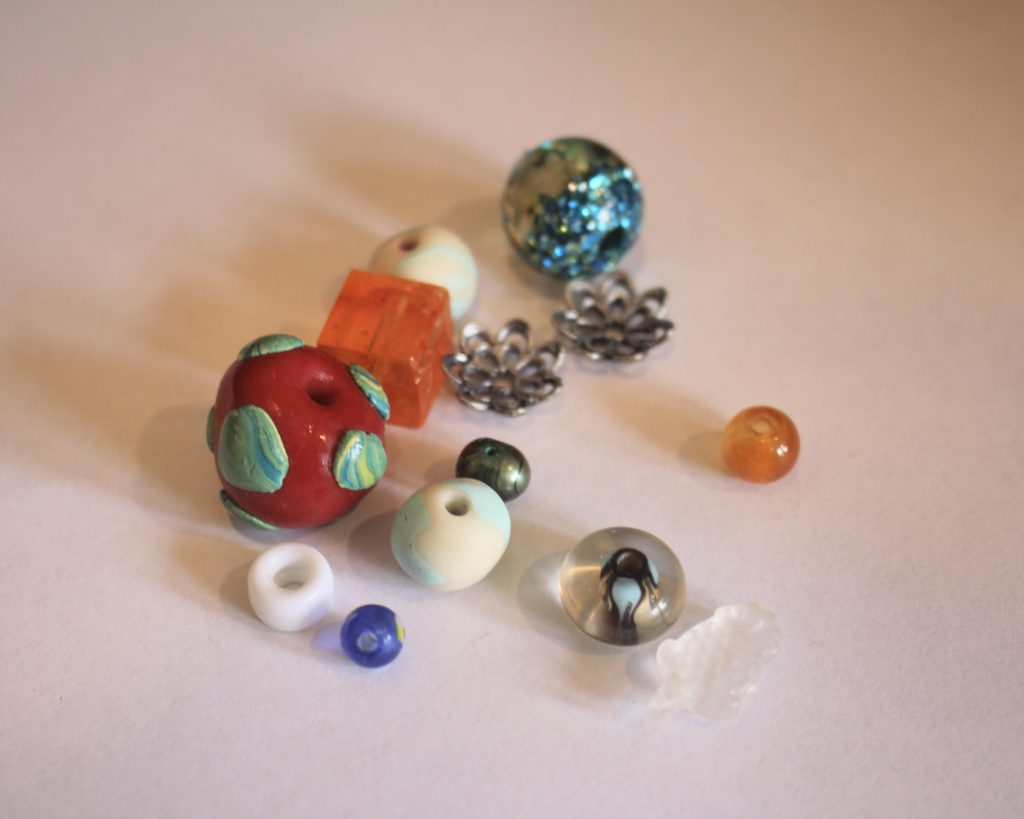
You can get a selection of mixed beads here:
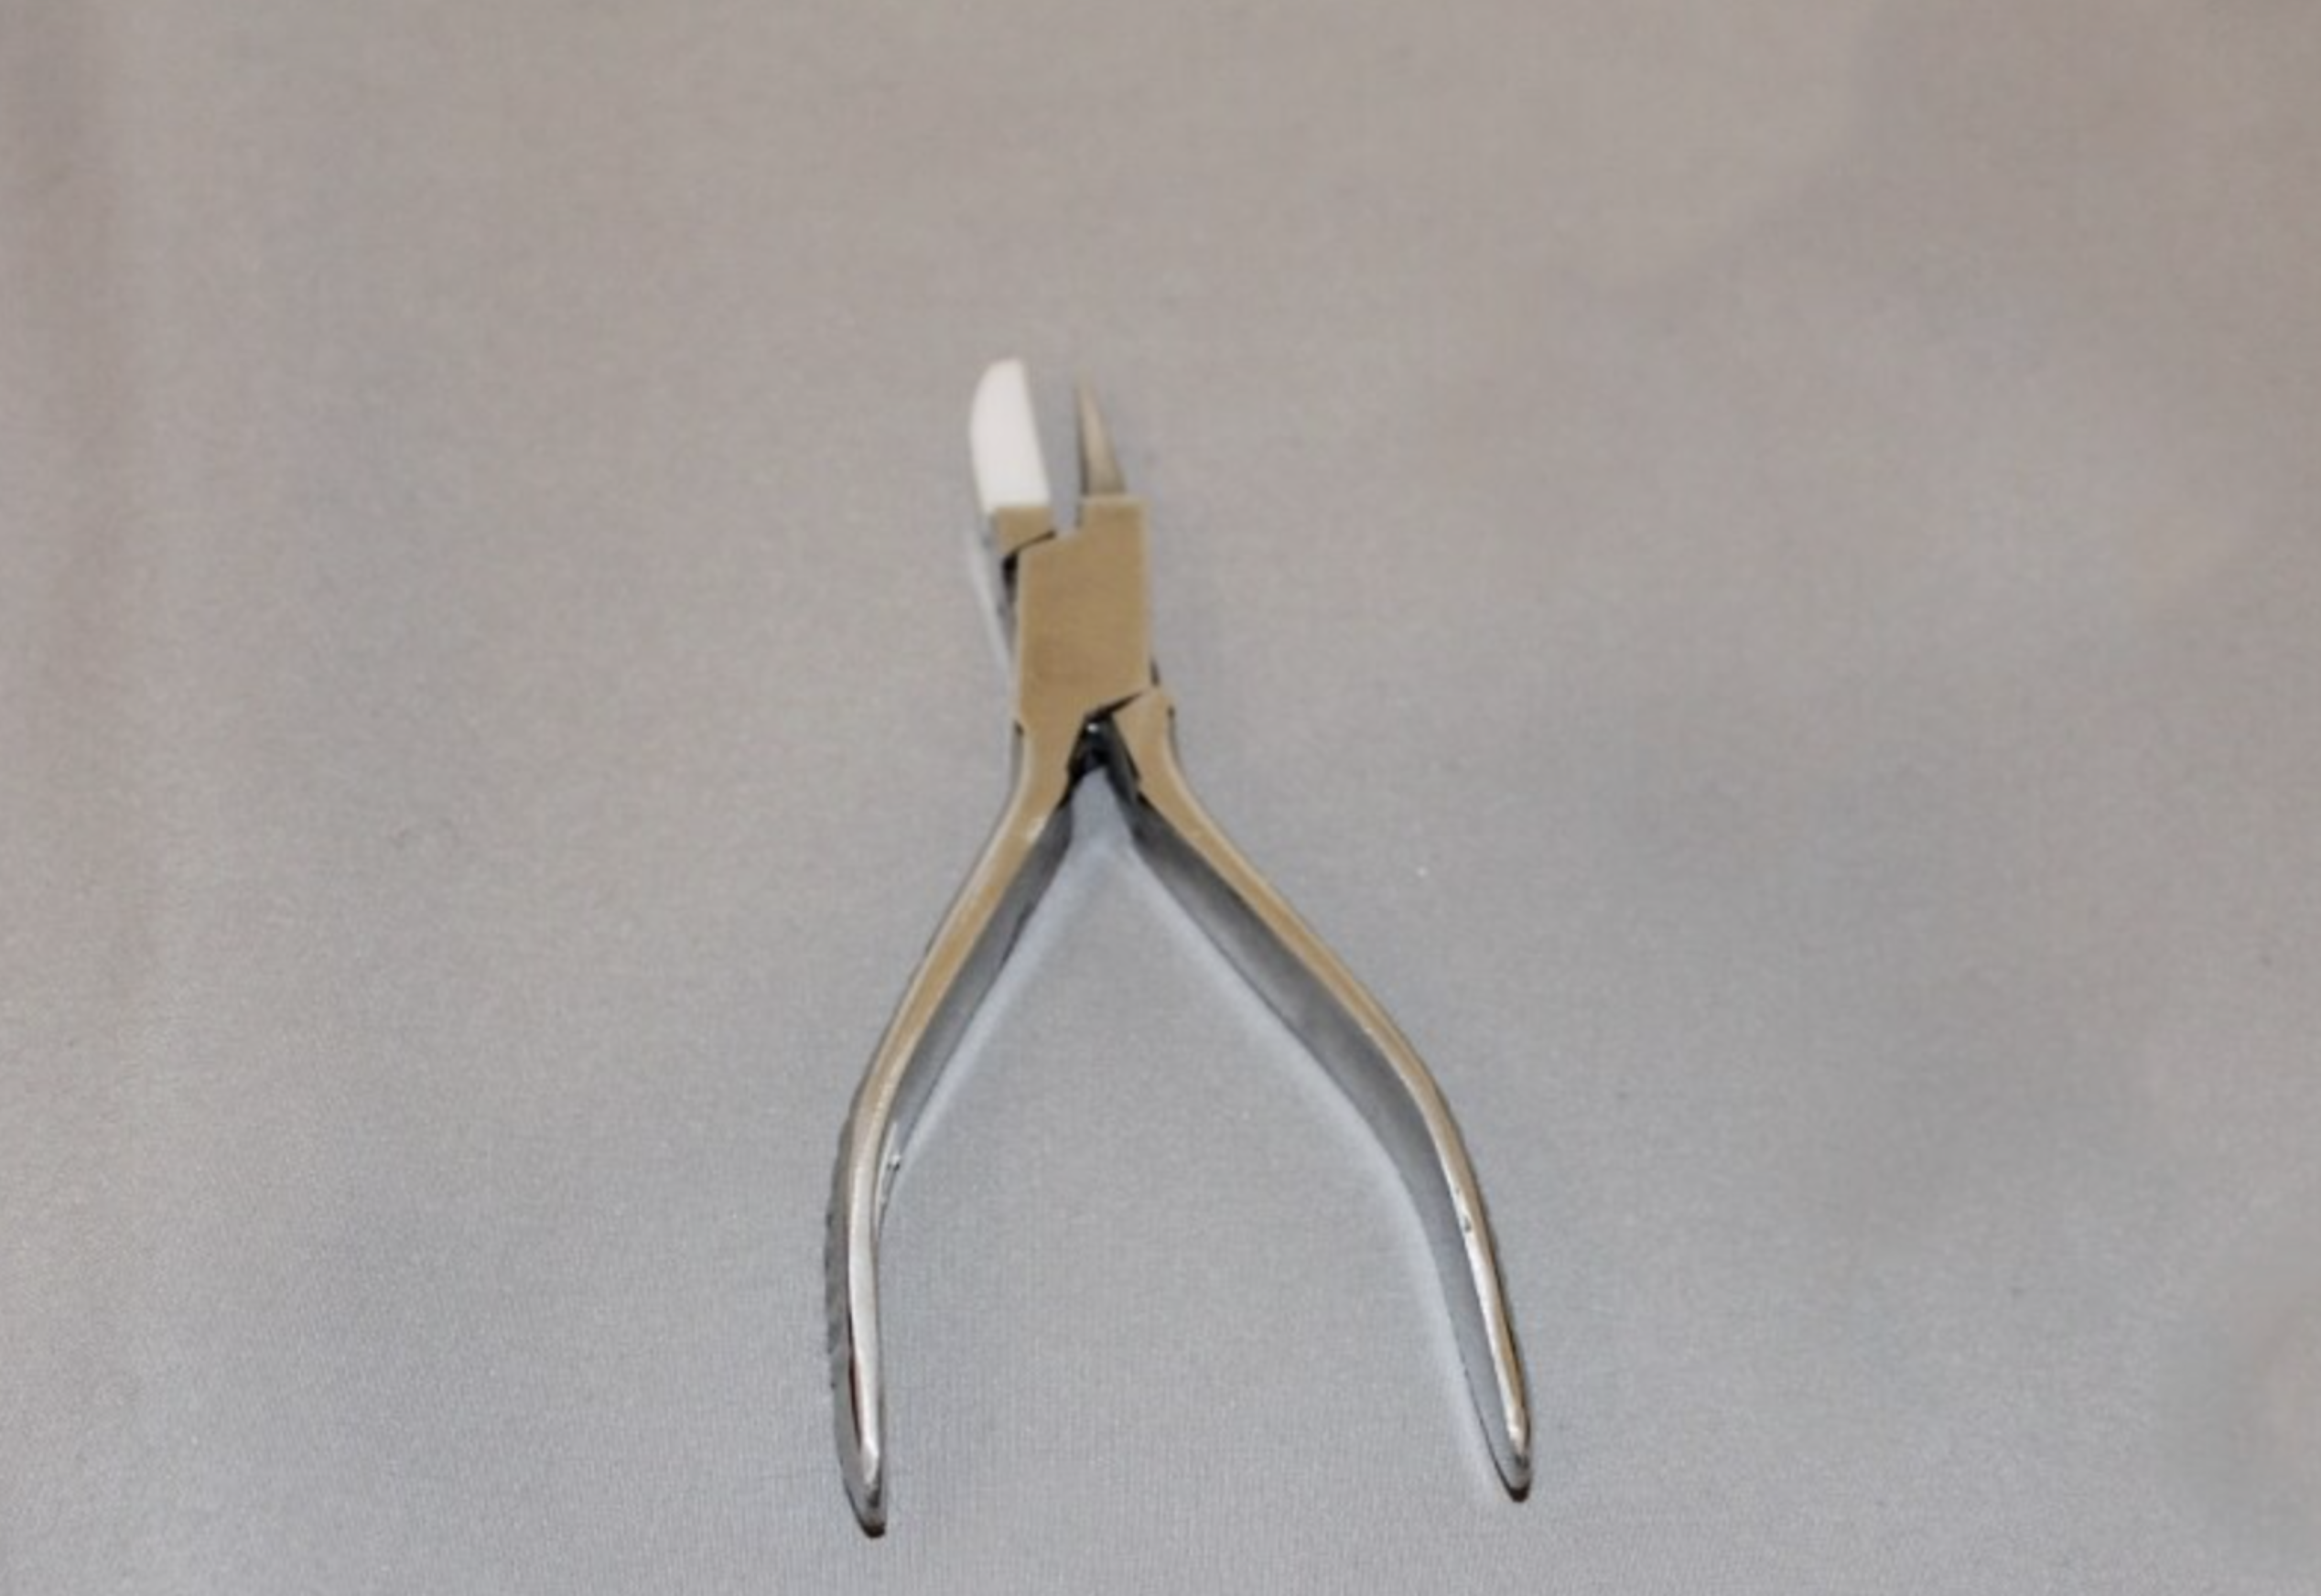
6: Pliers. I used my cutting pliers, round flat pliers, parallel pliers and flat nose pliers for this project.

You can get cutting pliers here:
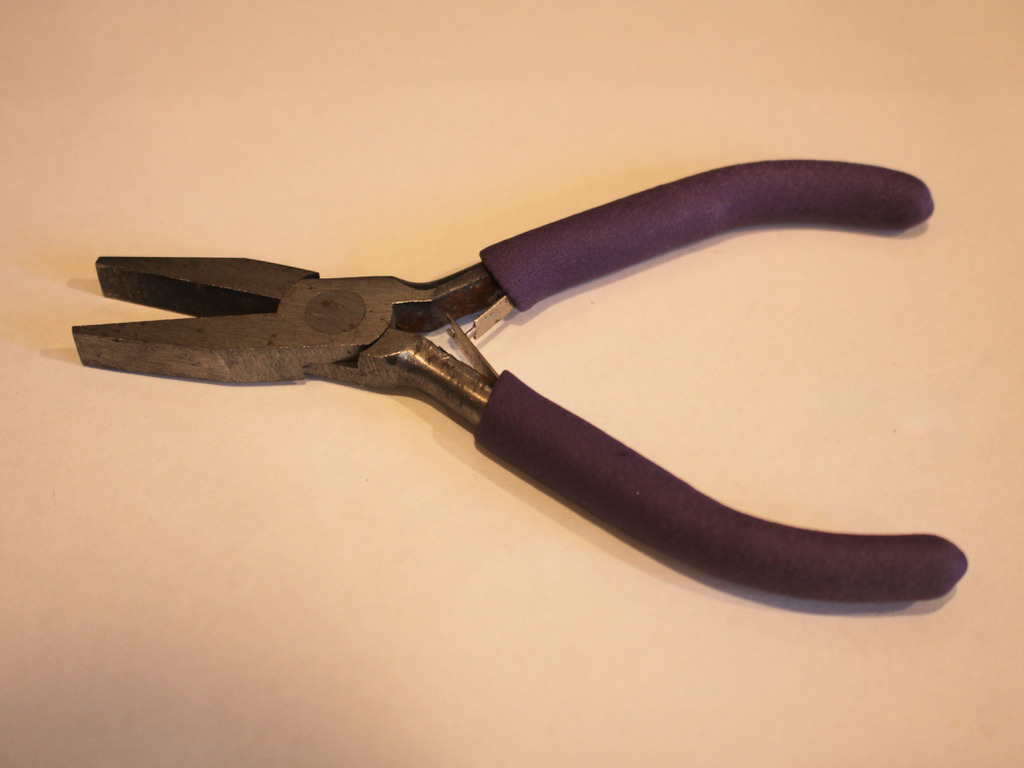
You can get flat nose pliers here:
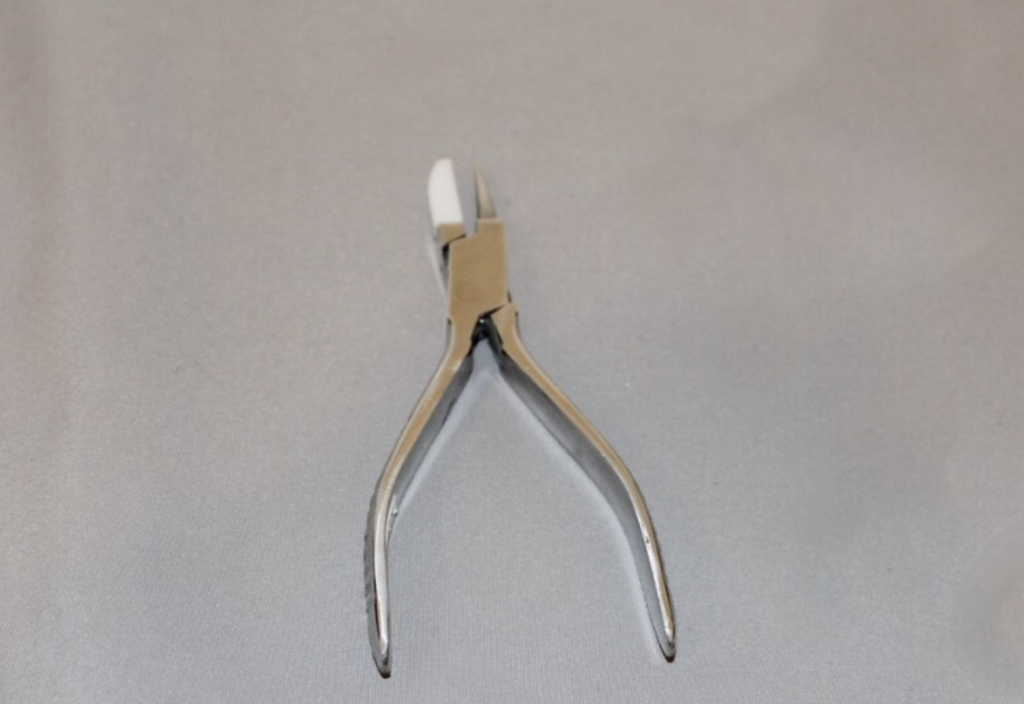
You can get round-flat nose pliers here:

You can get parallel pliers here:
Follow these steps to make your unique beaded bag charm:
1: Add a jump ring to the top of the charm if it doesn’t already have one.
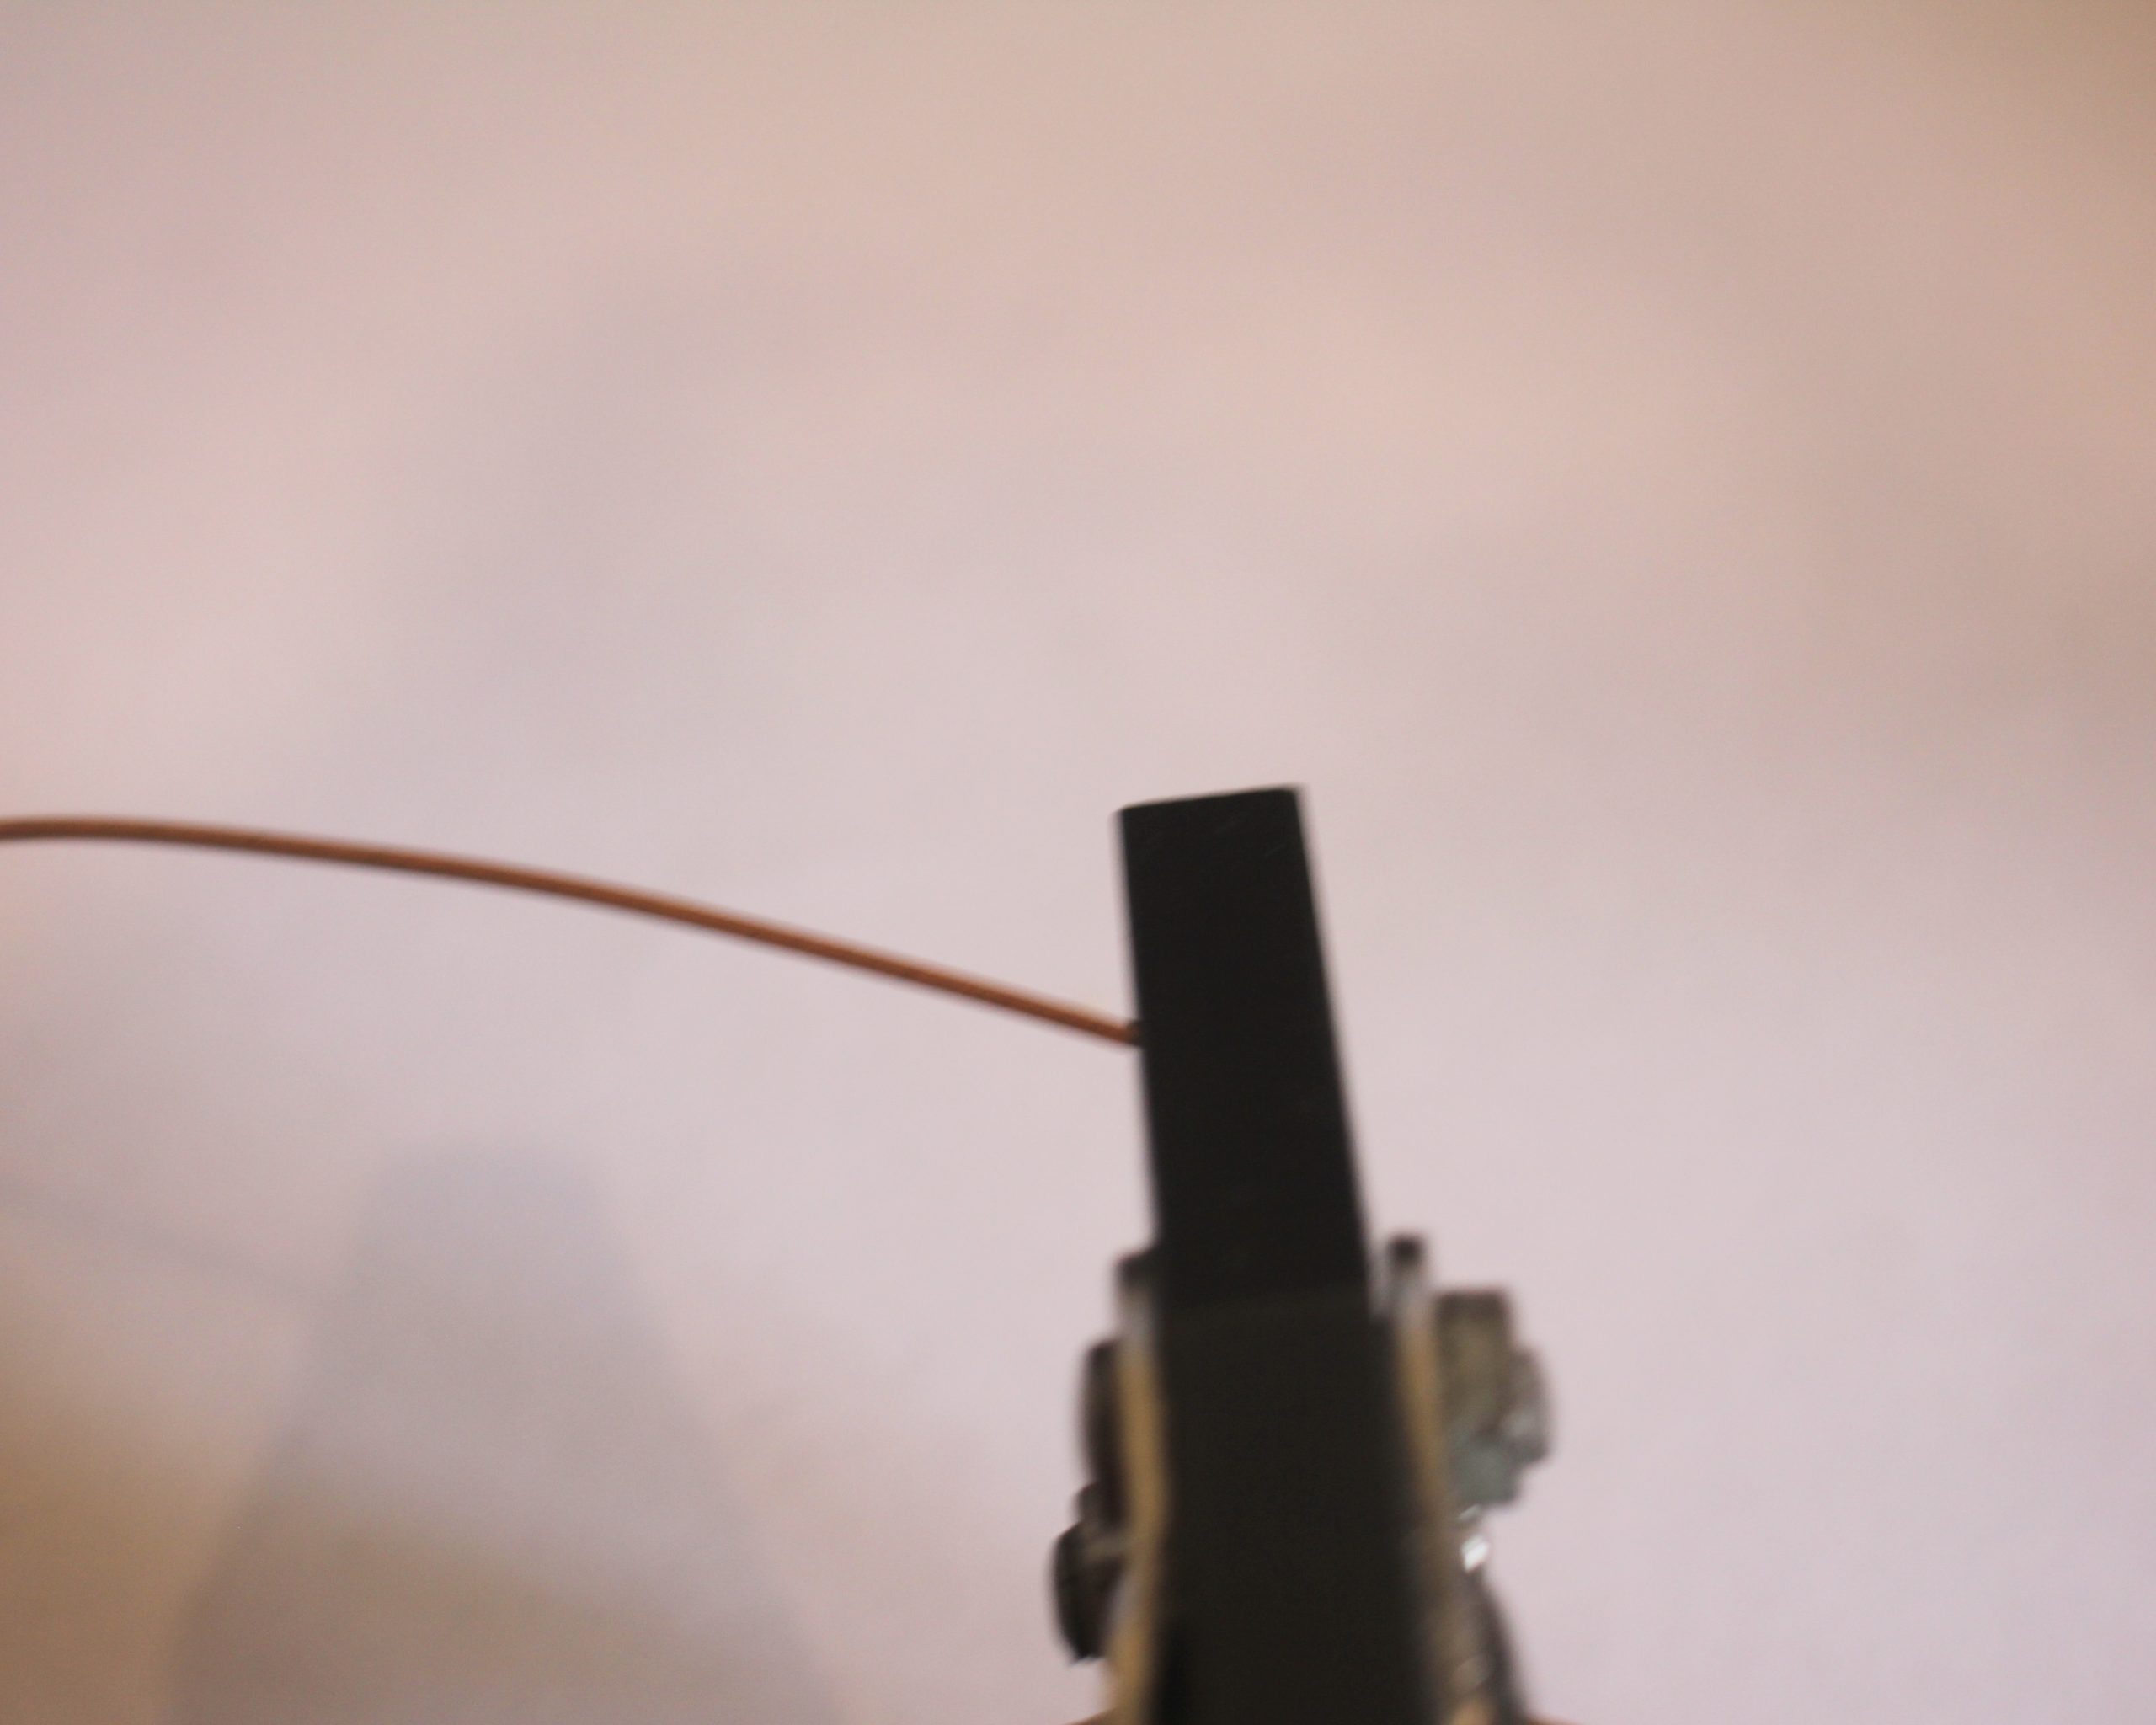
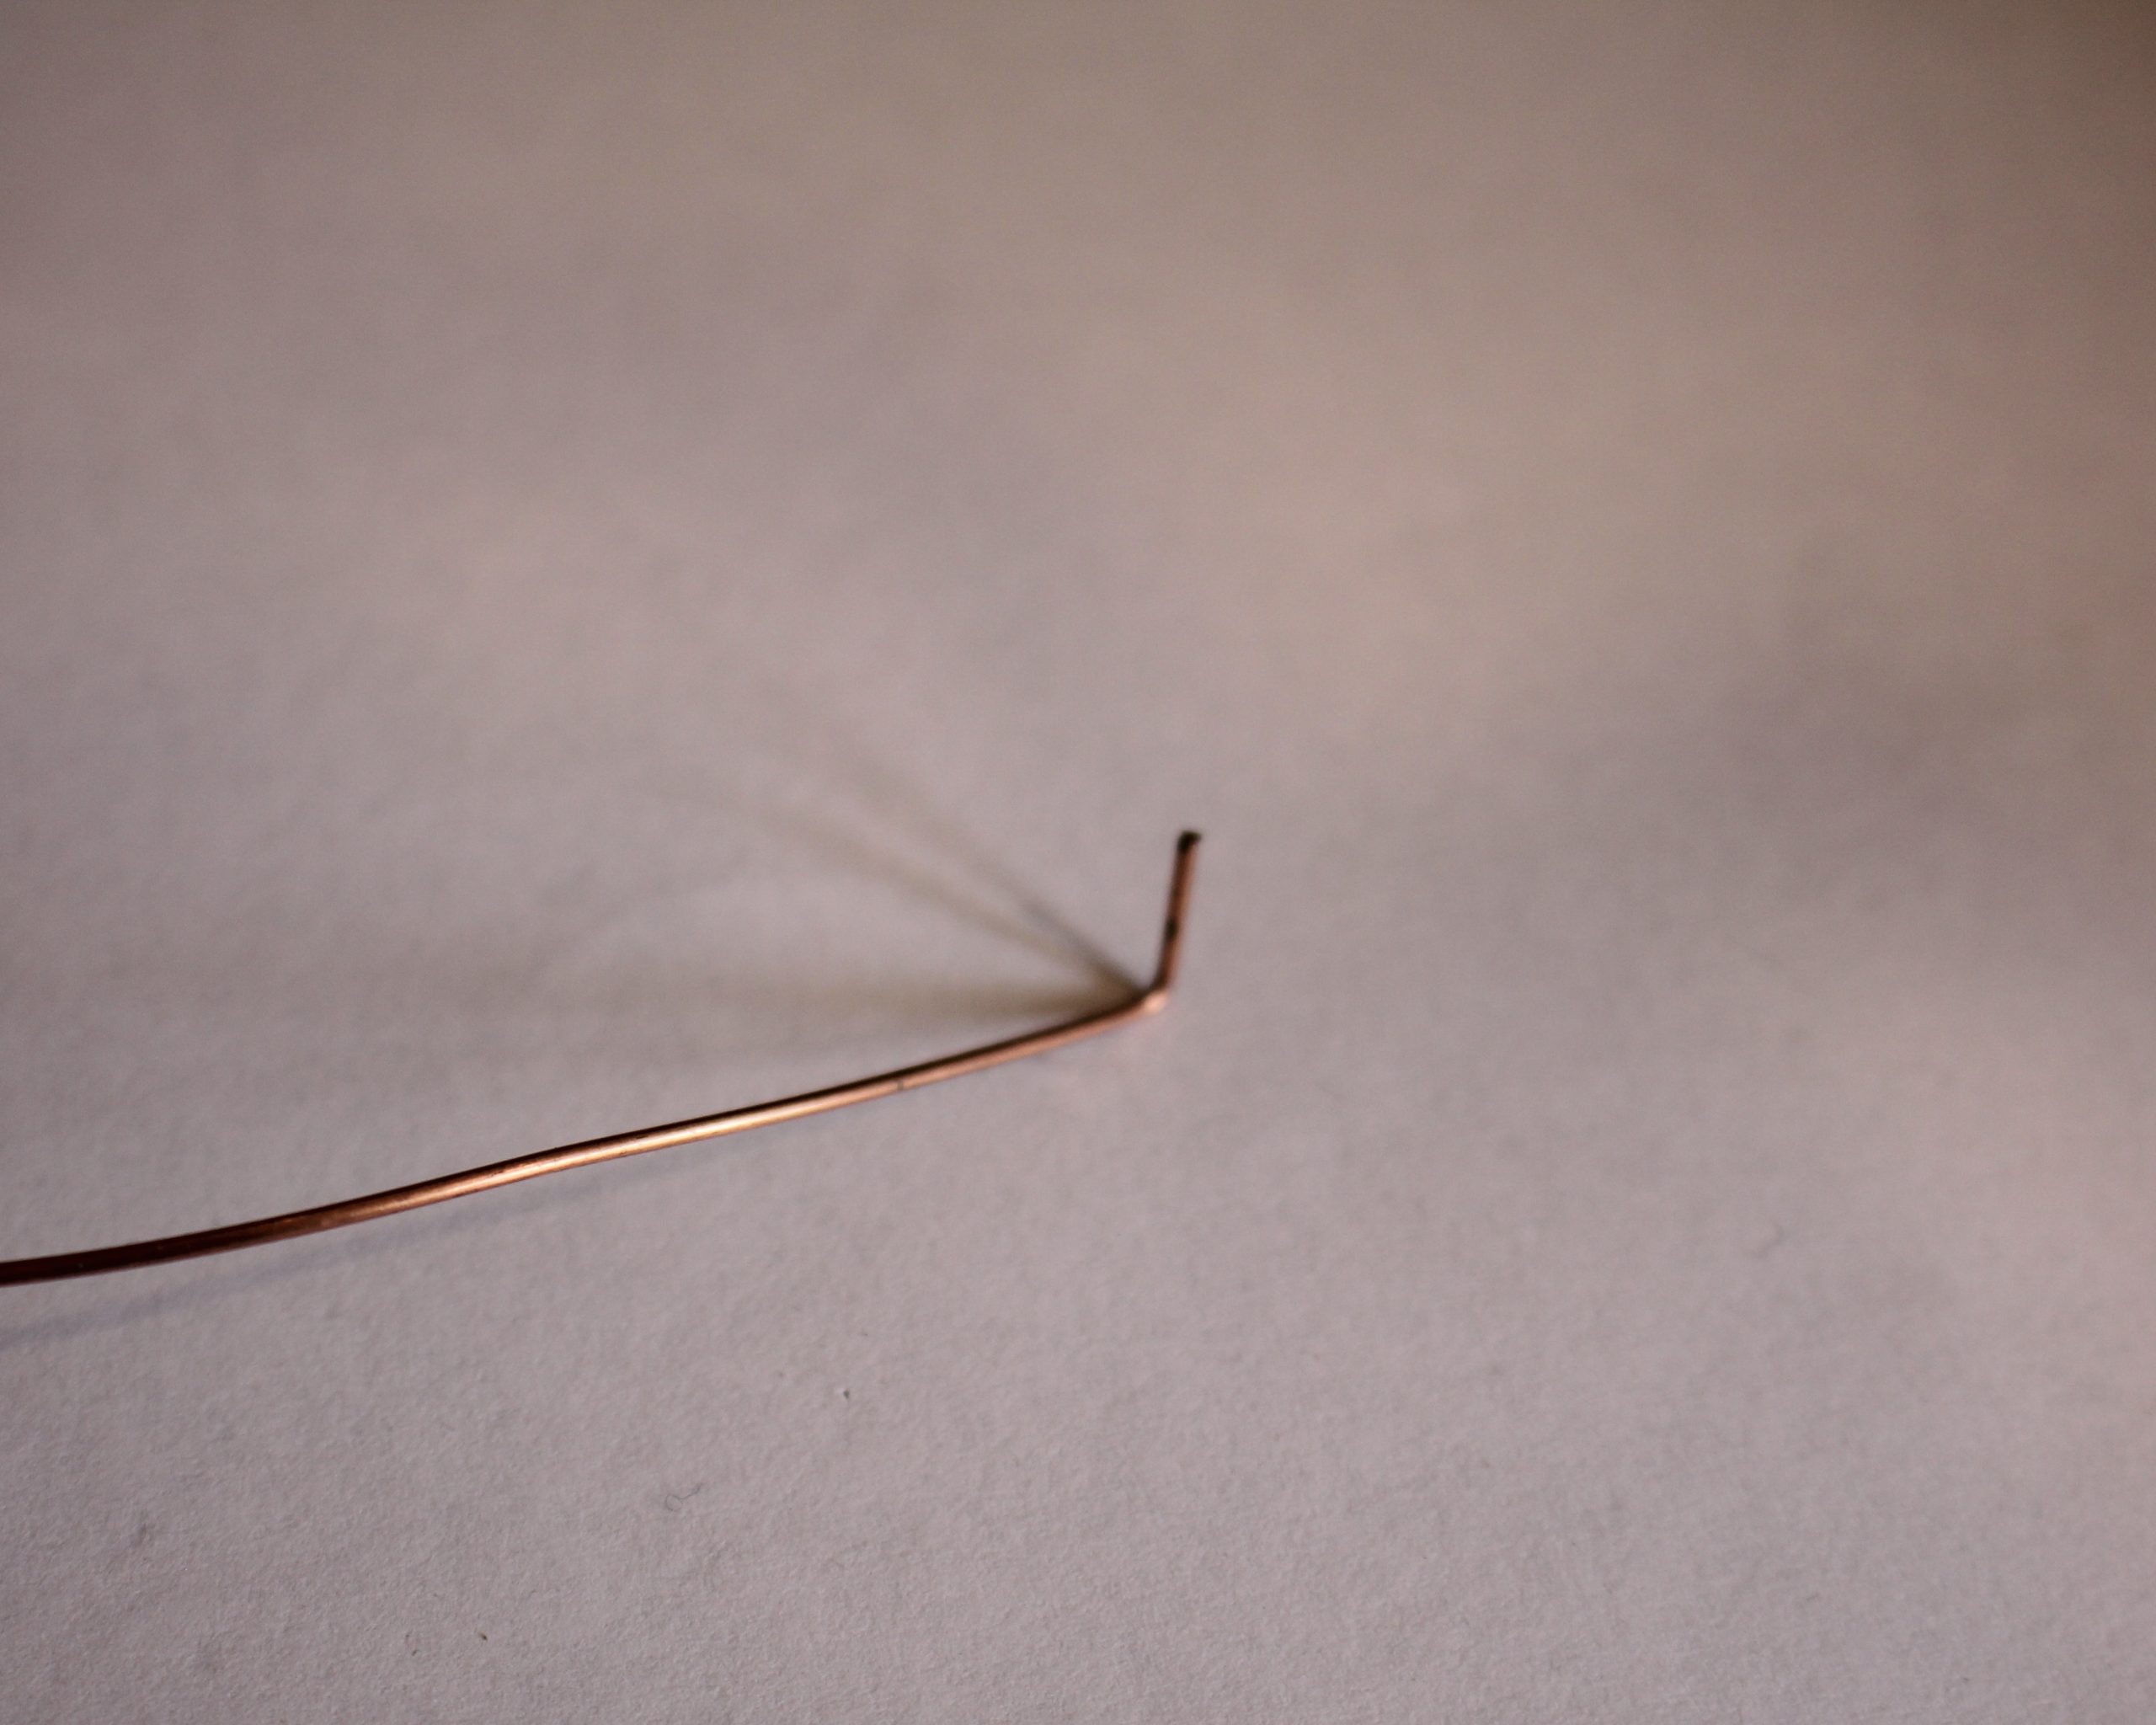
2: Take the wire and hold form the end into a right angle using the flat nose pliers.
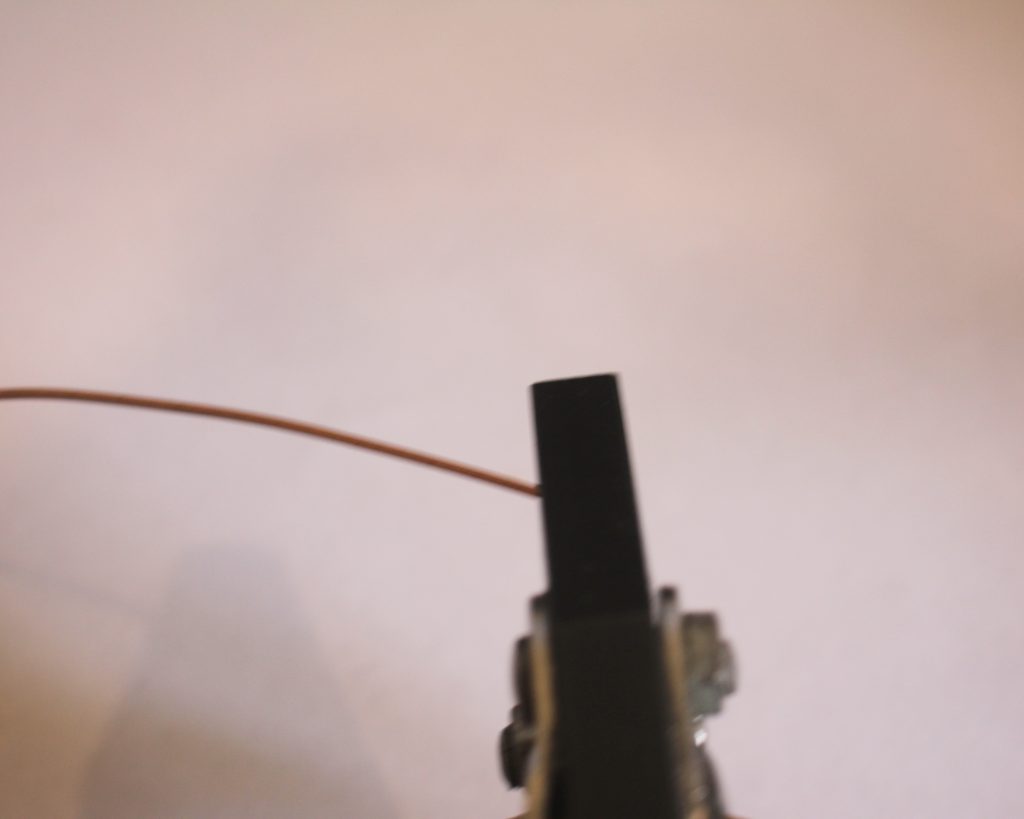
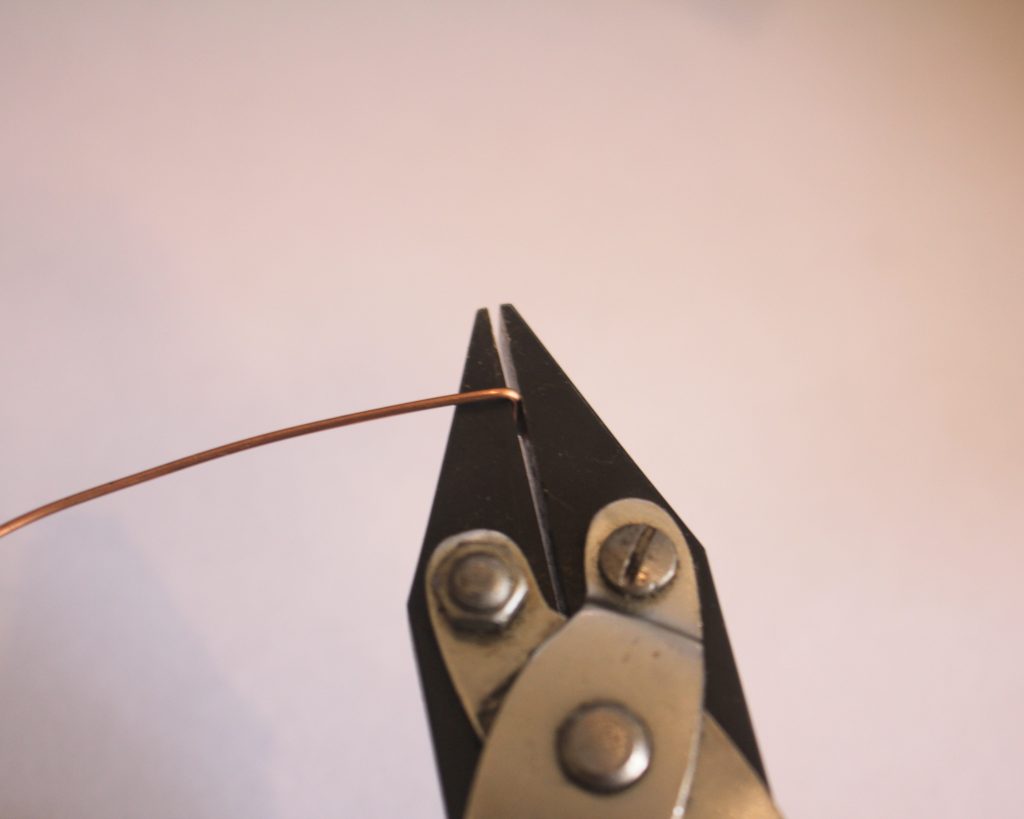
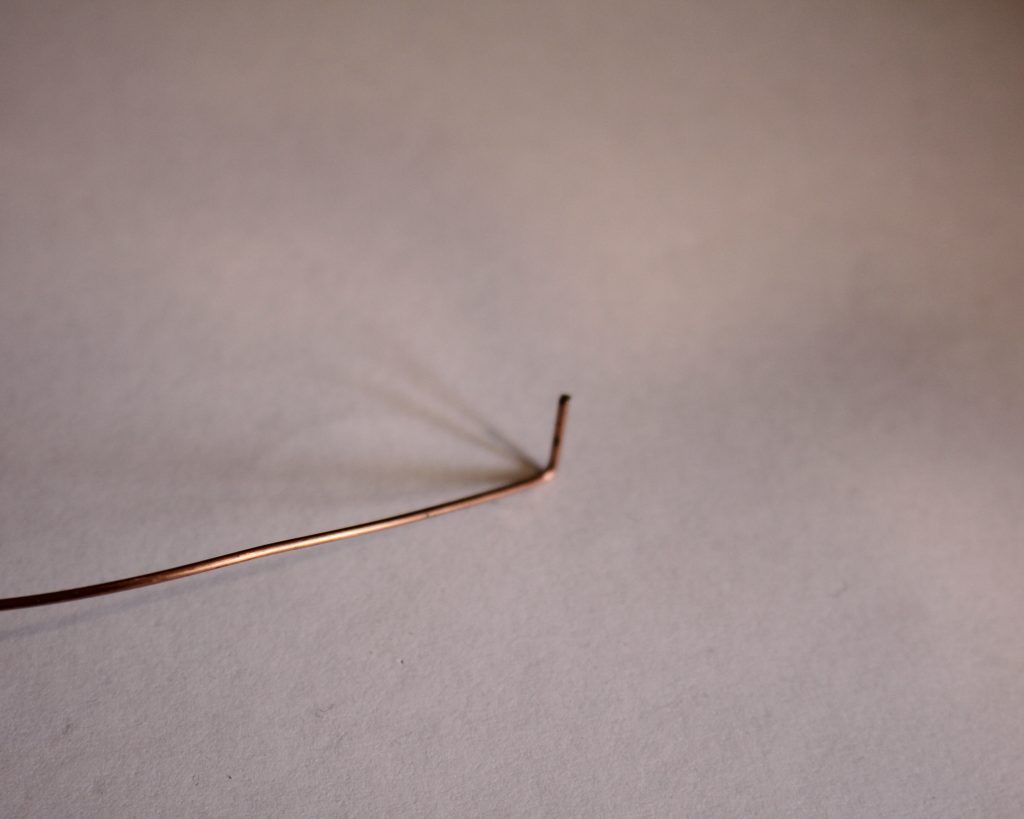
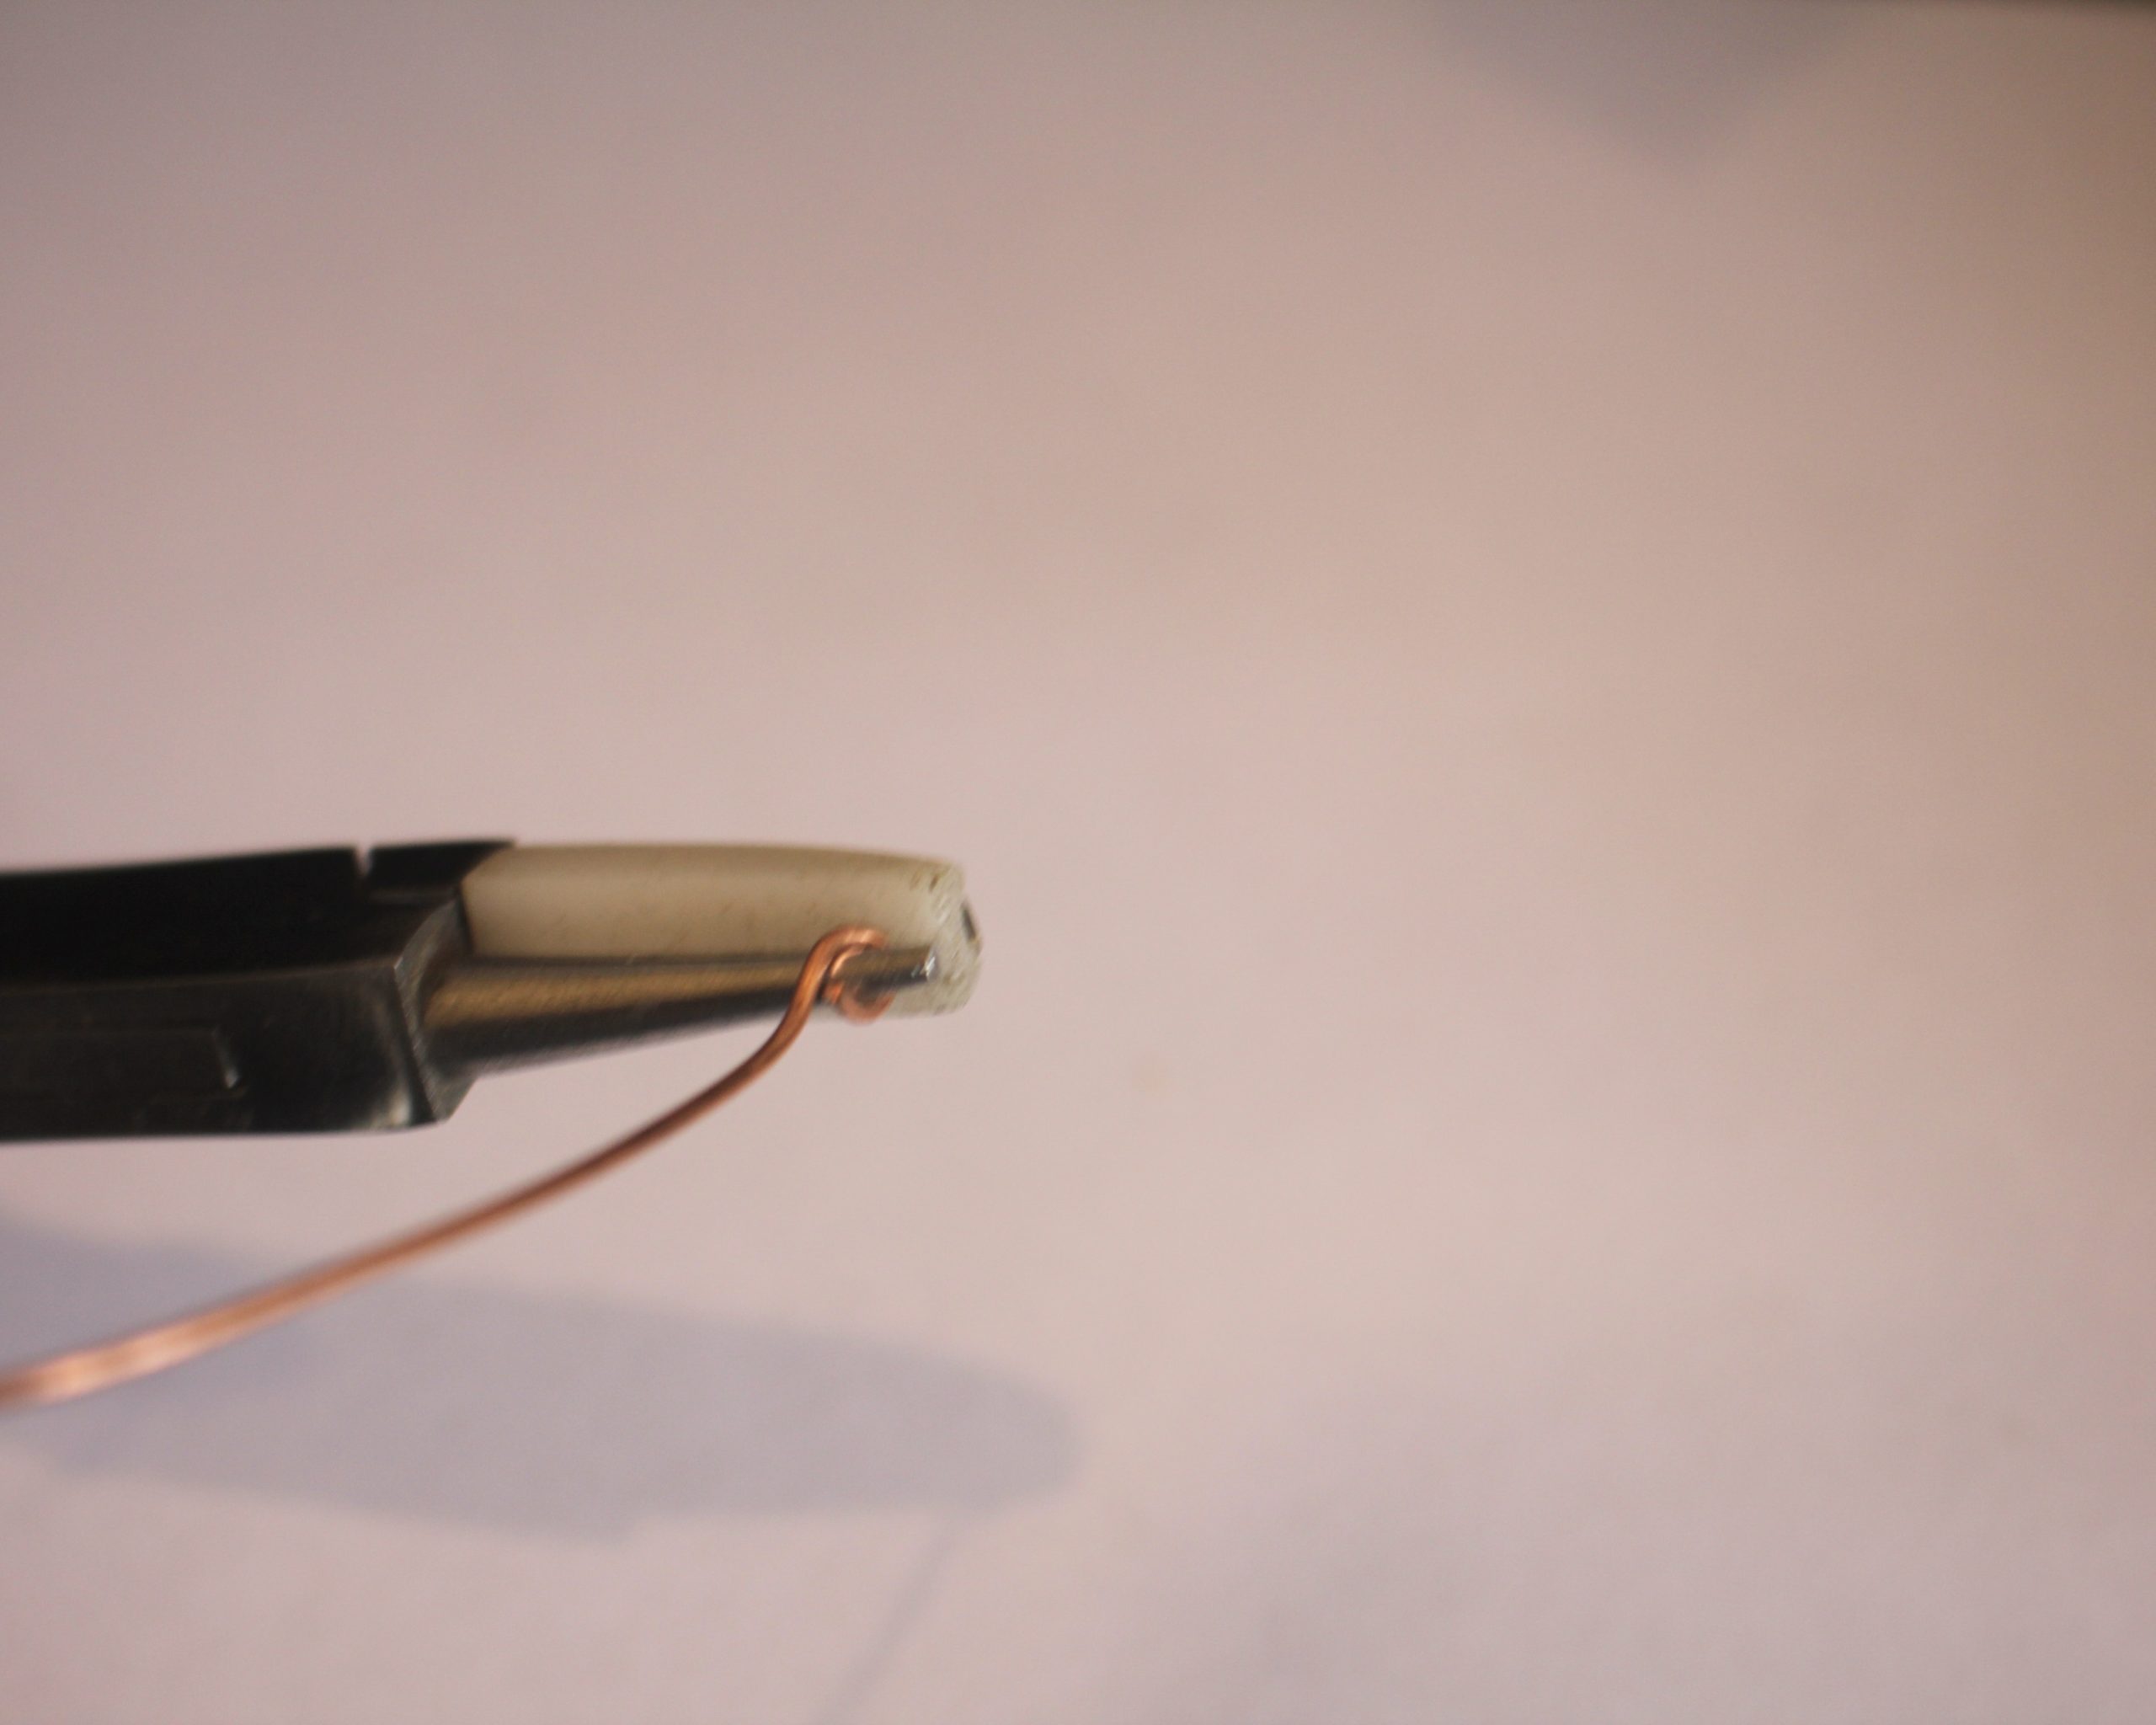
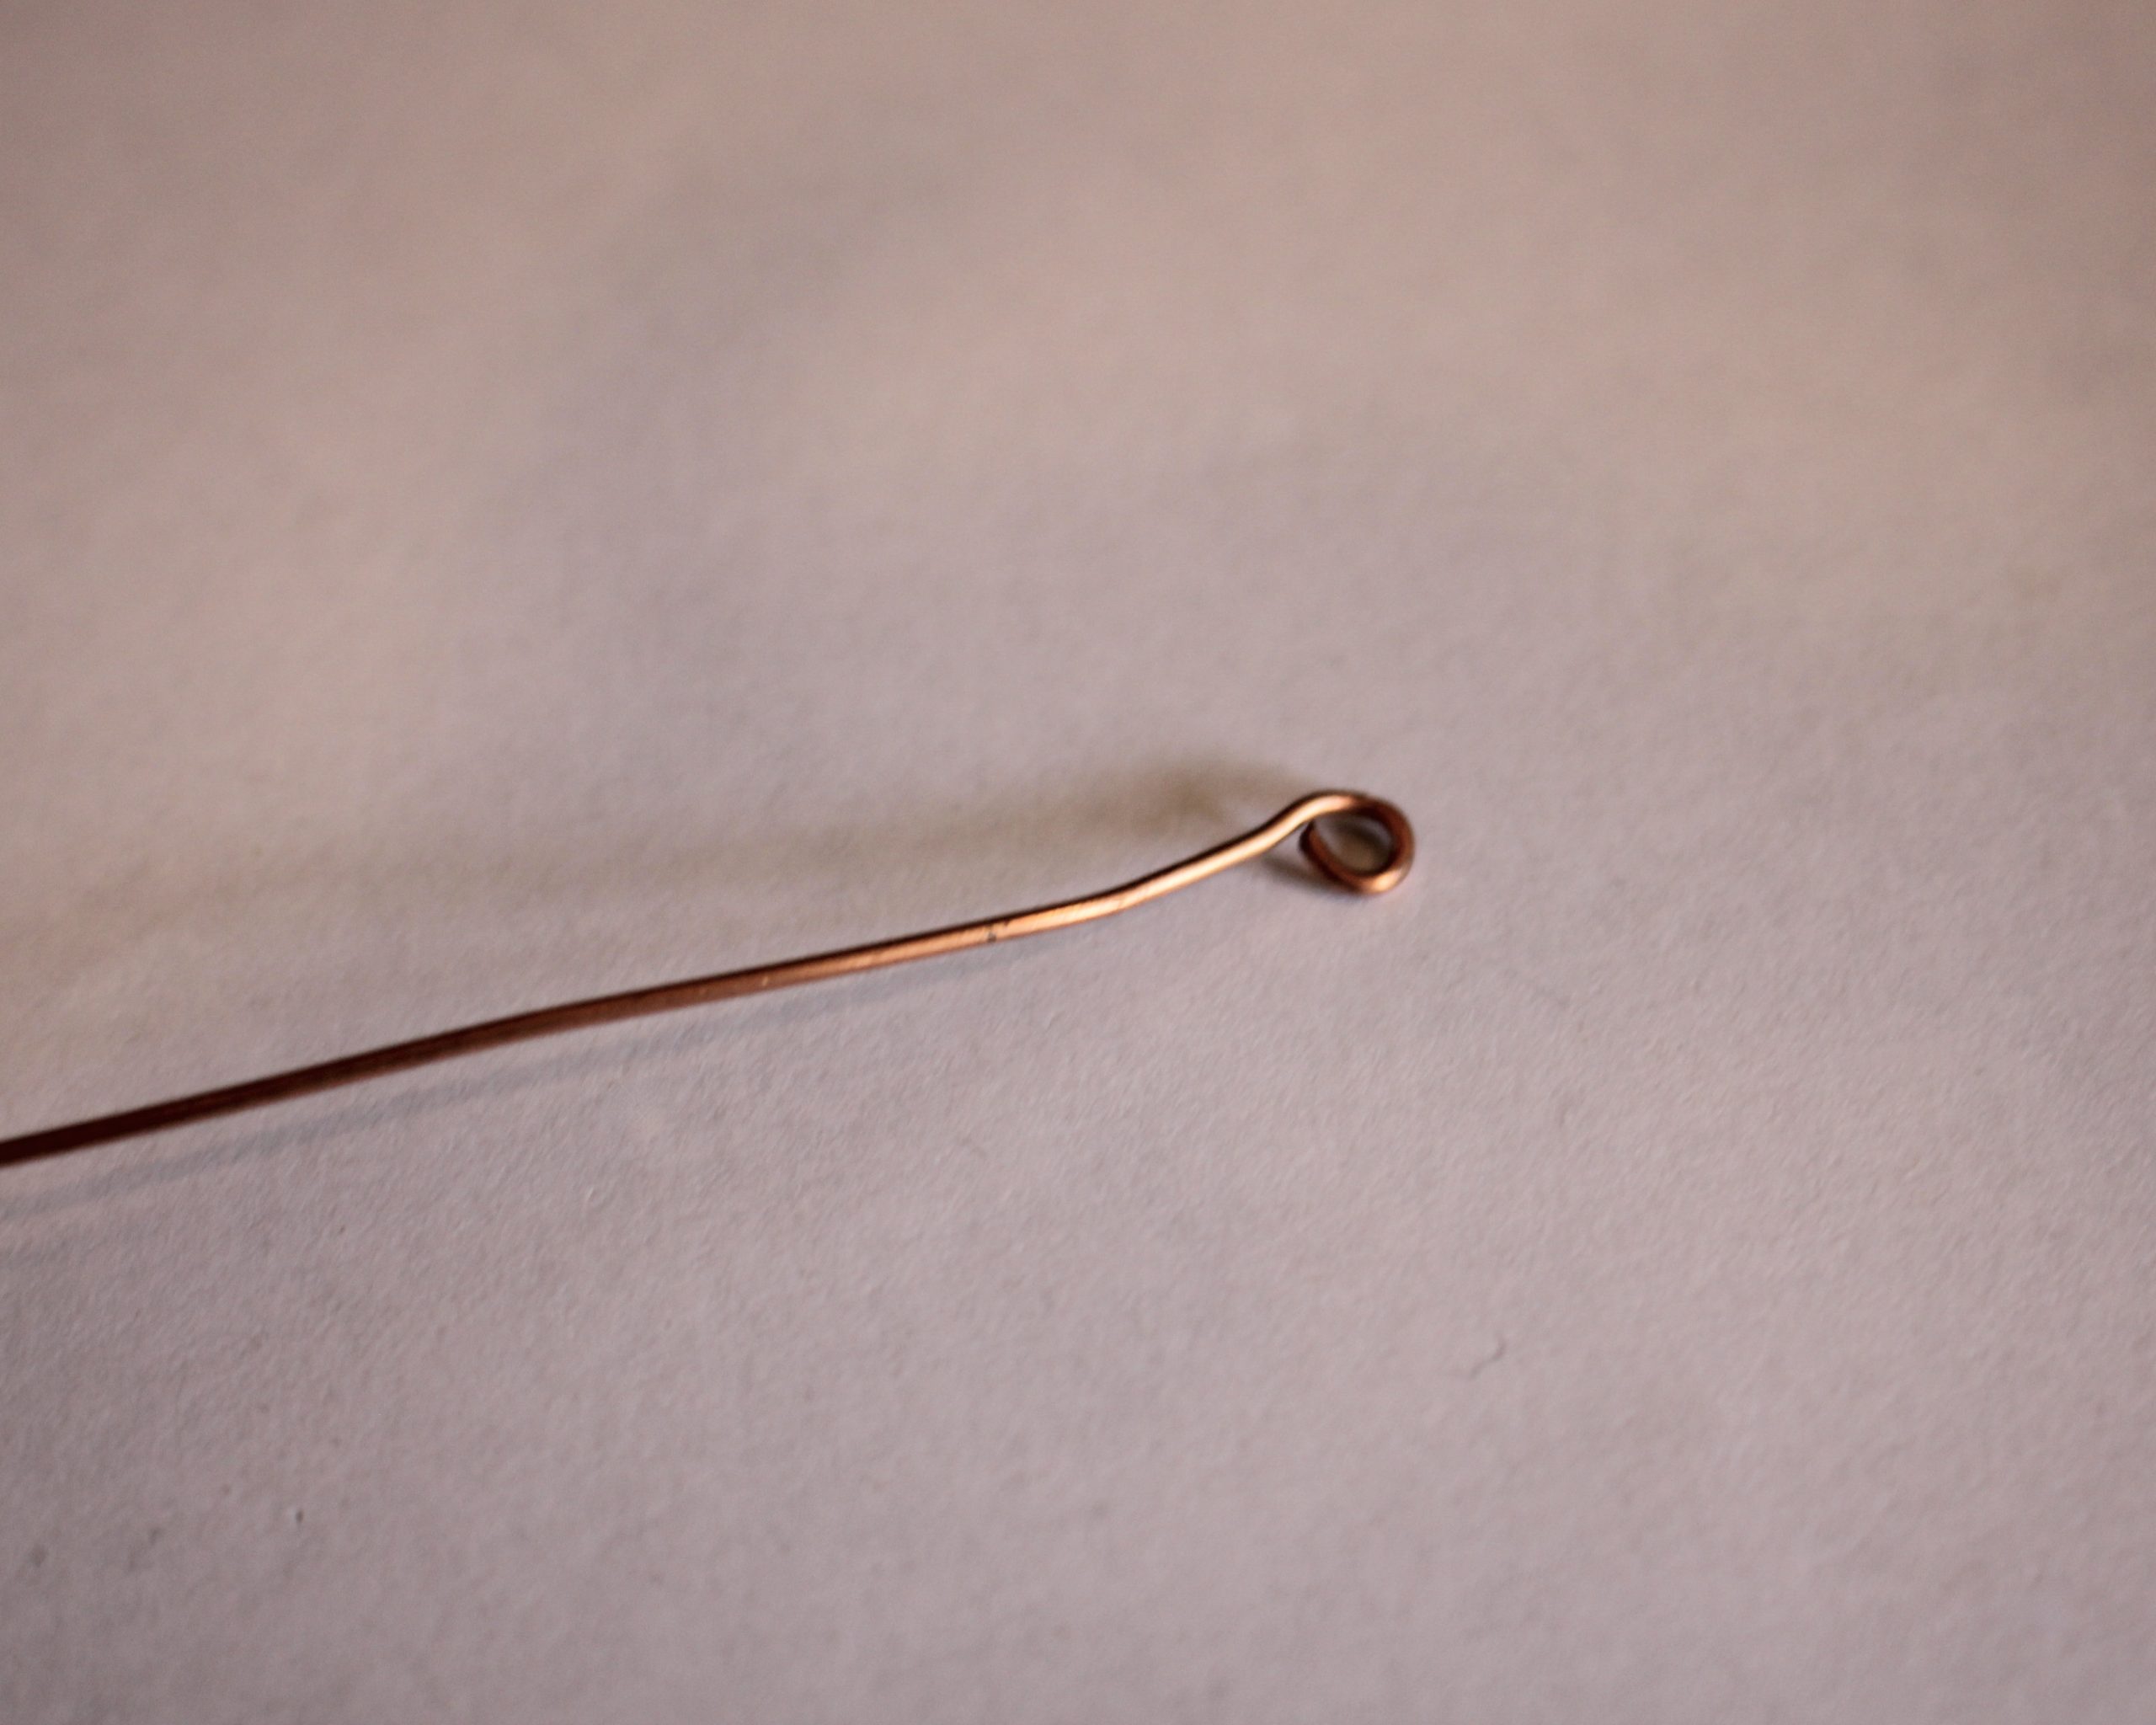
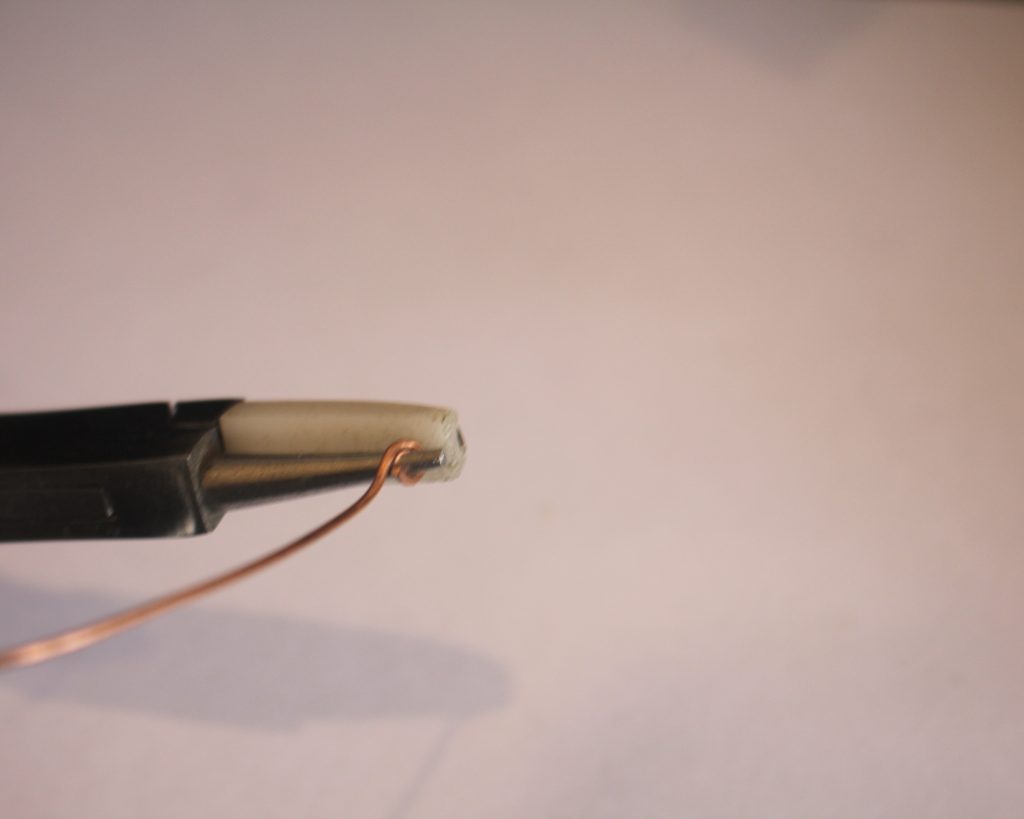
3: Use the round flat pliers to form the bent end into a loop.
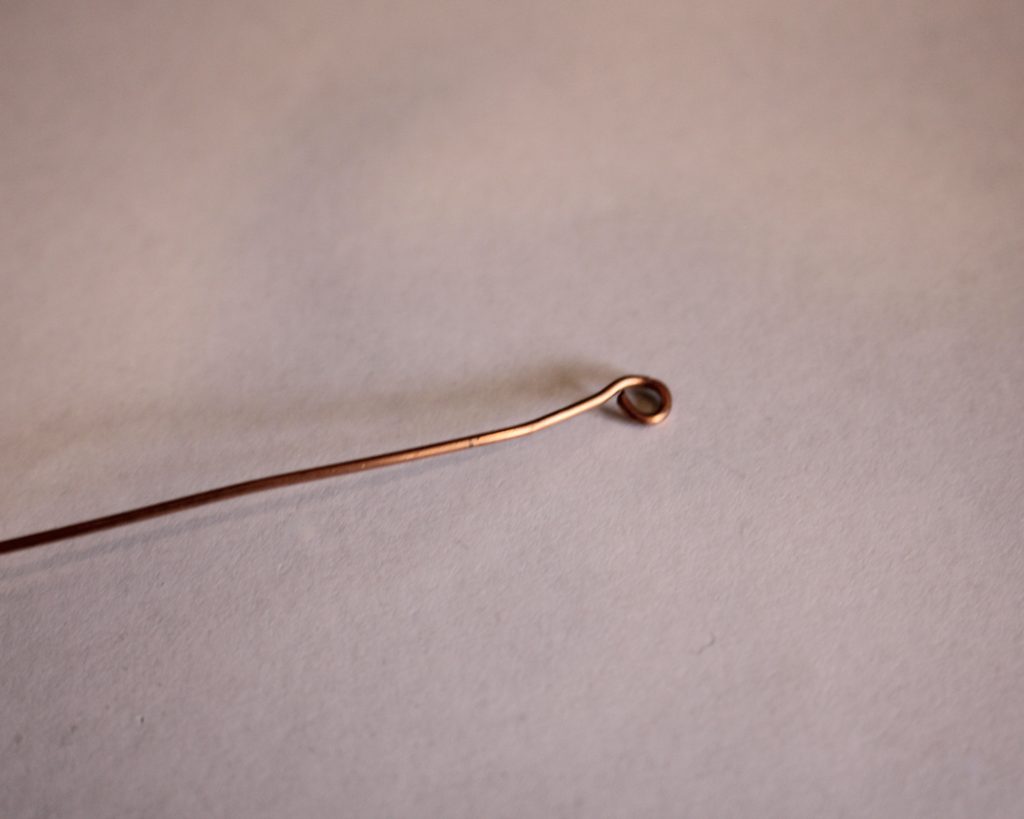
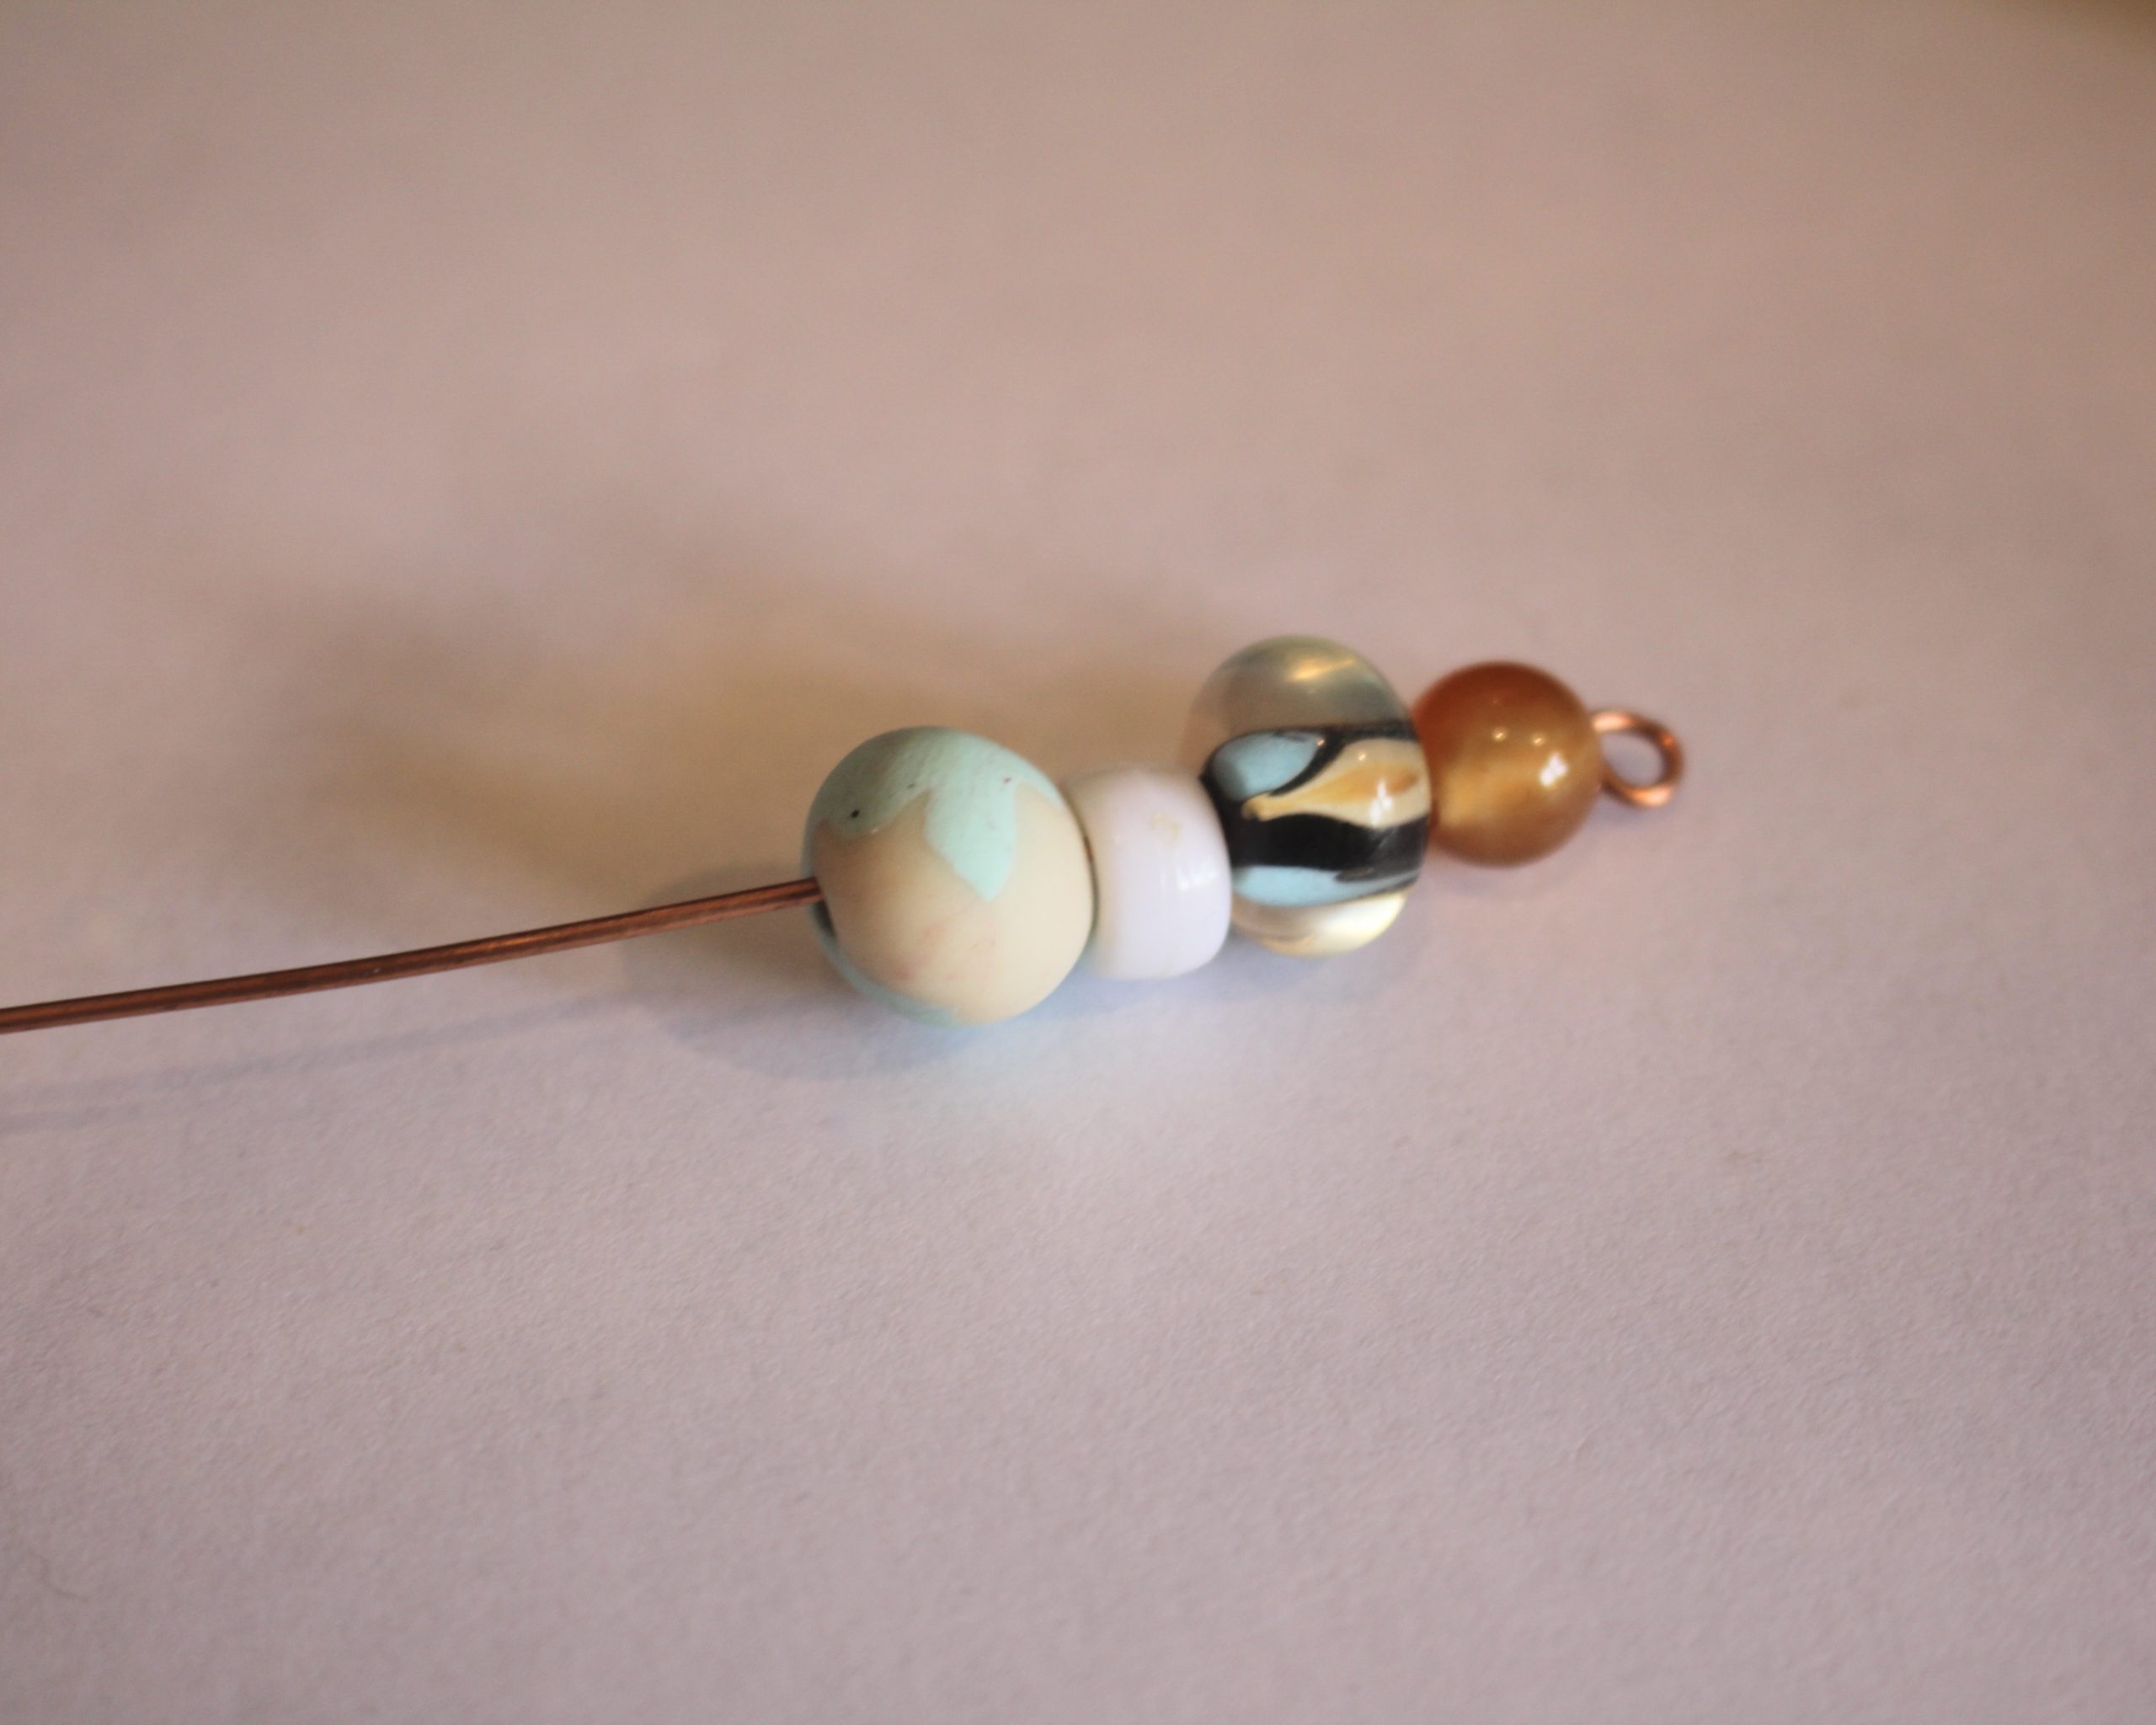
4: Begin adding beads until you have enough wire beaded to form a small loop. If you use bigger beads like I did, you will need to make a larger beaded length.
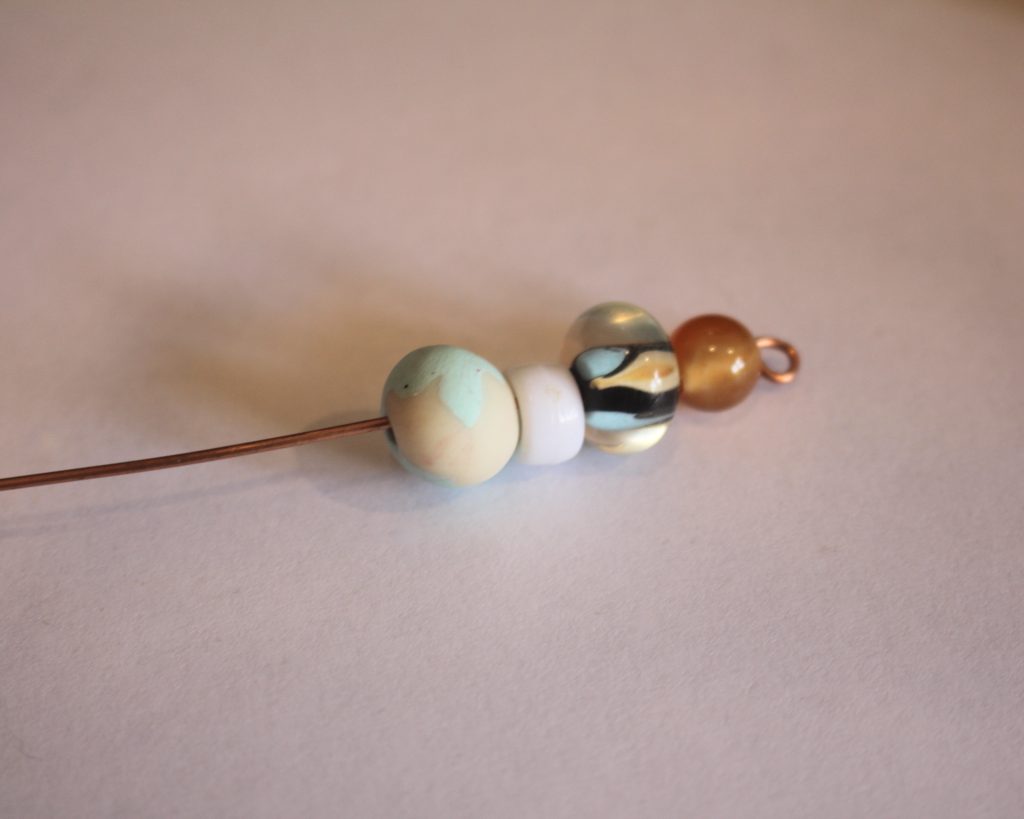
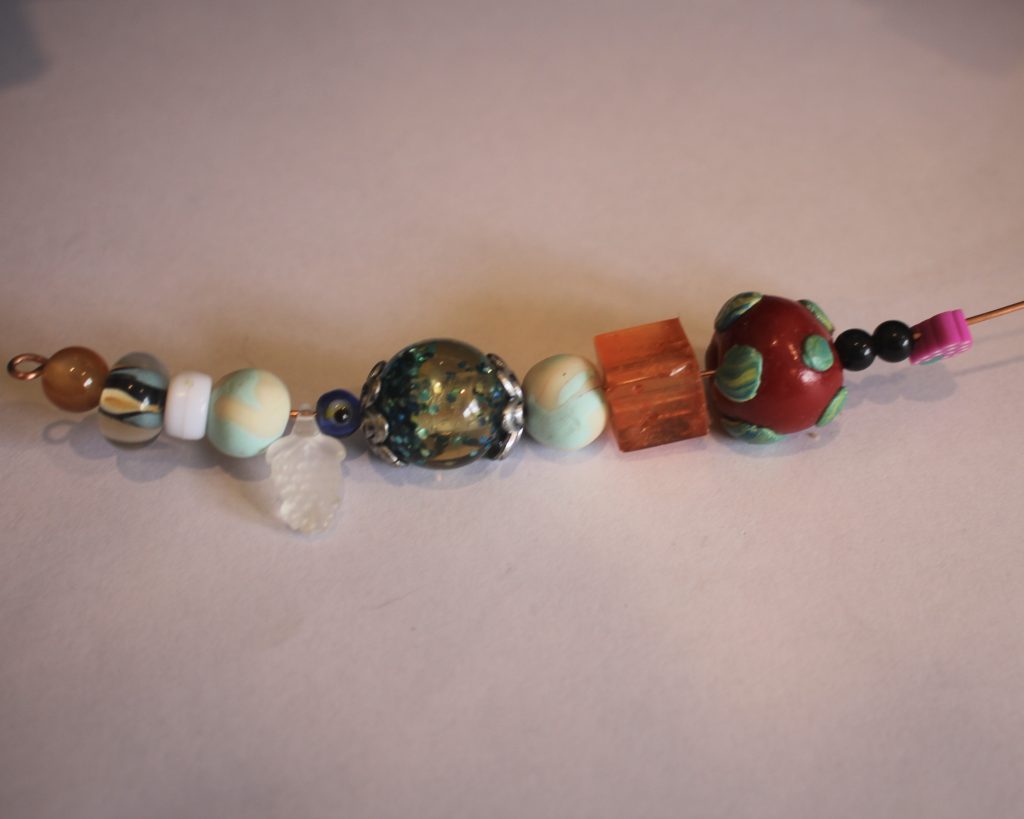
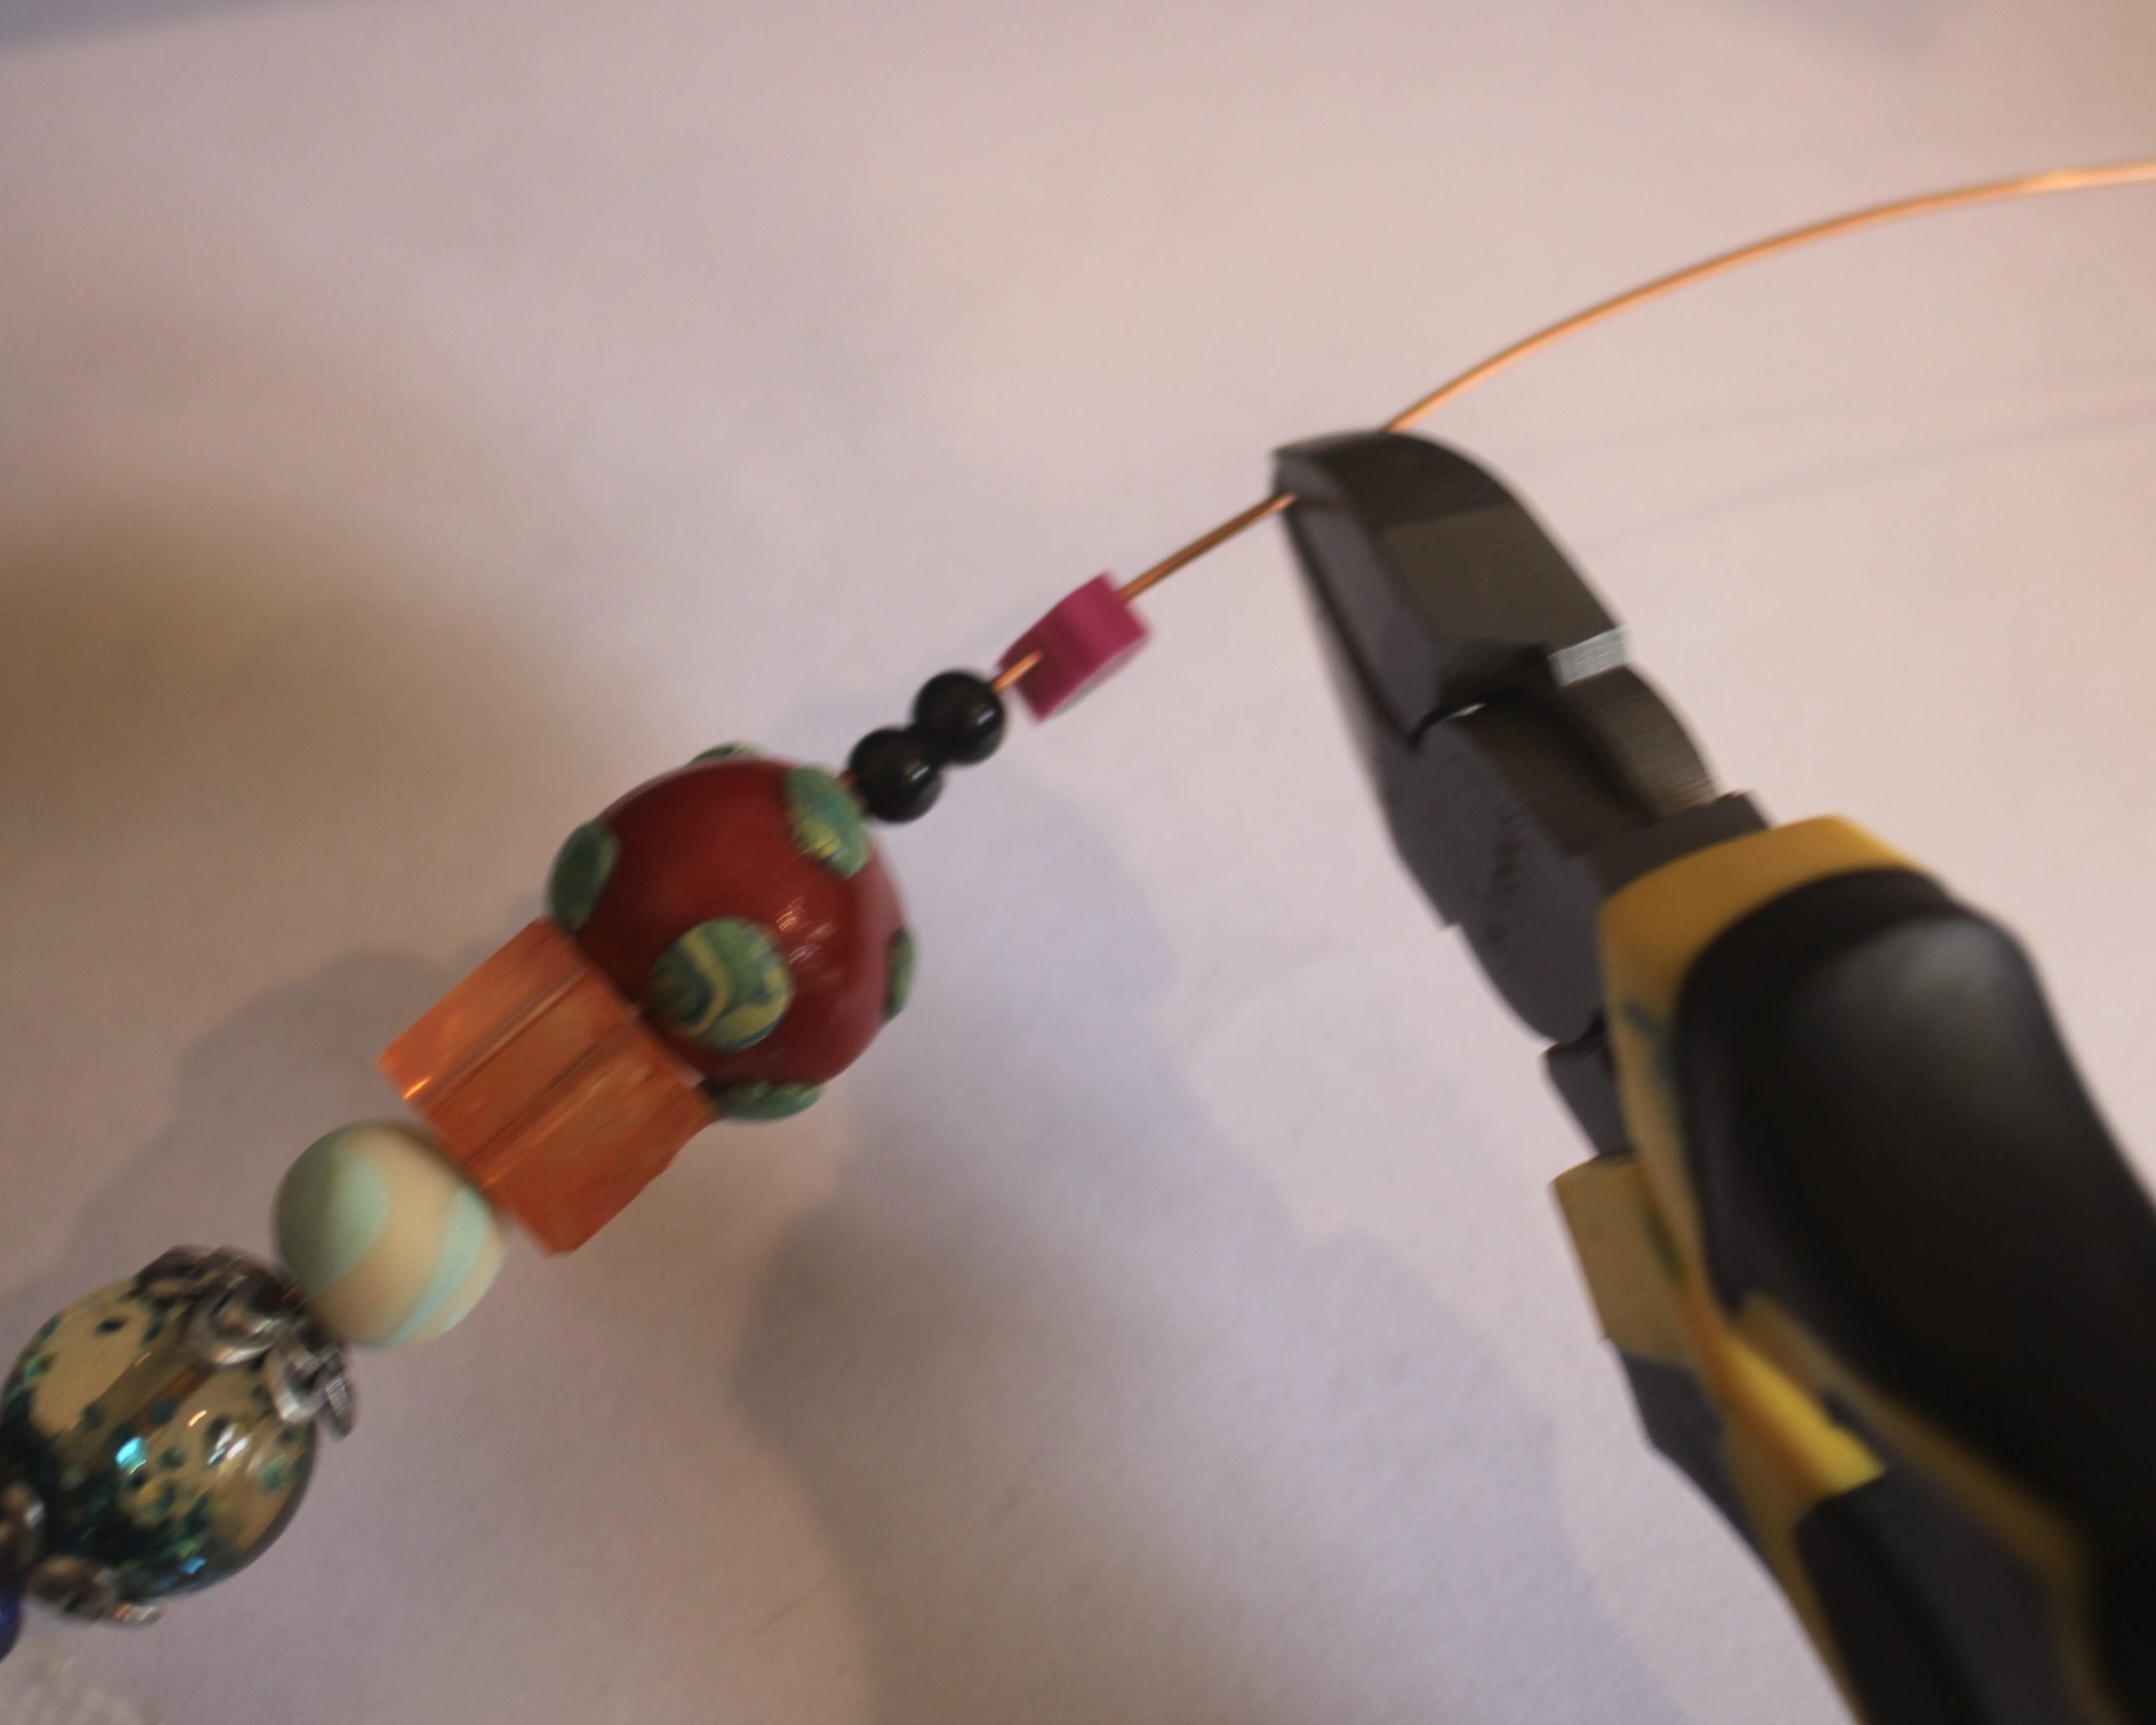
5: Trim the end of the wire using the cutting pliers.
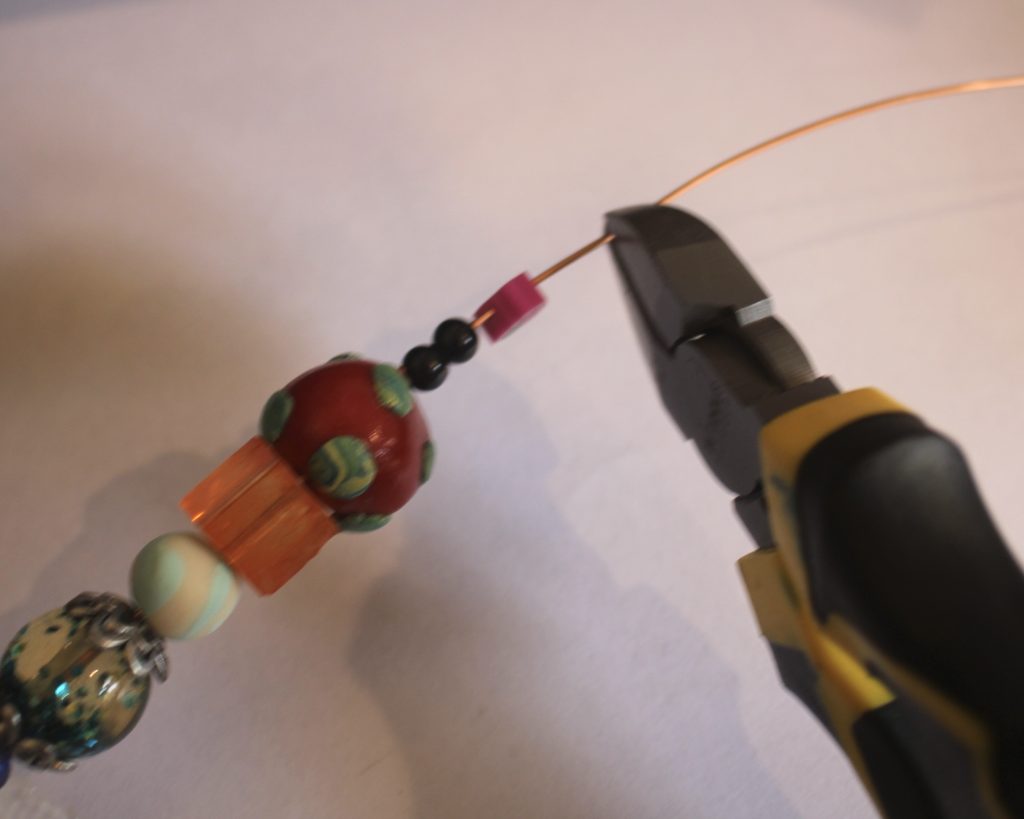
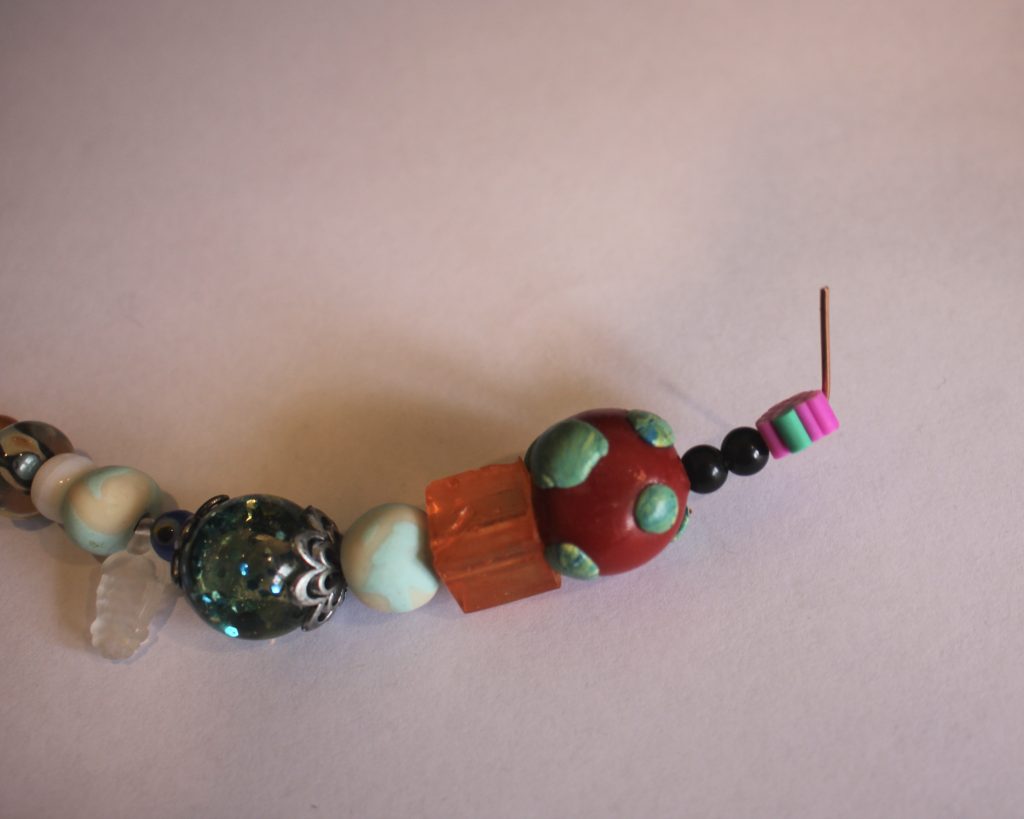
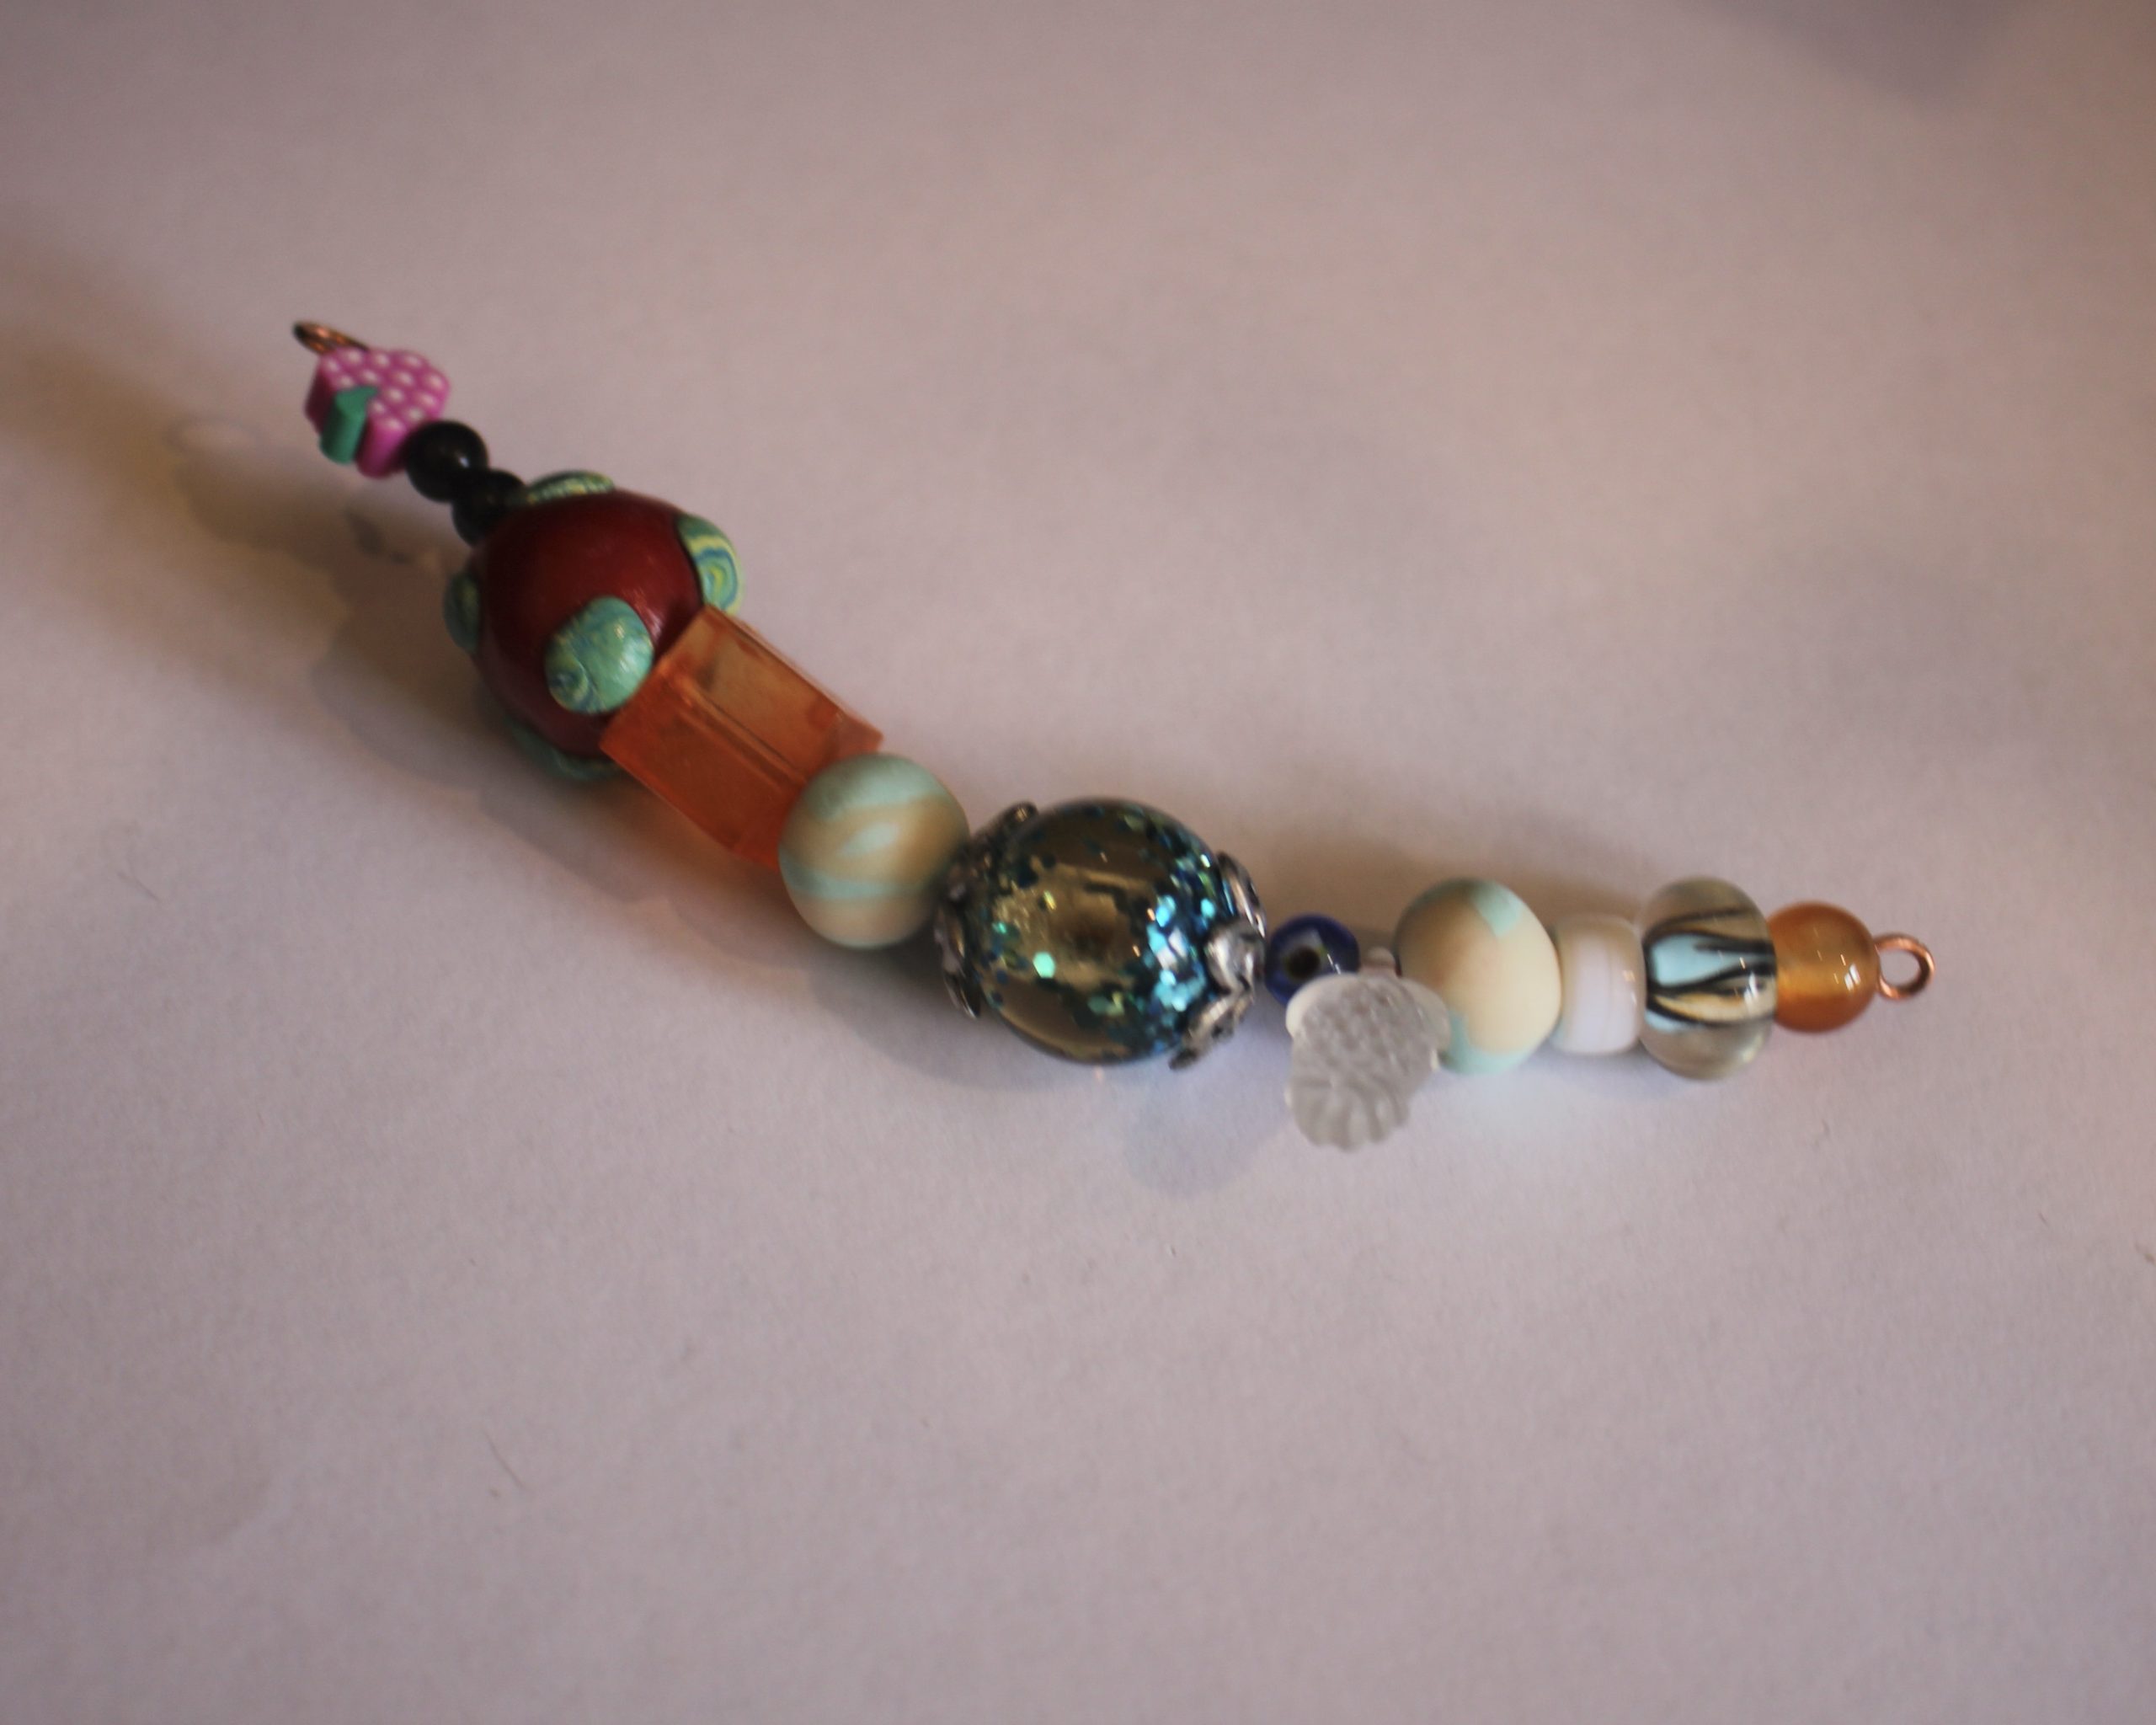
6: Loop the second end of the wire using the round flat pliers.
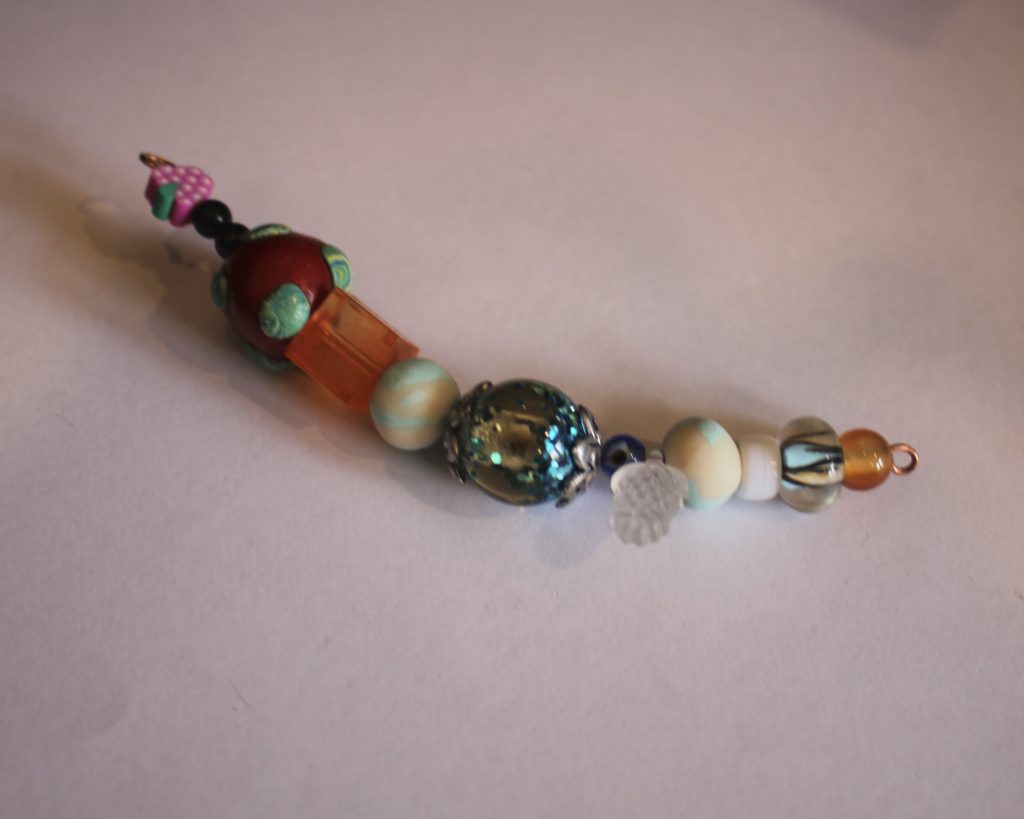
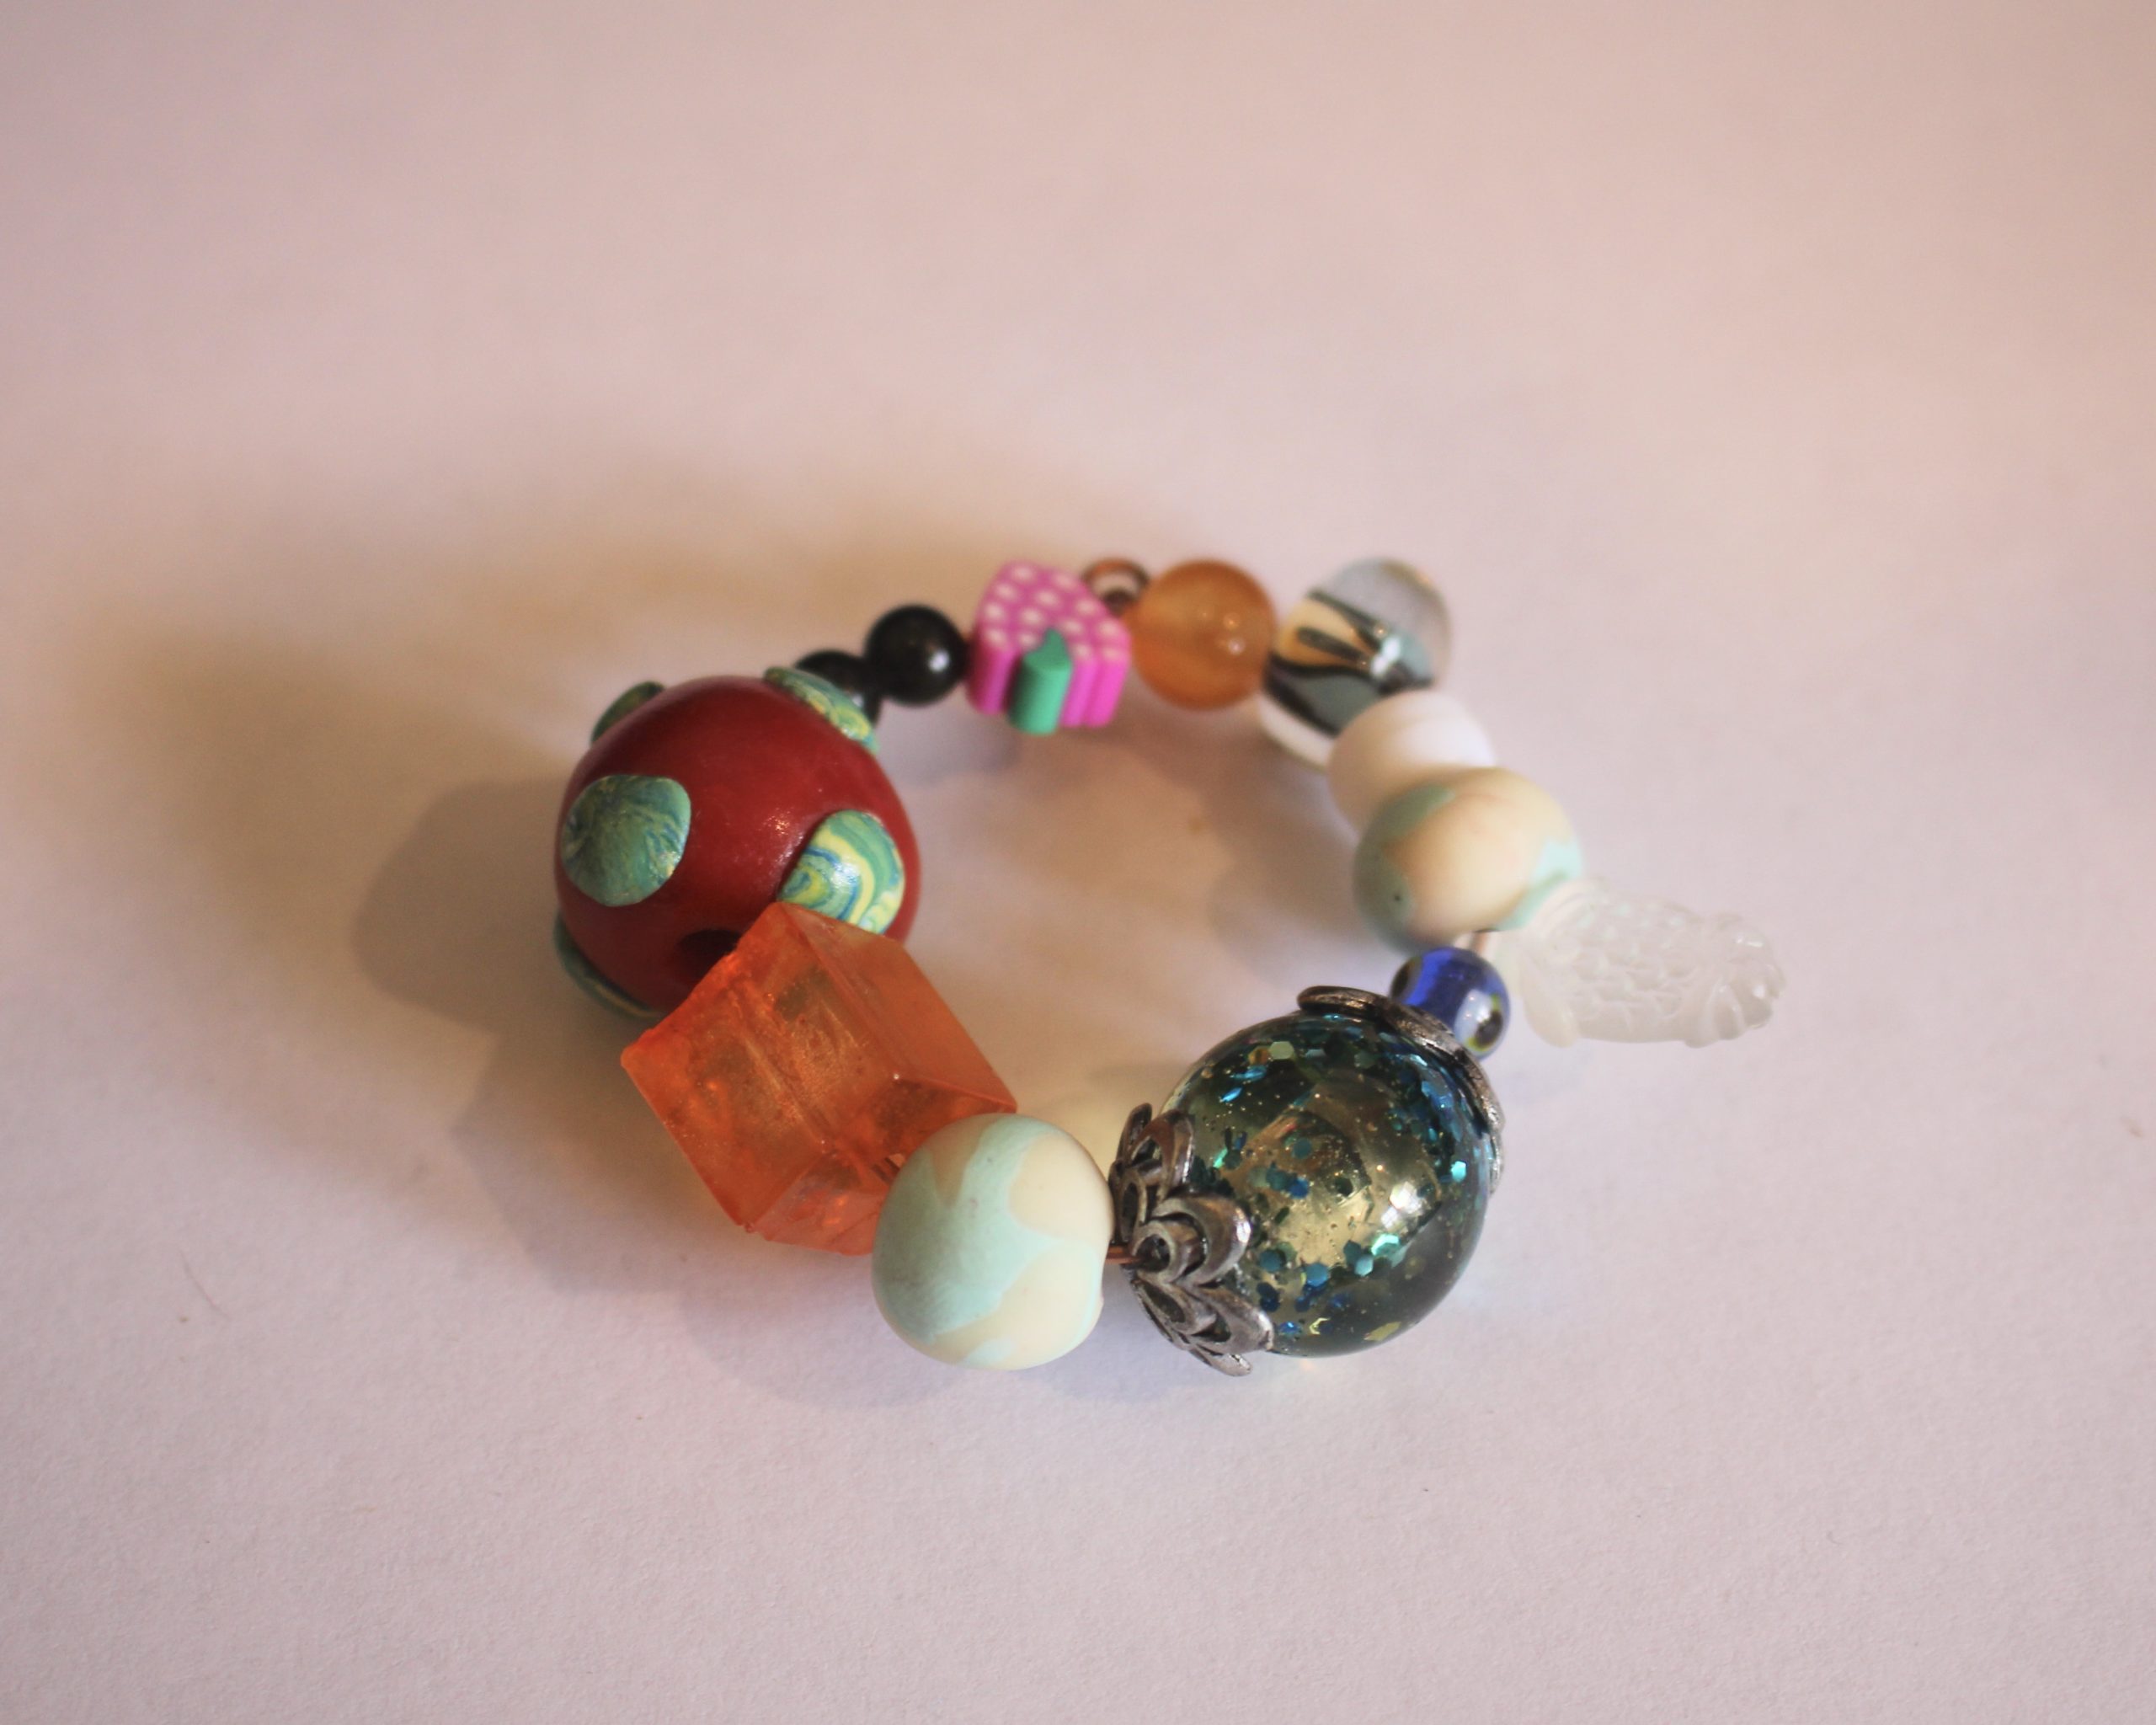
7: Connect the end loops together to form a circle shape of beads.
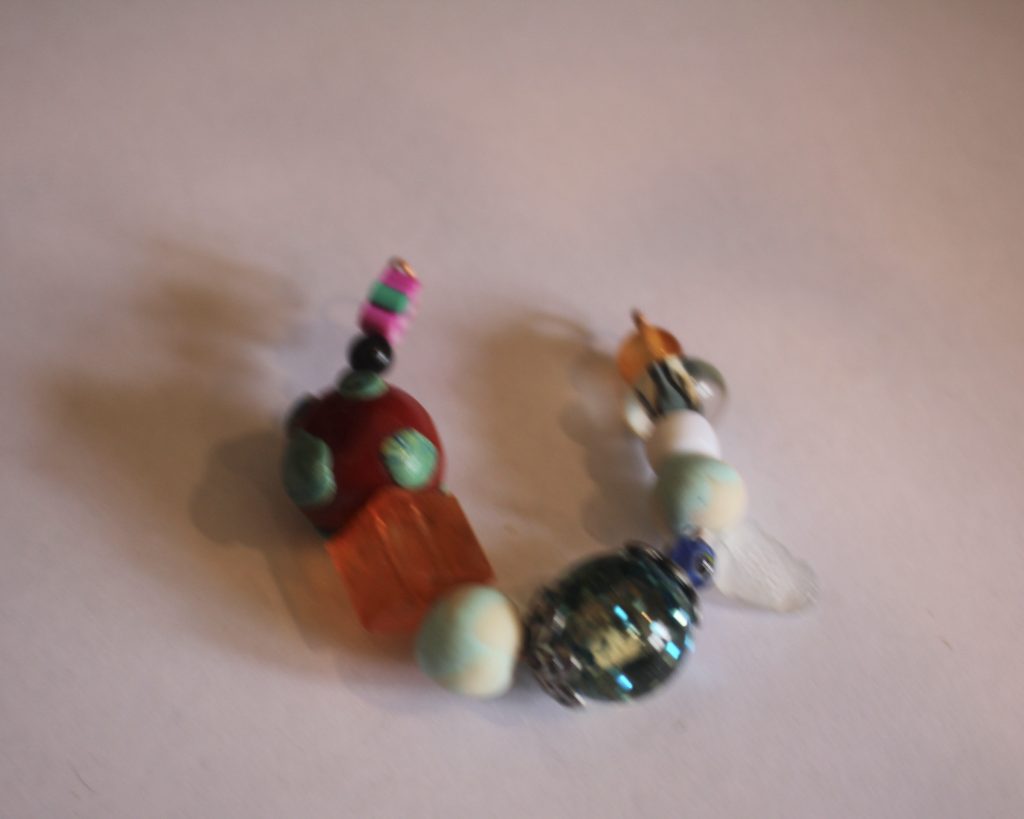
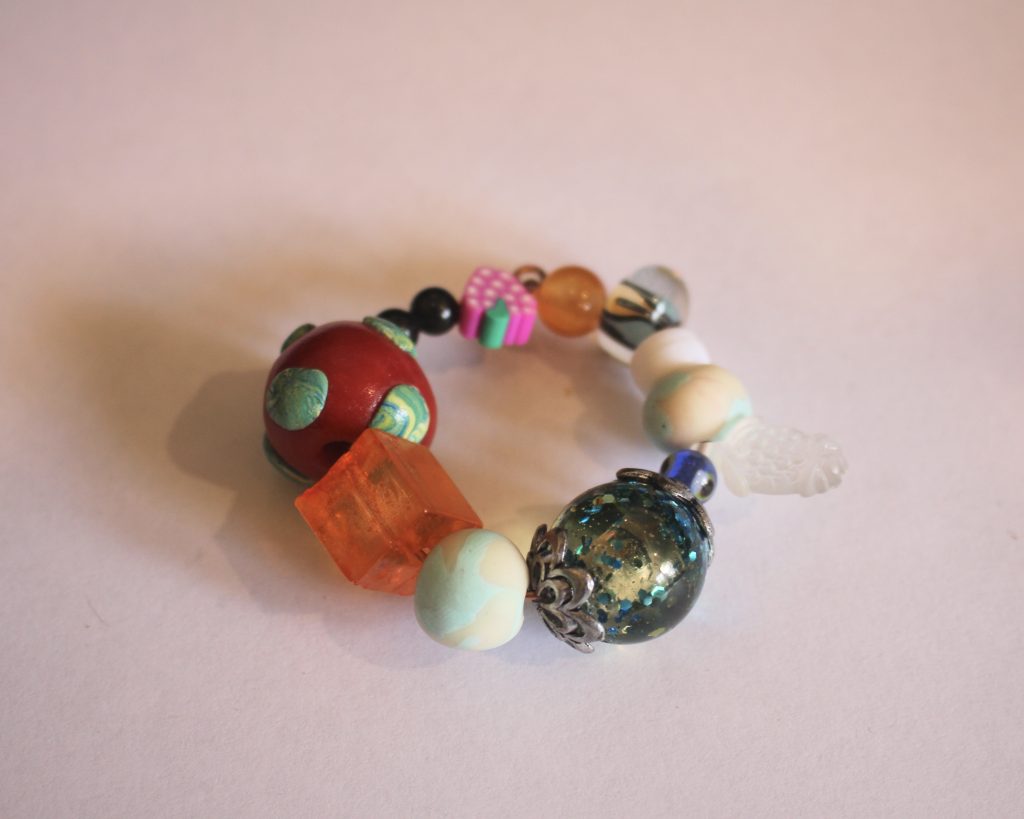
8: Attach the second jump ring to the top of the beaded loop and close it.
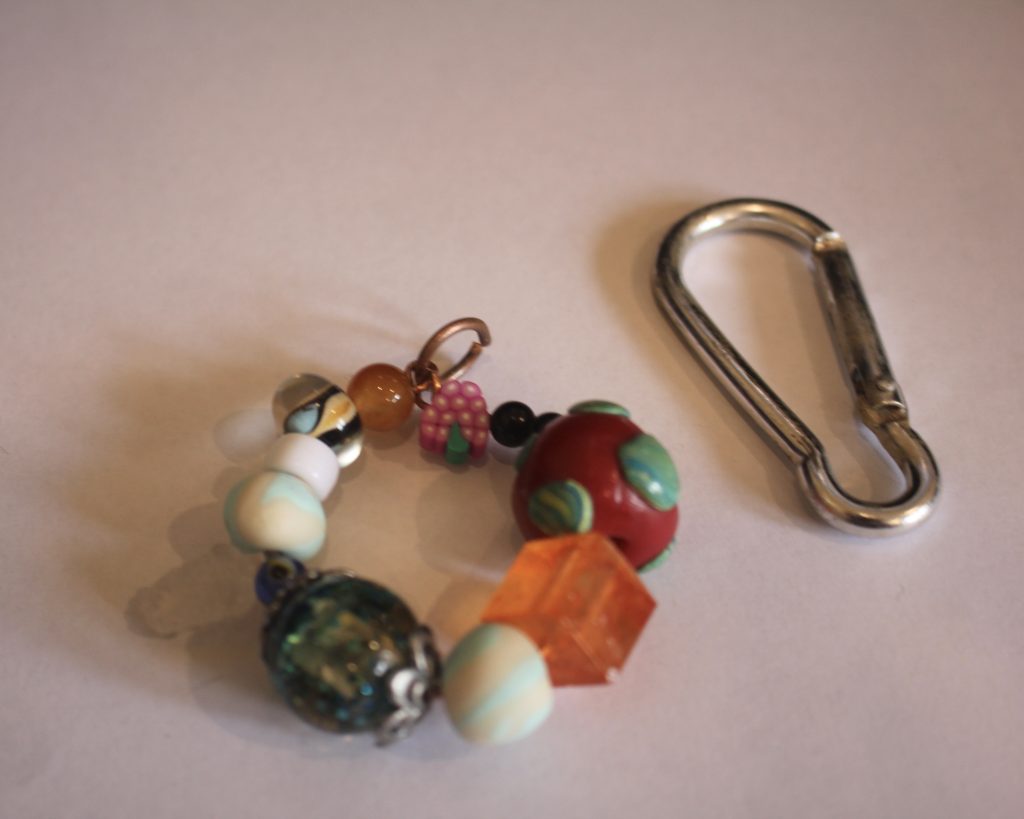
9: Slide the charms onto the carabiner to finish the bag charm off.
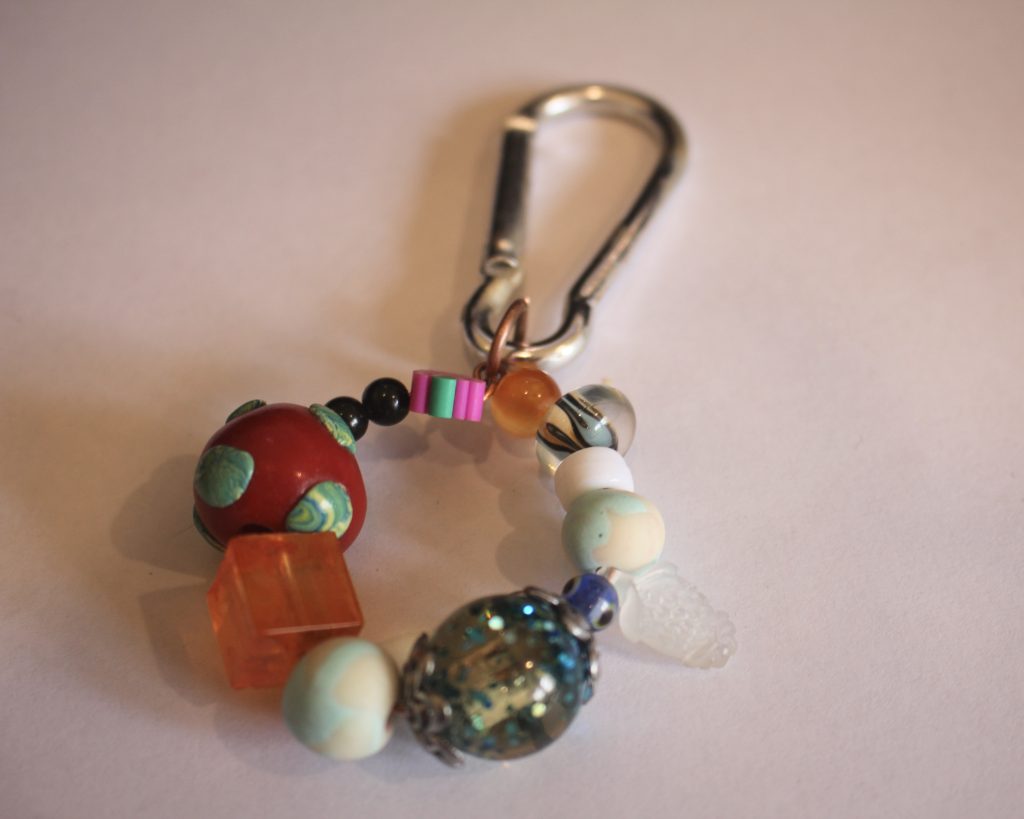
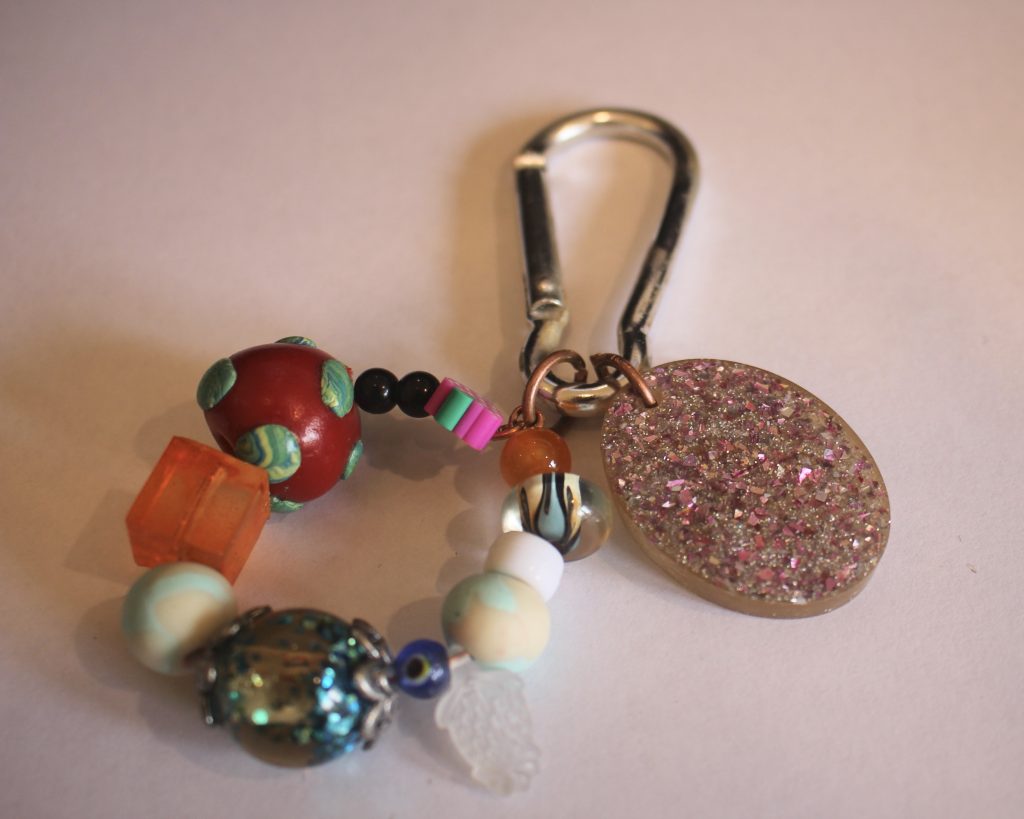
Now your bag charm is completed and ready to attach to your fave handbag!
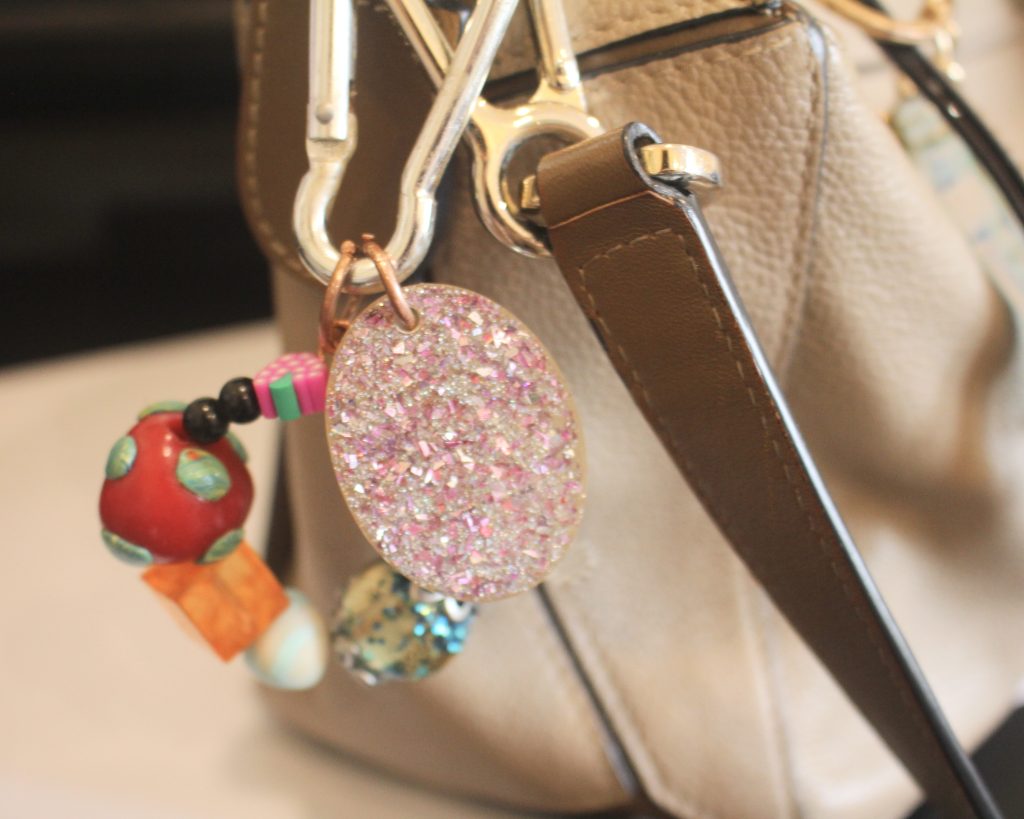
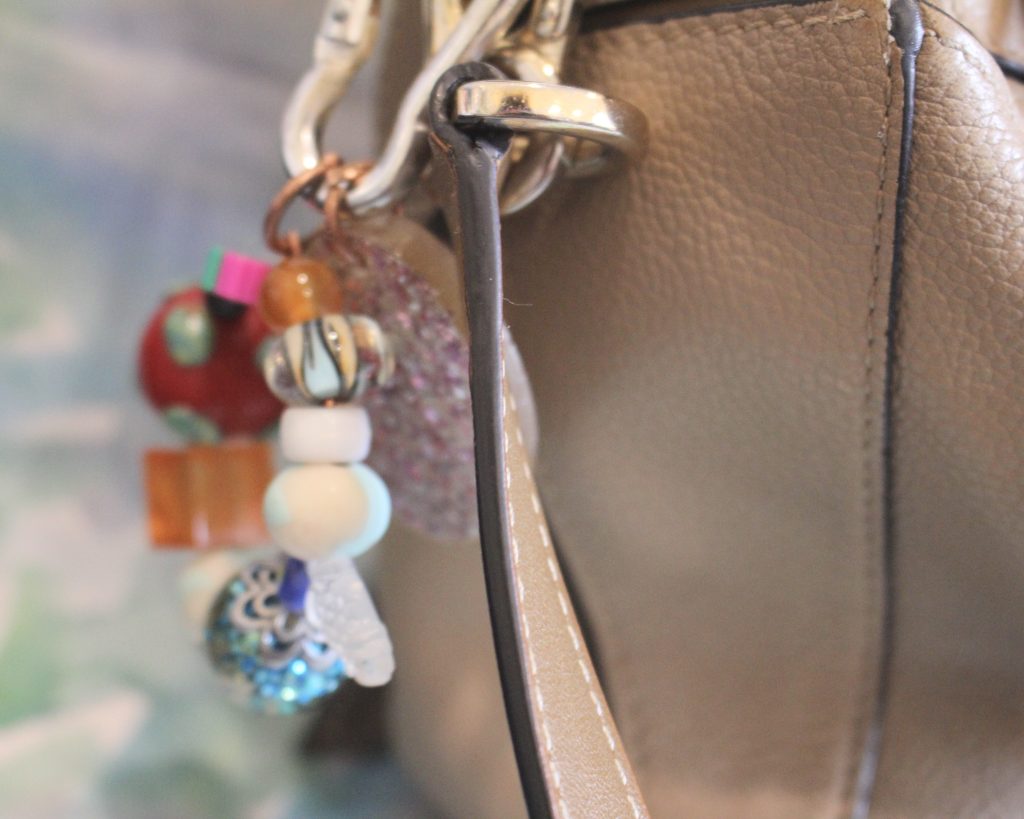
How will you style yours?
-
Here’s how to make some statement beaded earrings. These babies are special!
Do you love statement earrings? These statement earrings feature some gorgeous beads and some clever wire work to make a cute pair of bold earrings to wear on your next outing. Please note that this tutorial contains affiliate links.
You’ll need these tools and materials to make these earrings:
1: Two pieces of tiger tail wire about 20cm long.

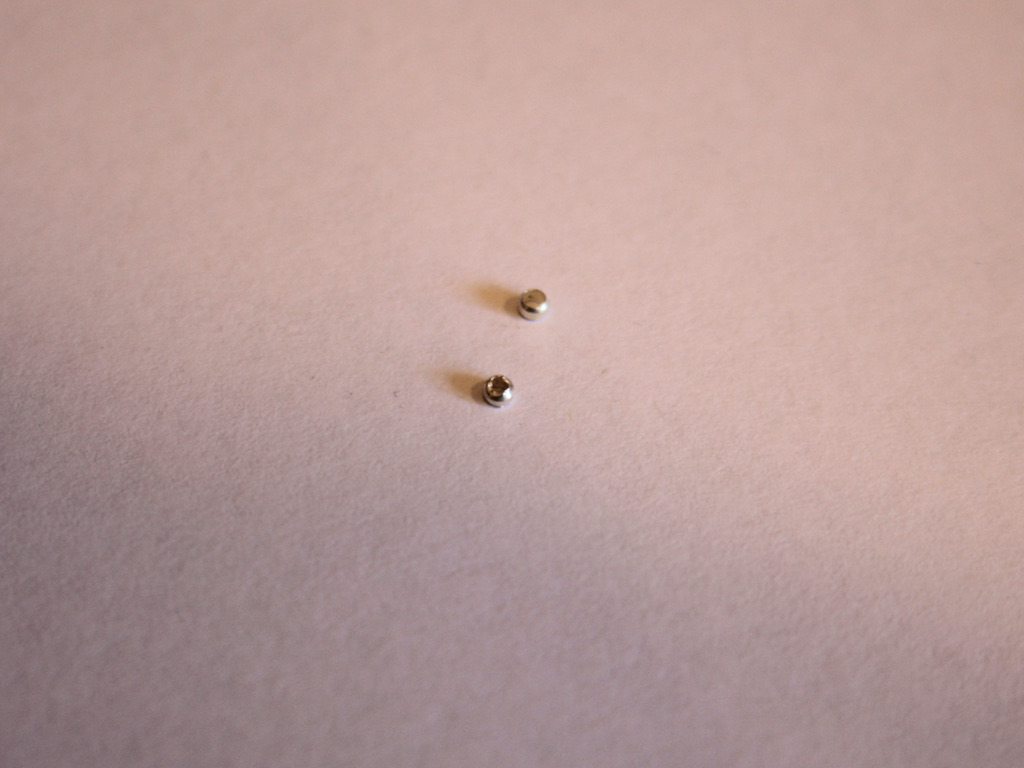
2: Two crimp beads.
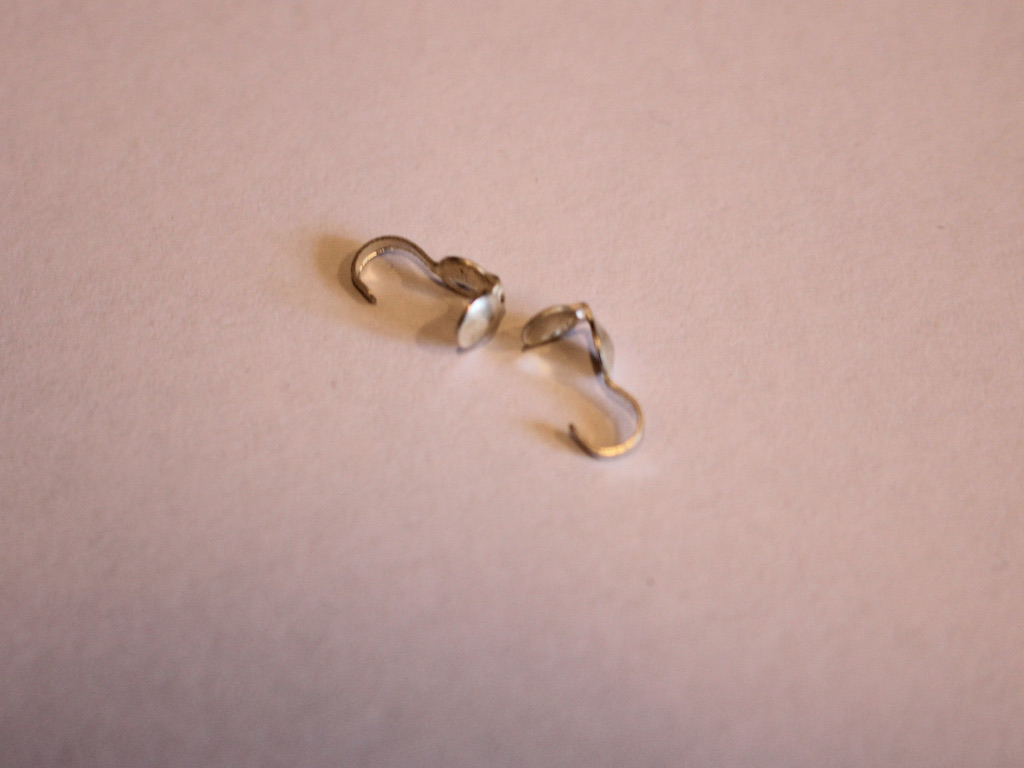
3: Two crimp cover ends.
4: A pair of earring hooks.

5: Pliers. I used my flat nose, cutting and round nose pliers.

6: Beads. I used some resin cube beads, some handmade polymer clay beads (tutorial for these here), and some timber beads.


Follow these steps to make your statement earrings:
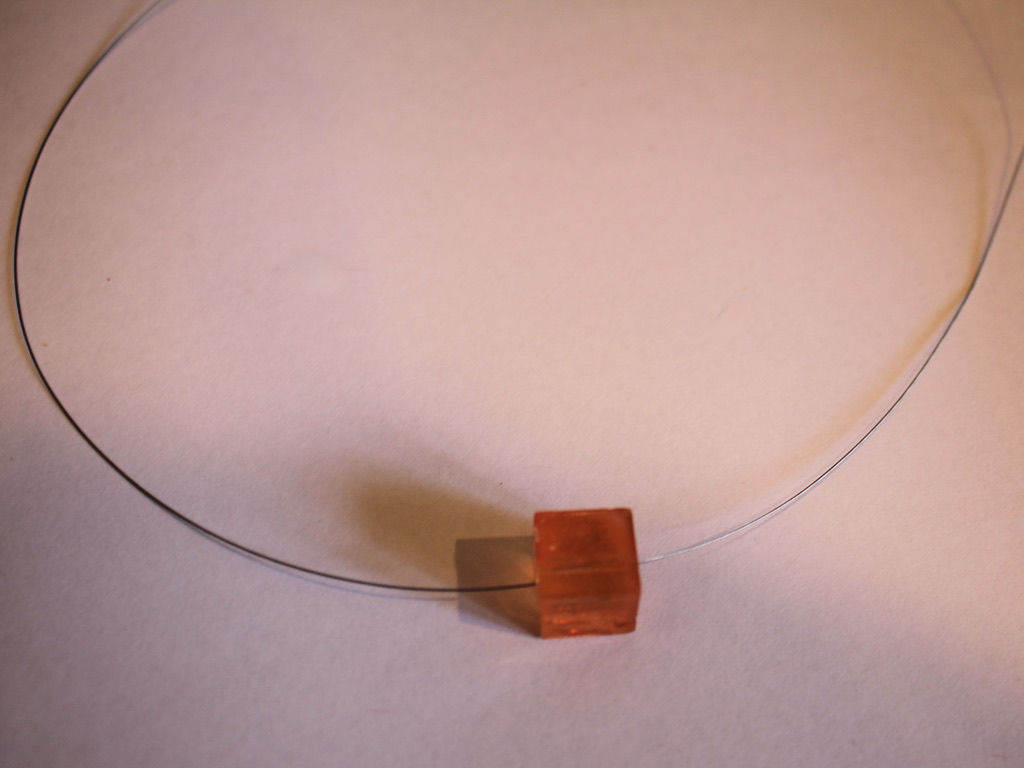
1: Add one of the cube beads to the middle of the wire.
2: Add the smaller timber beads either side of the cube bead, I added 10 to each side, but you can add more or less depending on the size of the beads you are using. You’ll want to get a circle about 2.5cm in diameter.

3: Add one of the polymer clay beads to one side of the wire.
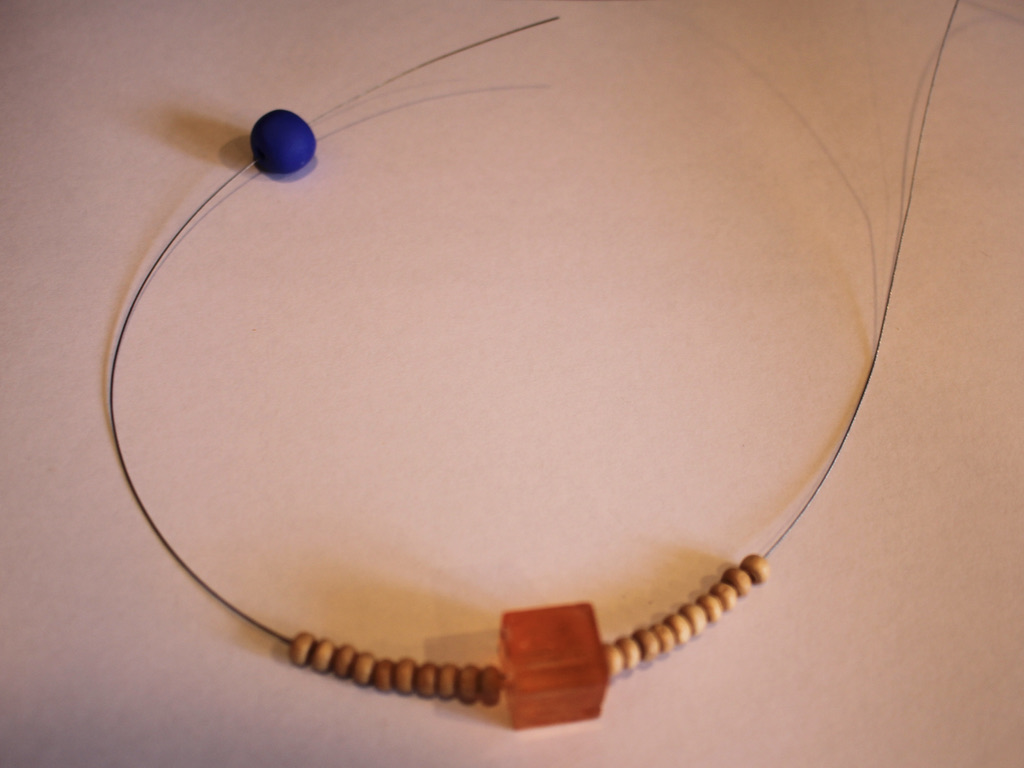
4: Thread the other side of the wire through the polymer clay bead to create a loop.


5: Add another four beads to each end of the wire.

6: Add the crimp cover to the two wires held together.
7: Keeping the crimp cover open, add a crimp bead to the wire.
8: Squash the crimp bead using flat nose pliers.

9: Trim the excess wire.


10: Squash the crimp cover around the crimp bead using the flat nose pliers.

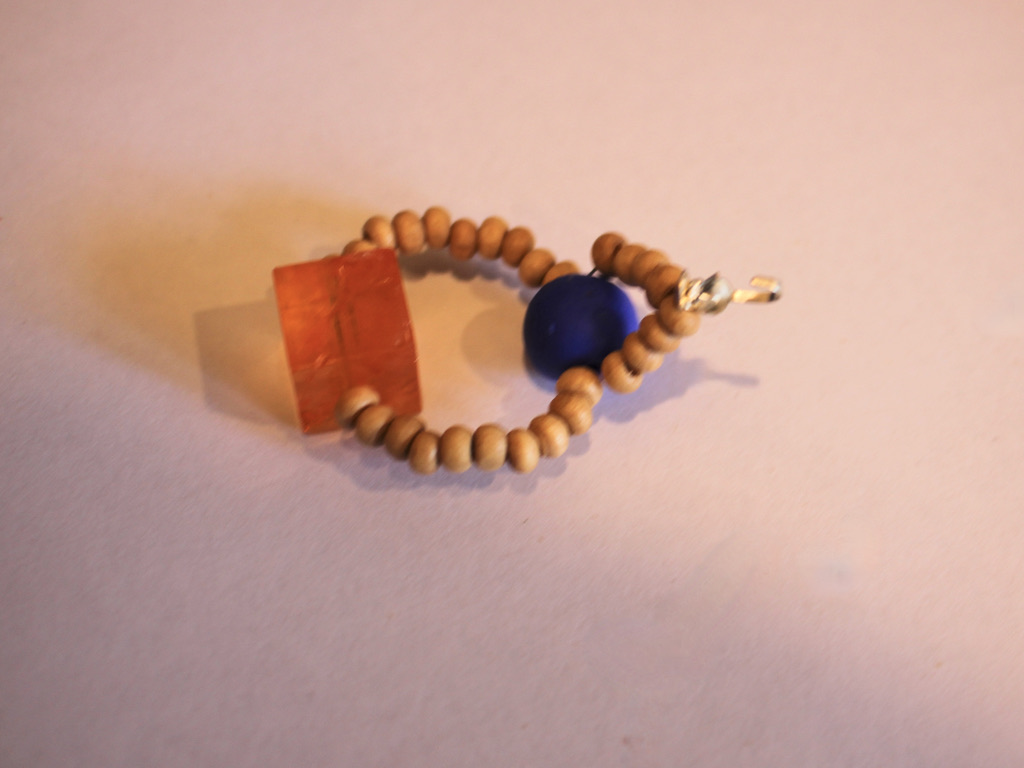
11: Use the wire at the end of the crimp cover to create a loop, thread on an earring hook and close it to secure the earring to the beaded design.
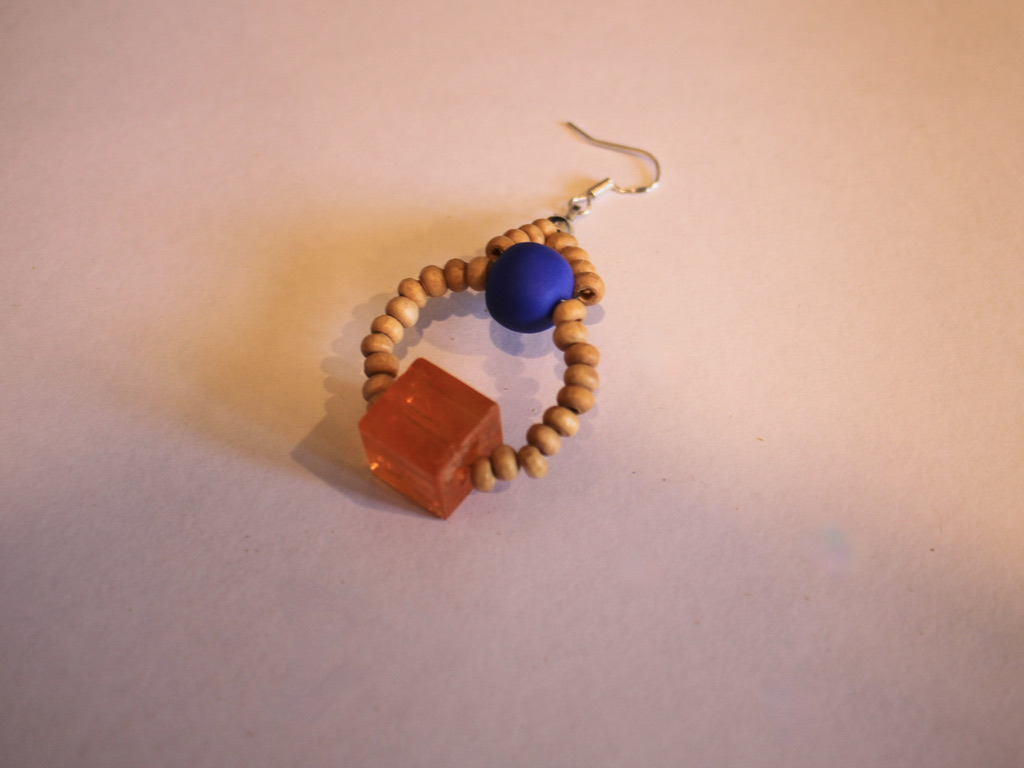
12: Repeat steps 1-11 for the second earring.
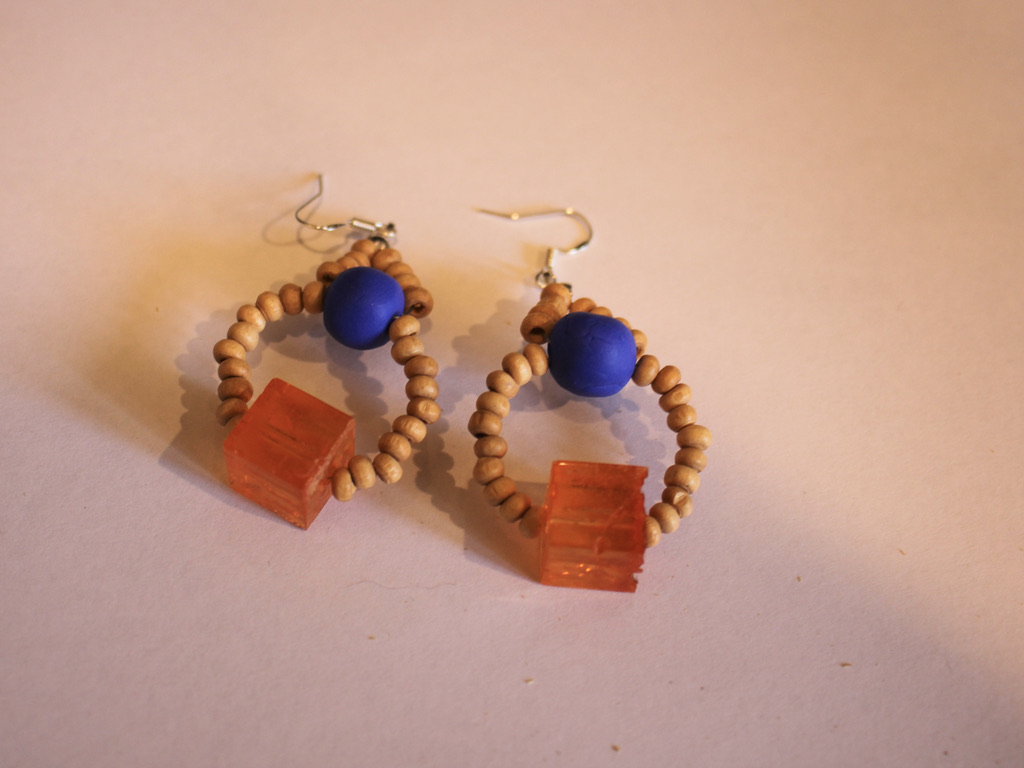
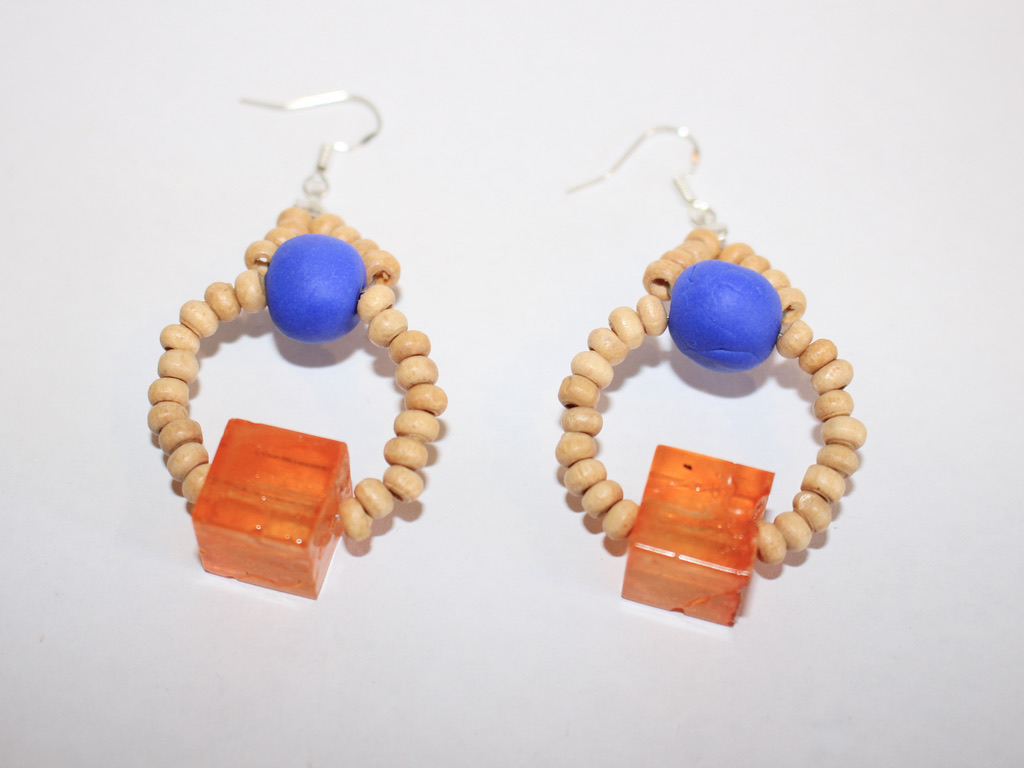
Now your beaded statement earrings are complete and ready to wear!


-
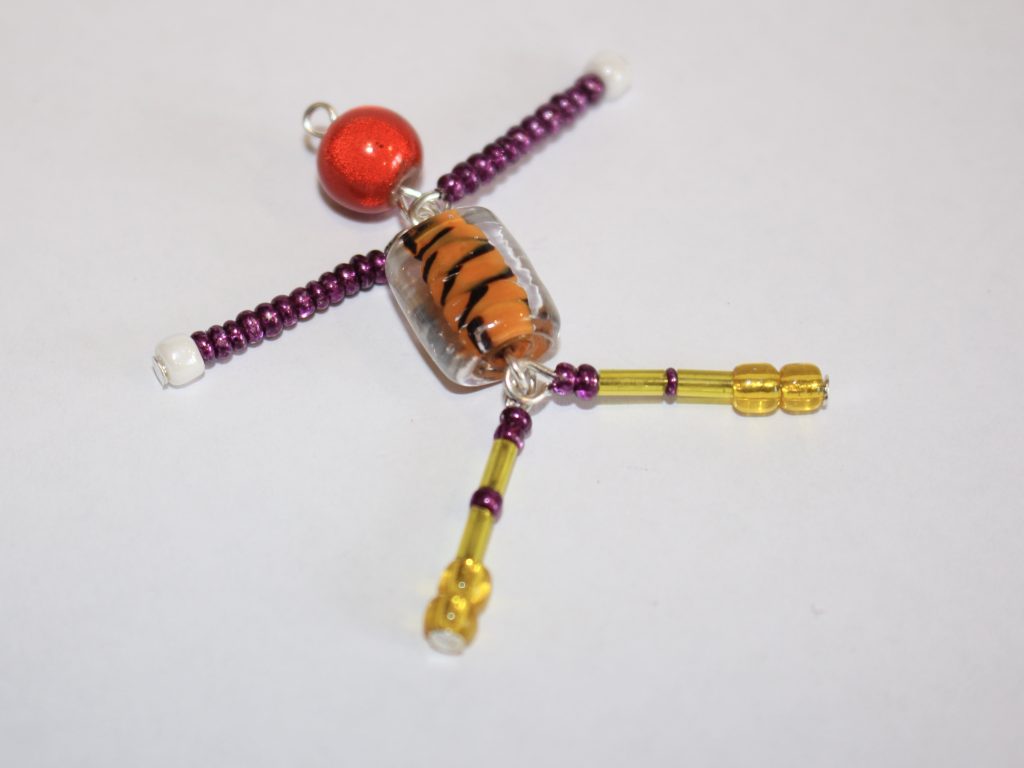
Here’s how to make a necklace strand for your cute beaded person charm…
Remember this charm? Here’s how to make a crazy mixed bead necklace to hang it on and wear about! This tutorial makes use of those random mixed beads you aren’t sure what to do with! Please note, this tutorial contains affiliate links.
You’ll need these tools and materials to make your beaded necklace:
1: A person charm, you can follow the tutorial here.
2: A piece of tigertail wire, long enough for your desired necklace length, plus a few extra centimetres.

3: Four crimp beads.

4: A toggle clasp.

5: Two jump rings.

6: Pliers.
7: A selection of beads.

Follow these steps to make your necklace for your cute person charm:
1: Take the tigertail wire an add two crimps to one end.

2: Add a jump ring to the end of the wire.

3: Fold the end of the wire around the jump ring and through the crimp beads.

4: Squash the crimp beads using the flat nose pliers.


5: Begin adding beads.

6: Continue adding beads until you have a length you like.

7: Add the second set of jump rings to the other end of the necklace.

8: Add the second jump ring.

9: Loop the end of the wire around the jump ring and back through the crimp beads and the last couple of beads on the strand. Pull the wire tight.

10: Squash the crimp beads to secure the jump ring in place at the end of the necklace.

11: Trim the excess wire.

12: Open one of the jump rings using pliers and add the person charm.

13: Add the circle side of the toggle clasp and close the jump ring to secure the components together.


14: Add the other side of the toggle clasp and close the jump ring to finish the necklace off.


Now your adorable person charm necklace is finished and ready to wear! How cute!!


-
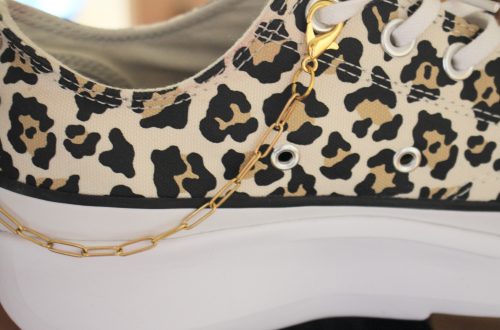
Here’s a wild beaded anklet that can also be worn as a shoe chain!
I love jewelry that can be worn multiple ways, so I created a tutorial that shows you how to make a beaded shoe chain that can also be worn as an anklet! It features clasps on either end so that it can be clipped to your shoelaces as a shoe decoration, or to each other to create an anklet effect. Please note that this tutorial contains affiliate links. Here’s a fun detail. This tutorial makes use of beads I made in this tutorial… so if you follow both you can have a completely custom piece of jewelry!
You’ll need these tools and materials to make this multi-use shoe chain/anklet:
1: Some beading thread, I used this hot pink nylon string. Make it long enough to fit your ankle plus a bit extra.

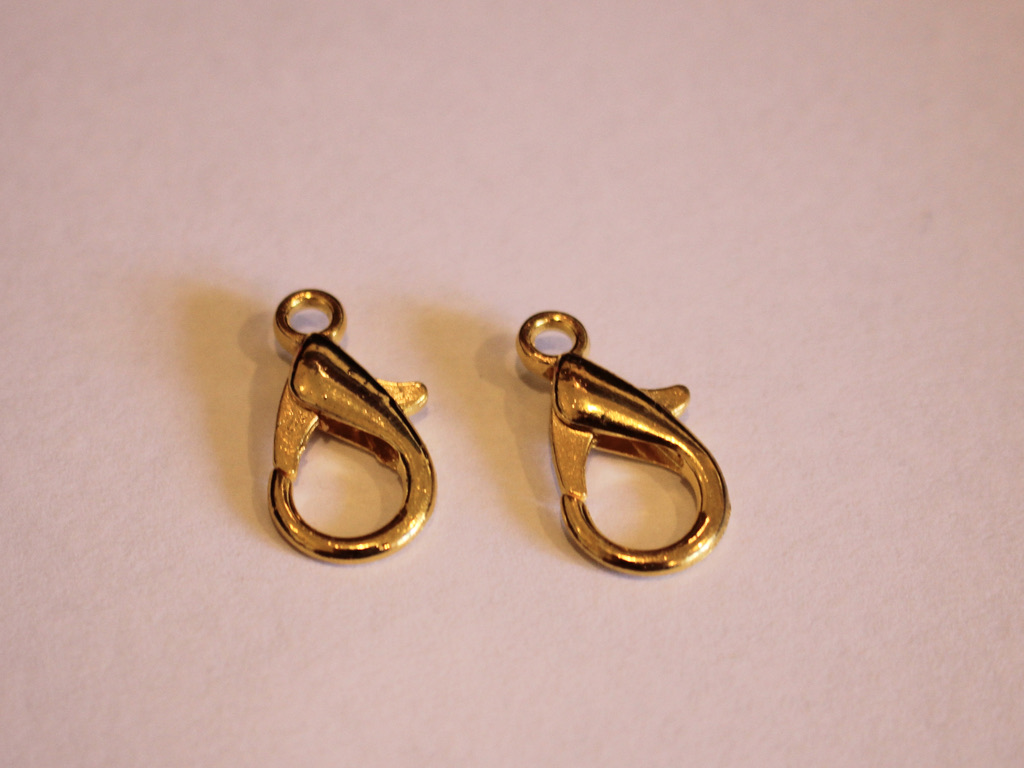
2: A pair of large clasps. I used these gold-tone clasps.
3: A selection of beads. I used a mixture of handmade resin and polymer clay beads, and other plastic beads.

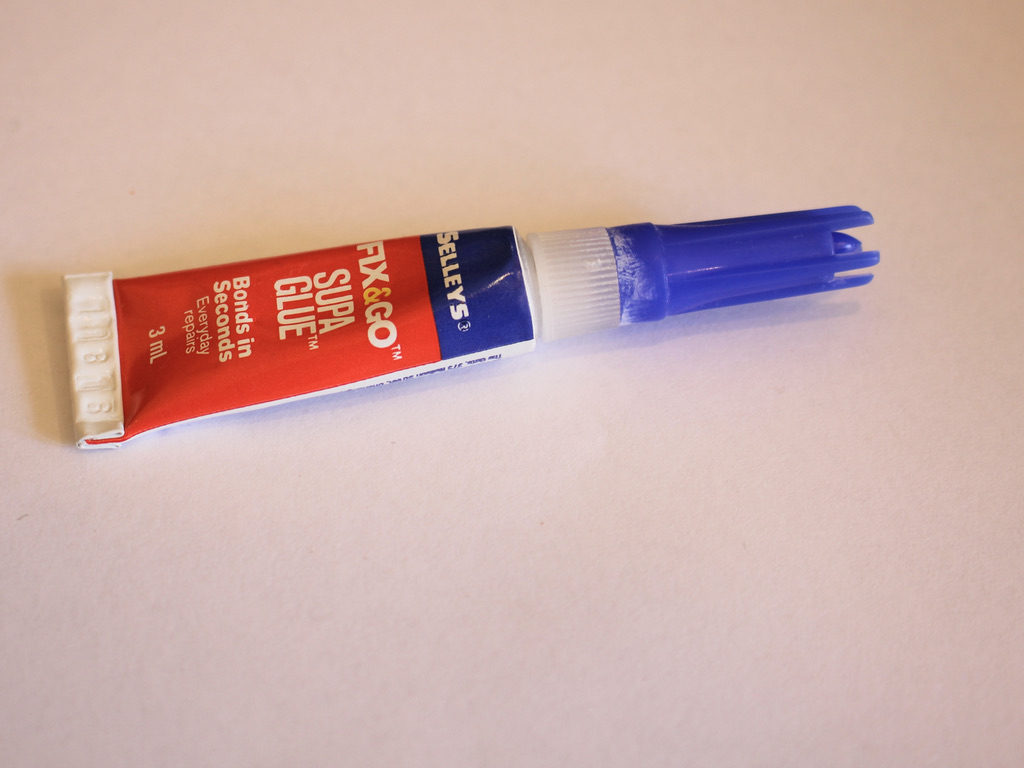
4: Super glue for securing the knots.
5: Some scissors for trimming the string.

Follow these steps to make your multi-purpose anklet shoe chain:
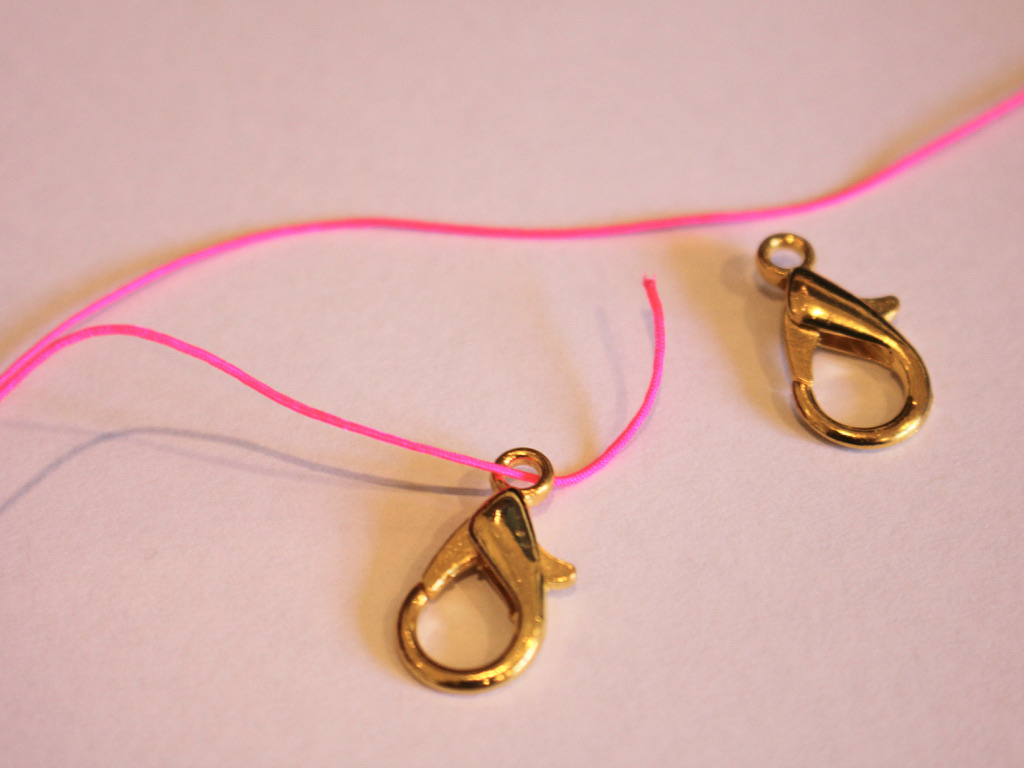
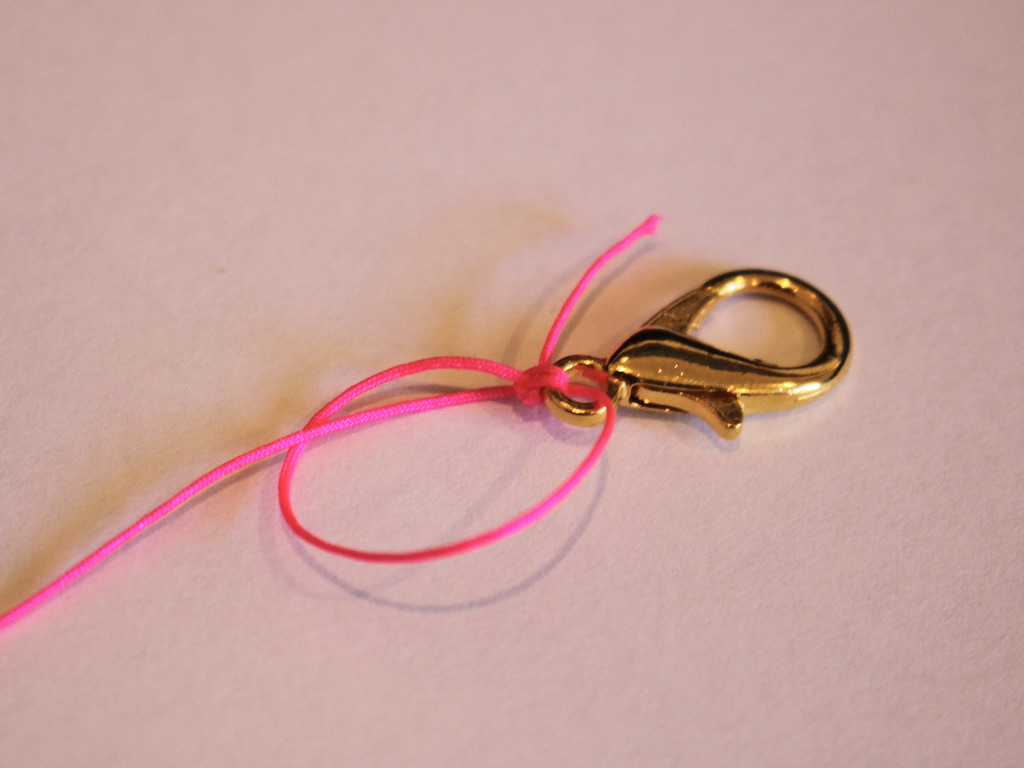
1: Tie the string to one of the clasps. Wrapping the string around the clasp a few times and making multiple knots can help keep it more secure for longer.



2: Add beads to the string in your chosen pattern. I added mine in random order.

3: Continue beading until you have a length you like. Then tie a knot at the end to secure the last bead in place

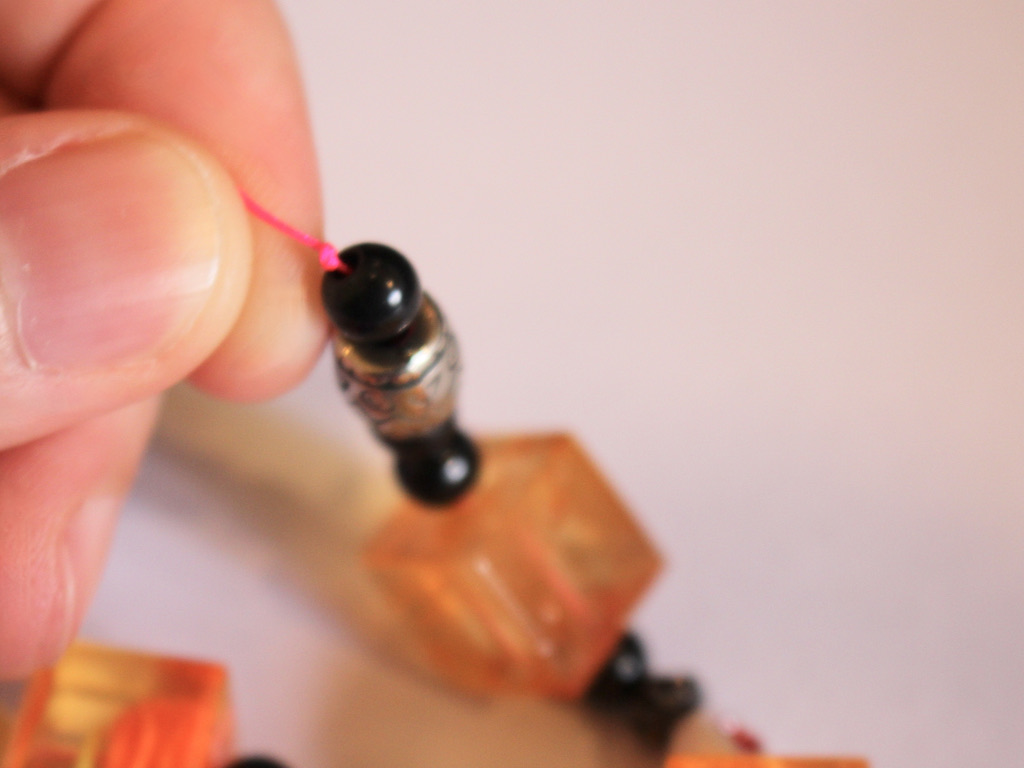
4: Add the second clasp to the end of the string.
5: Knot the second clasp in place, remembering to wrap the string through the end of the clasp a few times and securing it with multiple knots.


6: Trim the excess string on both ends of the shoe chain anklet.
7: Add a dab of superglue to each knot to keep it secure and set it aside to dry.

Once the glue is dry, your anklet is ready to wear! Which shoes will you clip yours to?
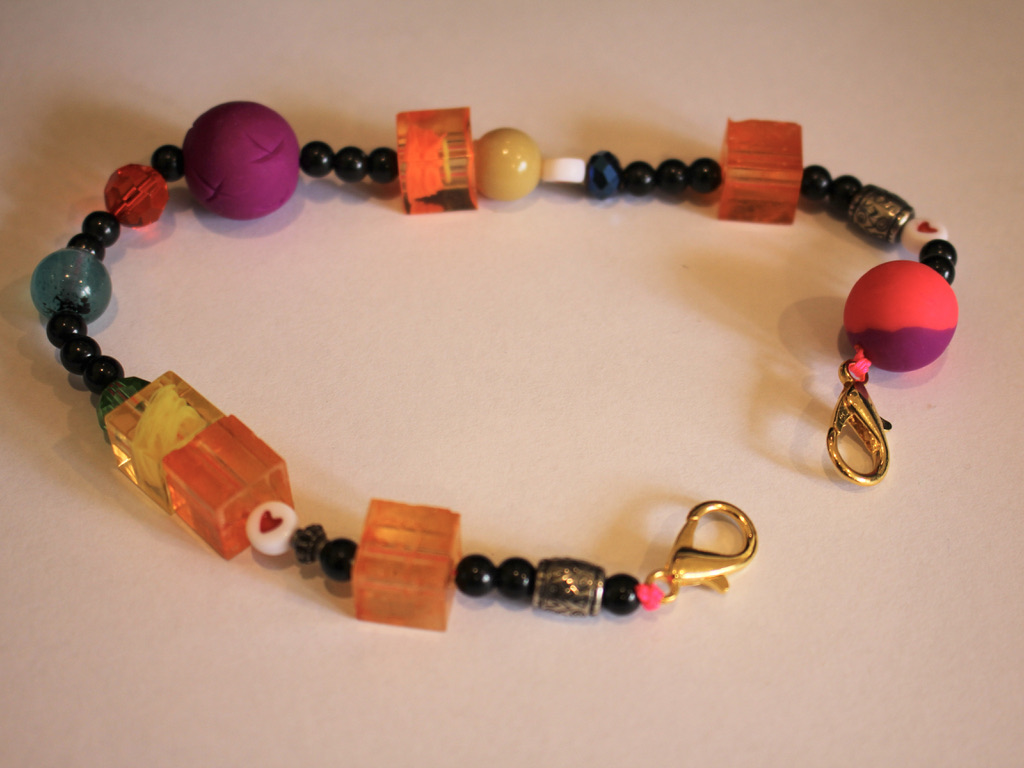
And here’s what it looks like (On some dirty old converse haha)

Here is the design as a shoe chain attached on one side to the lower laces 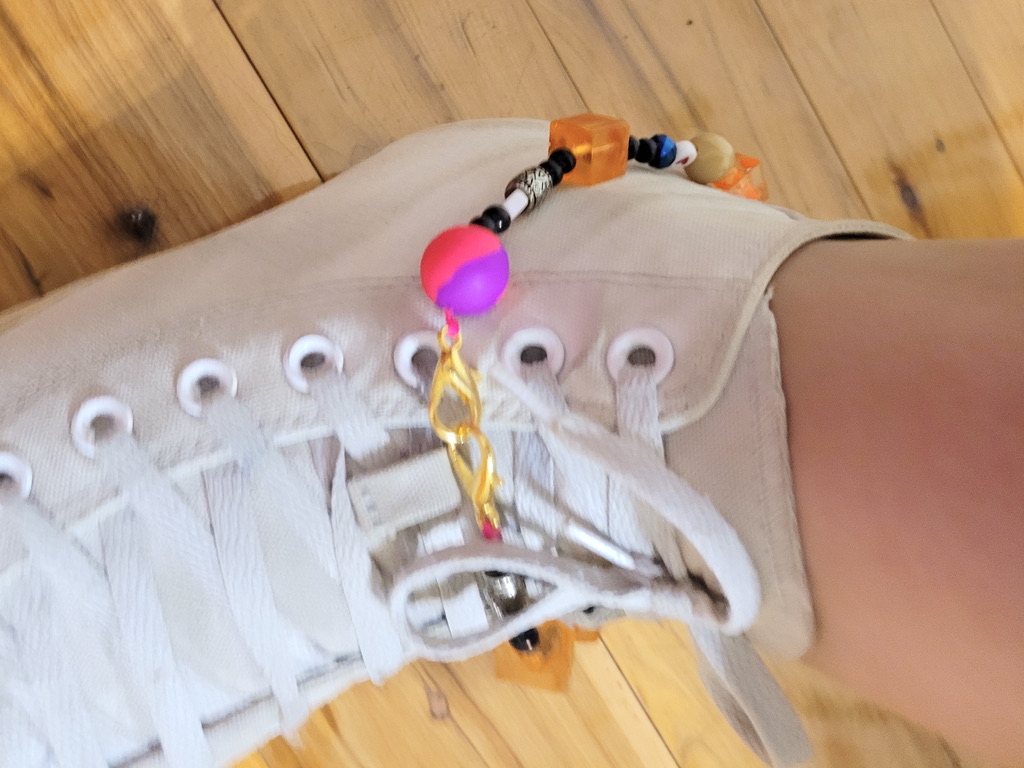
Here it is worn as an anklet over the shoe. 
Here is the design as a shoe chain attached on one side to the lower laces Here are some other shoe chain tutorials you can follow if you want to make some more:
-
Love the nostalgic craft-core style? If that sounds like you, here’s the perfect tutorial for you to follow.
The craft-core trend that sees beads combined in crazy combinations for a playful, handmade vibe. I super love this trend because its easy to recreate at home! Why fork out a few hundred dollars for something you can put together at home in about an hour for a fraction of the price?! Please note that this tutorial contains affiliate links.
You’ll need these tools and materials to make your fun mixed bead necklace that features a letter bead message:
1: A bunch of mixed beads. I used the beads I made in this tutorial in the selection.

2: A selection of letter beads that spell out your chosen word. I chose to spell ‘TIRED’.

3: Some tiger-tail wire, long enough to fit comfortably around your neck, plus about 5cm extra.

4: Four crimp beads.

5: A lobster clasp and jump ring for each end.

6: Pliers. I used my cutting pliers, round nose pliers and flat nose pliers.
Follow these steps to make your own crazy letter bead necklace:
1: Add two crimp beads to one end of the tiger-tail wire.

2: Add the jump ring and loop the wire around it and back through the crimp beads.

3: Squash the crimp beads using the flat nose pliers.


4: Add beads in your choice of pattern. I added mine pretty randomly. I continued beading until I reached close to the middle. I check for the length I like by holding the beaded section against my neck, with the clasp wrapped around, mimicking how I would wear it. (Remember to tuck the end of the wire into the beads at the end, I hadn’t done that yet in this picture).

5: Now it’s time to add your letters. I added the word ‘TIRED’ and a love heart letter bead.

6: Continue adding beads to the other side of the necklace until you have it at an even length to the other side.
7: Add two more crimps to the end of the wire.

8: Add the clasp to the end of the wire.

9: Loop the wire around the clasp end and back through the crimps and the end beads.

10: Squash the crimp beads using the flat nose pliers.

11: Trim the wire using the cutting pliers.

Now your beaded necklace is finished and ready to wear! How fun to make your own twist on the craft-core beading trend.


-
How to make a beaded phone strap using a piece of string!
Beaded phone straps are a bit of a trend right now, and here’s a down and dirty way to make one! Really all you need is some string and some beads. I added a large lobster clasp as well, you can use it to attach the strap to your phone or to add some keys or other important charms to your design! Please note that this tutorial contains affiliate links.
You will need these tools and materials to make your own beaded phone strap:
1: A piece of string. I cut mine to be about 40cm long but I suggest going longer, maybe 50-60cm.

2: A selection of beads. Make sure they have holes big enough to fit over the string. I used a mix of handmade polymer clay beads, glass beads, resin beads, timber beads and plastic beads.

3: A large lobster clasp.

4: A pair of scissors for cutting and trimming your string.
Follow these steps to make your phone strap:
1: Fold the string in half.

2: Take the folded end and create a knot, I made mine a little small, I suggest creating the knot about 8-10cm down the string. After you pull the knot tight you will have a loop and two separate strings.


3: Begin adding beads to one of the strings until you have most of the string beaded.


4: Add beads to the other side, beading the second string to the same length as the first.

5: Tie the ends of each string together, adding the lobster clasp before securing the knot.


6: Add an accent bead to one of the tails of the loop and knot the end to secure the bead in place.


7: Repeat step 6 for the second tail of the beaded phone strap.

Now your phone strap is finished! This is a bit of a down and dirty DIY but the results are pretty cute and you can personalise it to your liking!


-
Stud Earrings are Classic! Use some beads to make your own statement studs
These stud earrings are made using some plastic beads and some head pins and they look adorable!
You will need the following tools and materials to make your stud earrings:
1: Two flat bed earring findings.

2: Two large head pins.

3: Two small head pins.

4: Two small jump rings.

5: Two part epoxy glue, I used Araldite.

6: A piece of scrap paper.

7: A skewer.

8. Four beads. I used two large resin beads and two small blue plastic beads.


9: Pliers. You’ll need your cutting pliers, flat nose pliers and round nose pliers.
Follow these steps to make your stud earrings:
1: Add the small beads to the small head pins.

2: Curl the ends of the pins around your round nose pliers to secure the beads in place. Do this for both beads.


3: Add the larger beads to the larger head pins.

4: Bend and trim the pins so that the pins protrude around 1cm from the bead.

5: Loop the ends of the pins using the round nose pliers.


6: Attach the small beads to the larger ones using the small jump rings.


7: Squeeze out the glue in equal parts onto the scrap paper and mix with the skewer.



8: Add the glue to the earring posts and place them on the backs of the large beads and leave them to dry.


Once the earrings are dry you can wear them! How cute are they?!

Note: This article contains affiliate links
-
Need another choker for your collection? Make this leather number.

This leather choker is a stunner. Use a large or small feature bead to make a cool choker statement. I used this large diamond shaped resin bead to make mine.
You will need the following tools and materials to make this choker:
1: Pliers. You will need your cutting pliers and flat nose pliers.

2: Leather, long enough to fit closely around your neck with your beads.

3: Two leather crimp ends.

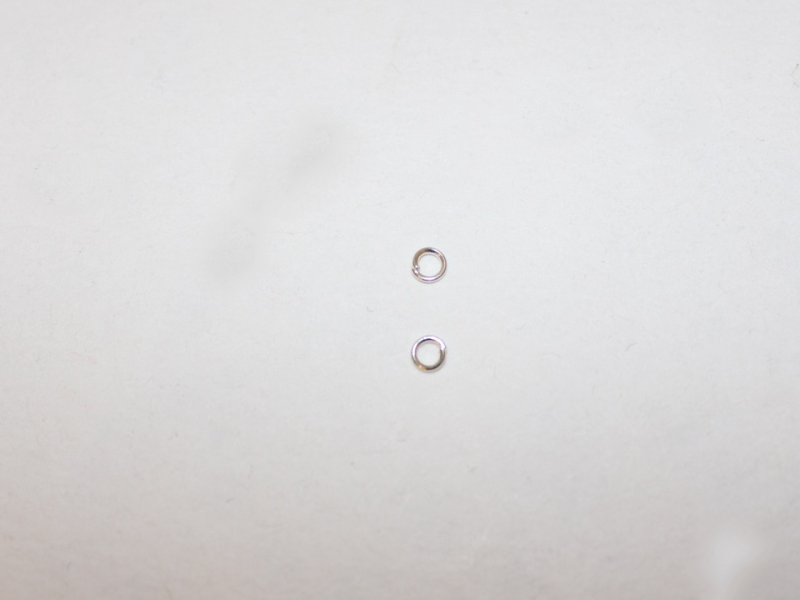
4: Two jump rings.
5: A lobster clasp

6: A bead or beads of your choice. I used this large resin bead.

Follow these instructions to make your new leather choker:
1: Add the bead to the leather strand.

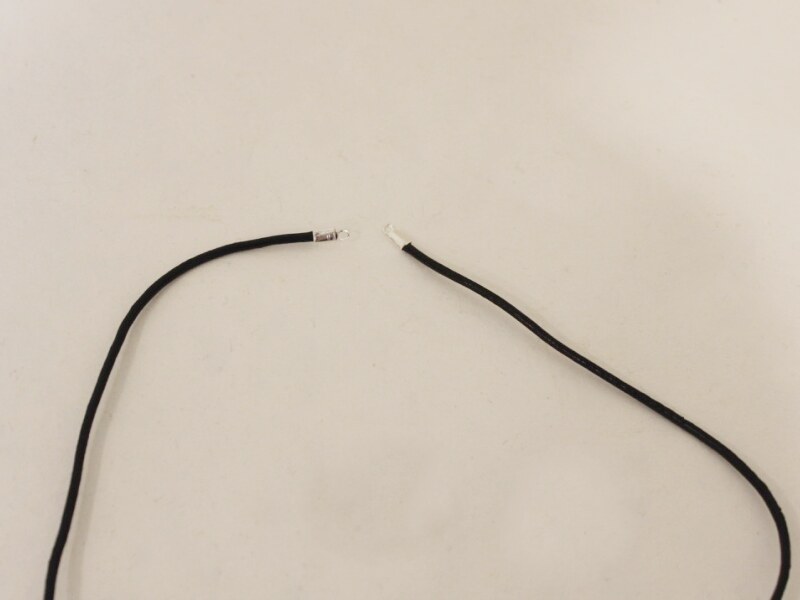
2: Position one crimp end at one end of the leather.

3: Squash one side of the crimp around the leather using the flat nose pliers.

4: Squash the other side of the crimp in place using the flat nose pliers.


5: Repeat steps 2 to 4 for the other end of the leather.
6: Add a jump ring to one of the crimp ends.

7: Slide the lobster clasp onto the open jump ring and secure in place by closing the jump ring.

8: Add a jump ring to the other side of the leather choker necklace.
Once the final jump ring is in place your leather choker is ready to wear! What kind of beads will you use on your choker design?
-
Plastic Beads

Plastic beads come in all kinds of shapes and sizes and colors. Plastic beads are lots of fun to use in your DIY jewelry designs, but they tend to wear down and are easily damaged when worn frequently.
Resin Beads

Resin beads are also made from a type of plastic. These beads are cast into different shapes and can feature a variety of textures and colors. These beads will lend a more luxurious finish to your DIY jewelry designs than if you use standard plastic beads.
Here are some tutorials that use plastic beads:
- Plastic bead and pearl stud earrings
- String hoops with plastic beads
- Glasses chain with plastic vintage beads
- Ear jacket earrings
- Plastic and glass bead chain anklet
- Recycled headphone bracelet with plastic beads
- Fringe earrings
- Beaded bobby pin
- Chain loop earrings with plastic beads
- A beaded bracelet made from recycled headphones