-
How to make a double strand bracelet with ribbon and beads!
This bracelet is another way that you can make a multi-strand bracelet. This bracelet makes use of ribbons and a beaded chain for an alternative look. I used some recycled materials in this design, it is a great way to reuse ribbons and cords from old packaging or gifts. Please note that this tutorial contains affiliate links.
You’ll need these tools and materials to make this double strand bracelet:
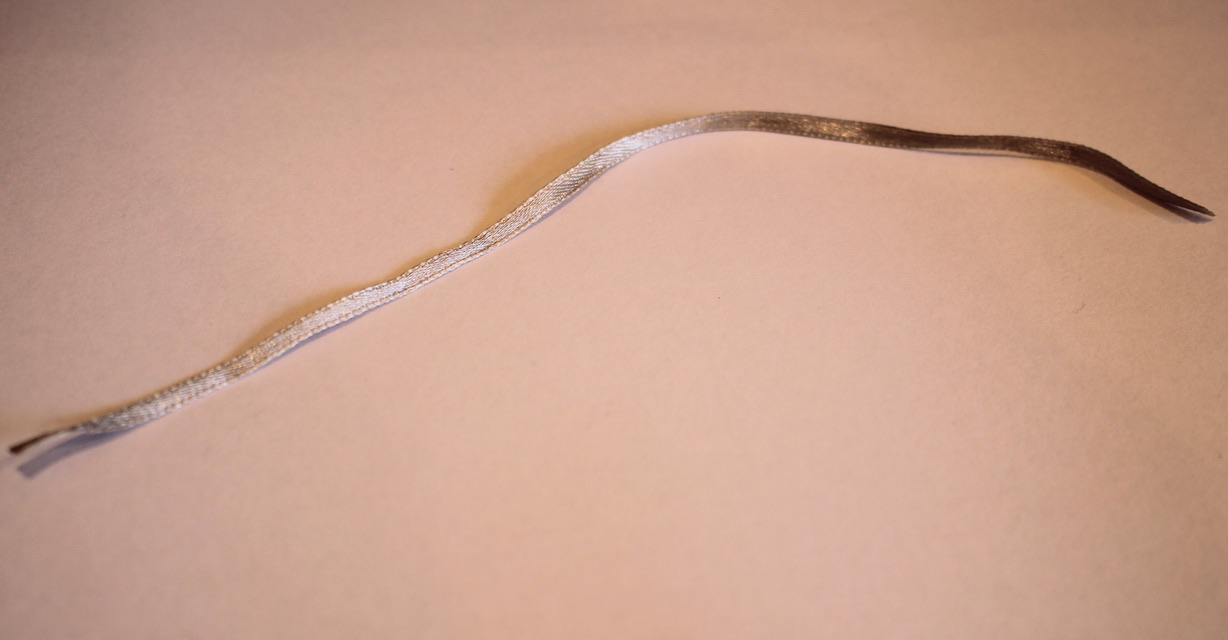
1: A piece of ribbon. I used this thin ribbon that I had recycled from a piece of clothing.

2: Scissors. I used my scissors to cut the ribbon to length.

3: Pliers. I used my flat nose and round nose pliers for this design.


4: Some sticky tape.
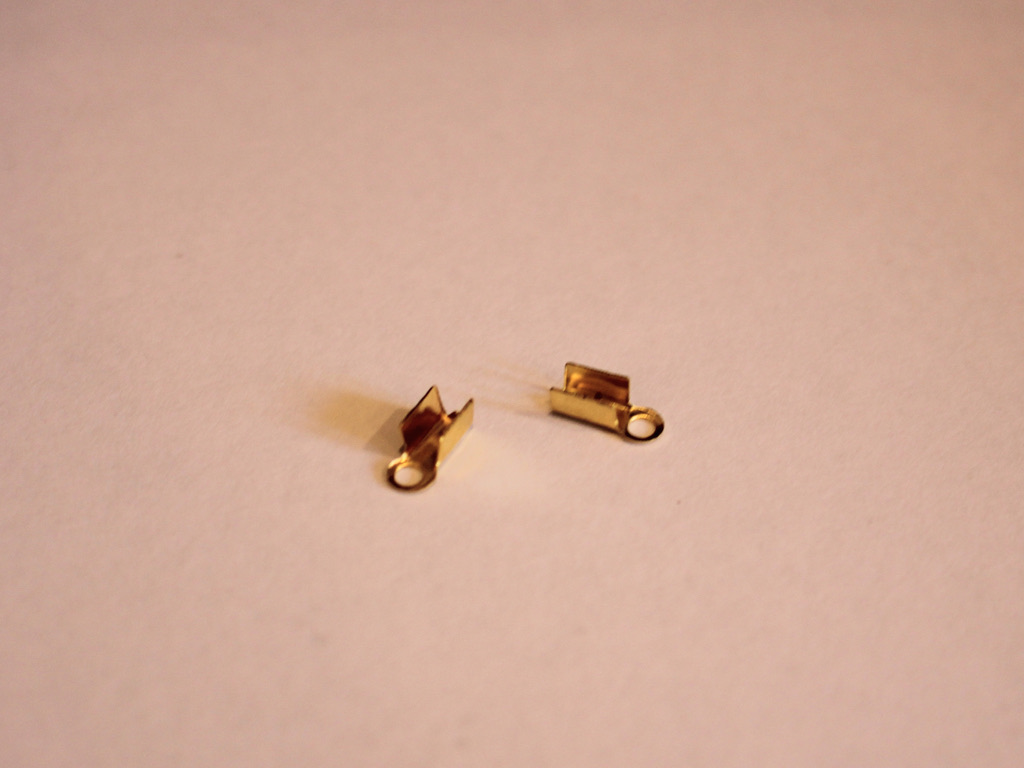
5: Two crimp ends.
6: A bunch of eye pins. The number you will need depends on the length of your bracelet so it’s good to have a few extra on hand.

7: Beads. I used these black plastic beads that I recycled from an old piece of jewelry.

8: Two jump rings.

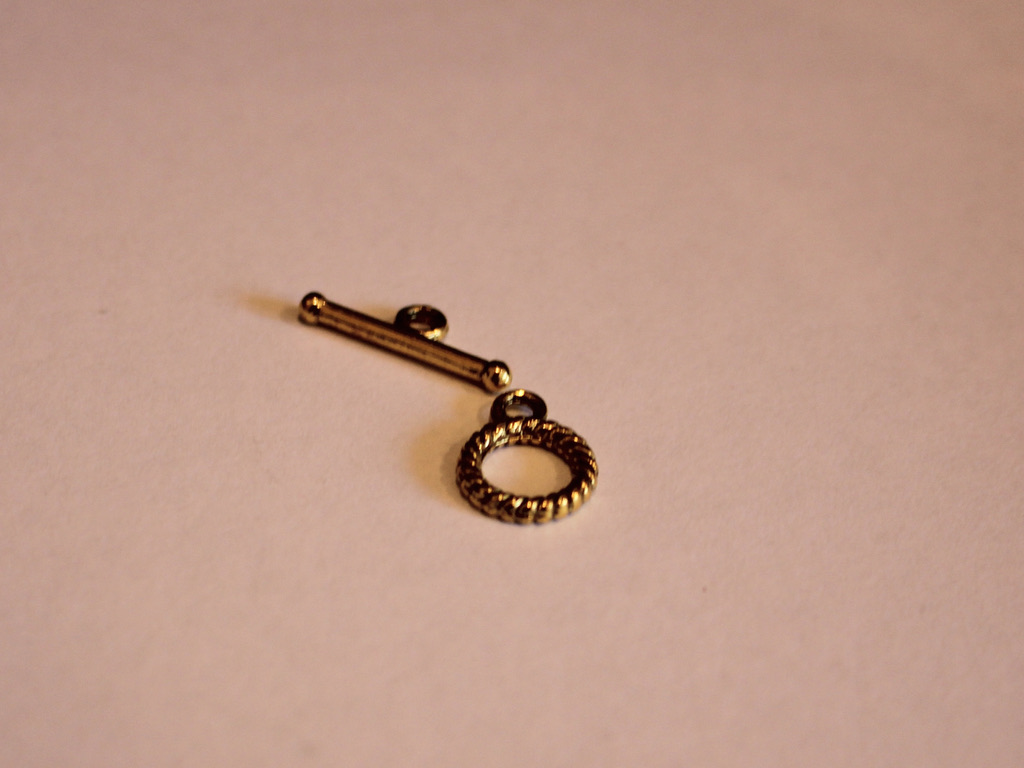
9: A toggle clasp.
Follow these steps to make your own double strand bracelet made with mixed materials:
1: Take the ribbon, cut it to a length that fits around your wrist.
2: Add some sticky tape to either end of the ribbon. This will give the crimps a bit more material to grip on to. You can skip this step if you have a thicker piece of ribbon.
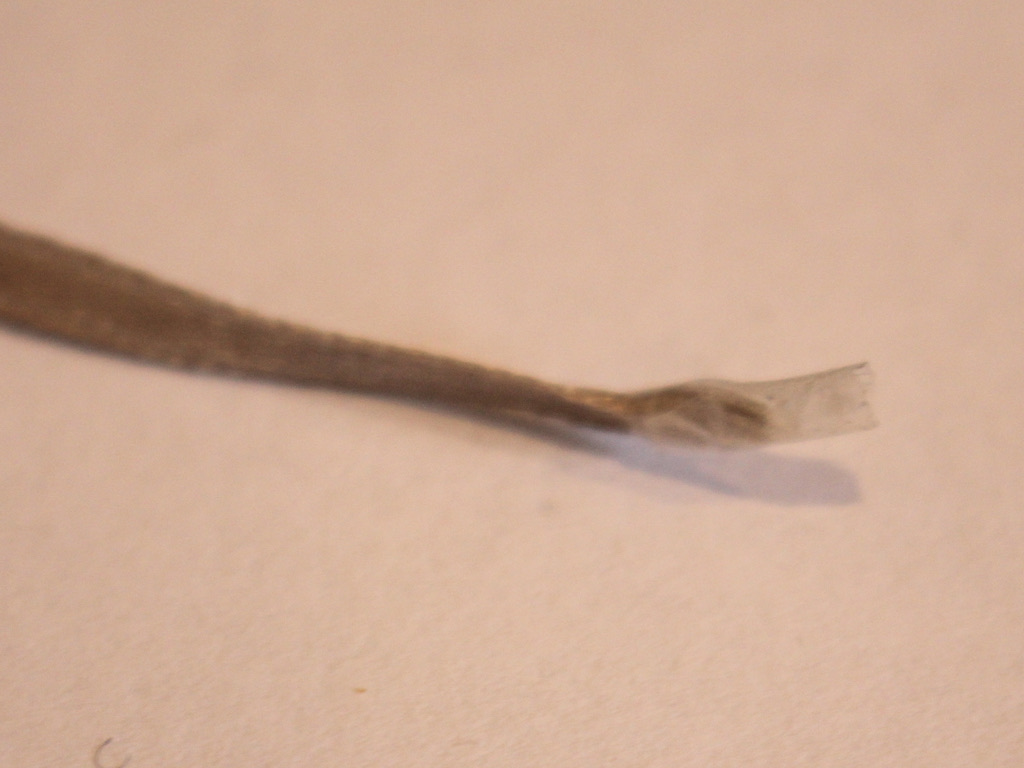
3: Place the crimp around the end of the ribbon.

4: Squash one side of the crimp around the ribbon using the flat nose pliers.

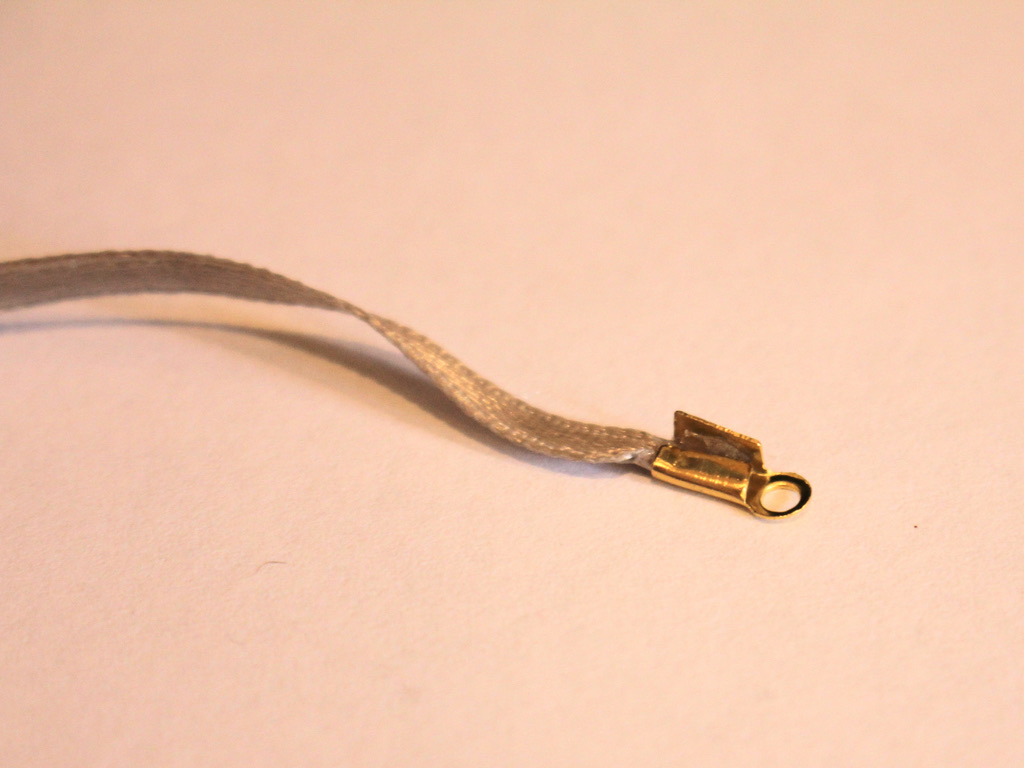
5: Squash the other side of the crimp around the ribbon using the flat nose pliers.

6: Repeat steps 3 to 5 for the other end of the ribbon, squashing the other crimp in place.

7: Set the ribbon aside.
8: Take one of the eye pins and place a bead on it.

9: Bend the pin to form an angle with the bead.
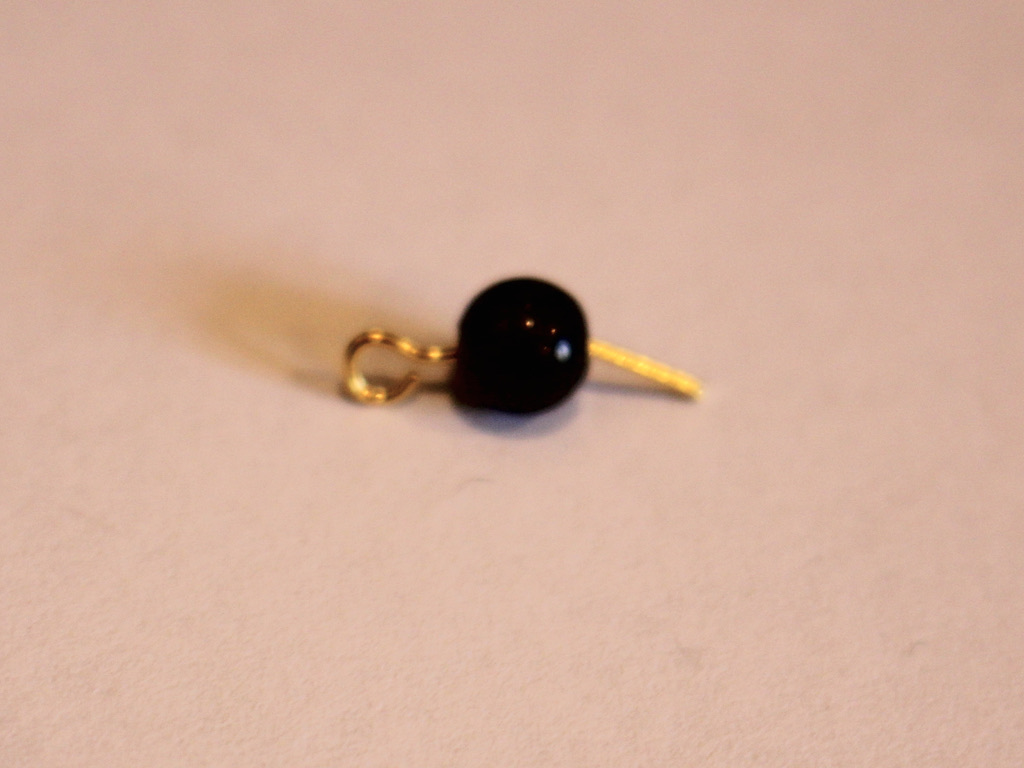
10: Loop the end of the pin around the round nose pliers to form a loop.


11: Repeat steps 8-10 for another pin and bead, now you will have two beaded pins that you can now attach together. Do this by slightly opening one of the loops and sliding the other charm on. Close the loop to secure the pieces together.

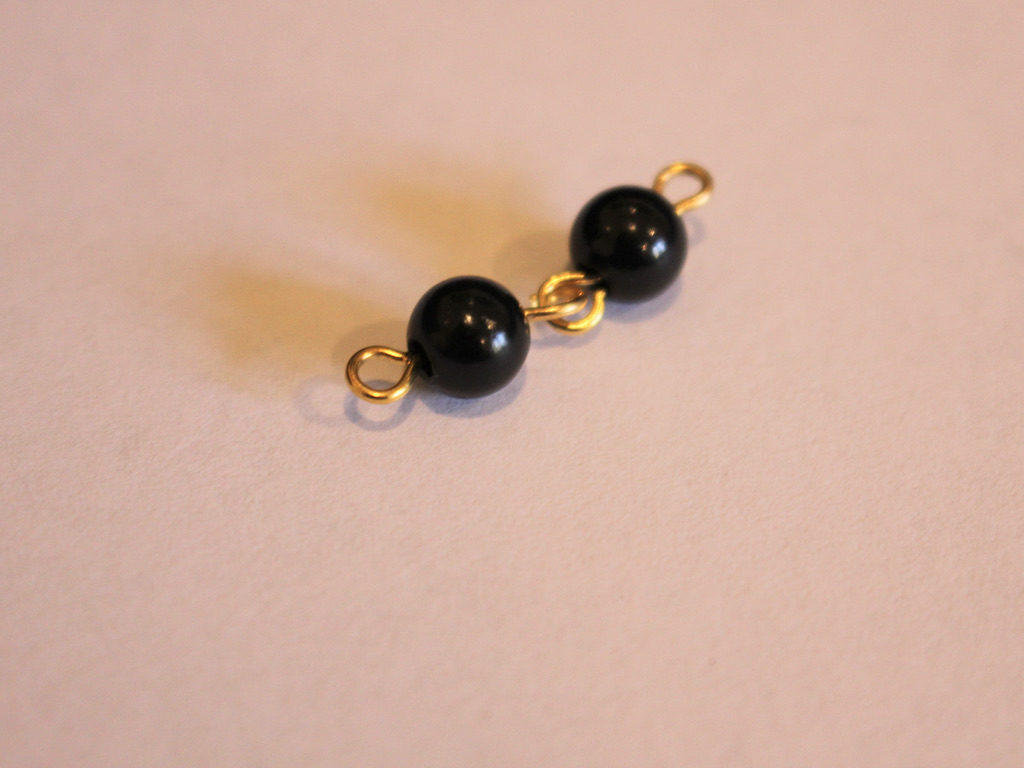
12: Repeat steps 1-11 until you have a chain that is the same length as the ribbon. It doesn’t matter if it is a tiny bit longer or shorter.


13: Take a jump ring and slide it through one end of each strand. Close the jump ring to secure the strands together.
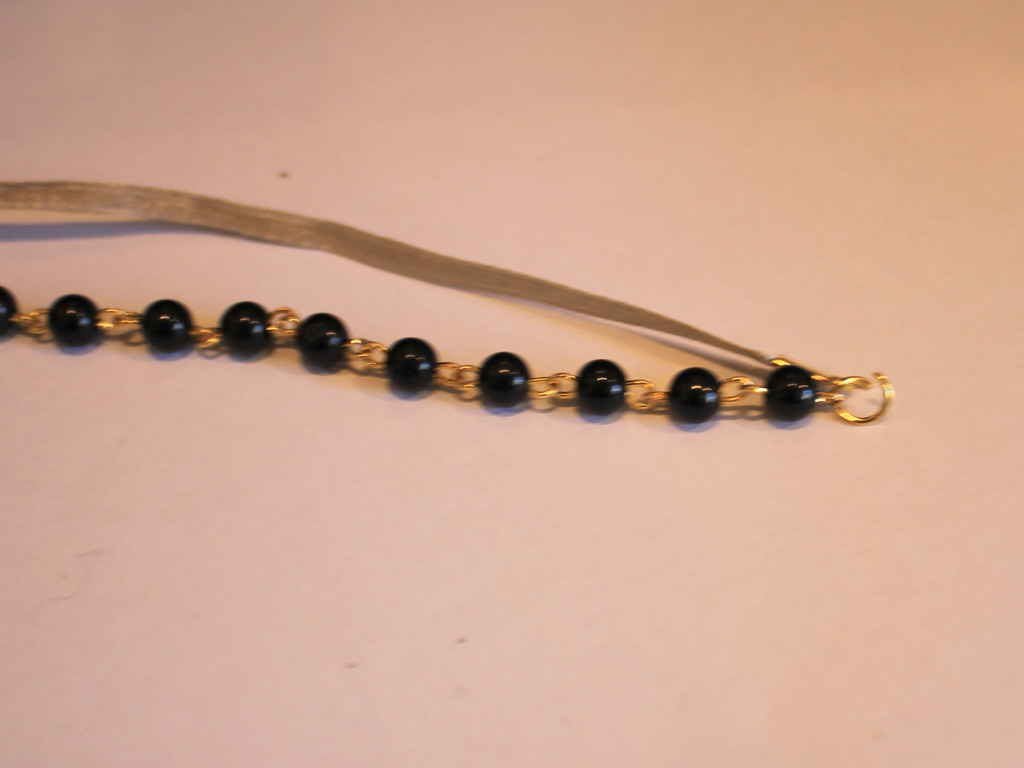

14: Repeat step 13 for the other end of the bracelet.
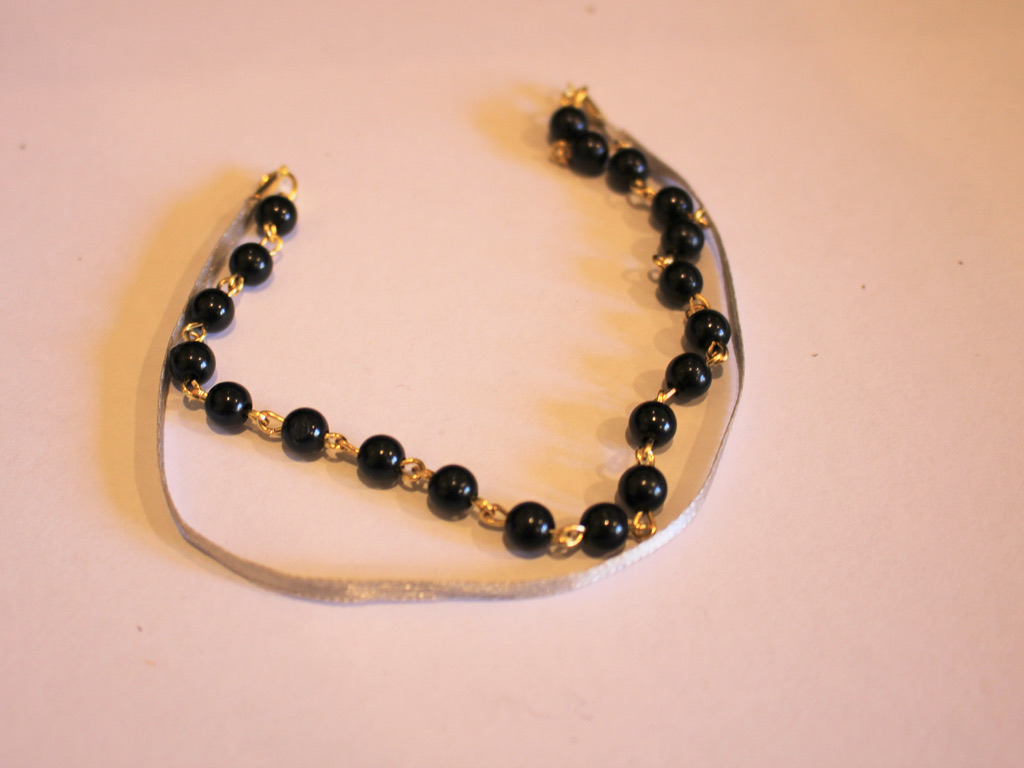
15: Attach one side of the toggle clasp to one side of the bracelet by slightly opening the jump ring, sliding the clasp on, then closing the jump ring again.

16: Repeat step 15 for the second part of the clasp.

Now your bracelet is finished and ready to wear! So cute.

-
Want some lightweight earrings? This ribbon design has you covered.
These lightweight earrings are really cute! Made out of beads and ribbons they’ll pack a visual punch without weighing your lobes down. They can also be made with materials you might already have at home. I don’t know about you but I have loads of ribbons that I have saved from gifts and shopping bags.

You’ll need the following tools and materials to make these lightweight ribbon earrings:
1: Pliers. You’ll need your flat nose and round nose pliers.
2: Two pieces of ribbon. I used this thin (approx 1cm wide) blue satin ribbon. Each piece was approximately 7cm long.

3: Two large jump rings.

4: Two flat end crimps.

5: Two earring hooks.

6: Two small head pins.

4: Beads. I used four green glass beads.

Follow these steps to make your lightweight ribbon earrings:
1: Fold the ribbon around so that it forms a folded loop. You can achieve this by layering the ends over each other facing the same way up.

2: Add the flat crimp to the ends of the ribbon and squash them using the flat nose pliers.


3: Add the glass beads to each of the head pins.

4: Curl the ends of the pins to secure the beads.


5: Add the beaded pins to each of the jump rings.

6: Close the jump rings around the bottom of each ribbon loop.


7: Attach each of the earring hooks to the crimps at the top of each ribbon charm.


Now your cute ribbon earrings are ready to wear!

Note: This article contains affiliate links
Here are some other ribbon earring DIYs
-
I am loving chunky chain necklaces at the moment, here’s how to do them with a cute twist.

Remember this tutorial? Here’s another version with a soft ribbon twist, Weave some pretty ribbon through your chunky chain chokers for a cute and elegant effect.
You will need the following tools and materials to make this woven chain necklace:
1: Pliers. You’ll need your round nose and flat nose pliers for this project.
2: Some chunky chain at your chosen length. I used some light aluminium chain and made it choker length.

3: Two jump rings.

4: A lobster clasp.

5: Some ribbon. I used this green chiffon ribbon.

6: Scissors to trim the ribbon.
Follow these steps to make your woven chain necklace:
1: Thread the ribbon through the second link of the chain so that there is one long end and one short end.

2: Thread the long end through the chain links.

3: Continue threading the ribbon until you reach part way down the chain.
4: Fold the ribbon back and start threading it over the portion you have already threaded and continue until you get back to the short end of the ribbon.


5: Tie the ends of the ribbon into a bow.


6: Trim the excess ribbon.

7: Add one of the jump rings to one end of the chain and attach the lobster clasp.


8: Add the other jump ring to the other end of the chain to finish the necklace off.

Now your woven chunky chain necklace is ready to wear!
Other chunky chain tutorials:
- How to make a knotted chunky chain bracelet
- All the steps to make an adjustable chunky chain belt
- A simple chunky chain necklace
- A super simple chunky chain waist chain
Note: This article contains affiliate links
-
Bohemian Hoop Earrings for Summer… Here’s the tutorial!

Do you rock linen all summer long and want your accessories to match your summer vibe? Here’s the tutorial for you, ribbon wrapped hoops with dangling charms!
You will need the following tools and materials to make your wrapped earrings:
1: Ribbon. I used some beige cotton ribbon.

2: Scissors for cutting the ribbon to length.
3: Two shells with holes in them. I used these shells that I collected myself a while ago.

4: Superglue.
5: Two hoop earrings. I used these small silver hoops with lever backs.

Follow these steps to make your boho wrapped hoop earrings:
1: Add some superglue to one side of the earring and attach the ribbon.

2: Wrap the ribbon tightly around the hoop so that it is fully covered (leave the earring post exposed).

3: Trim the end of the ribbon.

4: Add glue to the other end of the earring to secure the ribbon end in place.

5: Repeat steps 1-4 for the second earring.

6: Add the shells to each earring to finish them off!


Here’s some inspiration for you, some other pairs I made with satin ribbon.


Note: This article contains affiliate links
You May Also Like

Here’s how to make some pearl wiggle charms to add to some charm connector earrings.

Here’s How to make some Hoop Earrings with String and some pretty beads!

Got a pair of dangly earrings you aren’t quite in love with? This tutorial shows you how you can swap earring hooks for studs.
-
This necklace is special… gems and ribbons!
I really love the combo of gemstone beads on a ribbon to make a cool necklace. I made this one a statement using a bright orange ribbon. This tutorial contains affiliate links.
You will need the following tools and materials to make your ribbon gemstone necklace:
1: Pliers. You’ll need your flat nose pliers and round nose pliers to make your ribbon gemstone necklace.
2: A piece of ribbon long enough to be a necklace.

3: Two flat crimp ends.

4: A large jump ring.

5: Two small jump rings.
6: Three head pins.

7: A lobster clasp.

8: Gemstone beads. I used this selection of beads including a shell bead and a coral bead.

Follow these steps to make your gemstone ribbon necklace:
1: Place each of the beads on the head pins.

2: Create a loop at the end of each pin using the round nose pliers to secure the beads in place.


3: Add the beads onto the large jump ring and close it.


4: Add the bead charm to the ribbon and tie a knot to secure it in the middle of the ribbon.


5: Add a crimp to either side of the ribbon ends using the flat nose pliers to squash it in place. I had to fold my ribbon a little to make sure it fit.


6: Add a jump ring to one side of the ribbon end and add the lobster clasp to the end.

7: Add the other jump ring to the other side of the necklace to finish it off.


Now your gemstone ribbon necklace is ready to wear! So cool!
-
Here’s another way to use ribbons in your jewelry!
This necklace is made using velvet ribbon to form the chain, finished off with a cute rhinestone charm!
You will need the following tools and materials to make your necklace:
1. Pliers. You will need your round nose and flat nose pliers to make your necklace.
2: Scissors to cut your ribbon to length.
3: A ribbon crimp end.

Tradico® 600 Pieces Ribbon Ends Flat Clamp Crimp for Jewelry Finding Accessories
4: A ribbon. I used this velvet ribbon.

5: A jump ring.

6: A charm. I used this rhinestone charm that I took off a pair of old earrings that weren’t my style any more.

Follow these steps to make your ribbon necklace:
1: Cut your ribbon to length. Make sure it is long enough to fit around your head when folded in half.
2: Hold the two ends of the ribbon together. Fold your ribbon so that both sides of the velvet face the same direction.

3: Secure the ends of the ribbon together with the flat crimp. Squeeze the crimp closed using the flat nose pliers.


4: Add the jump ring to the loop of the crimp end.

5: Attach the charm to the jump ring and close it to secure the charm to the necklace.


Once your charm is in place your new ribbon necklace is finished and ready to wear!

-
Want a Cute Way to Show Your Festive Side? Make This Cute Bi-color Velvet Bracelet

This bracelet is a variation on the velvet ribbon tutorial from a few weeks ago, however this design makes use of a longer crimp end to secure two ribbons together side by side.
You will need the following tools and materials to make this fun festive bracelet:
1: Pliers. You will need all your pliers for this tutorial. I used my cutting pliers to trim the ribbon but I recommend using scissors instead.

2: Scissors. For cutting the ribbon.
3: Two long ribbon crimp ends (these are approximately 2cm long).
3: Two pieces of ribbon, I used red and green velvet ribbon for a festive look.

4: Two jump rings.
5: A toggle clasp.

Follow these instructions to make this cute and stylish festive bracelet:
1: Place the end of both ribbons in one of the crimp ends.

2: Use your flat nose pliers to close the crimp end and secure the ribbons. Make sure your ribbons don’t slip out of place. Make sure you squeeze the crimp down tight so that your ribbons don’t fall out when you are wearing your bracelet.


3: Trim both ribbons to the right length to fit your wrist. I recommend using your scissors here rather than cutting pliers like I did.


4: Once your ribbons are at the correct length add the remaining crimp to the other end of the bracelet. Secure it in place like you did in step 2.


5: Take one of the jump rings and use it to secure one part of the toggle clasp one end of the bracelet.

6: Repeat step 5 for the other side of the bracelet to secure the second part of the toggle clasp in place.

Once your toggle clasp is in place your bracelet is finished. Wear it with pride and get into the festive spirit!


-
2016 Is all about the choker, Here are 5 ways to Make your own.
There’s no denying that chokers are right on trend! Chokers are elegant and edgy, perfect for adding some cool to your summer sun dress or bringing some class to your evening outfits. DIY Jewelry Hub loves chokers so much we’ve got a stack of choker tutorials for you to try.
1: The Simple Ribbon and Charm Choker

This choker is the easiest one you’ll ever make, no fasteners or findings, all you do it tie it up!
2: The Suede Charm Choker

This choker is made using some sweet suede cord and whatever charms tickle your fancy. Its simple and super cool!
3: This is a three in one deal!


This tutorial explores different materials and different styles that you can use to make chokers.
4: This one has some serious edge, Suede and Chain makes this choker a winner.

5: Lucky number 5 is this bow tie choker made with velvet and chain.


How cute are all of these designs?! Which one will you make?