-
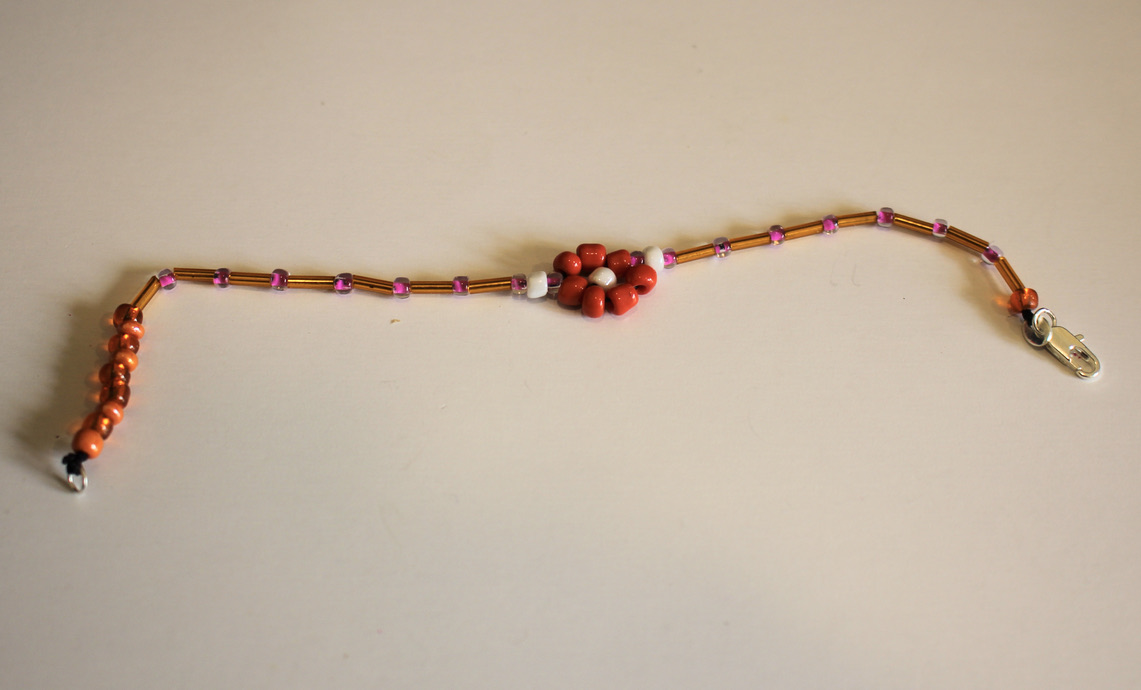
Flower beading is so fun! Here’s how to put together a flower beaded bracelet.
Flower beading was one of the first beading techniques I learned when I was a crafty kid! I still love beading and it is so fun to see this nostalgic style coming back! This bracelet makes a feature of a beaded flower, surrounded by a variety of glass beads. Please note that this tutorial contains affiliate links.
You’ll need these tools and materials to make your flower beaded bracelet:
1: Scissors.

2: Beading thread.

3: A selection of beads. I used some larger glass beads for the flower and some smaller ones for the base of the bracelet.

4: A parrot clasp and jump ring for the ends of the bracelet.


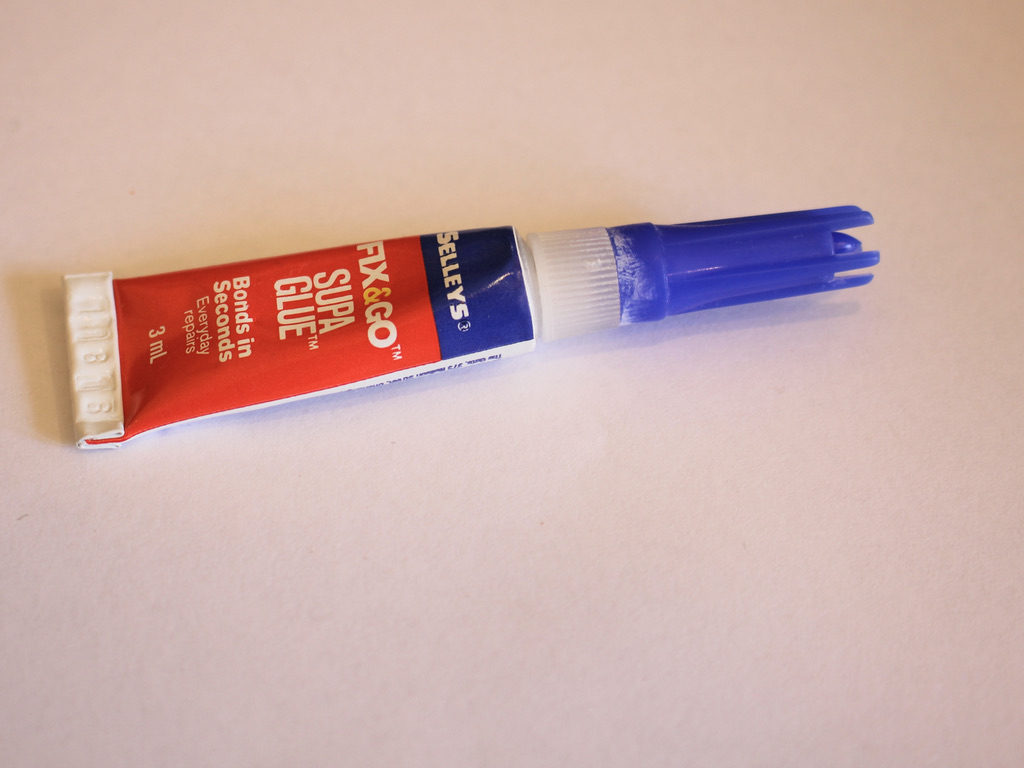
5: Some superglue.
6: A beading needle with a thin loop of thread tied to it.

Here are the steps to follow to make your flower beaded bracelet:
1: Cut a length of thread, about 50cm and fold it in half.

2: Slip the loop around the clasp end and pull the length of the thread back through that loop. Pull it tight to secure it to the clasp.

3: Tie a knot at the base of the clasp and put the thread back through the clasp end, tying one final knot for extra security.


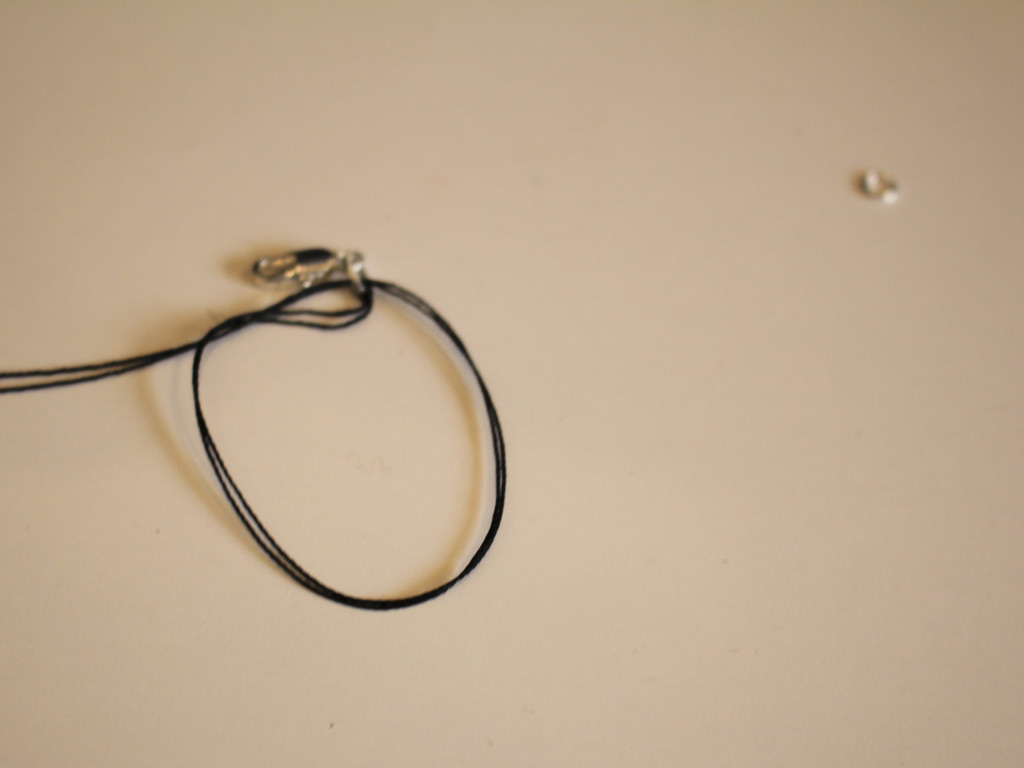

4: Add the looped needle to the beading thread.
5: Begin adding beads, bead to about half of the preferred length of your bracelet. You can check this roughly by laying the bracelet across your wrist and measuring by eye how far it reaches around the wrist.

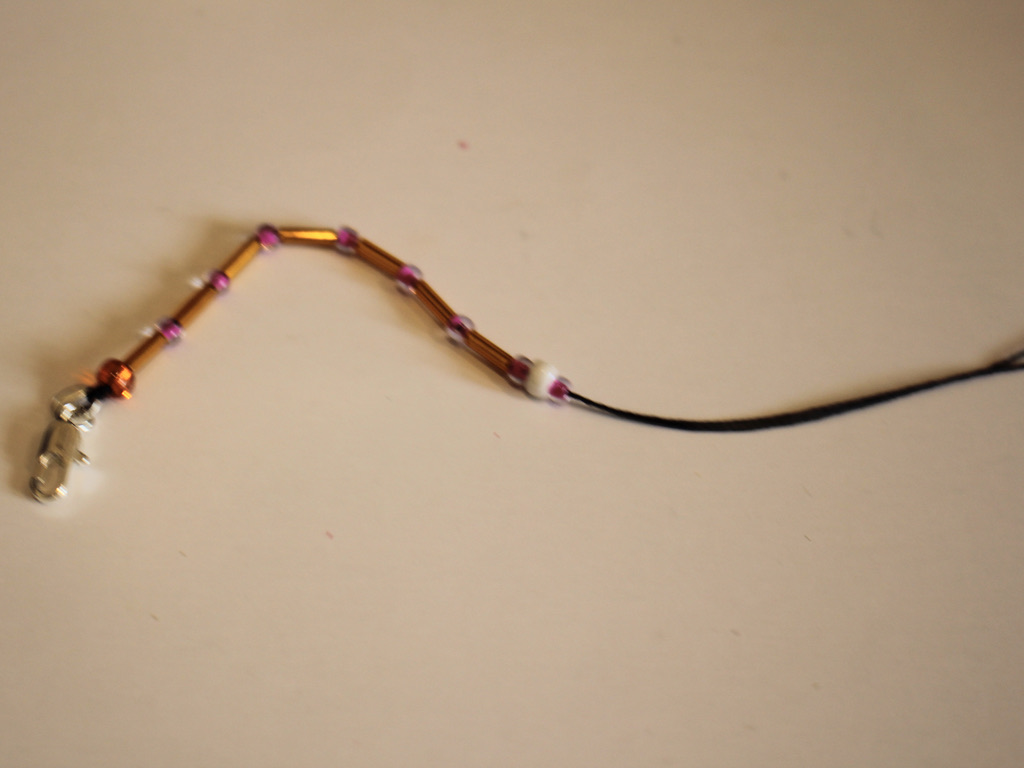
6: Once you have the length you like, add the seven beads for making the flower.
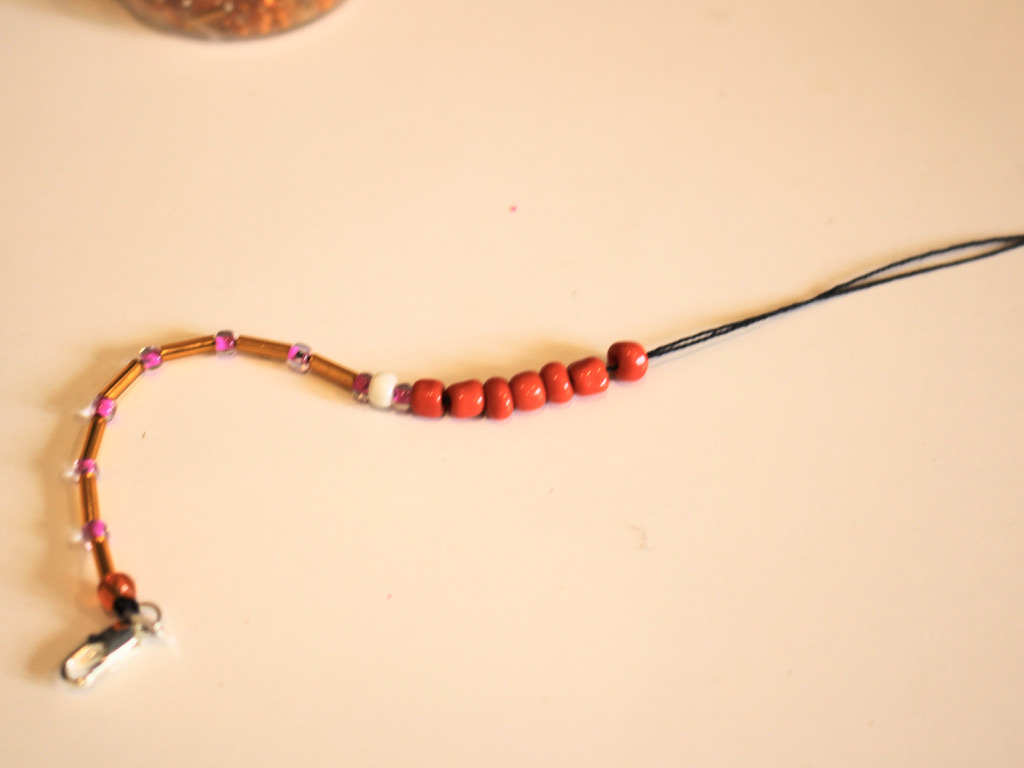
7: Take the needle and put it through the hole of the first of the flower beads. When you pull it tight you will have a circle shape.

8: Add another bead to the thread, this will be the centre of the flower.

9: Place the centre bead into the middle of the circle and then thread the needle through one of the beads opposite the one you used to form the circle.

10: Pull the thread tight, you will now have a flower with a centre.
11: Continue beading until you have the length you like. I didn’t quite make the first part of my bracelet long enough so I decided to add some extra feature beads at the end to make it long enough.


12: Once you have your desired bracelet length, tie a knot at the end of the beads to secure them.
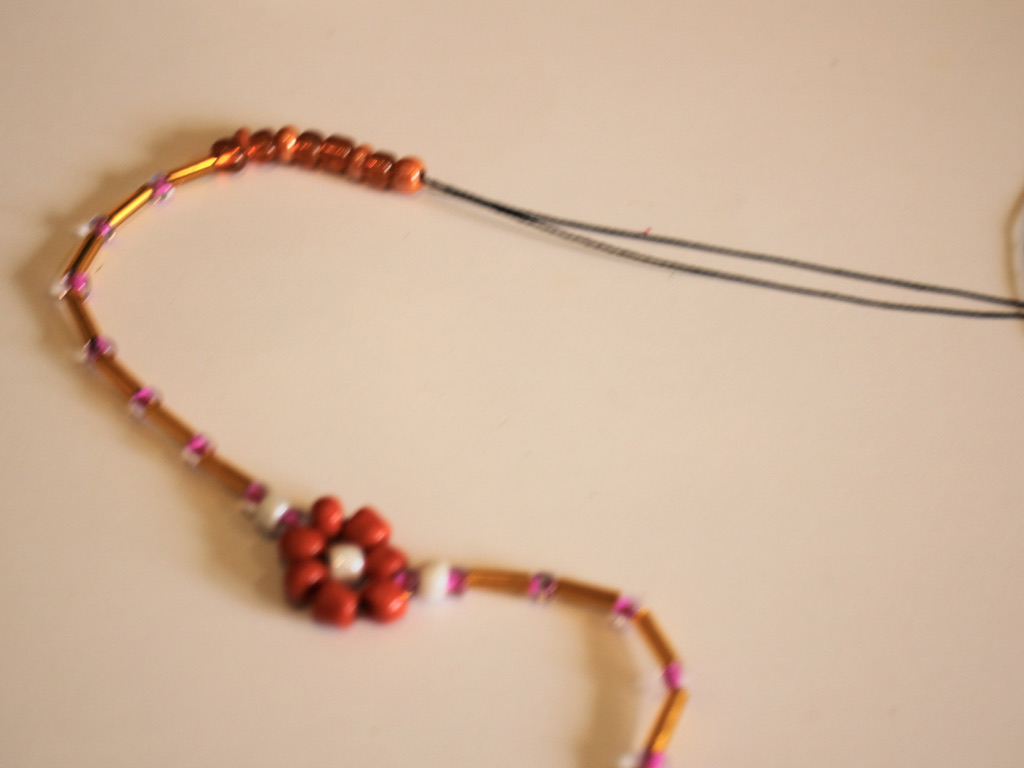
13: Loop the thread around the jump ring and tie a knot. Repeat this to secure the jump ring well.


14: Trim the excess thread from the end of the bracelet, cutting closely. Then add a dab of superglue to the knots on both ends of the bracelet for extra security. Set the bracelet aside and wait for the glue to dry.


Once the glue is dry, your sweet and cheerful floral bracelet is finished and ready to wear!


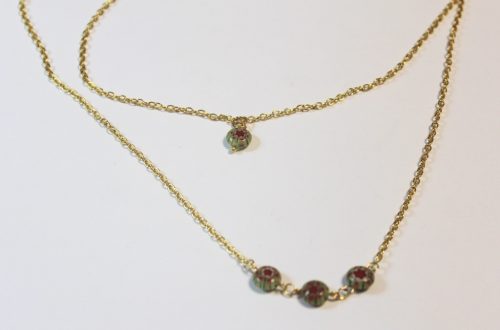
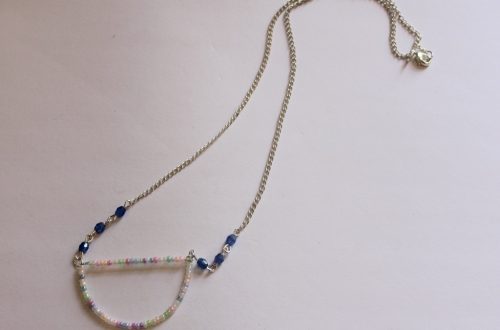
Here are some more floral bead tutorials you can follow:
-
Here’s another sparkly shoe chain tutorial for you…
Shoe jewellery is pretty fun! Here’s how to make a sparkly decoration for your fave shoes using some string and some rhinestone embellished beads. I made this one long enough that you could also clip the ends together so you can wear it around boots. Please note that this tutorial contains affiliate links.
You’ll need these tools and materials to make this shoe chain:
1: A piece of string about 35-40cm long.

2: Two large lobster clasps.

3: Some beads. I used these second-hand rhinestone embellished metal beads.

4: Scissors for trimming the string.
5: Some superglue.
Follow these steps to make your shoe chain using string and beads:
1: Add one of the lobster clasps to one end of the string and tie a knot.


2: Tie two more knots, leaving the end for now.

3: Add the beads to the string.
4: Add the second lobster clasp to the other end of the string and tie three knots as you did in steps 1 and 2.

5: Trim the ends of the string using your scissors.

6: Add a dab of superglue to the knots to secure them then set it aside to dry.
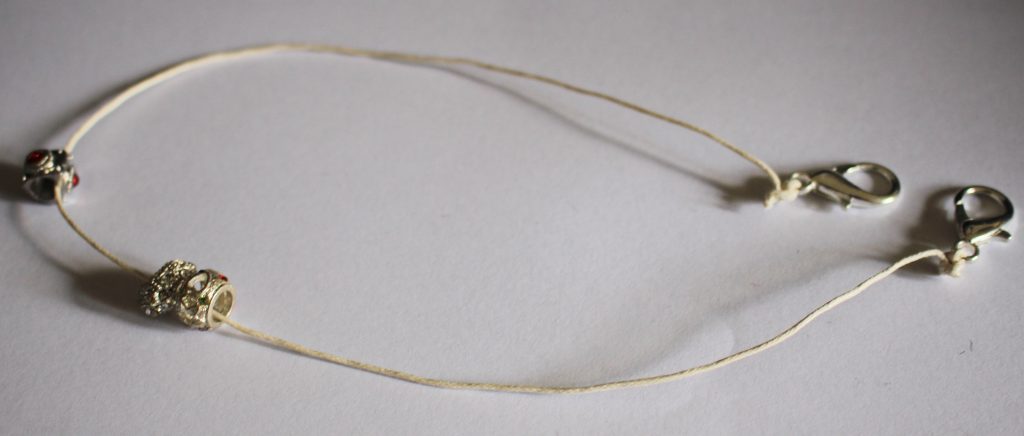
Now your shoe chain is finished. Here it is clipped to some low top sneakers, but you could experiment and add them to high-tops or boots!


- Uncategorized
Here’s how to make a braided mask chain with beaded details!
If you’re like me, masks have become a long-term part of life. It can be annoying to keep track of your mask as you take it on and off during the day, so here’s piece you can make that helps you keep track of your mask! This mask chain features braid with beaded details for a cool, hippie look! Please note that this tutorial contains affiliate links.
You’ll need the following tools and materials to make your braided mask chain with bead details:
1: Scissors
2: Three pieces of hemp cord. I cut mine to be about a 1m long but didn’t use all of it, so I suggest cutting a bit shorter.

3: Beads with holes large enough to fit the cord. I used these painted red timber beads.

4: Two large lobster clasps.

5: Super glue
Follow these steps to make your braided bead mask chain.
1: Thread the three pieces of cord through the end of one of the lobster clasps.
2: Tie a knot to secure the clasp.


3: Tie a second knot for extra security and trim the excess.

4: Start braiding the cord. It can be useful to clip the end of the piece to something so that you can pull the strings taught and make braiding easier.

5: Once you have braided a small section, approx. 4cm, add one of the beads to the centre cord.

6: Continue braiding, wrapping the next two strings around the bead and then continue braiding as usual.

7: Repeat steps 5 and 6 for the next bead and then the rest of the chain until it is the length you like.
8: Add the second clasp to the other end of the chain and knot it to secure it in place.


9: Knot the end again and trim the cord.
10: Add a dab of superglue to each end of the beaded chain and set it aside to dry.

Now your mask chain is finished and ready to use!


If you love braided designs, here are some other pieces you can make at home:
-
Here’s how to string beads onto nylon beading thread!
I’ve been experimenting with different stringing materials lately for my beaded designs and I’ve come to like working with nylon beading thread, so I thought I’d make a tutorial to show you all how to use it! In this tutorial I am going to make a simple beaded necklace using glass seed beads and polymer clay fruit beads for a fun and tropical look. Please note that this tutorial contains affiliate links.
You’ll need these tools and materials to make your beaded necklace:
1: Some nylon beading thread. You’ll need to cut a bit over double the length you want your necklace to be.
2: A beading needle with a thin loop of thread tied to it.
3: A sterling silver lobster clasp.

4: A sterling silver jump ring.

5: Superglue.
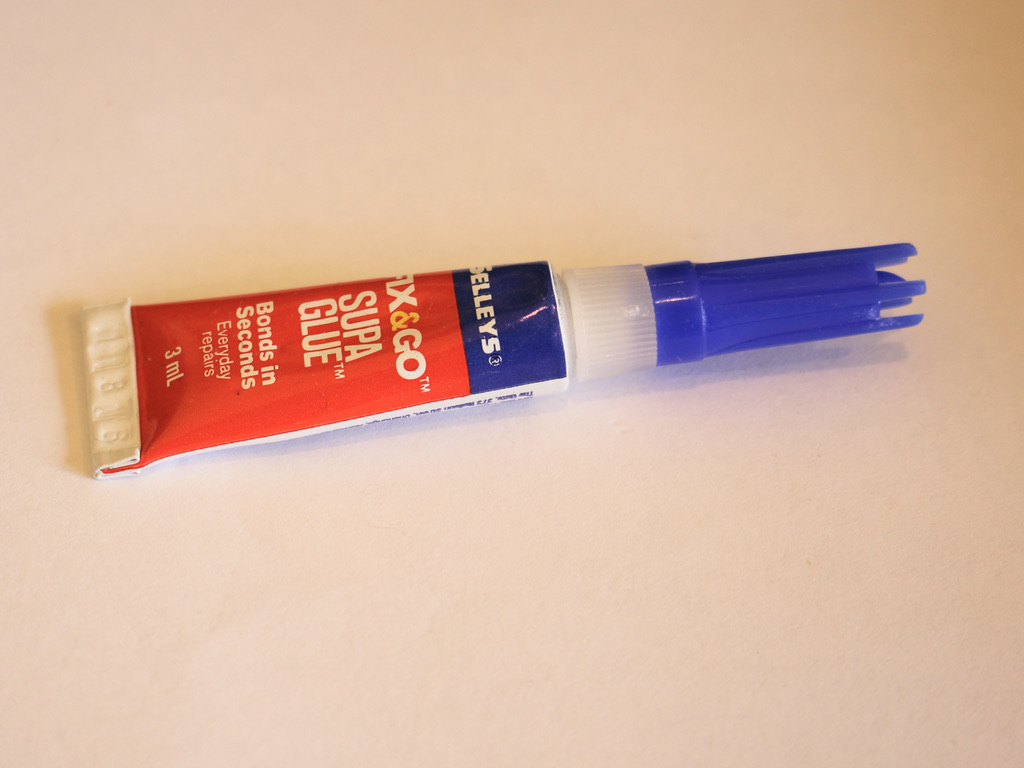
6: Beads. I used some polymer clay fruit beads and some clear silver lined glass seed beads.


7: Scissors to trim the thread.
Follow these steps to create your beaded necklace using nylon thread:
1: Fold the thread in half.

2: Loop the thread through the jump ring on the clasp and pull the ends back through.

3: Pull the loop tight.

4: Create another knot over the one you just made. If the knot is a little high, pull the strings apart carefully, making sure not to break the thread.


5: Loop the ends of the thread through the loop on the end of the needle.

6: Begin adding beads, pulling the beads gently over the thin thread and onto the necklace thread.


7: Add beads in the same manner in your chosen pattern until you have the length you want for your necklace.


8: Tie a knot at the end of the beaded section the same way you knotted the thread in step 4.

9: Slide the jump ring onto the thread.


10: Loop the thread through the ring again and then tie a knot below the jump ring. Do this one more time so that you have a secure knot.


11: Trim the excess thread.

12: If you feel like it, you can melt the extra thread using a lighter or match, but be careful not to break the thread or burn yourself.

13: Add a dab of superglue to the knots at each end of the necklace.


Now your necklace is finished and ready to wear!

If you don’t feel like making your own version of this necklace, you can purchase this one that I made here: https://www.etsy.com/au/listing/891450996/fruit-necklace-fruit-bead-necklace?ref=shop_home_active_30&frs=1
Here are some other polymer clay fruit designs you can make:
-
Here’s how to make a braided bead choker, perfect for the beach!
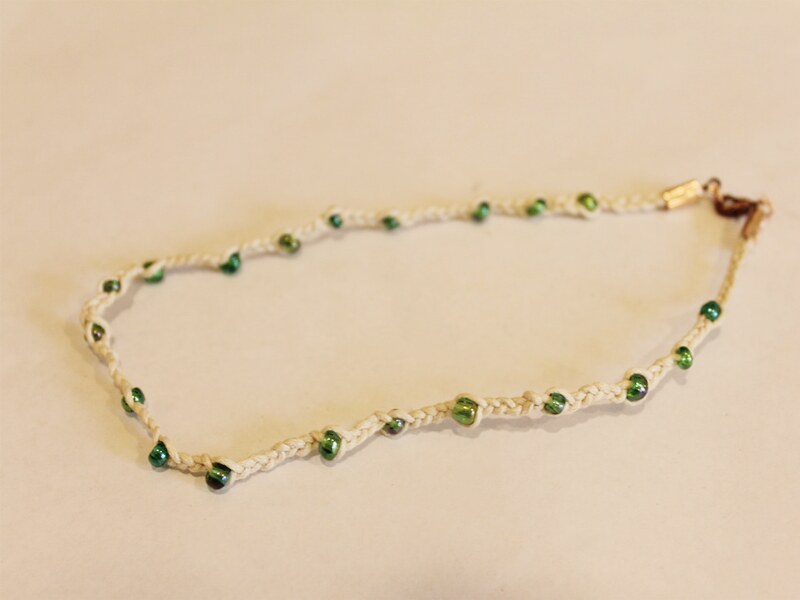
Do you love the look of boho braids? Why not make this super cute braided bead necklace?
You’ll need the following tools and materials to make your braided necklace:
1: Scissors or cutting pliers to cut the string.

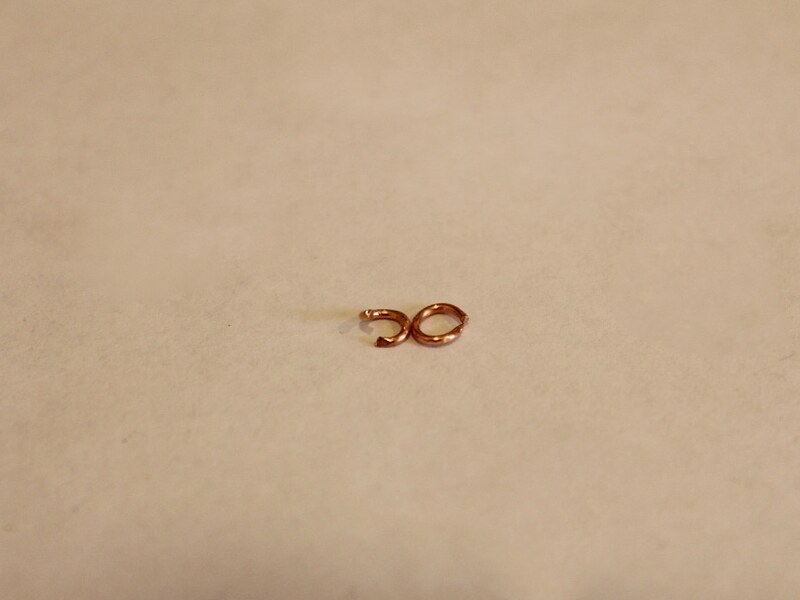
2: Pliers. You’ll also need your flat nose pliers and round nose pliers.


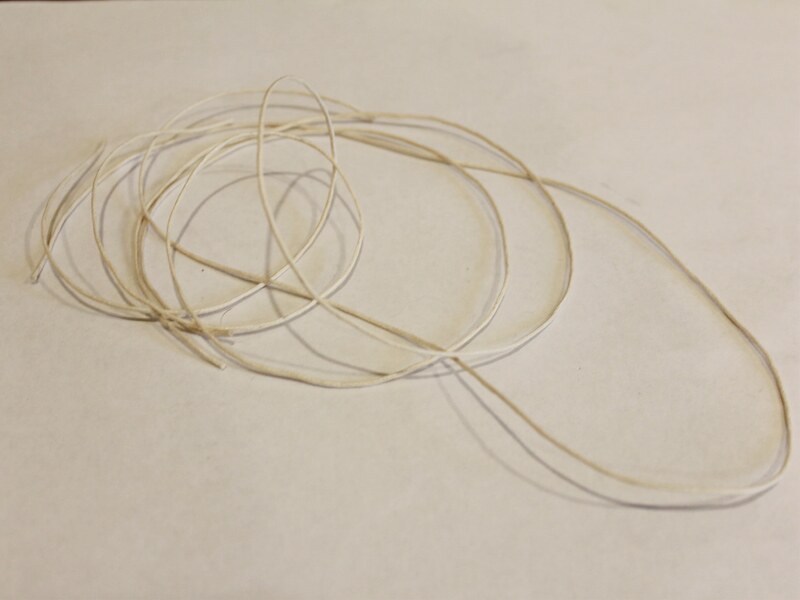
3: Three pieces of string the same length. I made mine approximately 60cm long.
4: Crimp ends. I used these rose gold colored ones.

6: A lobster clasp.

7: Beads of your choice. I used these green glass e-beads.
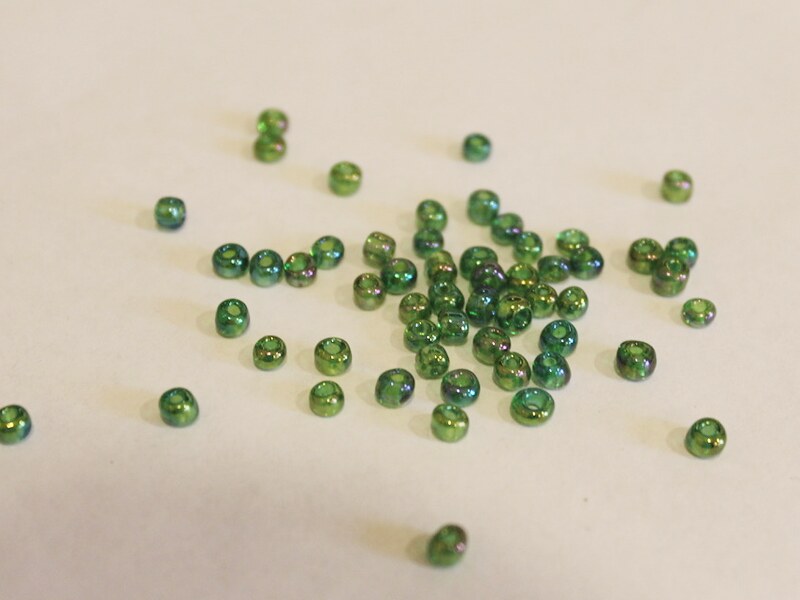
Follow these steps to make your braided bead necklace:
1: Gather the three strings together and create a knot at one end.

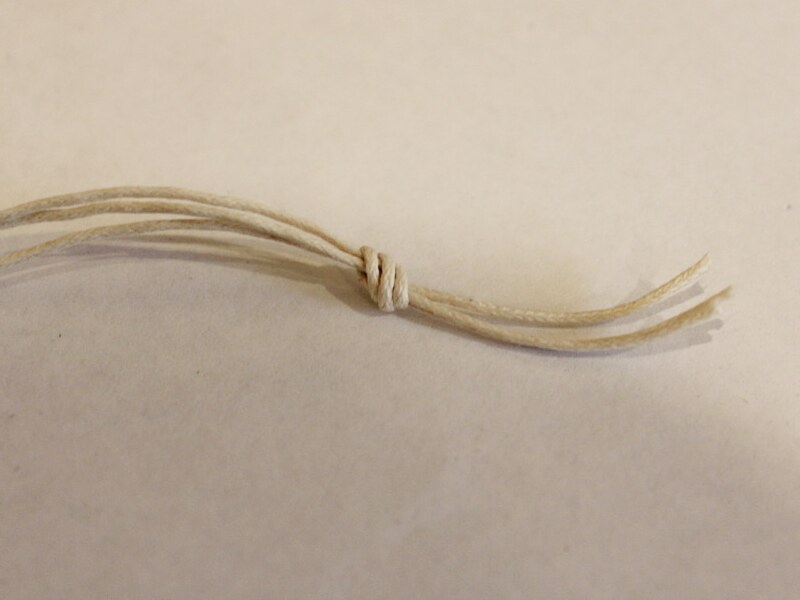
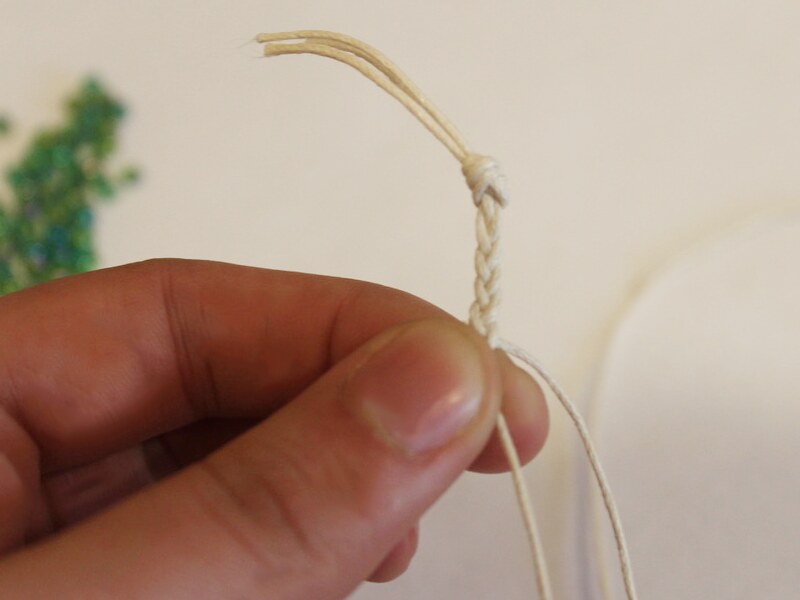
2: Begin braiding the strings.
3: Add a bead to the string currently at the center of the braid.
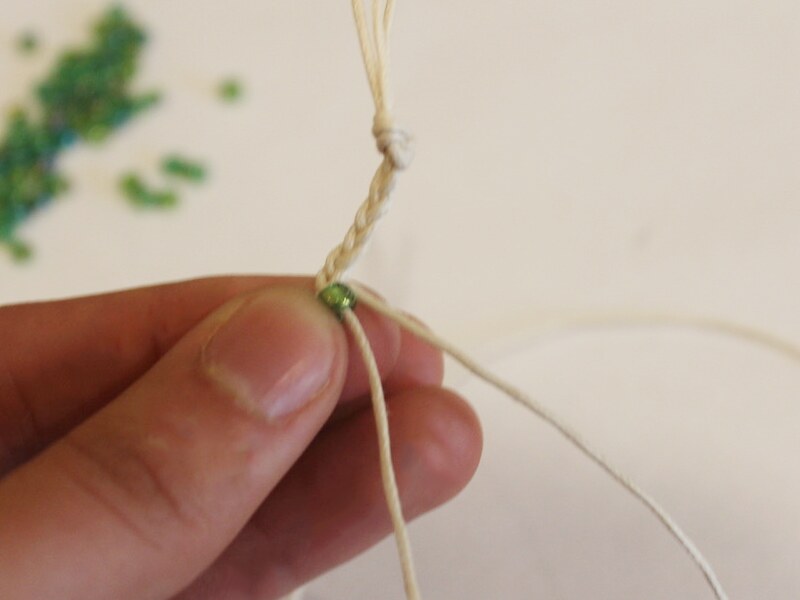
4: Braid around the bead to secure it in place.
5: Continue steps 3 and 4, adding beads in whatever pattern you like. I added mine fairly randomly.
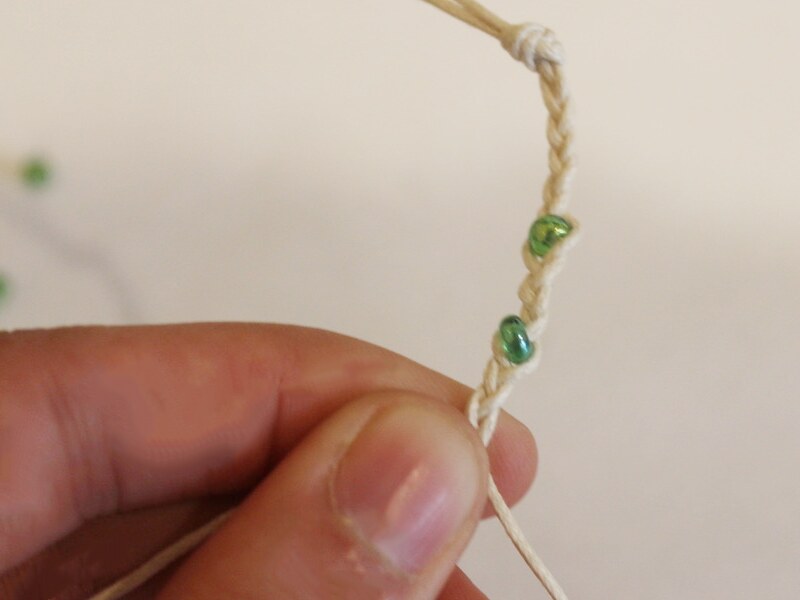
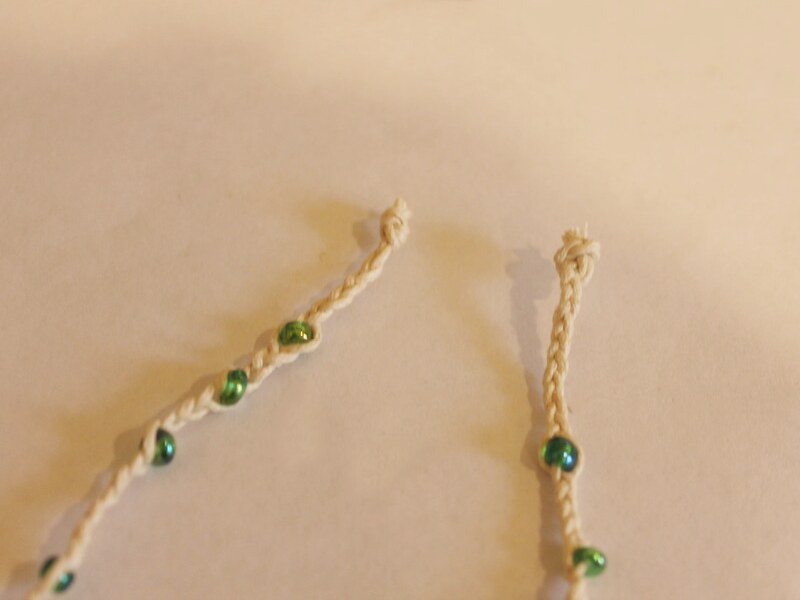
6: Once you’ve made your braid long enough create a knot to the other end of the braid.


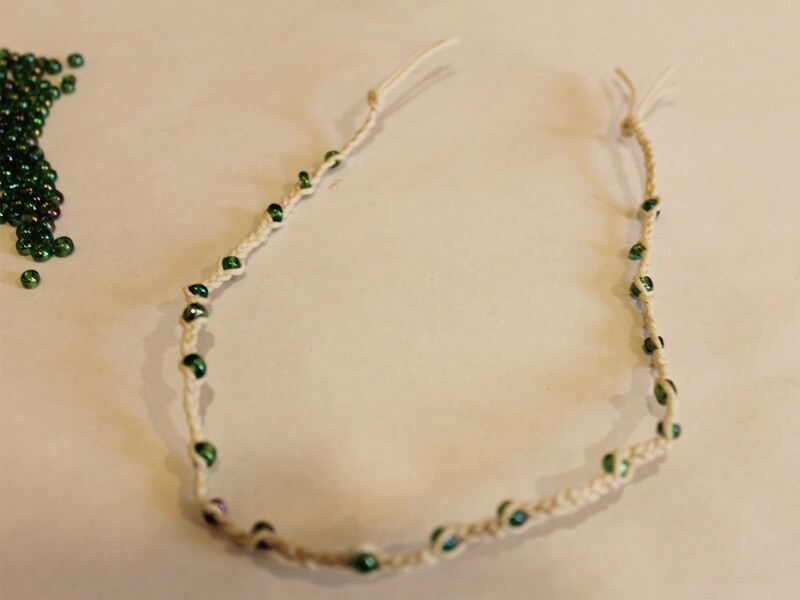
7: Trim the ends of the strings off.
8: Add the crimps around each of the knots at each end of the braid. Use flat nose pliers to squash the crimps around the string.
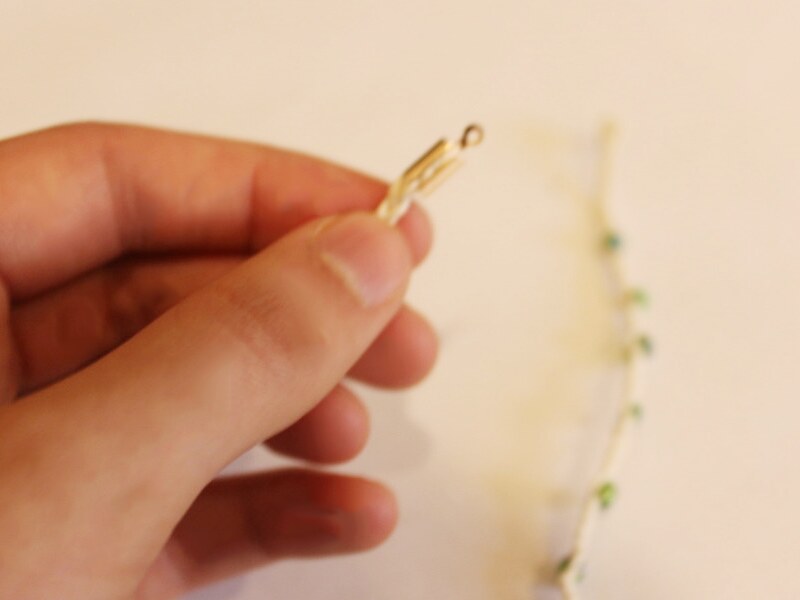
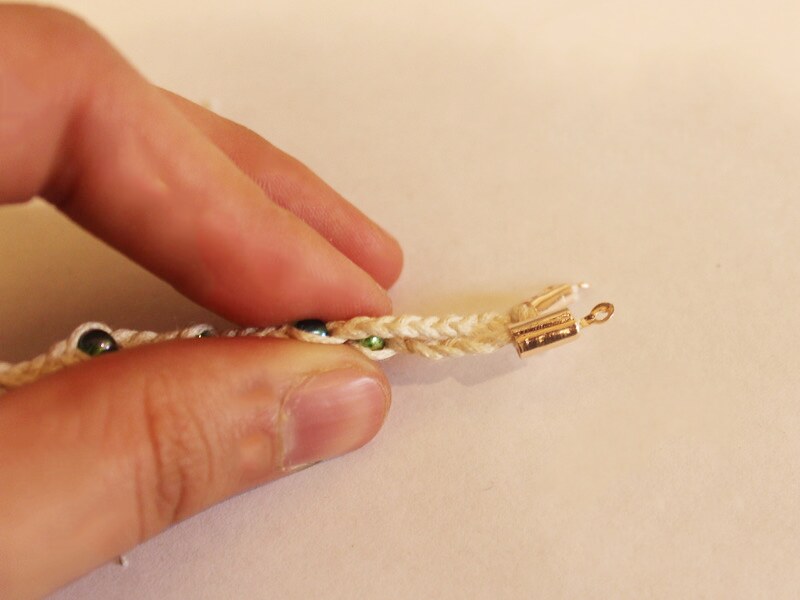
9: Add a jump ring to the loop at the top of one of the crimps and slide on the lobster clasp. Close the jump ring to secure the clasp in place.

10: Add the last jump ring to the other side of the necklace to finish it off.
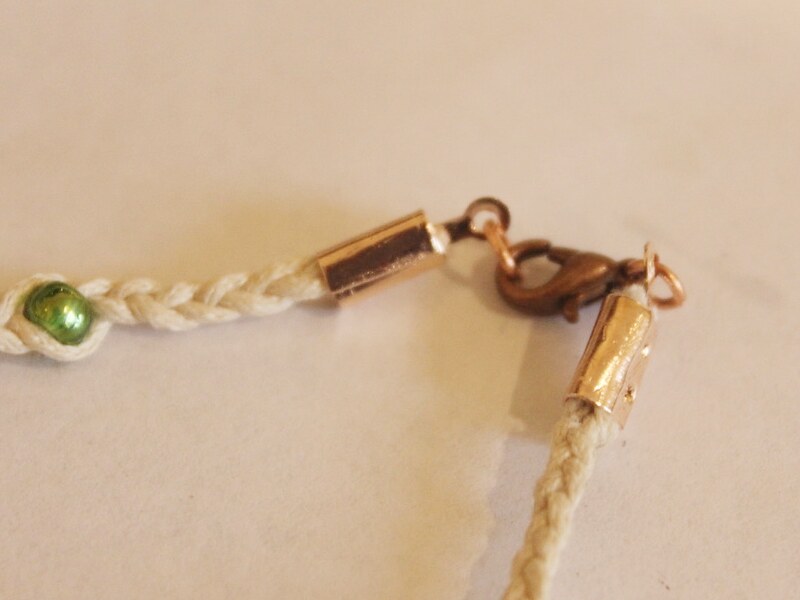
Now your boho braided bead necklace is ready to wear! Perfect for summer beach days!
-
Here’s how you can update your old ugly headbands… With Rhinestones!

Do you need something fun to add to your festive outfits? This embellished headband is for you! If you’ve got an old ugly headband lying around this tutorial shows you the perfect way to jazz it up. Contains affiliate links.
You will need the following tools and materials to make this headband:
1: A headband. I used this old headband I had lying around at home.

2: Some ribbon.

3: Rhinestones.
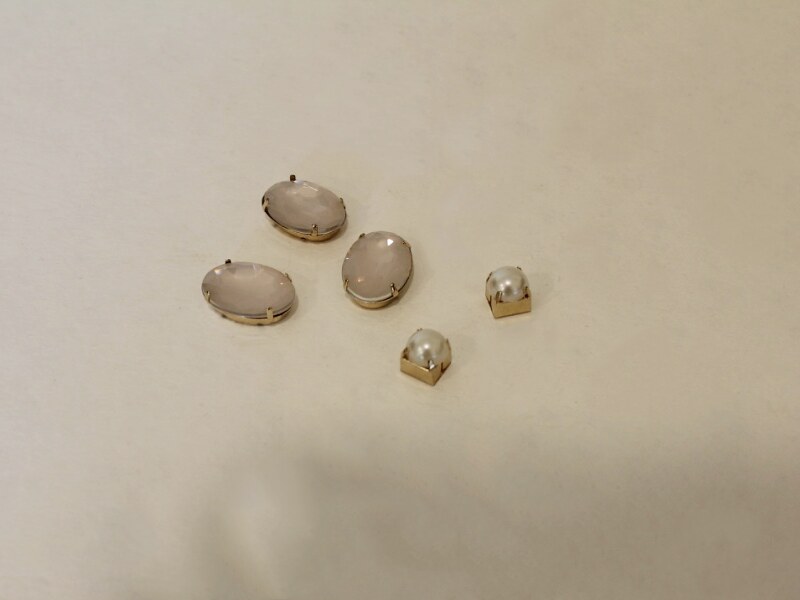
4: A hot glue gun and glue sticks.

5: Scissors.
Follow these steps to make your headband:
1: Add some glue to the inside of the headband with the glue gun.

2: Stick on end of the ribbon to the glue, being careful not to burn yourself as the glue will be hot.

3: Begin wrapping the ribbon tightly around the headband. Overlapping the ribbon to ensure that the headband is completely covered.

4: Continue wrapping the headband until you reach the other end.
5: Add more glue to the other end of the headband and place the ribbon over it to secure the end.


6: Use the scissors to trim the excess ribbon.

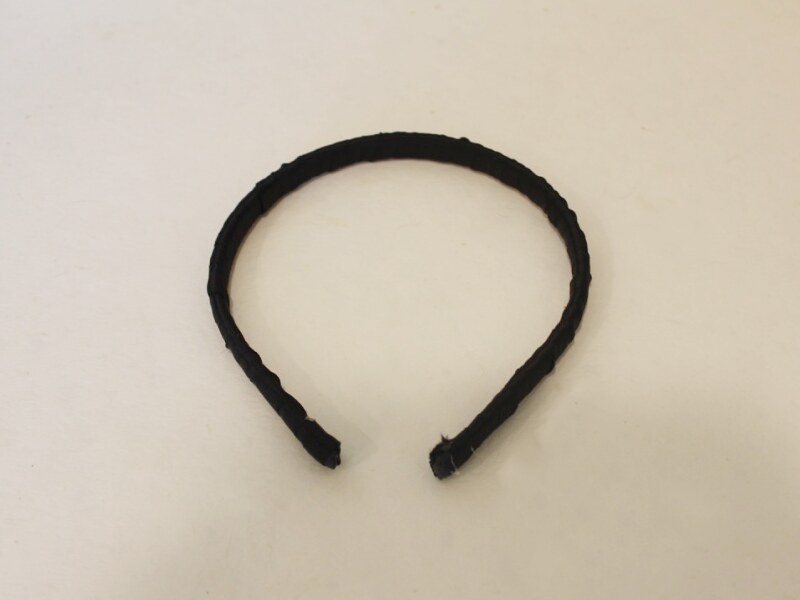
7: Add some glue to the top of the headband where you want your embellishment to sit, I mine slightly off center.

8: Place the first rhinestone onto the glue.

9: Repeat steps 7 and 8 for the remaining rhinestones until you are happy with your embellishments.
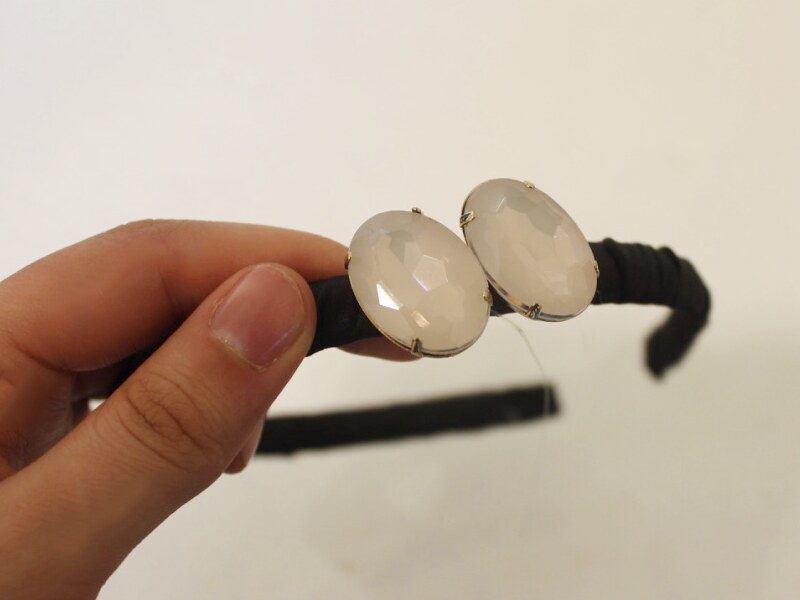


Once all your rhinestones are in place your headband is finished. Wait for the glue to dry and trim any of the excess glue strings before you pop it on!

-
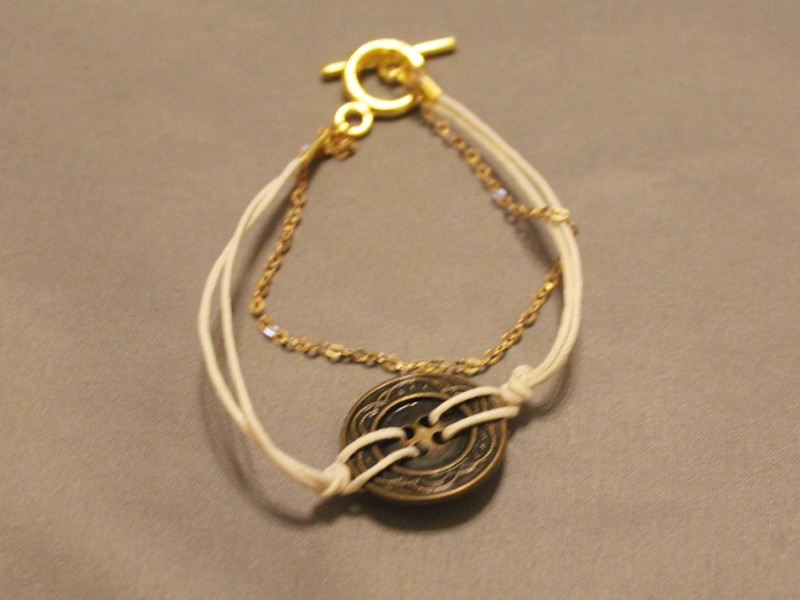
Do You Have Some Mismatched Buttons Lying Around? Why Not Make These Button Bracelets?

These button bracelets are really easy to make and they look great! Use some vintage buttons to give your bracelets an extra unique edge.
You will need the following tools and materials to make this bracelet:
1: Pliers. You will need your round nose pliers and flat nose pliers to make this bracelet.
2: scissors for trimming your string.
3: Two pieces of string.

4: A button with four holes.

5: Two leather crimp ends.

6: Two jump rings.

7: A toggle clasp.

Follow these steps to make your bracelet:
1: Fold one piece of string in half. Feed both ends of the string into two separate holes.

2: Feed the ends of the string through the loop you have formed and pull it tight.


3: Repeat this for the other side of the bracelet using the other piece of string, make sure you loop it the same way so that your knots match.

4: Add an extra knot to each piece of the string so it sits closely on either side of the button.


5: Measure the string around your wrist and trim the excess if required.


6: Add a crimp end to either side of the bracelet using the flat nose pliers.


7: Add a jump ring to either side of the bracelet and attach each end of the toggle clasp to finish your bracelet.


Here are some other button bracelets I put together using different colored buttons, string and chain.