-
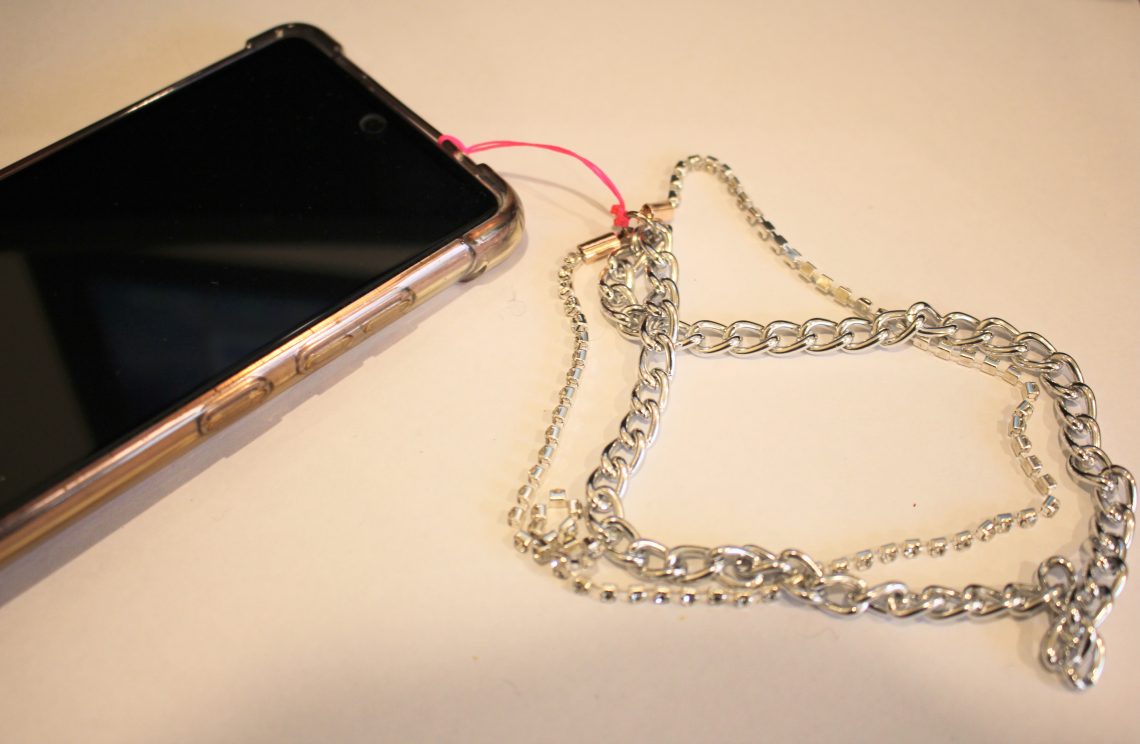
Need help keeping hold of your phone? Here’s how to make a cute chain and rhinestone phone strap so its harder to lose!
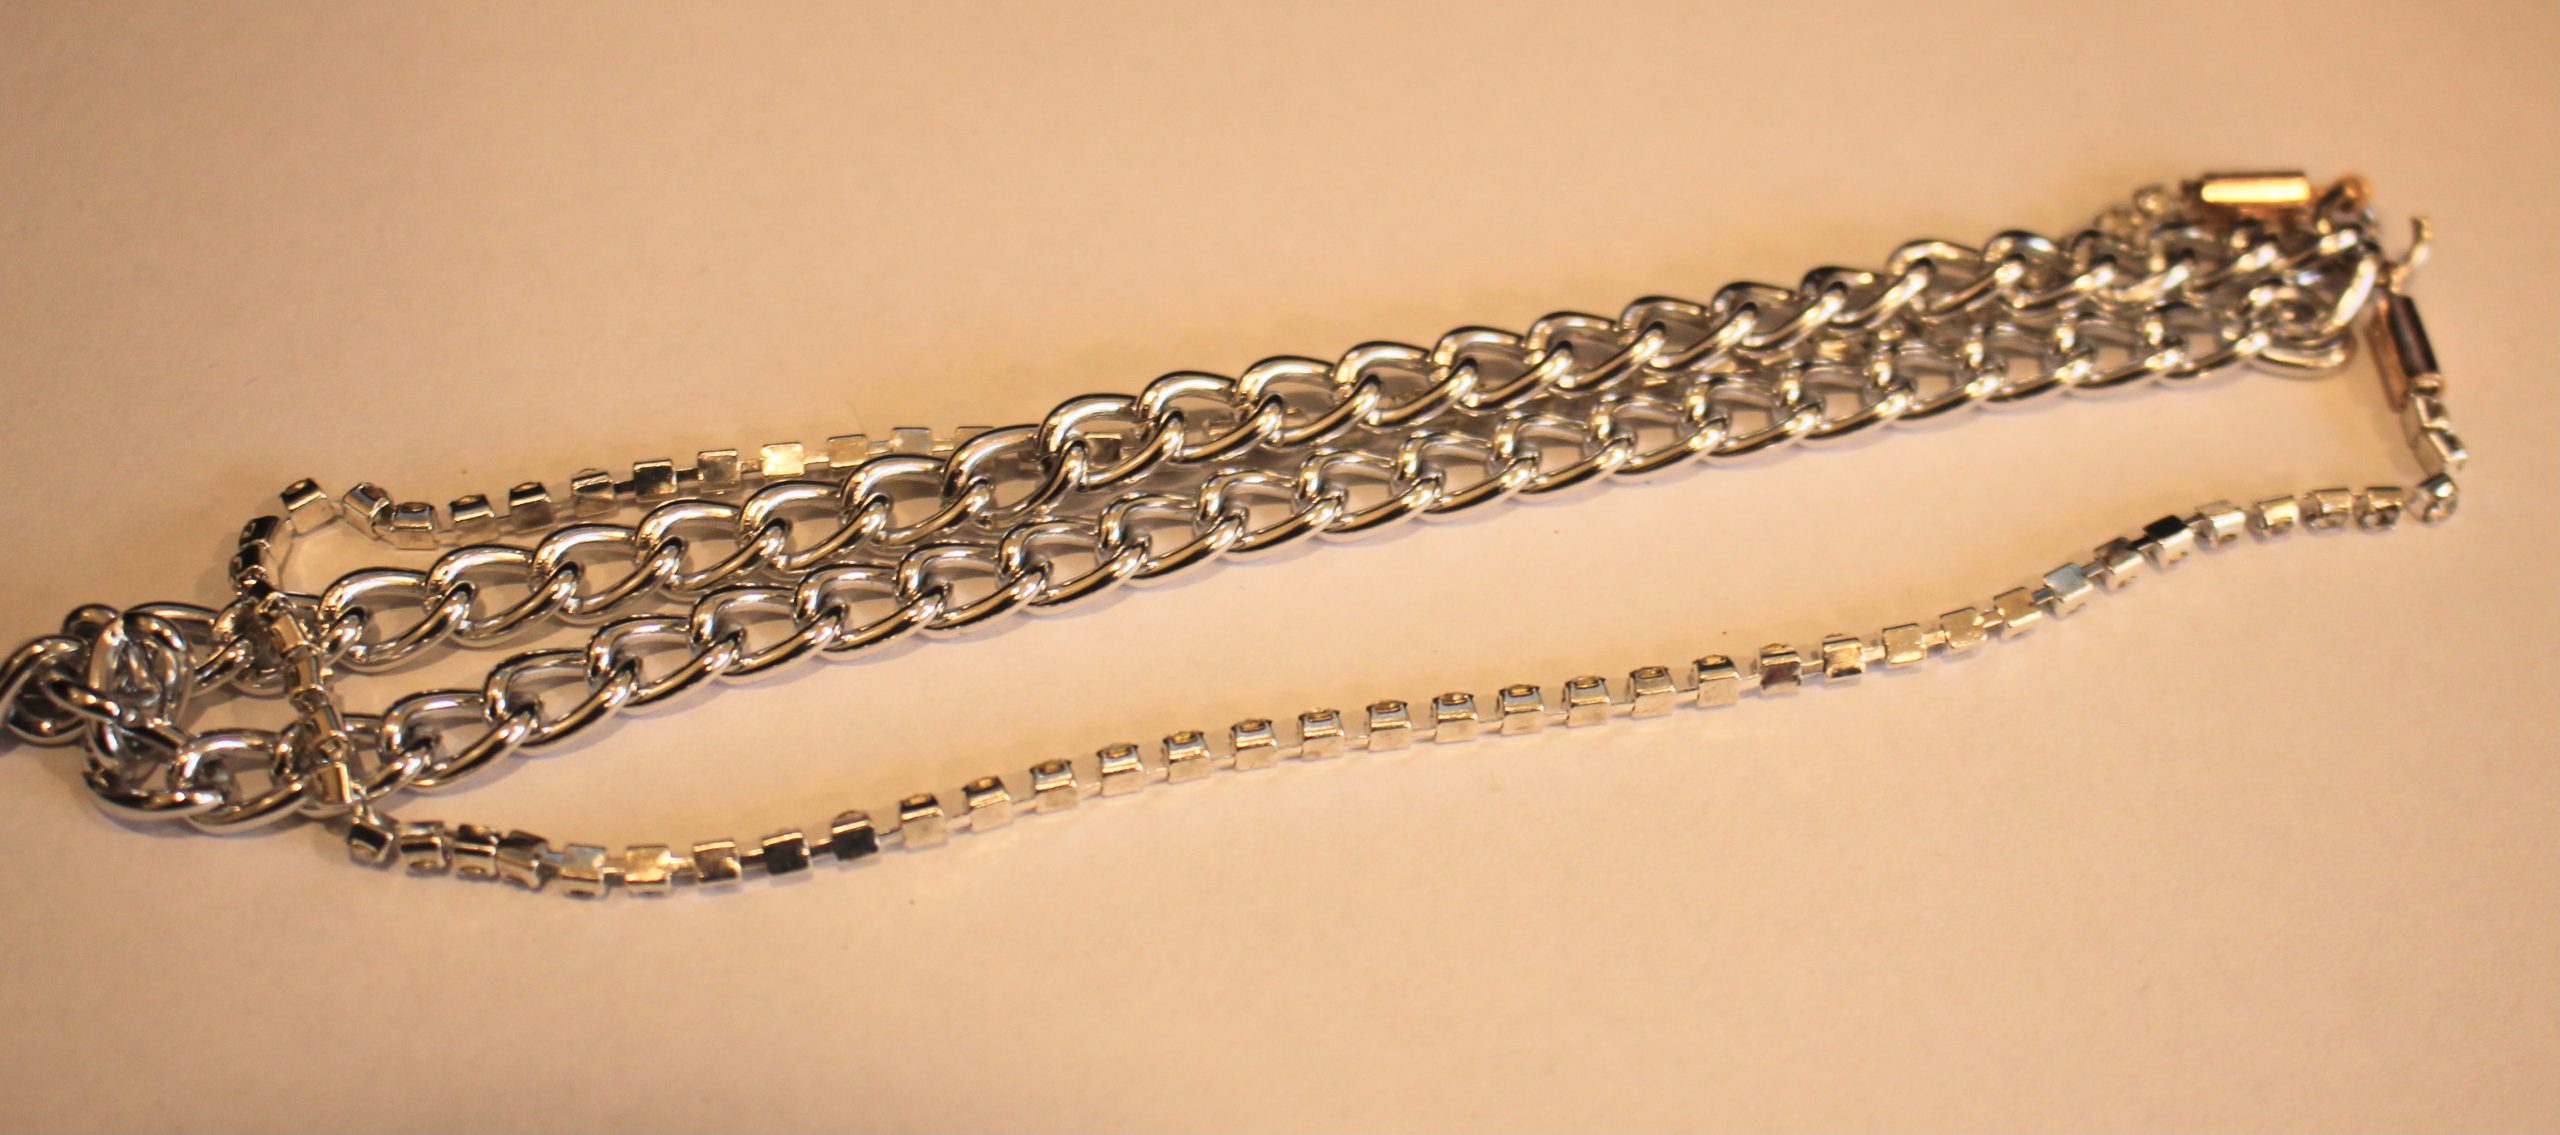
I’m loving making phone straps lately! This one combines a chunky chain with some rhinestone trim to create this double stranded phone strap. I decided to add the extra chain for more strength! Please note that this tutorial contains affiliate links.
You will need the following tools and materials to make this phone strap:
1: Pliers. I used my flat nose pliers, round nose pliers and cutting pliers. I also used scissors to trim my string.




2: A piece of chain about 30cm long. I used this silver tone chunky curb chain.

3: A piece of rhinestone trim about the same length as the chain.

4: Two crimp ends.

5: A large jump ring.

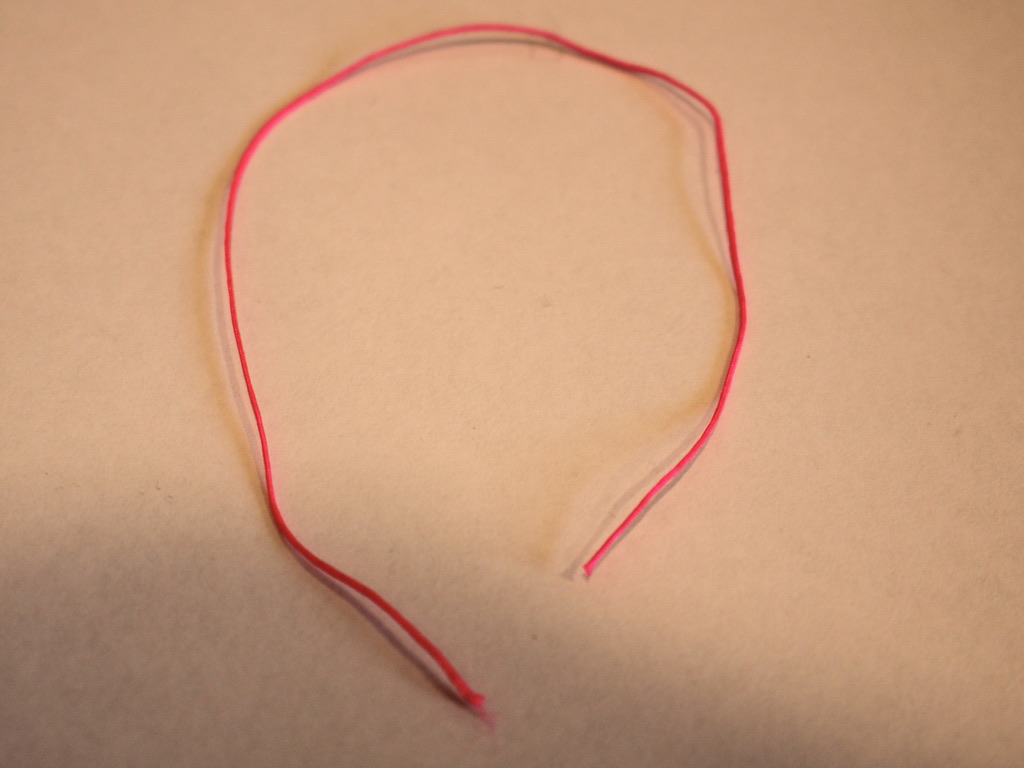
6: A piece of string. I used this hot pink nylon string that I cut to be about 15cm long.
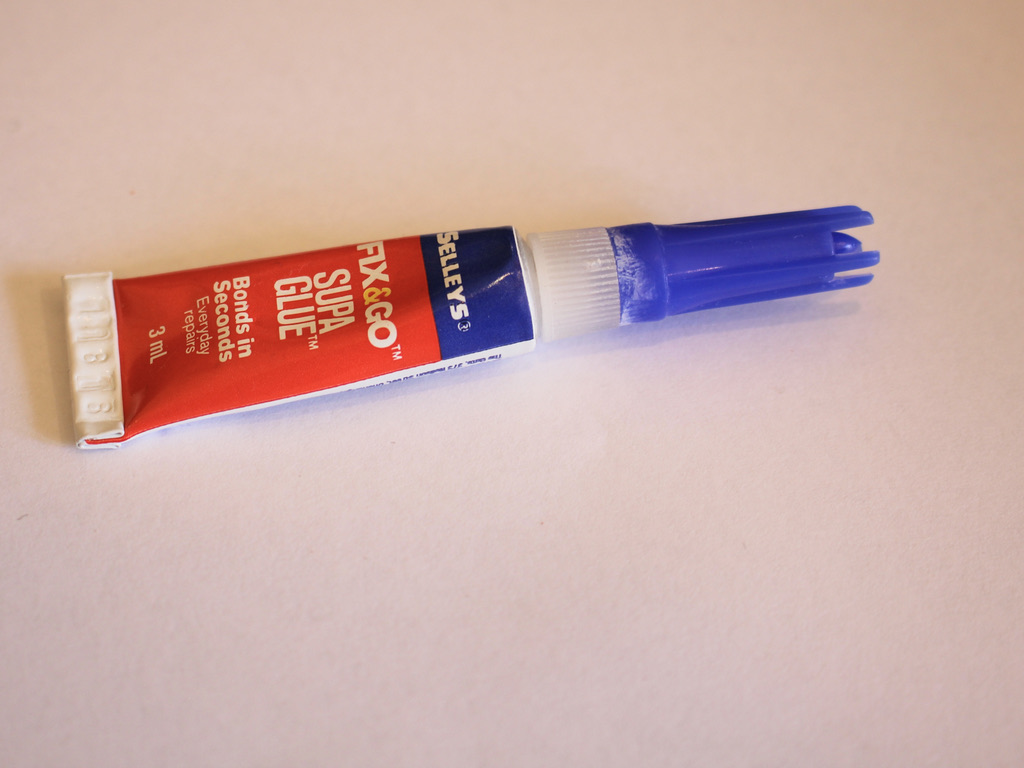
7: Super glue.
Follow these steps to make your rhinestone phone strap:
1: Take one end of the rhinestone strand and place it in one of the crimp ends.

2: Squash one side of the crimp around the end of the rhinestones using the flat nose pliers.

3: Repeat the squeezing of the crimp for the other side, folding it around the end of the rhinestones. Squeeze until the crimp feels securely attached to the rhinestone strand.


4: Repeat steps 2 and 3 for the other end of the rhinestone chain.

5: Add one end of the chain and rhinestone strand to the jump ring.
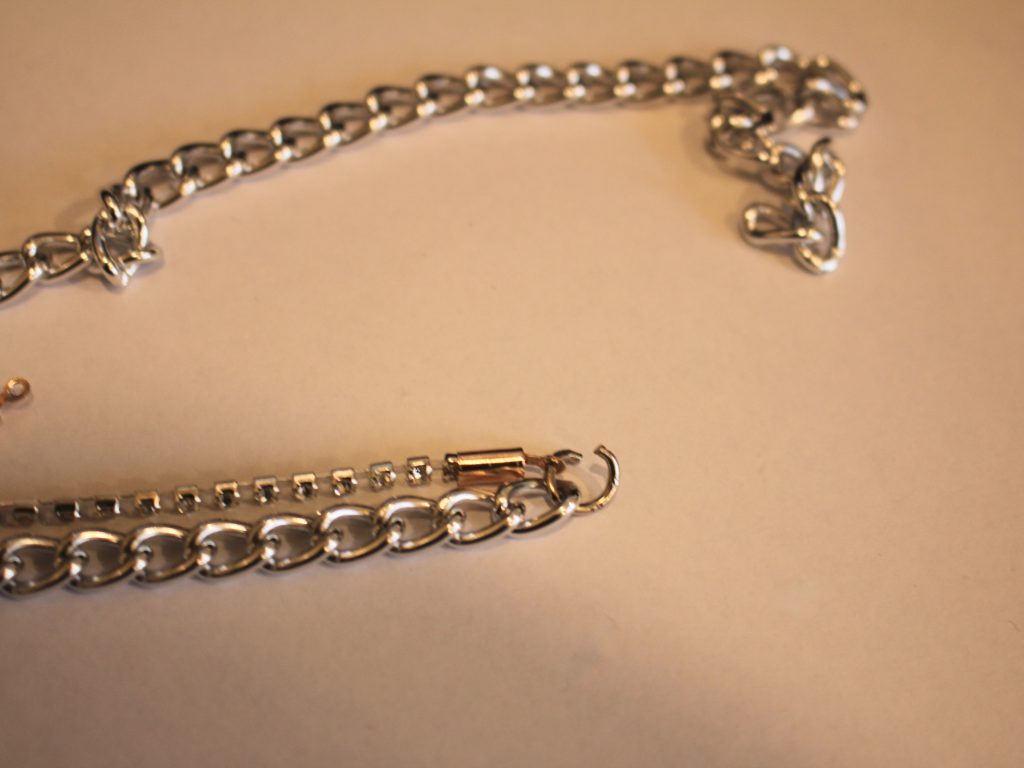
6: Add the other end of the chain and rhinestone strand to the jump ring in the same order.

7: Close the jump ring using your pliers.

8: Fold the string in half and tie the open ends around the jump ring, loop and knot it a few times to secure it.

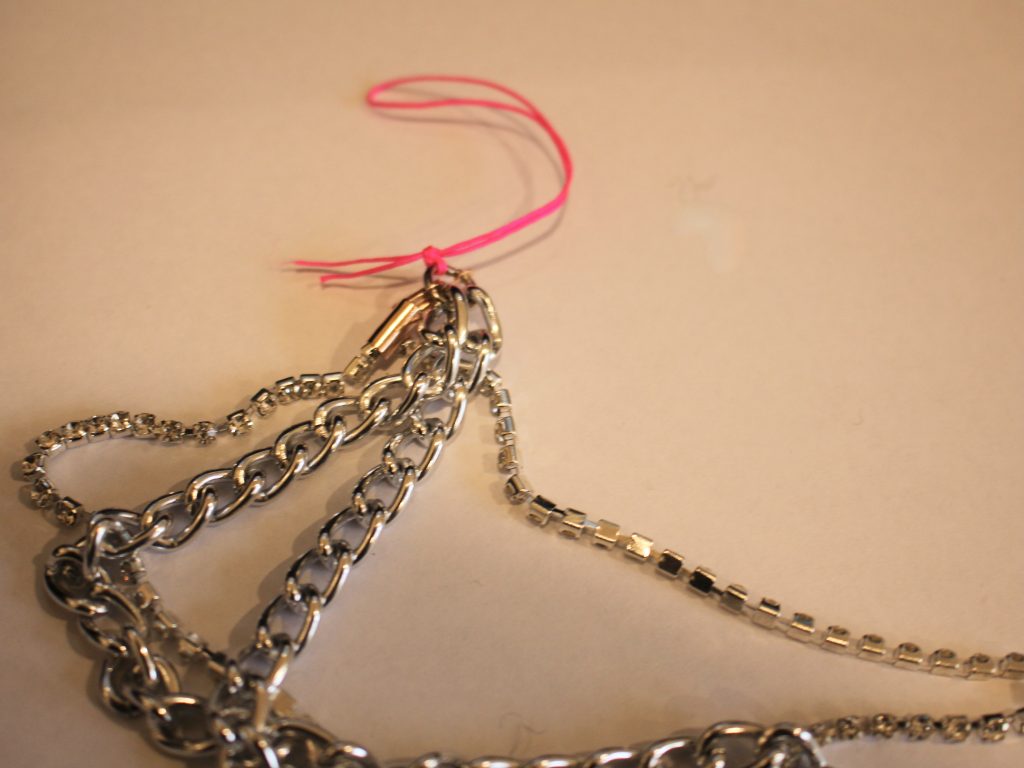

9: Trim the ends of the string.

10: Add a dab of super glue to the ends of the string to secure the knot.

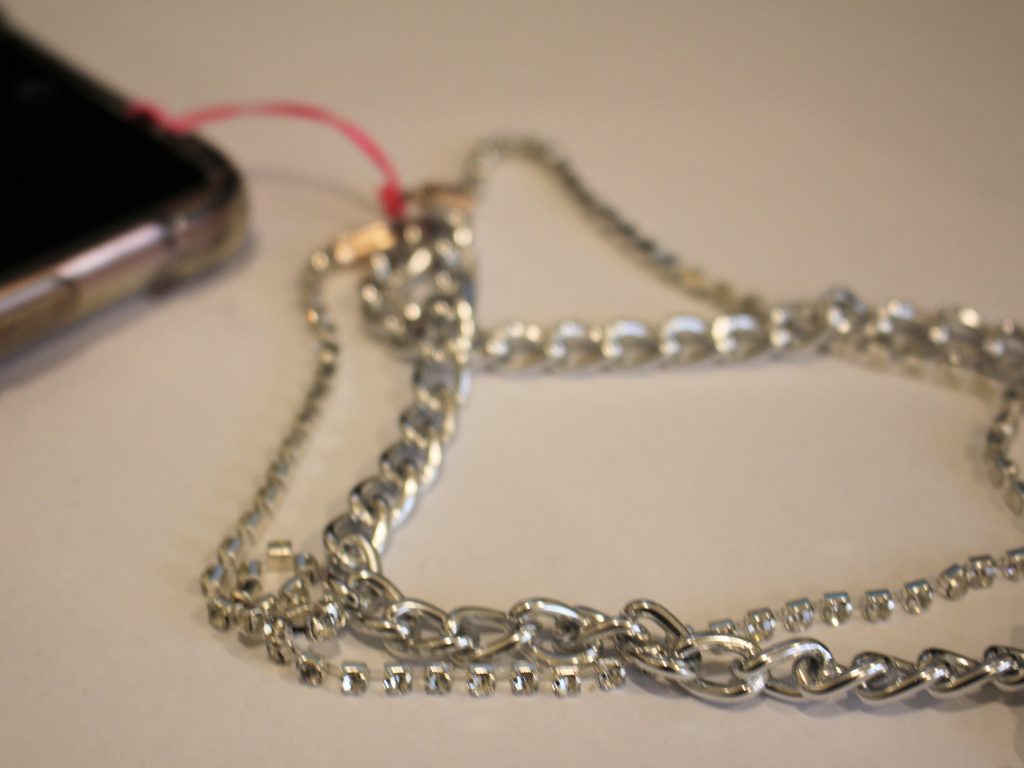
Now your double strand phone strap is finished and ready to pop on your phone. Loop it through on of the holes on your phone case for more phone customisation!


-
Here’s how to make an adorable lariat with mini heart beads.
This necklace is so so cute! It features a lariat design with three cute yellow glass hearts that dangle at the end. This lariat is so fun and great to layer with other delicate pieces. Please note that this tutorial contains affiliate links.
You’ll need the following tools and materials to make this triple heart lariat:
1: Pliers. I used my flat nose pliers and round nose pliers for this design.

2: Three pieces of chain, two that add up to be long enough to fit around your neck and one small piece around 6cm long. I used this silver rolo chain.


3: Three small jump rings.

4: A lobster clasp.

5: Three small glass heart beads. I used these yellow floral glass beads.

6: Two eye pins.

7: One head pin.

Follow these steps to make your love heart lariat:
1: Add one of the jump rings to one side of one of the long pieces of chain.

2: Add the lobster clasp to this jump ring.

3: Close the jump ring to secure the clasp in place.

4: Add another jump ring to the second long piece of chain. Close it to secure it onto the chain.

5: Clip the two pieces of chain together.

6: Join the other ends of the necklace using the last jump ring and slide on the smaller chain before closing the jump rings.


7: Set the lariat aside.
8: Add a bead to each of the eye pins and the head pin.

9: Bend each pin to form a right angle and then curl the top into a loop using the round nose pliers.


10: Attach the three charms together to form a chain.


11: Attach the three hearts to the bottom of the lariat chain, close the top loop to secure the beads in place.

Now your triple love heart lariat is finished and ready to wear! So cute and fun!


Here are some other lariat necklace tutorials you can follow, we’ve got a few designs you can make:
- A bead chain lariat.
- A chain lariat that uses a double hole bead as a feature.
- A bead strand necklace with a chain lariat feature.
- A chunky curb chain lariat.
- A lariat with a beaded circle detail.
- A beaded triangle detail lariat.
- A clip on charm that turns any necklace into a lariat.
- A cute pearl lariat.
- A leather wrap lariat.
- A chunky chain belt that can also double as a lariat necklace.
-
I’m not sure what to call this design, but it sure is cute! Here’s a new beaded earring tutorial.
These earrings are made from four pieces of bracelet length memory wire, attached together to form an eye shape. These cute earrings can be beaded up in lots of different colors to suit your preference. This tutorial contains affiliate links.
You’ll need the following tools and materials to make your earrings:
1: Pliers. I used my cutting pliers and round nose pliers.
2: Bracelet length memory wire cut into four equal half circle pieces.

3: Earring hooks.

4: Four small jump rings.

5: Two big jump rings.

6: Beads. I used orange and clear glass beads.


Follow these steps to make your new earrings:
1: Curl one end of one of the wires to form a loop using the round nose pliers.

2: Add beads to the wire and leave a 1cm section unbeaded.

3: Use the round nose pliers again to curl the other end of the wire and secure the beads on the wire.

4: Repeat steps 1 to 3 for the remaining three wires, beading two wires in one colour and two in the other.


5: Start attaching the wires together. Take one of the clear beaded wires and one of the orange ones and attach them together using one of the small jump rings.

6: Now attach the other side together to form a squashed circle/eye shape.

7: Repeat steps 6 and 7 for the other earring.

8: Add the earring hooks to each of the beaded eye shapes using the large jump rings. I made mine asymmetrical so that one has an orange top and the other has a clear top.


Now your earrings are finished! How cute is this design?


-
Like chains and beads? Why not mash them together to make this bead chain bracelet?
This bracelet uses wire and beads to make big loops that you then turn into a bracelet! This cute design is perfect for wearing with summer outfits.
You’ll need these tools and materials to make your bracelet:
1: Pliers. I used cutting pliers, flat nose pliers and round nose pliers.

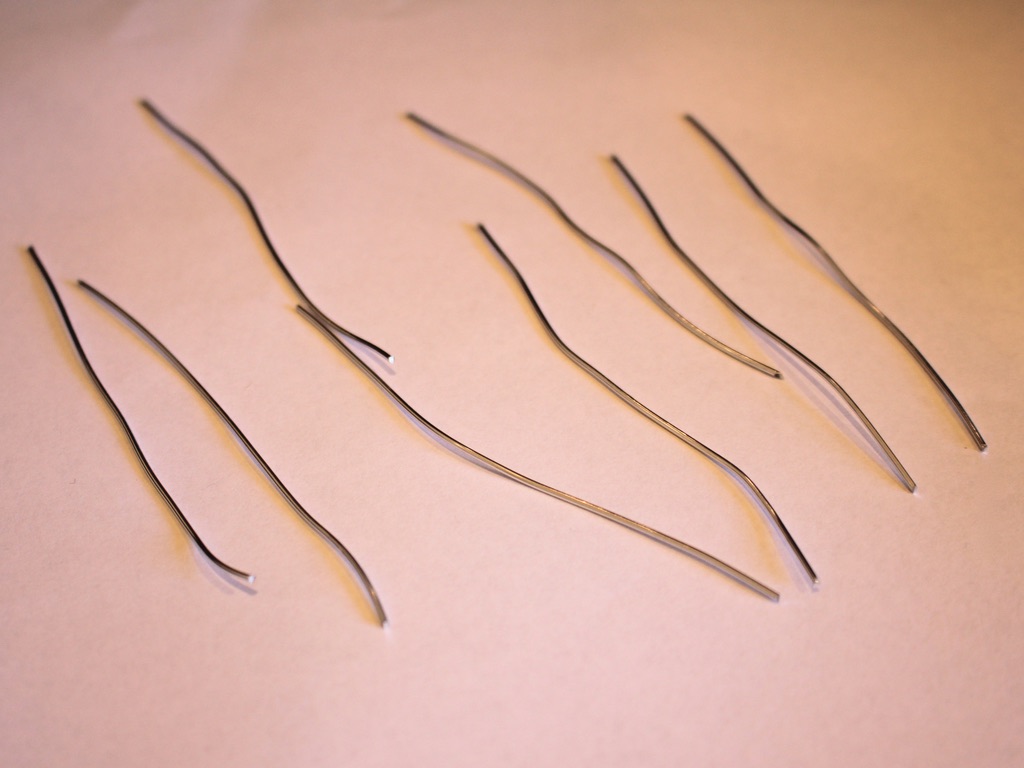
2: Some pieces of soft wire. I used eight pieces approximately 9cm long, but you may want to use more or less depending on the size of your wrist. My final bracelet was a little on the small size.
3: Two jump rings.

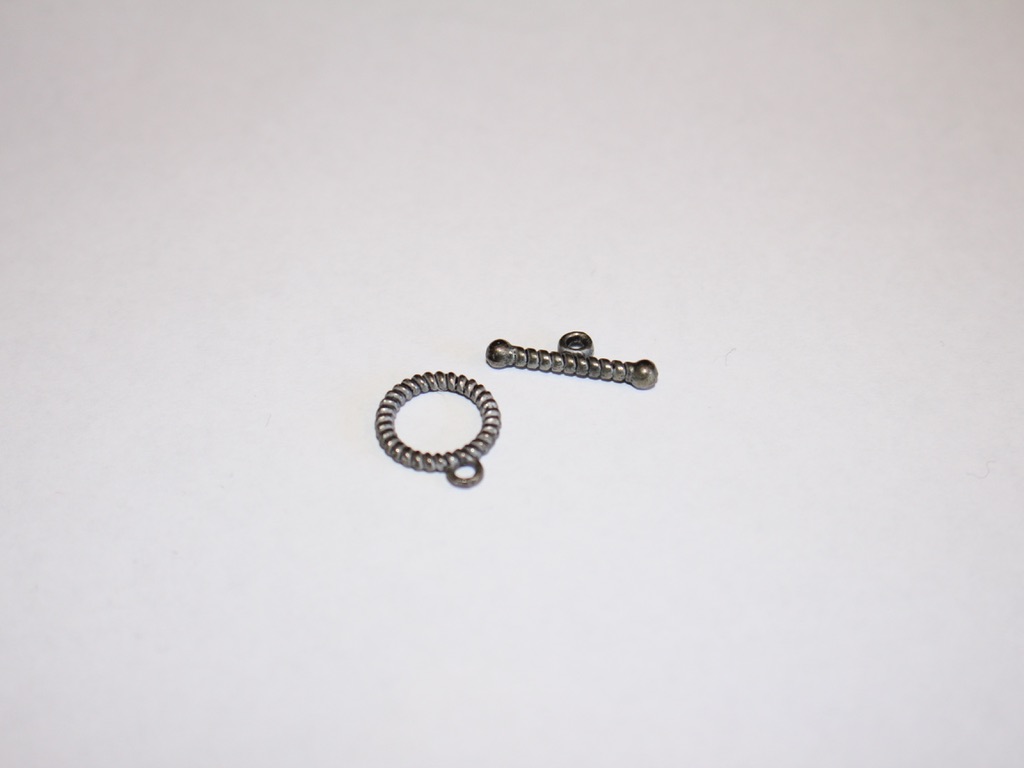
4: A toggle clasp.
5: Beads. I used yellow glass e-beads.

Follow these steps to make your chain bracelet:
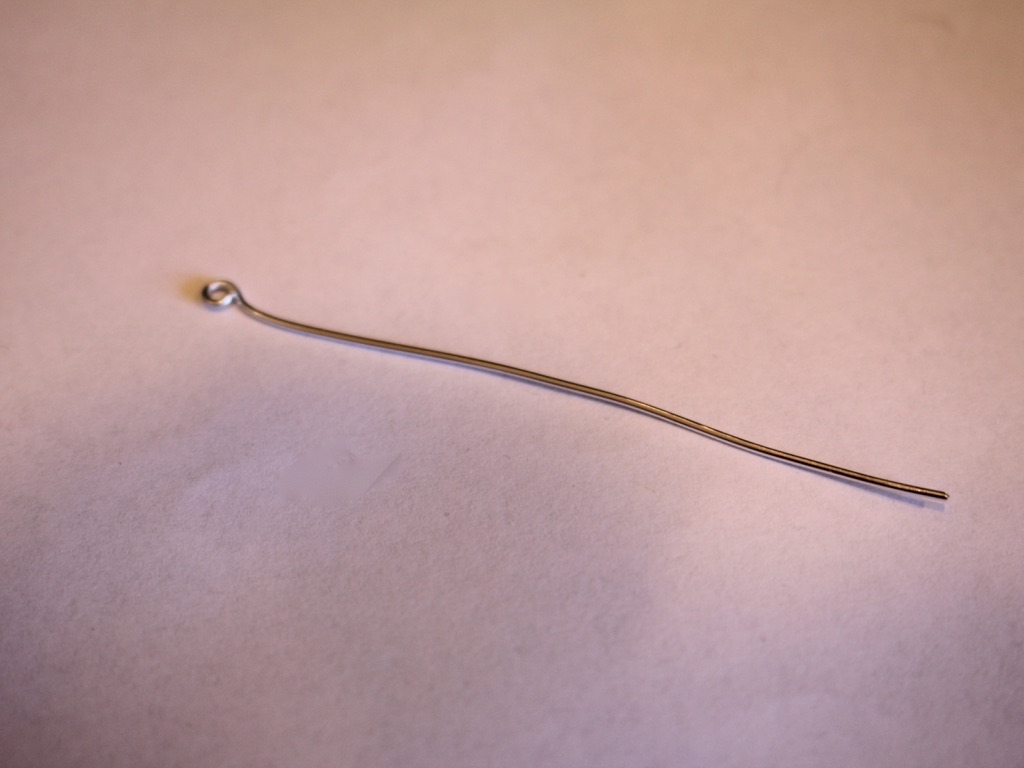
1: Take one of the pieces of wire and create a loop at one end using the round nose pliers. Do this by bending approx. 1cm of wire to form a right angle and then loop it around the round nose pliers.

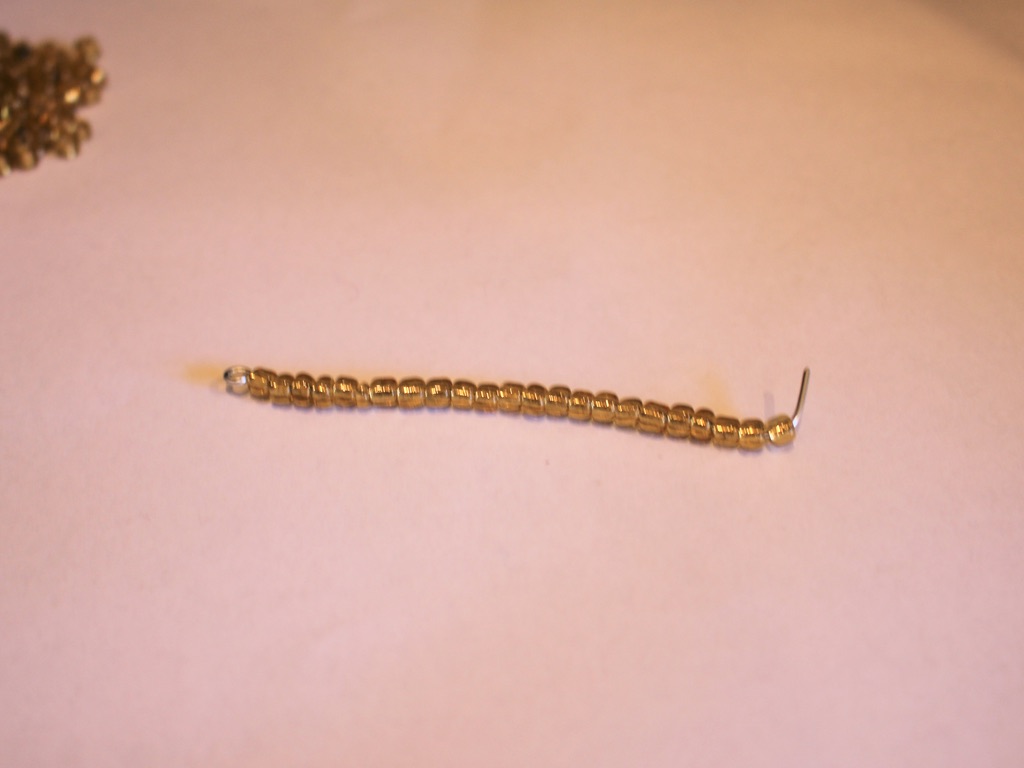
2: Add beads to the wire leaving 1cm unbeaded.


3: Create another loop at the other end of the wire.
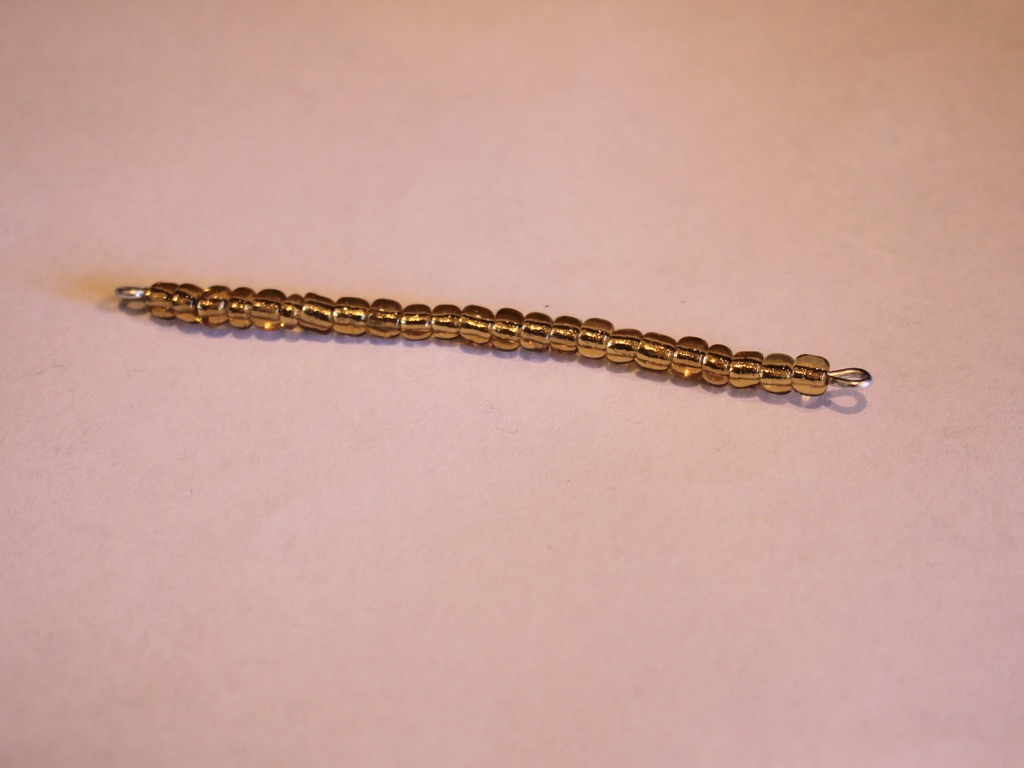
4: Bend the beaded wire into a circle shape.
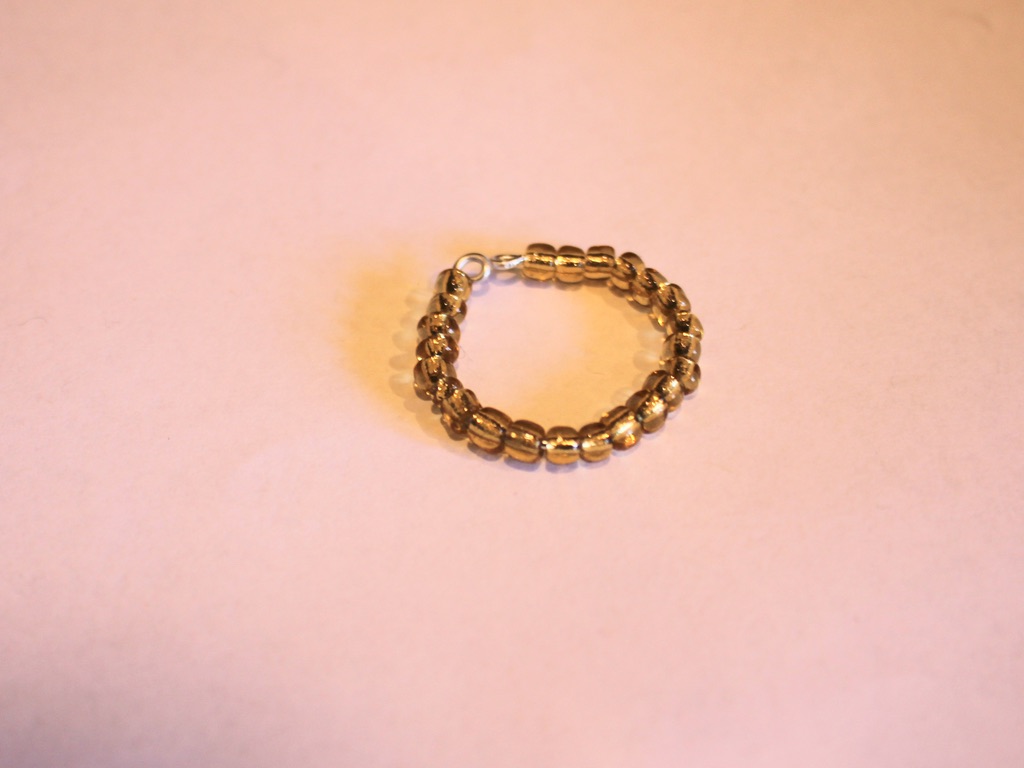
5: Open one of the end loops and thread it through the other end loop. Close it to create a closed circle.

6: Make another loop, but before closing it as you did in step 5, thread it through the first loop you made. Once it is threaded through you can close it.

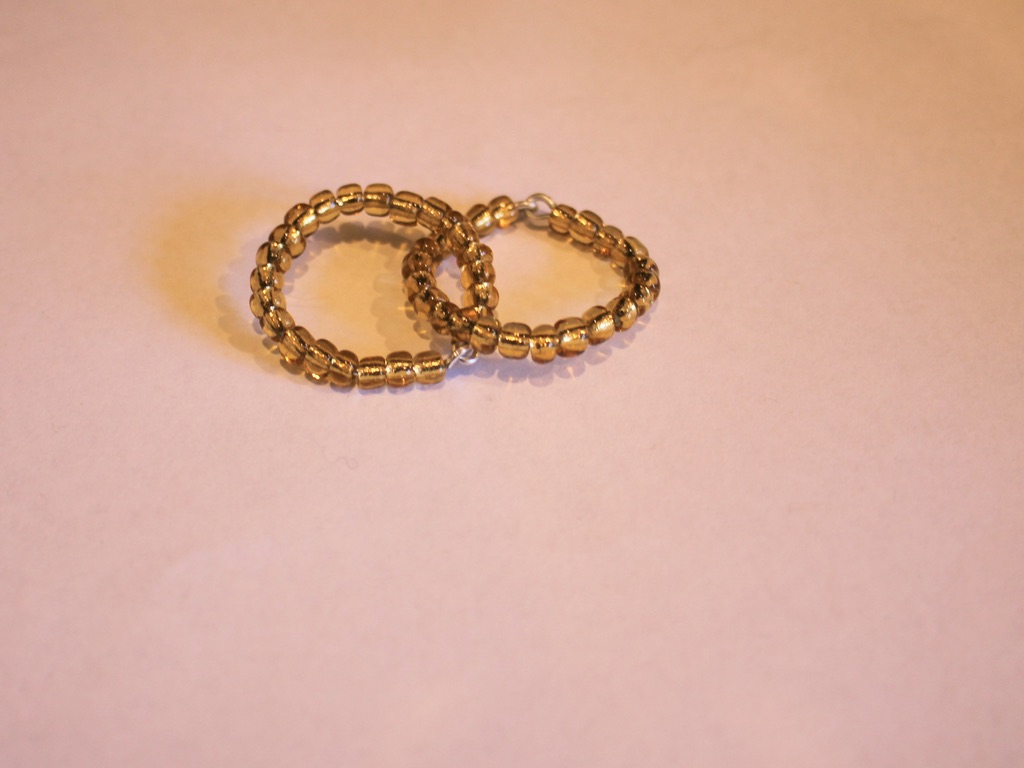
7: Continue steps 1-6 until you have created all your links.
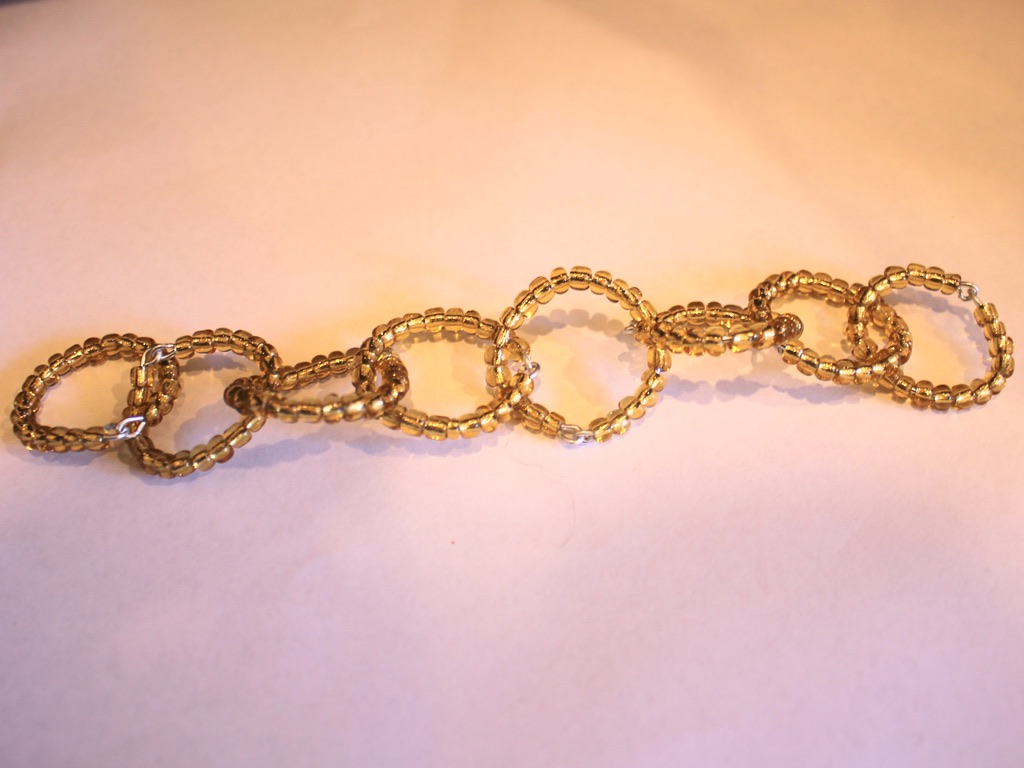
8: Take one of the end loops and rotate it so that the end loops face outward. Attach one of the jump rings and one side of the toggle clasp.
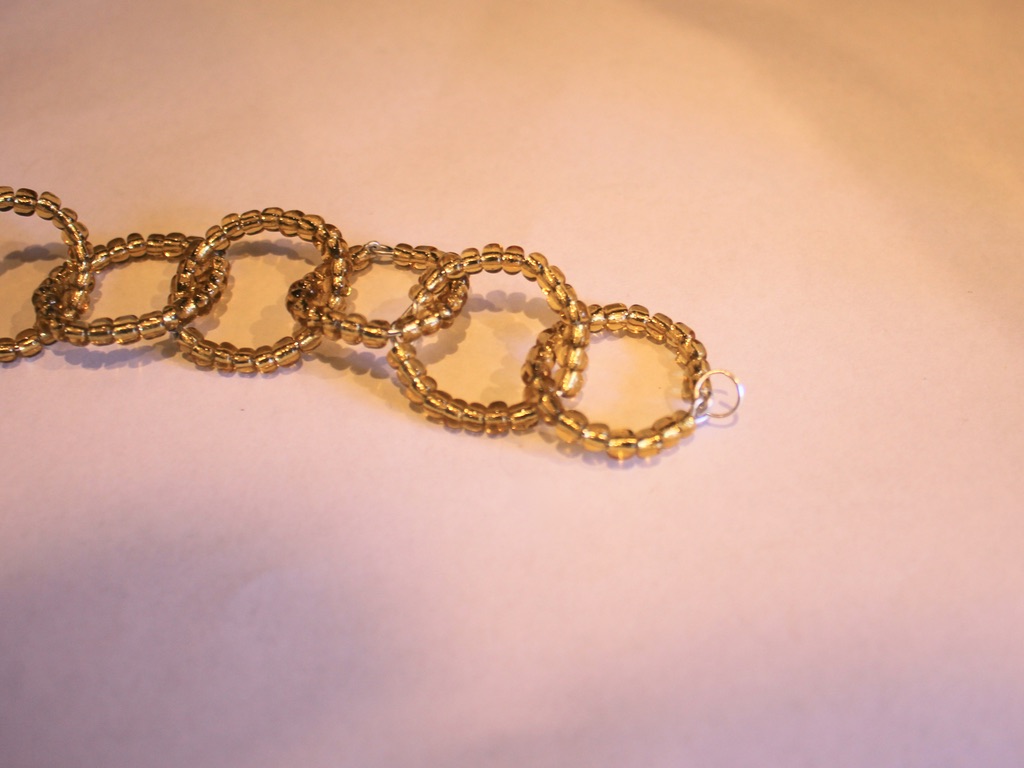
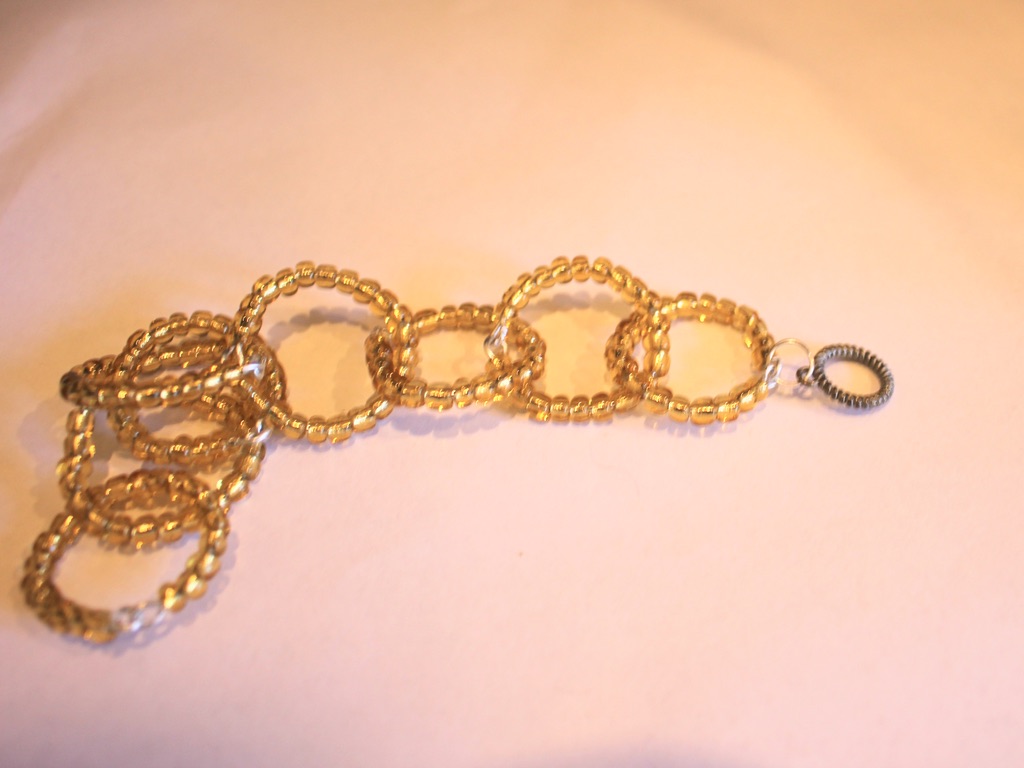
9: Attach the other side of the toggle clasp to the other end of the bracelet chain using the remaining jump ring.

Now your bracelet is finished!


Here’s another one I made using green glass beads and soft thin wire.

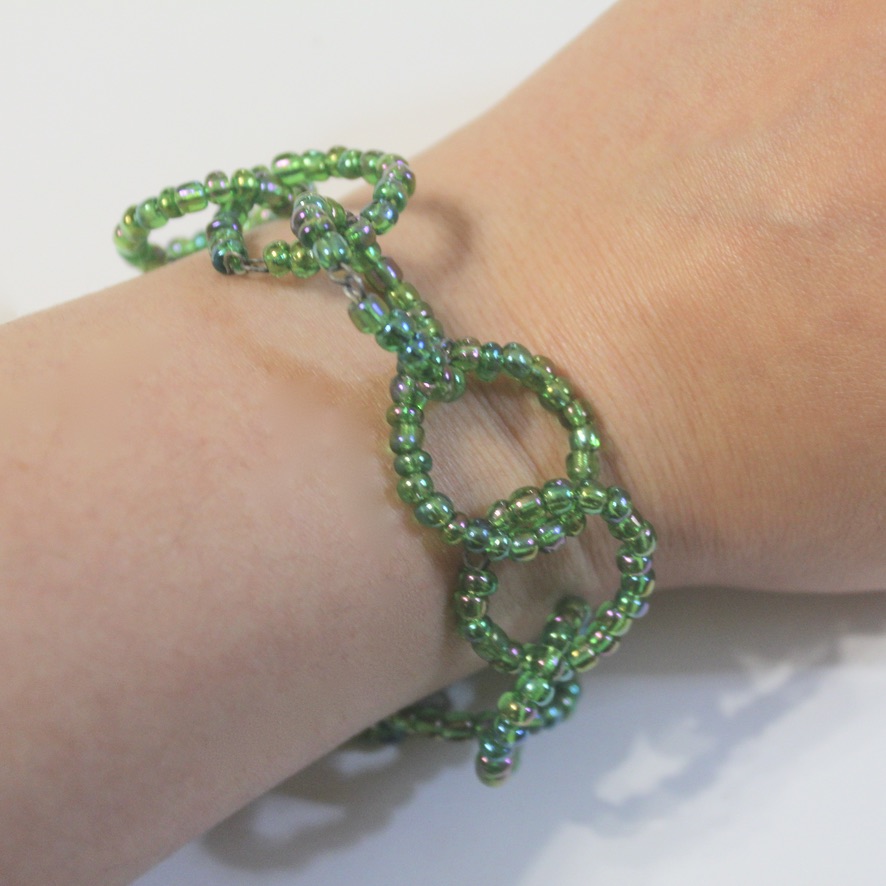
This tutorial contains affiliate links.
-
Add a cool feature to your hoop earring designs by using toggle clasps… here’s how!
These earrings use toggle clasps to add an interesting feature to your standard beaded hoop earrings. Make lots of charms to switch them up and mix and match. This tutorial contains affiliate links.
You’ll need these tools and materials to make your toggle clasp hoop earrings:
1: Pliers. I used my cutting pliers, round nose pliers and flat nose pliers.
2: Two pieces of bracelet sized memory wire.

3: Two toggle clasp sets.

4: Four jump rings.

5: A pair of stud earrings with charm loops.

6: Beads. I used these silver lined clear glass beads and some wooden chip beads.


Follow these steps to make your toggle clasp hoop earrings:
1: Create a loop at one end of the memory wire using the round nose pliers.


2: Add beads to the wire in any pattern you choose.


3: When there is approximately 1cm of the wire left unbeaded, create a loop at the other end of the wire and thread it through the initial loop you made to close the beaded hoop.

4: Repeat steps 1-3 for the second hoop.

5: Add the circle parts of the toggle clasps to the top of each hoop, attaching them using two of the jump rings.


6: Add the toggle part of the clasps to each of the post earrings using the remaining jump rings.


7: Now you can attach the hoops to the earrings and wear them out!


If you like your earrings to be customisable, here’s another charm earring tutorial with clip on charms.
This tutorial contains affiliate links.
-
Here’s how to make a bead chain lariat
Bead chains are pretty cool, and a fun way to use any random beads you have lying around. I recently made this kitschy hodgepodge lariat necklace using the bead chain technique. This tutorial features affiliate links.
Here are the tools and materials you need to make your bead chain lariat:
1: Pliers. I used by round nose and flat nose pliers for this design.
2: An assortment of beads. I used a random assortment of plastic, timber and glass beads.

3: A bunch of eye pins.

4: Two head pins.

5: A lobster clasp.

6: Two medium jump rings.

7: Two smaller jump rings.

Follow these steps to make your bead chain lariat:
1: Add some feature beads to one of the head pins. I used this silver plastic heart bead and some glass seed beads.

2: Bend the pin at a right angle and use the round nose pliers to form the top into a loop.


3: Set this pin aside.
4: Begin adding beads to the eye pins.

5: Once each pin is beaded, bend the top to form a loop using round nose pliers. This will secure the beads in place.

6: Repeat this step for the other pins, attaching the pins together by opening one of the loops and sliding it through another to form the chain.


7: Once you have a chain long enough to fit your neck, attach the two ends together using one of the larger jump rings.


8: Create a few extra links and attach them to the middle of the necklace, finishing with the first head pin you beaded.


9: Split the top of the chain opposite the lariat chain you just attached.

10: Attach the clasp to the chain using one of the smaller jump rings and add another jump ring to the other side.


11: Bead the other head pin, looping it at the top as you did the others. Attach this pin to the chain behind the clasp using the other larger jump ring.


Now your necklace is finished! So fun!


This tutorial contains affiliate links.
-
Need something new in your jewelry box? Make this pair of D-Shaped statement earrings.
These earrings are made using some hard memory wire and some cool statement beads. Dangly and unique, these earrings are worth making.
You’ll need these tools and materials to make these earrings:
1: Pliers. Round nose, flat nose and cutting pliers are useful for this design.
2: Memory wire cut into two half circles.

3: Two long eye pins.

4: Two pieces of chain, not too long.

5: Two earrings. I used these silver charm post earrings.

Here is a fancier pair!
6: Two larger jump rings.

7: Four small jump rings.

AliExpress.com Product – Free Shipping! 1 Box SP Open Jump Rings 3mm-8mm(1500 PCs Assorted) (B08915)8: Beads. I used some green glass e-beads.

9: Two statement beads. I used these silver-tone plastic beads.

Follow these steps to make your D-shaped statement earrings:
1: Use the round nose pliers to make a loop at one end of the memory wire half circle.


2: Add the beads to around halfway on the curve.
3: Add the statement bead to the centre of the curve.

4: Bead the remaining part of the curve with the glass beads again until there is about 1cm left un-beaded.
5: Create a loop at the other end of the memory wire curve using the round nose pliers again.

6: Repeat steps 1 to 5 for the second piece of memory wire.

7: Add beads to the long eye pin and leave 1cm un-beaded at the end. Repeat for both pins.

8: Create a loop at the end of both pins using the round nose pliers.


9: Attach each of the beaded eye pins to the top of each memory wire curve. This will create a tighter curve on each piece of memory wire and form the D shape.


10: Attach the chain to each side of the D shape using the small jump rings. Both D shapes will now have a chain loop attached to them.


11: Add one of the larger jump rings to each of the earring posts.

12: Attach the earrings to the charms by threading the chain through each of the open jump rings. Close the jump rings on the earring posts to secure them together.


Now your earrings are finished and ready to wear!


This tutorial contains affiliate links.
-
Want some lightweight earrings? This ribbon design has you covered.
These lightweight earrings are really cute! Made out of beads and ribbons they’ll pack a visual punch without weighing your lobes down. They can also be made with materials you might already have at home. I don’t know about you but I have loads of ribbons that I have saved from gifts and shopping bags.

You’ll need the following tools and materials to make these lightweight ribbon earrings:
1: Pliers. You’ll need your flat nose and round nose pliers.
2: Two pieces of ribbon. I used this thin (approx 1cm wide) blue satin ribbon. Each piece was approximately 7cm long.

3: Two large jump rings.

4: Two flat end crimps.

5: Two earring hooks.

6: Two small head pins.

4: Beads. I used four green glass beads.

Follow these steps to make your lightweight ribbon earrings:
1: Fold the ribbon around so that it forms a folded loop. You can achieve this by layering the ends over each other facing the same way up.

2: Add the flat crimp to the ends of the ribbon and squash them using the flat nose pliers.


3: Add the glass beads to each of the head pins.

4: Curl the ends of the pins to secure the beads.


5: Add the beaded pins to each of the jump rings.

6: Close the jump rings around the bottom of each ribbon loop.


7: Attach each of the earring hooks to the crimps at the top of each ribbon charm.


Now your cute ribbon earrings are ready to wear!

Note: This article contains affiliate links
Here are some other ribbon earring DIYs
-
Can’t get enough of ankets? Here’s another cool anklet to DIY.

Anklets are a fun summer accessory you can adorn your legs with. Why not make this simple one to stack with other fun ankle accessories? This article contains affiliate links.
You will need the following tools and materials to make your anklet:
1: One piece of ankle length chain. I used this gold-tone chain.

2: Two jump rings.

3: A lobster clasp.
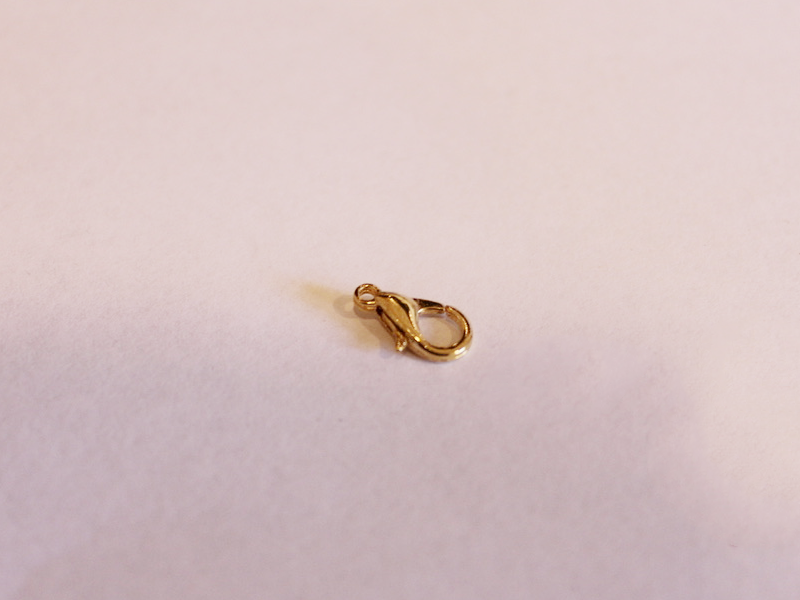
4: A tube bead. I used this gold-tone tube bead.

5: Pliers. I used my round nose and flat nose pliers.
Follow these steps to make your new anklet:
1: Add the tube bead to the chain.
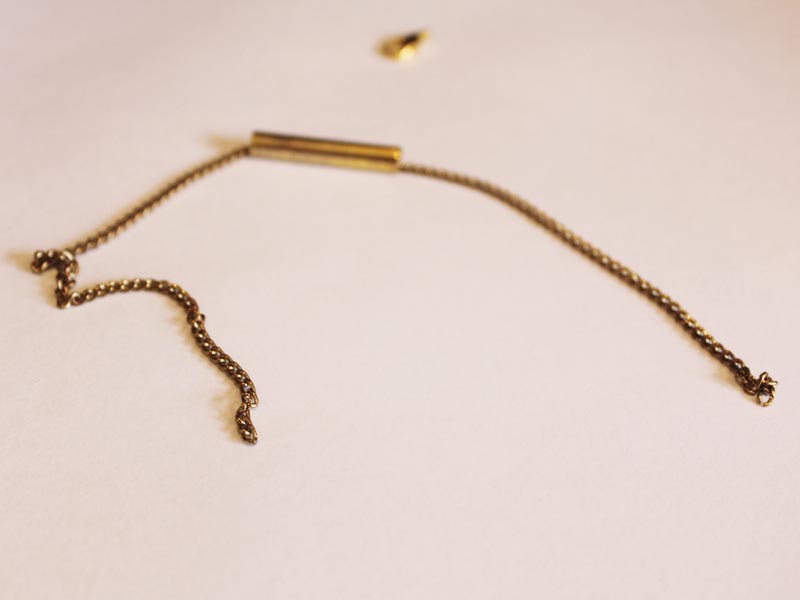
2: Attach one of the jump rings to one end of the chain. Do this by sliding the open jump ring through the end link of chain.

3: Add the lobster clasp to the open jump ring.

4: Close the jump ring to secure the clasp in place.

5: Add the other jump ring to the other side of the anklet and close it to finish it off.

Now your anklet is finished and ready to wear!
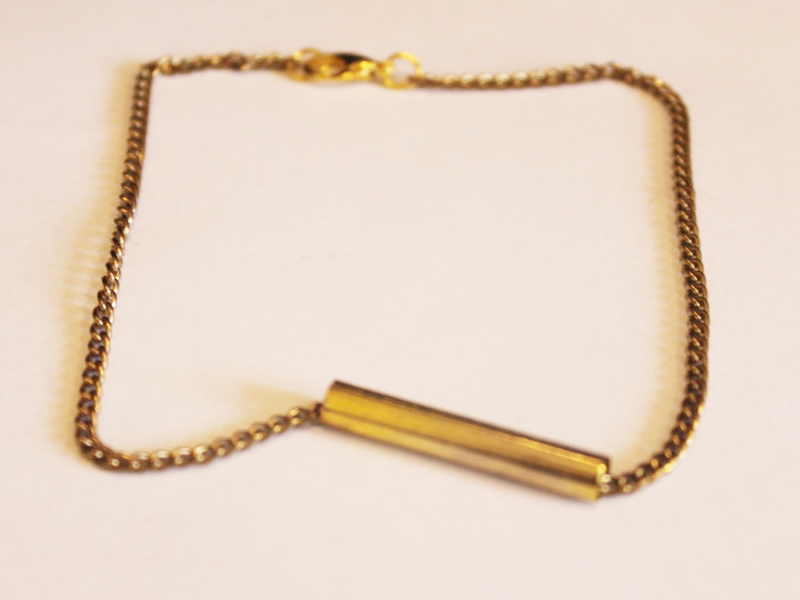
Here’s another one I made using a curved silver bead.
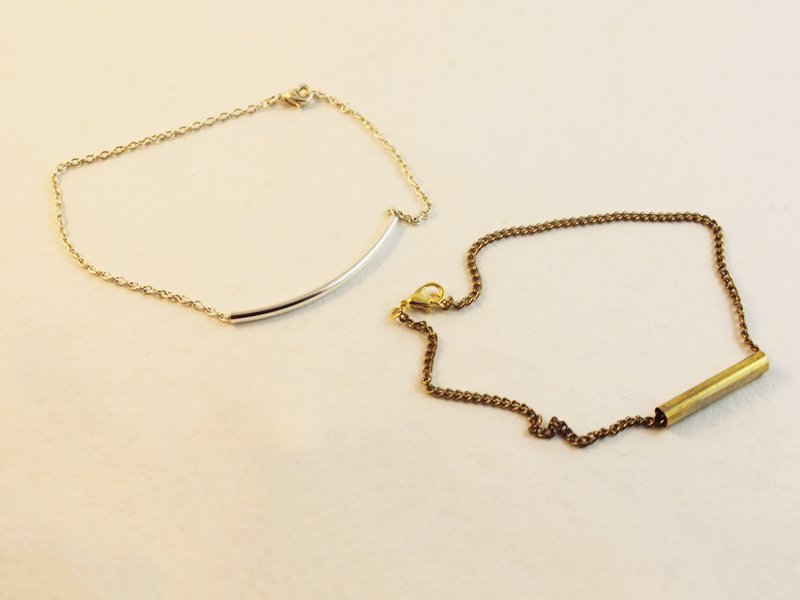
Here is a link so you can buy some curved silver beads if you like that look more!
Note: This article contains affiliate links
-
Stud Earrings are Classic! Use some beads to make your own statement studs
These stud earrings are made using some plastic beads and some head pins and they look adorable!
You will need the following tools and materials to make your stud earrings:
1: Two flat bed earring findings.

2: Two large head pins.

3: Two small head pins.
4: Two small jump rings.

5: Two part epoxy glue, I used Araldite.

6: A piece of scrap paper.

7: A skewer.

8. Four beads. I used two large resin beads and two small blue plastic beads.


9: Pliers. You’ll need your cutting pliers, flat nose pliers and round nose pliers.
Follow these steps to make your stud earrings:
1: Add the small beads to the small head pins.

2: Curl the ends of the pins around your round nose pliers to secure the beads in place. Do this for both beads.


3: Add the larger beads to the larger head pins.

4: Bend and trim the pins so that the pins protrude around 1cm from the bead.

5: Loop the ends of the pins using the round nose pliers.


6: Attach the small beads to the larger ones using the small jump rings.


7: Squeeze out the glue in equal parts onto the scrap paper and mix with the skewer.



8: Add the glue to the earring posts and place them on the backs of the large beads and leave them to dry.


Once the earrings are dry you can wear them! How cute are they?!

Note: This article contains affiliate links