Step-By-Step Tutorials
-
Mismatched chain and lace earrings for a vampy evening look!

Got some spare pieces of chain? Why not make some chain and lace mismatched earrings?
You will need the following tools and materials to make these earrings:
1: Pliers. You will need your flat nose pliers and round nose pliers to make these earrings.


2: Two flat crimp ends.

3: Two pieces of lace ribbon.

4: Two pieces of mismatched length chain.

5: Two jump rings.

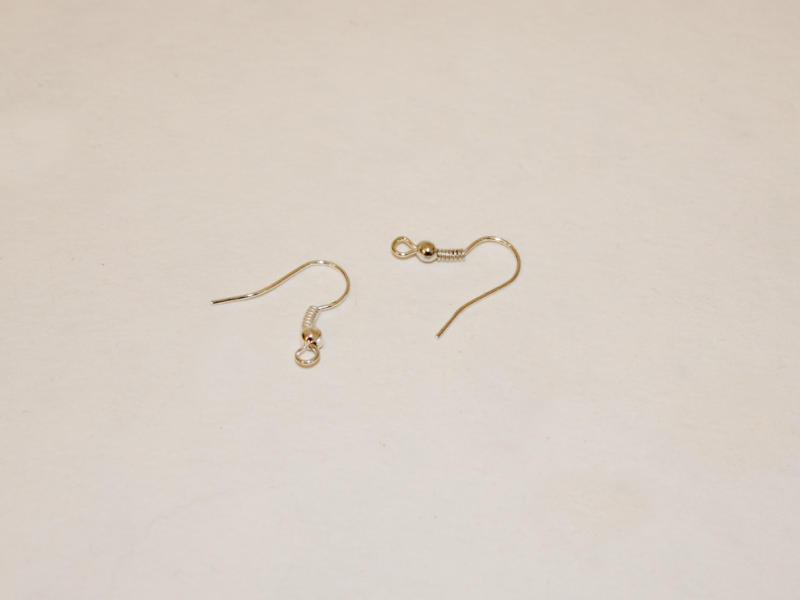
6: Two earring hooks.
Follow these steps to make your mismatched chain and lace earrings:
1: Fold one of the pieces of ribbon in half at squash a flat crimp around the ends to secure them together. You will have formed a loop with your ribbon.


2: Repeat step one for the other piece of ribbon using the other flat crimp.

3: Attach a jump ring to the top of one of the ribbon charms and add the shorter chain to the open ring.


4: Add one of the earring hooks to the open jump ring and secure all the pieces together by closing the jump ring using your pliers.


5: Add the second jump ring to the other lace charm and attach the longer chain, looping it around the lace charms and attaching both ends of the chain either side of the lace charm.


6: Add the remaining earring hook to the open jump ring. Secure all the pieces together by closing the jump ring.


Once the final earring hook is in place your earrings are finished!

-
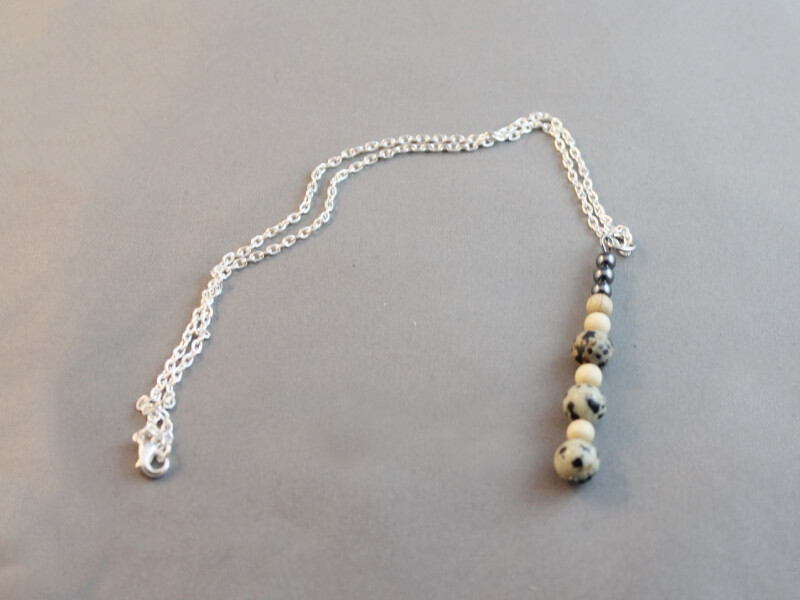
Here’s how to make a simple pendant necklace!
This necklace is a simple but beautiful way to use your favorite beads.
You will need the following tools and materials to make your necklace:
1: Pliers. You will need your flat nose pliers and round nose pliers to make this necklace.
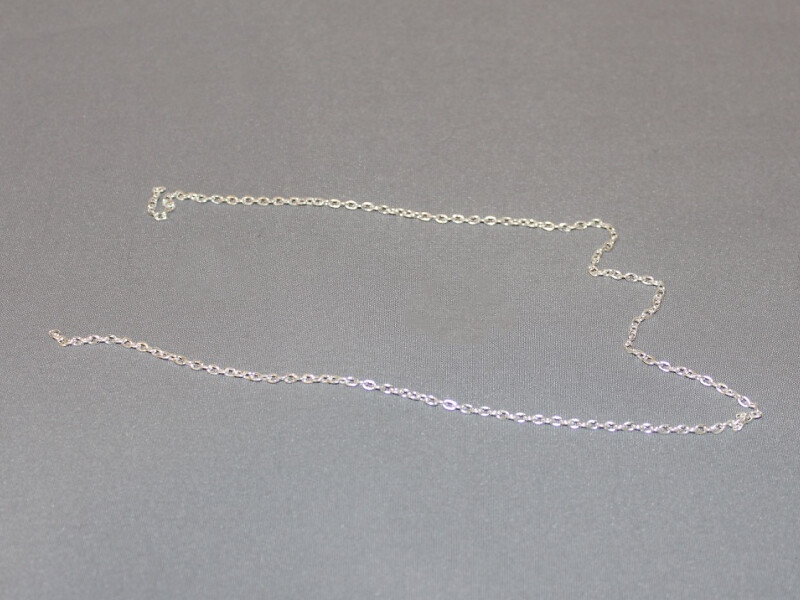
2: A piece of chain at the length you would like your necklace to fall.
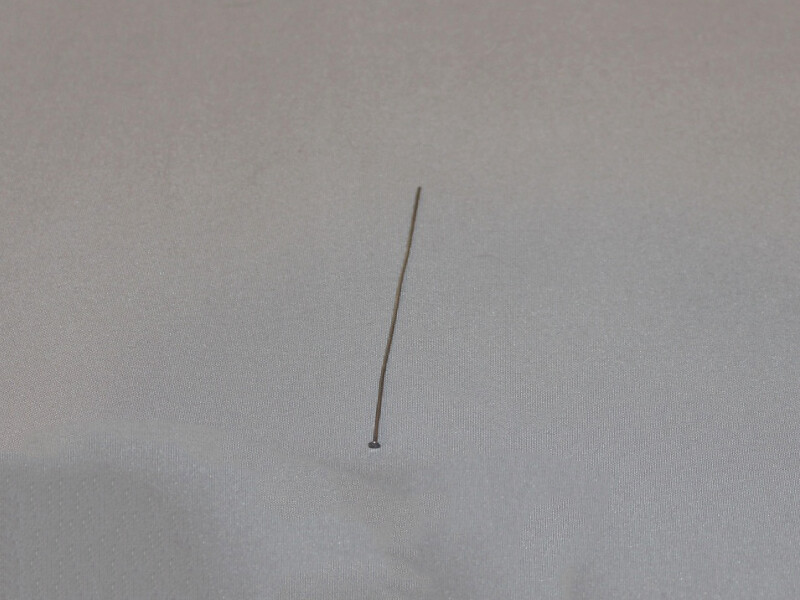
3: A long head pin.
4: A lobster clasp.

5: Two jump rings.
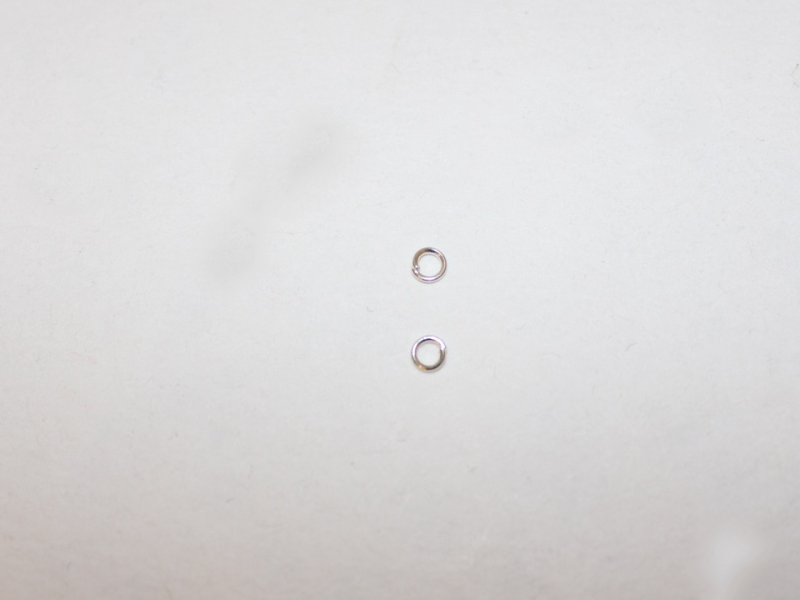
6: One large jump ring.
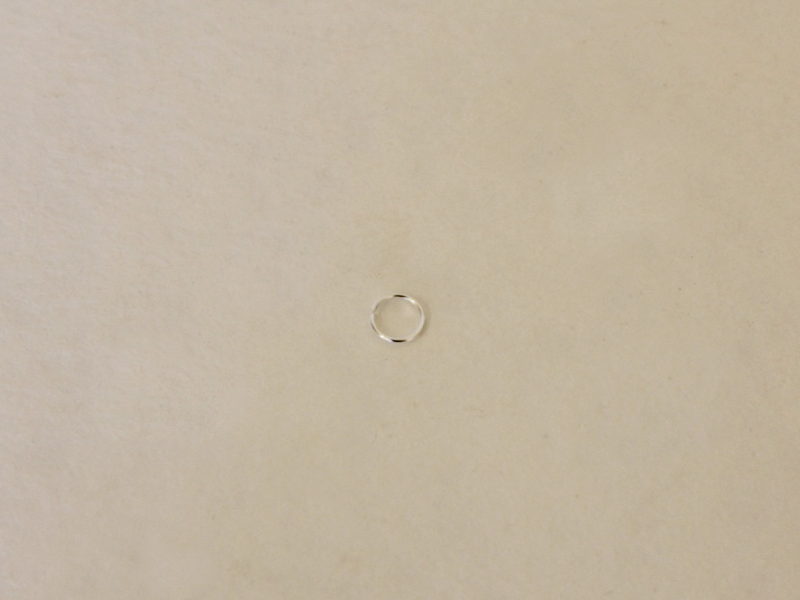
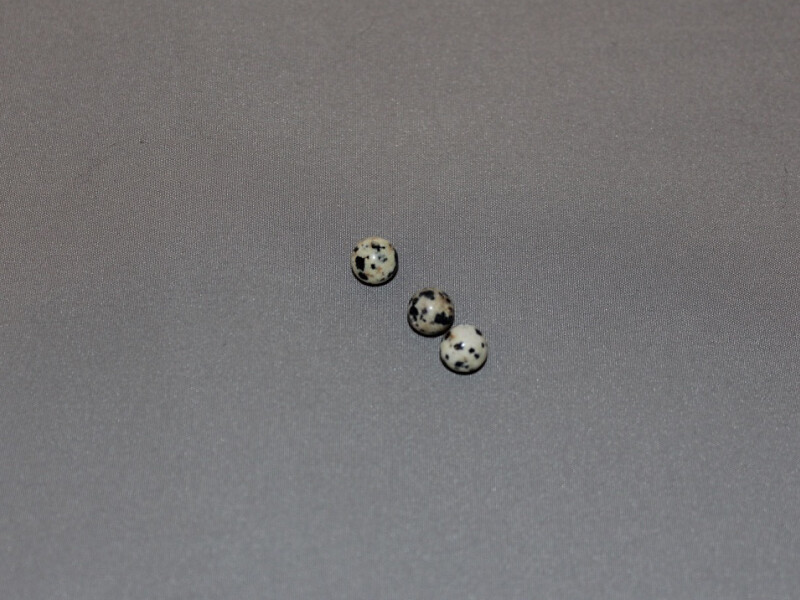
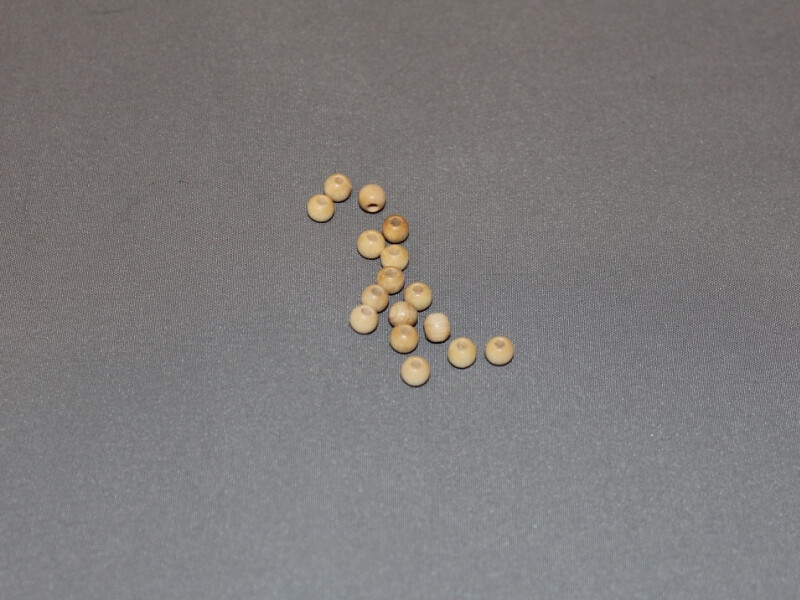
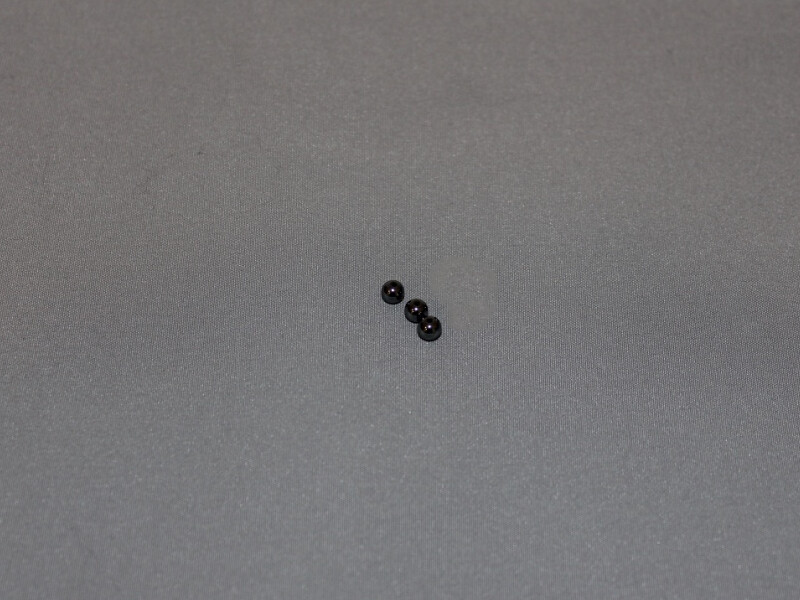
7: Beads of your choice. I used these dalmatian jasper beads, wooden beads and hematite beads.
Follow these steps to make your necklace:
1: Add the beads to the head pin in your chosen pattern.
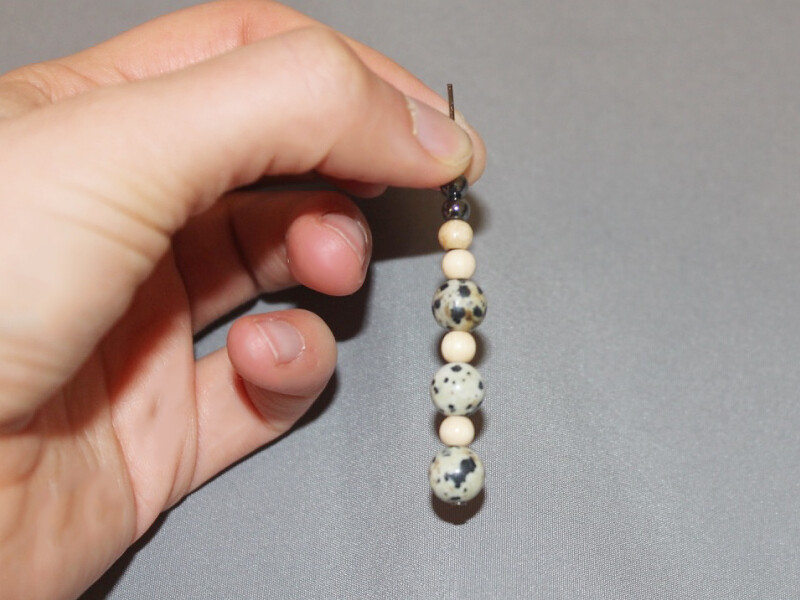
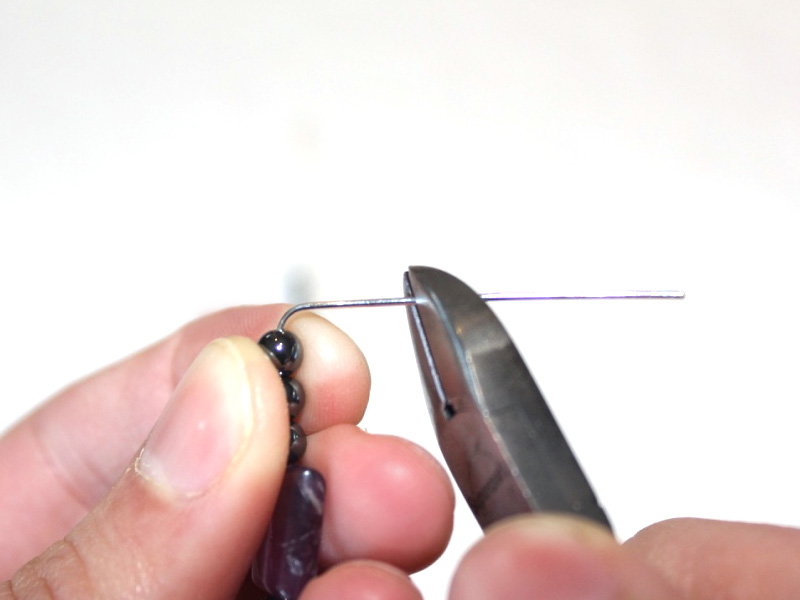
2: Create a loop at the top of the pin using the round nose pliers to secure the beads in place.
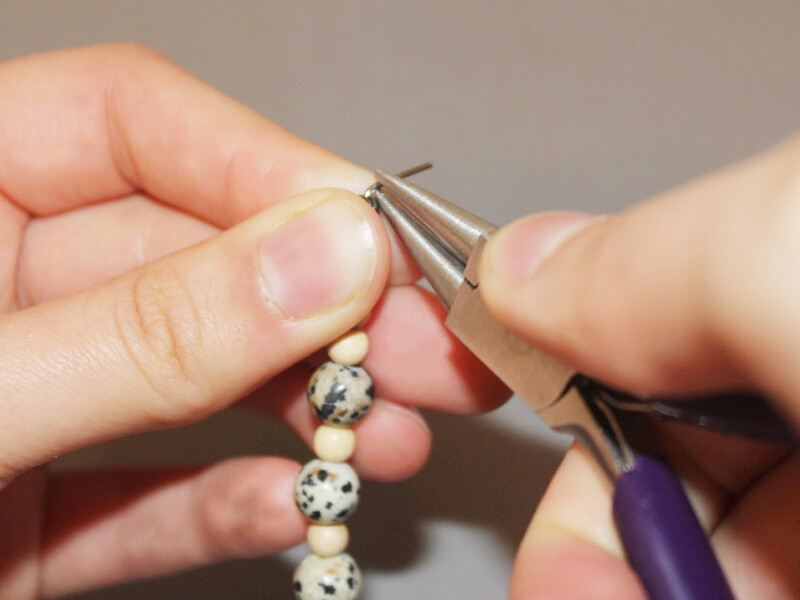
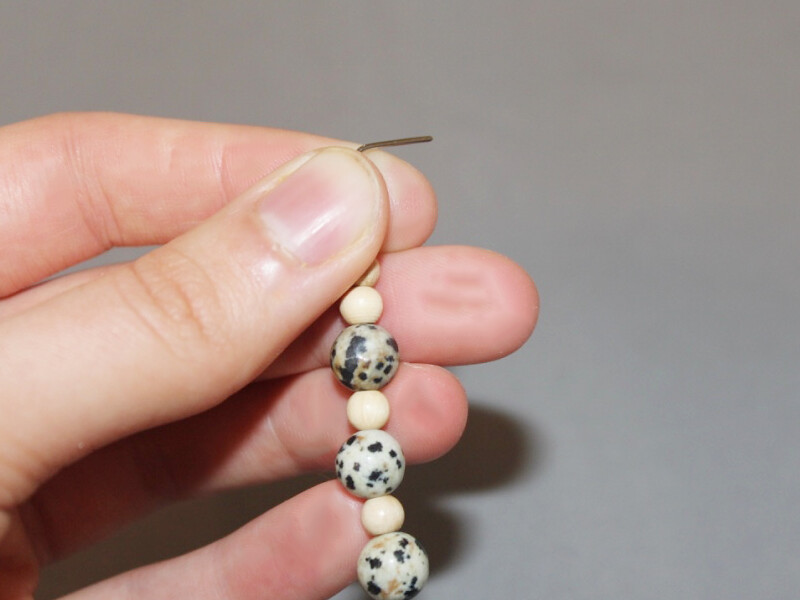
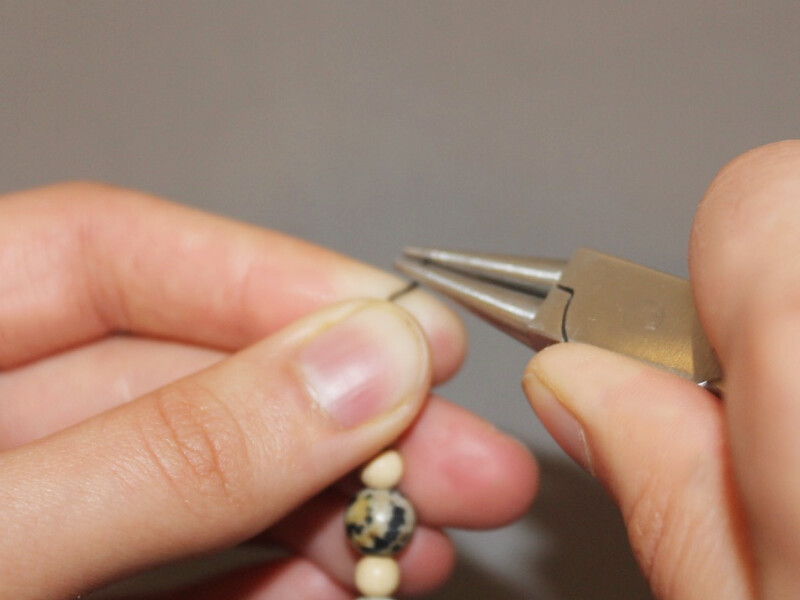
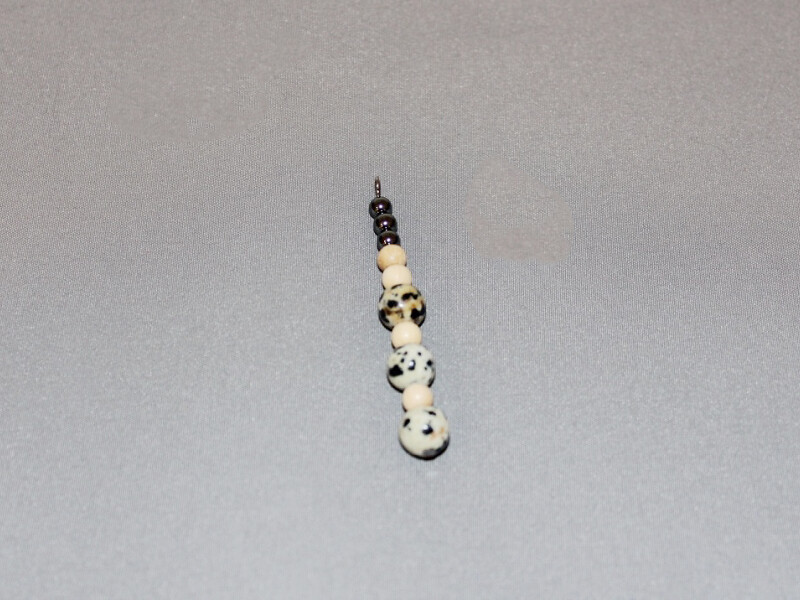
3: Add the large jump ring to the top of the beaded charm and add it to the chain.
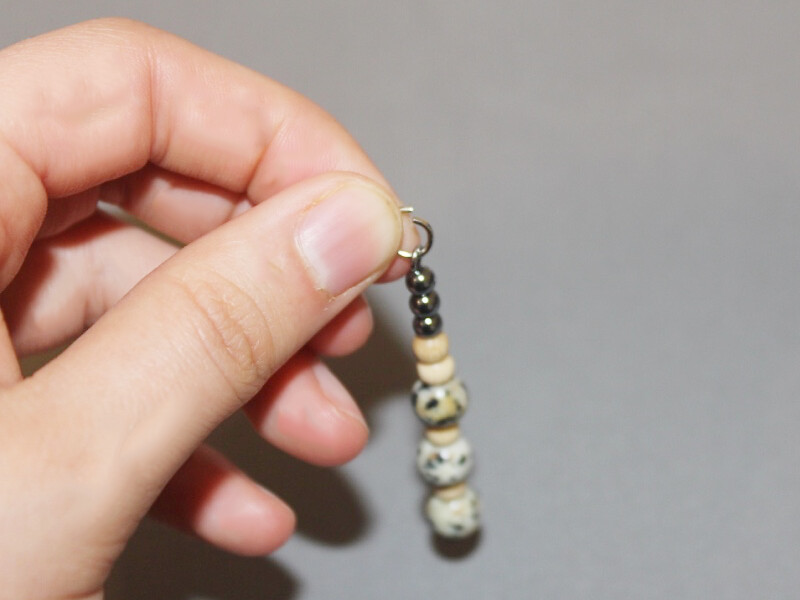
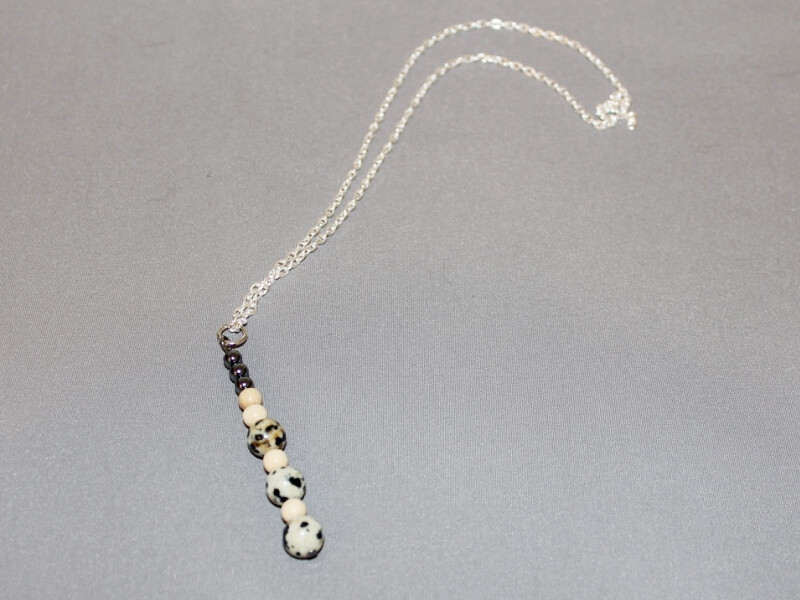
4: Add a jump ring to one side of the necklace chain, slide the lobster clasp onto the open jump ring and close it to secure the clasp in place.
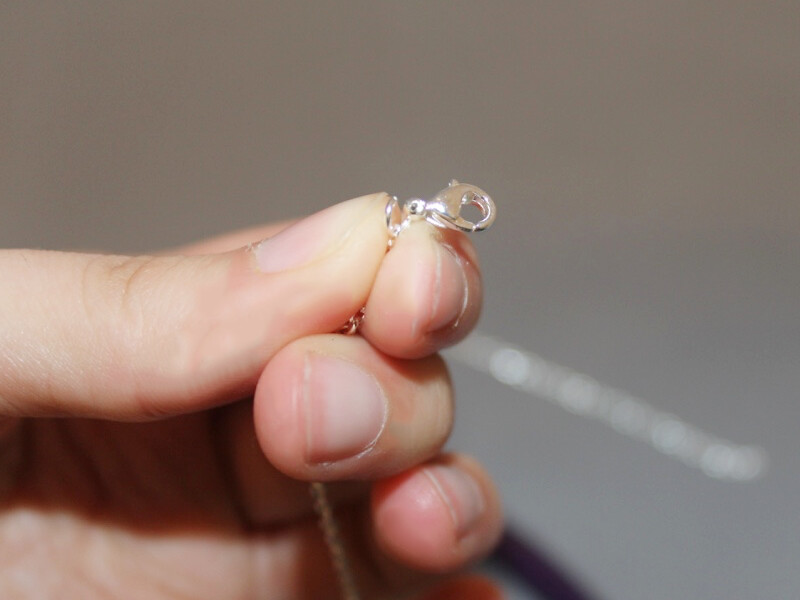
4: Add the other small jump ring to the other end of the chain. And now your necklace is finished!
-
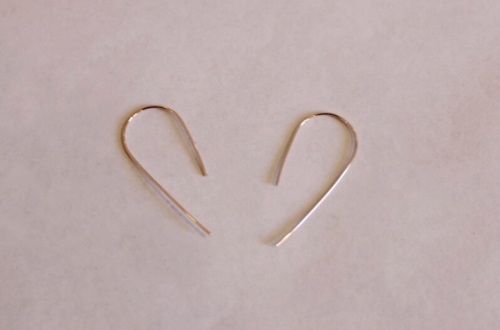
These minimalist earrings are a hit! Make your own right now!
These minimalist earrings are so easy to make, find yourself some sterling silver wire and get creating!
You will need the following tools and materials to make these earrings:
1: Pliers. You will need cutting pliers and some smooth flat nose pliers to make these earrings.


2: A file.

3: Two pieces of sterling silver wire cut to your chosen length. I made mine approximately 7cm long.

Follow these steps to make your earrings:
1: Place your wire in the mouth of the wire at the point where you would like to make your first bend. I made my earrings so they were longer at the back and shorter at the front, so this bend forms the front of the earrings.

2: Using your fingers, bend the wire against the flat nose section of the pliers.

3: Keeping your pliers in place, fold the other end of the wire around the other side. Now you will have a square shaped bend in your wire.

You might need to bend the wire a little, adjusting it to make sure that the longer part of the earring is straight.

4: Repeat these steps for the other piece of wire. Taking care to make sure that the bends are in the same place as the first earring.

5: Use the file to get rid of the sharp ends of the wire, do this on all 4 ends of the earrings.

Once your ends are filed your earrings are finished and ready to wear. Minimalist and oh so cool!

We’ve got some other wire threader earrings for you to try:
-
Do you have some string sitting in your kitchen drawers? Why not turn it into a braided charm bracelet?
Here’s how to turn some household string into a cool braided charm bracelet! This bracelet is super easy to make and looks great with a casual summer outfit!
You will need the following tools and materials to make this bracelet:
1: Pliers. You will need your cutting pliers, round nose pliers and flat nose pliers to make this bracelet.

2: Two crimp ends.

3: Three pieces of string. Cut each to approximately 25cm (9.8 inches) long.

4: Two jump rings.
5: One large jump ring.

6: A clasp. I used this screw clasp.

7: Charms of your choice. I used this polymer clay charm and a wire charm that used to be an earring.


Follow these steps to make your bracelet:
1: Hold the ends of the three strings together and add a crimp end to secure them together. Add the crimp by folding it around the strings, squashing the sides down using the flat nose pliers as pictured.


2: Braid the strings until the bracelet reaches comfortably around your wrist.


3: Trim the strings using your cutting pliers or a pair of scissors.


4: Add the other crimp end to the end of the braid.


5: Add a jump ring to either side of the bracelet and attach the screw clasp, closing the jump rings to secure the clasp in place.


6: Add the charms to the large jump ring.

7: Add the large jump ring with the charms attached to one of the jump rings next to the clasp. Close the large jump ring to secure the charms to the bracelet.

Now that your charms are attached your fun summer beaded bracelet is finished!

-
The necklace you’ve always needed, here’s how to make a beaded curve necklace

This necklace is made using some memory wire and colorful beads added in a cool pattern.
You will need the following tools and materials to make this necklace:
1: Pliers. You will need your cutting pliers, flat nose pliers and round nose pliers to make this necklace.
2: Two pieces of cord.

3: Four crimp ends.

4: Four jump rings.

5: A piece of necklace length memory wire cut into a half circle.

6: A lobster clasp.
7: Beads of your choice. I used these different colored seed beads.

Follow these steps to make your beaded curve necklace:
1: Create a loop at one end of the memory wire using the round nose pliers.


2: Begin adding seed beads in your pattern of choice.

3: Continue adding beads until there is approximately 1cm (o.4 inches) of un-beaded wire.

4: Create a loop at the other end using the round nose pliers, this will secure the beads on the wire.


5: Add a crimp end to each end of the two pieces of cord. Do this by folding each side of the crimp around the cord using the flat nose pliers.


6: Attach each of the cords to either side of the beaded wire using two of the jump rings.


7: Add one of the jump rings to the other end of one of the cords and attach the lobster clasp. Secure the clasp in place by closing the jump ring.

8: Add the remaining jump ring to the other side of the necklace on the end of the second cord. Once you’ve attached this jump ring, the necklace is finished and ready to wear!


Here’s another version I made using leather cord and smoky quartz feature beads.

-
This Tutorial Will Let You Take Your Most Sentimental Gems and Charms With You Everywhere
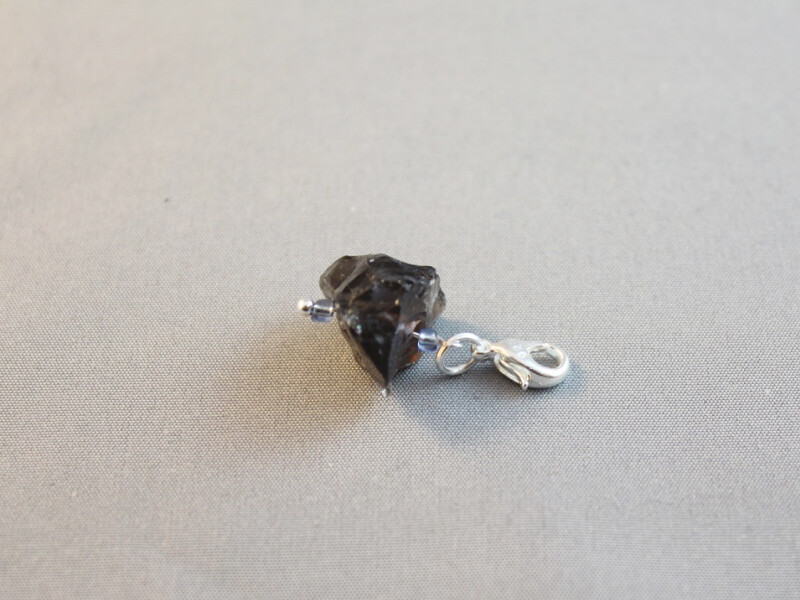
Do you have a favorite bead or a special gemstone that you want to add to your favorite piece of jewelry? You should try making this detachable charm! Please note that this tutorial contains affiliate links for which the website may receive a commission.
You will need the following tools and materials to make this charm:
1: Pliers. You will need your round nose pliers and flat nose pliers to make this charm.
2: One small head pin.
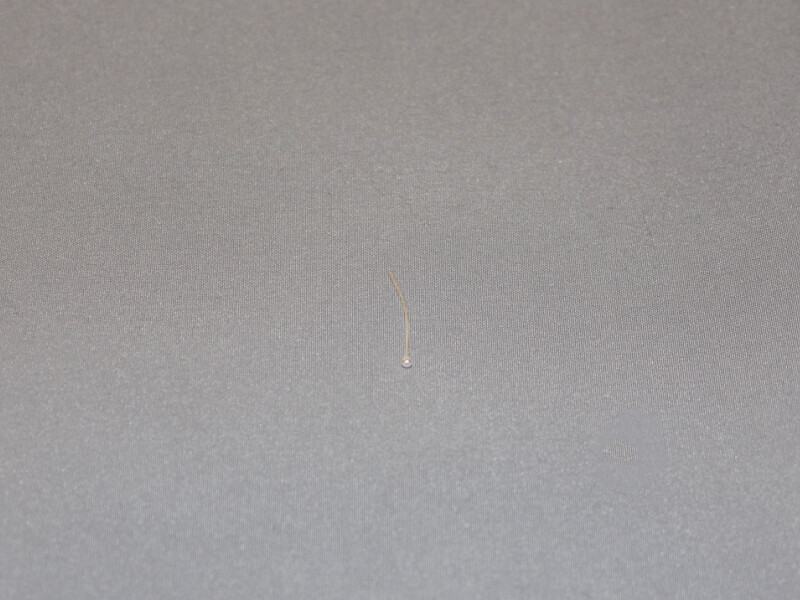
These ones have hearts on the end! https://ebay.us/8hzGNJ
3: One lobster clasp.
4: One jump ring.

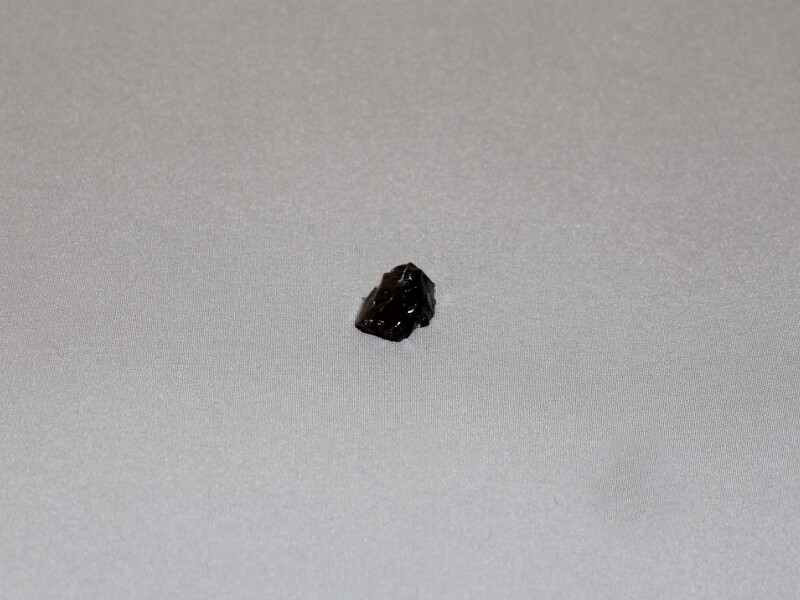
5: Beads of your choice. I used this rough smoky quartz bead and two blue glass seed beads.
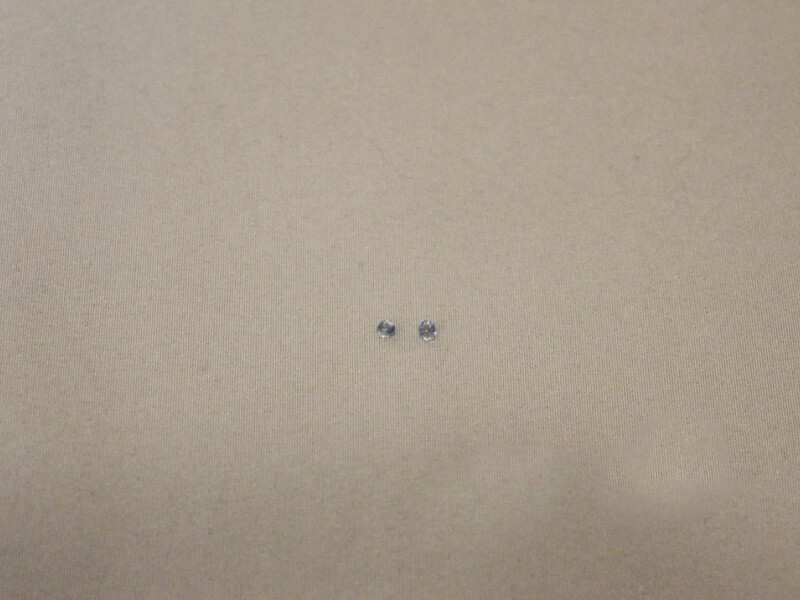
Follow these steps to make your detachable charm:
1: Add the beads to the head pin. I put a seed bead either side of the quartz feature bead.
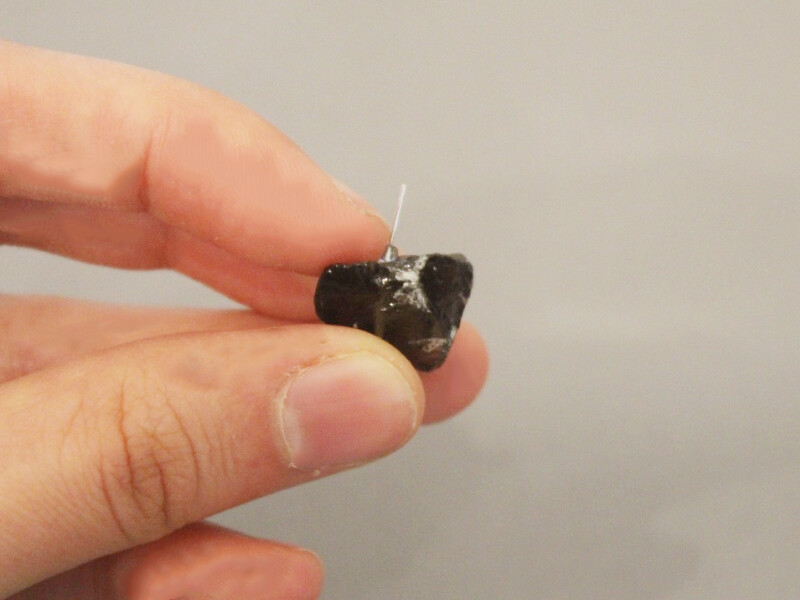
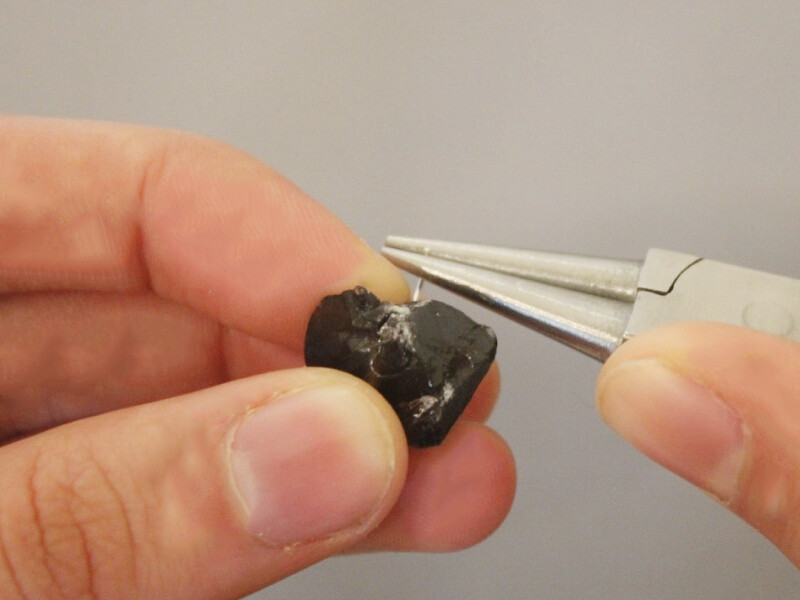
2: Create a loop at the top of the pin using the round nose pliers to secure the beads in place.
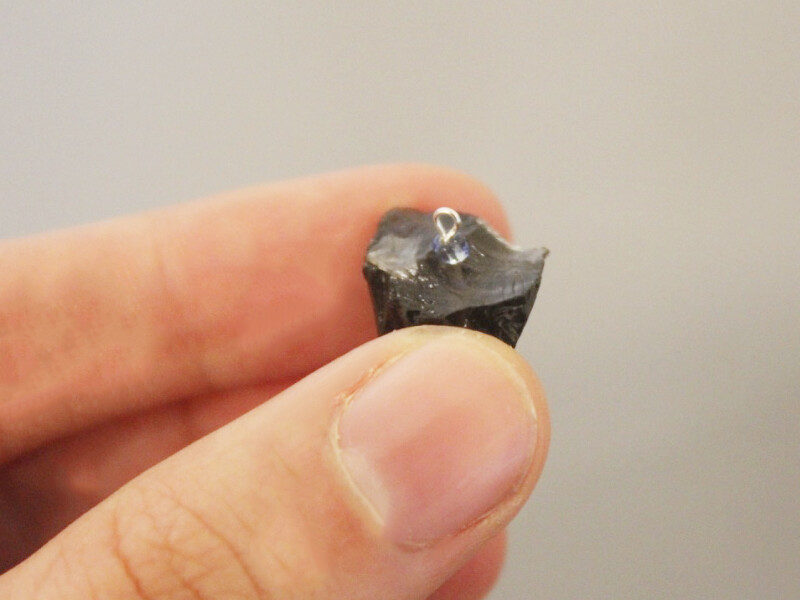
3: Add a jump ring to the top of the charm.
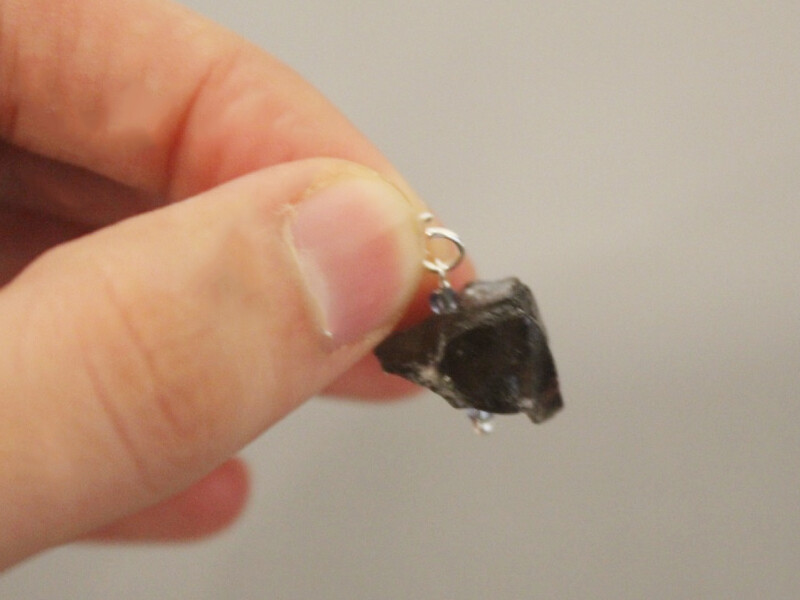
4: Add the lobster clasp to the open jump ring. Close the ring to secure the clasp in place.
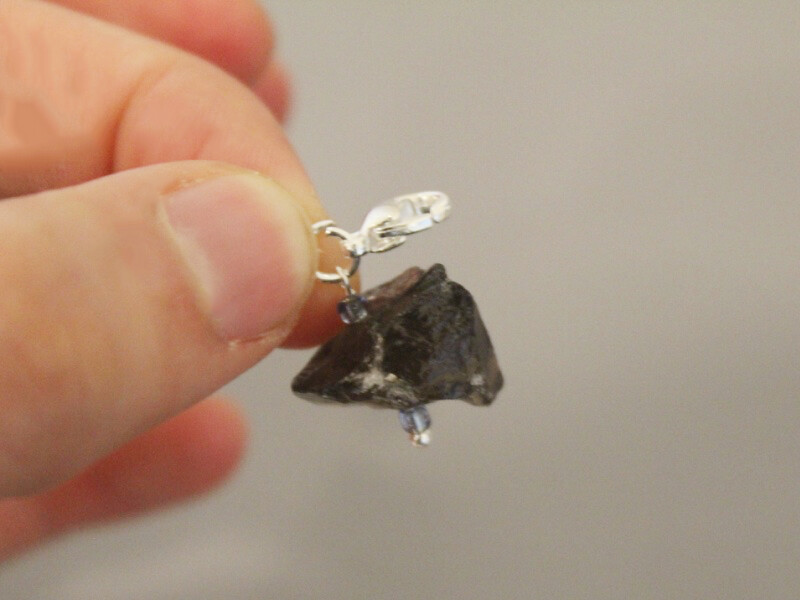
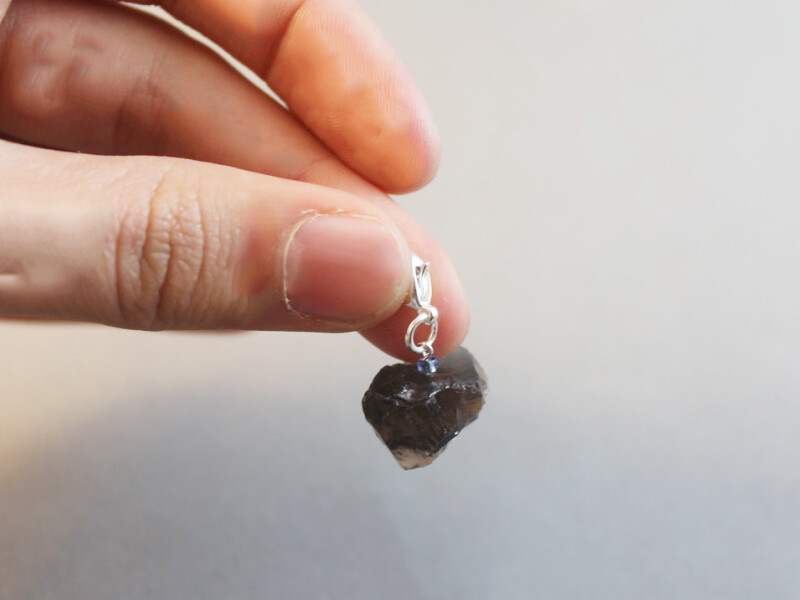
Once the clasp is attached the charm is finished! What piece of jewelry will you attach your charm to?
-
Want Some Geometric Jewelry in Your Life? Make this Triangle Necklace!

Do you have a hankering for some new accessories in your life? You should make yourself this super cool triangle necklace!
You will need the following tools and materials to make this triangle necklace:
1: Pliers. You will need your round nose pliers, flat nose pliers and cutting pliers (or scissors, to cut your string) to make this necklace.
2: A piece of string about 50-60 cm long (approx 19.7-23.6 inches).

3: Two leather crimp ends.

4: A lobster clasp.

5: Three tube beads. I used these gold-colored tube beads.

Follow these steps to make your triangle necklace:
1: Add the three beads to the center of the string.

2: Loop the end of the string into the bead opposite it.

3: Pull the strings tight trying to keep the lengths of string even, forming a triangle shape with the beads.

4: Tie a knot at the top of the triangle.


5: Add another knot above the first one to secure the triangle in place.


6: Trim the strings so that they the same length.

7: Add a leather crimp end to one end of the necklace string. Secure the crimp by squashing one side with the flat nose pliers, then squash the other side, folding it over the top.


8: Repeat this step for the other crimp end, securing it to the other side of the necklace.

9: Add a jump ring to one side and slide on the lobster clasp. Close the jump ring to secure it in place.


10: Add the remaining jump ring to the other side of the necklace to finish it off.
Now your necklace is done! So cool and simple.
-
This Cluster Bracelet Design is so Fun and Pretty to Boot!

These cluster bracelets are so fun, to make and to wear! They look great when made with bright and colorful beads.
You will need the following tools and materials to make this bracelet:
1: Pliers. You will need your round nose pliers, flat nose pliers and cutting pliers to make this bracelet.
2: A piece of leather cord long enough to fit closely around your wrist. (Cut it to length using your cutting pliers).

3: Two leather crimp ends.

4: Five large jump rings.

5: Fifteen small head pins.

6: Two small jump rings.

7: A toggle clasp.

8: Beads of your choice. I used small yellow glass e-beads and some small natural colored wooden beads.


Follow these steps to make your beaded cluster bracelet:
1: Add one glass bead and one timber bead to each of the head pins.

3: Create a loop at the top of each pin to secure the beads in place. You can do this by curling the pin slowly around the barrel of the pliers.


4: Add three beaded charms to each of the large jump rings (five in total). Close the jump rings to secure the bead charms in place.


5: Set the cluster charms aside. Add a leather crimp end to one end of the leather. Do so by squashing one side down around the leather using the flat nose pliers, followed by the other side, folding it over the first.


6: Add each of the charms to the leather.

7: Add the other leather crimp end to the other end of the leather cord.

8: Add a jump ring to one side of the bracelet and attach one part of the toggle clasp. Close the jump ring to secure it in place.

9: Repeat this step for the other side of the bracelet, attaching the second part of the clasp using the remaining small jump ring.

Once your clasp is in place your bracelet is finished! What colors will you make yours in?


-
Simply Amazing! Here’s How to Make a Double Strand Necklace Using String.

Do you have some special beads that need to stand out on their own? This is the perfect design for you! This necklace is easy to construct, delicate and delightful. You’ll be whipping this one up in no time.
You will need the following tools and materials to make this necklace:
1: Pliers. You will need your cutting pliers (or a pair of scissors), flat nose pliers and round nose pliers to make this necklace.
2: Two pieces of string cut to different lengths. I made one about 5cm (approx. 1.9 inches) longer than the other.

3: Two leather crimp ends.
4: Two small jump rings.
5: A lobster clasp.
6: Two beads. I used these orange glass beads.

Follow these steps to make your double strand string necklace:
1: Hold one end of both pieces of string together.
2: Attach one of the crimp ends to secure pieces of string together.


3: Add a bead to each of the strings.

4: Add the other crimp end to the other end of the strings, making sure the ends align.


5: Add a jump ring to one side of the necklace, slide the lobster clasp onto the open jump ring and close it to secure the clasp in place.

6: Add the remaining jump ring to the other side of the necklace to finish it off.

Now your necklace is finished! So cute!

-
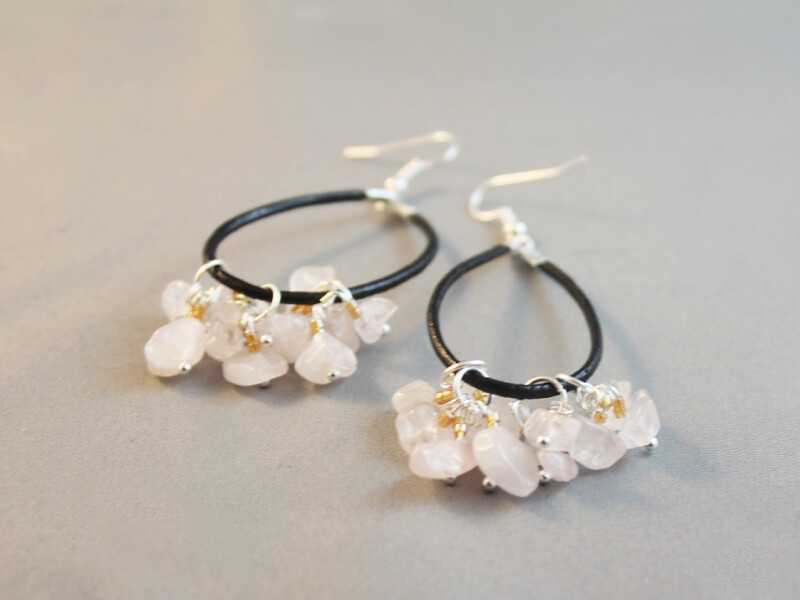
Leather Earrings? Here’s How to Make Some…
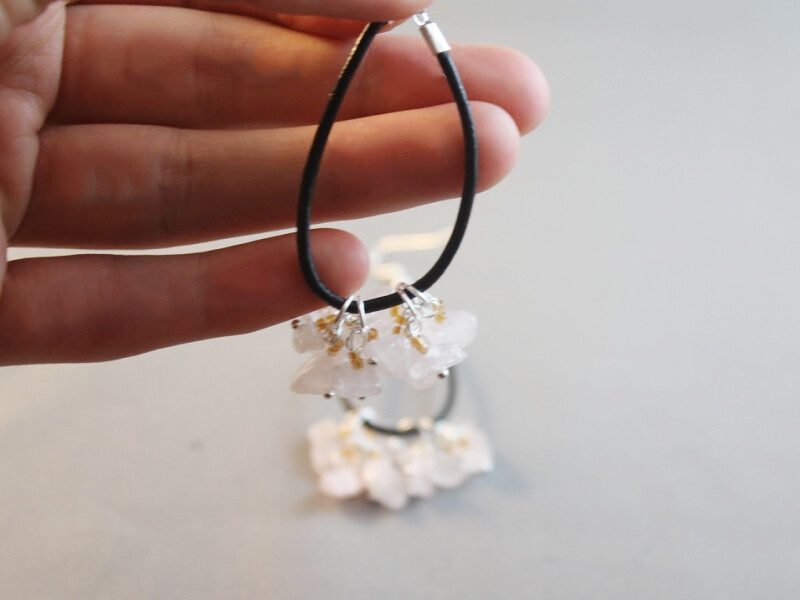
These leather earrings look so lovely and elegant!
You will need the following tools and materials to make these earrings:
1: Pliers. You will need your round nose pliers, flat nose pliers and cutting pliers.
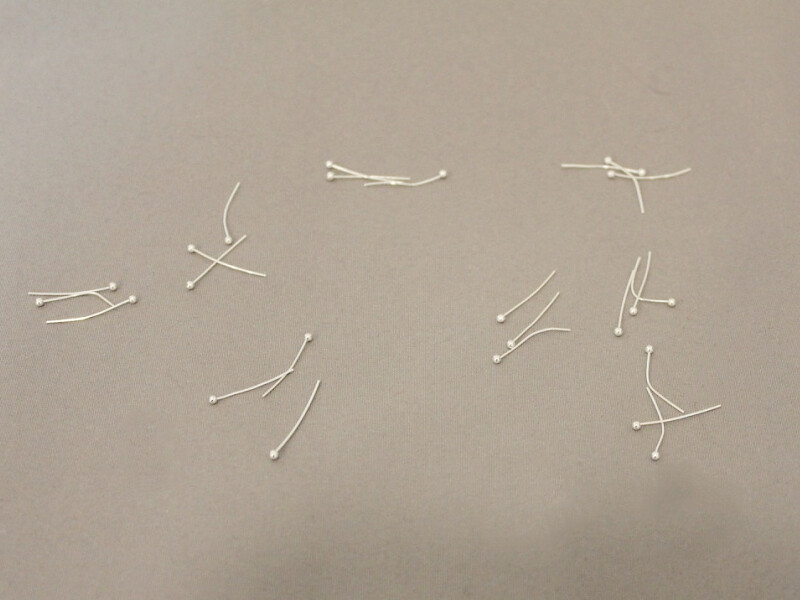
2: Twenty four head pins.
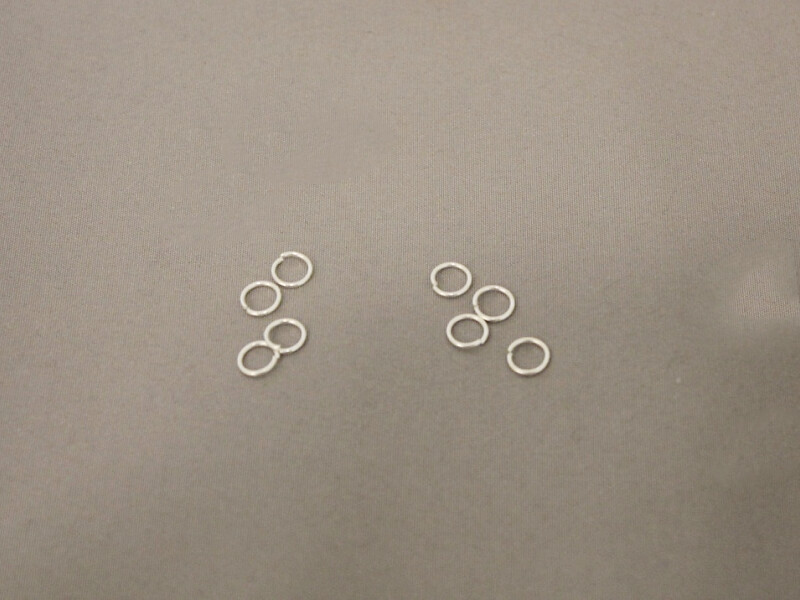
3: Eight jump rings.
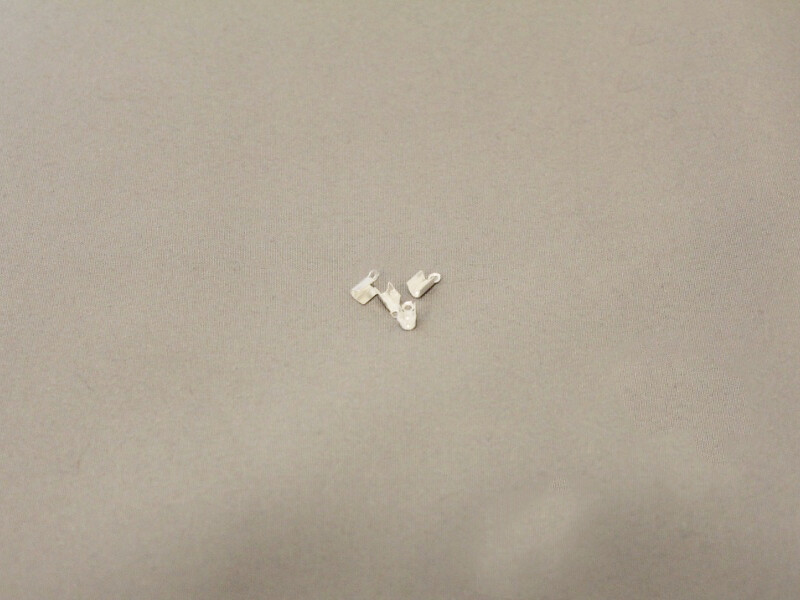
4: Four leather crimp ends.
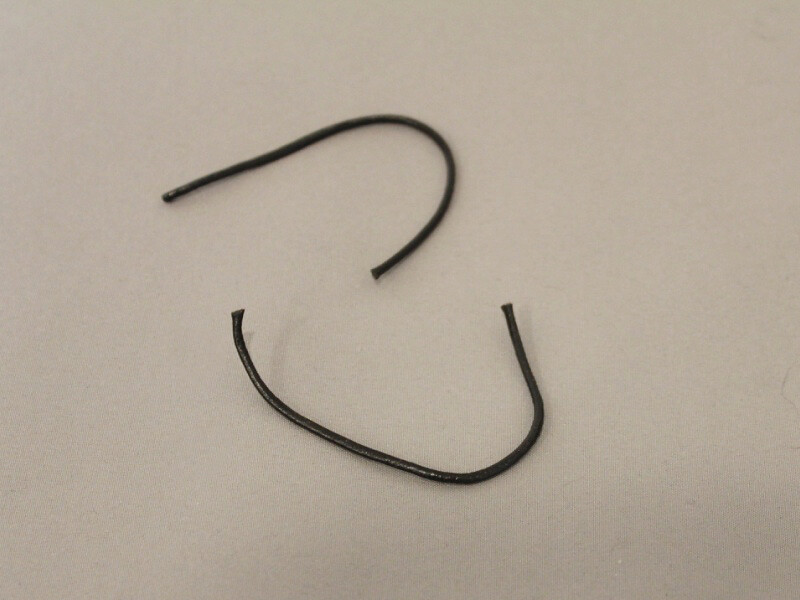
5: Two pieces of leather each about 10cm long.
6: Two earring hooks.
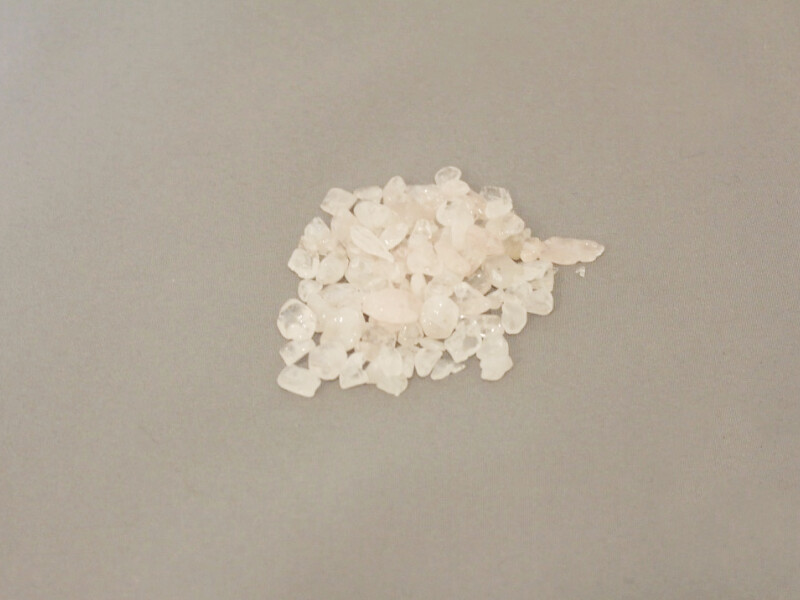
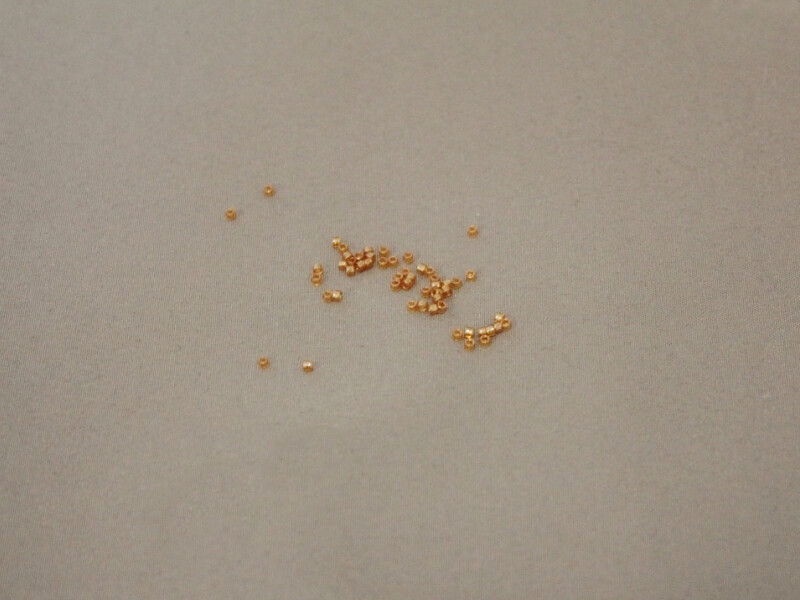
7: Beads of your choice. I used these rose quartz chip beads and some orange colored seed beads.
Follow these steps to make your leather earrings:
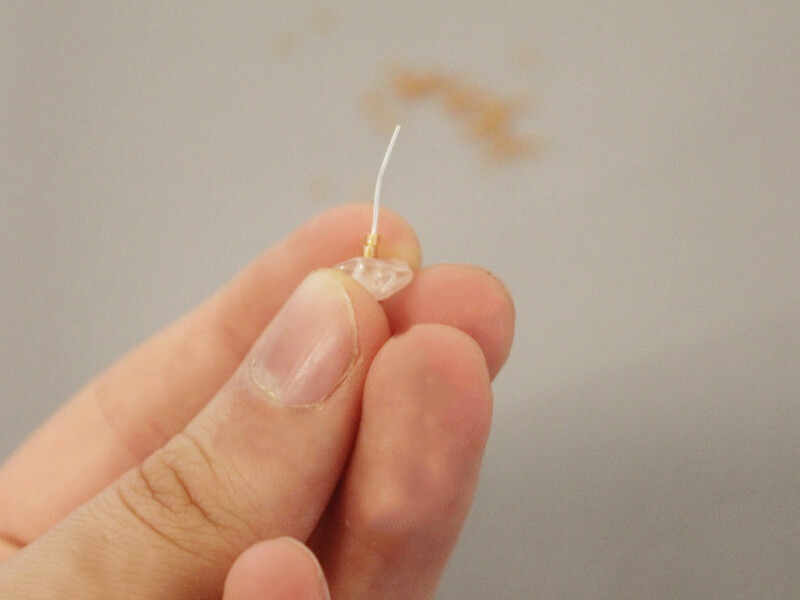
1: Add beads to each of the pins.
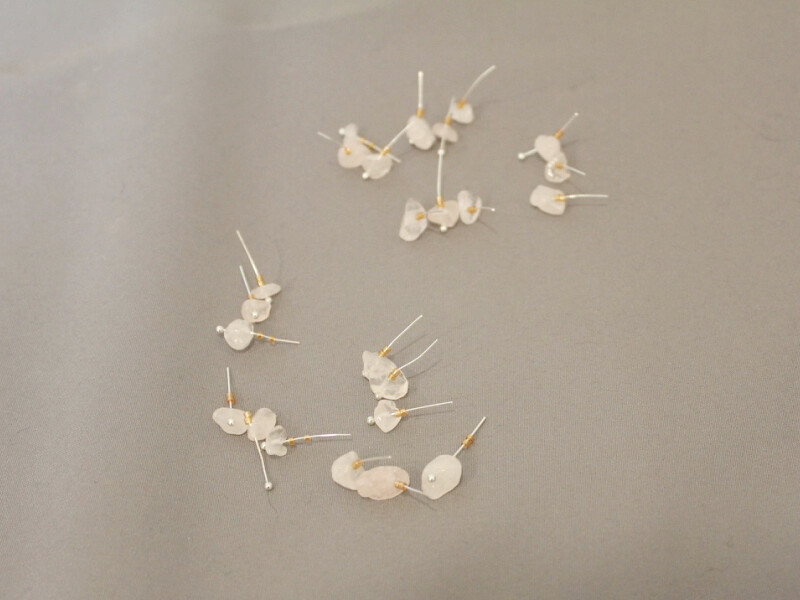
2: Create a loop at the top of each pin using the round nose pliers.
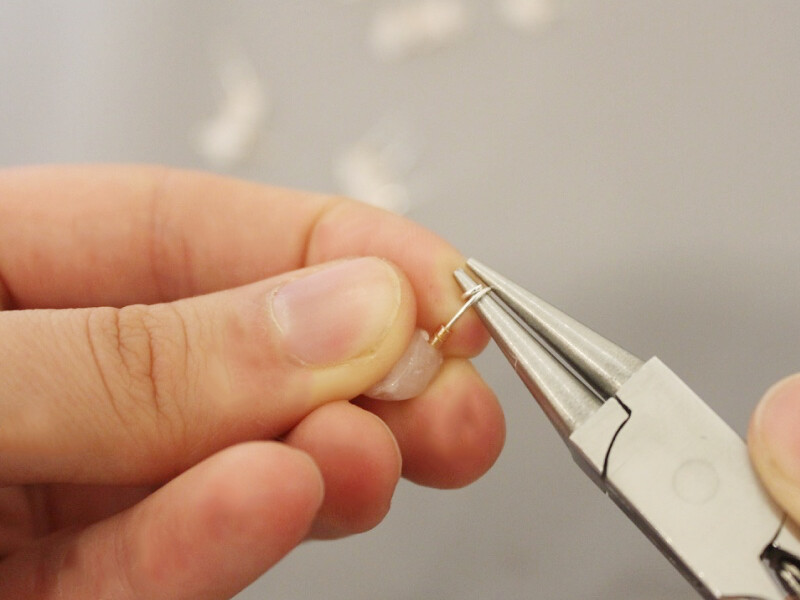
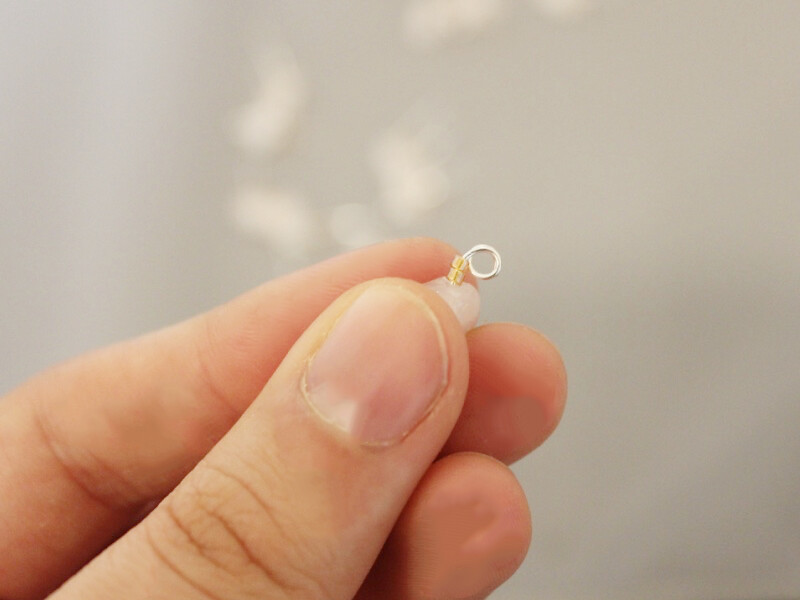
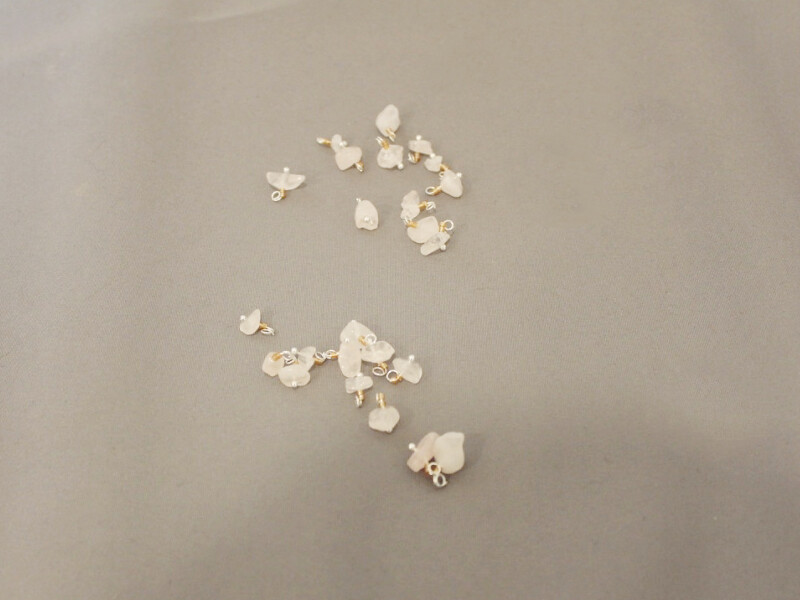
3: Add three bead charms to each jump ring. Close the jump rings to secure the charms in place.
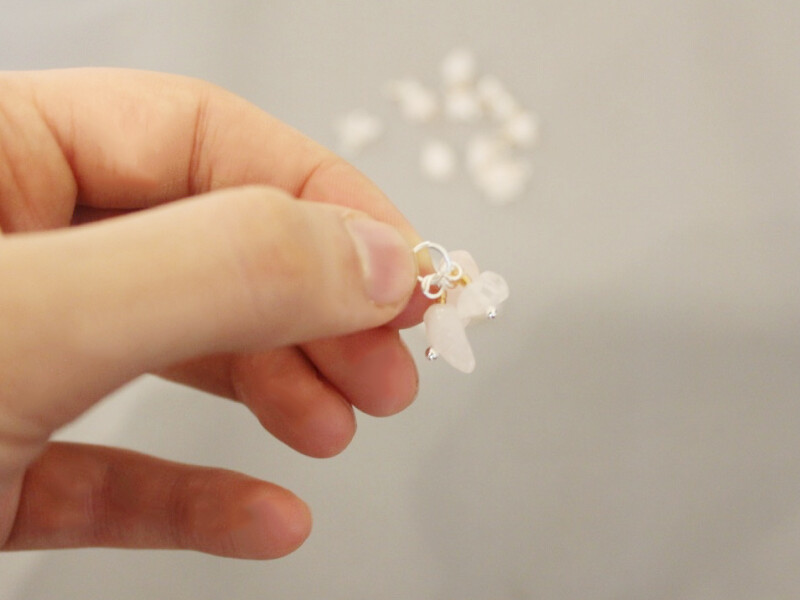
4: Add four beaded jump rings to each of the pieces of leather.
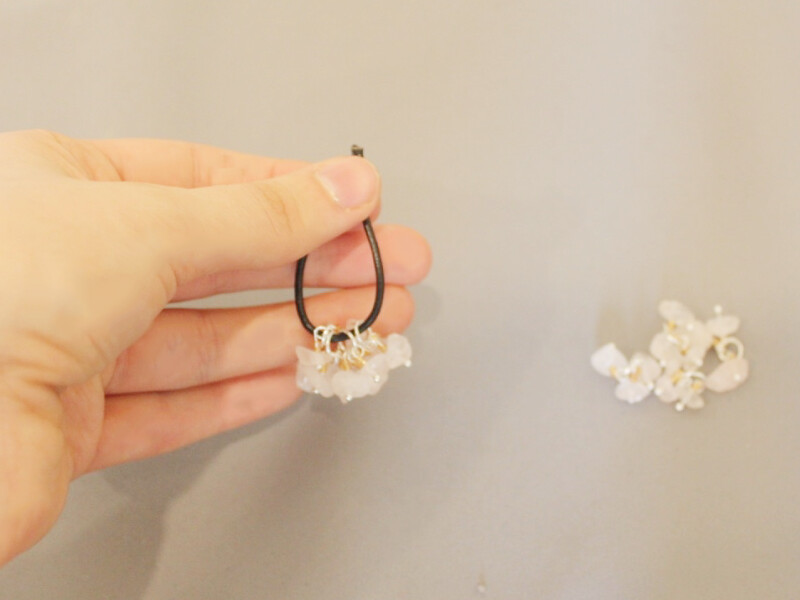
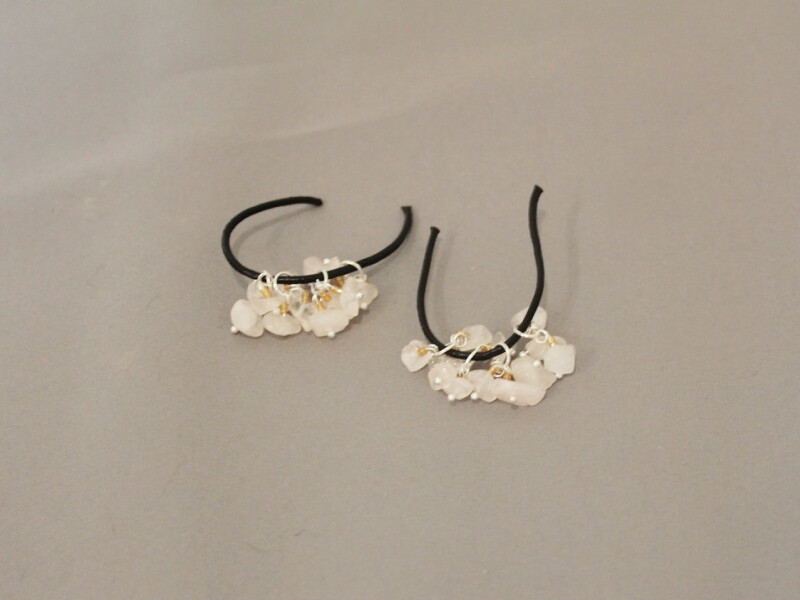
5: Add a leather crimp to each end of the pieces of leather. Squashing down one side and then the other using the flat nose pliers.
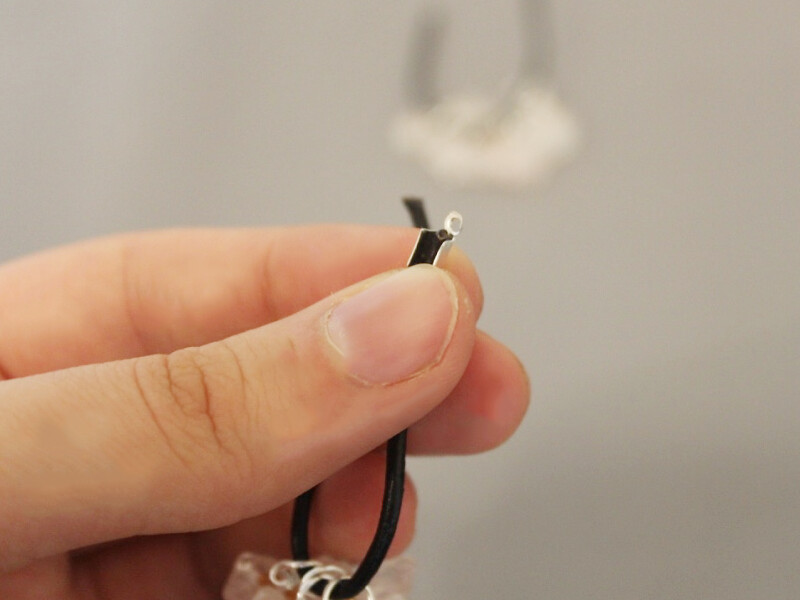
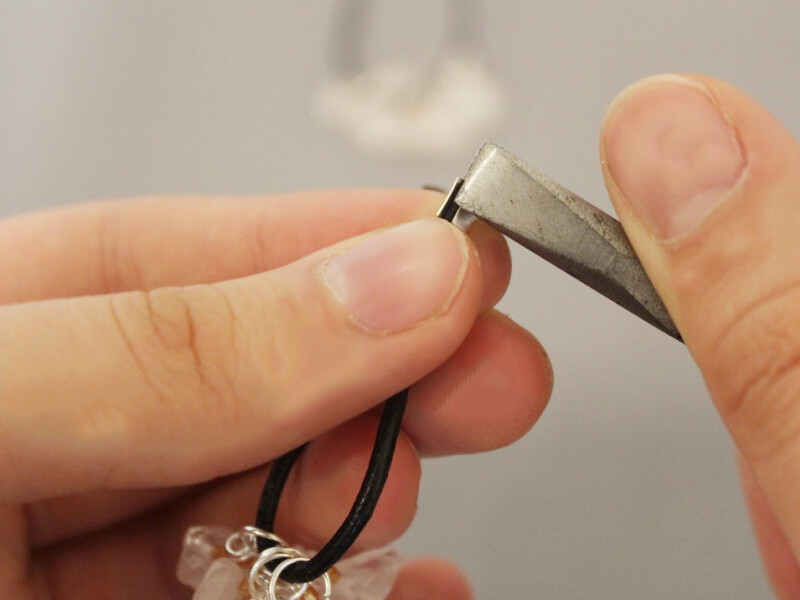
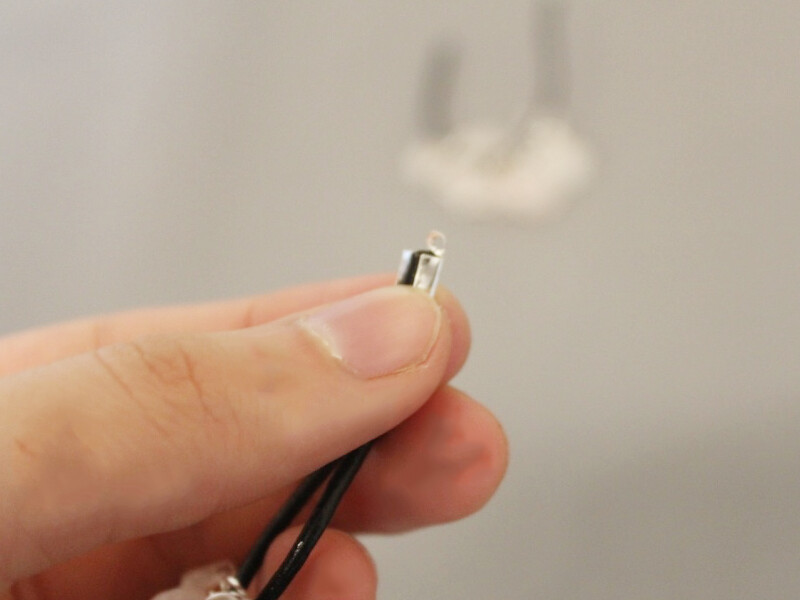
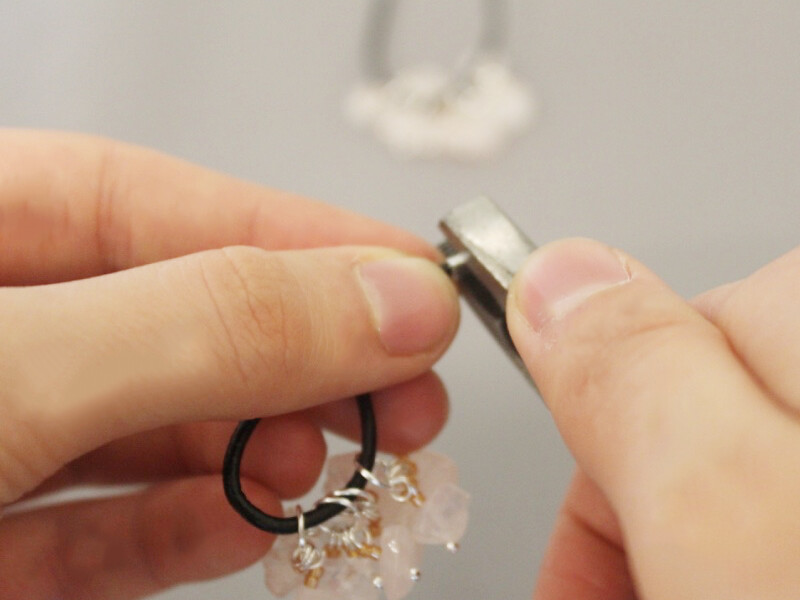
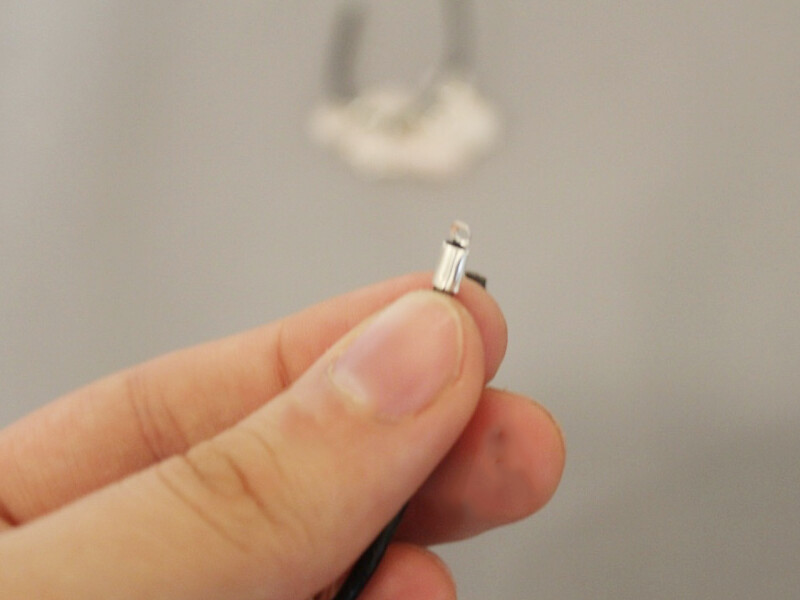
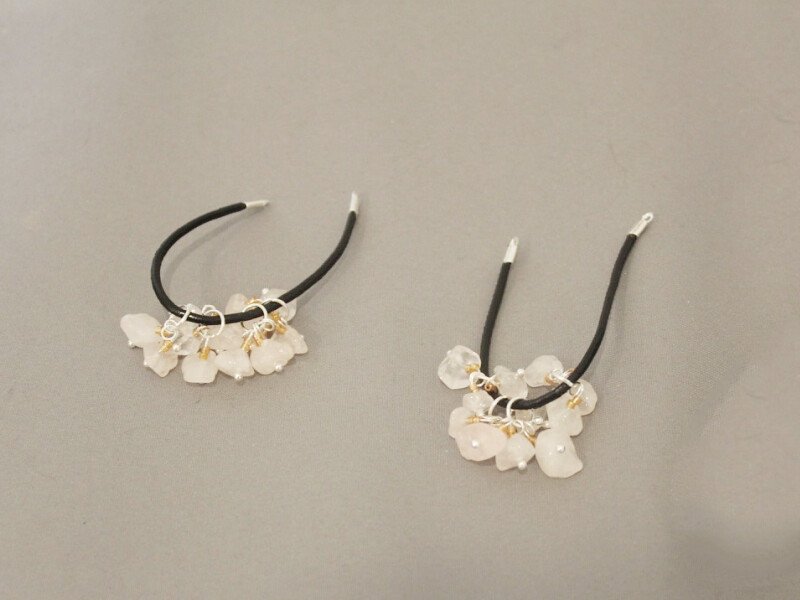
6: Attach both ends of the leather to the earring hook and close it to secure the leather in place.
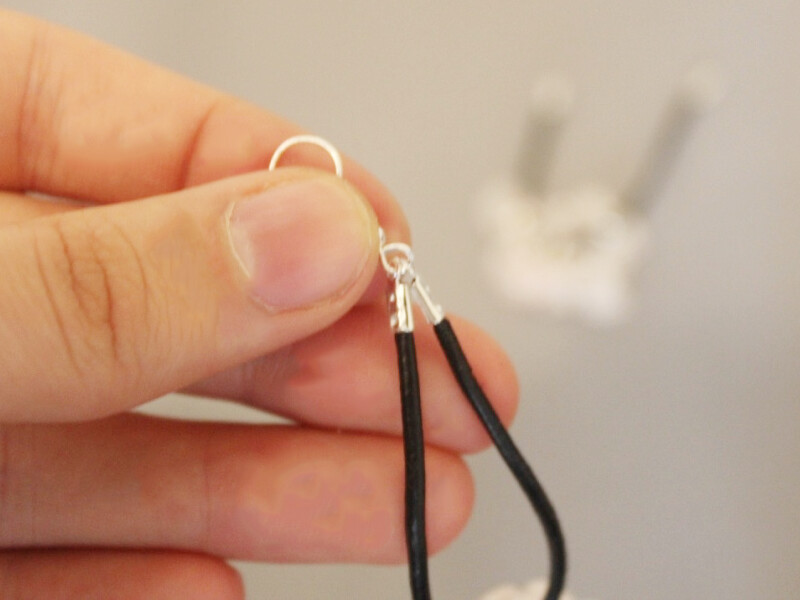
7: Repeat step 6 for the other earring, securing the leather to the second earring.
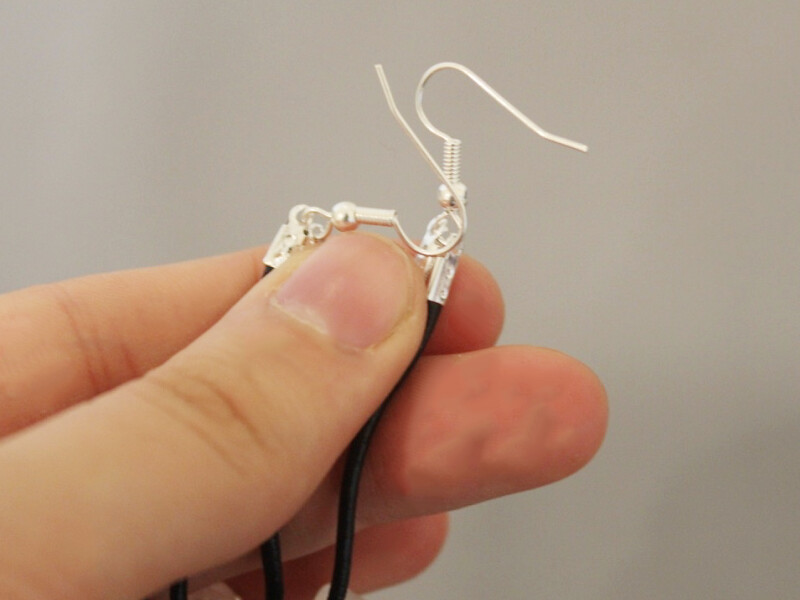
Now you’re done!