Step-By-Step Tutorials
-
Got a project you don’t like anymore? Here’s one way you can take a piece apart so you can re-use the materials!
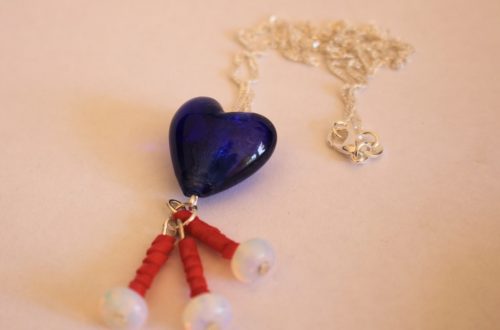
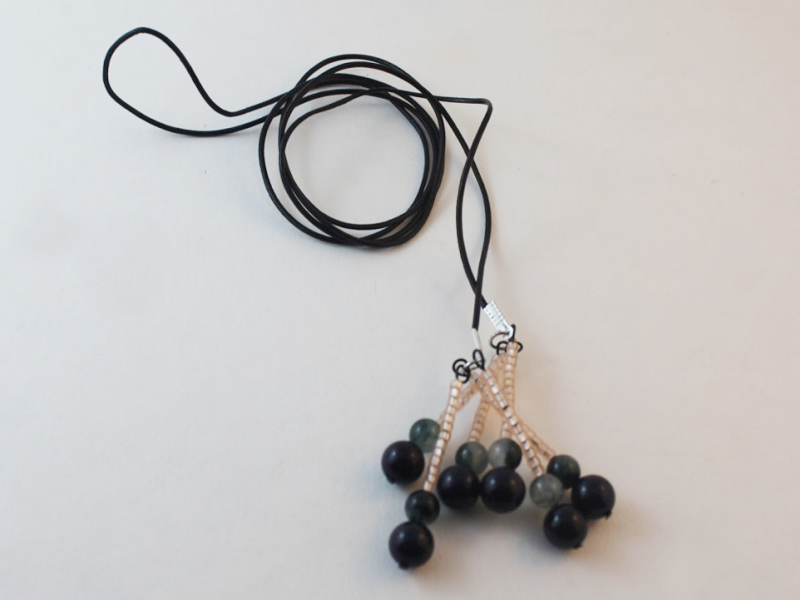
I have made many pieces of jewellery over the years. Some work out great… others not so much! So when I’ve got a piece that didn’t really work, or that I don’t like anymore, I take it apart and re-use the materials in other designs. This video shows you how to take apart a beaded chain design so that you can re-use the components and beads again! Please note that this tutorial video contains affiliate links.
The only tools you really need to take apart your old jewellery pieces are pliers and a pot to put the beads in so they don’t roll away!

And here’s where you can get a little pot to pop your beads in:
Watch this video to see how I took my beaded chain pieces apart.
Here are all the materials I ended up with that I can use again!


The pins won’t be completely straight, but you can trim them down and use them for smaller beads! I hope you found this video tutorial useful! I love taking apart my old work and transforming it into something new and I hope you do to!
-
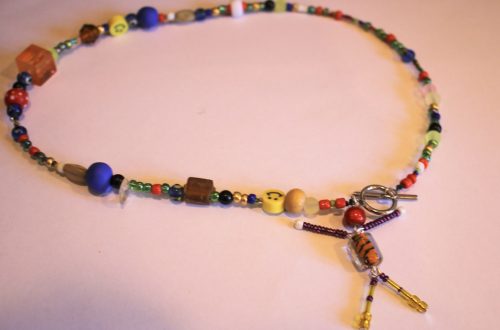
Here’s how to make a necklace strand for your cute beaded person charm…
Remember this charm? Here’s how to make a crazy mixed bead necklace to hang it on and wear about! This tutorial makes use of those random mixed beads you aren’t sure what to do with! Please note, this tutorial contains affiliate links.
You’ll need these tools and materials to make your beaded necklace:
1: A person charm, you can follow the tutorial here.
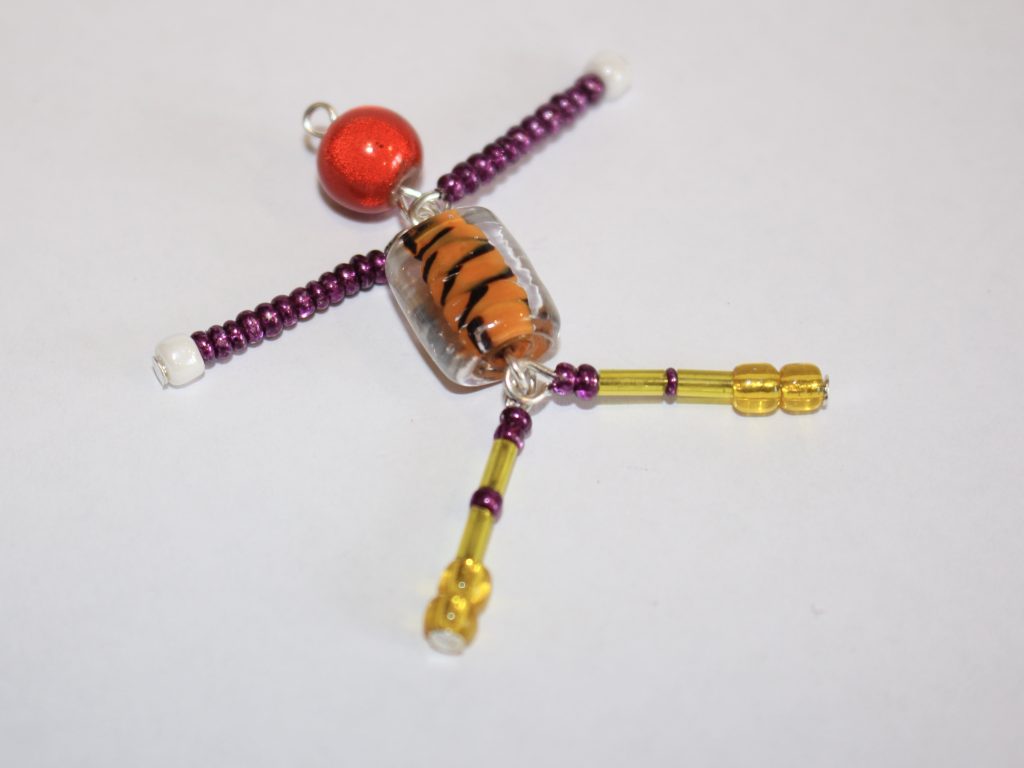
2: A piece of tigertail wire, long enough for your desired necklace length, plus a few extra centimetres.

3: Four crimp beads.

4: A toggle clasp.

5: Two jump rings.

6: Pliers.
7: A selection of beads.

Follow these steps to make your necklace for your cute person charm:
1: Take the tigertail wire an add two crimps to one end.

2: Add a jump ring to the end of the wire.

3: Fold the end of the wire around the jump ring and through the crimp beads.

4: Squash the crimp beads using the flat nose pliers.


5: Begin adding beads.

6: Continue adding beads until you have a length you like.

7: Add the second set of jump rings to the other end of the necklace.

8: Add the second jump ring.

9: Loop the end of the wire around the jump ring and back through the crimp beads and the last couple of beads on the strand. Pull the wire tight.

10: Squash the crimp beads to secure the jump ring in place at the end of the necklace.

11: Trim the excess wire.

12: Open one of the jump rings using pliers and add the person charm.

13: Add the circle side of the toggle clasp and close the jump ring to secure the components together.


14: Add the other side of the toggle clasp and close the jump ring to finish the necklace off.


Now your adorable person charm necklace is finished and ready to wear! How cute!!


-
Here’s how you can transform some rhinestone trim into a necklace chain!
Here’s a fun tutorial, perfect for a fun costume night out! In this tutorial I’ll show you how to transform some rhinestone trim into a unique chain to hang bold pendants on. Please note that this tutorial contains affiliate links.
You’ll need these tools and materials to make your rhinestone necklace chain:
1: A piece of rhinestone trim, cut to your preferred necklace length.

2: Two crimp ends.

3: Two jump rings.
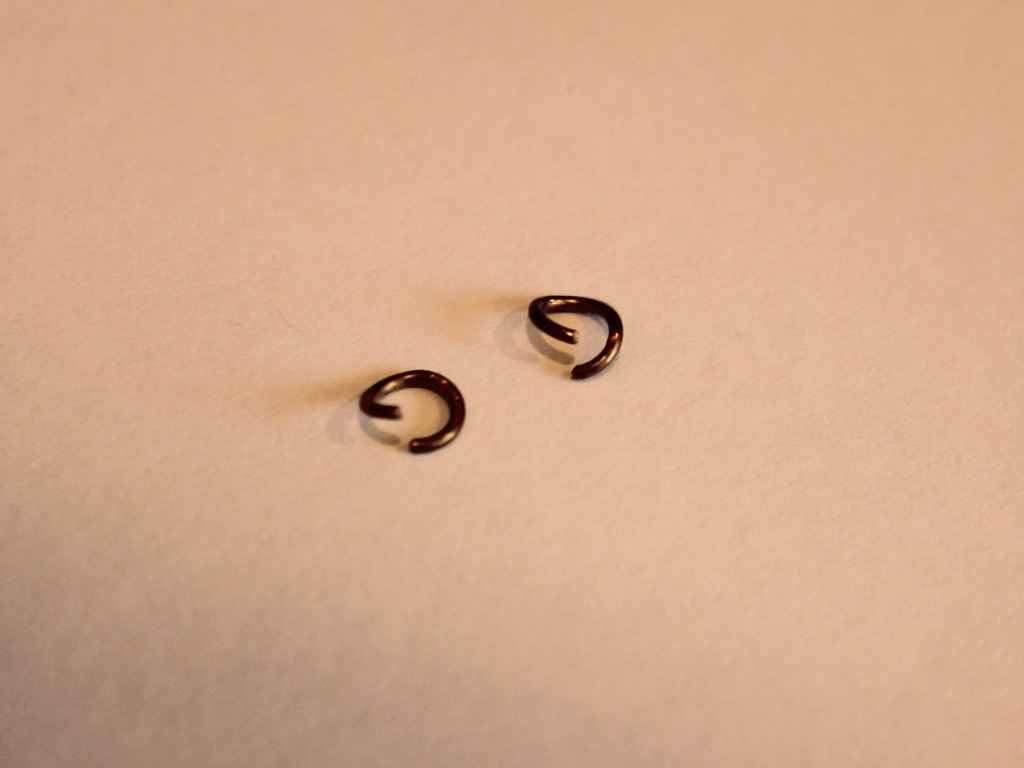
4: One lobster claw clasp.

5: A pendant. I used this weird one that I made from clay, plastic rhinestones, wire, paint and resin (I know… it looks really weird!)

6: Pliers. I used my cutting pliers to cut the rhinestones to length and my flat nose pliers to secure the crimps closed. You can also keep your round nose pliers handy as an extra tool for opening and closing your jump rings.
Follow these steps to make this rhinestone necklace chain:
1: Place one of the crimps over the end of the rhinestone strand.
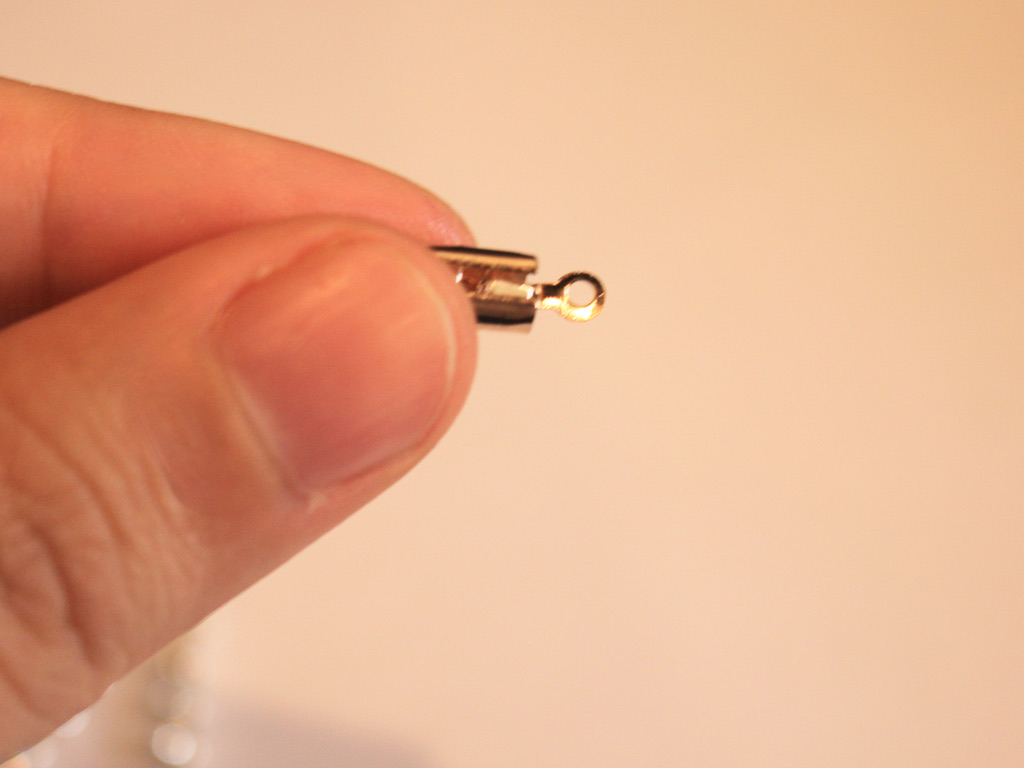
2: Squash one side of the crimp around the rhinestone strand using your flat nose pliers.

3: Squash the other side of the crimp using the pliers, so it fits closely around the rhinestones and doesn’t move when you pull it.


4: Repeat steps 1-3 for the other end of the necklace.

5: If your pendant has a small bail (the loop at the top of the pendant), you can add it to the chain now.
6: Take one of the jump rings and add it to one side of the necklace, looping it through the end of the crimp.

7: Add the clasp to the open jump ring and close it to secure the clasp to the necklace.


8: Add the remaining jump ring to the other end of the necklace and close it.


Now your sparkly costume necklace is ready to wear! What funky pendant will you put on yours?


If you like this tutorial, here are some more sparkly rhinestone tutorials for you to try…
-
Here’s how you can make a fun mixed bead bracelet to show off your personality!
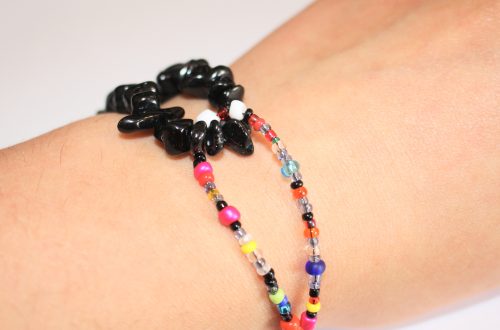
I love the trend towards the craft-core bead explosion designs in jewellery! I’ve shared a few other similar tutorials in the form of mixed bead anklets and necklaces, but this one is a bracelet! This bracelet features a mixture of handmade, recycled and new beads for a unique look! What beads will you use in yours? Please note that this tutorial contains affiliate links.
You’ll need these tools and materials to make your own mixed bead bracelet:
1: Some tiger tail wire cut to a length that will fit your wrist plus a few extra cm.

2: A selection of beads. I used a mix of plastic, clay and glass beads from different sources, recycled, new and handmade.

3: A clasp. I used this gold-tone parrot claw clasp.

4: A jump ring.
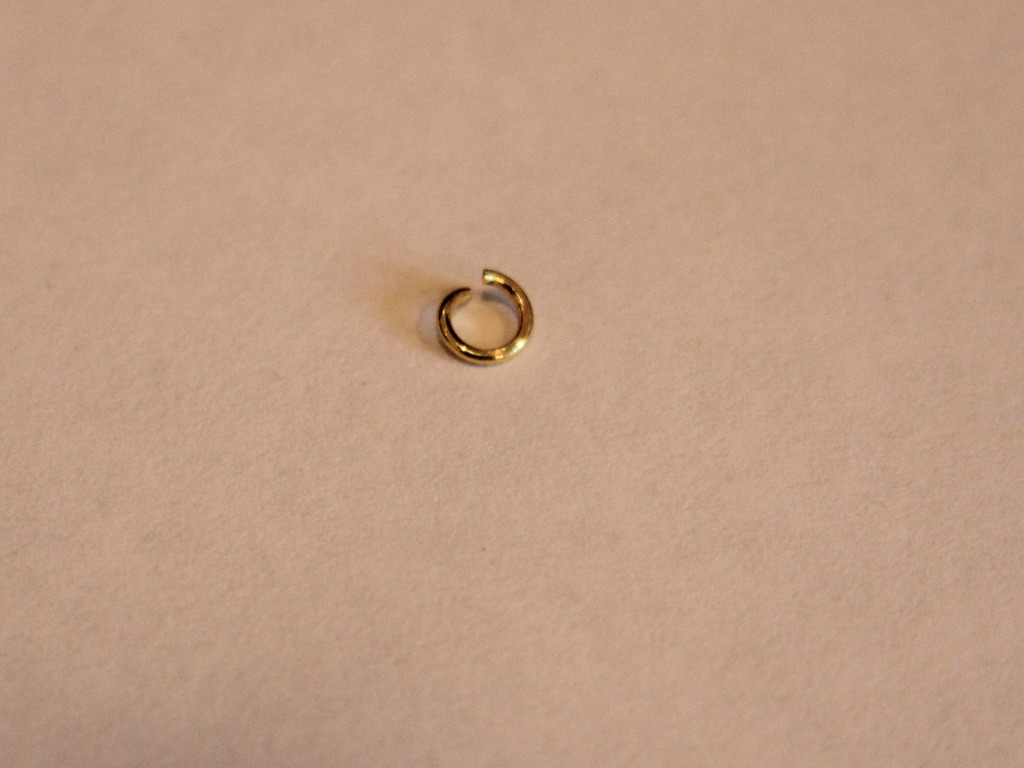
5: Four crimp beads.

6: Pliers. I used cutting pliers to cut the wire, flat nose pliers and round nose pliers.
Cutting pliers, round nose pliers, flat nose pliers. Follow these steps to make your crazy mixed bead bracelet:
1: Take the tiger tail wire and add two of the crimp beads.

3: Add the clasp to the wire and loop the end of the wire back through the crimp beads.

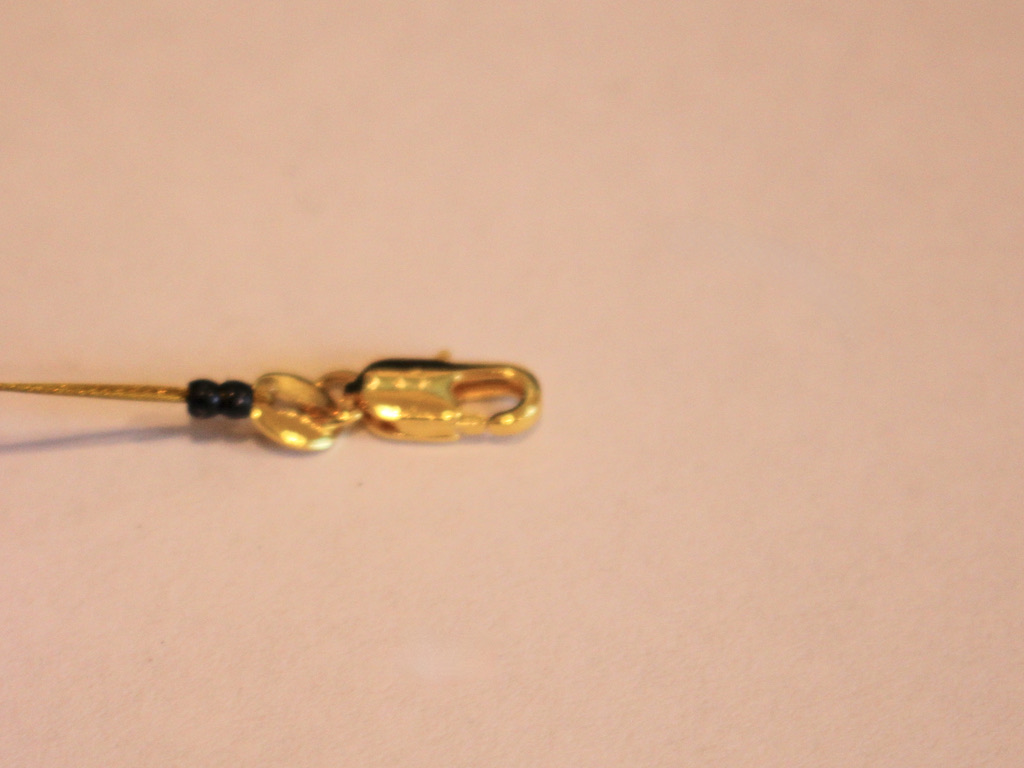
4: Squash the crimp beads using the flat nose pliers.

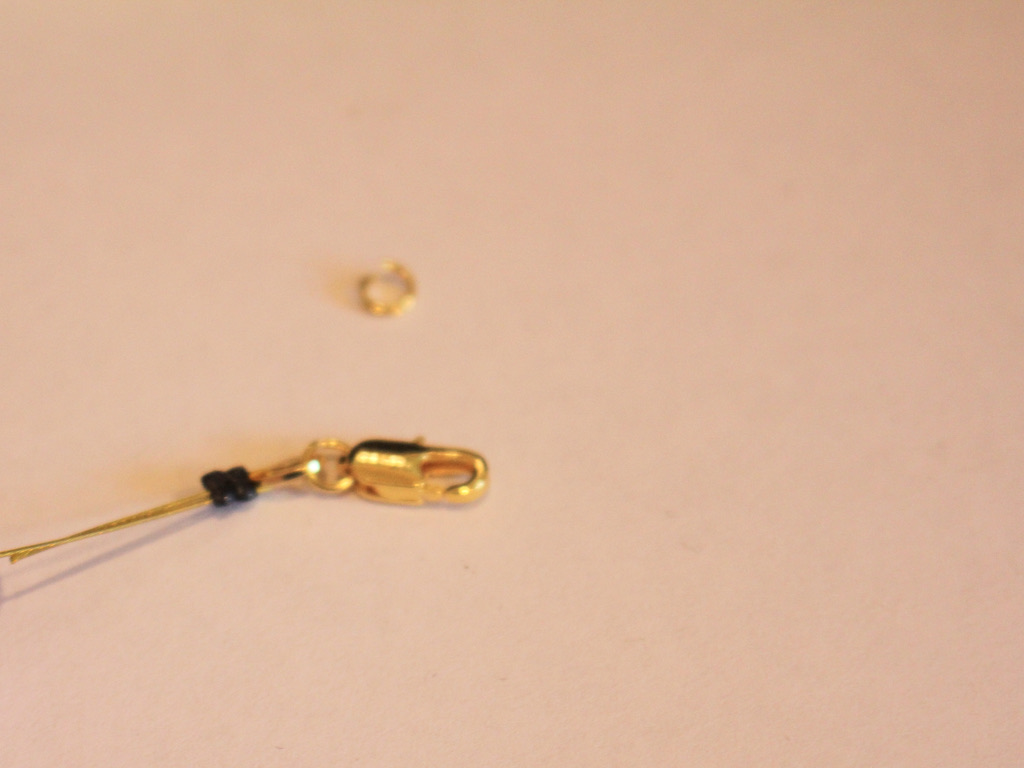
5: Begin adding beads to the wire in random order.
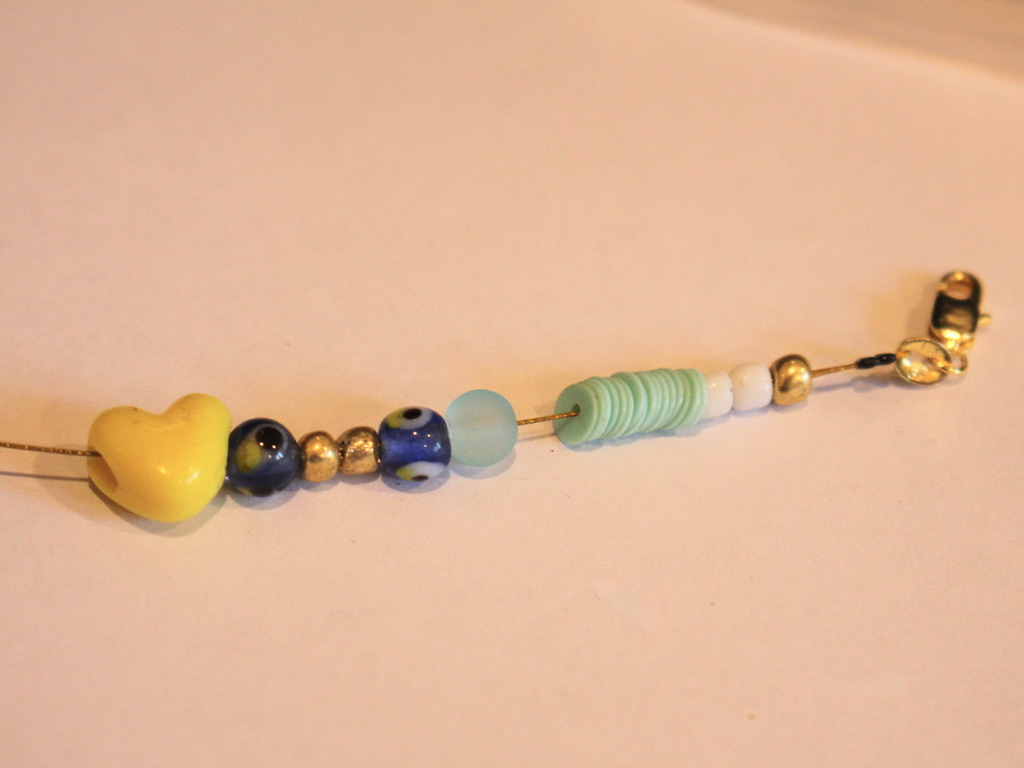
6: Continue adding beads until you get it to the length that feels comfortable around your wrist.
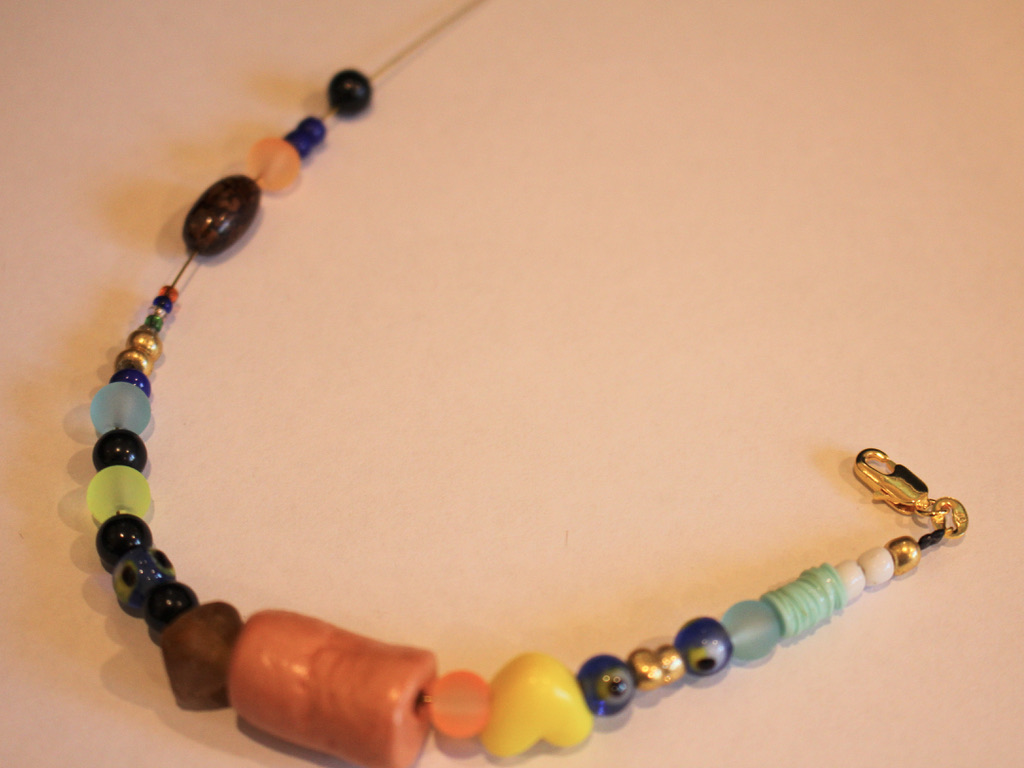
7: Add the second set of crimp beads to the wire.
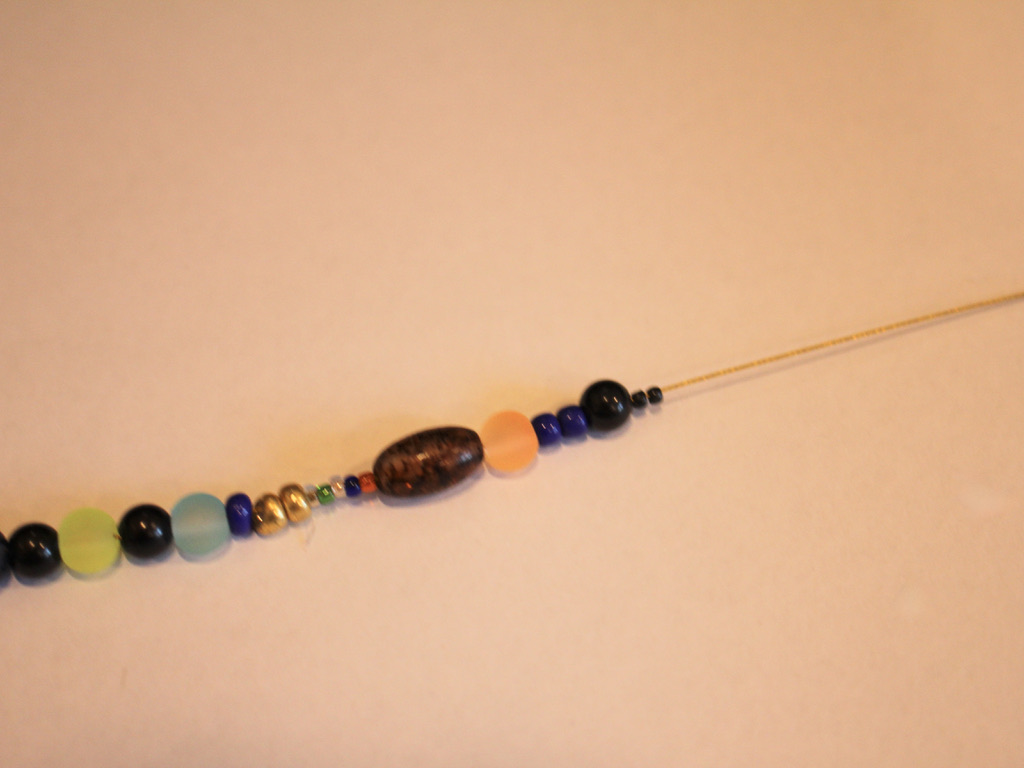
8: Add the jump ring to the wire.
9: Loop the wire around the jump ring and back through the crimp beads and the first few beads at the end of the bracelet.
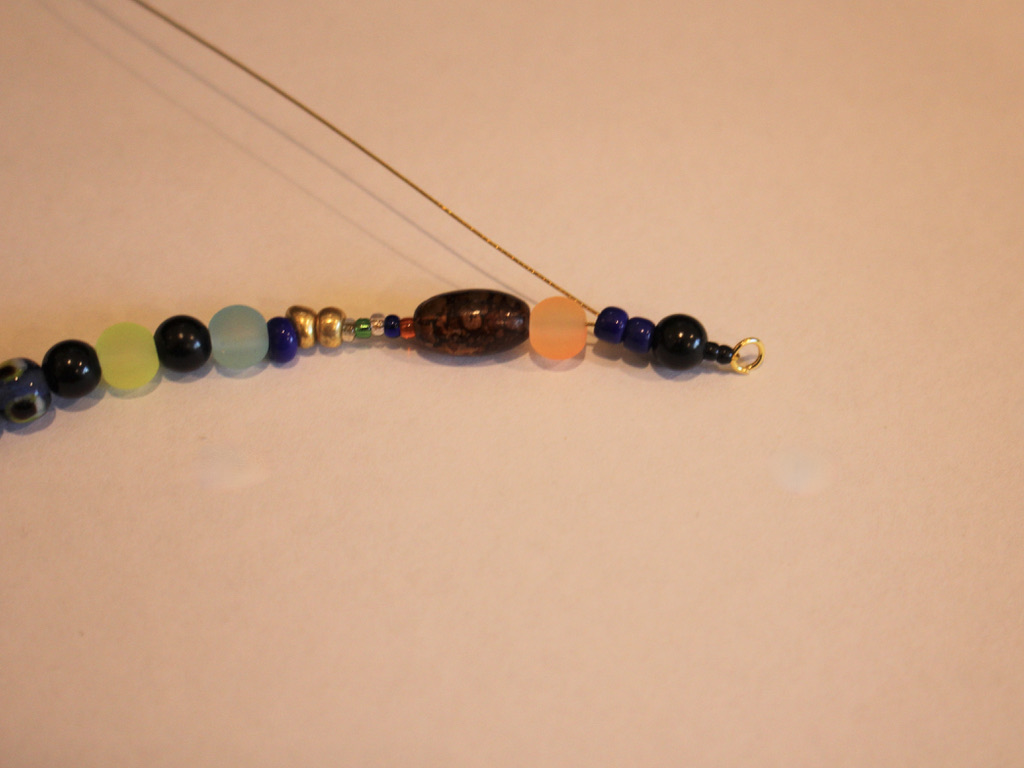
10: Pull the wire tight.
11: Squash the crimp beads using the flat nose pliers.
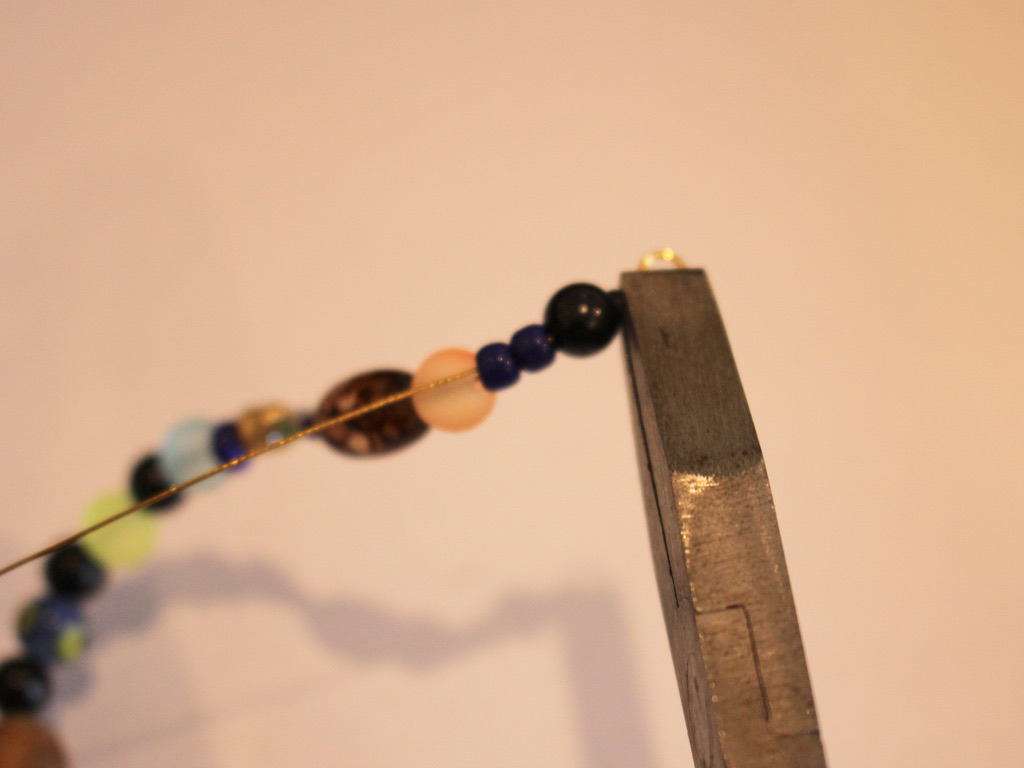
12: Trim the excess wire using the cutting pliers.


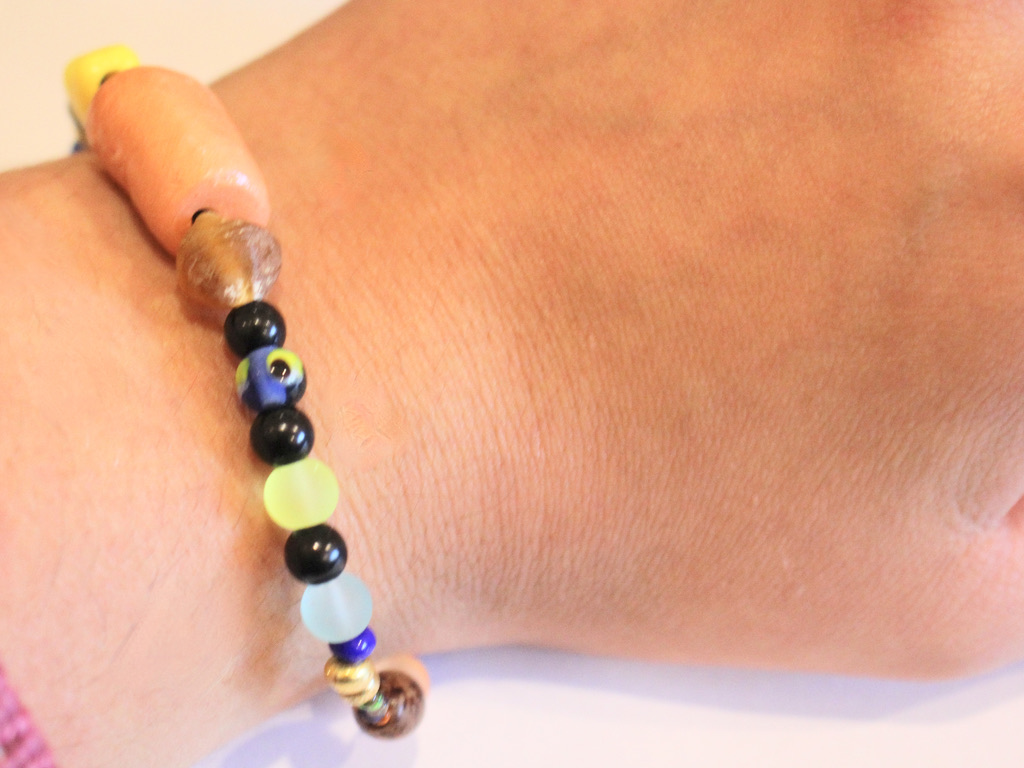
13: Now your bracelet is finished and ready to wear!


Here are some other mixed bead, craft-core tutorials for you to follow:
- A crazy mixed bead necklace
- A mixed bead necklace with letter beads
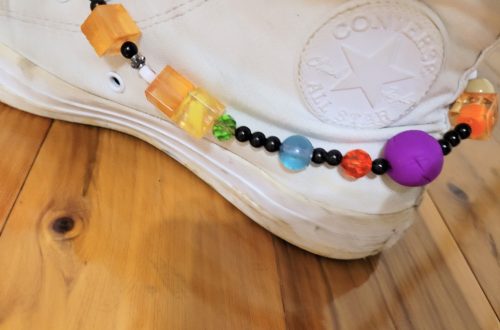
- This special mixed bead shoe chain that can also be worn as an anklet
- A simple mixed bead anklet
If you love the clay bead featured on this bracelet, here’s a tutorial that you can follow to make your own.
-
Here’s how you can make an adorable sparkling rhinestone shoe chain!
This is a fun one! The following post will give you all the steps you need to follow to make your own glittery shining shoe chain. I love how sparkly this piece is. Please note that this tutorial post contains affiliate links.
You’ll need these tools and materials to make your sparkling rhinestone shoe chain:
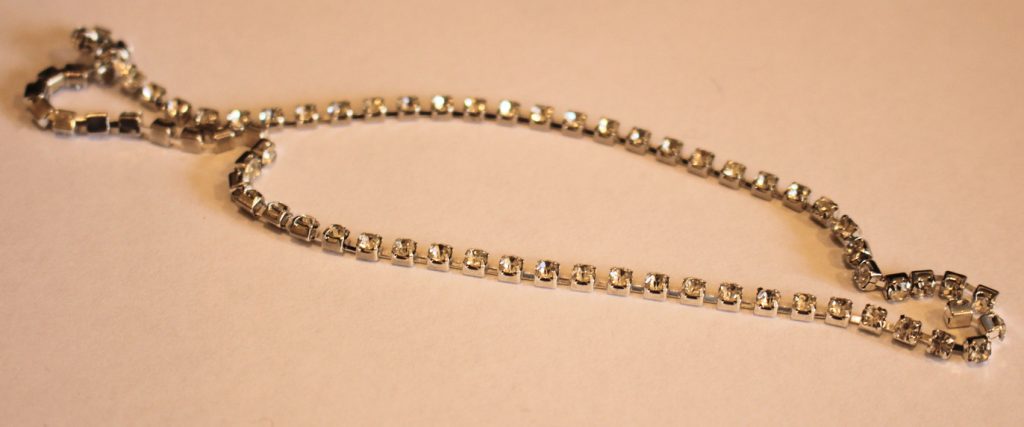
1: A piece of rhinestone strand that is long enough to fit your ankle.
2: Two crimp ends.
3: Two large lobster clasps.
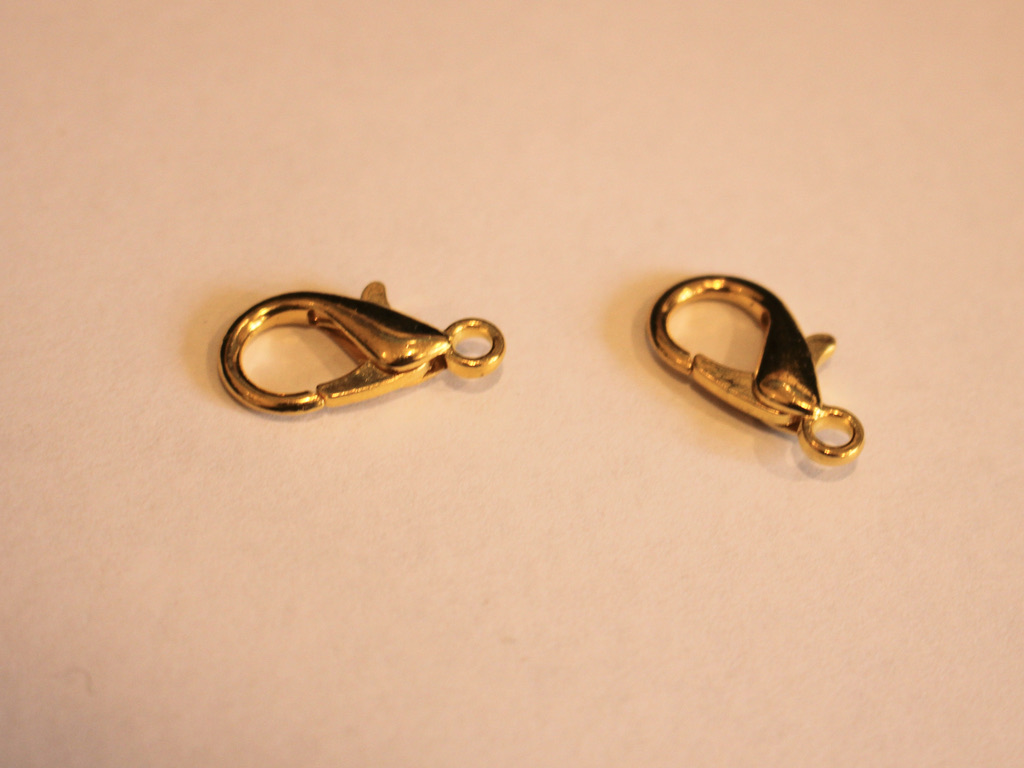
4: Two jump rings.
5: Pliers. I used my cutting pliers to cut my rhinestone chain to length and my flat nose pliers to squash the crimps.


Follow these steps to make your rhinestone shoe chain:
1: Place one of the crimps at one end of the rhinestone chain.
2: Squash one side of the crimp around two of the rhinestone links using the flat nose pliers.
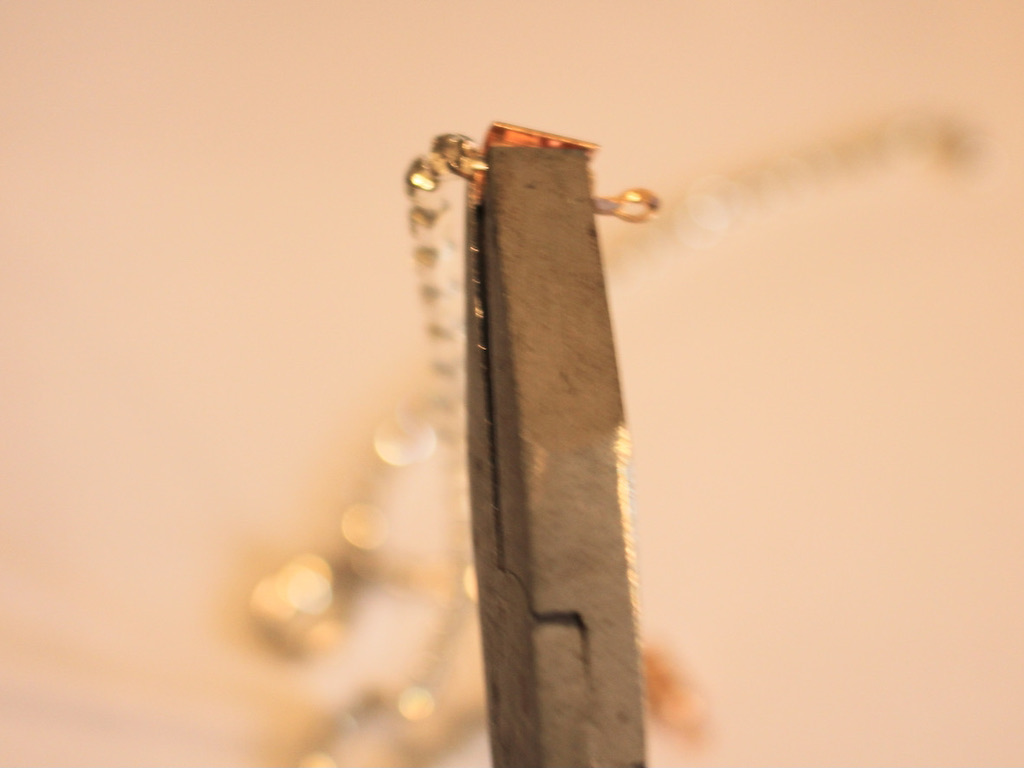
3: Repeat for the other side, squashing the top of the crimp around the rhinestone chain. You can also squeeze from either side to get the crimp to grip even more.
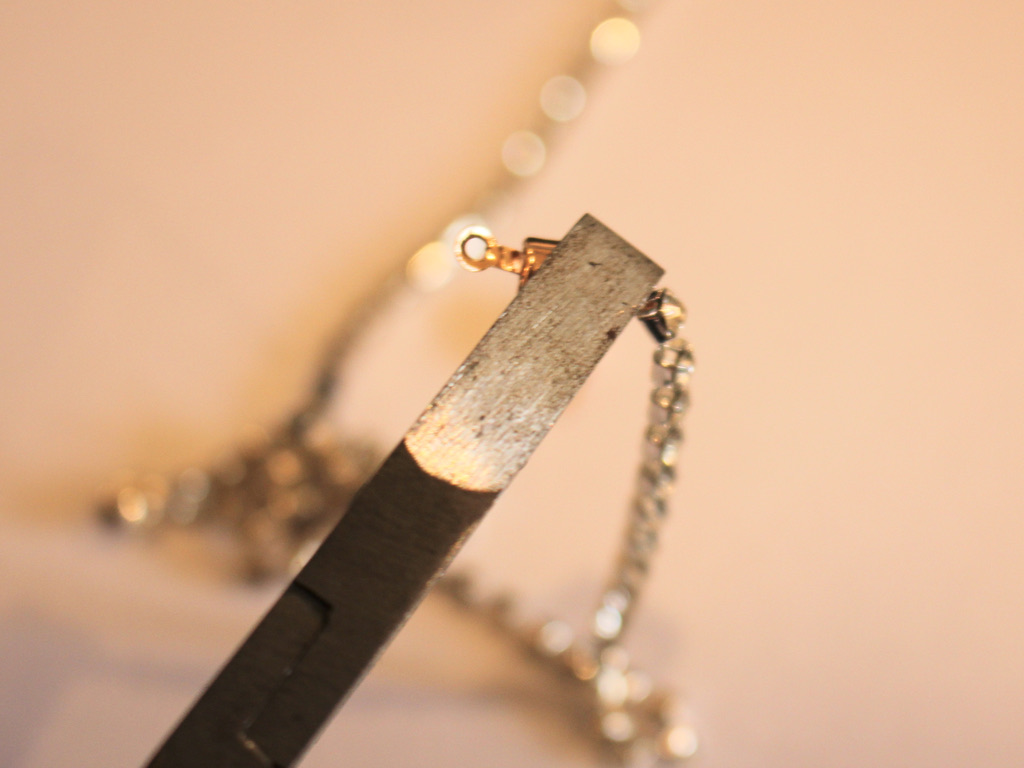
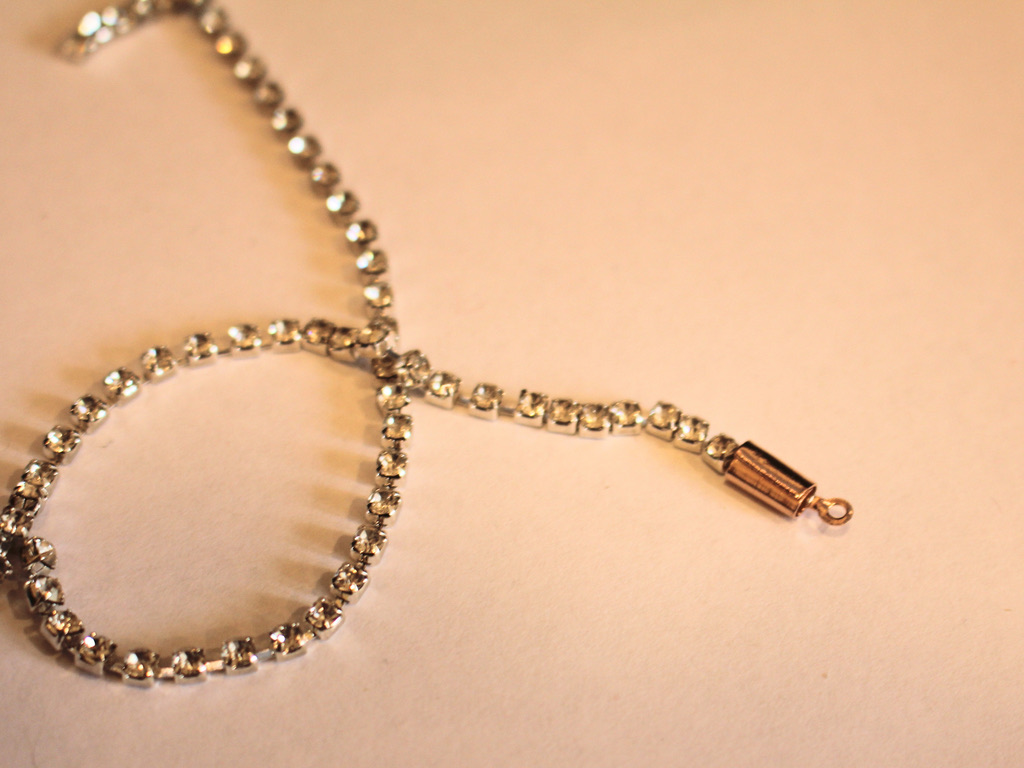
4: Repeat step 3 for the other end of the rhinestone chain.
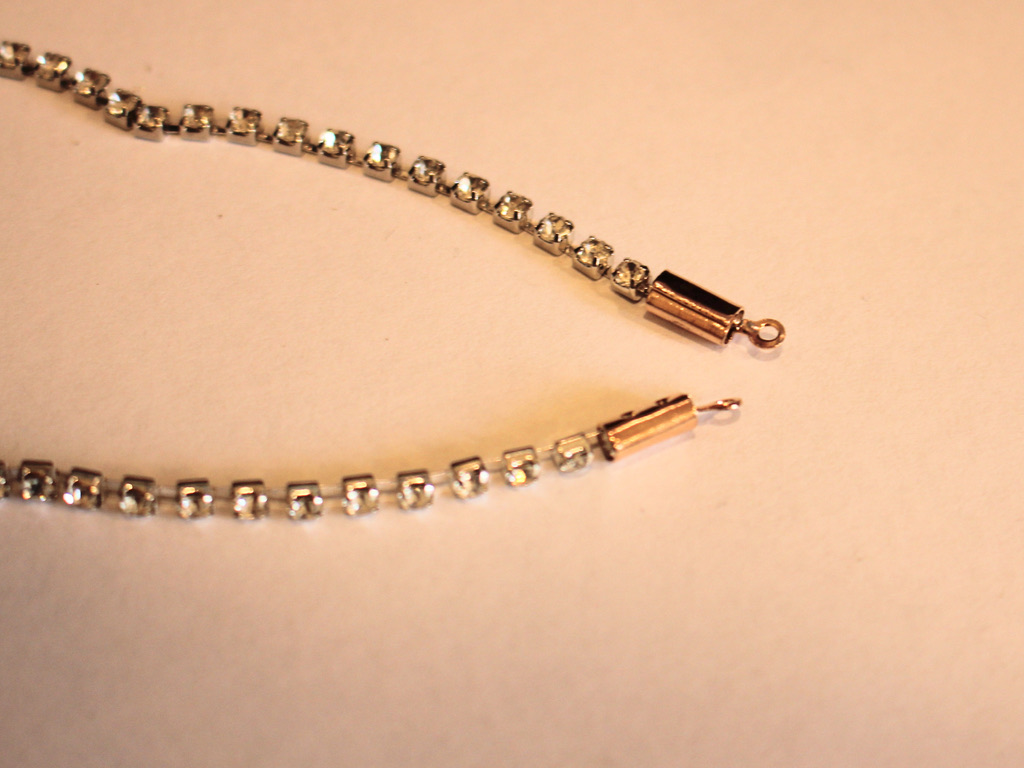
5: Add an open jump ring to one of the crimp ends.
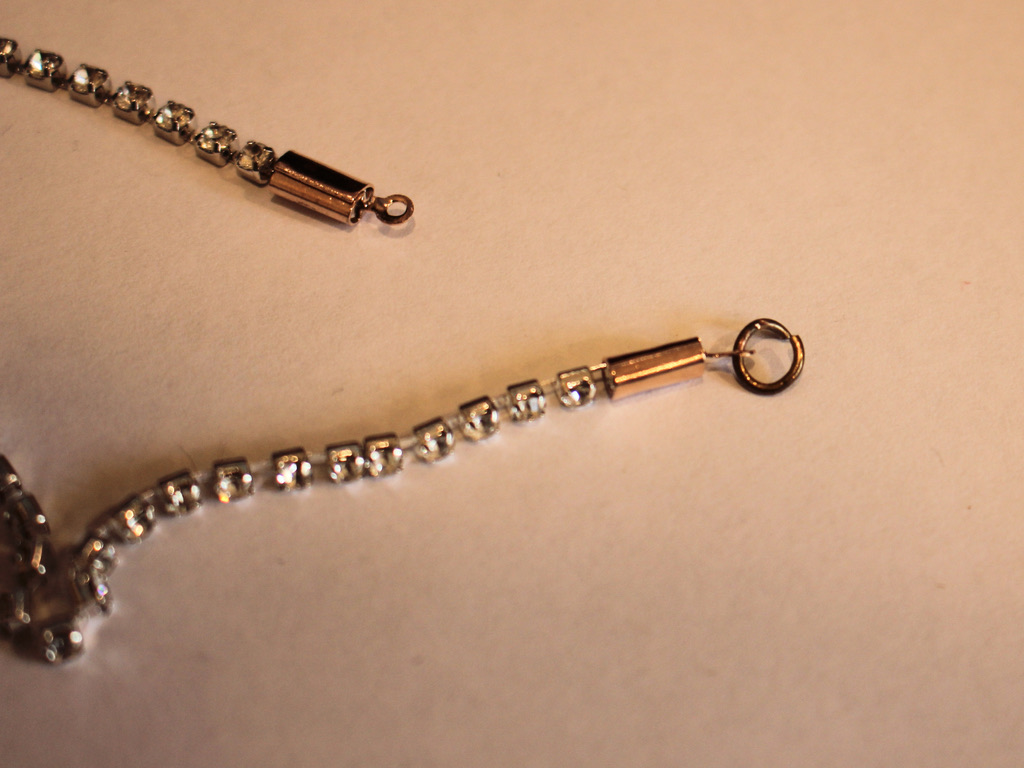
6: Add a clasp to one of the open jump rings and close it using your pliers to secure the clasp in place.
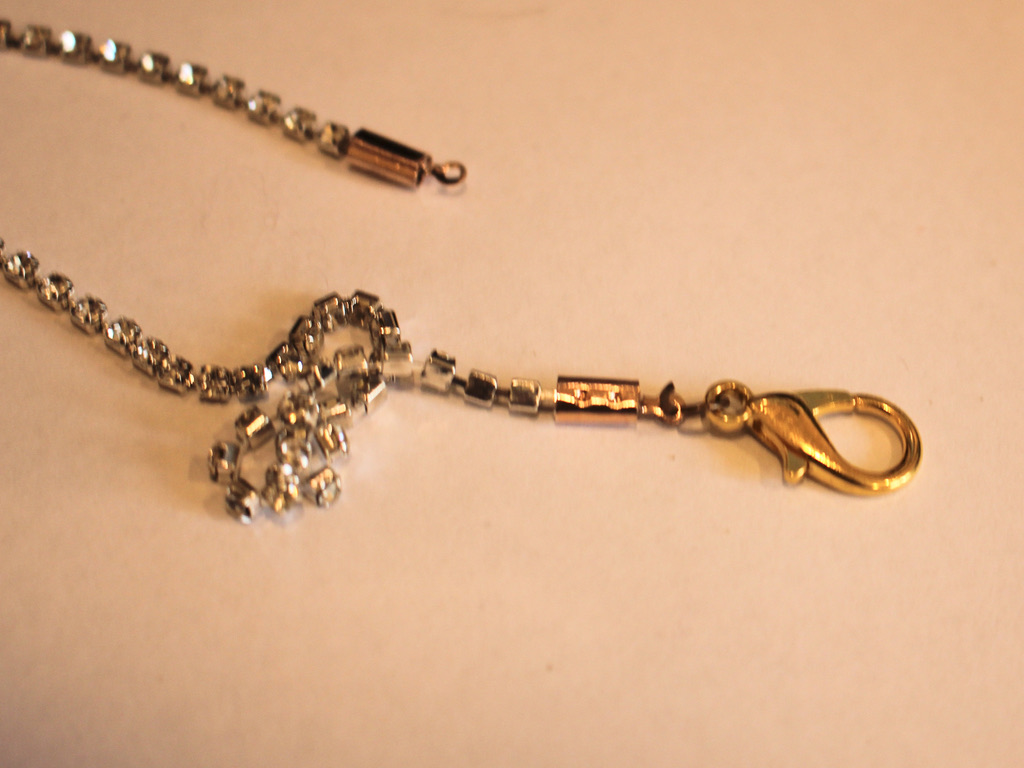
7: Repeat steps 5 and 6 for the other end of the chain.
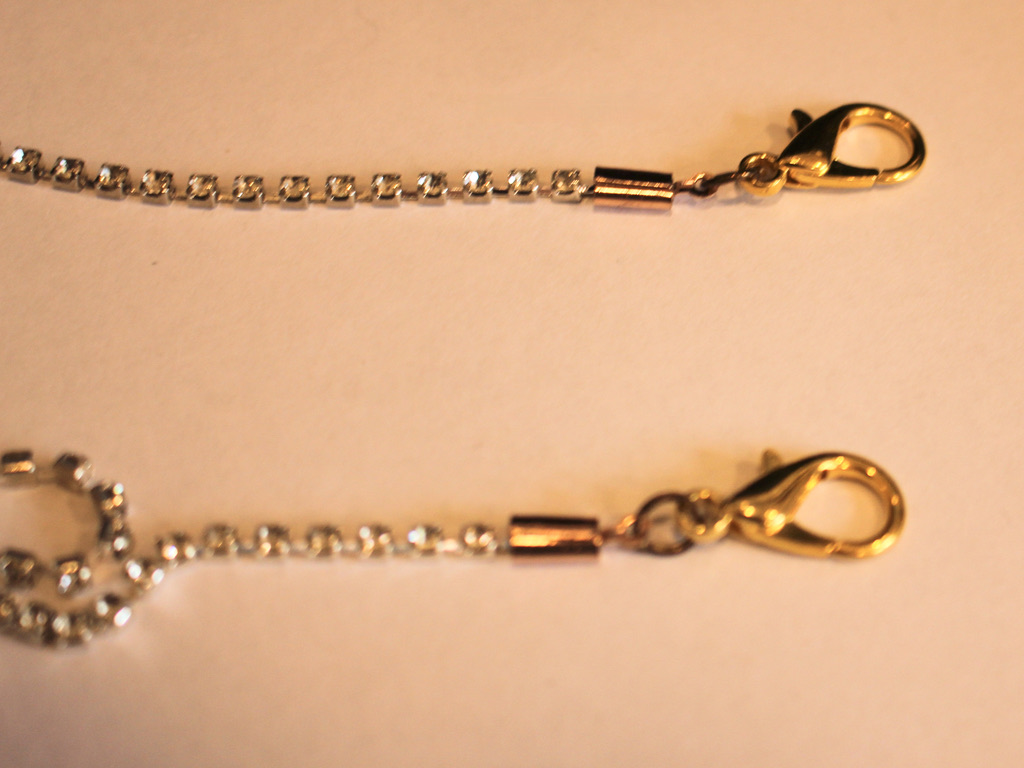
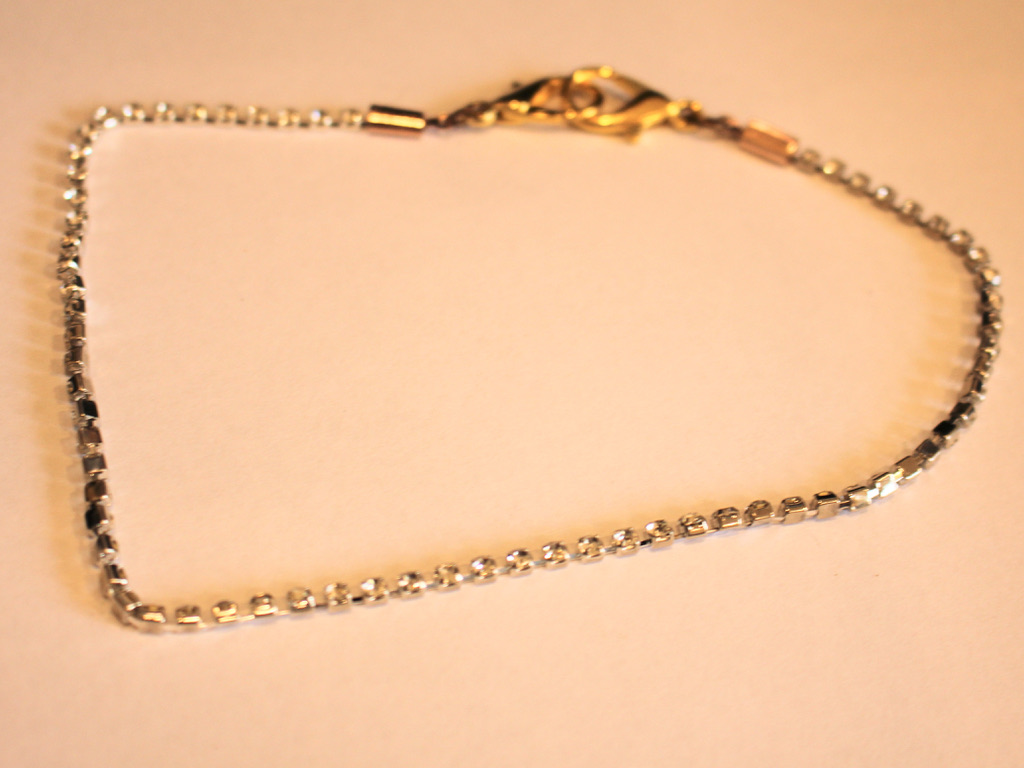
Once your clasps are secured, your sparkly rhinestone shoe chain is finished and ready to clip onto your fave pair of shoes. Here’s mine on a pair of converse!


Here are some more fun shoe chains you can make!
-
Here’s how to make a floating bead bracelet!
little while ago, I showed you how to make a floating pearl necklace, and now here’s the bracelet version of that tutorial! This bracelet is made using tiger tail wire and a special bead. I used an evil eye bead for this one, but you can use any bead you like. I think a single pearl with a glorious lustre would be perfect too. Please note that this tutorial contains affiliate links.
You’ll need these tools and materials to make your floating bead bracelet:
1: Pliers. I used my flat nose, round nose and cutting pliers for this bracelet.
Cutting pliers, round nose pliers, flat nose pliers. 2: A piece of tiger tail wire. I used a scrap piece I had, you’ll need enough to fit your wrist plus approximately 5cm extra.

3: A bead. I used this glass bead but you can use any type of bead you like.

Alternatively, here’s a link to some freshwater pearls if you want to make a floating pearl bracelet!
4: Two crimp beads.

5: Two crimp cover findings.

6: A toggle clasp.

Follow these steps to make your cool floating bead bracelet:
1: Add a crimp bead to one end of the wire.

2: Loop the end of the wire around the crimp and back through to create a loop.

3: Pull the wire so that the loop is tight around the crimp bead.

4: Squash the crimp bead using the flat nose pliers.


5: Trim the excess wire using the cutting pliers.

6: Add one of the crimp covers from the other end of the wire and pull it down so that it covers the crimp bead.

7: Squash the crimp cover around the crimp bead end making sure to cover any ‘spikey’ bits.

8: Add the bead to the wire. (If your wire is extra long, you can trim it here, making sure you leave enough room to loop the end of the wire around the second crimp bead so that it still fits).

9: Add the second crimp cover to the wire.

10: Add the second crimp bead to the wire and repeat the steps you performed in steps 1-5 to secure the other end.


11: Place the second crimp cover over the end of the wire that you just secured and close it using your flat nose pliers.

12: Add one part of the toggle clasp to one end of the bracelet wire and use your round nose pliers to close the wire at the end of the crimp cover.


13: Repeat step 12 for the second part of the toggle clasp to secure it in place.


Now your floating bead bracelet is finished and ready to wear! What special bead did you use on yours?


-
Here’s how to add some cute beads to your handmade hoop earrings!
So I recently showed you how to make your own metal hoop earrings at home, but if those are too plain for you, here’s a quick tutorial that shows you how to add some beads to your home made hoops. Please note that this tutorial contains affiliate links.
You’ll need these tools and materials to make your beaded hoop earrings:
1: A pair of wire hoop earrings, you can follow this tutorial to make your own.

If you don’t feel like making your own, here’s a pair you can purchase: https://amzn.to/35q33gN
2: A pair of flat nose pliers.
3: Some beads. I used these vintage glass beads.

Follow these steps to add beads to your hoop earrings:
1: Take one of the hoops and unhook the ends.

2: You’ll need to slightly straighten the kinked end to allow the beads to pass over. Do this gently using your flat nose pliers.
3: Add the beads.

4: Bend the end of the hoop back to its original position to keep from falling off the hoop and to allow the earring to close again.
5: Repeat steps 1-4 for the second earring.


Now your handmade metal hoop earrings are officially beaded!
-
Here’s how to turn a necklace into a strap for your electronics!
You never want to lose your gadgets! I love having a wrist strap for my camera, my phone, all sorts of things… If you want a cute new wrist strap for your fave toy, here’s one you can make from an existing necklace chain and a piece of string! Please note that this tutorial contains affiliate links.
You’ll need these tools and materials to make your electronics strap:
1: A necklace chain.

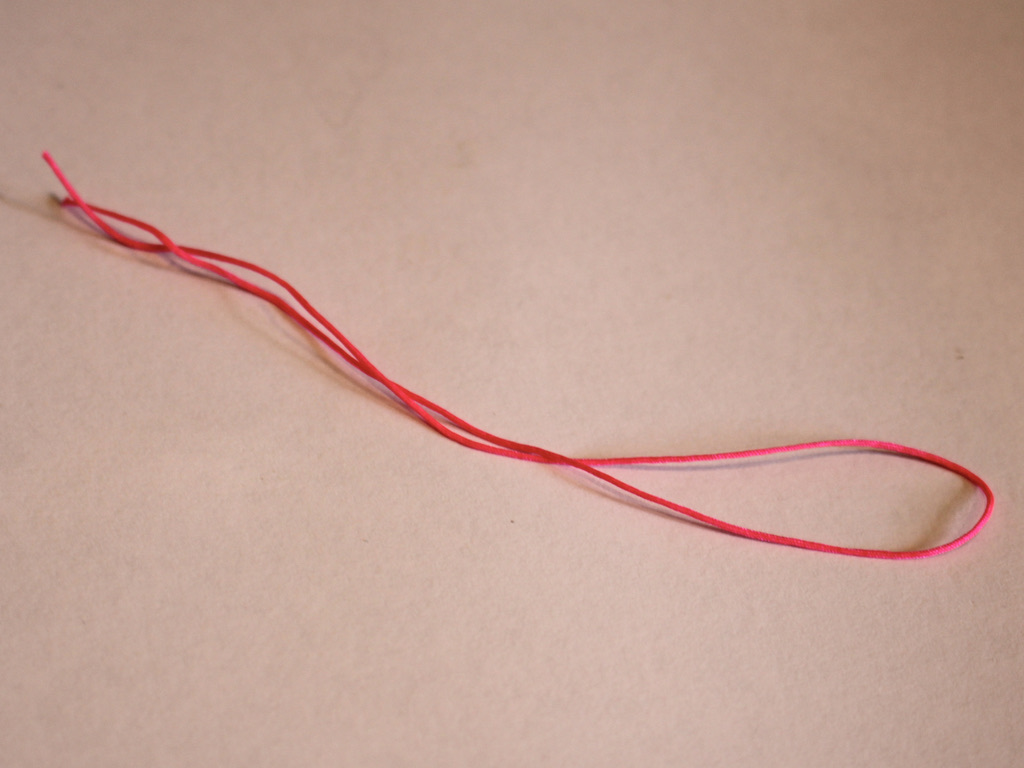
2: A piece of string, I made mine about 25cm long.
3: A pair of scissors for cutting and trimming string.

4: A couple of pairs of pliers to open and close jump rings.

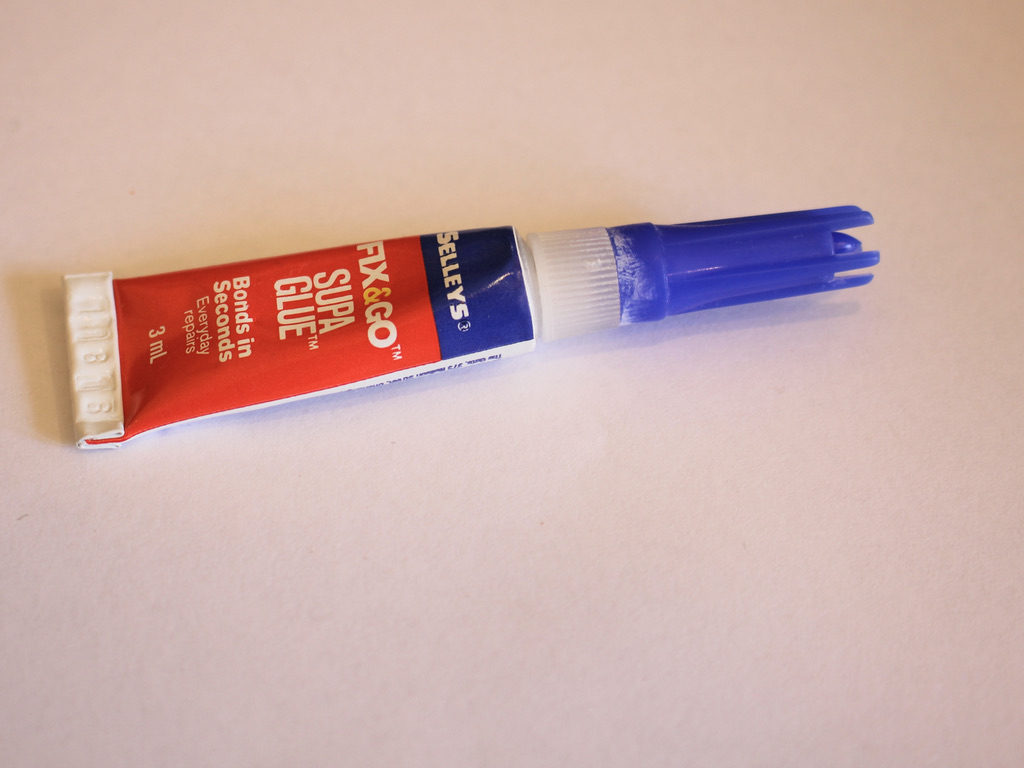
5: Super glue for securing the end of the string.
Follow these steps to make your wrist strap:
1: Open the jump rings on the chain to remove the clasp.
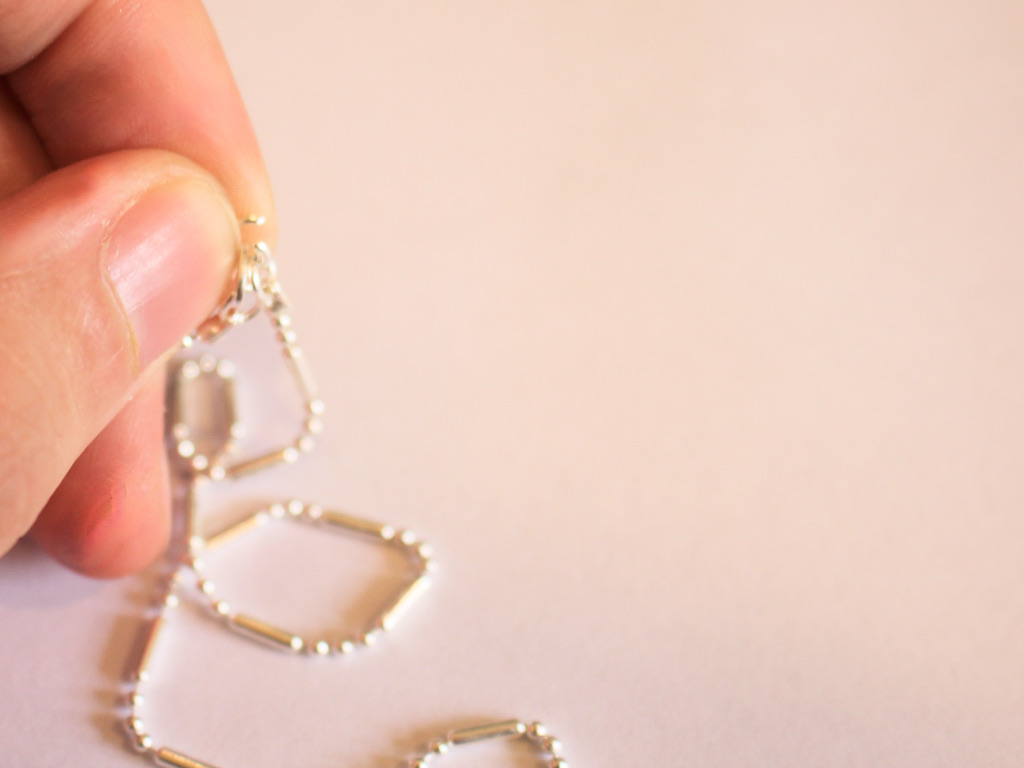

2: Attach the ends of the chains together using the jump rings.

3: Fold the string in half and thread it through one of the jump rings.

4: Tie a knot in the string, leaving a loop on one side.
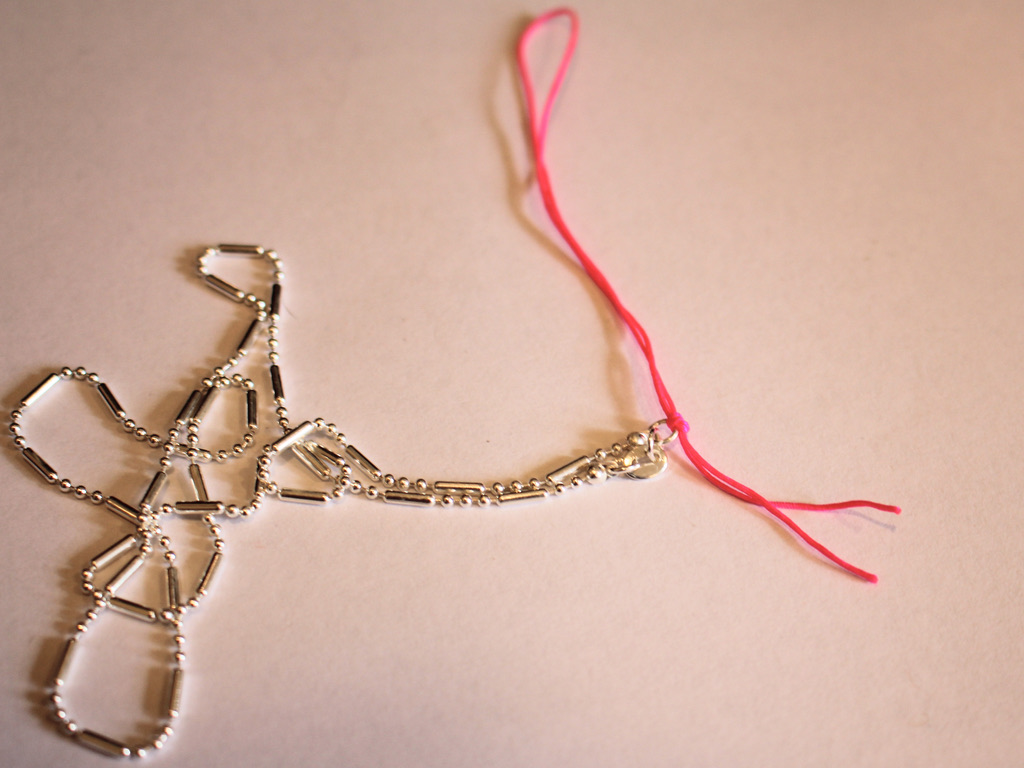
5: Wind the end of the threads through the jump rings and tie an extra few knots to secure the string to the chain.

6: Trim the excess string.

7: Add a dab of superglue to the end of the string to secure it and stop the knot from unraveling.

Now your wrist strap chain is finished! I added mine to my film camera because I’m a super cool hipster 😉


-
Want to make your own hoop earrings out of wire? Here’s how you can do it!
It can be so satisfying to make your own jewellery out of metal, but you might wonder how you can do it without all the tools and fire… well I’ve got an answer for you… here’s how you can make some metal hoop earrings out of wire and a few tools, no fire or expensive tools required! Please note that this tutorial contains affiliate links.
You’ll need these tools and materials for your pair of metal hoop earrings:
1: Two pieces of wire, mine were about 12cm long (I used rose gold-filled wire). The longer the wire is, the bigger your hoops will be. It is helpful to note that longer pieces of wire are easier to work with than shorter pieces.

2: A pair of round flat pliers.

3: A pair of round nose pliers.
4: Cutting pliers to cut your wire to length.
5: Flat nose pliers.
6: A ring mandrel or something round that you can use to form the earring shape.

7: A file.

Follow these steps to make your special metal hoop earrings:
1: File both ends of each piece of wire so that it is flat and smooth, this will make it nicer to put through your ear.


Here is an example of what the filed ends will look like. 2: Take one of the wires and bend one end to form a right angle using the flat round pliers. I used the edge of the flat side to measure out how much to bend.

3: Repeat step 2 for the second wire.

4: Using the round nose pliers, turn the short bent end of each wire into a loop.


5: Take each wire and wrap it around the ring mandrel or round item to form the hoop shape. Press gently around with your fingers or tap lightly with a plastic or leather hammer to get the shape you like. Because my mandrel was a bit small for the length of wire I used, I pulled it gently and let the wire flex back to make a bigger hoop.

Note: pulling the wire tight around the mandrel like this helps give it tension and hold the hoop shape. 
6: Add a small kink to the non-looped end of each earring using flat nose pliers. This will allow the ends to hook into the loops of the hoop.
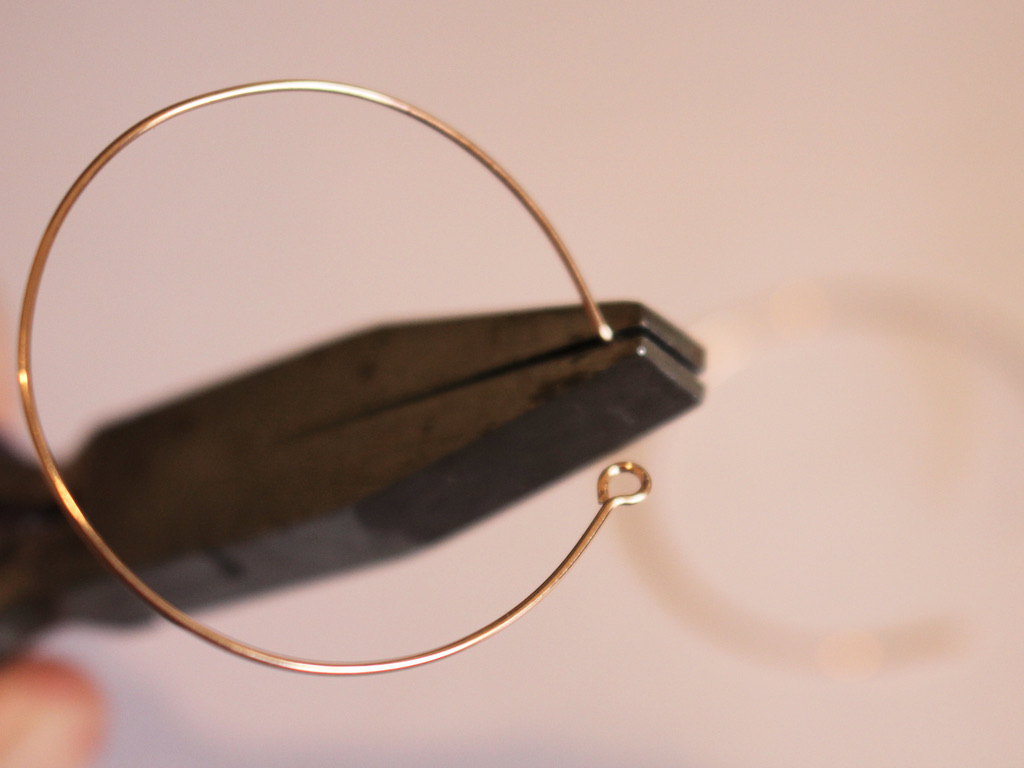
Now your hoop earrings are finished! How lovely is it that you can make your own precious metal jewellery at home?!

Here are some more tutorials that show you how to make metal wire jewelry without needing a jeweller’s torch:
-
Here’s a wild beaded anklet that can also be worn as a shoe chain!
I love jewelry that can be worn multiple ways, so I created a tutorial that shows you how to make a beaded shoe chain that can also be worn as an anklet! It features clasps on either end so that it can be clipped to your shoelaces as a shoe decoration, or to each other to create an anklet effect. Please note that this tutorial contains affiliate links. Here’s a fun detail. This tutorial makes use of beads I made in this tutorial… so if you follow both you can have a completely custom piece of jewelry!
You’ll need these tools and materials to make this multi-use shoe chain/anklet:
1: Some beading thread, I used this hot pink nylon string. Make it long enough to fit your ankle plus a bit extra.

2: A pair of large clasps. I used these gold-tone clasps.
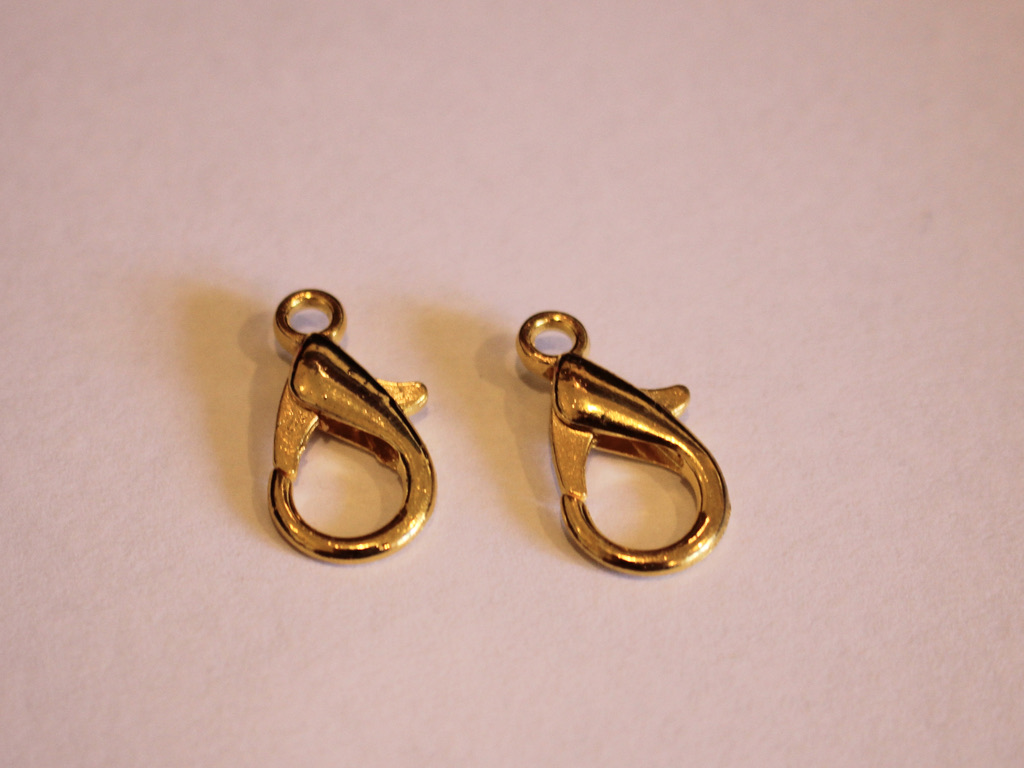
3: A selection of beads. I used a mixture of handmade resin and polymer clay beads, and other plastic beads.

4: Super glue for securing the knots.
5: Some scissors for trimming the string.
Follow these steps to make your multi-purpose anklet shoe chain:
1: Tie the string to one of the clasps. Wrapping the string around the clasp a few times and making multiple knots can help keep it more secure for longer.
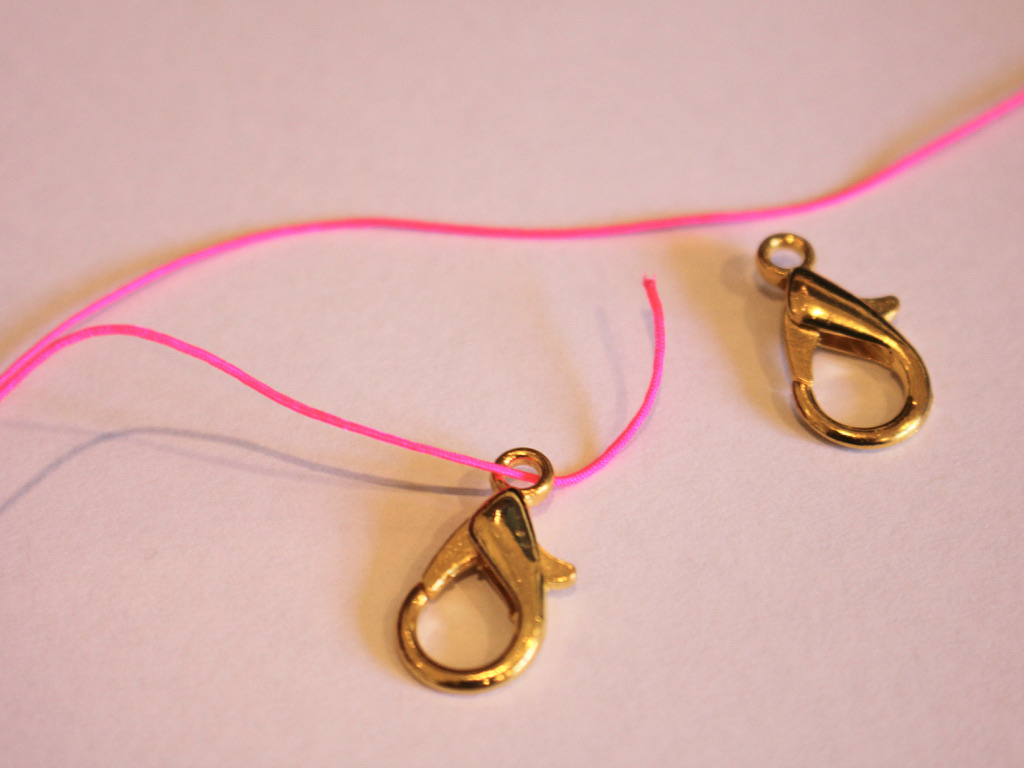

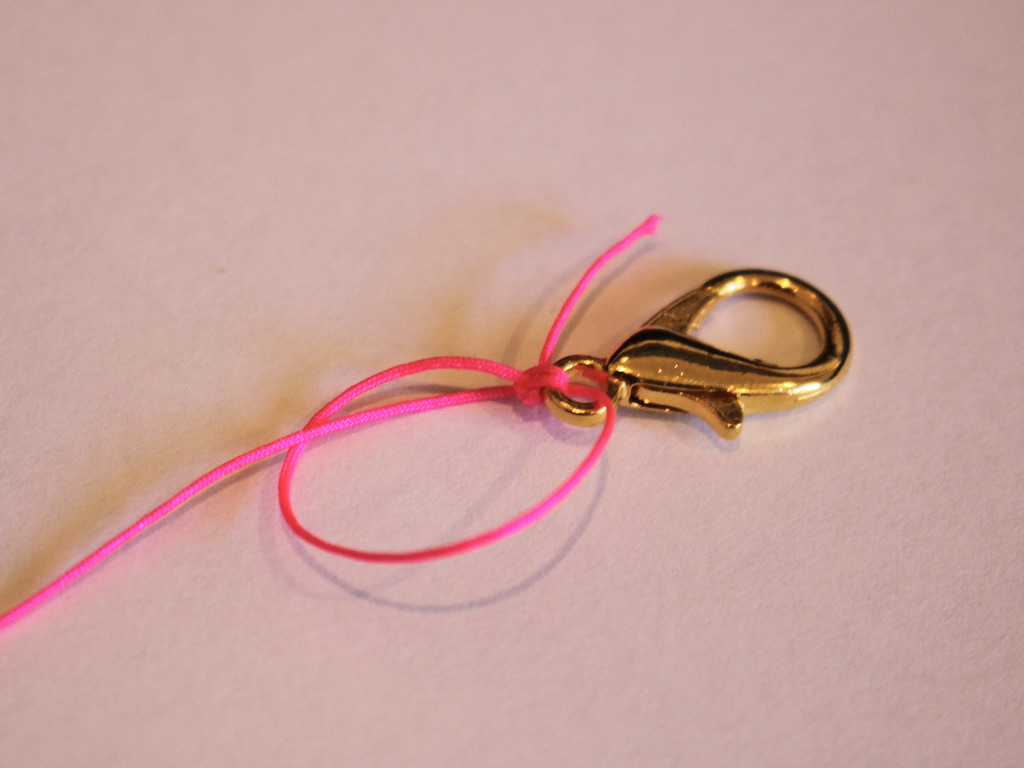


2: Add beads to the string in your chosen pattern. I added mine in random order.

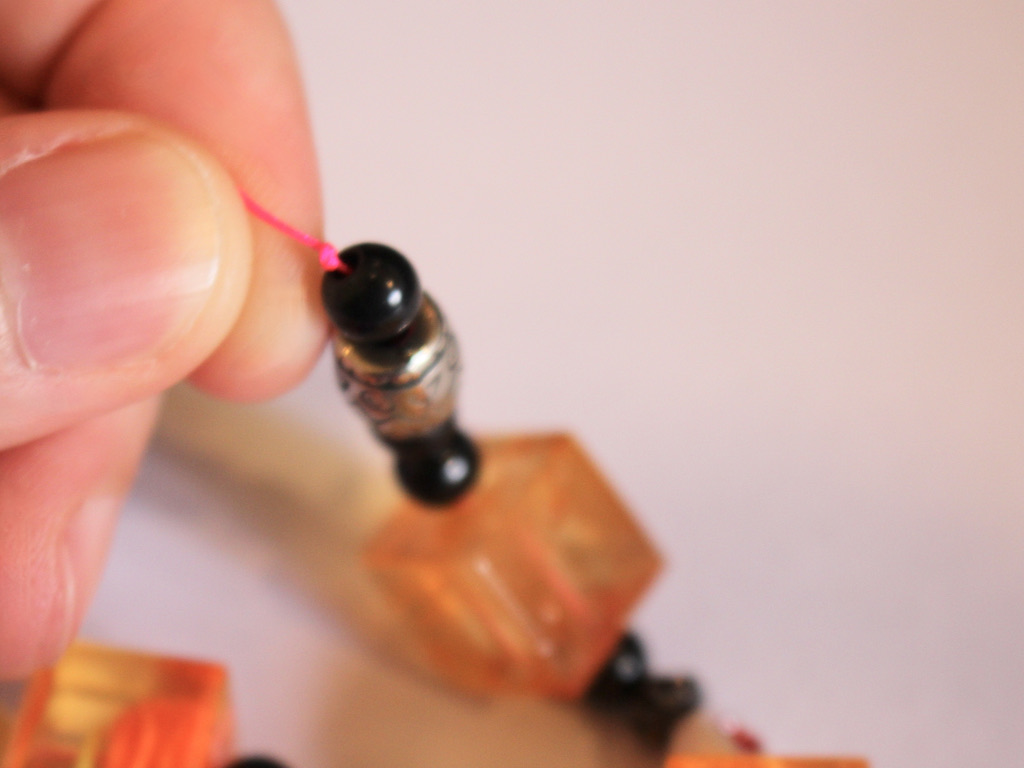
3: Continue beading until you have a length you like. Then tie a knot at the end to secure the last bead in place

4: Add the second clasp to the end of the string.
5: Knot the second clasp in place, remembering to wrap the string through the end of the clasp a few times and securing it with multiple knots.


6: Trim the excess string on both ends of the shoe chain anklet.
7: Add a dab of superglue to each knot to keep it secure and set it aside to dry.

Once the glue is dry, your anklet is ready to wear! Which shoes will you clip yours to?
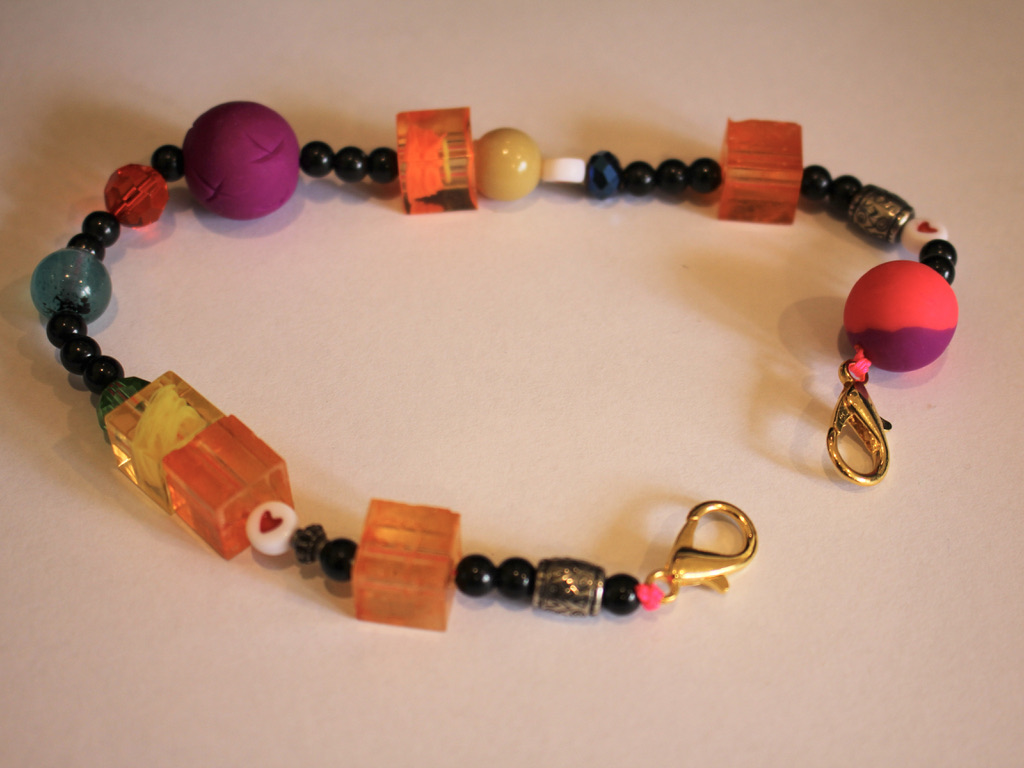
And here’s what it looks like (On some dirty old converse haha)

Here is the design as a shoe chain attached on one side to the lower laces 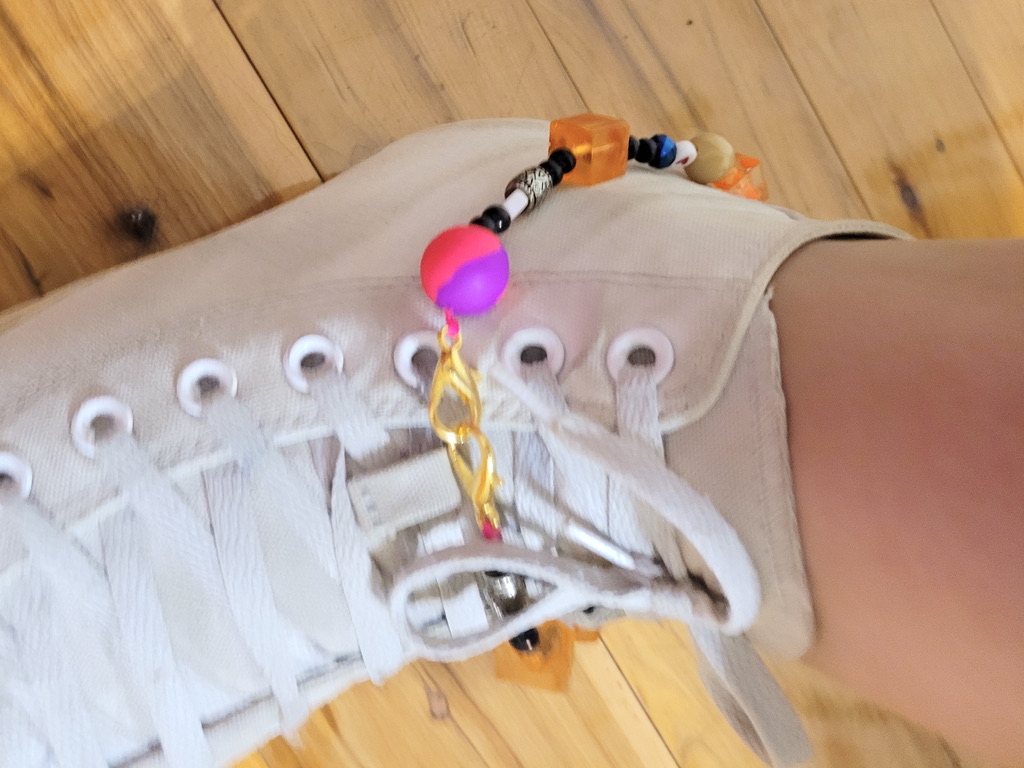
Here it is worn as an anklet over the shoe. 
Here is the design as a shoe chain attached on one side to the lower laces Here are some other shoe chain tutorials you can follow if you want to make some more: