-
Got a broken snake chain? Here’s how to upcycle it into a bracelet.
I had this broken sterling silver snake chain. They’re notoriously hard to repair, so I thought I’d recycle it into a statement bead bracelet instead. Here are the steps I took to do it. You can follow along and make your own version, either with your own broken snake chain or some you bought.
Please note that this tutorial contains affiliate links for which we may receive a commission.
You’ll need the following tools and materials to make your snake chain bracelet:
1: A broken sterling silver snake chain necklace. I had this one that came from an op-shop with a pendant I liked on it. You can see how kinked and damaged it is.

If you don’t have any broken snake chain, you can get some snake chain here:
2: A sterling silver crimp end.

You can get silver crimp ends here:
3: Two part epoxy glue.

You can get glue here:
4: A skewer to mix and apply the glue.

You can get skewers or toothpicks here:
5: Scrap paper to mix the glue on.

6: A statement bead. I used this moss agate bead.

You can get similar beads here:
7: Cutting pliers.

You can get cutting pliers here:
8: A sterling silver jump ring.

You can get silver jump rings here:
9: Flat nose or parallel pliers for closing the crimp end.

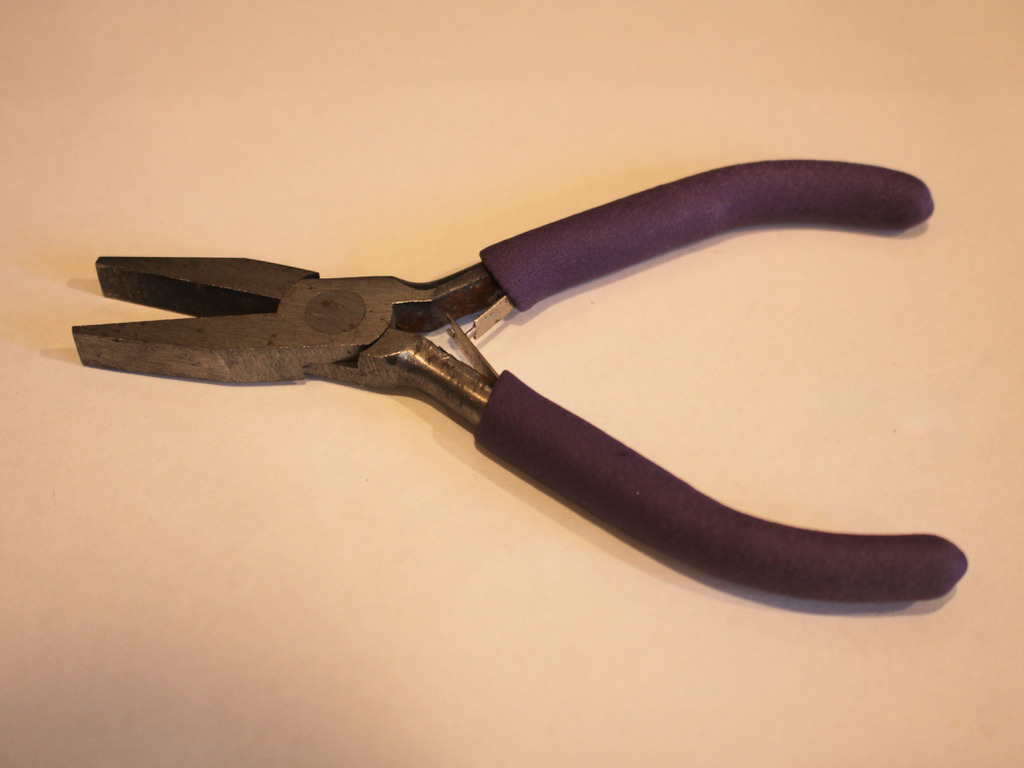
You can get parallel pliers here:
And you can get flat nose pliers here:
Follow these steps to make your own upcycled snake chain bracelet.
1: Assess where your chain is most damaged. I was lucky and the first kink was exactly the length I needed for a bracelet with the clasp on one end. Cut it to the appropriate length with the cutting pliers.


2: Thread the chain through the bead.

3: Squeeze some glue onto the scrap paper and mix it using the skewer.


4: Apply the glue to the crimp and place the chain on it. Set aside until the glue has cured and is dry.


5: Once the glue is dry, use the flat nose pliers to squeeze the crimp end around the end of the chain.


6: Add the jump ring to the crimp using the pliers as the finishing touch!


Now your bracelet is ready to wear! How cool! And you’ll probably have enough chain to make another one like I did. What a cool way to transform something broken into something great.


If you enjoy using upcycled materials in your projects, here are some other tutorials to inspire you:
- Here’s some tutorials that use broken headphones: here, here here and here.
- How to turn two bracelets into a necklace
- How to turn two beaded bracelets into a necklace
- How to transform an old jar into a jewellery container
-
How to make a pair of crystal earrings.

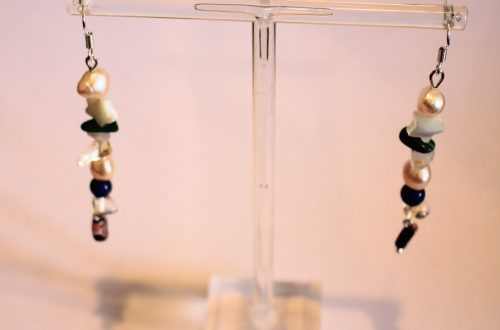
These earrings are so cute! Made with some dyed jasper crystals, they are sure to make a summer statement.
You will need the following tools and materials to make your crystal earrings:
1: Pliers. You will need your round nose pliers, flat nose pliers and cutting pliers to make these earrings.

2: Two earring hooks.

3: Two small pieces of chain.

3: Two eye pins.

4: Two small jump rings.

5: Beads of your choice. I used these blue dyed jasper crystal beads and four clear glass beads.


Follow these steps to make your crystal earrings:
1: Add the beads to each of the eye pins.

2: Create loops at the end of each pin to secure the beads in place using the round nose pliers. Trim the wires if necessary to make sure that the loops aren’t too large.


3: Attach each of the small chains to each of the bead charms, securing each end of the chain to either side of the bead charm.


4: Add a small jump ring to the middle of the chain and attach the earring hook. Repeat this for the second earring to finish them off.

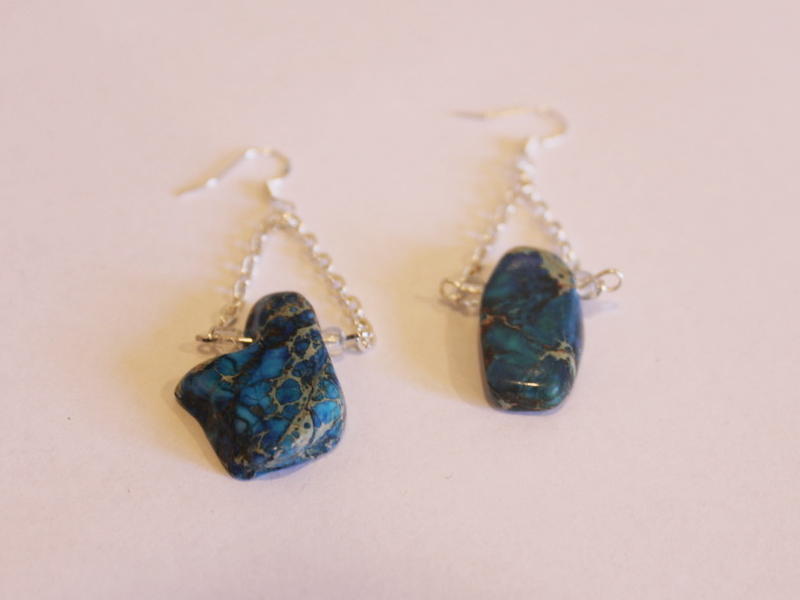
Now your amazing boho crystal earrings are finished and ready to wear! Will these be your summer statement earrings?
-
What do I do with these things? Here’s How to Make Earrings Using Charm Connectors
I’ve already showed you how you can use charm connectors to make a multi-strand bracelet, but I thought I would show you how to use them to make some pretty earrings as well! I like using charm connectors because they make simple pieces appear more intricate and complicated. So here we go… check out these steps to make your own cute earrings using charm connectors.
You will need the following tools and materials to make these earrings:
1: Pliers.
To make these earrings you will need to use round nose pliers, flat nose pliers and cutting pliers.
2: Two charm connectors.

3: Two head pins.

4: Two pieces of chain.
These pieces are each 9cm (3.5 inches) long.

5: Four jump rings.

6: Two earring hooks.

7: Beads of your choice.
For this design I used two purple jasper beads and four round snowflake obsidian beads (unfortunately the spots don’t show up very well in this image but they are very pretty).


The Steps:
1: Start by threading the beads onto each of the head pins.

2: Once the beads have been threaded, use the round nose pliers to bend the remaining pin at a right angle to the beads.


3. Trim the pins to approximately 1cm (0.4 inches) from the top of the beads using the cutting pliers. Be careful and try to hold the pin on either side of the pliers to prevent the trimmed end from flying away!


4. Use the round nose pliers to create a loop at the end of the head pins and secure the beads in place. Repeat this step for both of your beaded head pins.

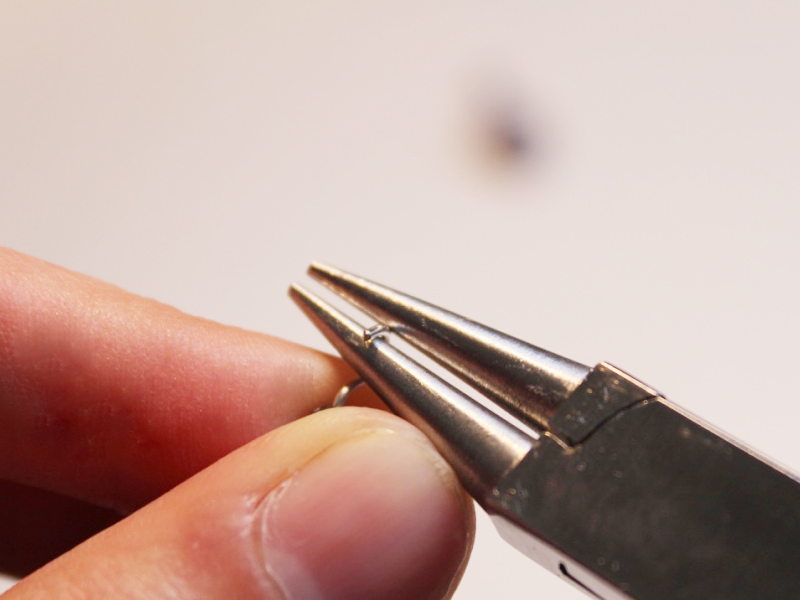
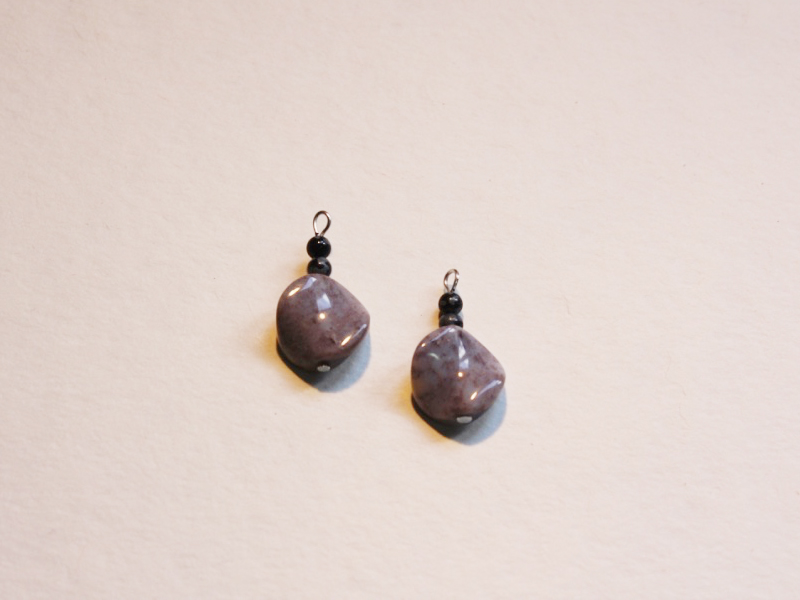
5. Open each loop slightly and slide one head pin onto the center loop of each charm connector.


6. Use the round nose pliers again to close the loop and secure the pin onto the charm connector.

7. Open a jump ring using the round nose pliers (and the flat nose pliers if it is a strong one) and slide it onto one of the loops on the charm connector.

8. Leaving the jump ring open, slide one end of a piece of chain onto the ring. Once the chain has been attached, close the jump ring again using the pliers.


9. Repeat steps 7 and 8 to secure the opposite end of the chain to the last loop on the charm connector.
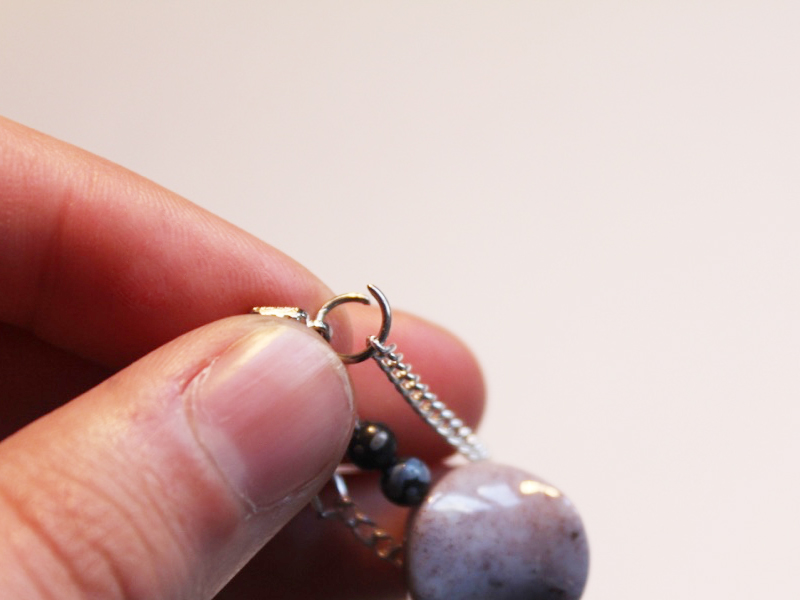

10. Repeat steps 7 to 9 for the other earring charm.

11. Use the round nose pliers to open the loop on one earring hook.

12. Slide the completed charm onto the earring hook loop and then close again using the round nose pliers. Repeat steps 11 and 12 for the remaining earring.

13. Now your charm connector earrings are complete and ready to wear with flair!

Here are some more charm connector tutorials that you can try:
- A delicate charm connector anklet
- a beaded bangle featuring a charm connector
- a charm connector toggle bracelet
- a braided charm connector stack bracelet
- Using charm connectors to make a multi-strand bracelet
- A multi-strand charm connector choker
This article contains affiliate links