
Here’s how to make a perfect summer anklet with braided string and beads

Beaded and braided, could this anklet be any more boho perfect?
You will need the following tools and materials to make your braided bead anklet:
1: Pliers. You will need your cutting pliers, round nose pliers and flat nose pliers to make this anklet.

2: Scissors for trimming your string.

3: Three pieces of string approximately 2 feet long (approx. 60cm).

4: Two cord crimp ends.

5: Two jump rings.

6: A lobster clasp.

7: Beads of your choice. I used two green e-beads and a larger glass feature bead.


Follow these steps to make your braided anklet:
1: Collect the strings together and tie one end in a knot.

2: Begin braiding the strings.

3: Continue braiding until the braided section reaches nearly half way around your ankle.

4: Add one of the e-beads to the middle string and continue braiding around it to secure it in place.


5: Braid the strings 3-4 times and then add the large feature bead, braiding around it as you did for the first e-bead.


6: Braid another 3-4 times before adding the final e-bead.

7: Braid around the final e-bead and continue braiding until the anklet is long enough to fit around your ankle.


8: Knot the other end of the anklet.


9: Trim the ends of the strings on each end of the anklet using cutting pliers or scissors.

10: Place one of the crimp ends around the ends of the string so that it sits closely to the knot.

11: Squash one side of the crimp around the strings using the flat nose pliers.


12: Squash down the other side of the crimp using the flat nose pliers.


13: Repeat steps 10-12 for the other side of the anklet.

14: Add a jump ring to one side of the anklet and slide on the lobster clasp and close the jump ring to secure it in place.


15: Add the other jump ring to the other side of the anklet to finish it off.

Now it is completed and ready to wear! Isn’t this just the perfect accessory for warm summer events?

DIY Jewelry Hub
Welcome to DIY Jewelry Hub. If you’ve ever wanted to learn how to make your own jewelry this is the place to start! Jewelry is a great way to show off your individuality and style. You’ll be surprised at how easy it is to create your own unique pieces! DIY Jewelry Hub will equip you with all the knowledge and inspiration you need to make your own jewelry.
You May Also Like
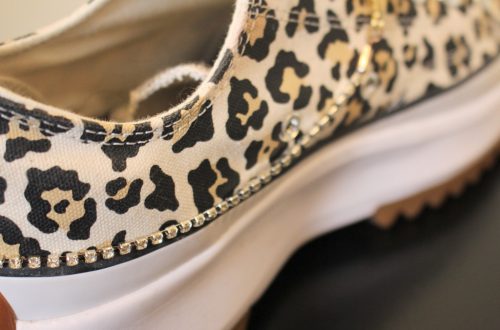
Here’s how you can make an adorable sparkling rhinestone shoe chain!
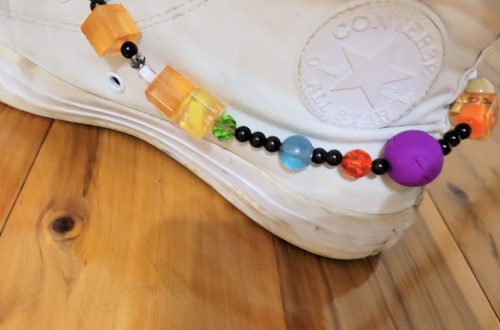
Here’s a wild beaded anklet that can also be worn as a shoe chain!