-
Here’s how to assemble a pair of pearl stud earrings!
Have you ever wanted a pair of pearl earrings, but been curious wether you could make them yourself? Well look no further than this tutorial. We’ve got all the steps to show you how to make your own pair of pearl studs. So cute and elegant. Please note that this tutorial contains affiliate links for which we may receive a commission.
You’ll need the following tools and materials to make your pearl earrings:
1: A pair of half-drilled pearls.

2: A pair of sterling silver pearl post studs. I had flat pearls so I used a flat post, but if your pearls are more rounded, I recommend using a cup stud finding. If you want to be extra fancy, you can also buy posts made in solid gold.
You can get some pearls here:

I used these ones:
You can get some similar ones here:
3: Two part epoxy glue. I used Araldite but you can use other brands too.

You can get some here:
4: A piece of scrap wire or something thin for applying the glue.

5: A scrap piece of paper.

6: A skewer or paddle-pop stick for mixing the glue.

You can get skewers here:
7: A pair of earring backs.

You can get some here:
Follow these steps to construct your very own pair of pearl stud earrings:
1: Squeeze the glue out in equal parts onto the scrap piece of paper.


2: Mix the glue using the skewer. You will need to work quickly once your glue is mixed to ensure the glue holds well.

3: Using the thin wire, apply a small amount of glue to each of the pearl posts and the holes in each of the pearls.


4: Place the pearls on the posts and wipe up excess glue
5: Set the earrings aside to dry.
Once the glue is set, and you have added your earring backs, your new pearl stud earrings are ready to wear! A gorgeous and simple DIY that you can do in an afternoon. Here’s what the finished product looks like. Simple and lovely.


-
Love layering your necklaces but hate when they tangle? Here’s a trick to fix that!
I love layering my necklaces, but I can’t stand it when they tangle and twist together, so here’s how to use two clasps and a couple of jump rings to make a handy necklace stacker clasp that allows you to layer your necklaces with ease. This is a super simple tutorial that will transform your jewelry styling!
Please note that this tutorial contains affiliate links for which we may receive a commission.
You’ll need the following tools and materials to make your necklace stacker clasp:
1: Two sterling silver lobster clasps with jump rings attached.

You can get some here:
2: Two large jump rings.

You can get some here:
3: A pair of flat nose pliers for opening and closing the jump rings.

You can get a pair here:
4: Any necklaces you want to wear stacked. I used this selection of beaded and chain necklaces of different lengths.

Follow these steps to make your game-changing necklace stacker clasp:
1: Take one of the jump rings and attach it to one of the clasp ends. Close it carefully using the flat nose pliers, making sure to get the ends close together.


2: Add the second large jump ring to the end of the second clasp and close it with the pliers.

3: Clip the second clasp to the large jump ring that you attached to the first clasp.

4: Now the clasp is complete and you are ready to start stacking necklaces. The clasp of each necklace is attached to the jump ring end of the clasp, while the other end is attached to the lobster clasp end.
5: Add the first necklace by clipping it onto the jump ring.

6: Then add the other end to the clasp end by opening the clasp and sliding the ring onto it before closing it again.

7: Repeat steps 6 and 7 for the other necklaces, being careful to attach them in the same order on either side.


Once you’ve attached all your necklaces, your new stacked piece is ready to wear. You can use bigger or smaller jump rings depending on how many necklaces you wish to stack. How handy?!
Here’s the finished clasp again.

And here it is with all the necklaces attached.


Here’s how it looks when it is being used.

-
Here’s how to make a pair of elegant pearl drop earrings at home, so gorgeous!
These earrings are such a simple, but special DIY. They feature glowing coin pearls attach to a pair of elegant sterling silver shepherd’s hooks for a lovely effect. Perfect for those who love a bit of glamour but don’t want to bother with fussy dangly earrings. Please note that this tutorial contains affiliate links for which we may receive a commission.
You’ll need the following tools and materials to make your pearl drop earrings:
1: A pair of half-drilled pearls. I used these iridescent pink coin pearls.

I used these ones:
But you can also get some similar ones here:
2: A pair of sterling silver pearl post shepherd’s hooks.

You can get some here:
3: Two part epoxy glue. I used araldite.
You can get some here:
4: Scrap paper.
5: A skewer or popsicle stick for mixing the glue.
You can get skewers here:
6: A small piece of thin scrap wire or similar for applying the glue.
Follow these steps to make your new pair of pearl drop earrings:
1: Squeeze the glue out onto the scrap paper and mix it with the skewer.
2: Apply the glue sparingly to both the pearl posts and the holes in the pearls using the piece of thin wire.


3: Place the posts into the hole and set the earrings aside to dry. You may need to prop them up with something like Blu-tac to ensure that the earrings dry in the right position. Make sure you wipe away any excess glue with a tissue.


Once the glue is set, your earrings are ready to wear! Where will you wear yours? I was thinking of wearing mine to an upcoming wedding. So elegant and special.
Here’s how the finished earrings look!


-
Here’s how to turn some thick wire into a wiggle bangle!
This bangle is so cute! It is a no-heat way to make a unique bangle that you can wear on its own or stacked with other bracelets. Please note that this tutorial contains affiliate links for which we may receive a small commission.
You’ll need the following tools and materials to make your bangle:
1: A piece of thick wire that is about 30-40 cm long (you might need to trim the end or add extra length depending on how large your bracelet needs to be). I used this copper wire that was 1.7mm in diameter.

You can get some copper wire here:
Or if you like, you can make it out of silver wire, which you can get here:
2: A file and emery paper to smooth the ends of the wire.

You can get a file here:

You can get emery paper here:
3: A pair of parallel pliers.

You can get a pair here:
4: A bracelet mandrel.

You can get one here:
5: A nylon or leather hammer. I used this nylon hammer.

You can get a hammer here:
Follow these steps to make your wiggle bracelet:
1: File and emery the ends of your wire using the jewelry file and emery paper, making sure it is smooth and there are no sharp ends.
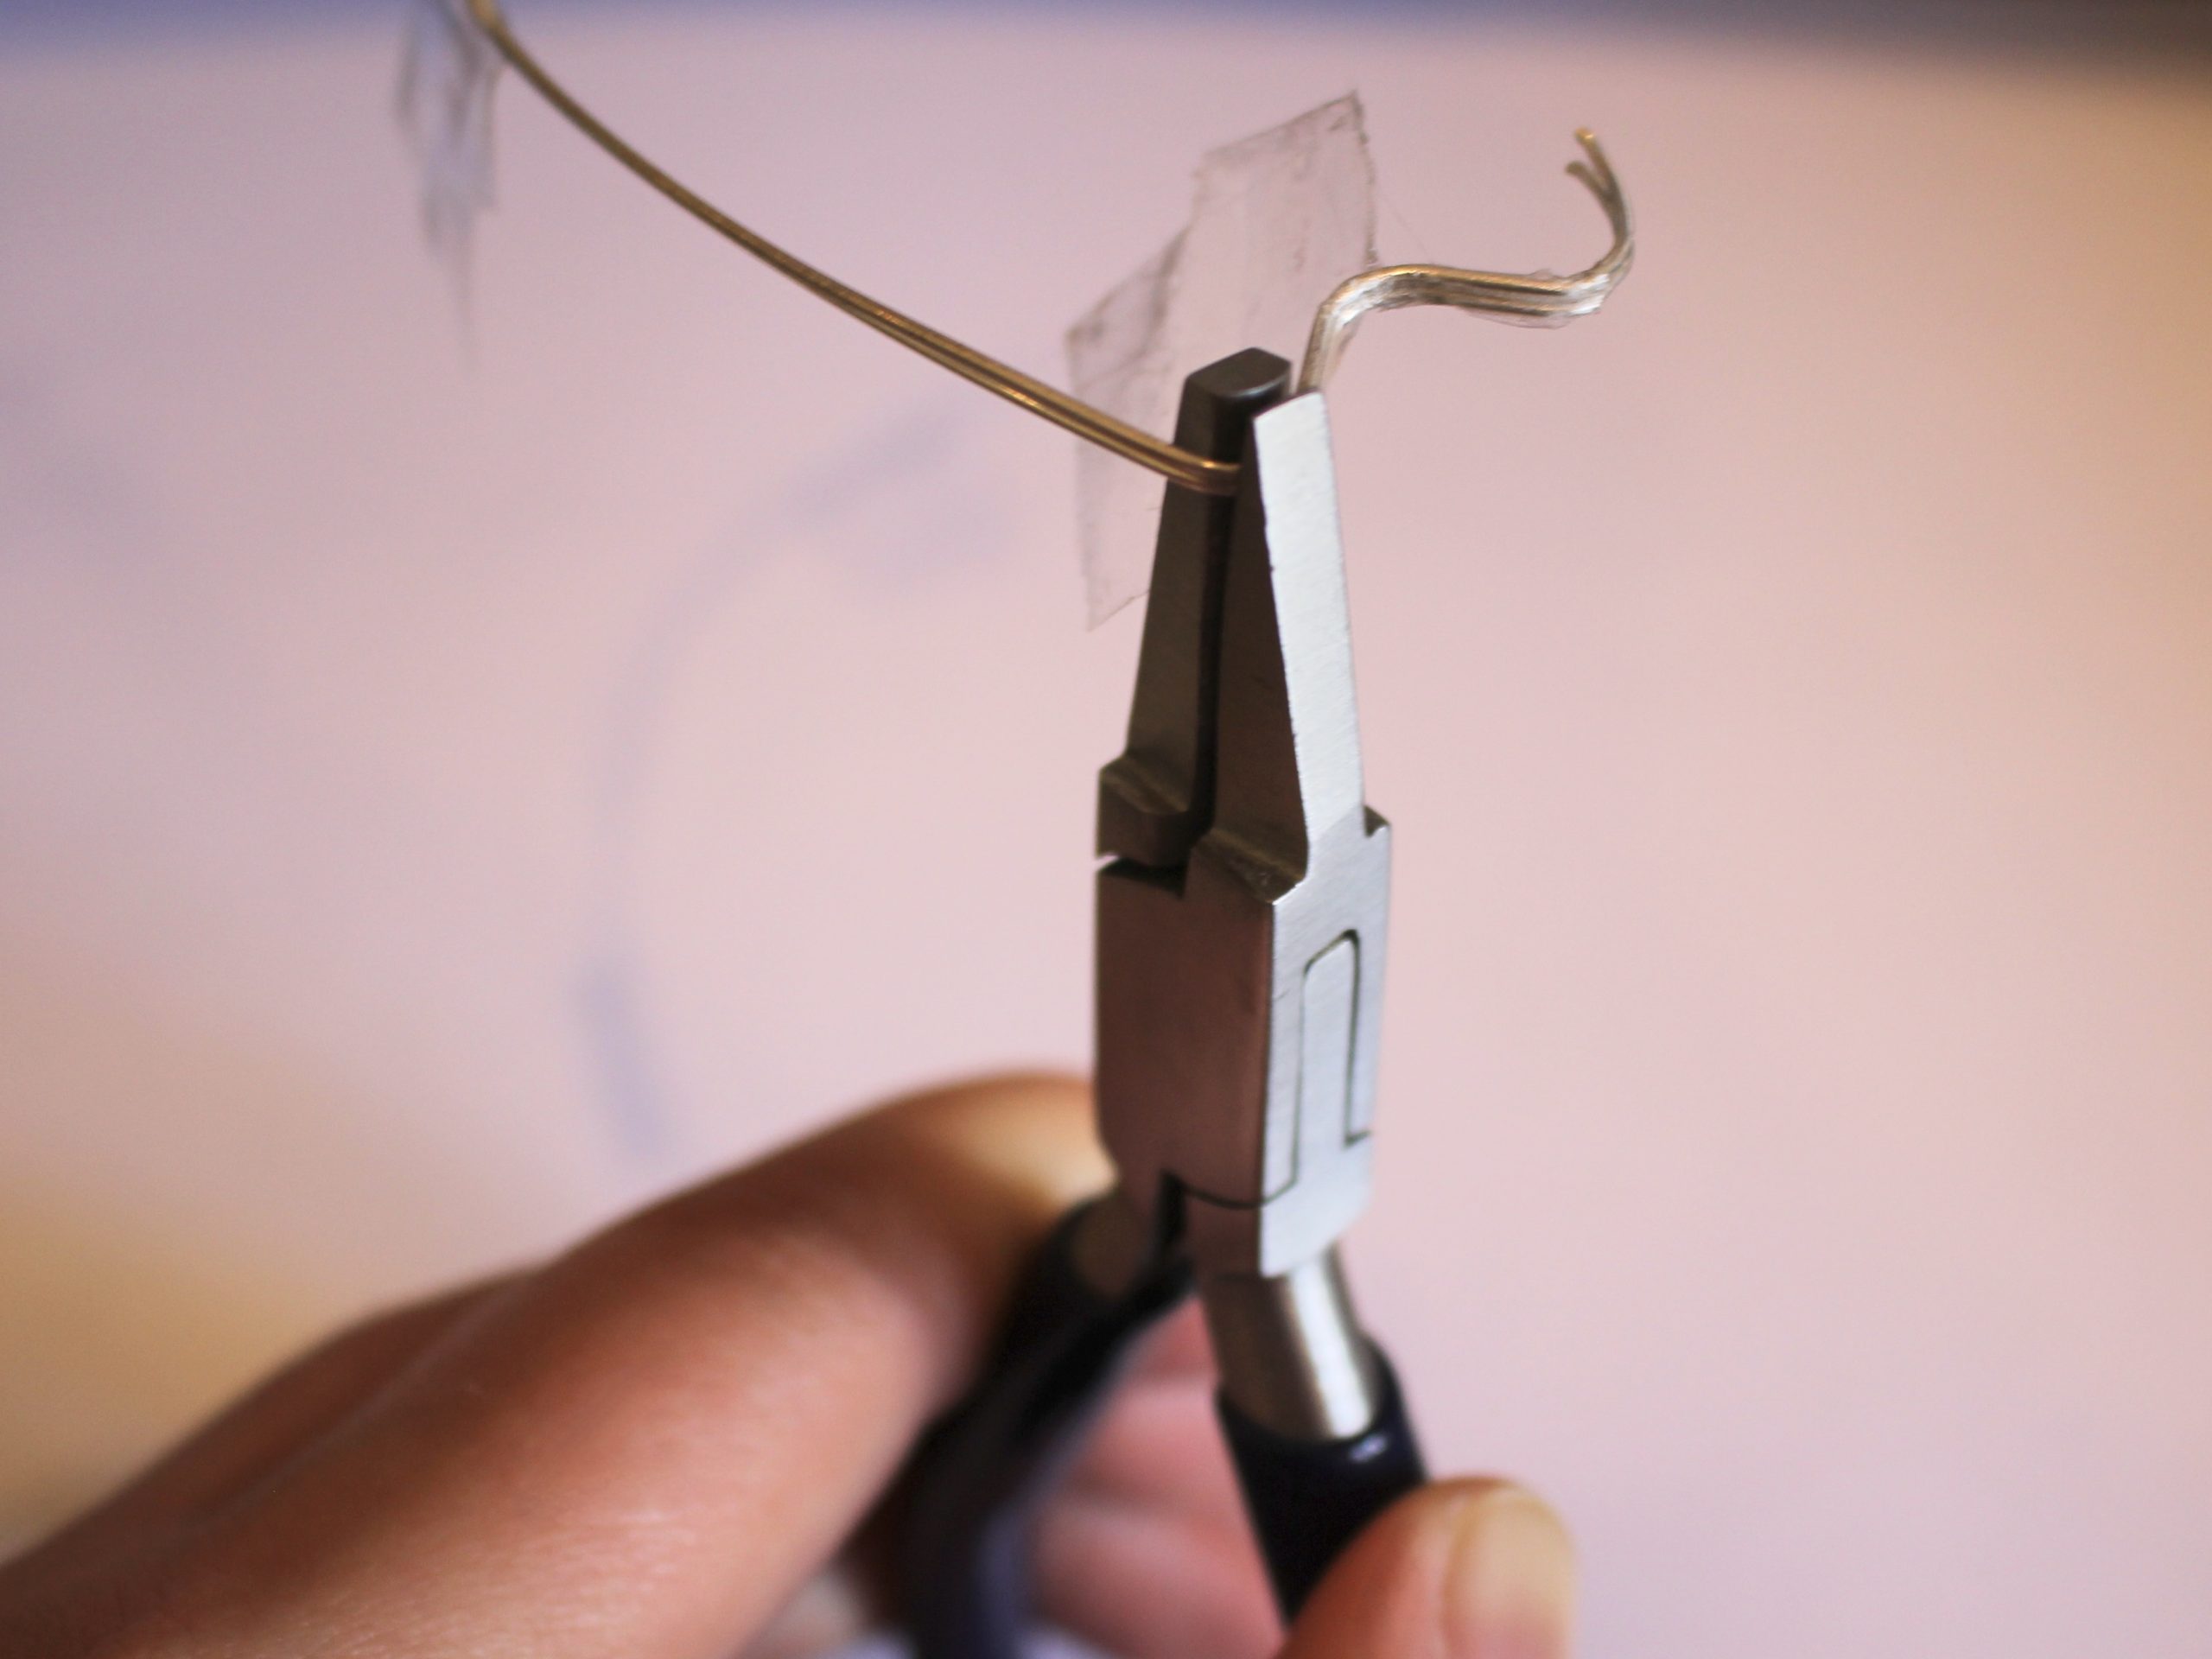
2: Use the flat nose pliers to create a triangle shape at one end of the wire.


3: Now grip the wire next to the triangle and push the long end of the wire against the pliers to form an angle.

4: Repeat step 3 again to create a zigzag shape.
5: Repeat steps 3 and 4 for the rest of the wire until you have about 1.5cm left of the wire.

6: Form the shape into a circle and create another triangle at the other end that is slightly open.

7: Slip the open end of the bracelet through the triangle you formed at the start.

8: Using the flat nose pliers again, close the second triangle to close off the bangle.

9: Put the bangle on the mandrel and hammer it into a circular shape, gently adjusting it so that it lies flat.

Once you are happy with the shape, you can take your bracelet off the mandrel and pop it on your wrist! How simple and lovely? I am very fond of this simple bangle design. How will you style yours?

Here’s how the finished bangle looks.


-
Here’s how to turn two necklaces into one unique statement piece.
I’ve made a few tutorials that show you how to reuse your existing jewellery to make something new, and this tutorial is another technique to add to your set of jewelry styling skills. This tutorial requires two different necklaces, I used a beaded one and a chain one, that are looped together to make something new. Please note that this tutorial contains affiliate links for which the website may receive a commission.
You will need the following tools and materials to make your looped mixed material necklace:
1: A chain necklace. I used this gold tone chain.

You can get something similar here:
2: A beaded necklace of a similar length. I used this rainbow beaded one I made earlier.

You can make your own by following these instructions (just skip the pearl), or you can buy a similar one here:
Follow these steps to make your new necklace:
1: Undo each of the necklaces and loop them together.

2: Clip the ends of each necklace closed to make two loops.
3: Open one of the clasps and attach it to the other side (without letting go of the loop you just made) to secure it around your neck.


The different materials of these necklaces allows you to create a more sculptural piece that shows off your unique style. I think it looks elegant and edgy at the same time. So cool. Here’s what it looks like on.


If you like this tutorial, here are some similar ones you can follow:
-
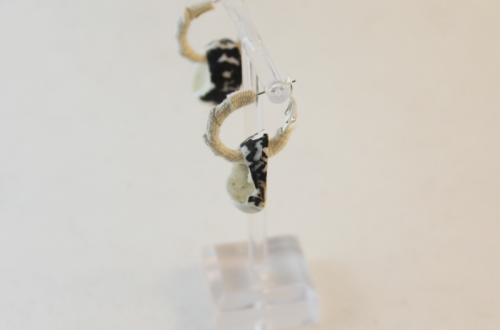
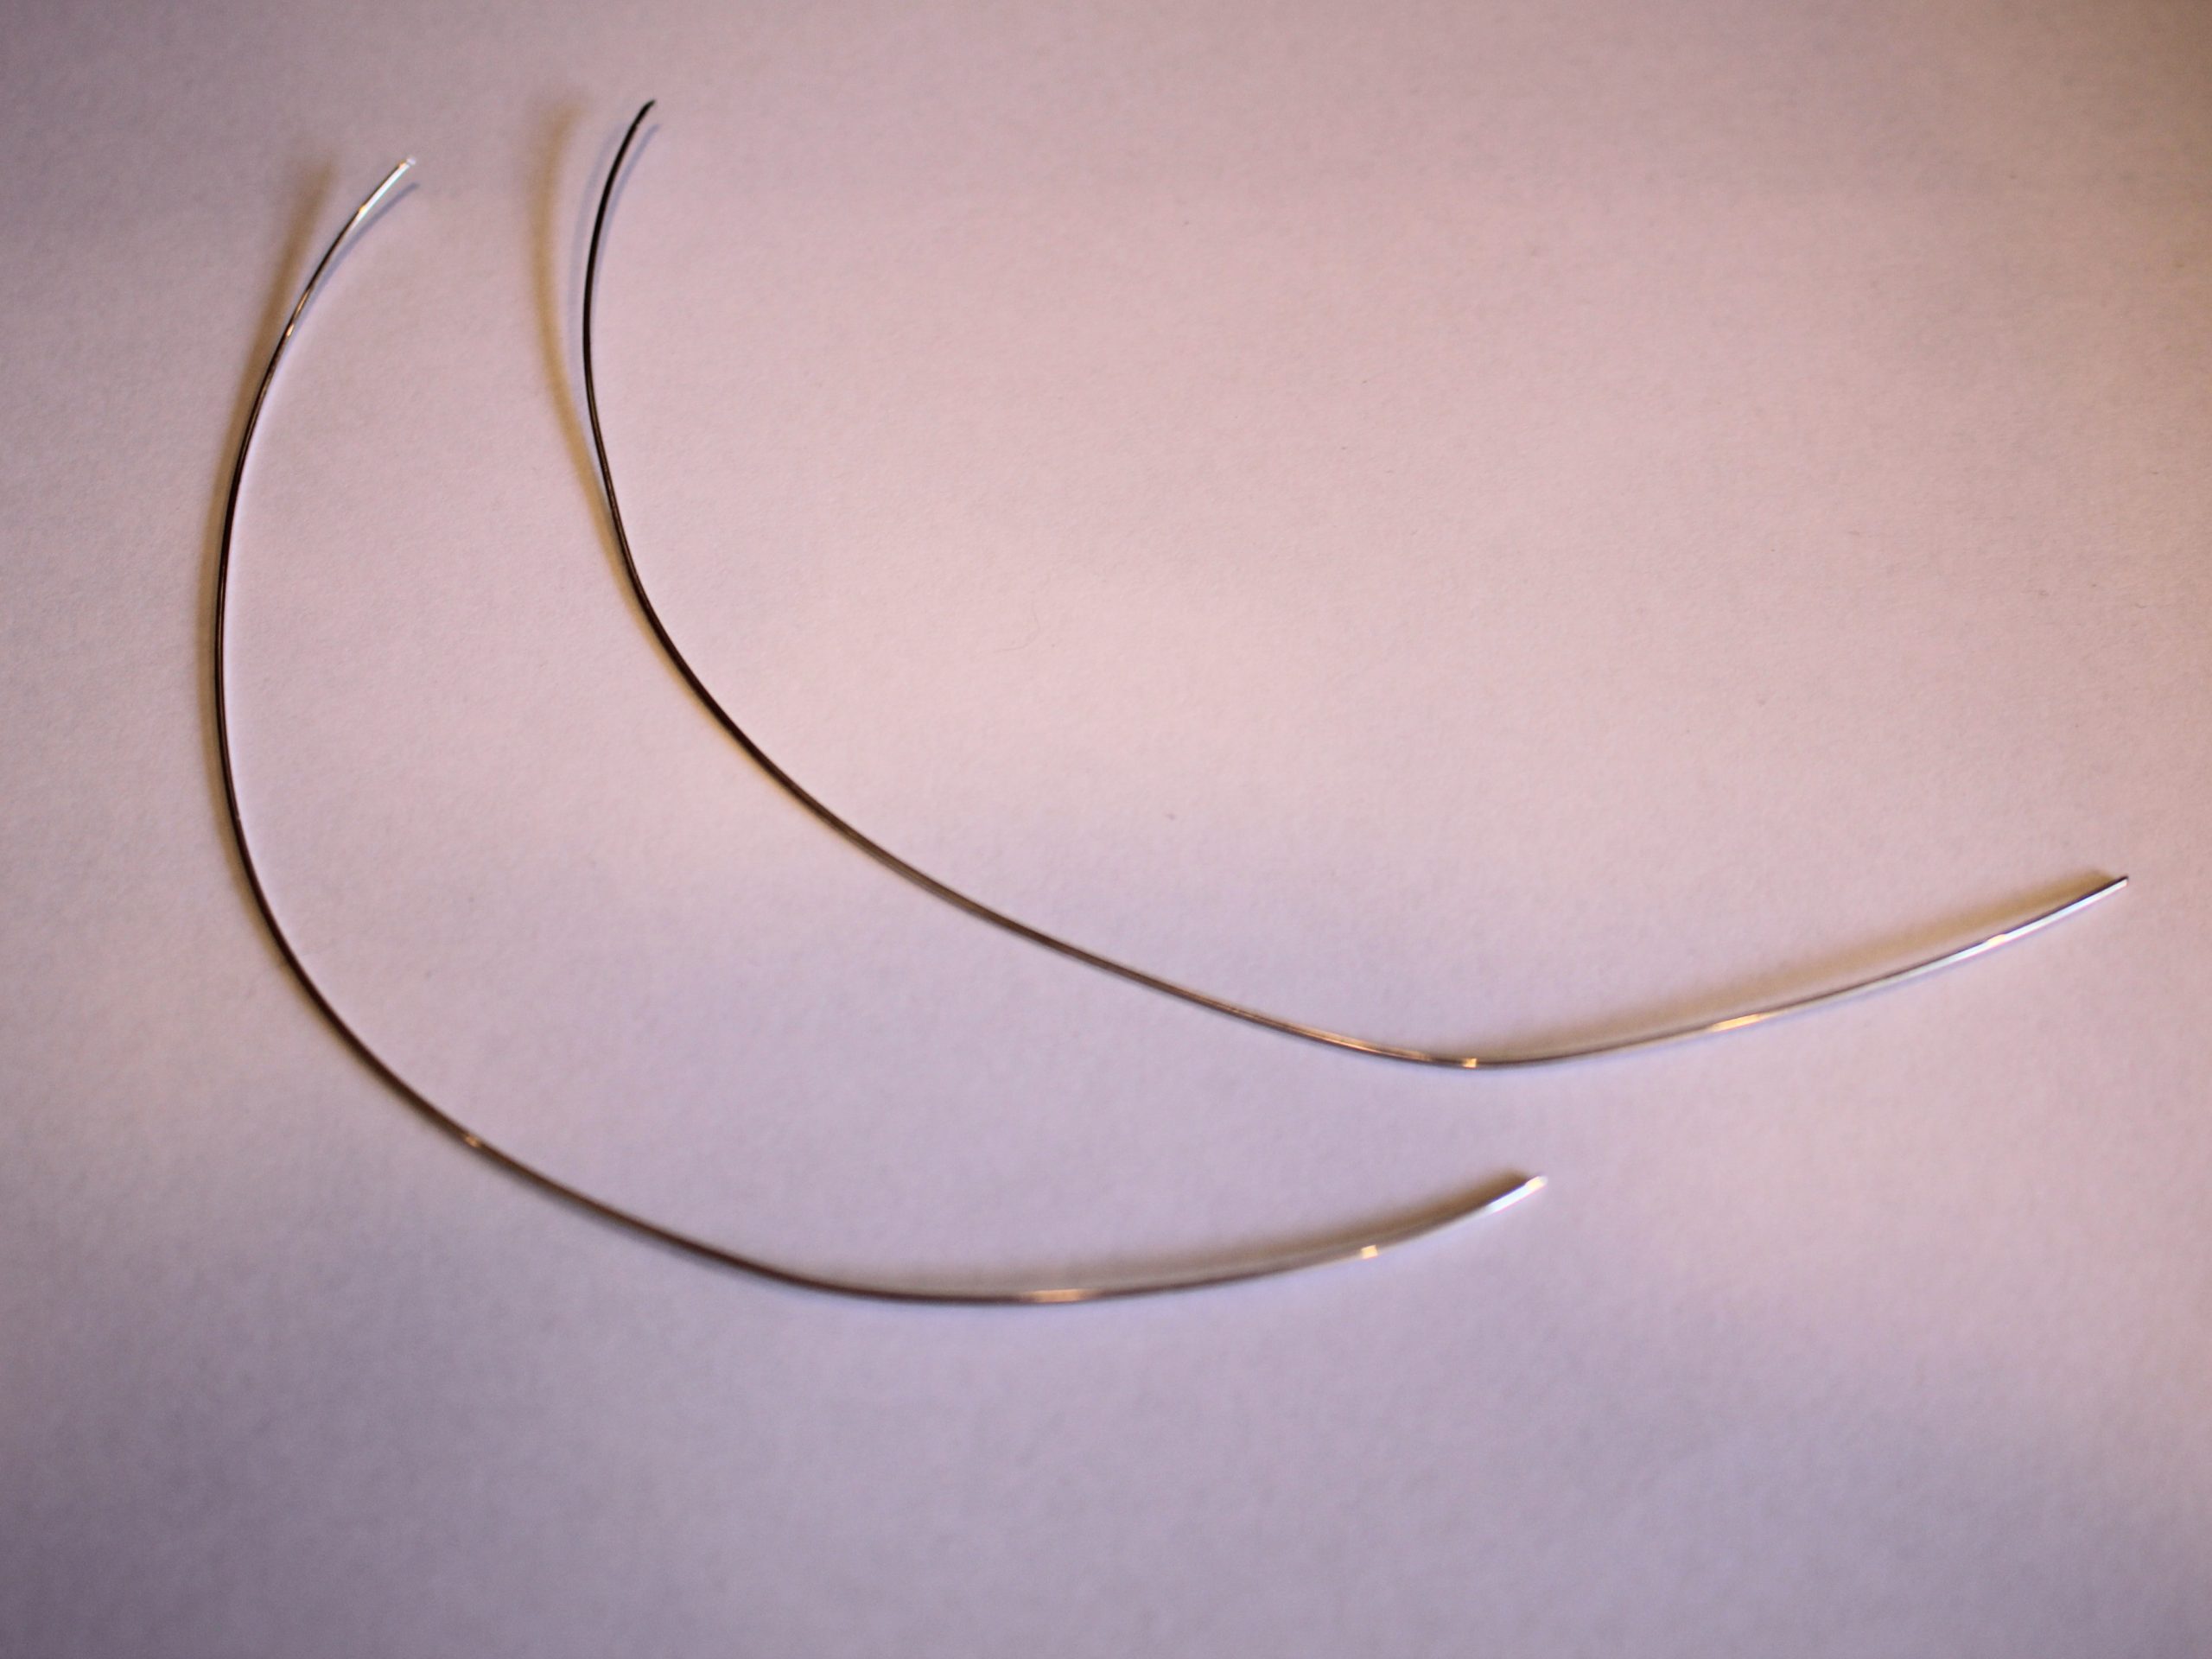
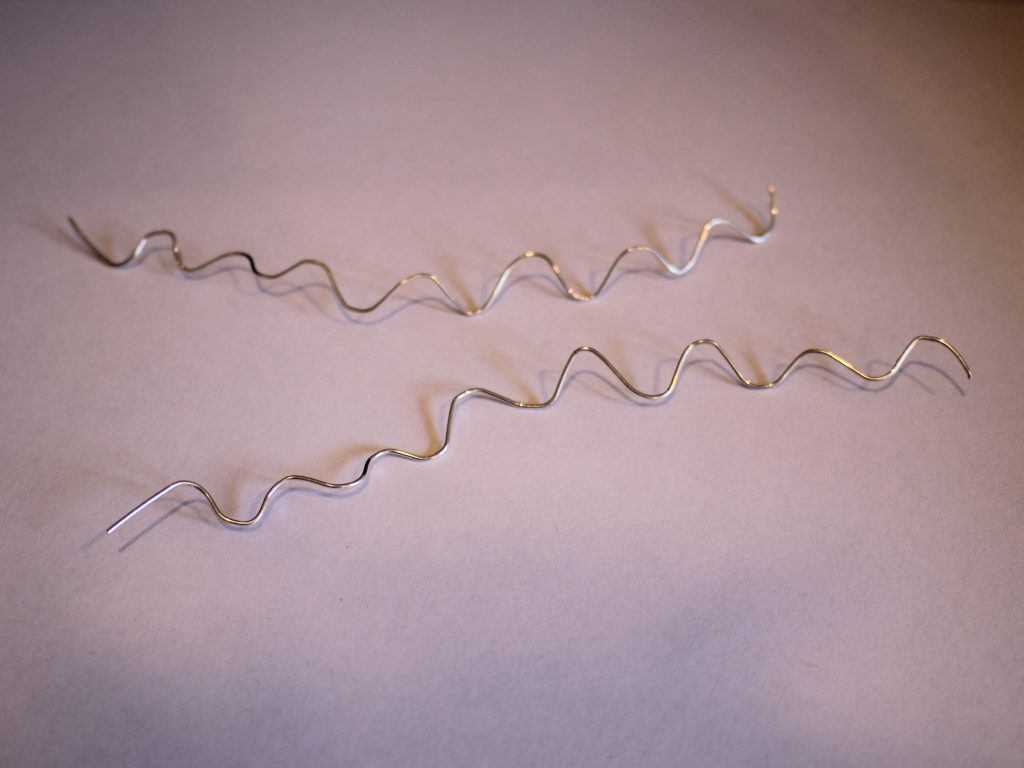
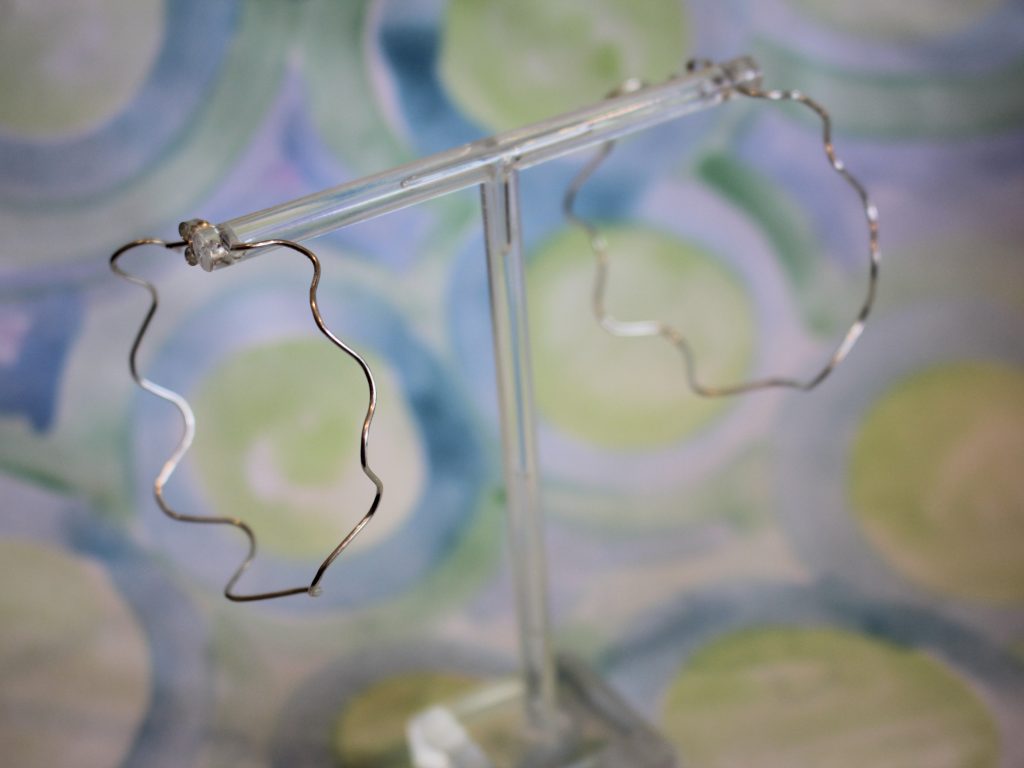
Want a new pair of hoops? Here’s how to turn two pieces of wire into a unique pair of wiggle hoop earrings.
Want to work with metal but don’t want to invest in all the equipment? Then this tutorial is for you! Follow along to make a unique pair of wiggle hoop earrings using pliers and some wire. I love how simple but stunning this tutorial is. Please note that this tutorial contains affiliate links from which we may receive a small commission.
You’ll need the following tools and materials to make your wiggle hoop earrings:
1: Two pieces of wire, I used 0.8mm diameter sterling silver and cut mine to be about 18cm long each.

You can get silver wire here:
If you’re feeling fancy, you can get solid gold wire here:
2: A jewellery file or emery paper to ensure that the ends of the wire aren’t too sharp.
You can get a jewellery file here:
I have my emery paper attached to a stick for more control. You can get some here:
3: Half round-Flat pliers. These pliers have a half-round side and a flat side to make curves.

You can get a pair here:
4: Round-flat pliers.

You can get a pair here:
5: Parallel pliers.
You can get some here:
6: A bangle mandrel or something else that is the right diameter so you can shape your earrings into a circle.
You can get one here:
7: Butterfly backs.

You can get butterfly backs here:
8: A nylon or leather hammer for shaping the earrings against the mandrel (Don’t use this if you are shaping your earrings around something breakable).
You can get a hammer here:
9: Sticky tape. I used plastic tape but masking tape would likely be more suitable.
You can get masking tape here:
Follow these steps to make your own pair of hoop earrings:
1: File the ends of the wire so that they are flat and have no sharp edges.

2: If you have emery paper, sand the ends as well to further break down any sharp ends.
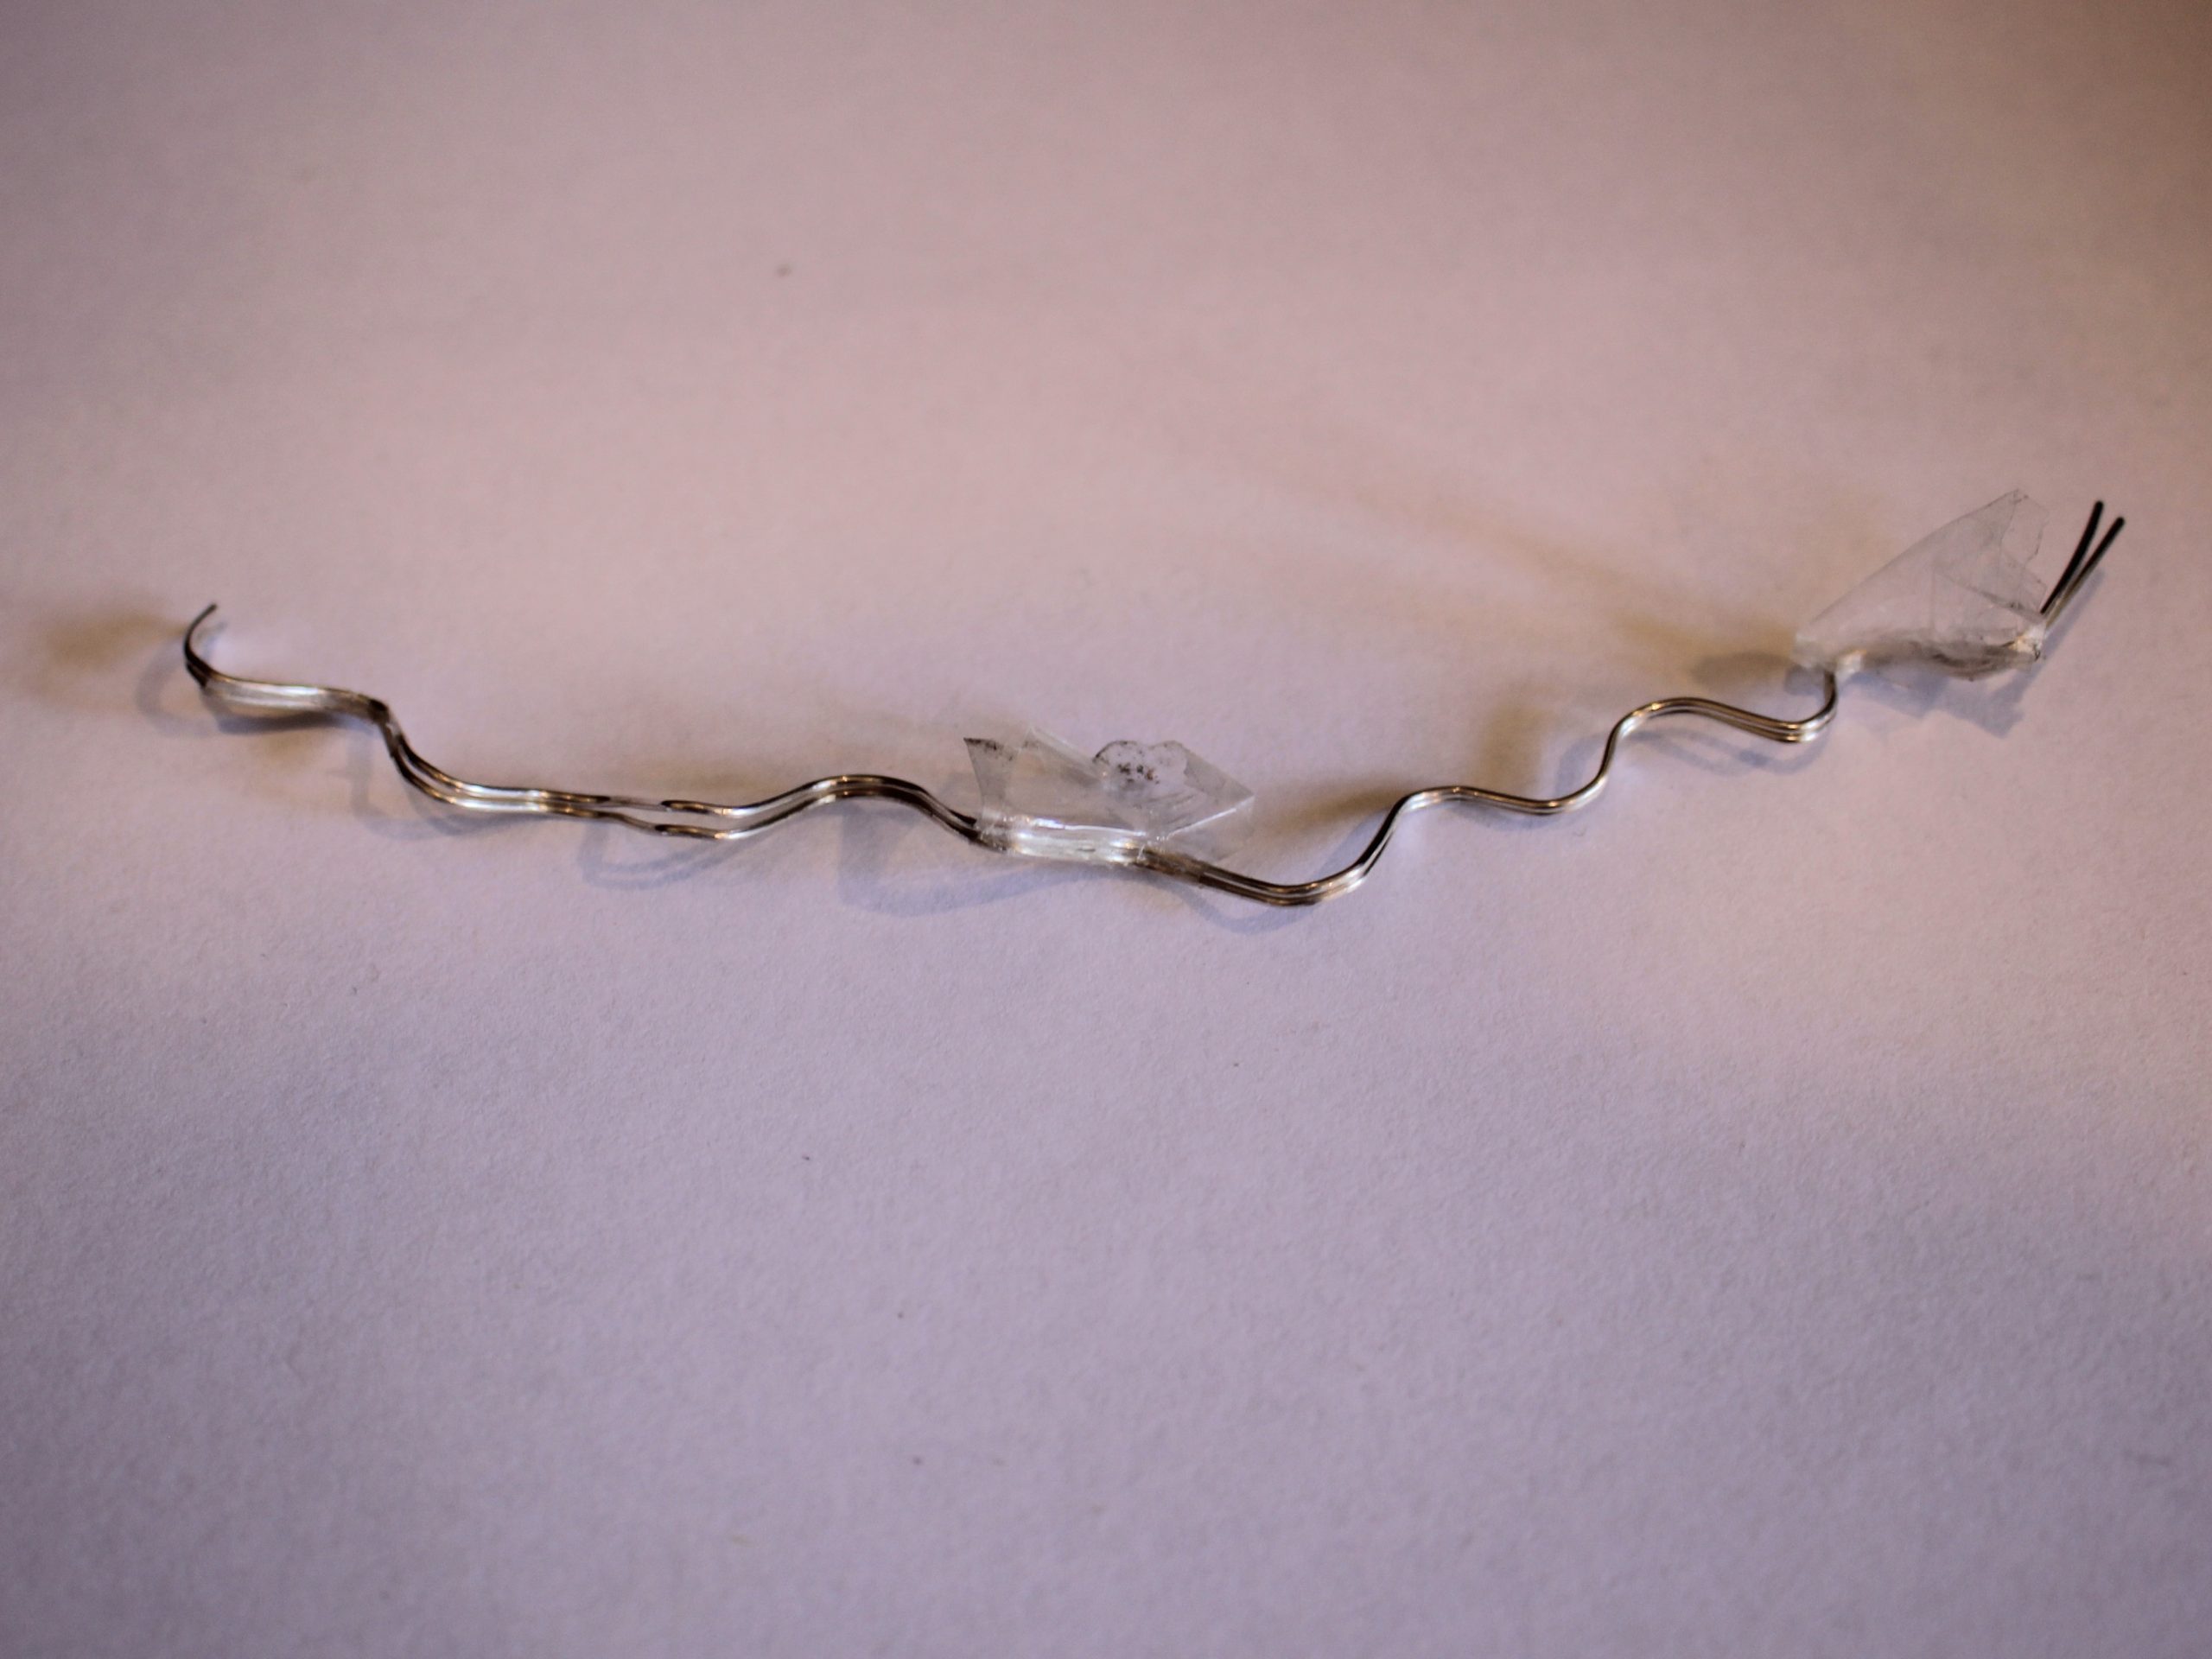
3: Tape the two pieces of wire together.

4: Take your half round-flat pliers and create the first bend at the end of the wire by clamping the wire into the jaws of the pliers and pressing them together.

5: Flip the pliers around and place them on the other side of the wire and repeat step 4 to make a curve in the wire in the opposite direction.

6: Repeat steps 4 and 5 until your pieces of wire are formed into a squiggle shape, but leave about 1cm at the end for the earring post.


7: Remove the tape and separate the wires.
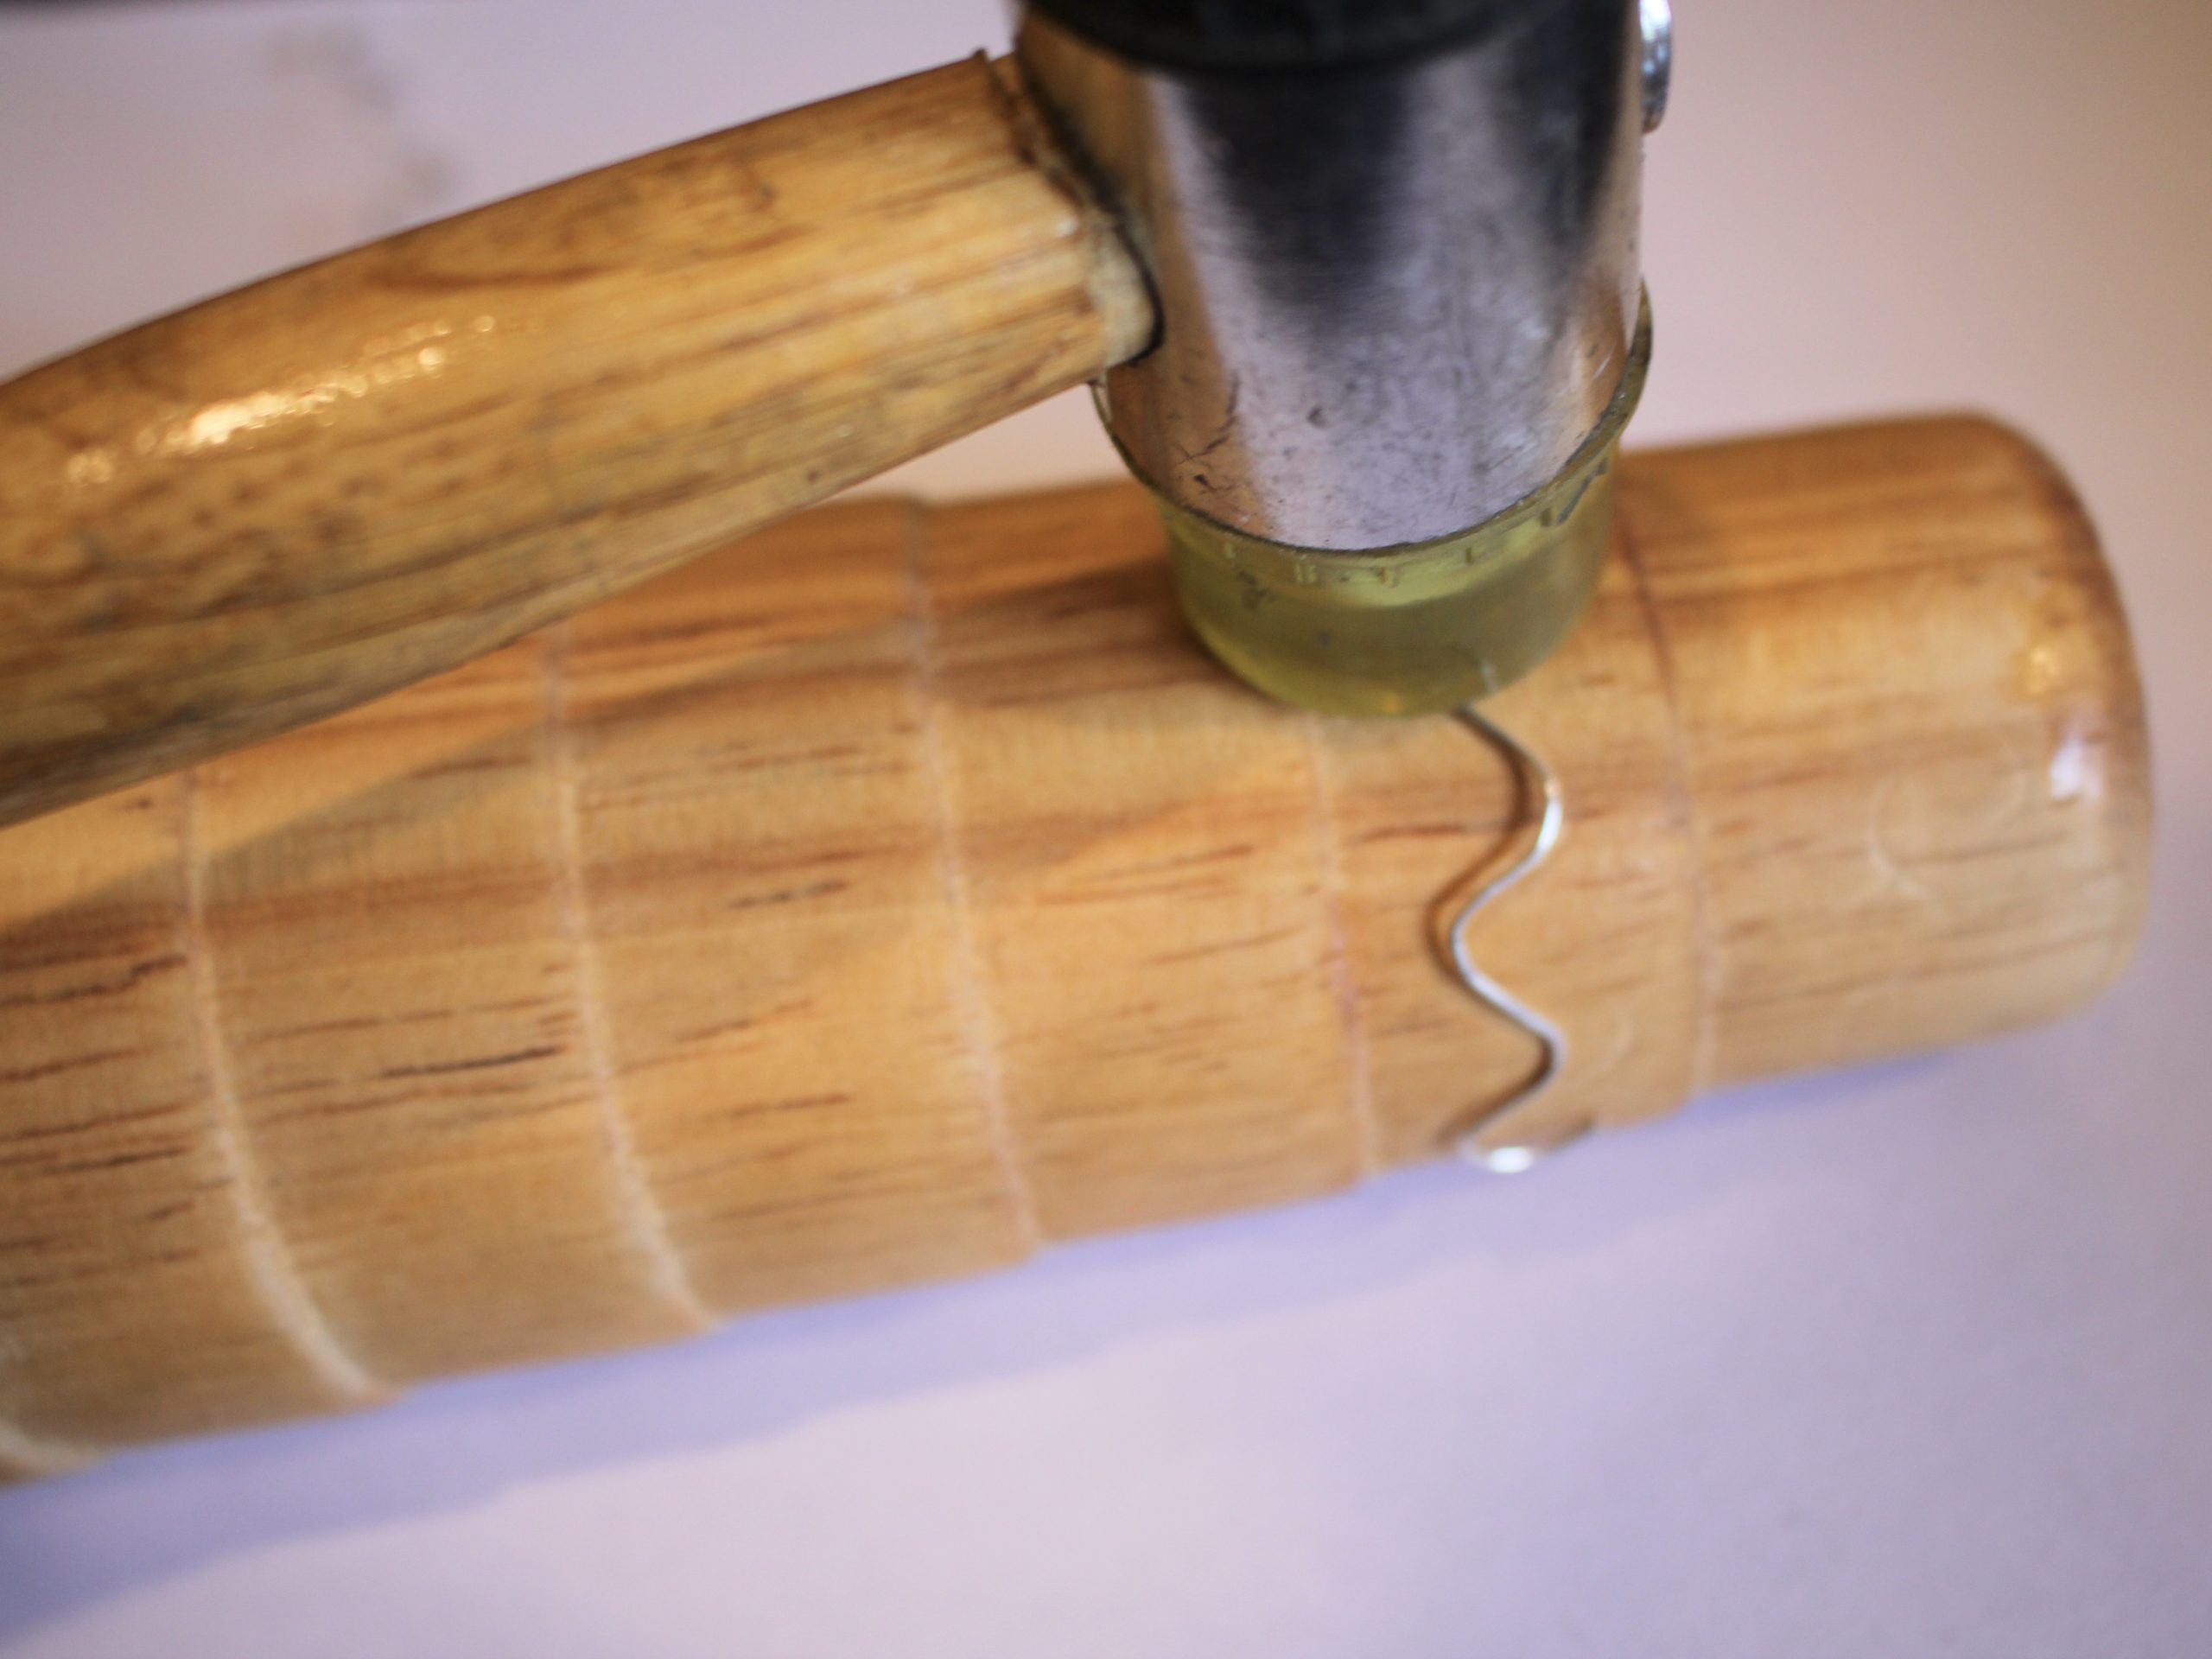
8: Wrap the wire around the bracelet mandrel to form it into the earring shape. Use the nylon hammer to hammer it into shape. Repeat this for both of the earrings.


9: You can further adjust the shape of the earrings by pressing the half round-flat pliers around the earring, making sure to match the curve of the pliers with the inner curve of the earrings. Doing this will add more tension to your earrings to help them hold their shape.
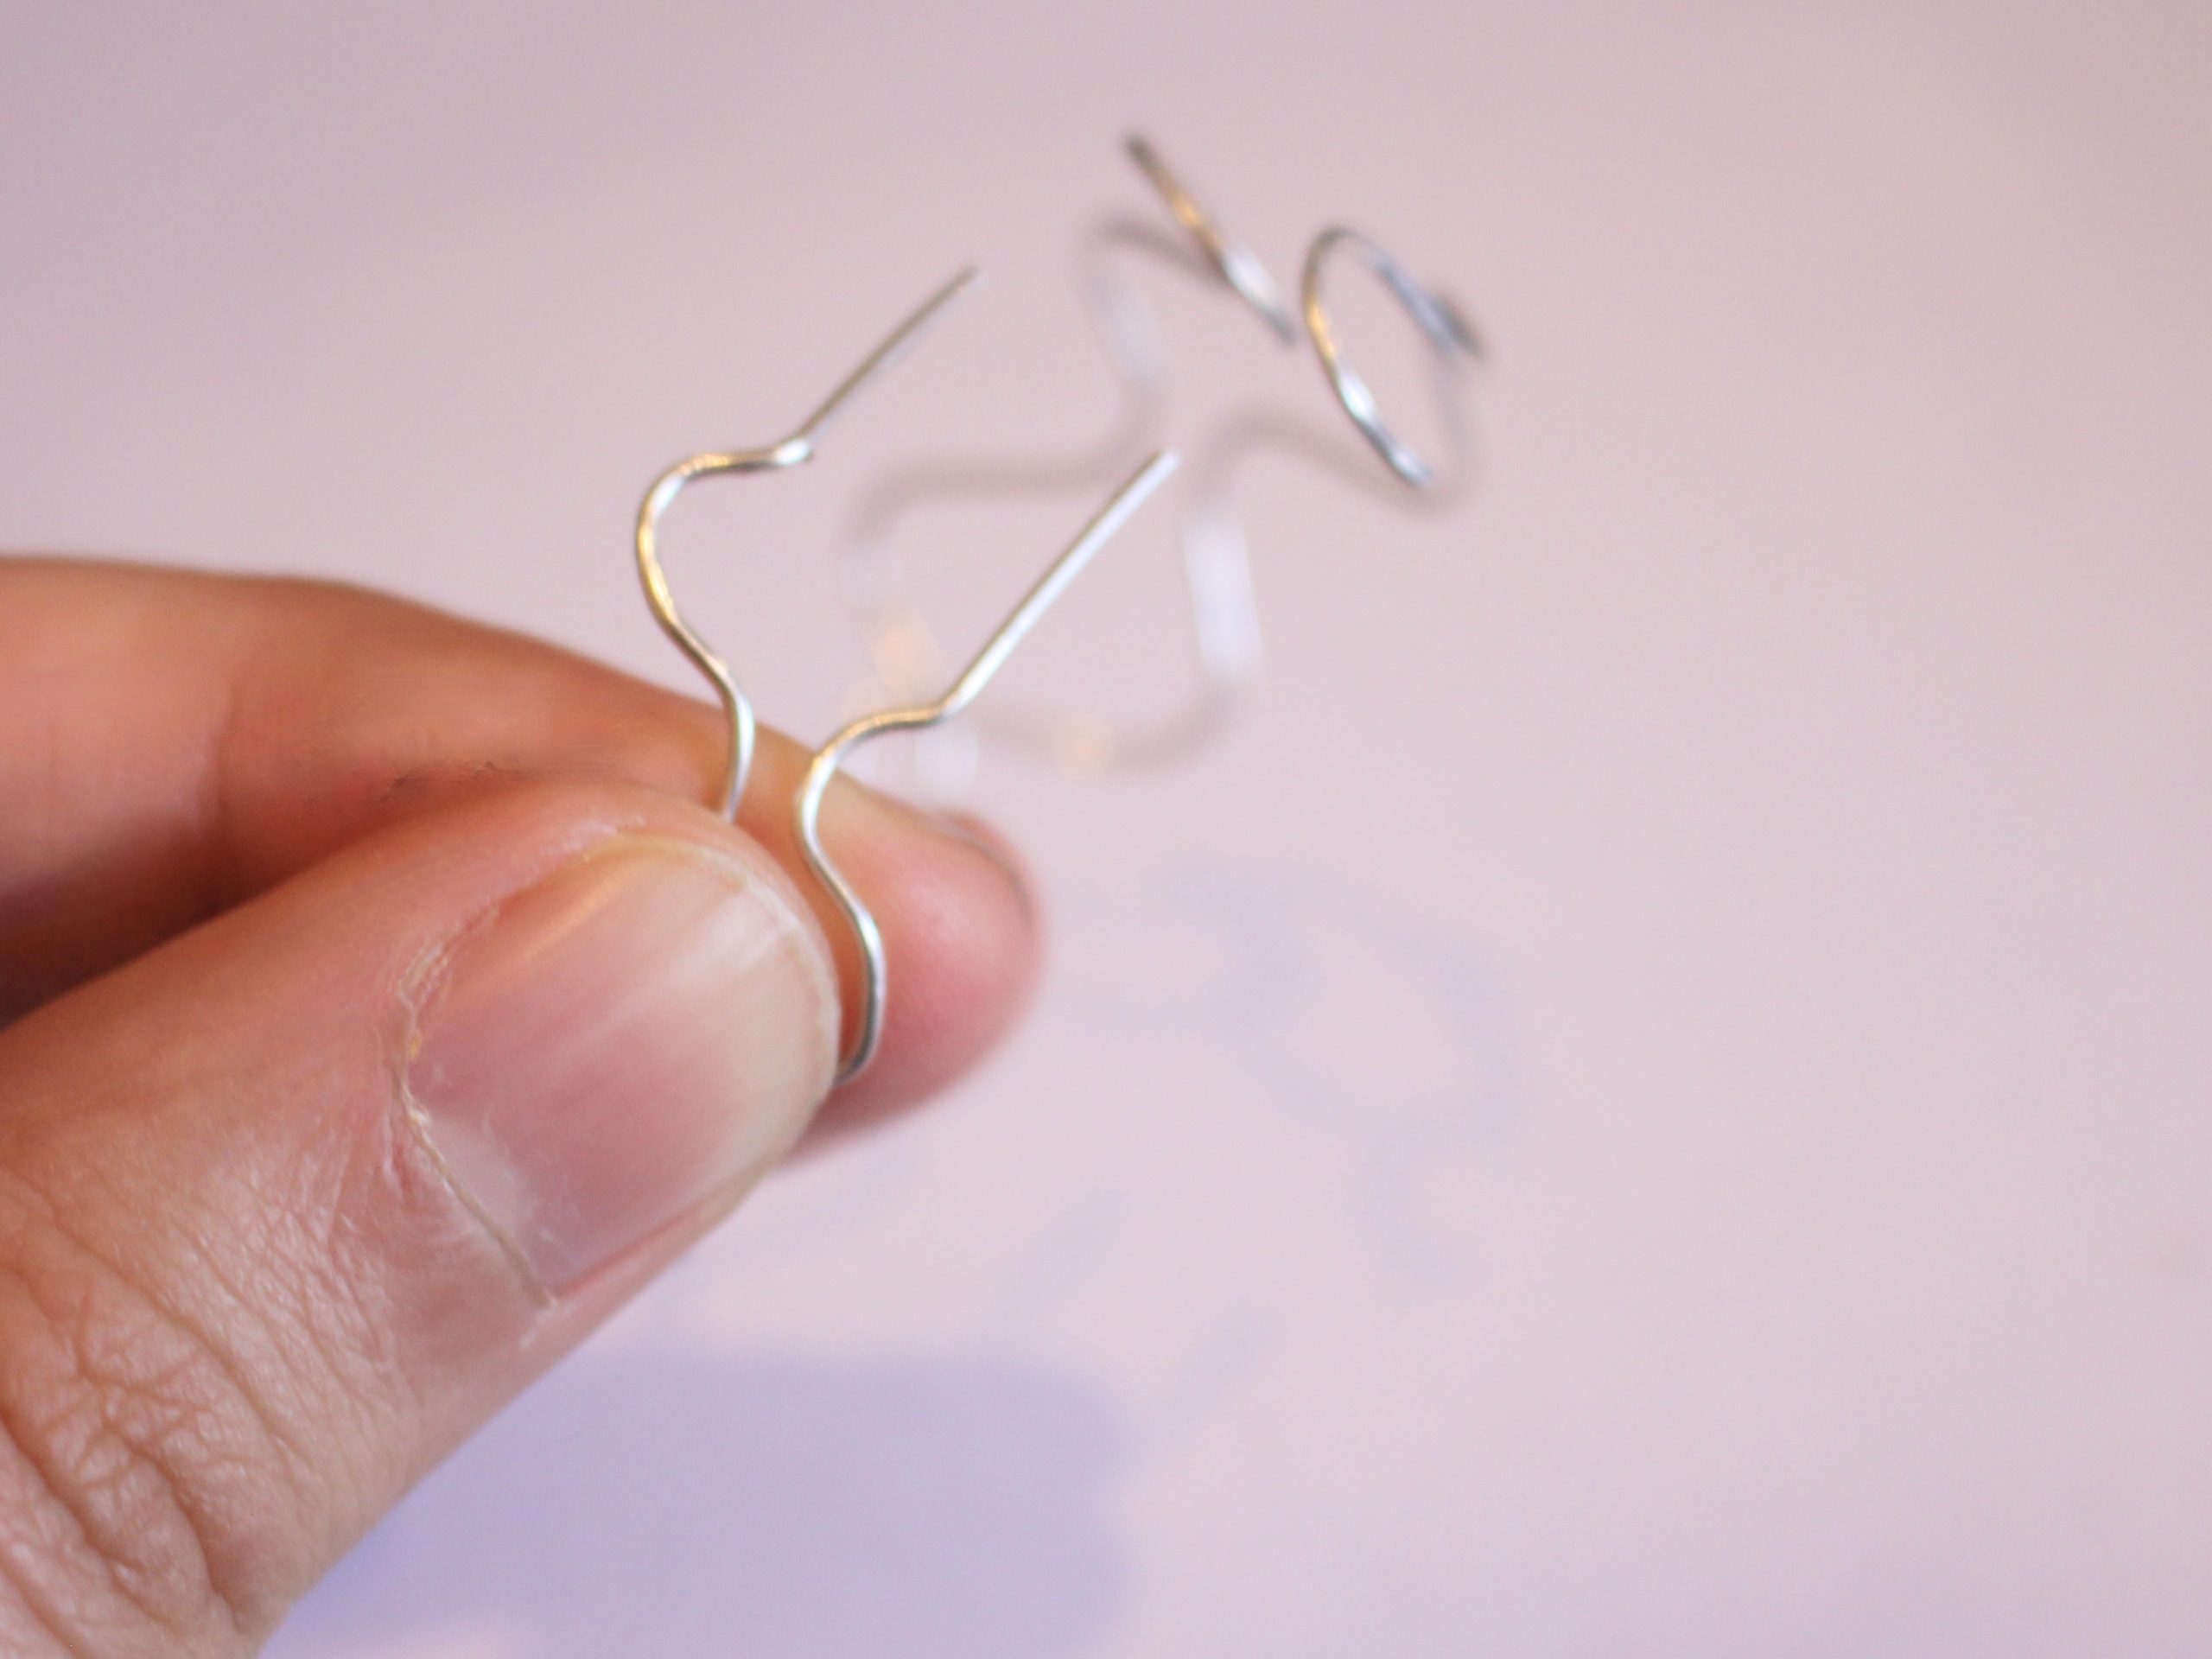
10: When you are happy with the shape of your hoops, Take the round flat pliers and push the straight ends of the wire around so they sit sideways.


11: Then take your parallel pliers and use them to adjust the straight ends of each earring so that they are centered in the middle of the wiggle to sit evenly in your ears.


12: Once you have adjusted the ends, your earrings are finished and ready to wear. Pop the butterfly backs on to secure them on your lobes.

Here’s how the finished product looks! How will you style yours?


-
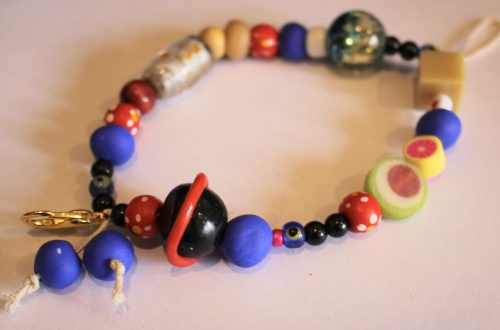
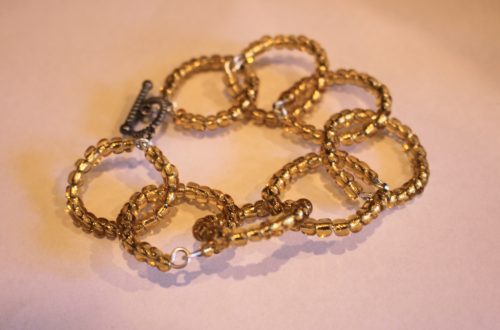
Love funky jewellery? Here’s how to make a beaded crochet bracelet!
This bracelet is lots of fun! It is made using a fun selection of beads and vibrant thread. With just a crochet hook you can turn these materials into a lovely bracelet!
Please note that this tutorial contains affiliate links.
You’ll need the following tools and materials to make your bracelet:
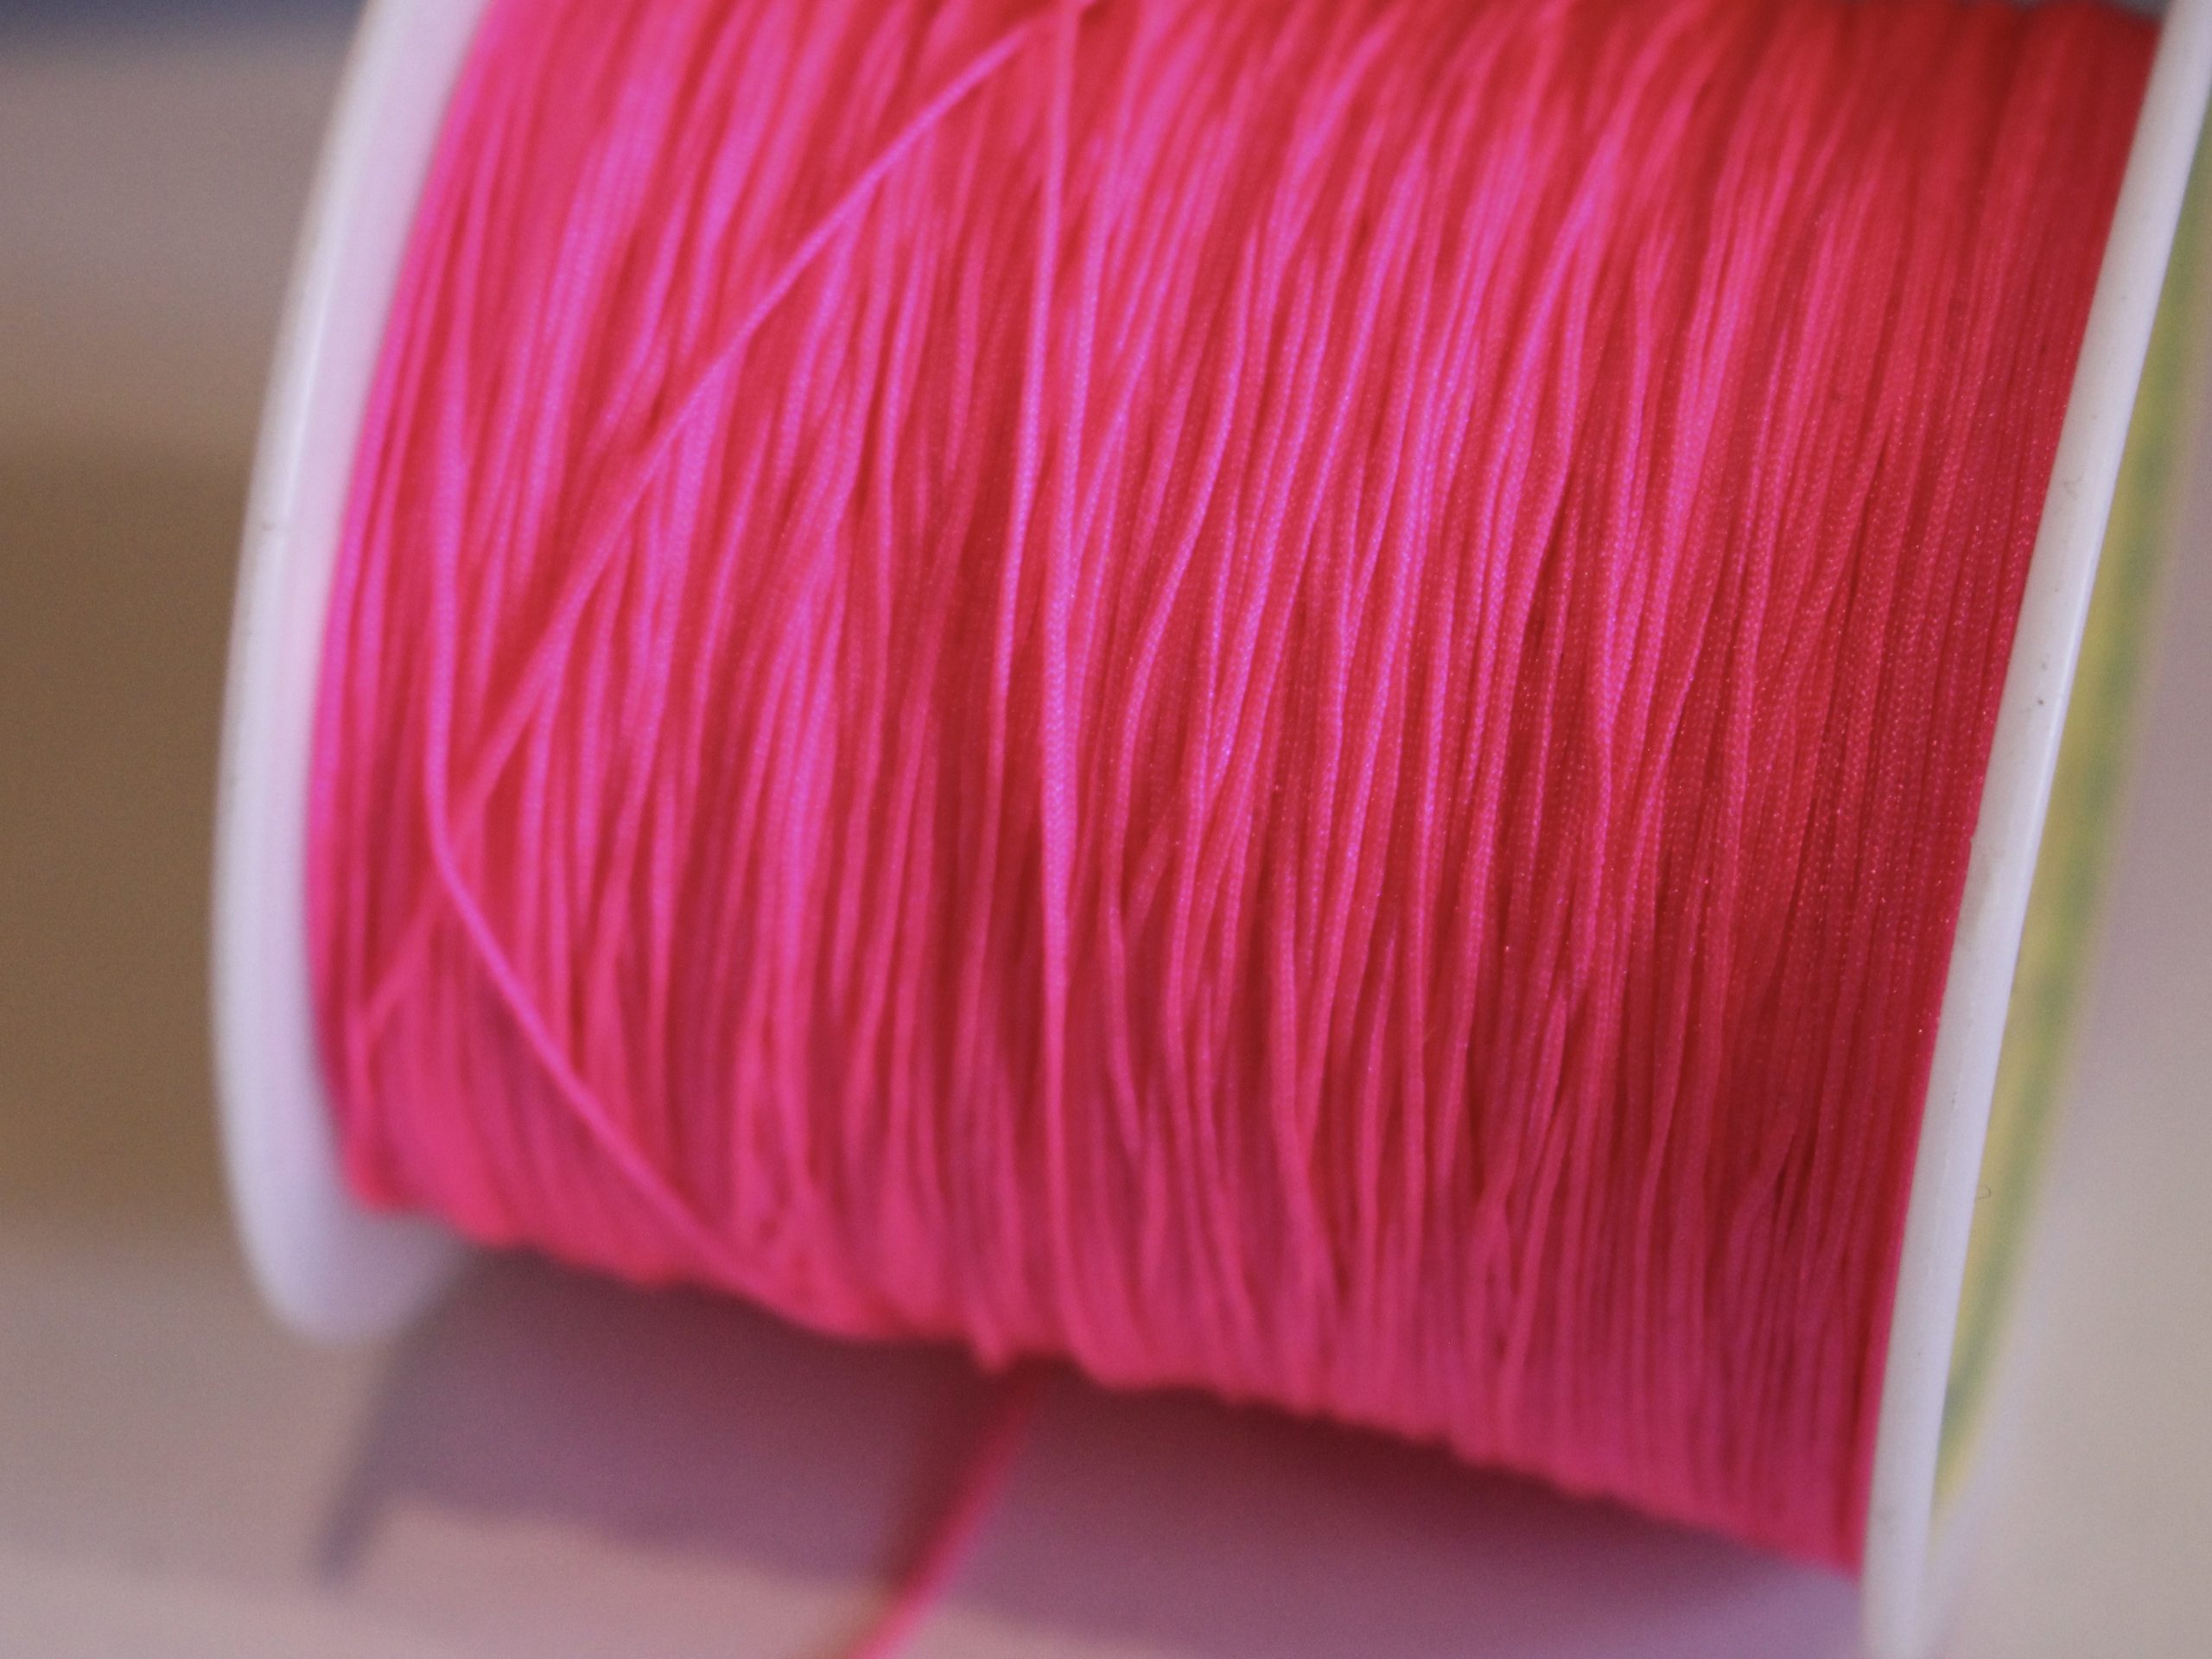
1: Thread. I used this pink thread.

You can get something similar here:
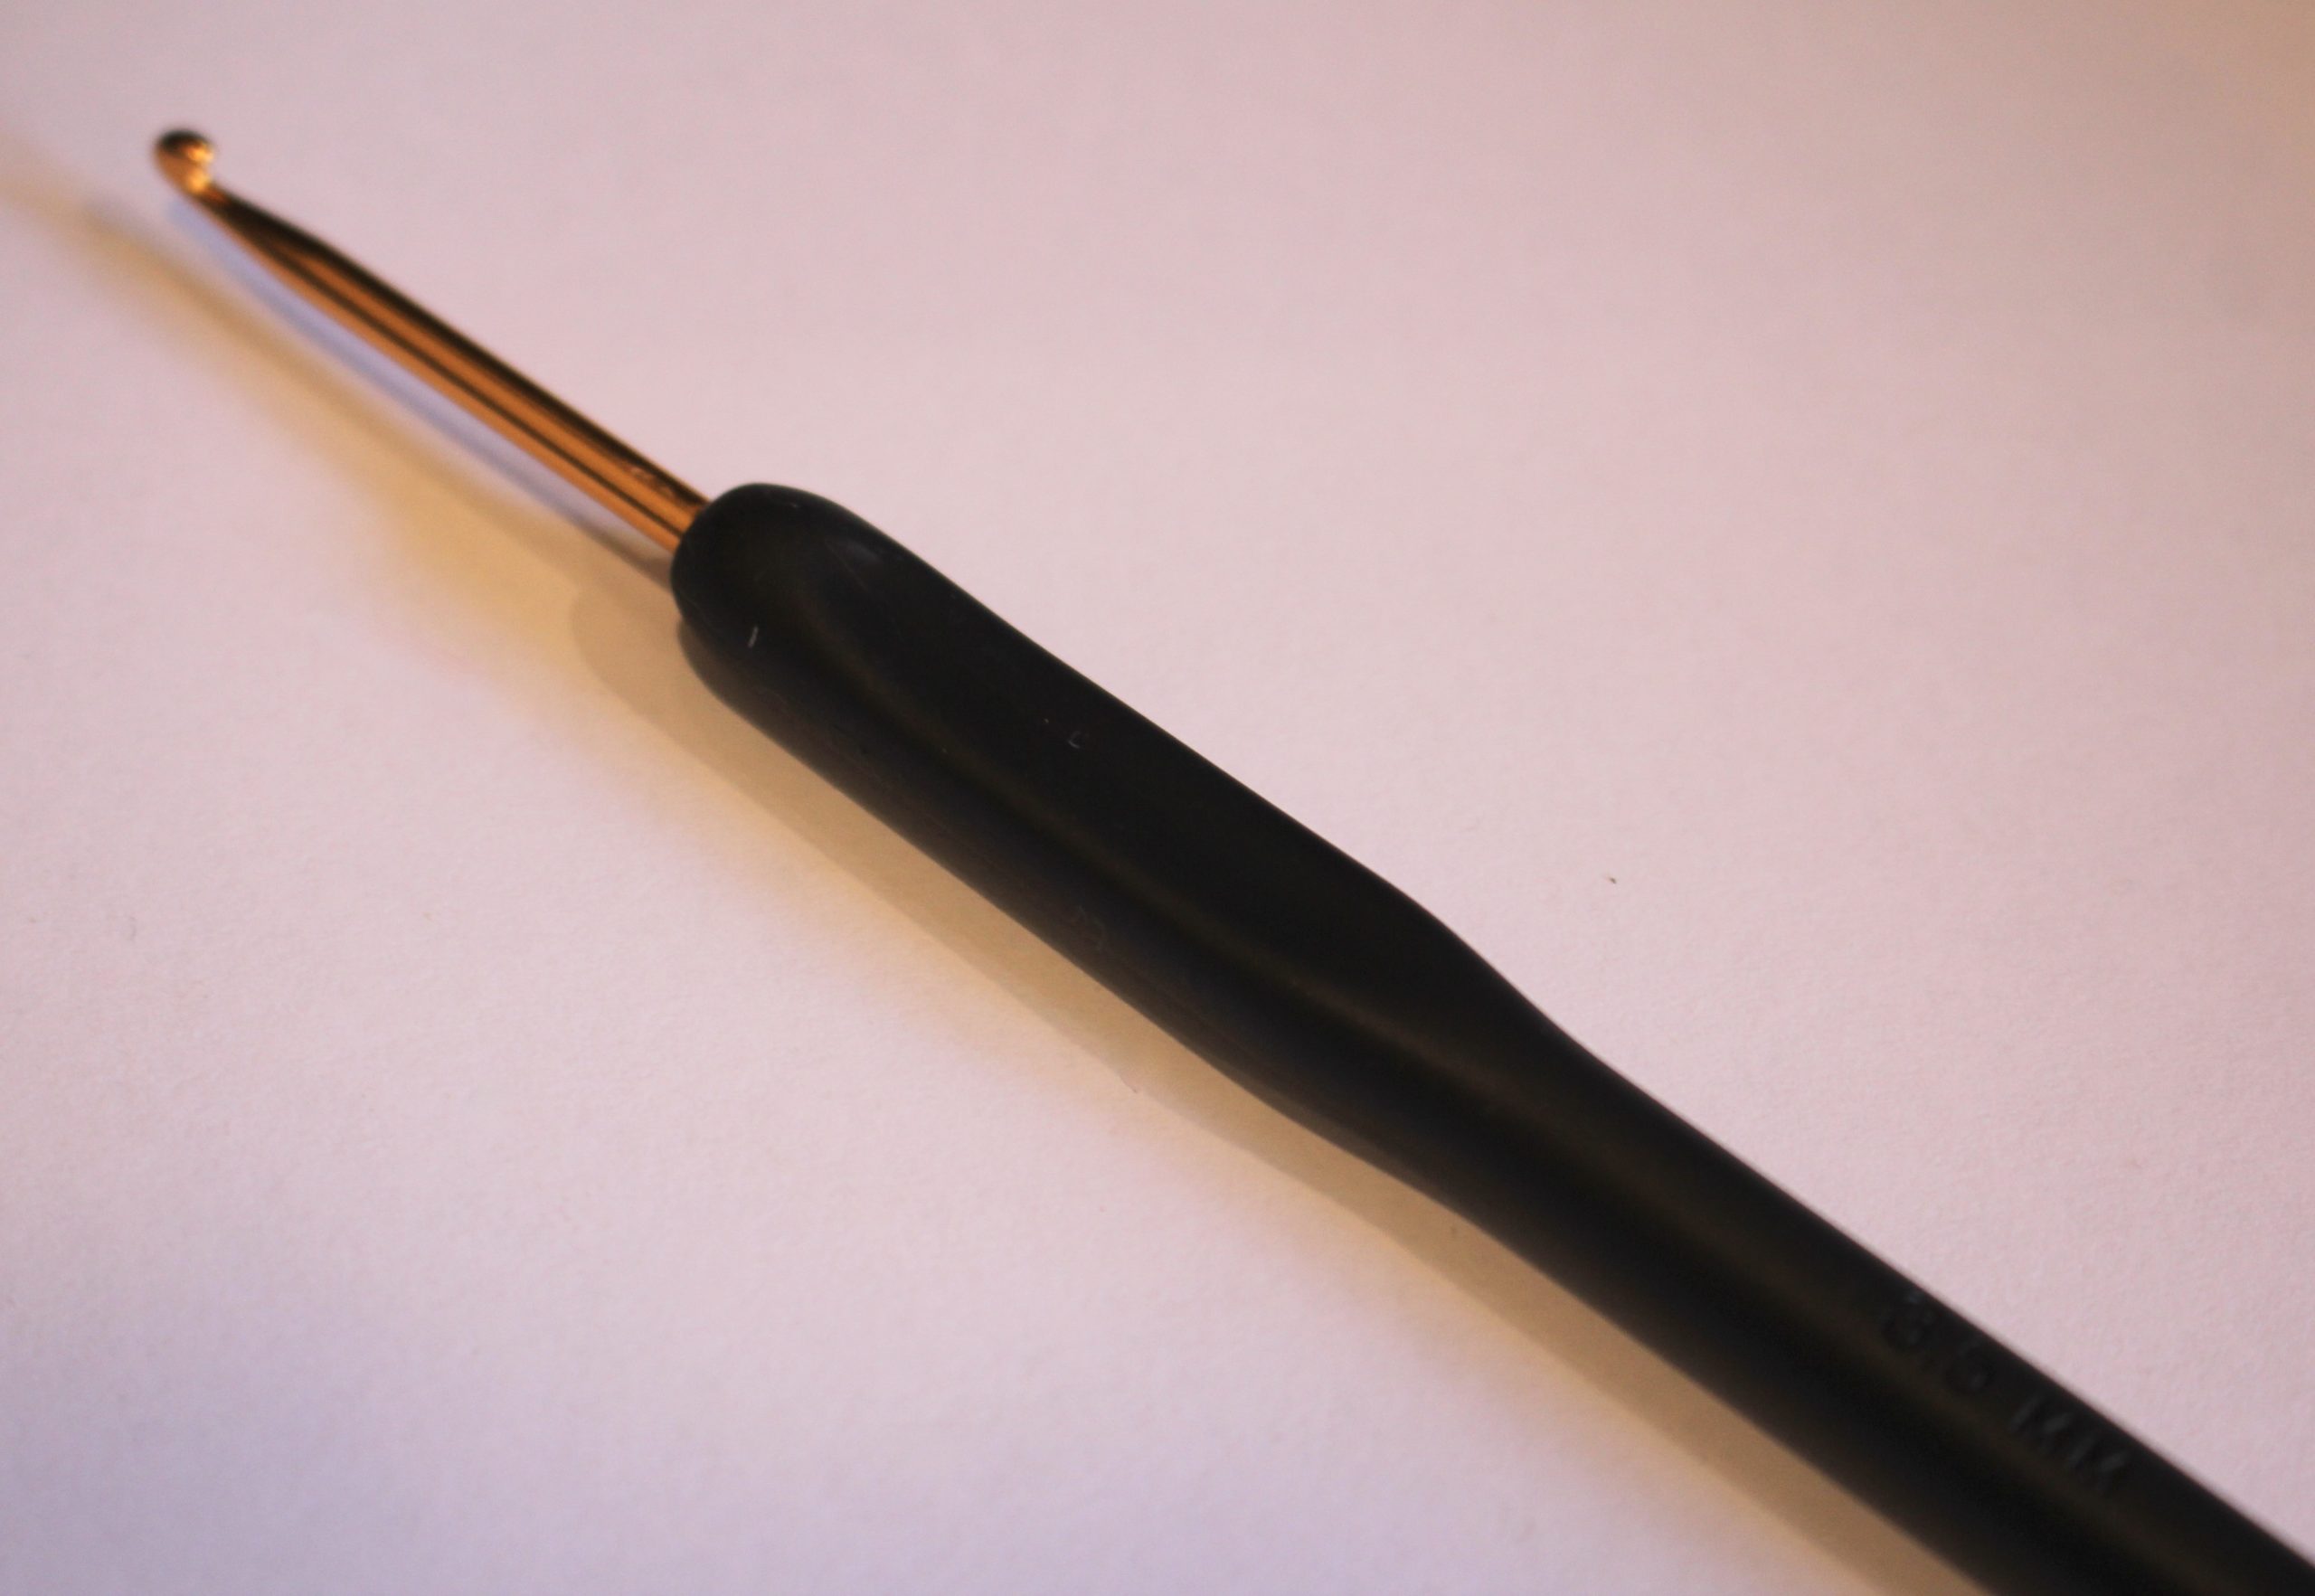
2: A crochet hook. I used a 3.5mm crochet hook.

You can get one here:
3: A selection of beads. I used this mix of beads from my collection.
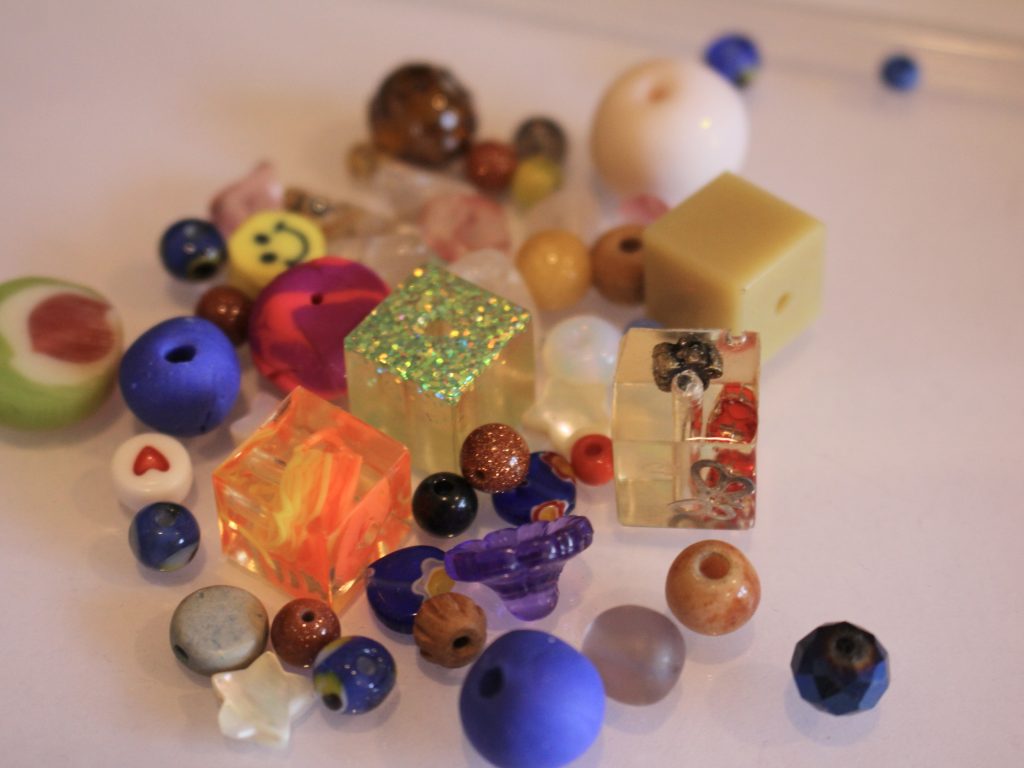
You can get pre-mixed beads here:
4: A lobster clasp and jump ring.

You can get a lobster clasp here:
5: Superglue to secure the ends of the bracelet.

6: Scissors.

You can get some here:
Follow these steps to make this crochet bracelet:
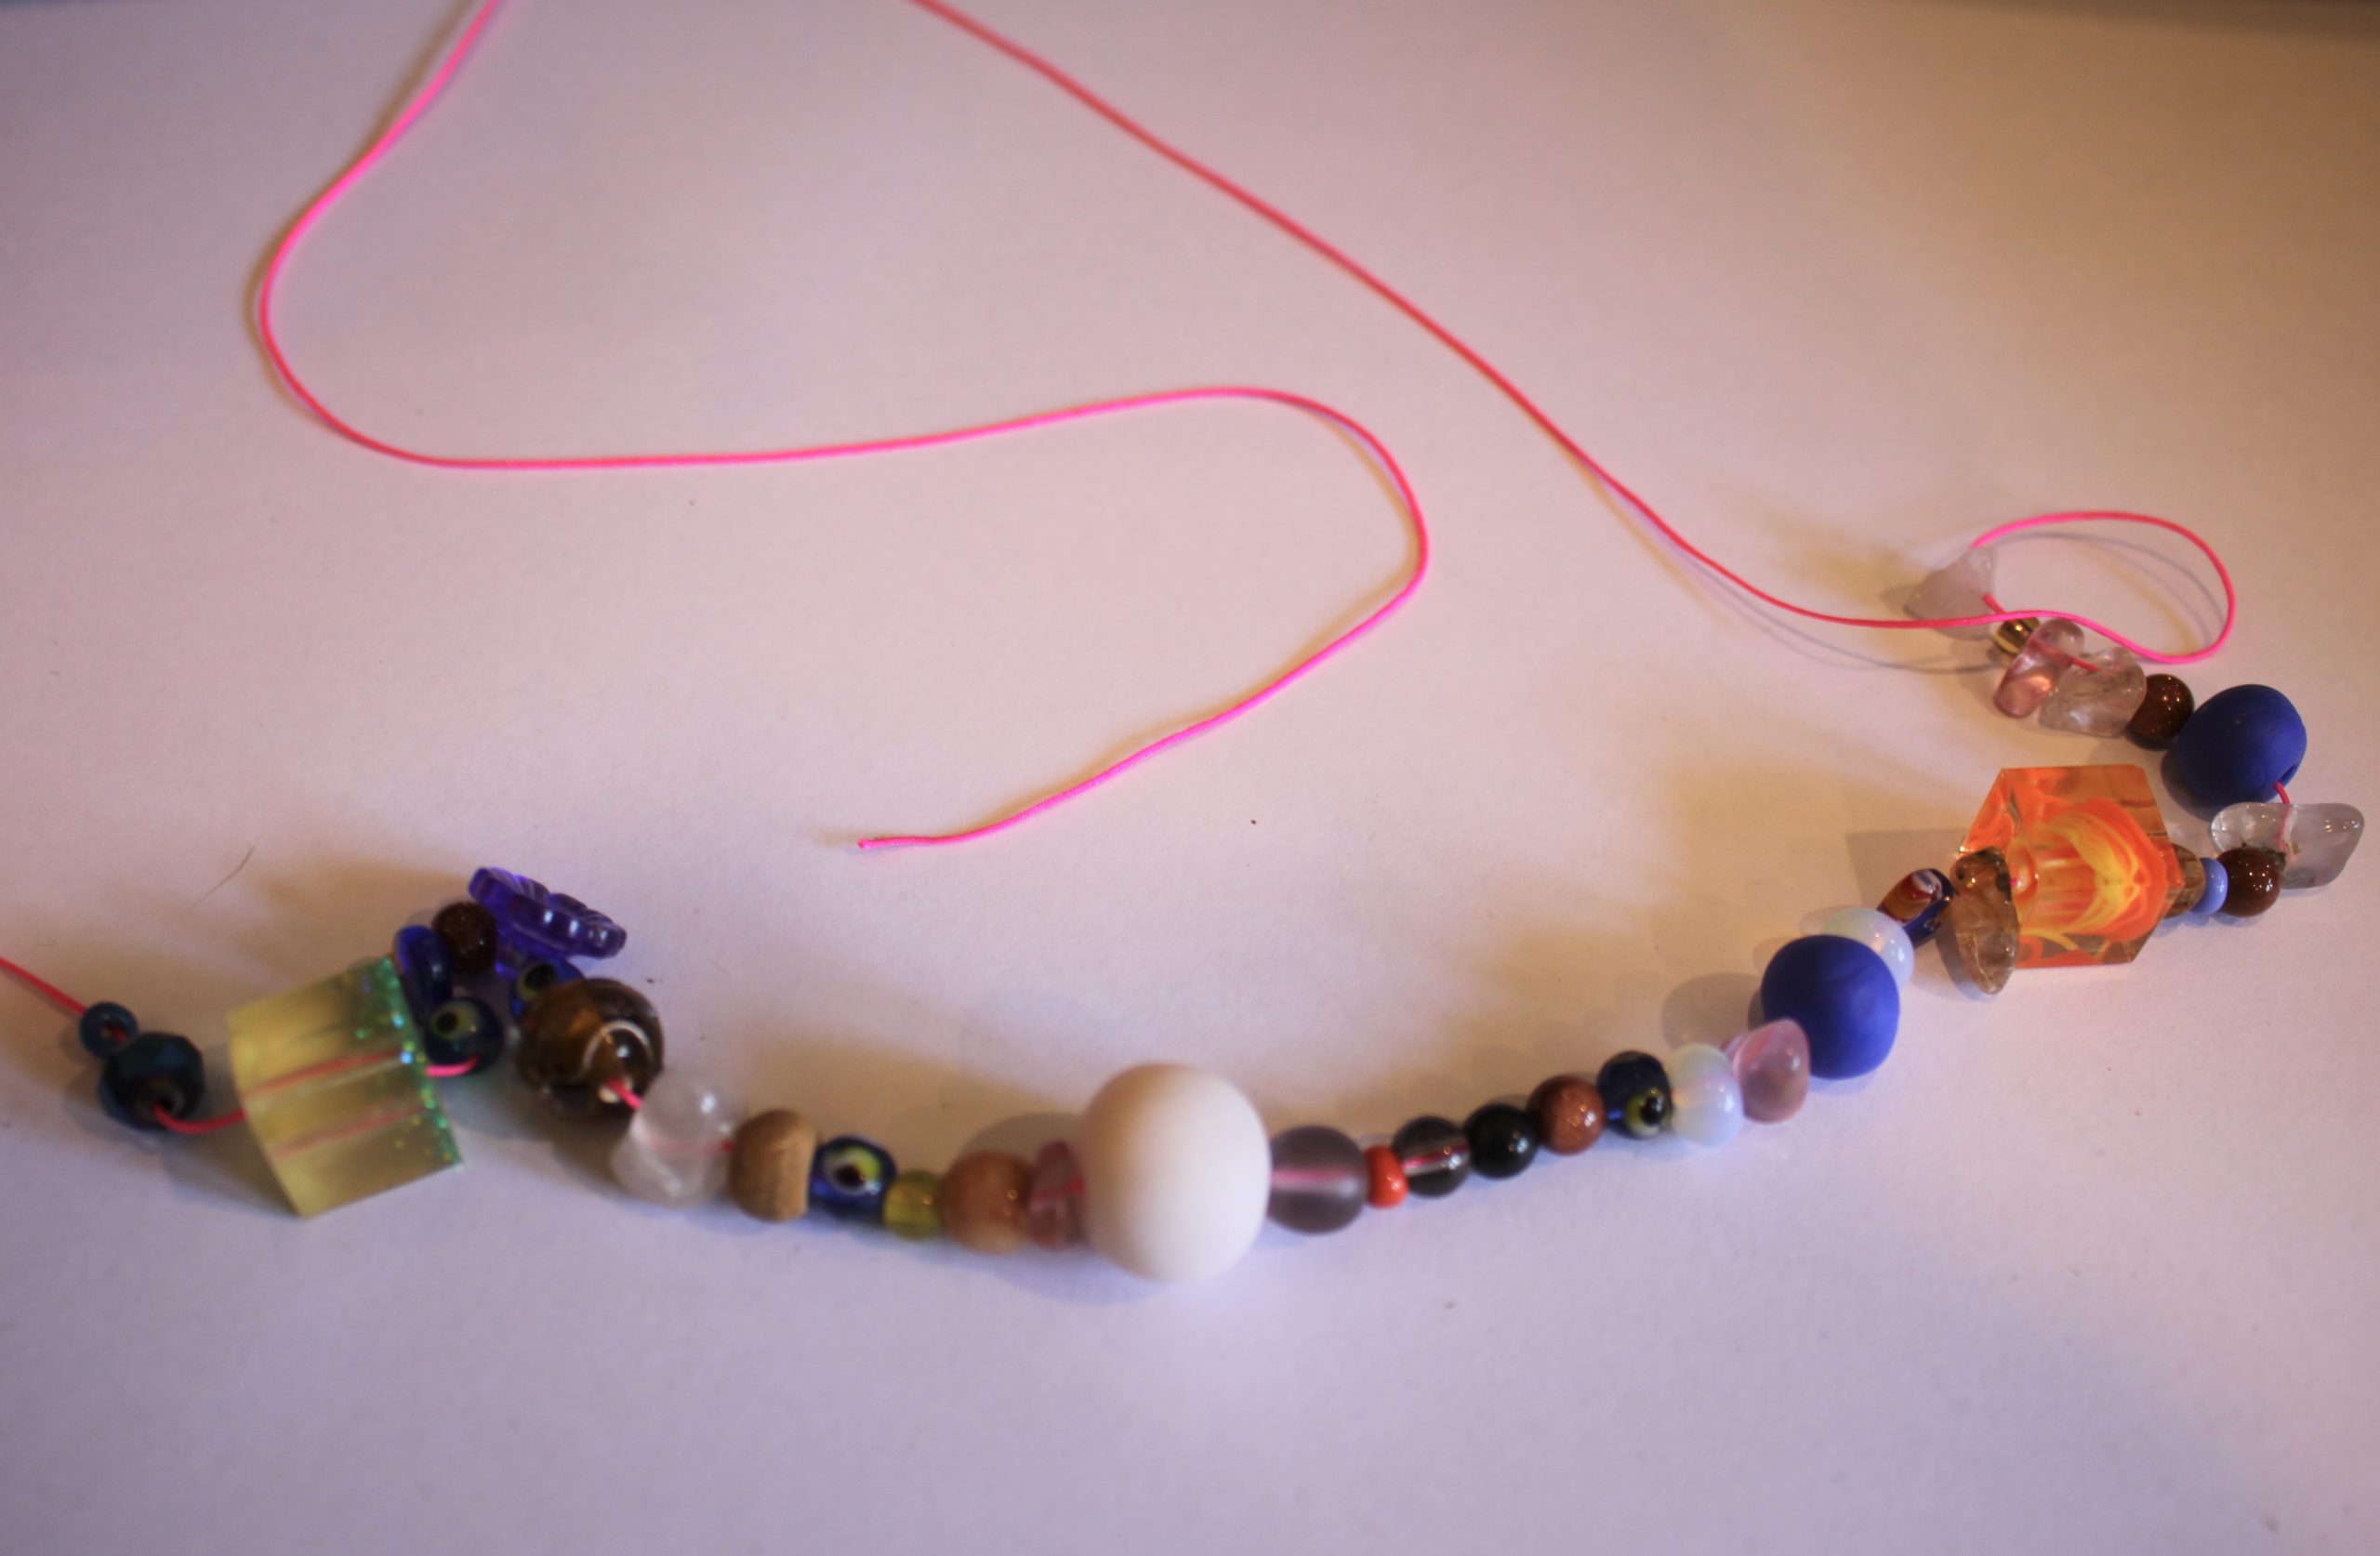
1: Add the beads to the string.

2: Tie the end of the string to the clasp and secure with a knot.


3: Create a slip knot and slide it over the crochet hook. Pull it tight around the hook.

4: Take the longer part of the string and loop it over the hook in front of the first loop. Pull the first loop over the second one to start the chain.
5: Do step 4 a few more times until you have the start of a chain.
6: Add the first bead. Do this by pulling the bead up close to the hook and then looping the thread over the top so that the bead is tight against the left side of the hook.
7: Pull the back loop over the one with the bead to secure it in place.

8: Continue making the chain, adding beads as you see fit until you reach a length you like.

9: Cut the thread and add the end through the last loop to secure the end of the chain.


10: Tie the end of the thread around the jump ring.


11: Trim the excess thread and secure the knots with dabs of superglue.

Now your crochet bracelet is finished! How cool and fun?


-
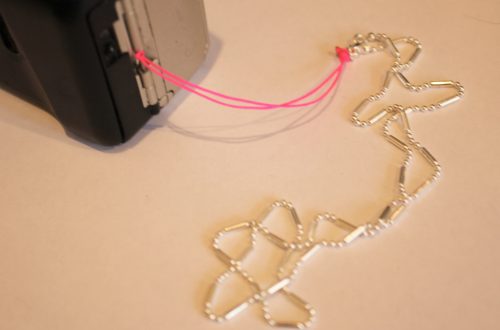
Here’s how to turn a chain into a lariat that holds your wireless ear buds
Wireless headphones allow you to roam freely, but they can also get lost easily, so here’s a tutorial that shows you how to make a chain that holds your headphones, can can also be worn as a lariat necklace when you’re not using it. How handy? Please note that this tutorial contains affiliate links for which this website may receive a commission.
You’ll need the following tools and materials to make this lariat.
1: A chain. I used this silver tone snake chain that is quite long. Make sure you have some jump rings to add to either end or that the chain necklace already has them in place.

You can get a similar chain here:
You can purchase jump rings here:
2: Two hair elastics.

You can get some here:
3: Wireless earbuds. Hopefully you already have these 😉

Follow these steps to make your headphone holder lariat:
1: Take one of the hair elastics and slide it through the jump ring at one end of the chain.

2: Loop one end of the elastic through the other and pull it tight around the end of the chain. Add a knot above it to secure the elastic in place.


3: Add a knot in the middle of the elastic, make it sit closer to one end so that it is small enough to sit tightly around your ear bud.

4: Repeat steps 1-3 for the other end of the chain.


Once you have both elastics in place, your ear bud holder lariat is ready to use. Slide the elastic around each of your ear buds and pop them in your ears. When The ear buds are in use, the chain will hang around your shoulders like a glasses chain, when you are finished, you can pull the ear buds out of your ears and loop the chain around your neck like this. So handy!


If you want some other ideas for how to keep track of your headphones you can check out these tutorials.
-
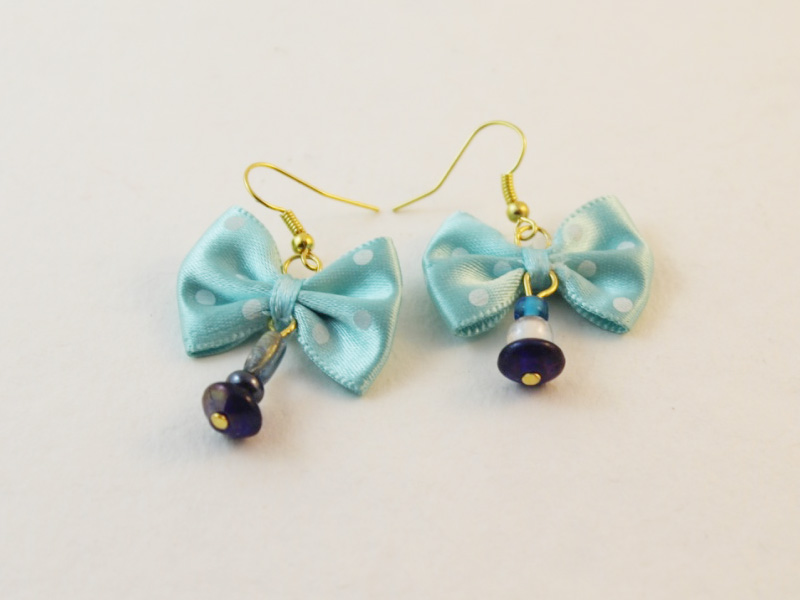
Got some spare ribbon lying around? Turn it into a crochet phone strap!
Phone straps are so useful for keeping hold of your phone, and making sure you don’t drop it on your face. Instead of buying a generic strap, why not try crocheting your own out of some interesting ribbon? This tutorial is a simple crochet chain that is finished off with a bow, a perfect afternoon craft! What ribbon will you choose? Please note that this tutorial contains affiliate links.
You’ll need the following tools and materials to make your crochet phone strap:
1: A ribbon that is about 1m to 1.5m long. I used this ribbon that was left over from a gift.

You can get some similar ribbon here:
2: A crochet hook. If you ribbon is thicker I recommend using a thicker hook, if it is thinner, use a thinner hook. I used a 6mm crochet hook.

You can get a crochet hook here:
3: A pair of scissors for trimming your ribbon if you need too.
You can get some here:
4: A phone charm strap.

You can get something similar here:
Follow these steps to make your crochet ribbon phone strap:
1: Create a slip knot at one end of the ribbon, leaving enough length for tying the bow at the end.

2: Put the knot over the crochet hook and pull it tight.

3: Take the long end of the ribbon and loop it over the hook in front of the first knot.

4: Take the first loop and pull it over the second one you just made. This is the start of the crochet chain.

5: Continue step 3 and 4 to continue forming the chain.

6: When your chain is long enough, thread the end of the ribbon through the end loop and pull it tight.

7: Trim any excess ribbon so that both ends are the same length.
8: Tie the ends of the crochet chain around the end of the phone charm strap.

9: Tie the ends into a bow.

Now your phone strap is finished and ready to use! How handy and satisfyingly simple to make!


-
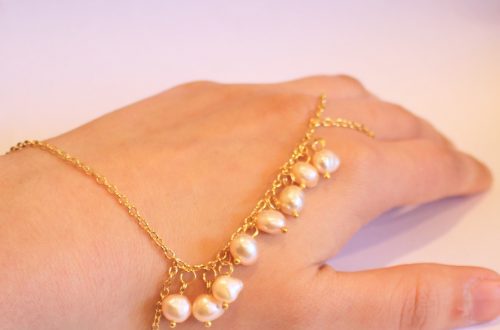
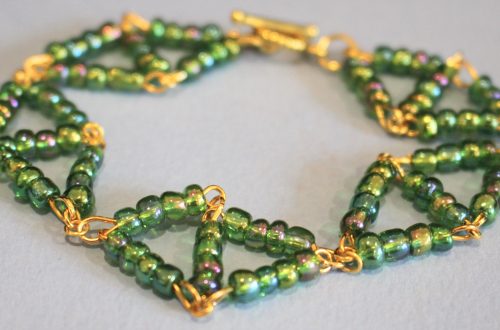
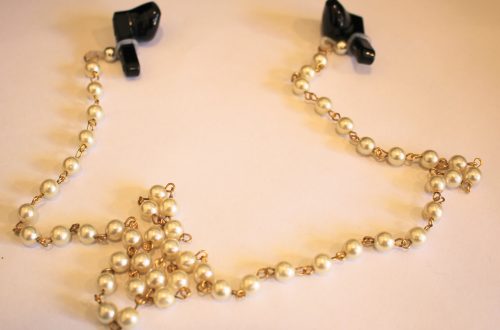
Got two bracelets but want a necklace? Here’s how to convert what you’ve got into something new!
This is a simple tutorial that shows you how to turn two existing bracelets into a choker-length necklace! What a fun way to make your jewellery collection more versatile. Please note that this tutorial contains affiliate links.
You’ll need the following tools and materials to make your necklace:
1: Two bracelets, make sure they are long enough when clipped together to fit around your neck. I used a silver chain bracelet and a beaded bracelet.

Here are some silver bracelet options you can buy:

Here are some pre-made options you can buy:
and if you feel like making your own, you can follow this tutorial.
2: A charm, this is optional but you can clip a charm on for extra personality. I used this copper electroformed tiger’s eye pendant.

You can get a tiger’s eye charm here:
Follow these steps to make your necklace out of bracelets:
1: Unclip the ends of your bracelet.

2: Latch one of the bracelet clasps to the other end of the other bracelet, you will have a long strand now.

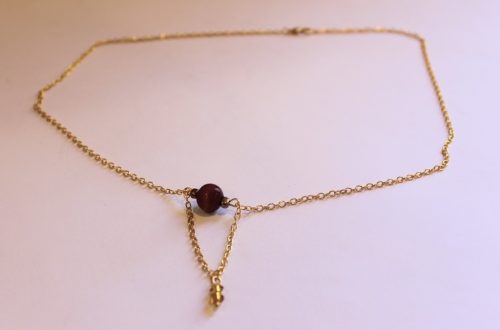
3: If you are adding a charm, slip it onto the clasp at the other end of the strand you just made.

4: Clip the ends of the strand together to form a choker, you can wear it with the charm at the front like this or without the charm for a mixed material effect.


Here’s what it looks like on

And here’s what it looks like without the charm.

What bracelets will you use to make your choker necklace?
If you love using your existing jewellery to make something new, here’s another tutorial for you:
- Turn an old ring into a pendant here and here
- This tutorial shows you how to swap earring hooks for charm connector studs to transform your earrings
- This tutorial shows you how to turn an old jar into jewellery storage