-
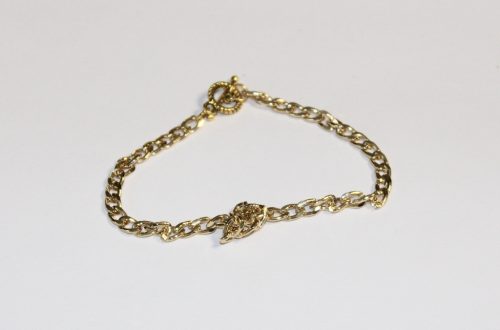
Do you want a quick DIY? Here’s how to make a simple and fast knot chain bracelet.

This DIY is super duper quick and easy, all you need to do is tie a knot in some chunky chain and add a clasp! So simple and cool. I think this bracelet would make a great gift for the minimalist jewelry lover in your life.
You’ll need to use these tools and materials to make your knot chain bracelet:
1: Pliers. Round nose pliers and flat nose pliers will be useful for this DIY bracelet.


2: A piece of chain slightly longer than you would need to fit your wrist. I used this chunky gold chain.

3: Two jump rings. I used gold to match the chain.

4: A toggle clasp. I used a gold clasp to match the rest of my materials.

Now here are the steps to follow to make your knot chain bracelet.
1: Form a basic knot in the chain.
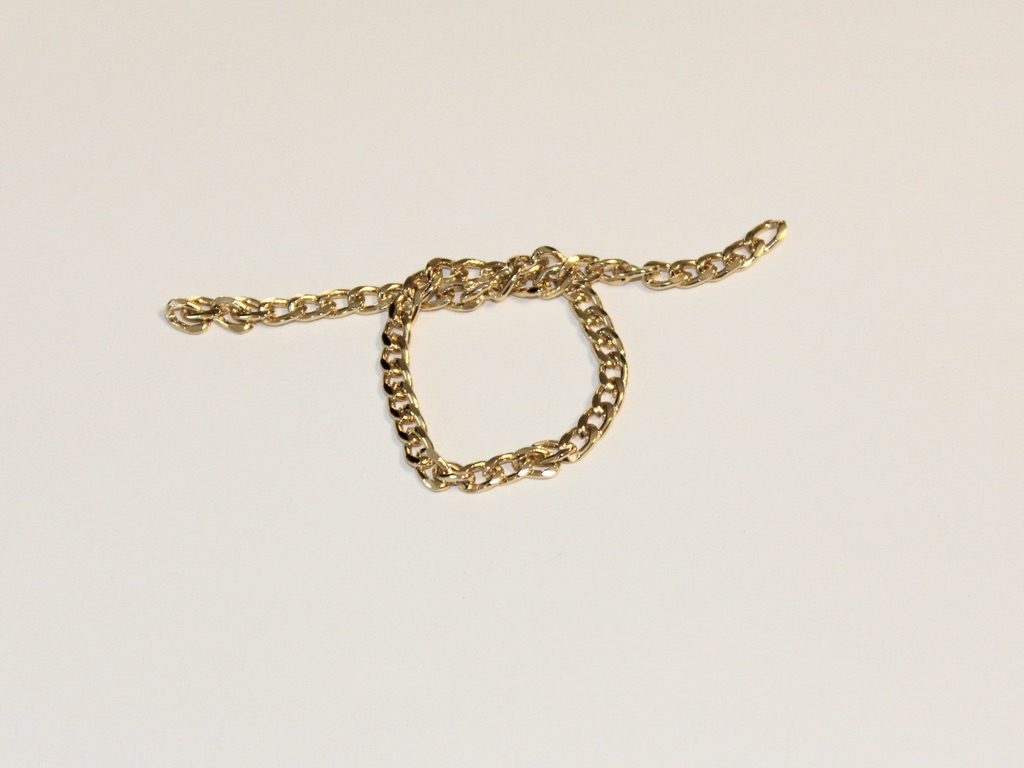
2: Pull the ends of the chain to tighten the knot. You might need to shift it slightly to make sure that the knot is in the middle.

3: Add one of the jump rings to one side of the knotted chain.
4: Add one side of the toggle clasp to the open jump ring. Close the jump ring using your pliers to secure the toggle component to the chain.
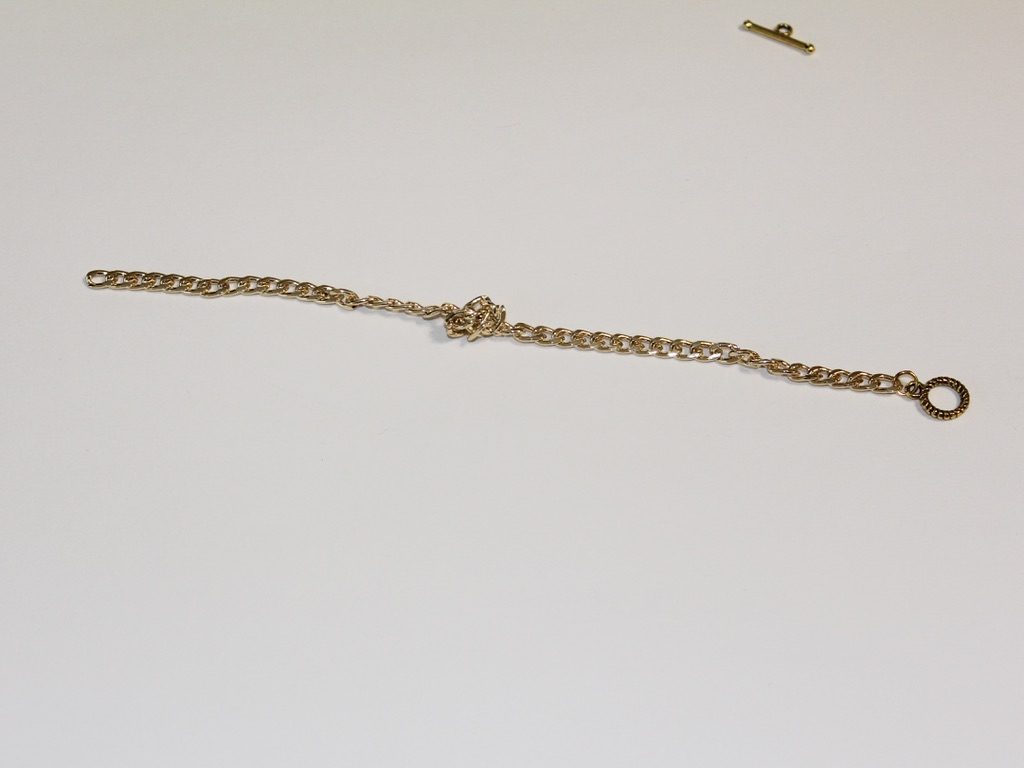
5: Add the other jump ring to the other side of the chain and attach the remaining toggle clasp component.
6: Close the second jump ring to secure the second part of the toggle clasp. Now that the clasp is in place your knot chain bracelet is ready to wear!

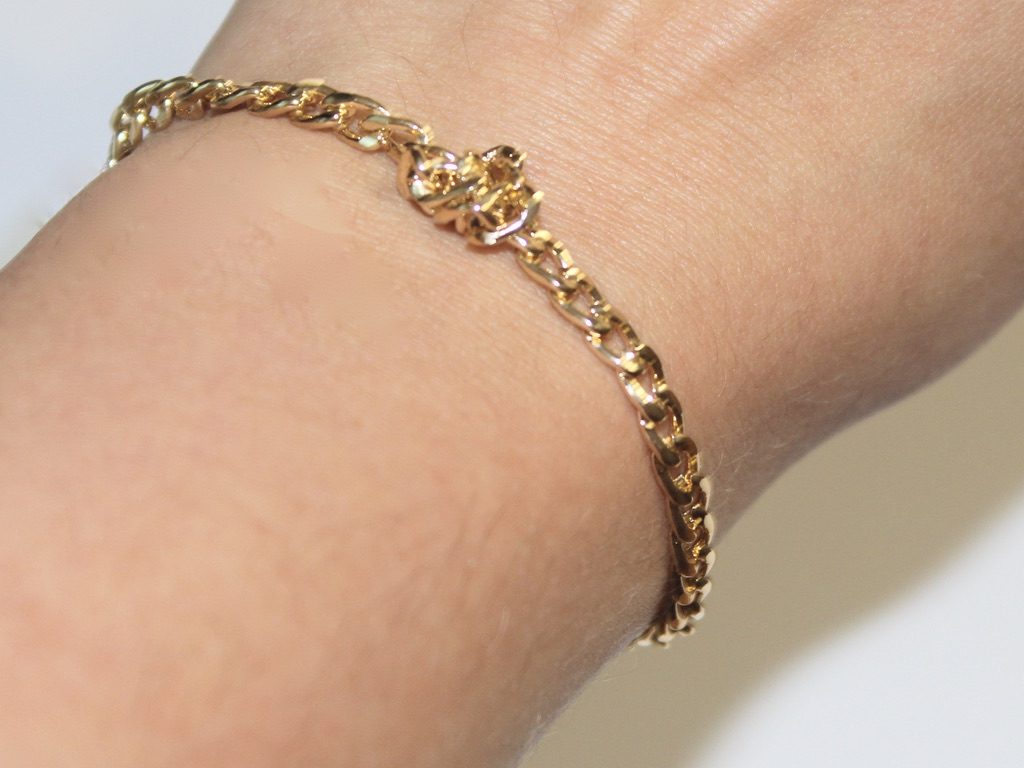
So cute!!!!! How perfect is this DIY for when you need a new accessory ASAP?!

Here are some other chain bracelet tutorials:
- A beaded chain bracelet
- Double chain bracelet
- Bead and chain bracelet
- Bar charm chain bracelet
- Velvet and chain bracelet
- Chain charm bracelet
This tutorial contains affiliate links.
-
One more way to upcycle those headphones… a double strand headphone bracelet!
This bracelet is another way you can upcycle your broken headphones. You can check out the other headphone upcycling tutorials here and here.
Follow these steps to make a double strand bracelet out of headphones:
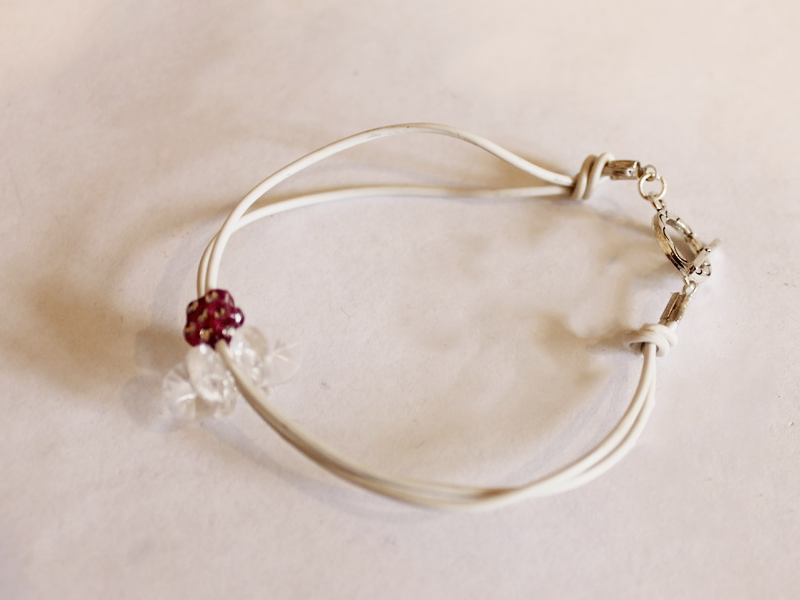
You’ll need the following tools and materials to make your double strand headphone bracelet:
1: Pliers. You’ll need your cutting pliers, flat nose pliers and round nose pliers.

2: A pair of broken headphones.

3: Some beads. I used these two plastic beads from my childhood bead collection.

4: Some leather crimp ends.

5: Two jump rings.

6: A toggle clasp.

Follow these steps to make your double strand headphone bracelet.
1: Cut a strand of cord from the headphones. I used the part between the ear bud and the split point.


2: Fold the cord in half and cut it so you have two pieces.


3: Add beads to each of the cords.

4: Hold the ends of the cords together and secure them with the crimp end, folding it around the cords using the flat nose pliers.


5: Repeat step 4 for the other side.

6: Attach the toggle clasp components to either side of the bracelet using the jump rings.

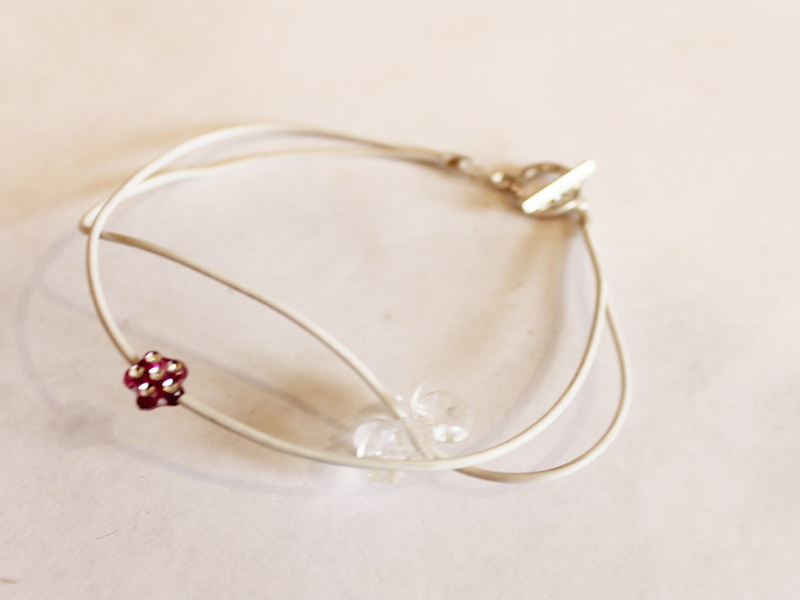
7: Depending on the length of your cords you might need to add some knots to either end to shorten the bracelet.
Now your double strand headphone bracelet is finished! How fun!
-
How to upcycle your old broken headphones into a bracelet!

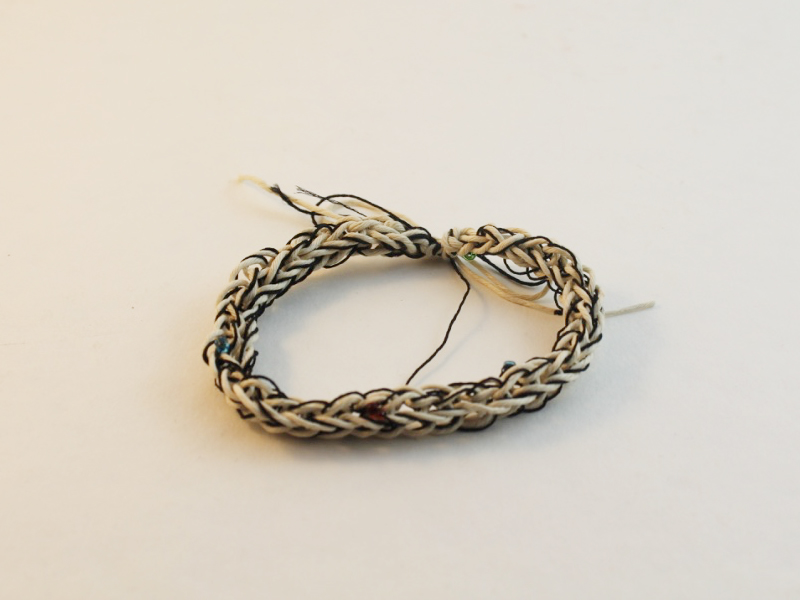
I have a load of broken headphones, if you’re like me and don’t want to chuck them in the bin, here’s a way to upcycle them… turn them into a beaded finger-knit bracelet. Contains affiliate links.
You will need the following tools and materials to make your headphone bracelet:
1: Pliers. You’ll need cutting pliers, round nose pliers and flat nose pliers.
2: A pair of broken headphones. I used these broken apple headphones.

3: Some beads with large holes. I used these yellow plastic heart beads.

4: Two crimp ends.

5: Two jump rings.

6: A toggle clasp.

Follow these steps to make your headphone bracelet:
1: Clip the headphones so that you have one long thread.

2: Create a slip knot at one end of the headphone cord.

3: Put the knot around your finger and loop it again right next to the first loop. If you need a refresher on how to finger knit check out this video tutorial.

4: Pull the first loop over the second one and off your finger.
5: Add a bead to the next loop and repeat steps 3 and 4.

6: Continue this until your finger knitting is long enough to fit your wrist.
7: Knot the end of the finger knitting to secure it.

8: Add a crimp end to both ends of the headphone cord.


9: Attach the toggle clasp using the jump rings.


Now your upcycled headphone bracelet is ready to wear!

https://flic.kr/p/RqQsqF
-
Here’s how to turn those shopping bag cords into cool wrap bracelets!

Do you ever think about what to do with those handles that come on paper shopping bags? Here’s how to turn some trash into treasure…
You will need the following tools and materials to make your wrap bracelet:
1: Pliers. Some flat pliers and round nose pliers.
2: Two flat crimp ends.

3: Two medium sized jump rings.

4: A toggle clasp.

5: A charm. I used this bead charm that I had made earlier.

6: Some cord from a paper shopping bag. The piece I had was long enough to wrap three times around my wrist.

Follow these steps to make your cord wrap bracelet:
1: Squash a crimp end around each end of the cord, secure each in place by squeezing it using the flat nose pliers.

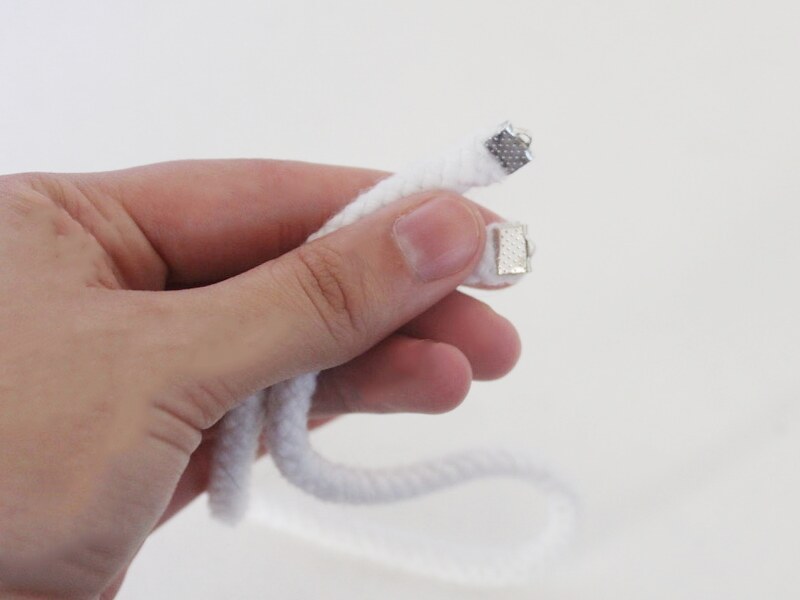
2: Add a jump ring to the end of one crimp and slide on part of the toggle clasp. Close the jump ring to secure the clasp in place.


3: Add the charm to the jump ring.


4: Add the other jump ring and the remaining part of the toggle clasp to the other side of the cord.


Once the remaining toggle component is attached to the cord your bracelet is finished and ready to wear! I think that’s a pretty cool way to save some usable materials from finding their way to the garbage.

-
Need Some Ideas for a Special Valentine’s Day Gift? Why Not Make One of these special pieces?
Nothing’s more romantic than a handmade gift for your loved one on a special occasion! Here are some DIY gift ideas for this Valentine’s Day.
1: Handmade Cufflinks
Use some special charms or some vintage buttons to make some one of a kind cufflinks for that special someone in your life. Click here for the the full tutorial.


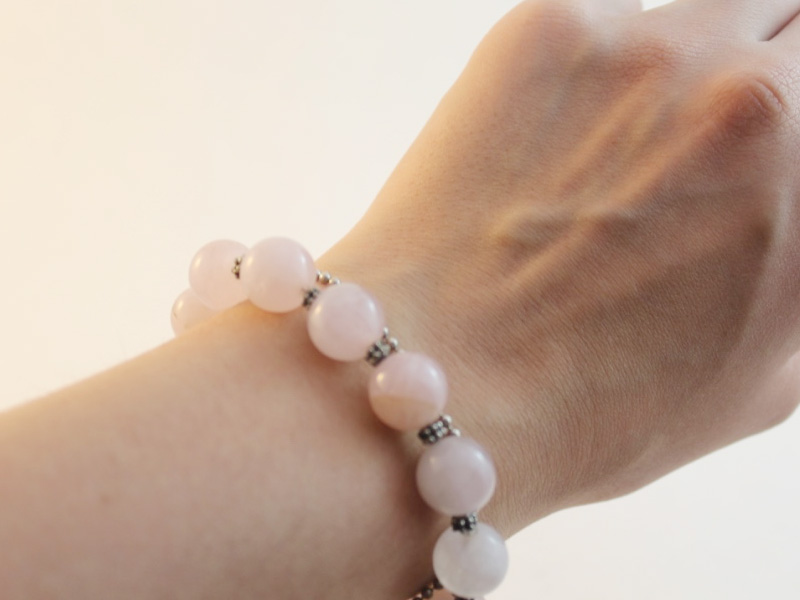
2: A Rose Quartz Bracelet.
Rose Quartz is a crystal synonymous with love, which makes it perfect for a Valentine’s gift! Here’s the full tutorial.
3: A Custom Charm Bracelet.
Is there anything more sentimental and romantic than a charm bracelet full of special and meaningful charms? Here’s how to make an adorable charm bracelet.

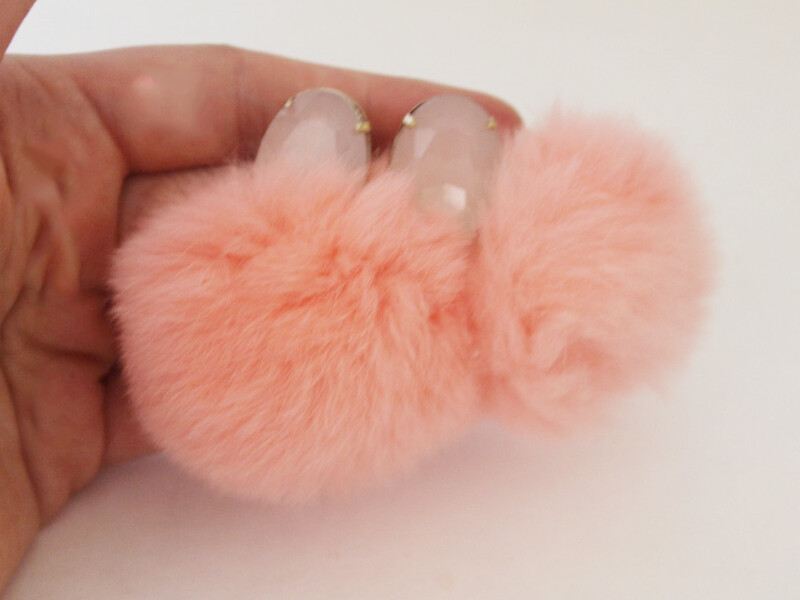
4: Some Pink Pom Pom Earrings.
These earrings are fuzzy, flirty and the perfect Valentine’s gift for a fun loving pal. Here’s the full tutorial.
So there you go! Four ideas for special and sentimental Valentine’s gifts. Which one will you make?
-
Make your jewellery work for you, this necklace is also a bracelet!

This choker necklace can also be worn as a cool bracelet. It’s super cool and easy to make.
You will need the following tools and materials to make your choker/bracelet:
1: Pliers. You will need your flat nose pliers, round nose pliers and cutting pliers to make this choker/bracelet.
2: A piece of leather or faux leather long enough to fit closely around your neck.

3: Two flat crimp ends.

4: Two jump rings.

5: A toggle clasp.

6: A head pin.

7: A bead or charm of your choice. I used this glass bead.

Follow these steps to make your convertible choker bracelet:
1: Add a crimp to each end of the leather, securing it in place by squeezing it around the leather using the flat nose pliers.


2: Add a jump ring to one end and attach one part of the toggle clasp.


3: Add the other jump ring and the second part of the clasp to the other end of the leather.


4: Put the bead onto the head pin.

5: Bend the head pin so that it is at a right angle to the bead using the round nose pliers.


6: Trim the end of the pin if required (it should extend approximately 1cm from the top of the bead). If no trimming is required, curl the pin into a loop using the round nose pliers.


8: Open the charm loop slightly and attach the charm to one of the jump rings that connects the leather and the clasp.

9: Close the charm loop to secure it in place. Once your charm is secured in place your creation is ready to wear, either as a choker or a bracelet!

Here’s the design worn as a bracelet.


And here it is as a choker necklace.

-
The double hole bead is back! This bracelet is delicate and adorable.

The double hole bead strikes again! Make a bracelet to match your necklace using a double hole bead and some delicate chain.
You will need the following tools and materials to make your bracelet:
1: Pliers. You will need your round nose pliers, flat nose pliers and cutting pliers to make this bracelet.
2: Two small eye pins.

3: Two pieces of chain that fit comfortably around your wrist (maybe a bit on the tight side).

4: Two jump rings.

5: A toggle clasp.
6: A bead of your choice that has two holes. I used this blue glass bead.

Follow these steps to make your bracelet:
1: Add one of the pins to one of the holes in the bead.

2: Bend the pin at a right angle to the bead using the round nose pliers.

3: Loop the pin to secure it on the bead using the round nose pliers.

4: Repeat steps 1-3 for the second pin.

5: Add a piece of chain onto one of the pin loops.


6: Add the other side of the chain to the corresponding pin end on the other side of the bead.

7: Repeat steps 5-6 for the second piece of chain.

8: Split both chains in the middle opposite the bead charm.

9: Use a jump ring to attach two parallel chains together and add one part of the toggle clasp. Close the jump ring to secure the clasp component in place.


10: Repeat step 9 for the other side of the bracelet, securing the remaining clasp component in place.


Now your bracelet is finished! How cute is it?!

-
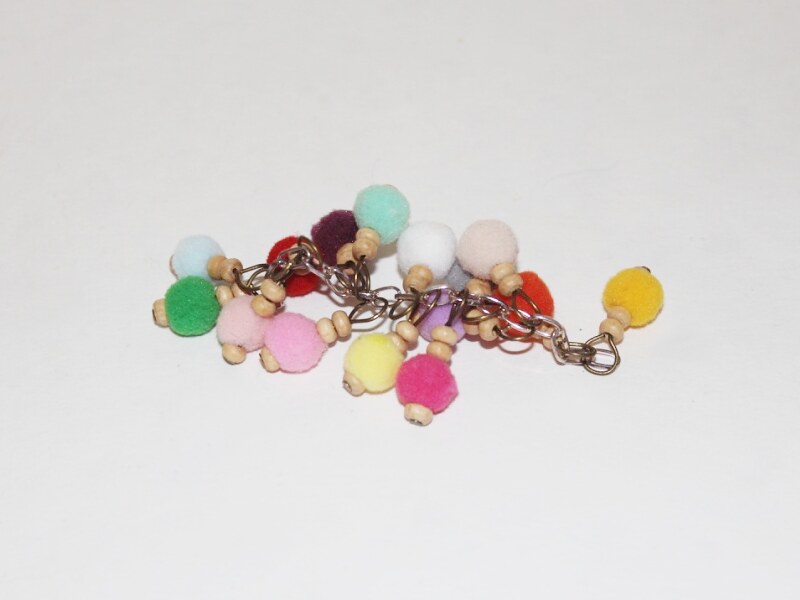
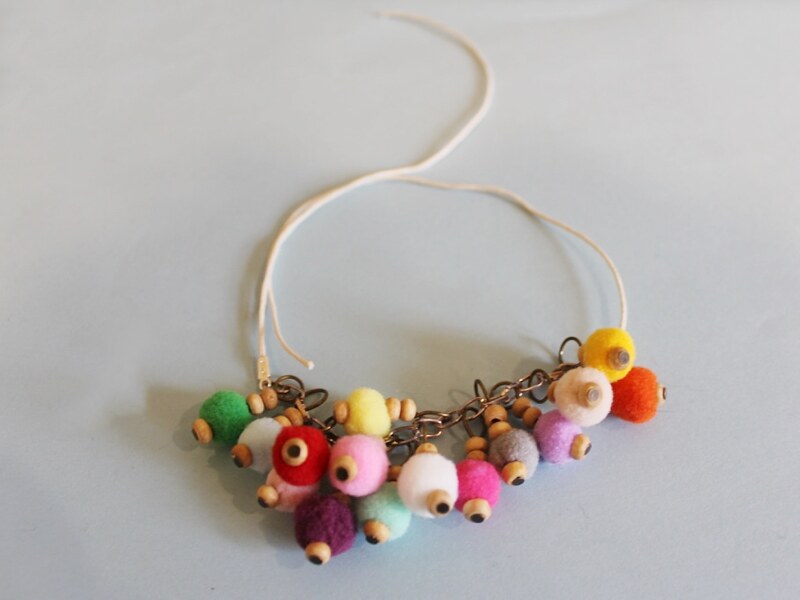
This Pom Pom Charm Bracelet is a Whole Lotta fun!
This pom pom charm bracelet is so much fun to put together and even more exciting to wear! Contains affiliate links.
You will need the following tools and materials to make this bracelet:
1: Pliers. You will need your round nose pliers, flat nose pliers and cutting pliers to make this bracelet.
2: A short piece of chain.

3: Two pieces of string cut to the same length.

4: Two leather crimp ends.

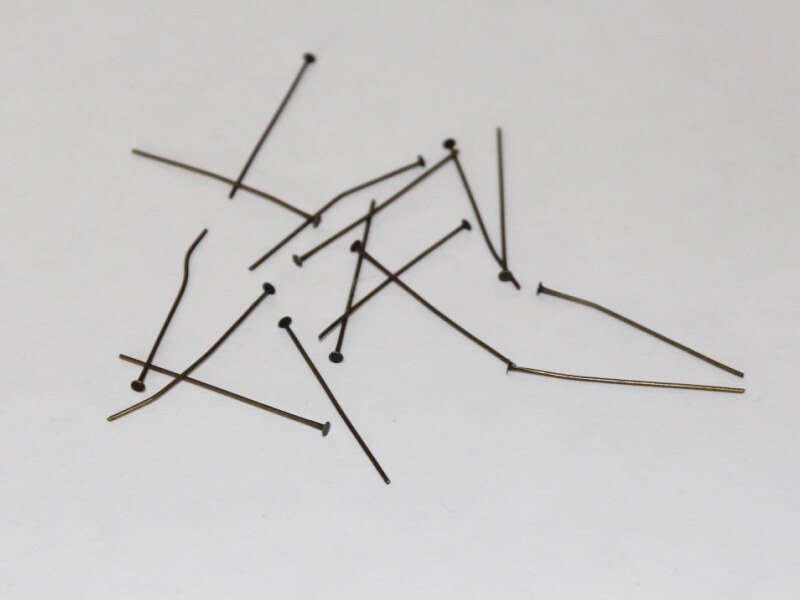
5: Head pins. I used 15 head pins so that I could add one charm to each link of the chain.
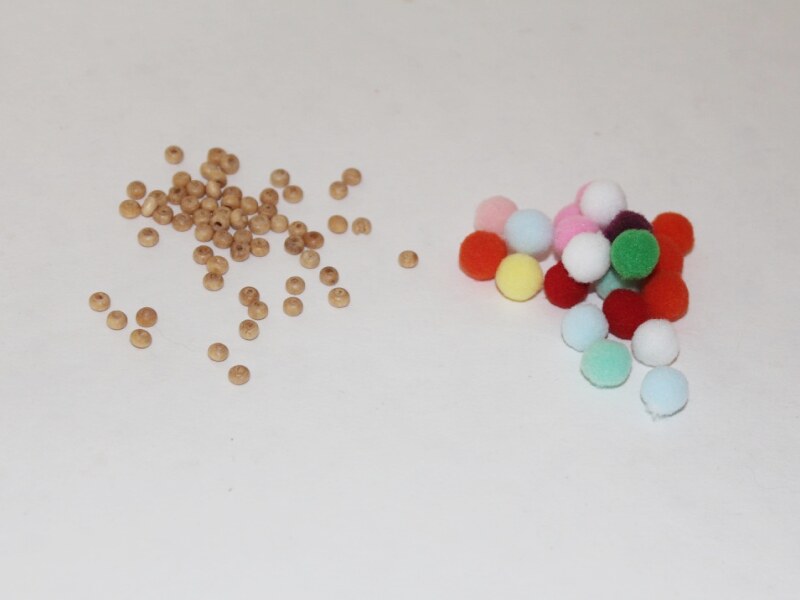
6: Pom Poms and beads of your choice. I used these small multi-colored pom poms and some small timber beads.
Follow these steps to make your pom pom bracelet:
1: Add the beads and pom poms to each of the head pins.
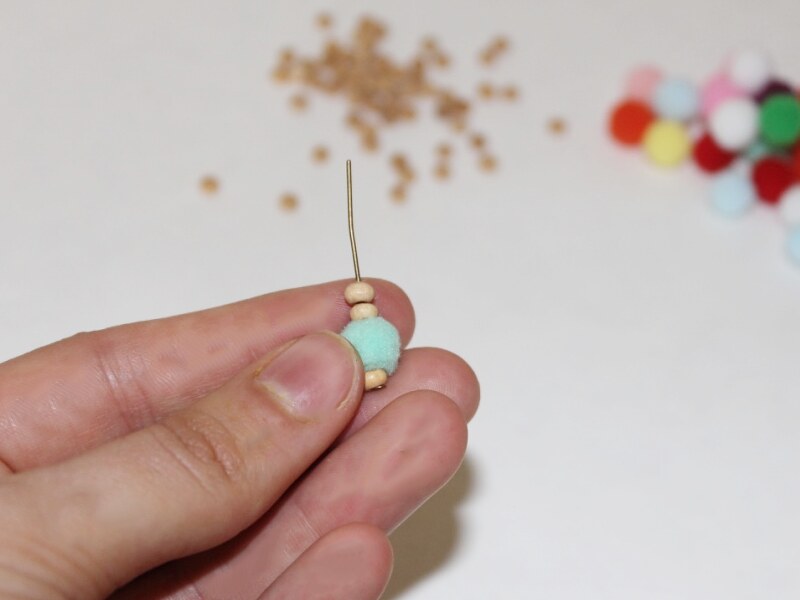

2: Bend each pin to form a right angle using the round nose pliers.
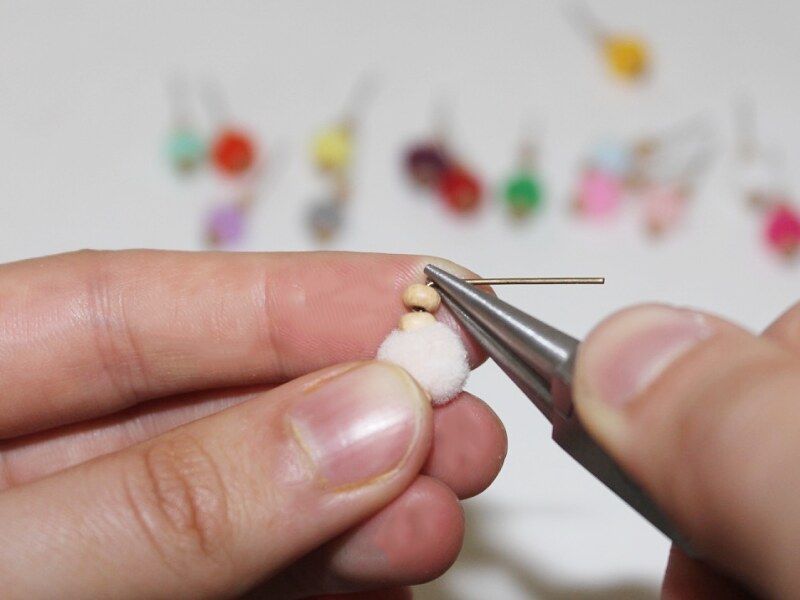
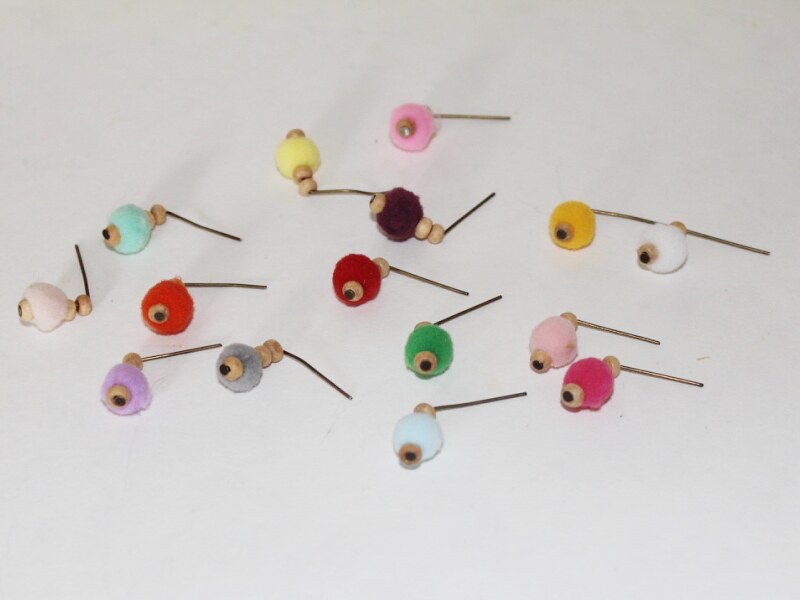
3: Form a loop at the top of each pin using the round nose pliers.
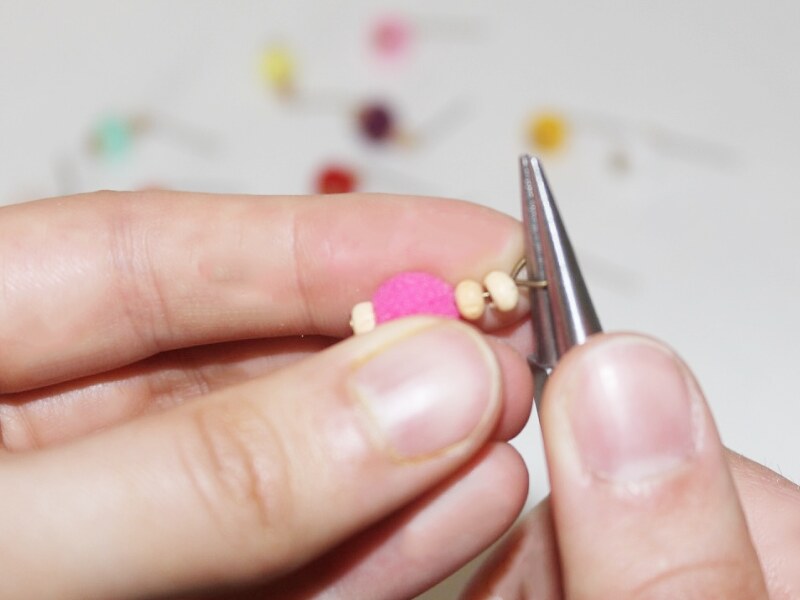
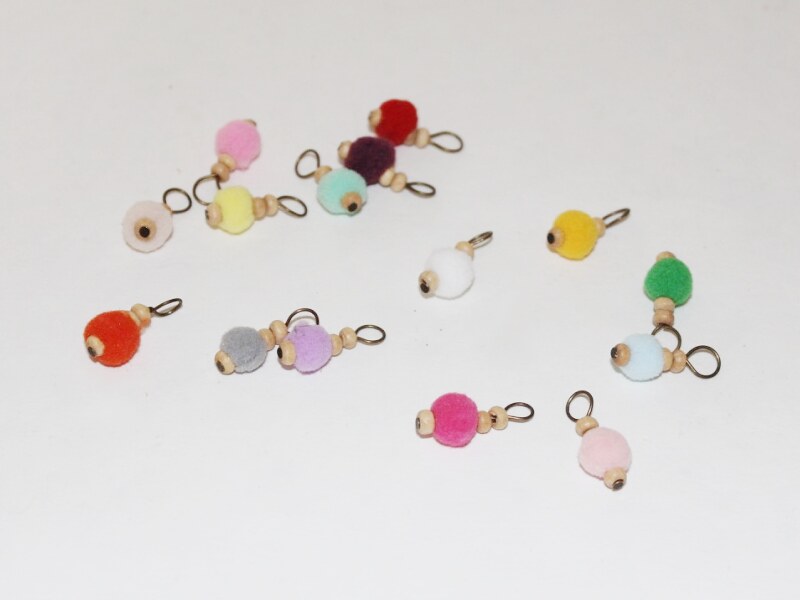
4: Add each of the pom pom charms to a link on your chain. I left the links on each end empty.
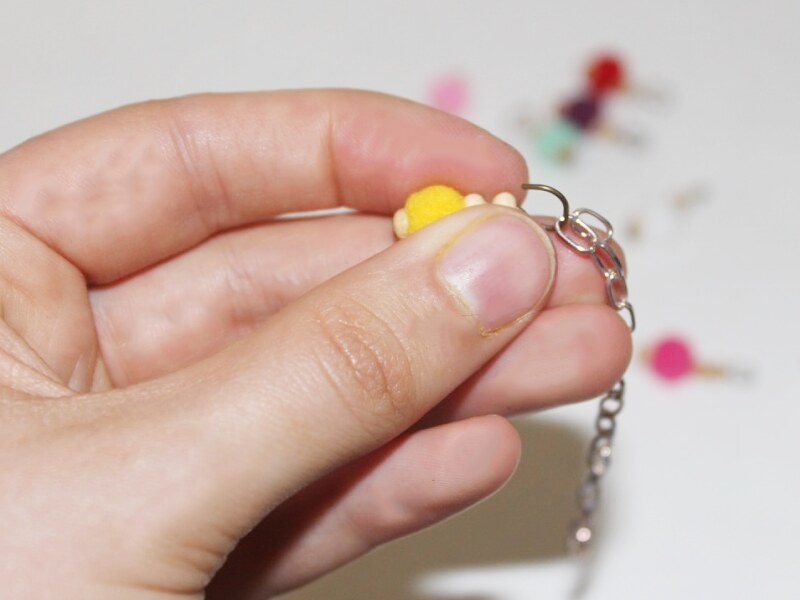
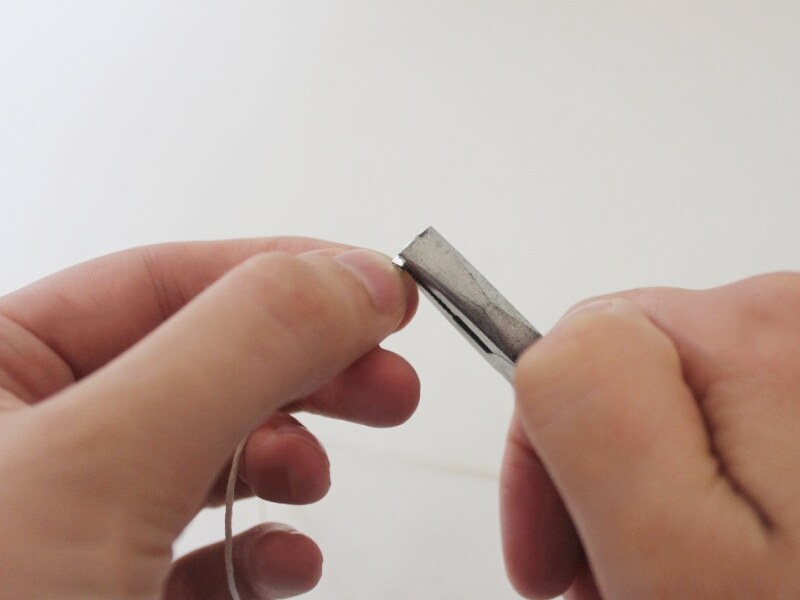
5: Add a crimp end to each of the strings, leaving one end open.
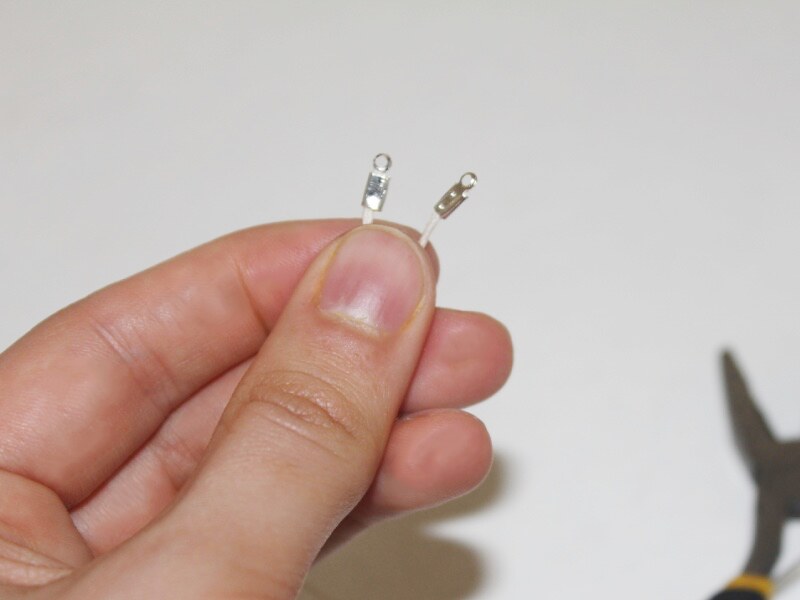
6: Attach the strings to either end of the chain by opening the chain links or using some jump rings.
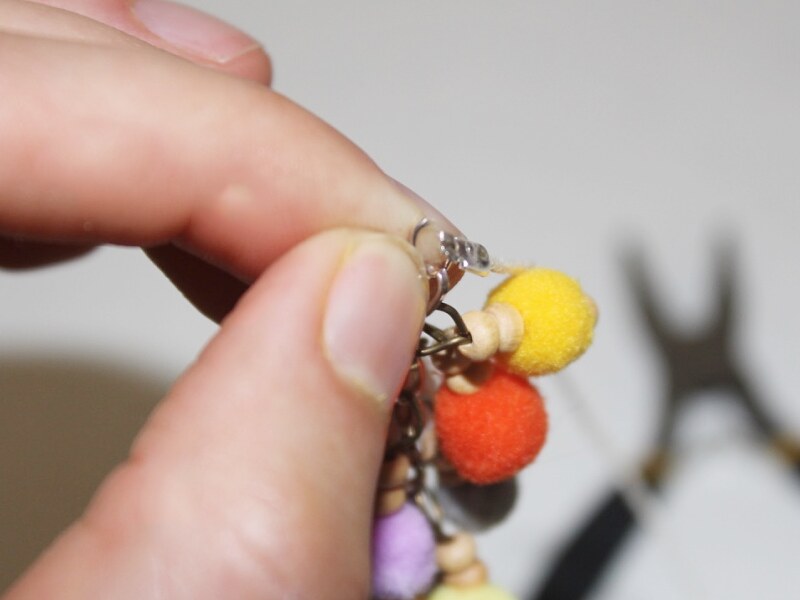
Once the strings are attached your bracelet is finished and ready to wear!


-
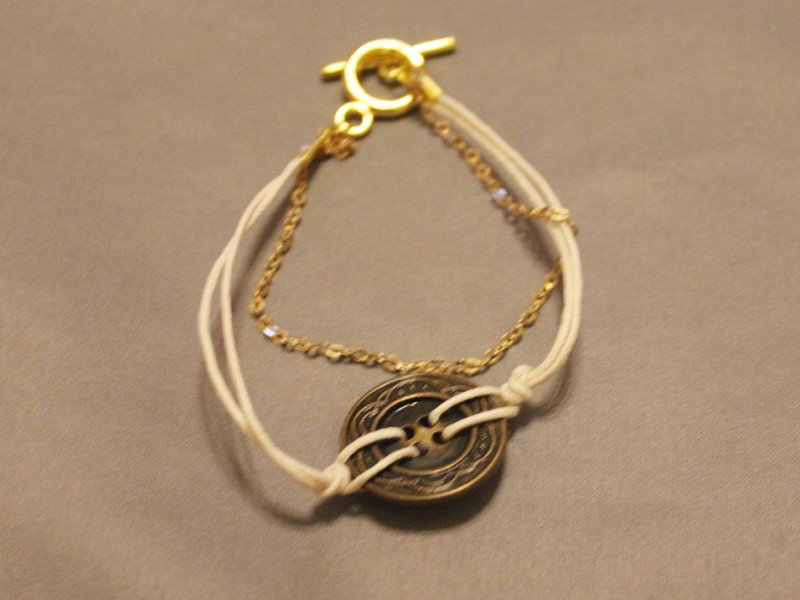
Do You Have Some Mismatched Buttons Lying Around? Why Not Make These Button Bracelets?

These button bracelets are really easy to make and they look great! Use some vintage buttons to give your bracelets an extra unique edge.
You will need the following tools and materials to make this bracelet:
1: Pliers. You will need your round nose pliers and flat nose pliers to make this bracelet.
2: scissors for trimming your string.

3: Two pieces of string.

4: A button with four holes.

5: Two leather crimp ends.

6: Two jump rings.

7: A toggle clasp.

Follow these steps to make your bracelet:
1: Fold one piece of string in half. Feed both ends of the string into two separate holes.

2: Feed the ends of the string through the loop you have formed and pull it tight.


3: Repeat this for the other side of the bracelet using the other piece of string, make sure you loop it the same way so that your knots match.

4: Add an extra knot to each piece of the string so it sits closely on either side of the button.


5: Measure the string around your wrist and trim the excess if required.


6: Add a crimp end to either side of the bracelet using the flat nose pliers.


7: Add a jump ring to either side of the bracelet and attach each end of the toggle clasp to finish your bracelet.


Here are some other button bracelets I put together using different colored buttons, string and chain.


-
Do you have some string sitting in your kitchen drawers? Why not turn it into a braided charm bracelet?
Here’s how to turn some household string into a cool braided charm bracelet! This bracelet is super easy to make and looks great with a casual summer outfit!
You will need the following tools and materials to make this bracelet:
1: Pliers. You will need your cutting pliers, round nose pliers and flat nose pliers to make this bracelet.
2: Two crimp ends.
3: Three pieces of string. Cut each to approximately 25cm (9.8 inches) long.

4: Two jump rings.
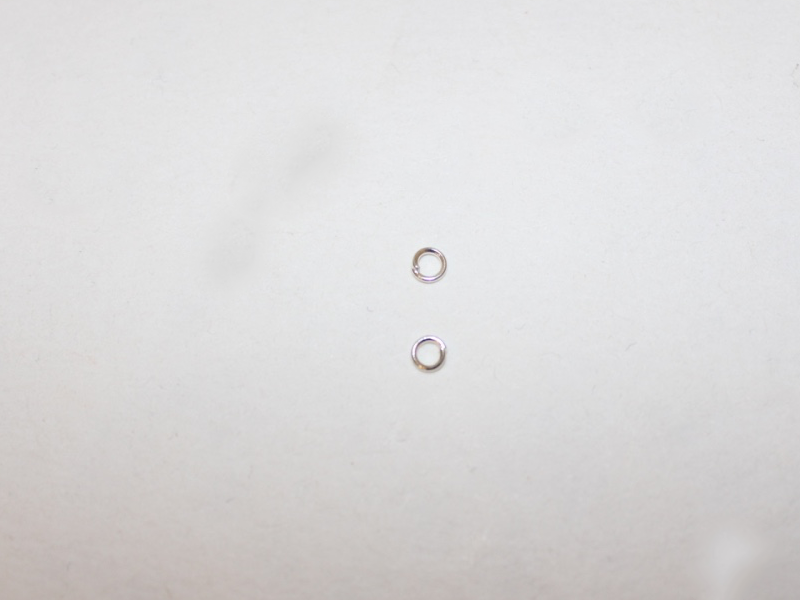
5: One large jump ring.

6: A clasp. I used this screw clasp.

7: Charms of your choice. I used this polymer clay charm and a wire charm that used to be an earring.


Follow these steps to make your bracelet:
1: Hold the ends of the three strings together and add a crimp end to secure them together. Add the crimp by folding it around the strings, squashing the sides down using the flat nose pliers as pictured.


2: Braid the strings until the bracelet reaches comfortably around your wrist.


3: Trim the strings using your cutting pliers or a pair of scissors.


4: Add the other crimp end to the end of the braid.


5: Add a jump ring to either side of the bracelet and attach the screw clasp, closing the jump rings to secure the clasp in place.


6: Add the charms to the large jump ring.

7: Add the large jump ring with the charms attached to one of the jump rings next to the clasp. Close the large jump ring to secure the charms to the bracelet.

Now that your charms are attached your fun summer beaded bracelet is finished!