-
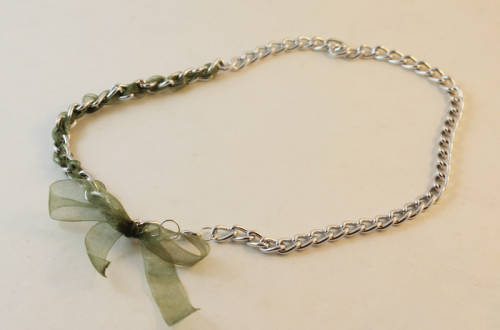
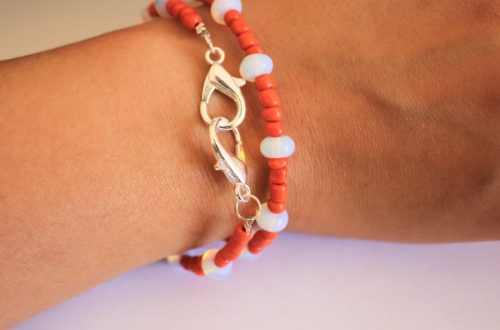
Got two bracelets but want a necklace? Here’s how to convert what you’ve got into something new!
This is a simple tutorial that shows you how to turn two existing bracelets into a choker-length necklace! What a fun way to make your jewellery collection more versatile. Please note that this tutorial contains affiliate links.
You’ll need the following tools and materials to make your necklace:
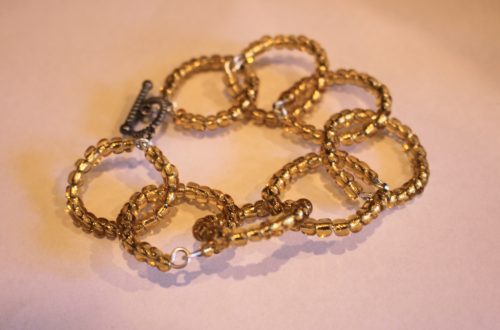
1: Two bracelets, make sure they are long enough when clipped together to fit around your neck. I used a silver chain bracelet and a beaded bracelet.

Here are some silver bracelet options you can buy:

Here are some pre-made options you can buy:
and if you feel like making your own, you can follow this tutorial.
2: A charm, this is optional but you can clip a charm on for extra personality. I used this copper electroformed tiger’s eye pendant.

You can get a tiger’s eye charm here:
Follow these steps to make your necklace out of bracelets:
1: Unclip the ends of your bracelet.

2: Latch one of the bracelet clasps to the other end of the other bracelet, you will have a long strand now.

3: If you are adding a charm, slip it onto the clasp at the other end of the strand you just made.

4: Clip the ends of the strand together to form a choker, you can wear it with the charm at the front like this or without the charm for a mixed material effect.


Here’s what it looks like on

And here’s what it looks like without the charm.

What bracelets will you use to make your choker necklace?
If you love using your existing jewellery to make something new, here’s another tutorial for you:
- Turn an old ring into a pendant here and here
- This tutorial shows you how to swap earring hooks for charm connector studs to transform your earrings
- This tutorial shows you how to turn an old jar into jewellery storage
-
Flowers are so pretty! Here’s how to make a beaded flower choker…
I’ve already shown you how to make a cute daisy chain necklace, but here’s a way to add a bit of edge to your floral bead designs… a daisy chain choker necklace! This tutorial gives you all the steps to follow to make a beaded choker necklace using glass seed beads and tiger tail wire. Please note that this tutorial contains affiliate links.
You’ll need these tools and materials to make your beaded flower choker:
1: Pliers. I used my cutting, round nose and flat nose pliers.

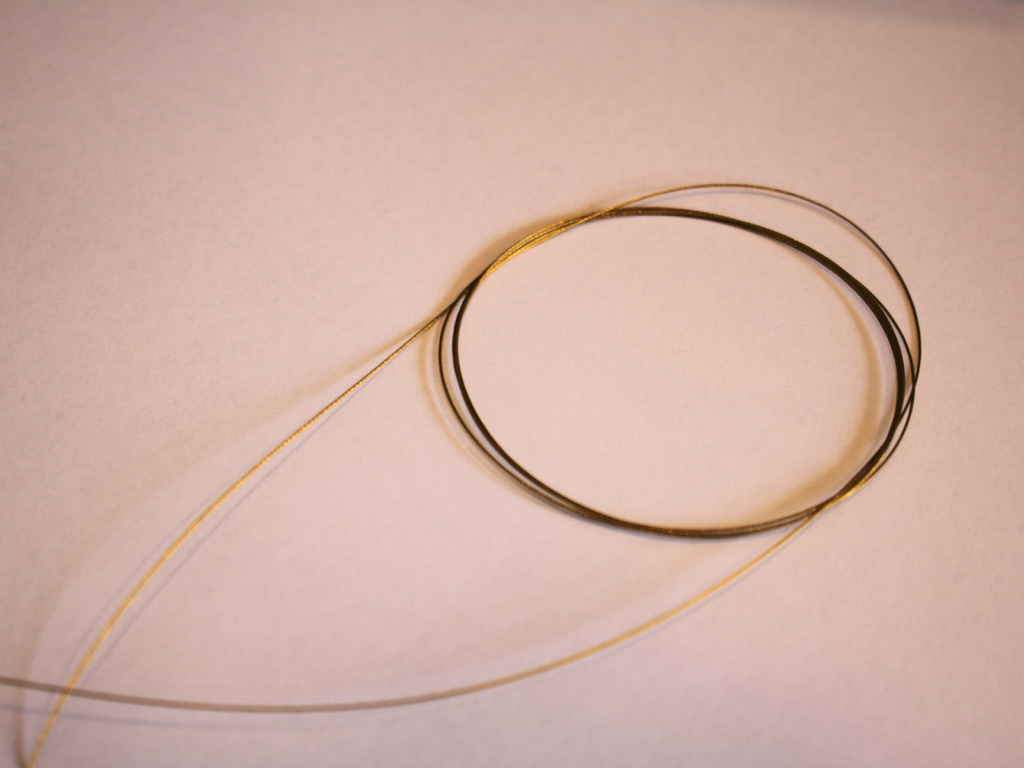
2: Tiger tail wire, because of the looping to create the flowers, you need a bit extra than the intended length. I cut about 1.5m of wire and had some leftover that I will use in another design.
3: A clasp and jump ring.

4: Crimp beads.

5: Beads. I used some recycled red seed beads for the flowers and some green and purple seed beads for the rest of the choker.


Green seed beads:
Purple seed beads:
Follow these steps to make your cute flower choker necklace:
1: Add two crimps to the end of the wire.

2: Add the clasp to the wire and fold it around and back through the crimps.

3: Squash the crimp beads using the flat nose pliers.


4: Add the green beads to the wire. I added 10 beads but you can add more or less depending on the pattern you want to make.

5: Add 6 red beads (or whatever colour you chose for your flowers) to the wire.

6: Take the end of the wire and thread it through the first red bead.

7: Pull the wire tight to create a circle shape with the beads. Make sure you shift the beads down as you tighten the wire so that the circle sits closely to the green beads.

8: Add a single bead to the wire in your third colour, this will be the middle of the bead.
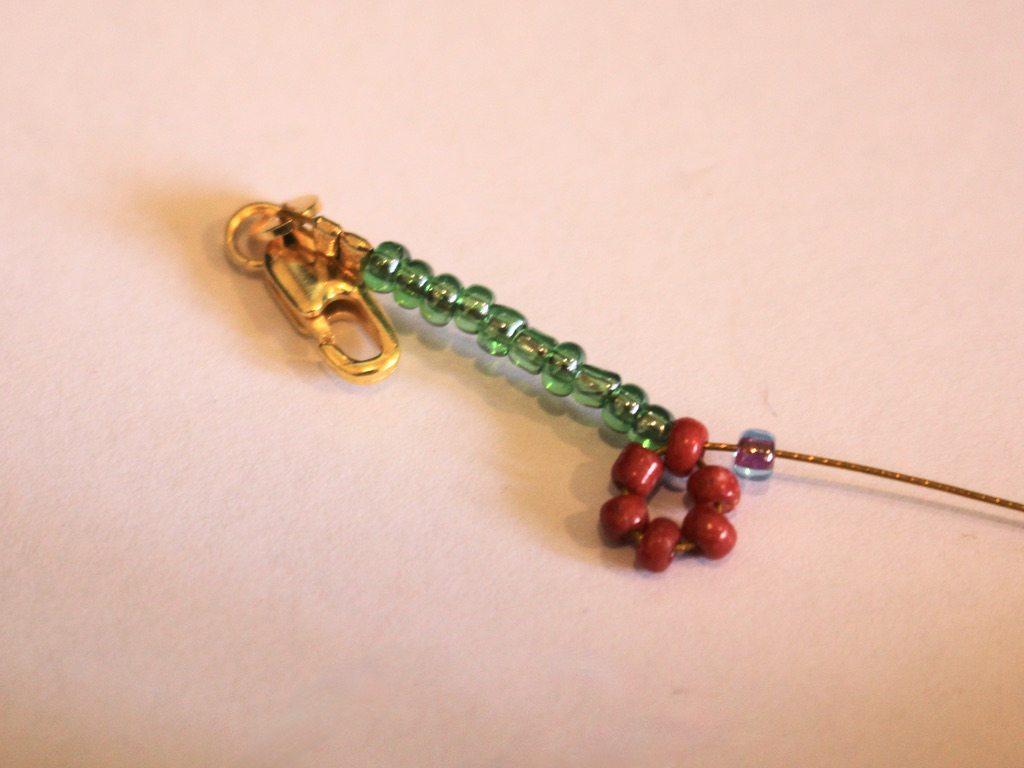
9: Place the bead in the middle of the flower and then thread the end of the wire through one of the flower beads to secure the middle bead in place. Now you have your first flower.

10: Repeat steps 4 to 9 until you have a length that fits closely around your neck to make a choker.


11: Add the second set of crimp beads and a jump ring to the wire.

12: Loop the wire around the jump ring and back through the crimps and the beads at the end of the necklace, pulling the wire tight.

13: Squash the crimps using the flat nose pliers.

14: Trim the excess wire.

Now your floral choker is finished and ready to wear! How cute! What colours will you use in yours?
Here’s what it looks like on!

Here are some other beaded flower tutorials you can try:
-
This is a cute twist on your usual choker… here’s how to make a cute beaded charm choker…
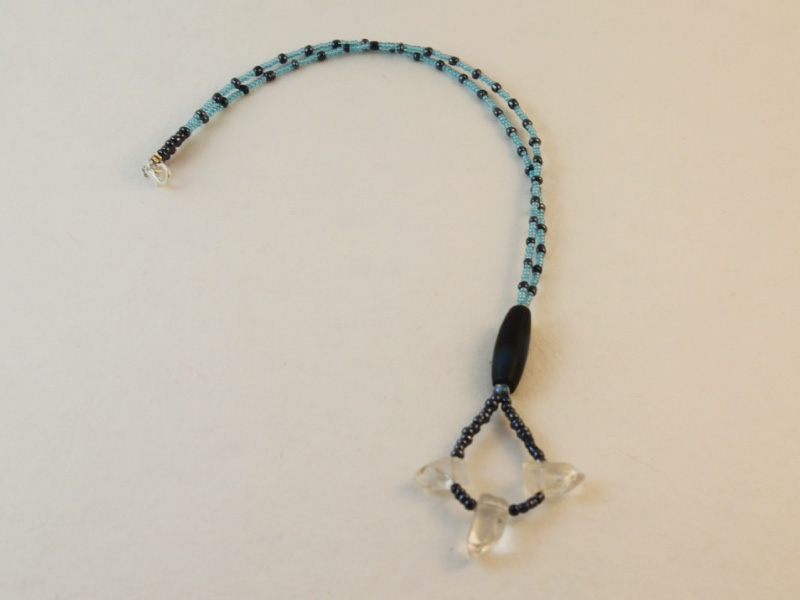
This choker is really super cute! It features a diamond-shaped bead charm in the middle of some silver-tone rolo chain. It is designed to sit closely to your neck to show off the beaded feature. I think this piece looks great on its own and also layered with some longer necklaces. Please note that this tutorial contains affiliate links.
Collect up these tools and materials to make your cute beaded choker:
1: Five eye pins.

2: A selection of beads in different colours. I used glass seed beads.

3: Two pieces of chain. Each piece was approximately 20.5cm long.

4: Four small jump rings.

5: A lobster clasp.

Follow these steps to make your cute choker:
1: Add beads to one of the pins.

2: Bend the pin to form an angle with the beaded section.

3: Use the round nose pliers to create a loop at the top of the beaded section. This secures the beads in place.


4: Repeat steps 1-3 for the rest of the eye pins, using a different colour for each pin.

5: Attach four of the pins together to form a chain.


6: Attach the ends of the chain together to form a diamond shape.

7: Add the fifth eye pin to the middle of the diamond shape, this will add some extra stability to the form.


8: Attach the chains to either side of the diamond shape using two of the small jump rings.


9: Add a jump ring and the lobster clasp to one side of the necklace.

10: Add the other jump ring to the other side of the necklace to finish it off.

Now your cute choker necklace is finished! How will you wear yours?


Here are some other diamond shaped charms you can make:
-
Do you need more colorful jewelry in your life? Why not make this rainbow beaded choker with a feature pendant?

This choker necklace is super cool! Made with a rainbow of glass beads and a simple charm, it is sure to make an impact!
You will need the following tools and materials to make this choker necklace:
1: Pliers. You’ll need your flat nose pliers, round nose pliers and cutting pliers for this necklace.
2: Some tiger tail wire long enough to make a choker. Measure the length by wrapping the wire loosely around your neck. Make sure you leave enough length to allow space for securing the ends.

3: Four crimp beads.

4: Two small jump rings.

5: One bigger jump ring.

6: A lobster clasp.

7: Beads. I used these mixed glass beads in different colours.

8: A pendant. I used this pendant I made a while ago from a ring. Check out this tutorial to do this yourself.

Follow these steps to make your own colorful choker necklace:
1: Add two of the crimp beads to the end of the wire.
2: Fold the end of the wire around a jump ring and thread it back through the crimp beads.

3: Squash the crimp beads using the flat nose pliers.

4: Begin adding the beads to the wire. I added mine in random order.

5: Add the pendant. Depending on the size of your beads and the pendant bail you might need to add your pendant at half way so that it sits in the middle of your necklace when you wear it.

6: Add the remaining crimp beads and small jump ring to the end of the wire.
7: Fold the wire around the jump ring and thread it through the crimps and end beads.

8: Squash the crimp beads.

9: Trim the excess wire.


10: Add the lobster clasp to one end of the necklace, attaching it using one of the jump rings.
11: Add the larger jump ring to the other side of the necklace to finish it off.

Now your joyful beaded choker is ready to wear!


-
Sick of single color jewelry? Make this two-tone chain choker necklace.

This necklace uses two different colored metal chains for a cool two-tone effect.
You’ll need the following tools and materials to make your own two-tone choker necklace:
1: Pliers. You’ll need your round nose and flat nose pliers for this DIY.


2: Two pieces of choker-length chain, one slightly longer than the other. You can check the length by wrapping your chain closely (but loosely) around your neck. I used an antique gold chain and a copper colored chain.

3: Two jump rings.

4: A lobster clasp.

Now follow these steps to make your two-tone choker necklace:
1: Open one of the jump rings.

2: Add one of the chain to the open jump ring.

3: Add the second chain to the jump ring.

4: Close the jump ring.

5: Add the chains in the same order to the other jump ring, make sure that your chains don’t get twisted.

6: Add the lobster clasp to the second open jump ring.

7: Close the jump ring to secure the clasp in place.

Now your two-tone choker necklace is finished and ready to wear!

-
Here’s how to make a braided bead choker, perfect for the beach!
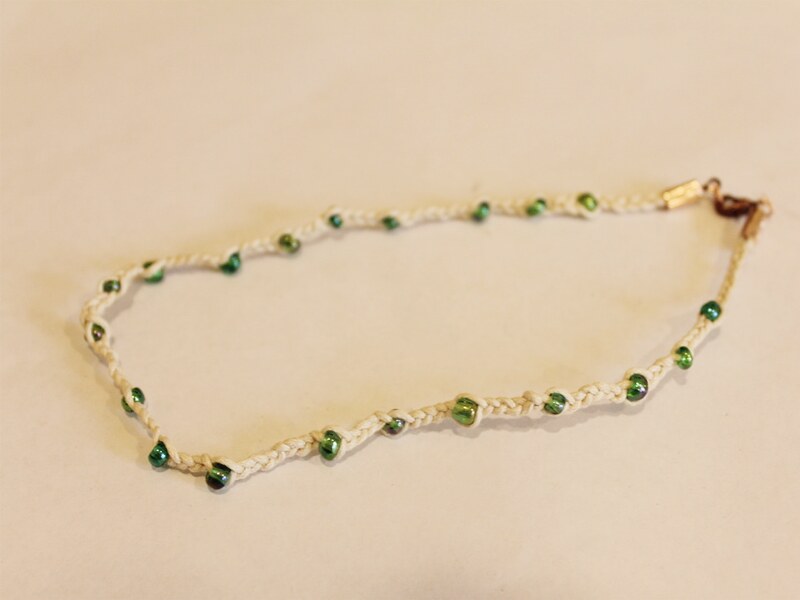
Do you love the look of boho braids? Why not make this super cute braided bead necklace?
You’ll need the following tools and materials to make your braided necklace:
1: Scissors or cutting pliers to cut the string.


2: Pliers. You’ll also need your flat nose pliers and round nose pliers.
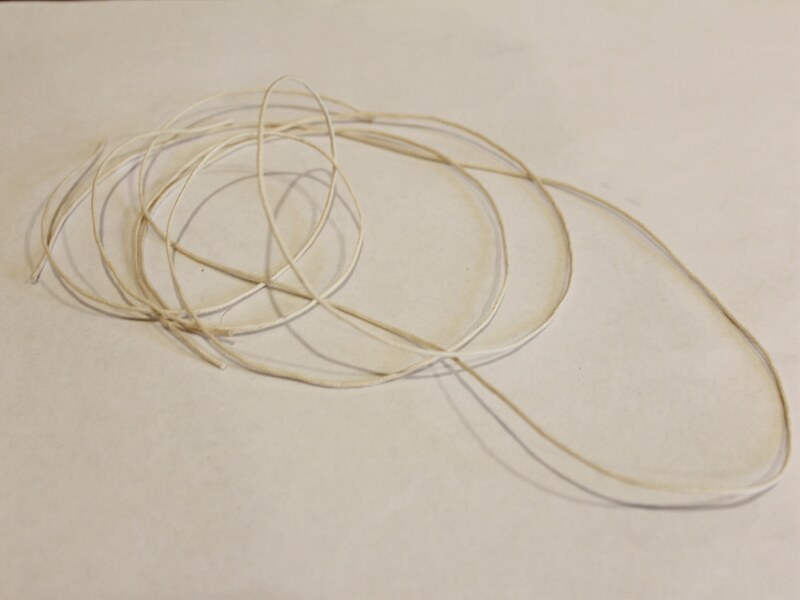
3: Three pieces of string the same length. I made mine approximately 60cm long.
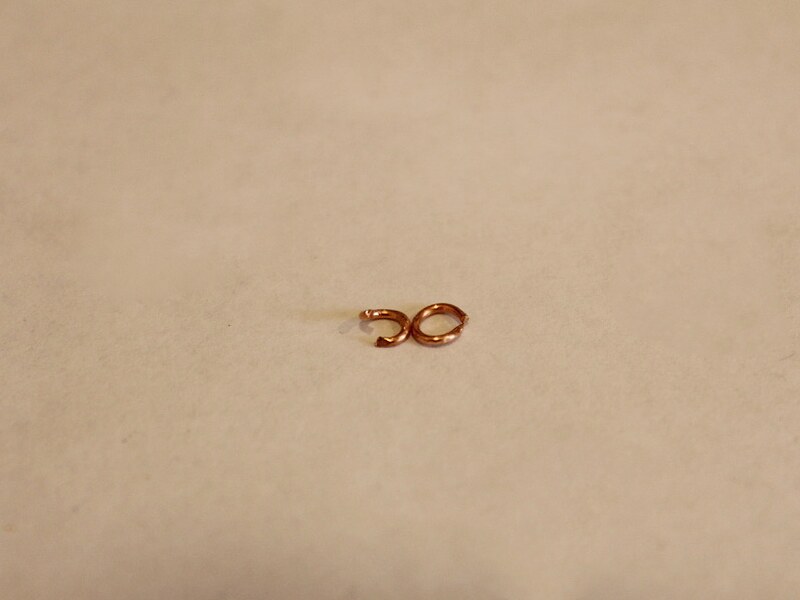
4: Crimp ends. I used these rose gold colored ones.

6: A lobster clasp.

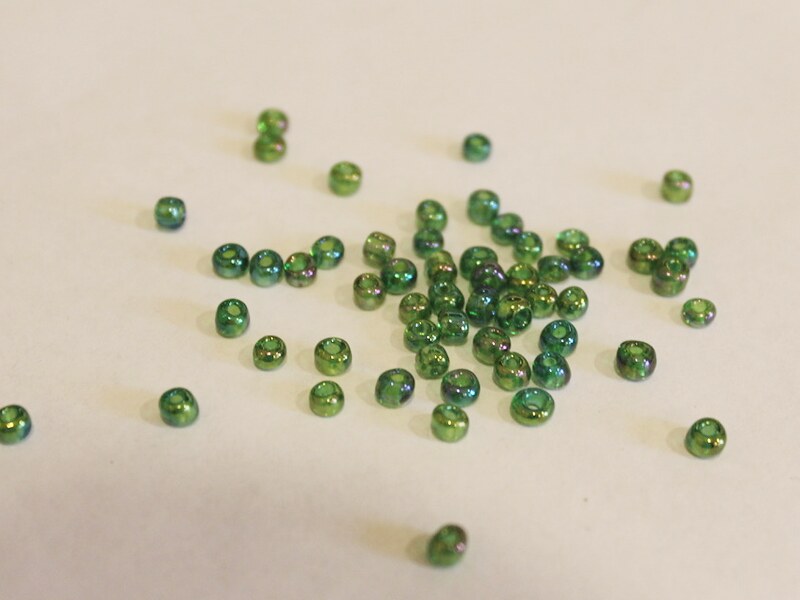
7: Beads of your choice. I used these green glass e-beads.
Follow these steps to make your braided bead necklace:
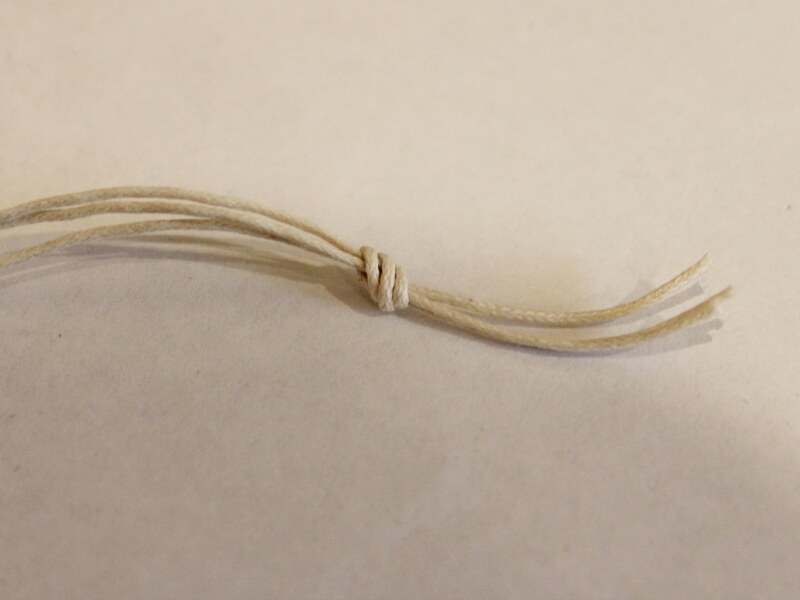
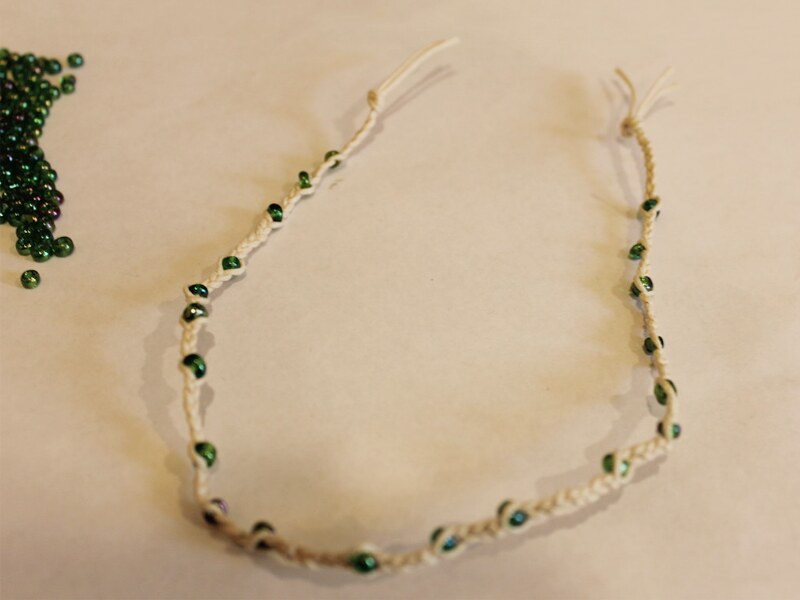
1: Gather the three strings together and create a knot at one end.

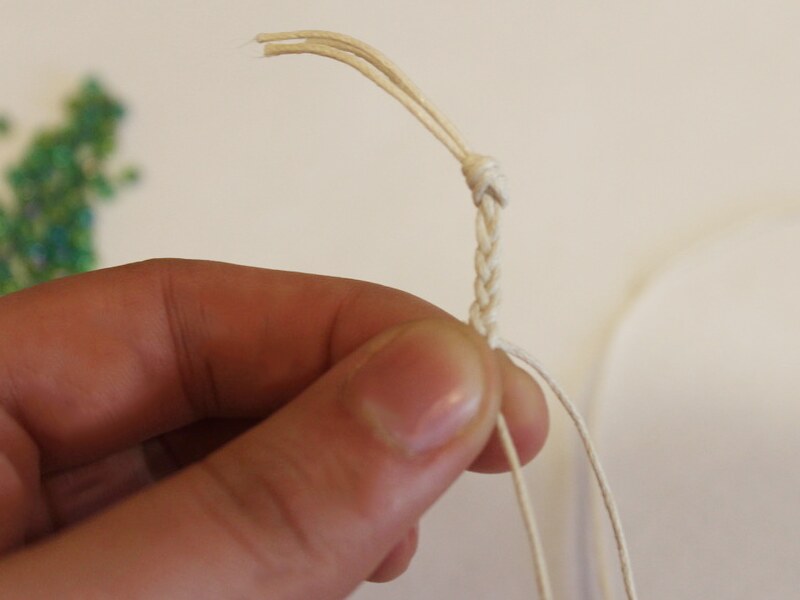
2: Begin braiding the strings.
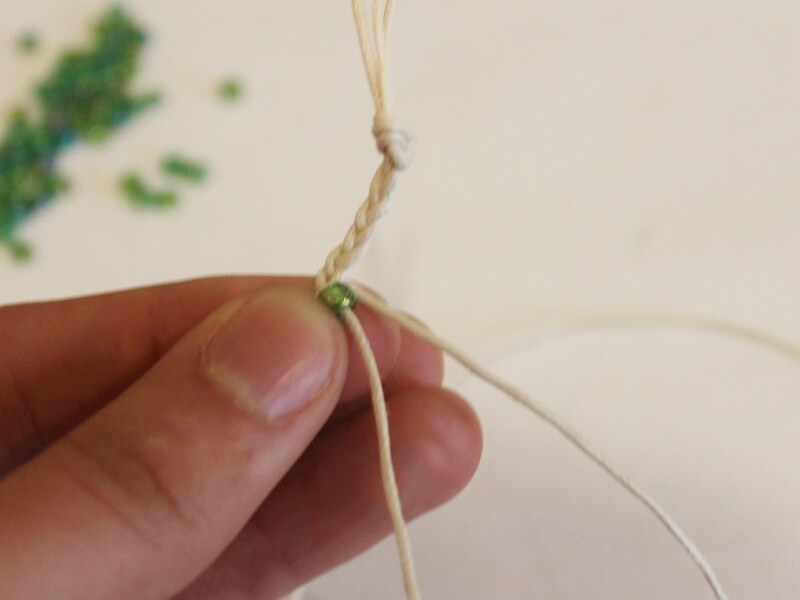
3: Add a bead to the string currently at the center of the braid.
4: Braid around the bead to secure it in place.
5: Continue steps 3 and 4, adding beads in whatever pattern you like. I added mine fairly randomly.
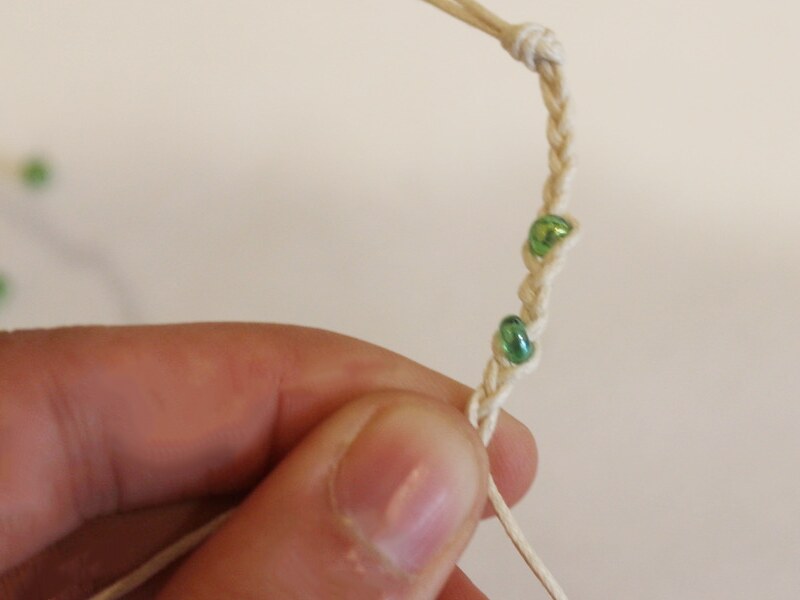
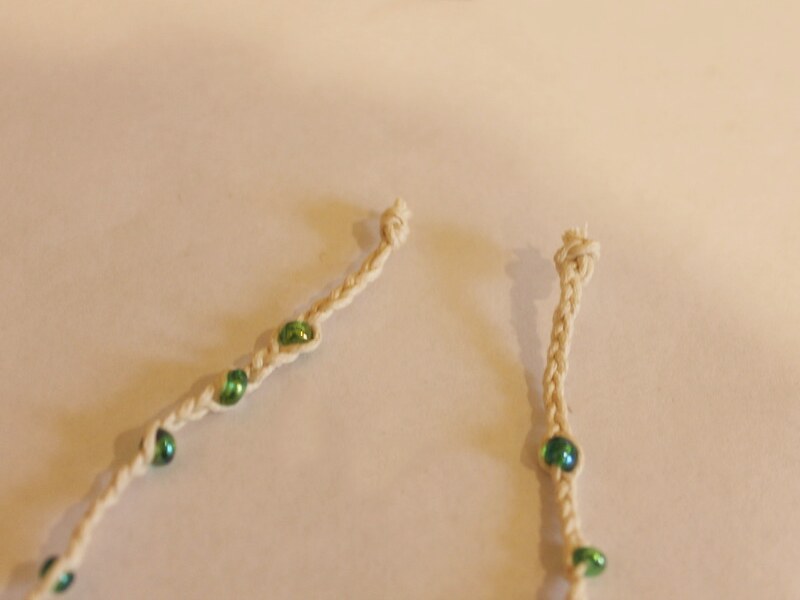
6: Once you’ve made your braid long enough create a knot to the other end of the braid.


7: Trim the ends of the strings off.
8: Add the crimps around each of the knots at each end of the braid. Use flat nose pliers to squash the crimps around the string.
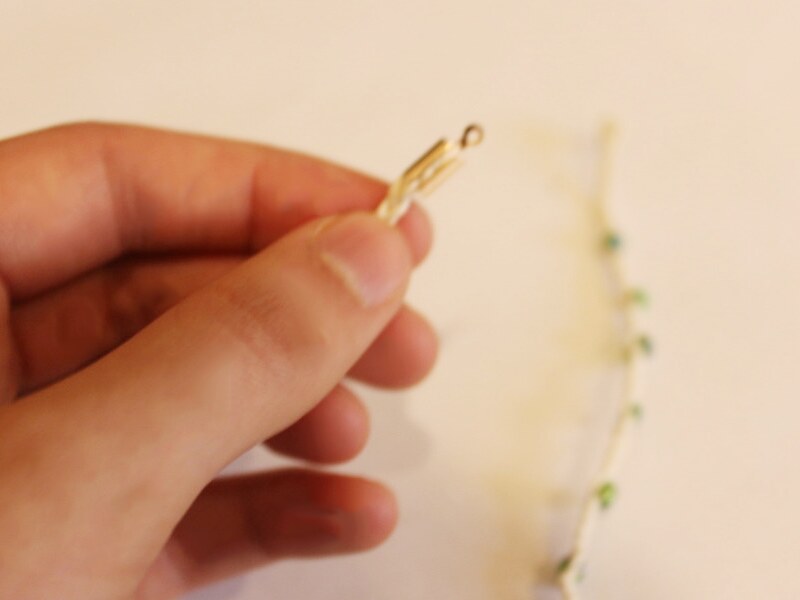
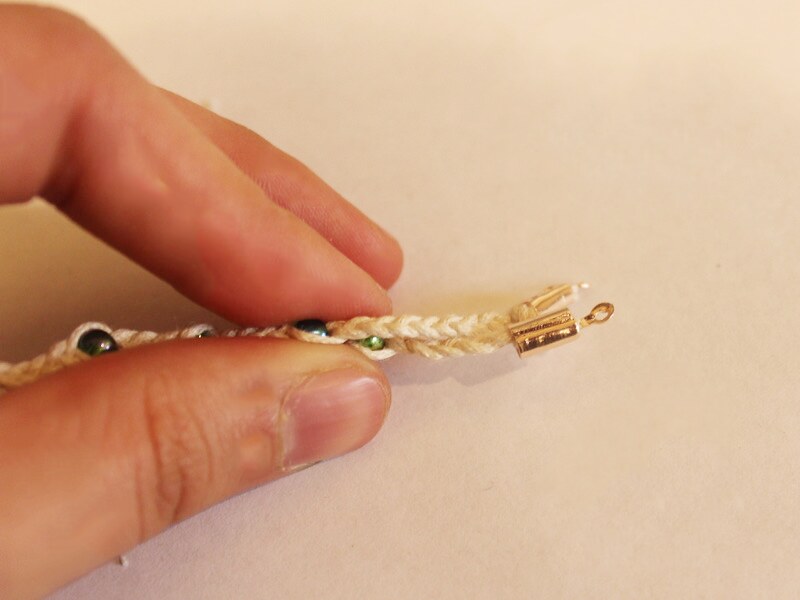
9: Add a jump ring to the loop at the top of one of the crimps and slide on the lobster clasp. Close the jump ring to secure the clasp in place.

10: Add the last jump ring to the other side of the necklace to finish it off.
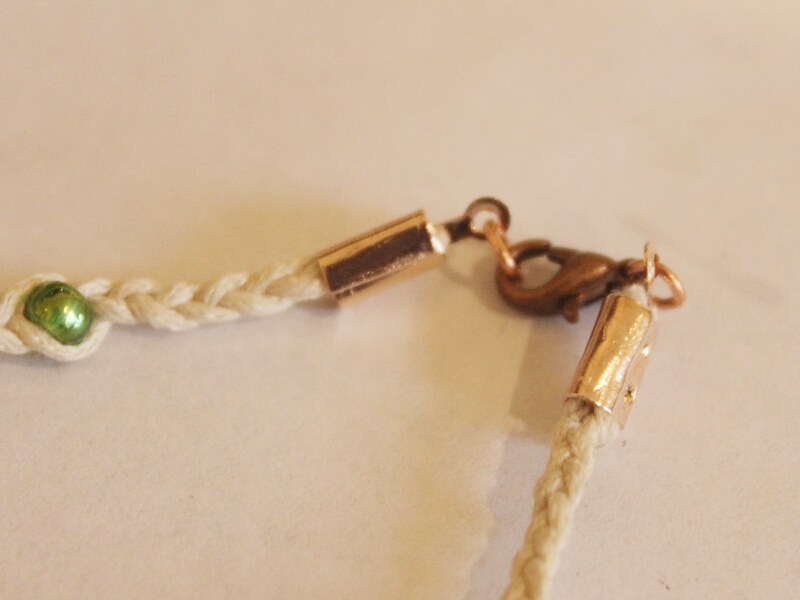
Now your boho braided bead necklace is ready to wear! Perfect for summer beach days!
-
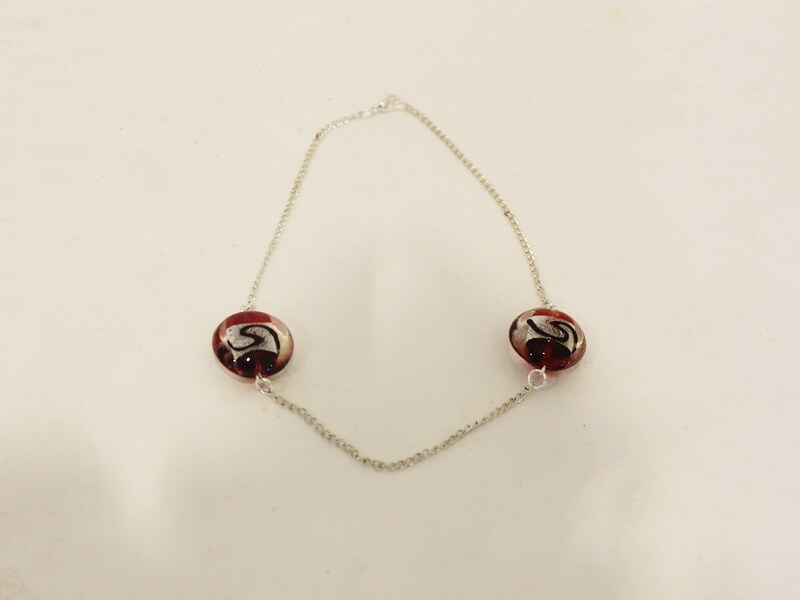
How to make a bead and chain choker necklace
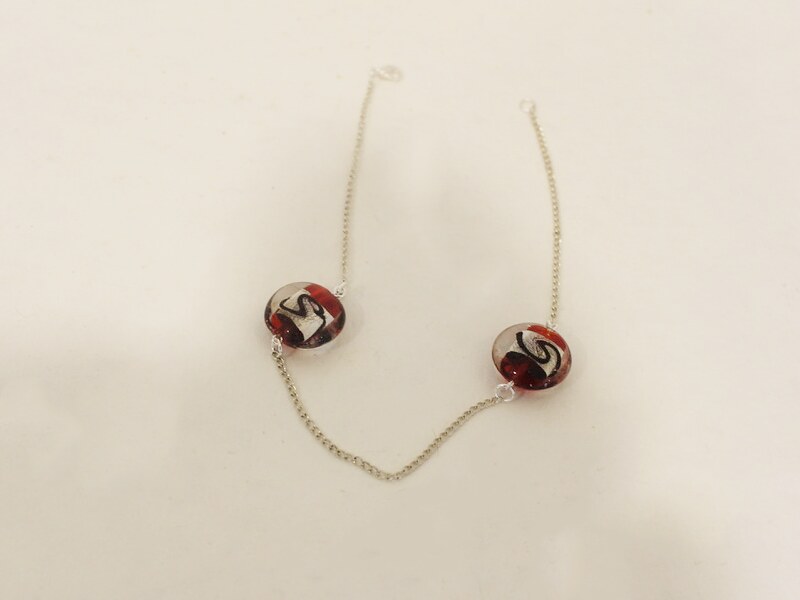
This choker necklace combines cool beads and pieces of chain for a cool effect.
You will need the following tools and materials to make this choker necklace:
1: Pliers. You will need round nose pliers and flat nose pliers.
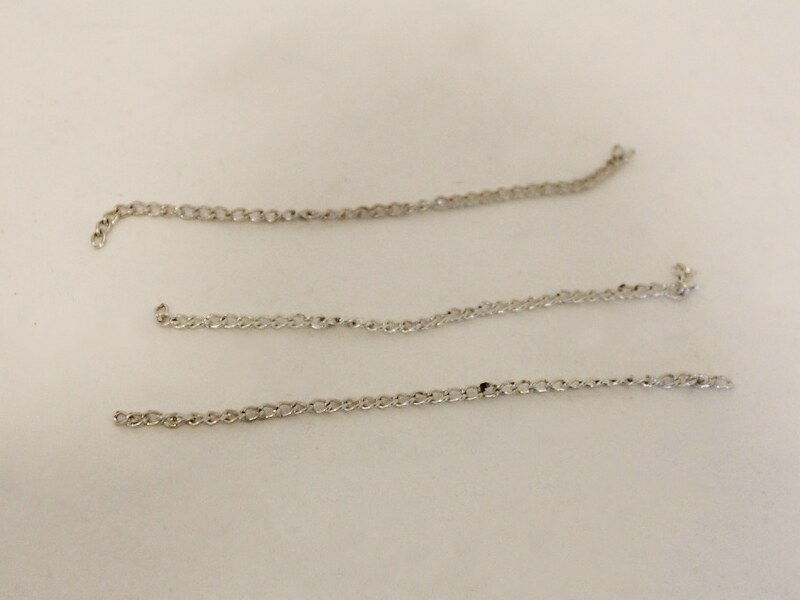
2: Three short pieces of chain, approximately 8-10cm long.
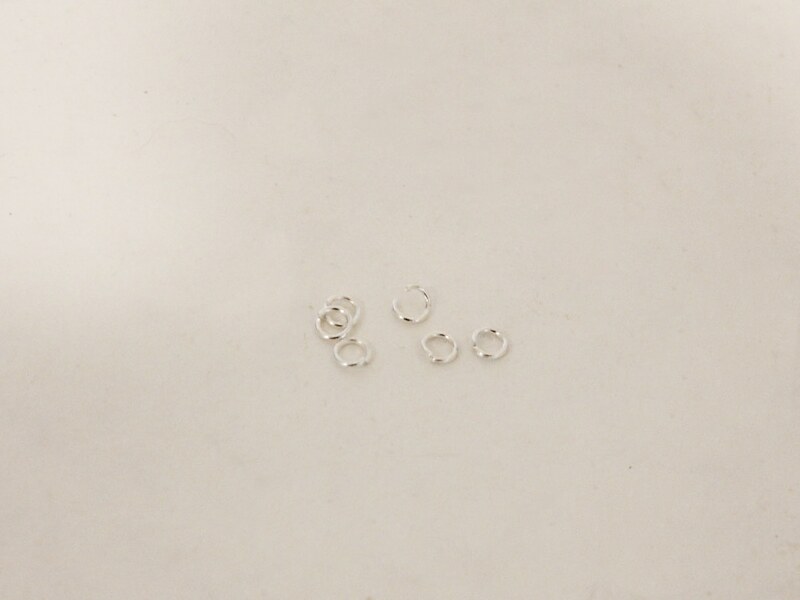
3: Six jump rings.
4: Two eye pins.

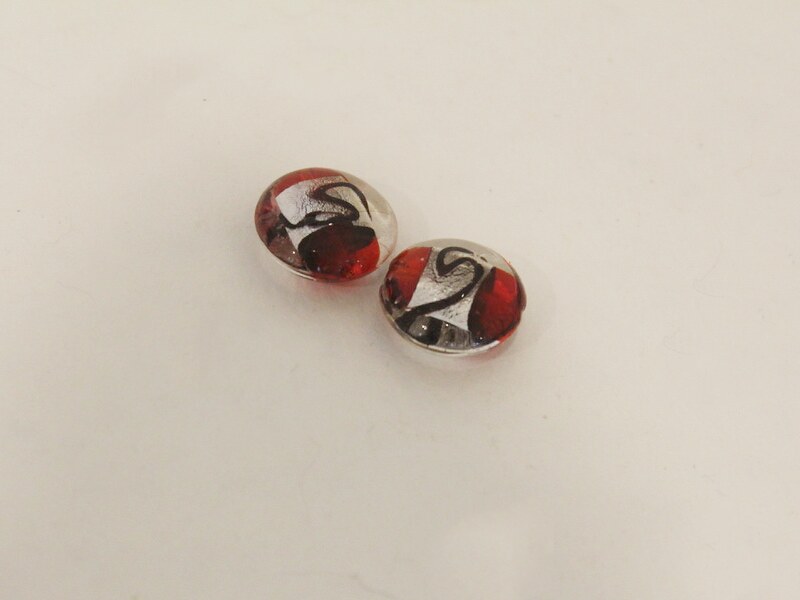
5: Two glass beads.
6: A lobster clasp.

Follow these steps to make your glass bead choker necklace:
1: Add a bead to the eye pin.
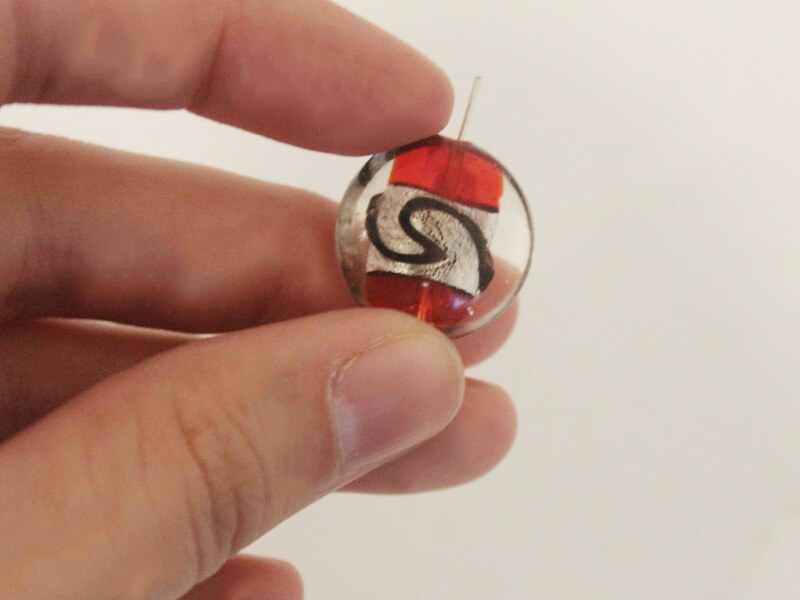
2: Bend the eye pin to form a right angle.
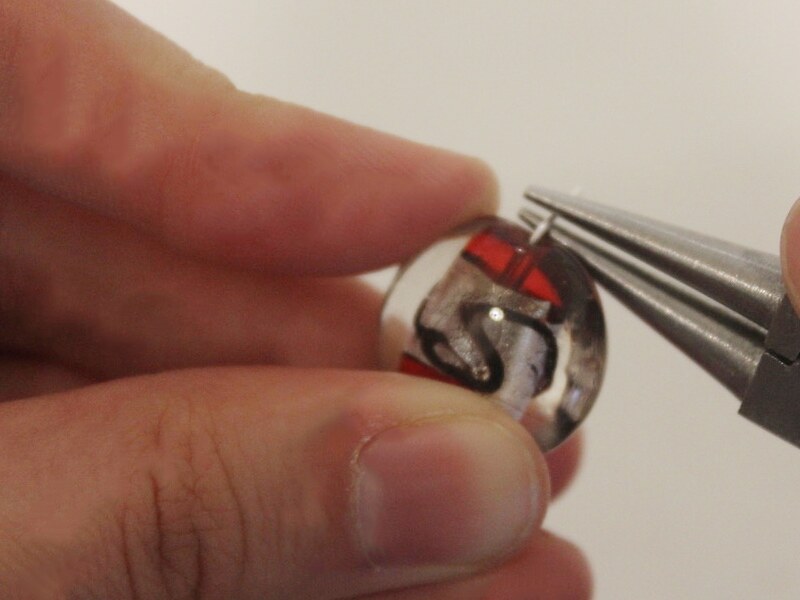
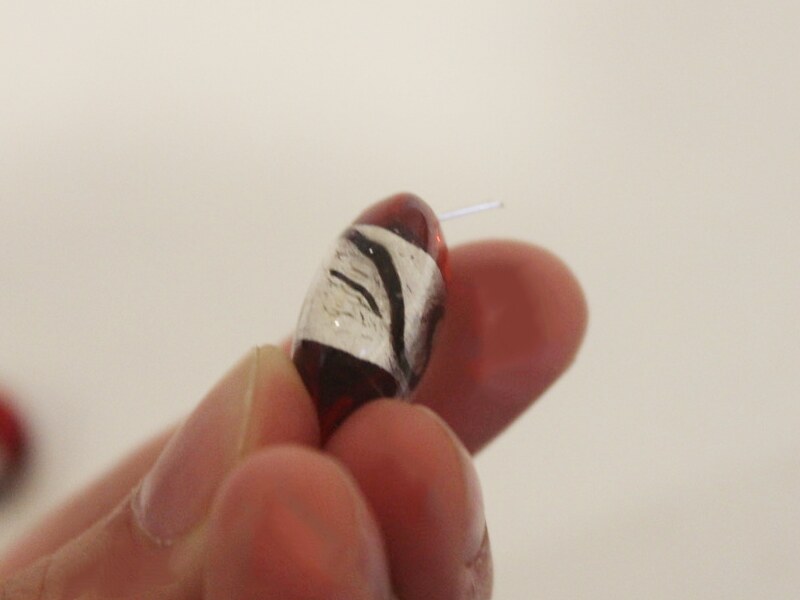
3: Loop the end of the pin to secure the bead in place.
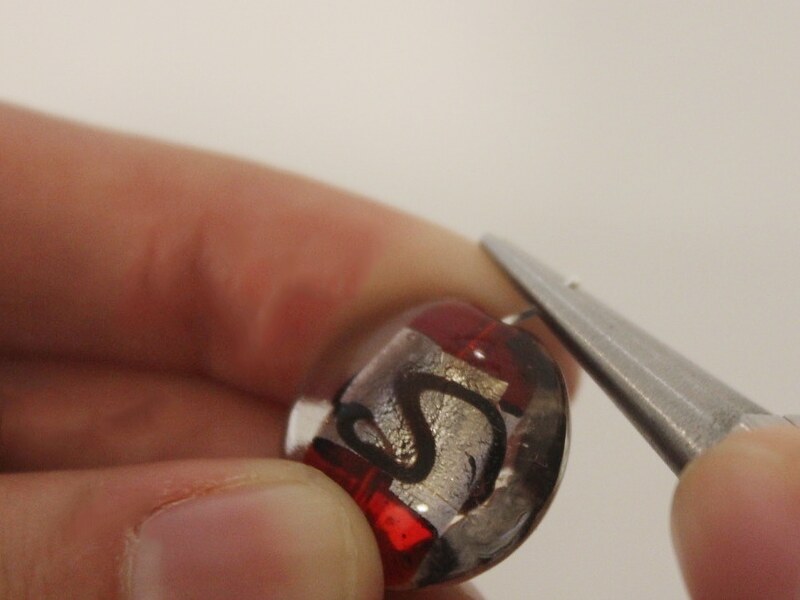
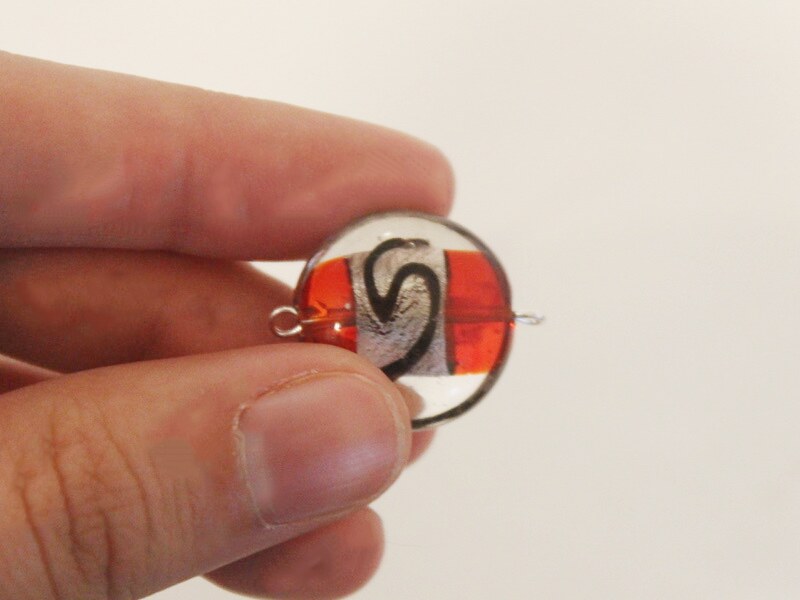
4: Repeat steps 1-3 for the other bead.
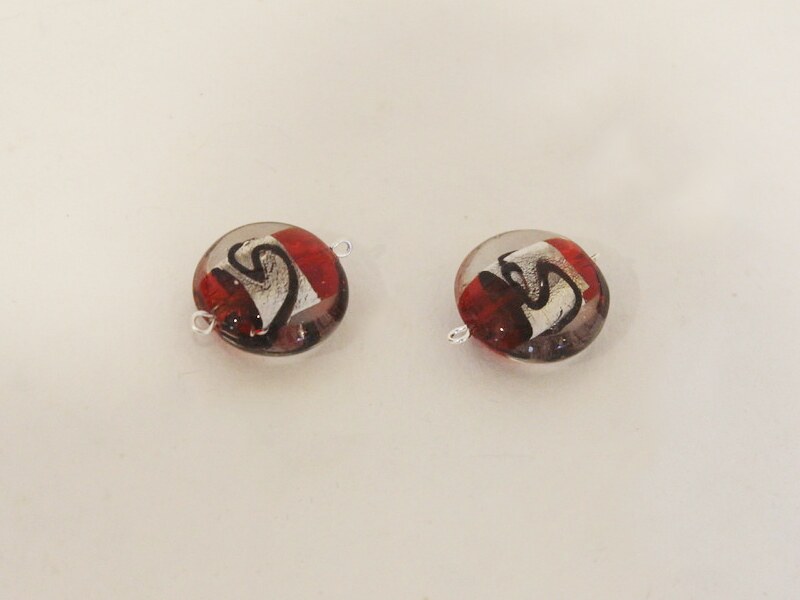
5: Add a jump ring to one side of one of the beads and a piece of chain. Close the jump ring to secure the bead and chain together.
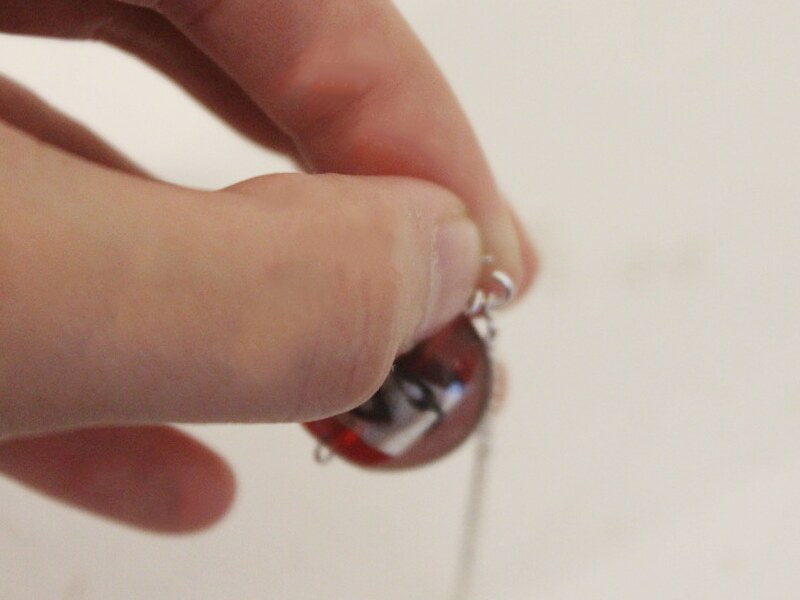

6: Repeat step 5 to attach all the pieces of chain to the bead charms, forming a long piece of chain broken by two beads.
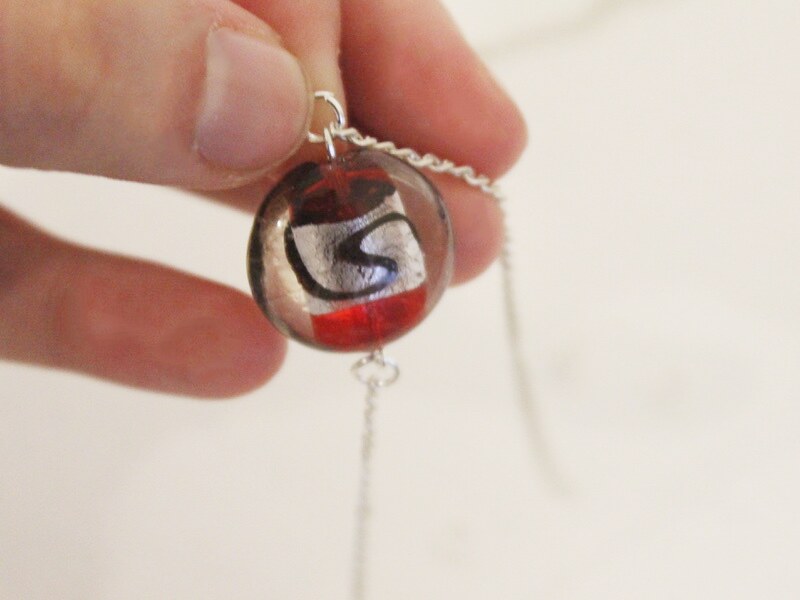
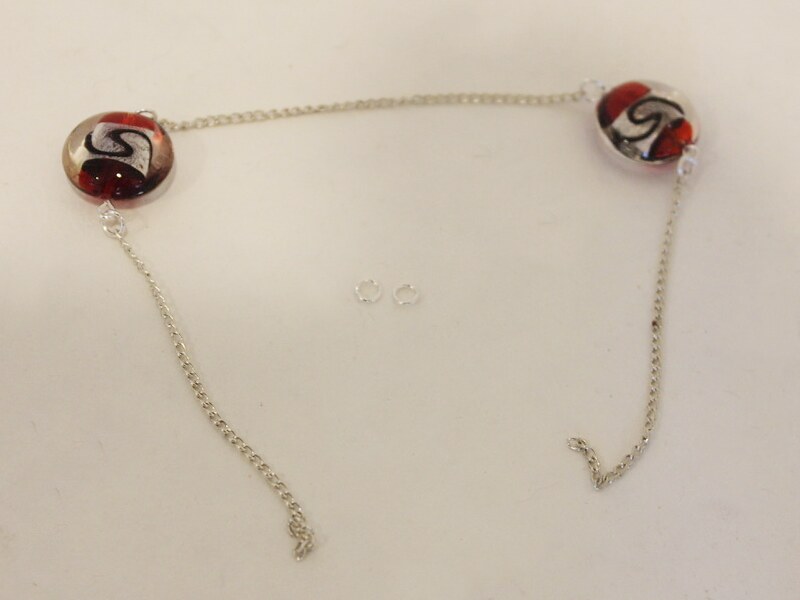
7: Add a jump ring to the end of the chain and add the lobster clasp to the open jump ring. Close the jump ring to secure the clasp in place.
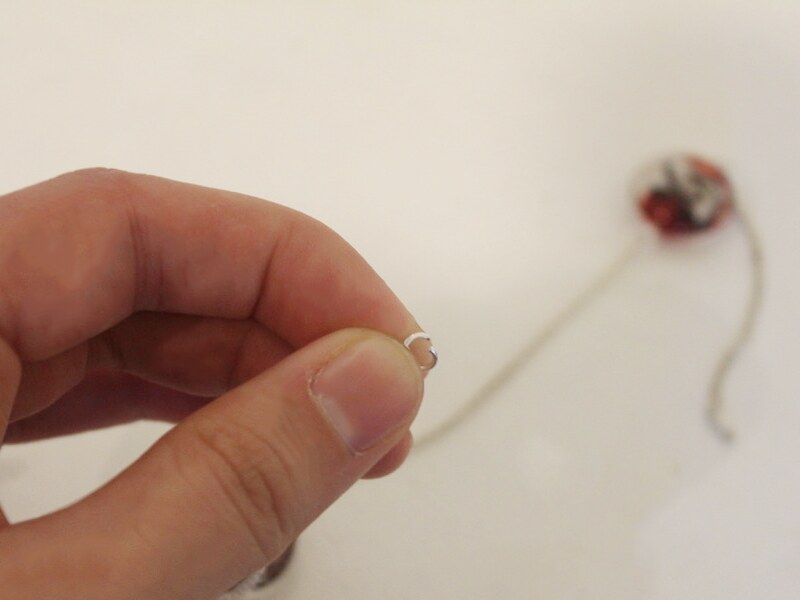

8: Add the other jump ring to the other side of the necklace to finish it off.
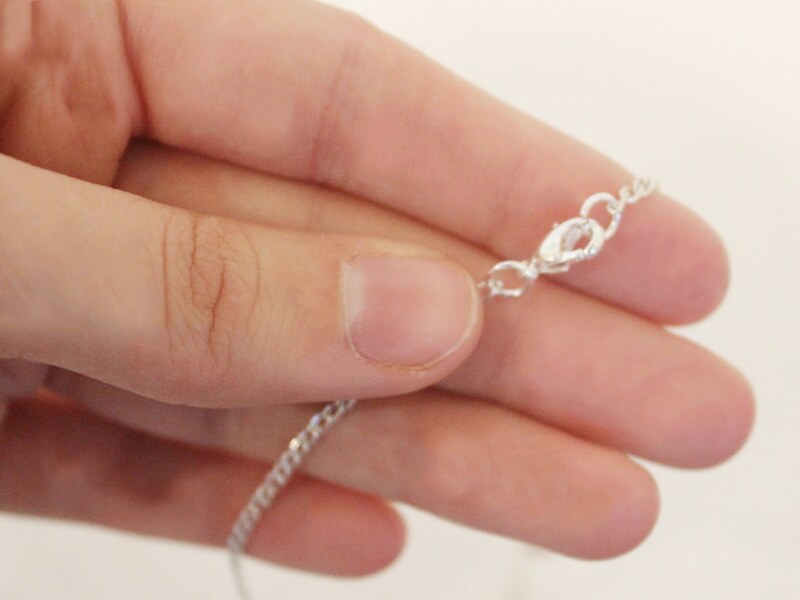
Now your beaded chain choker is finished and ready to wear!
-
Need something tough but healing? Make this crystal choker necklace!
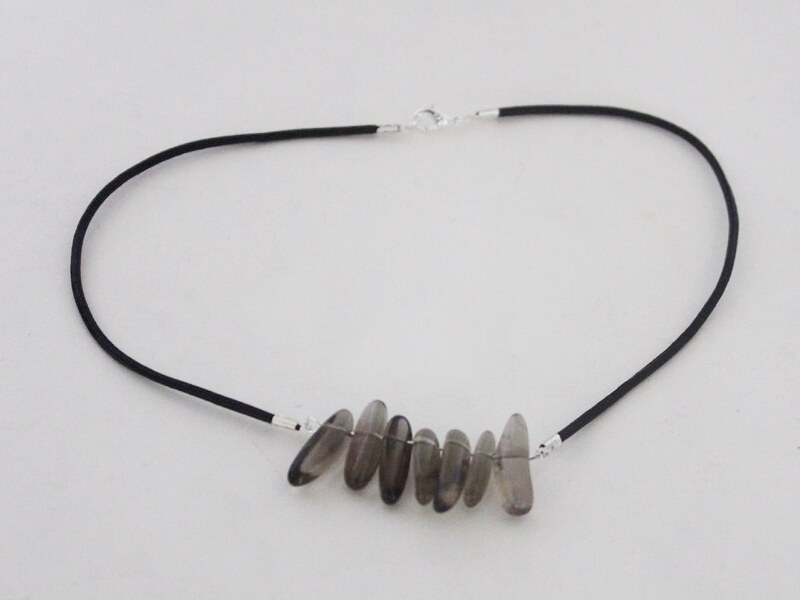
Do you need a cute new accessory to jazz up your jewelry collection? Make this awesome crystal choker necklace.
You will need the following tools and materials to make your crystal choker necklace:
1: Pliers. You will need your cutting pliers, flat nose pliers and round nose pliers.
2: A long eye pin.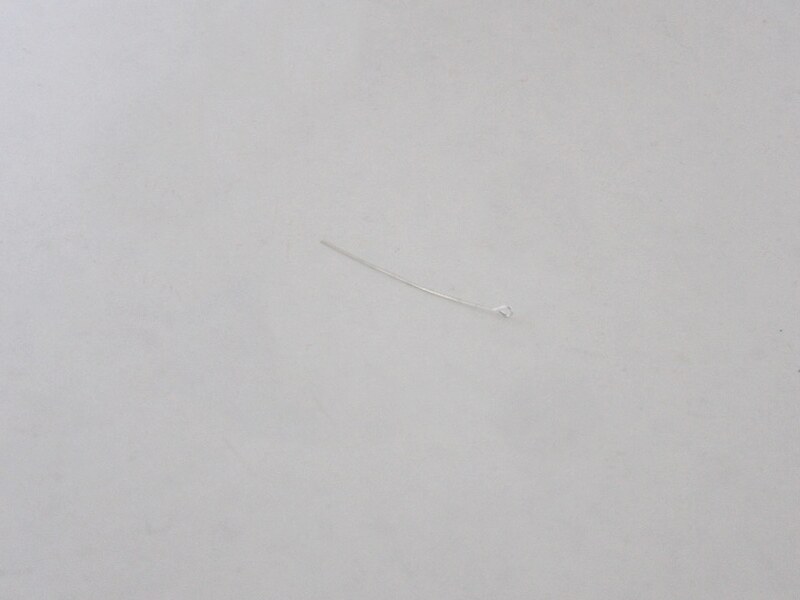
3: Gemstone beads. I used these smoky quartz beads.

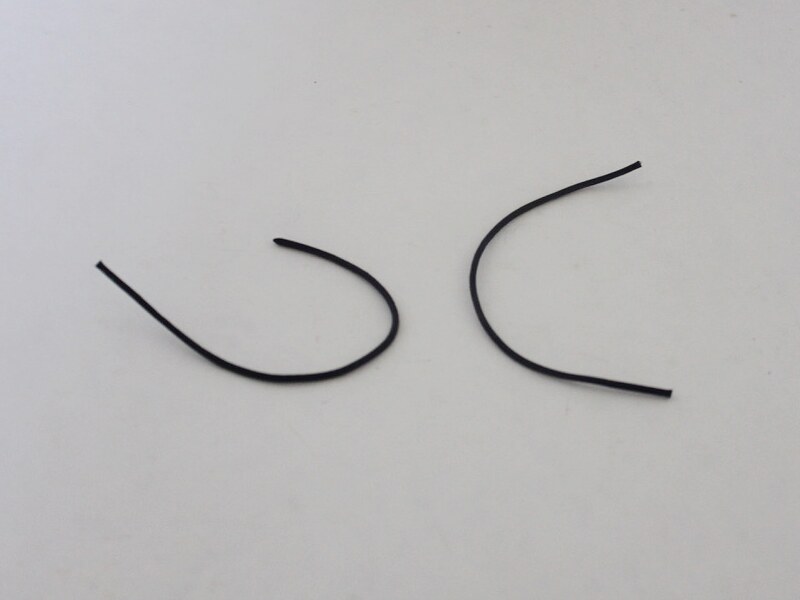
4: Two pieces of leather cord. Approximately 15.5 cm long.
5: Four leather crimp ends.

6: Two jump rings.

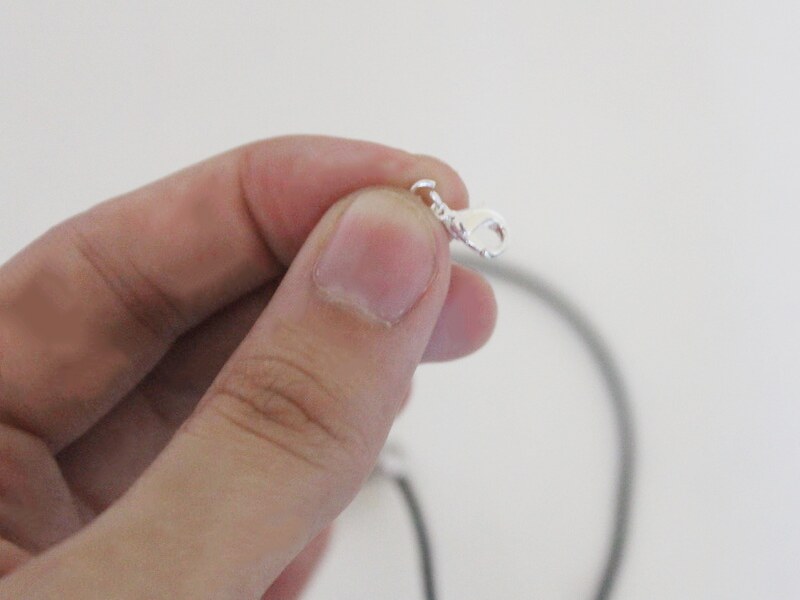
7: A lobster clasp.
Follow these steps to make your crystal choker:
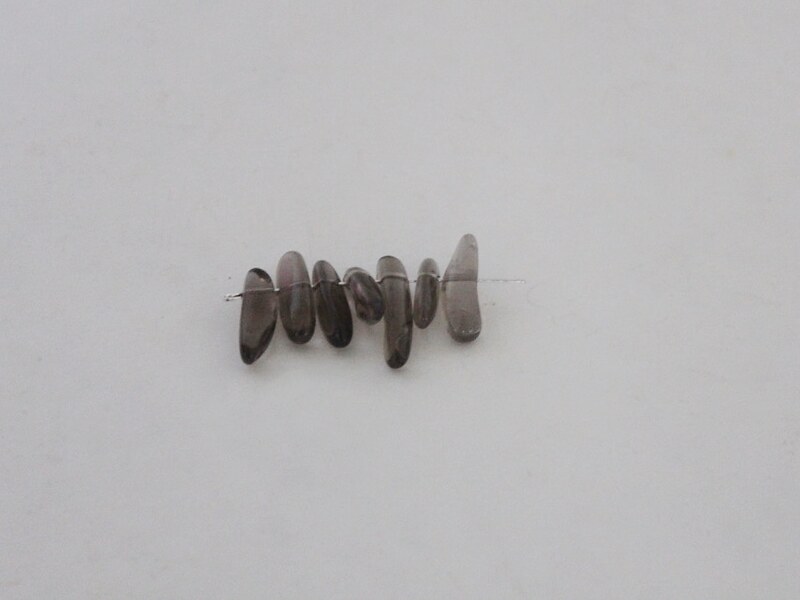
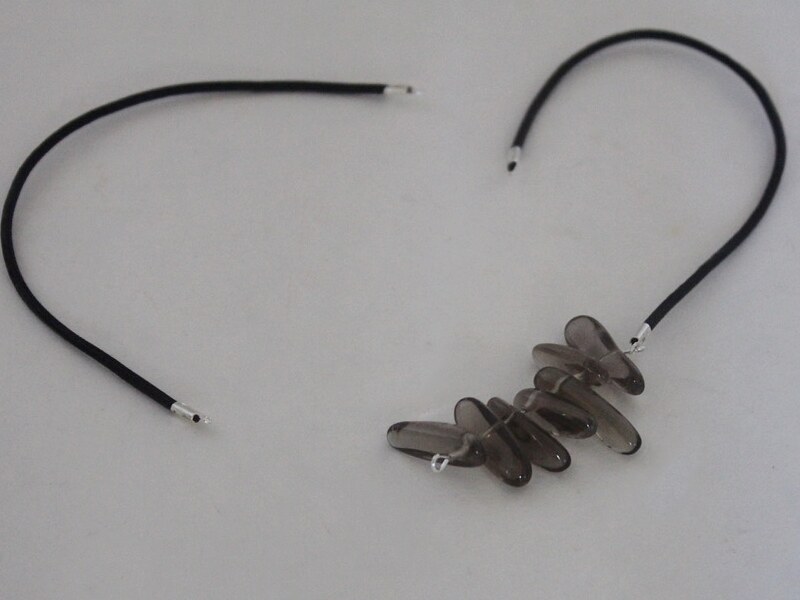
1: Add the beads to the eye pin.
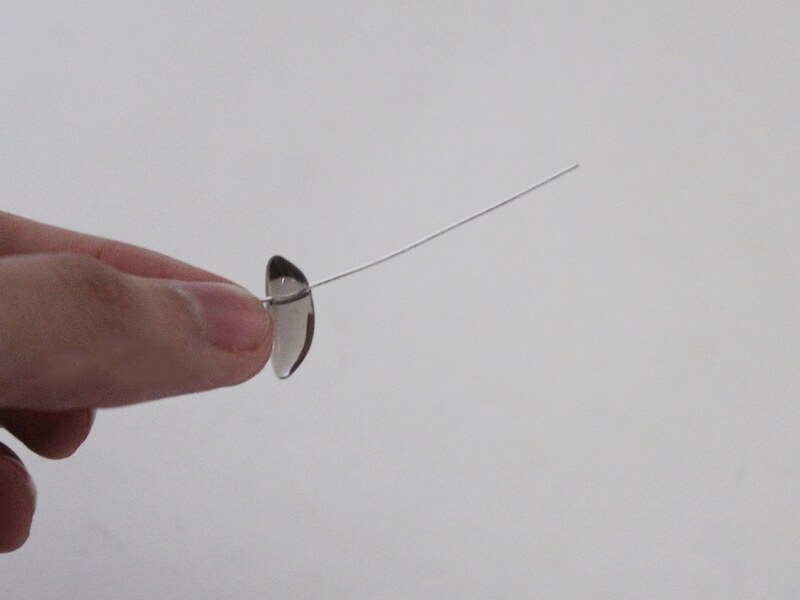
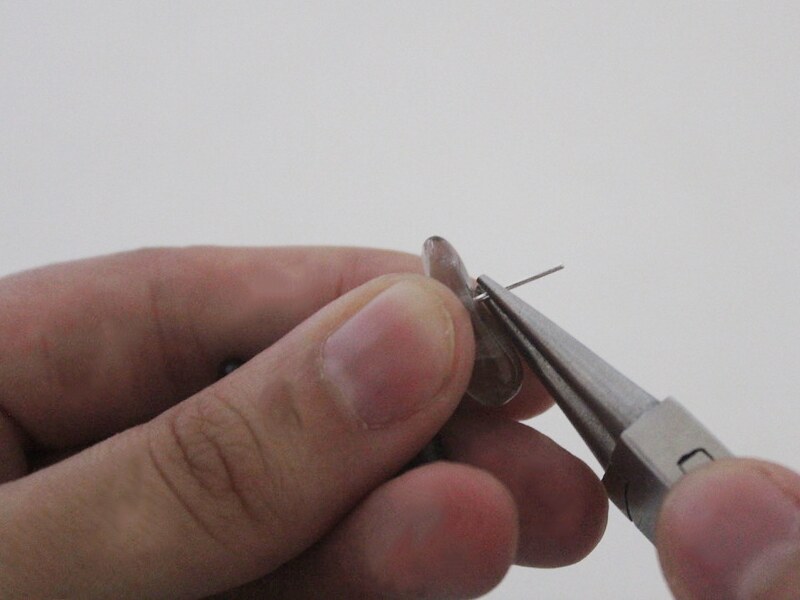
2: Bend the end of the pin to form a right angle using the round nose pliers.
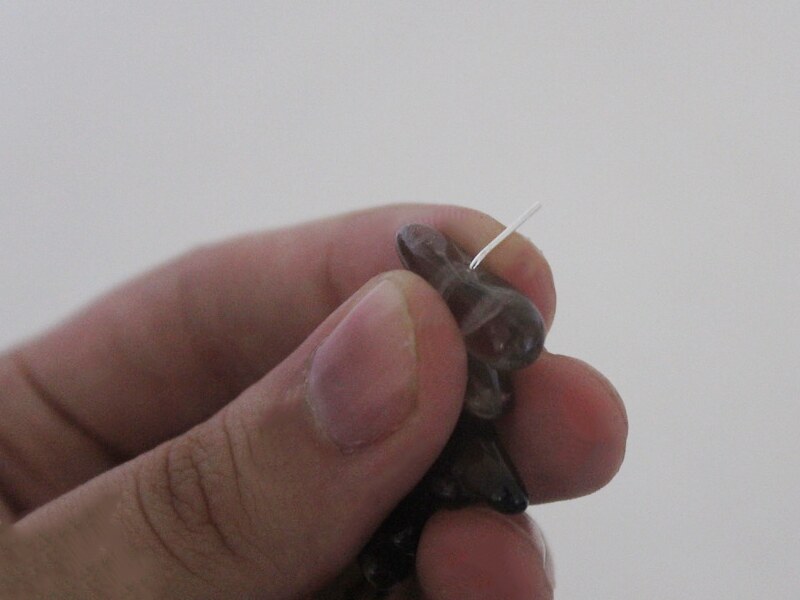
3: Create a loop at the end of the pin using the round nose pliers. This will secure the beads on the pin.
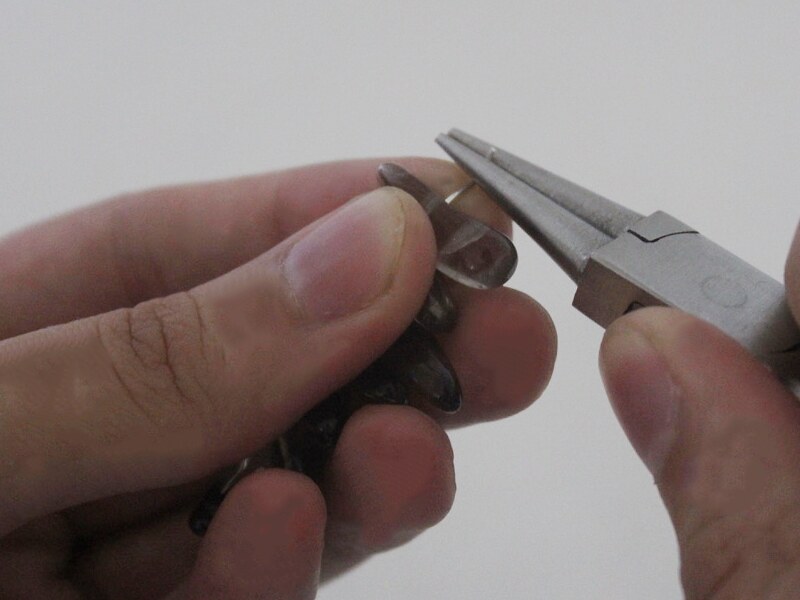
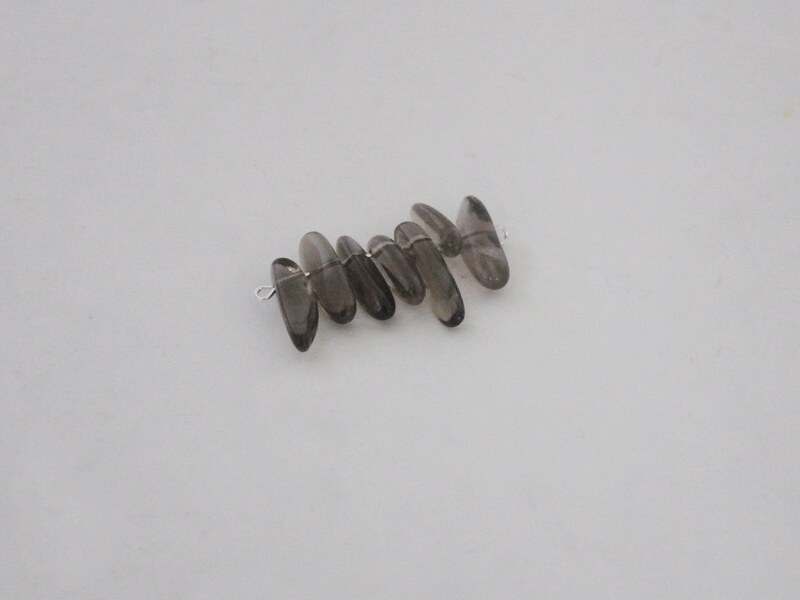
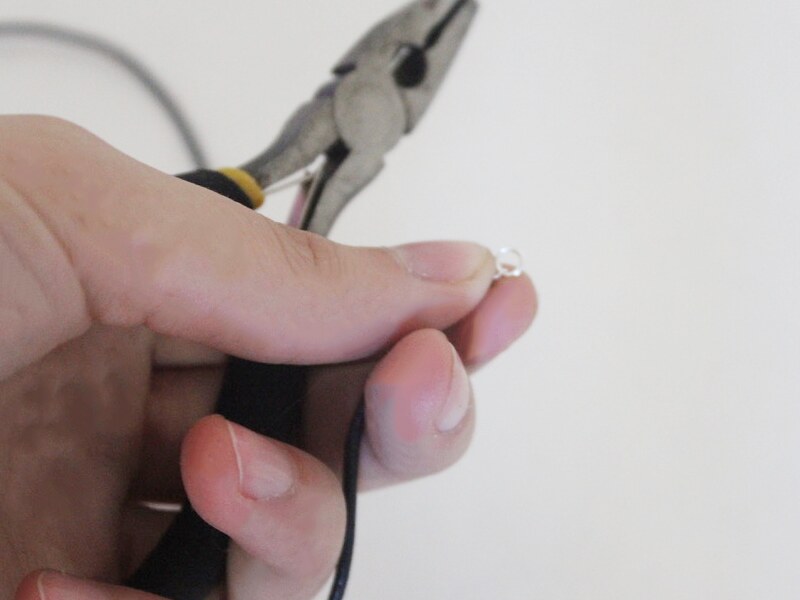
4: Add each of the crimp ends to the ends of the leather. Fold each side of the crimps around the leather using the flat nose pliers.
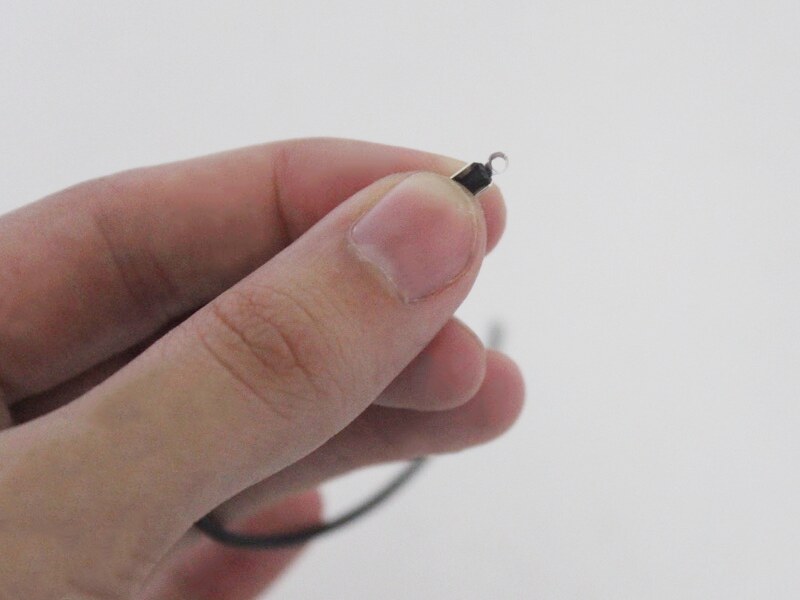
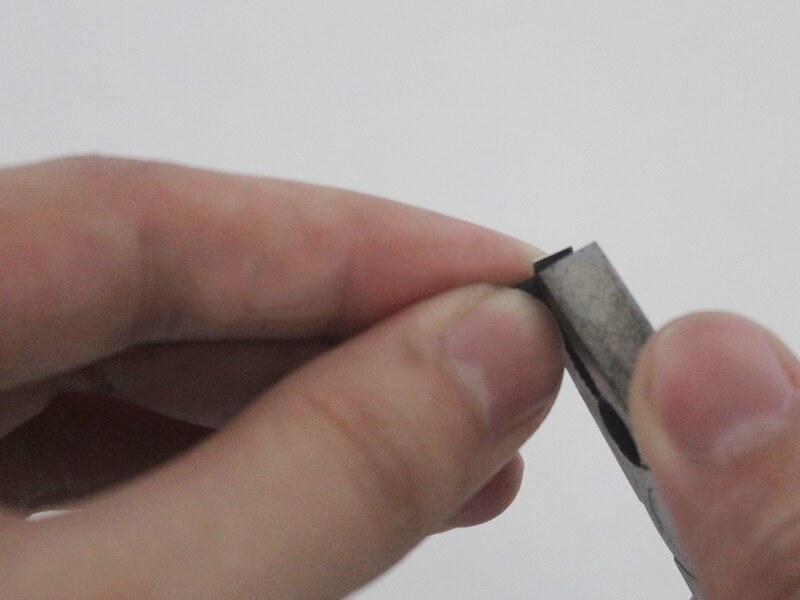
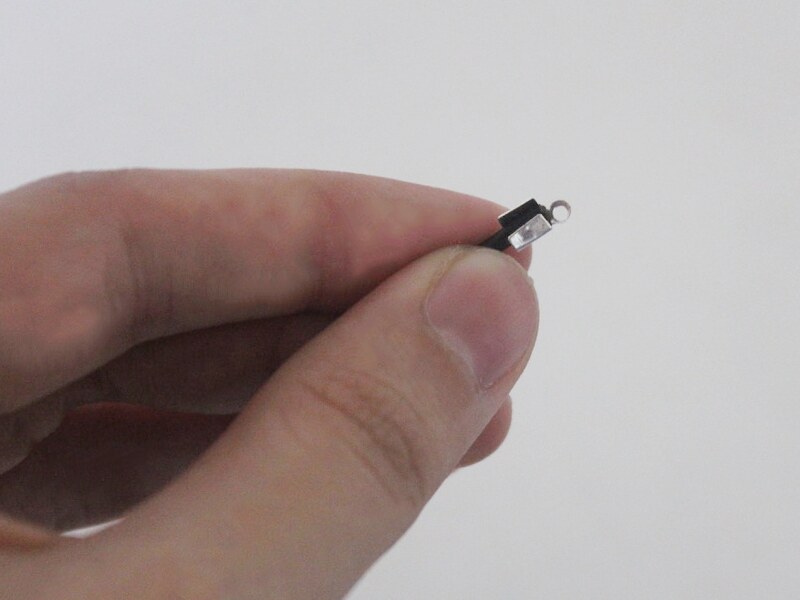
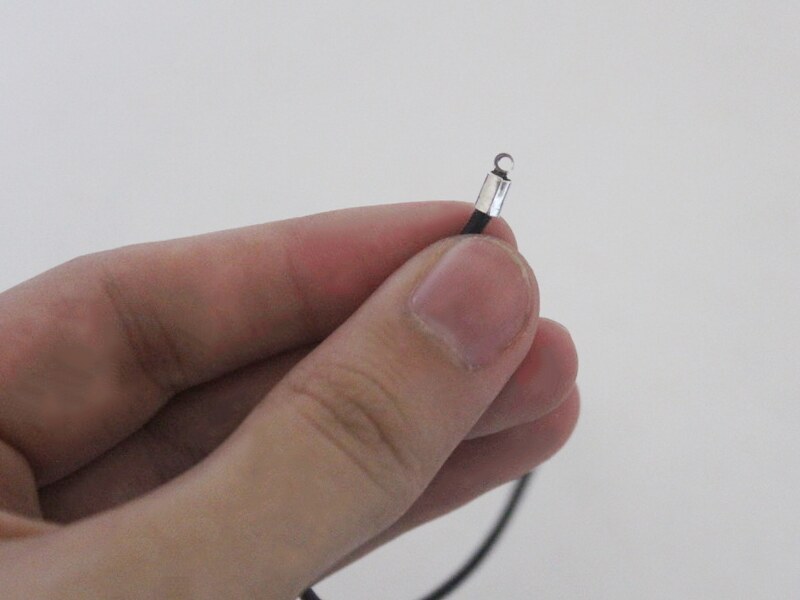
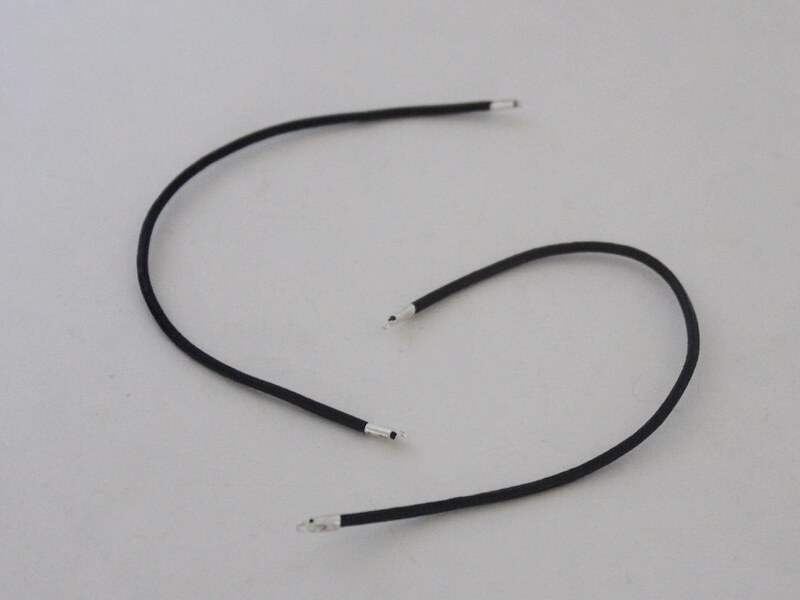
5: Attach a piece of leather to each side of the crystal beaded pin.
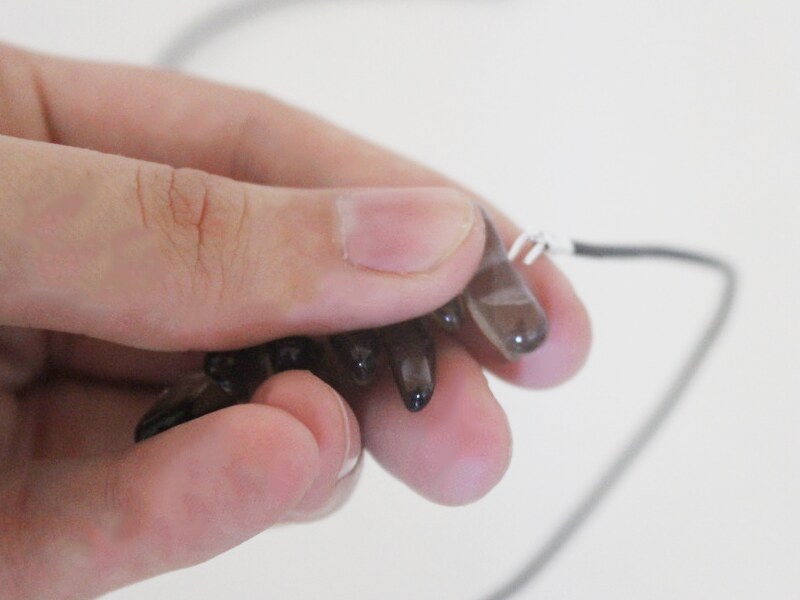
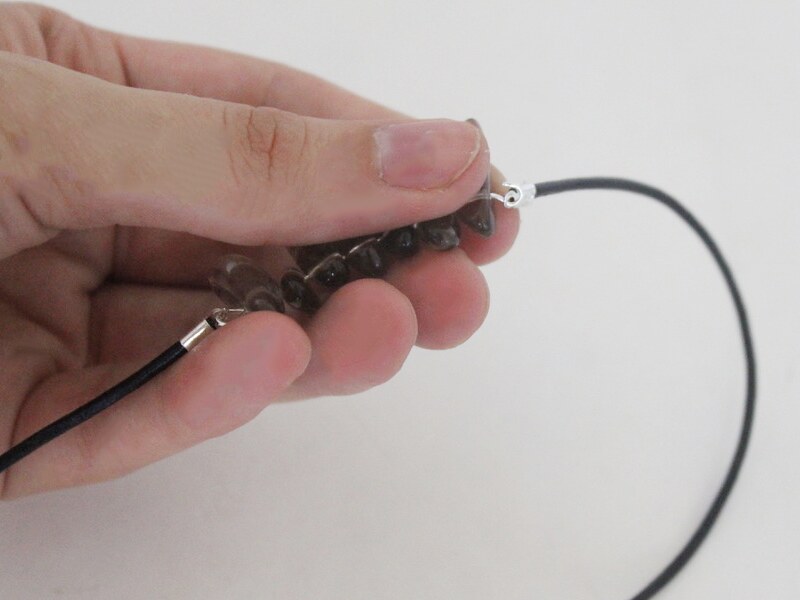

6: Add a lobster clasp to one side of the necklace using one of the jump rings.
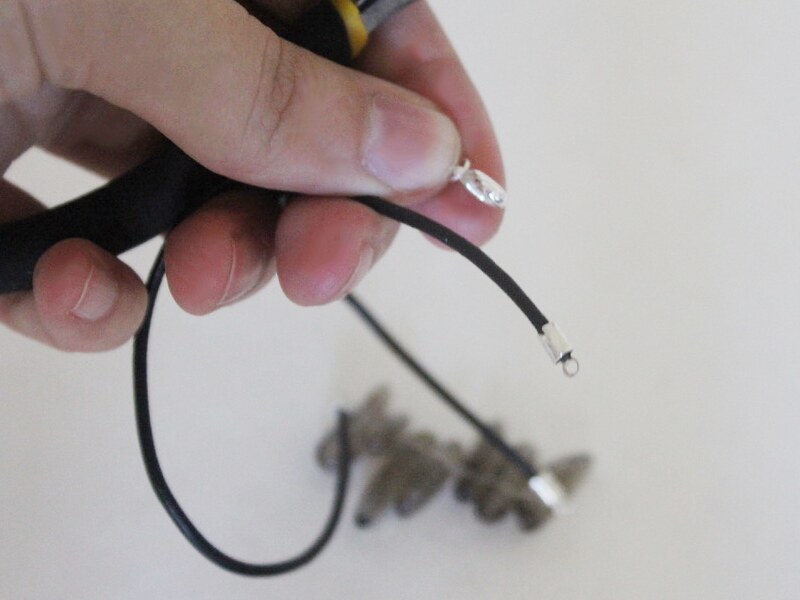
7: Add the remaining jump ring to the other side of the necklace to finish your necklace.
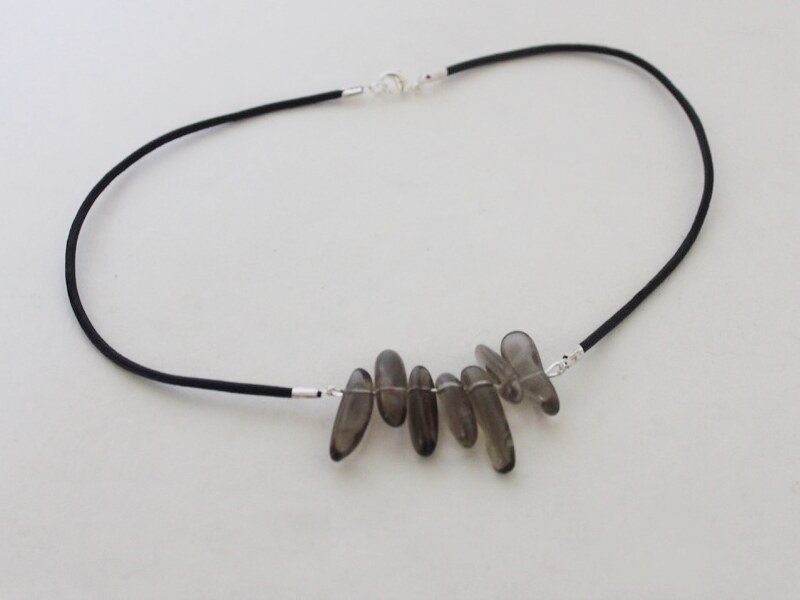
Now it’s ready to wear… a perfect combination of tough and whimsical!
-
Do you want to keep the ocean close? Here’s how to make a bottle charm filled with shells and sea glass

This pendant is so cute, fill it with your fave beach combing finds, or perhaps with some other special pieces. Affiliate links included
You will need the following tools and materials to make your own sea bottle charm:
1: A small glass bottle with a cork top.

2: Shells and sea glass to fill the bottle.

3: A small eye pin.

4: A large jump ring.

5: A wire collar necklace.

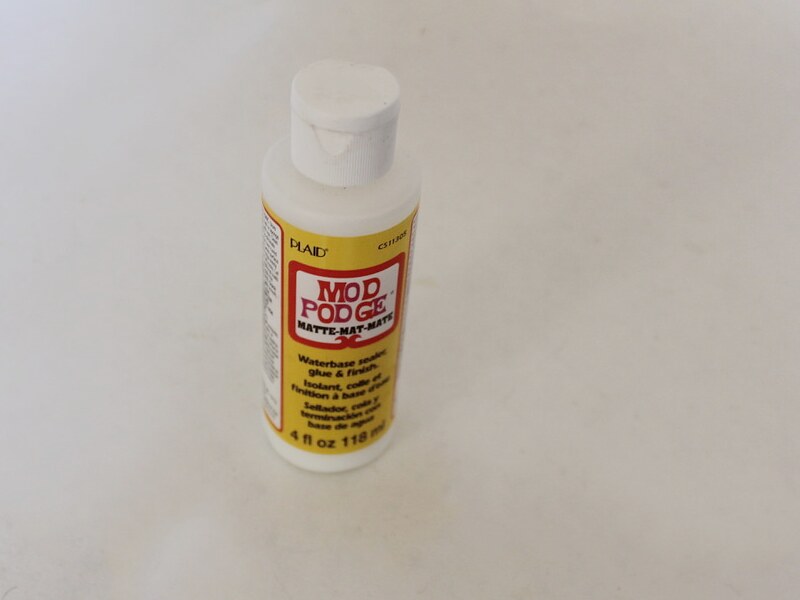
6: Water based glue, I used Mod Podge.
7: A skewer.

Follow your steps to make a sea bottle charm:
1: Take the cork out of the bottle.

2: Fill the bottle with sea glass and small shells.

3: Add some glue to the cork using the skewer.

4: Put the cork back in the bottle and wipe off excess glue.

5: Push the eye pin into the middle of the cork.


6: Add some glue around the eye pin to secure it to the cork.

7: Add the large jump ring to the eye pin.


8: Add the charm to the collar necklace to finish the design off!

Now your charm is ready to wear!
-
Make your jewellery work for you, this necklace is also a bracelet!

This choker necklace can also be worn as a cool bracelet. It’s super cool and easy to make.
You will need the following tools and materials to make your choker/bracelet:
1: Pliers. You will need your flat nose pliers, round nose pliers and cutting pliers to make this choker/bracelet.
2: A piece of leather or faux leather long enough to fit closely around your neck.

3: Two flat crimp ends.

4: Two jump rings.

5: A toggle clasp.

6: A head pin.

7: A bead or charm of your choice. I used this glass bead.

Follow these steps to make your convertible choker bracelet:
1: Add a crimp to each end of the leather, securing it in place by squeezing it around the leather using the flat nose pliers.


2: Add a jump ring to one end and attach one part of the toggle clasp.


3: Add the other jump ring and the second part of the clasp to the other end of the leather.


4: Put the bead onto the head pin.

5: Bend the head pin so that it is at a right angle to the bead using the round nose pliers.


6: Trim the end of the pin if required (it should extend approximately 1cm from the top of the bead). If no trimming is required, curl the pin into a loop using the round nose pliers.


8: Open the charm loop slightly and attach the charm to one of the jump rings that connects the leather and the clasp.

9: Close the charm loop to secure it in place. Once your charm is secured in place your creation is ready to wear, either as a choker or a bracelet!

Here’s the design worn as a bracelet.


And here it is as a choker necklace.