-
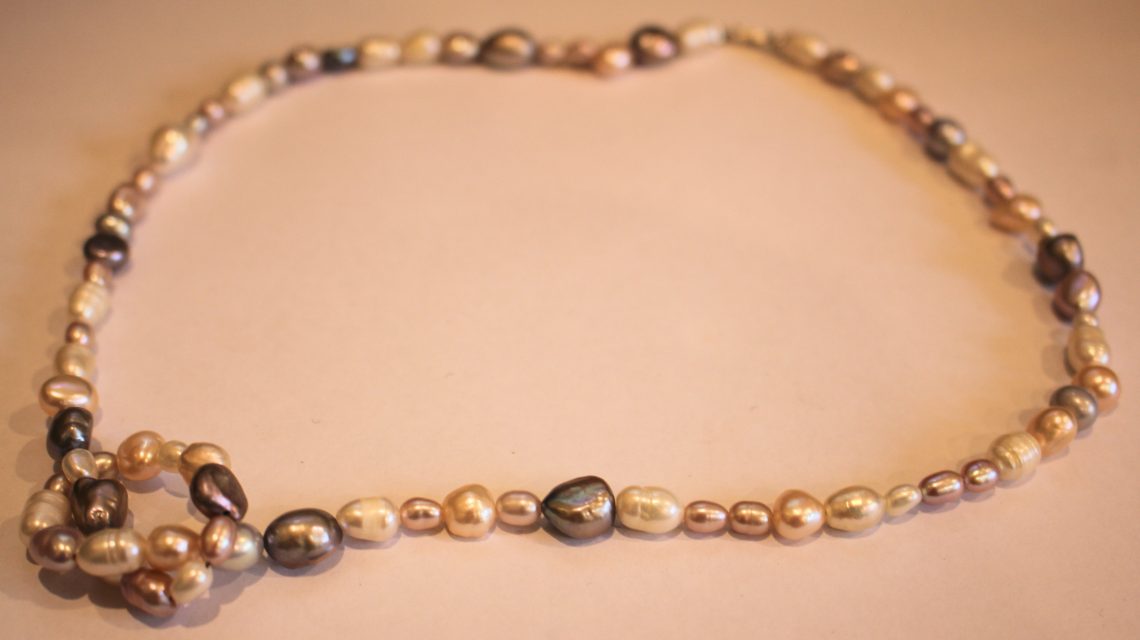
Gorgeous DIY Pearl Necklace: Unleash Your Crafty Charm with this Unique knotted pearl necklace
I love pearl jewellery, but the classic pearl necklace can often look a bit dated, so I decided to try and create a pearl necklace that is a bit more modern! This tutorial shows you how to make a lovely mixed pearl necklace with a knot in the middle for some added visual interest and cool vibes. Please note that this tutorial contains affiliate links.
You’ll need the following tools and materials to make your knotted pearl necklace:
1: Pearls. I used a variety of freshwater pearls in different colours and sizes.

You can purchase some here:
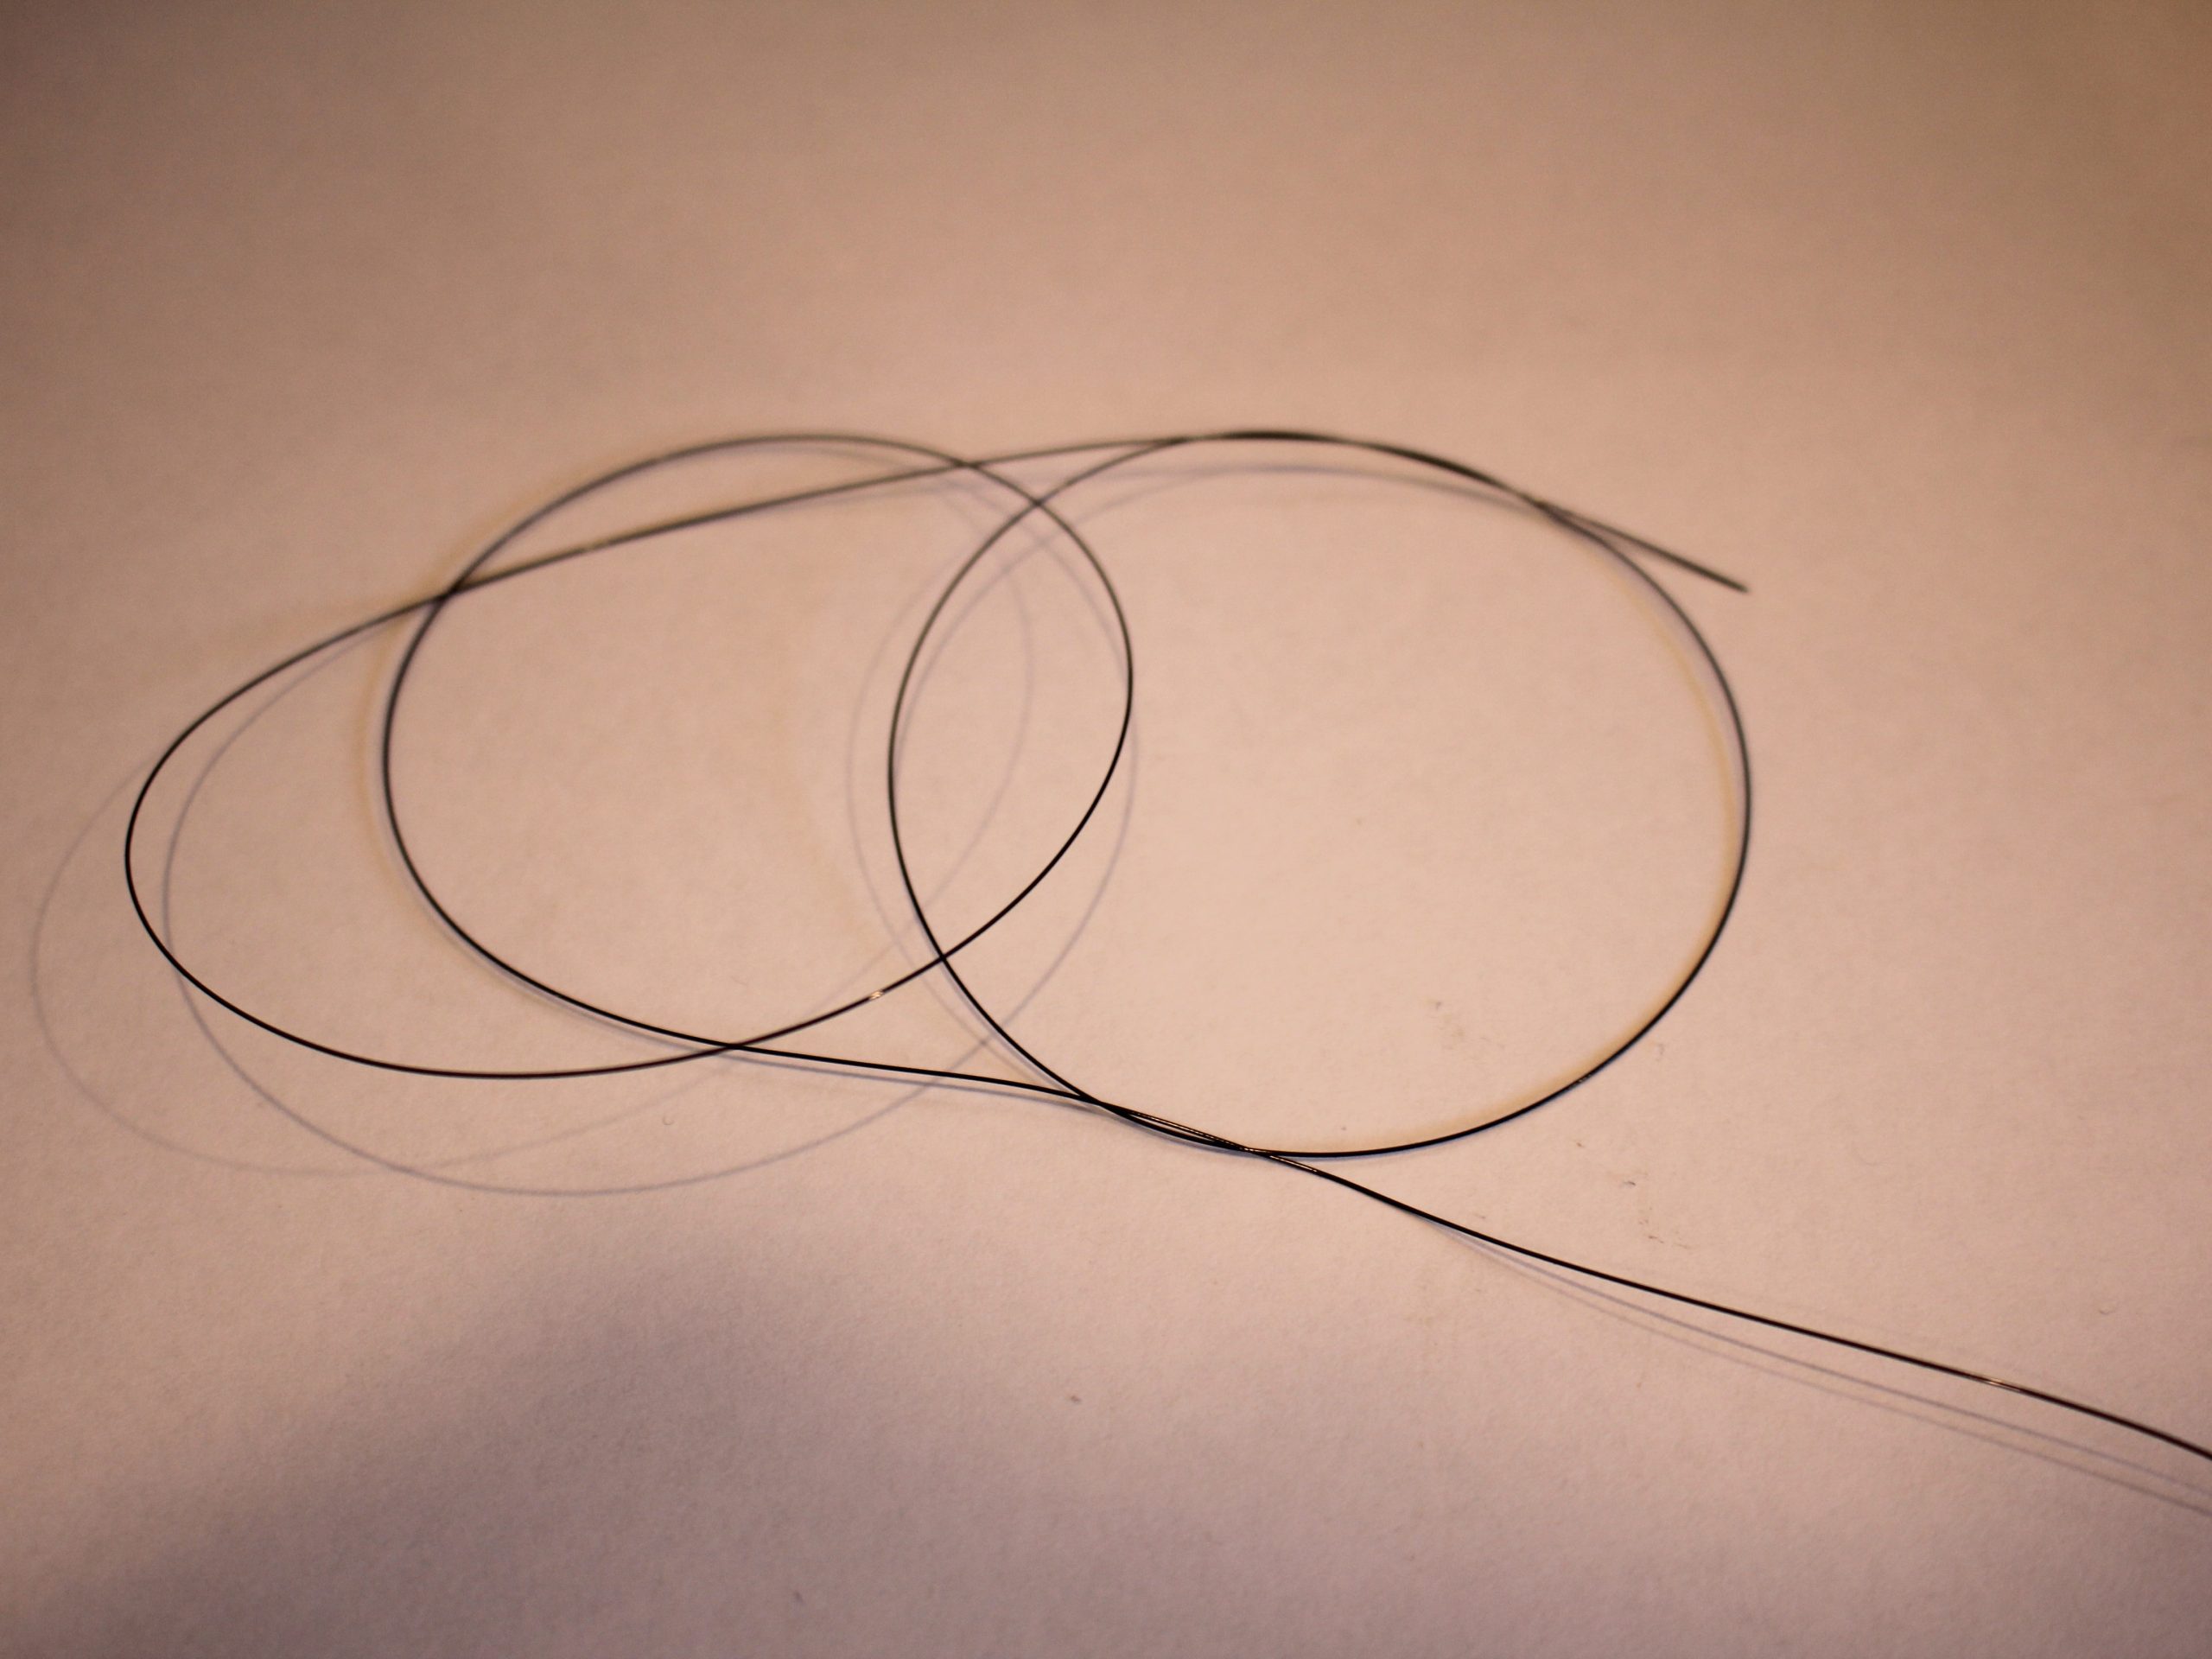
2: Some tiger tail wire. I used some thin black tiger tail.

You can get some here:
3: Your pliers. I used my cutting pliers and flat nose pliers.


You can get a set of jewellery pliers here:
4: A sterling silver clasp and jump ring.
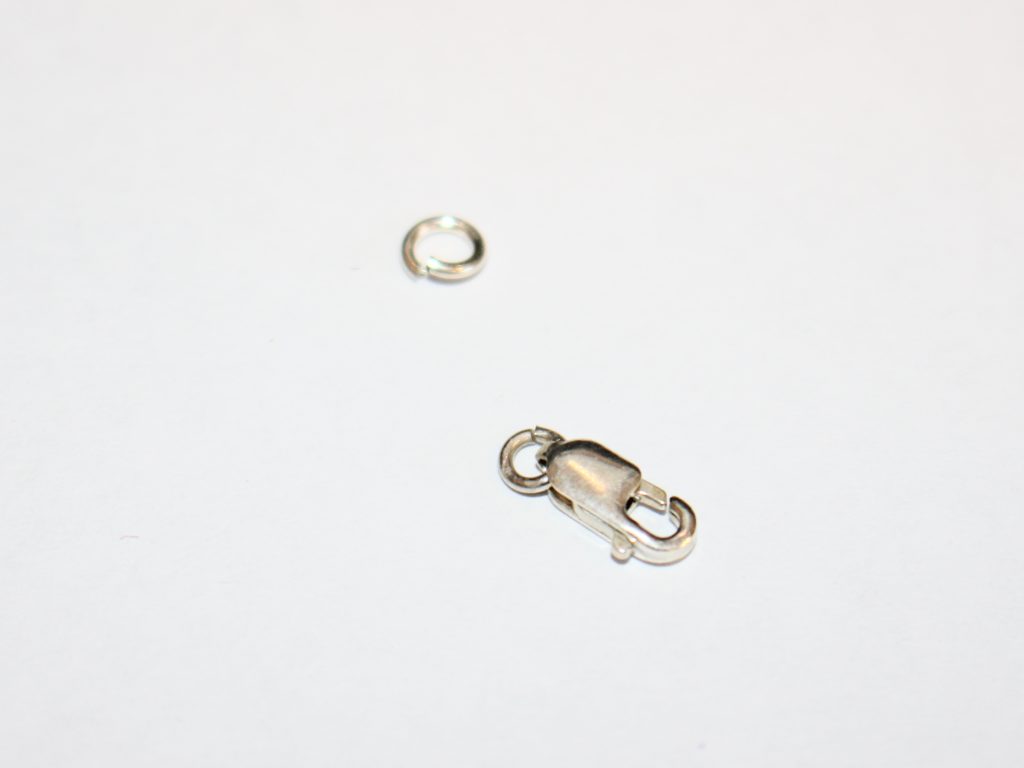
You can get clasps here:
and you can get pre-made jump rings here:
5: Two sterling silver crimp ends.

you can get some sterling silver crimp beads here:
Follow these steps to make your own gorgeous twist on a timeless classic, a knotted pearl necklace:
1: Add a crimp bead to the tiger tail wire.
2: Take the clasp and place it on your tiger tail.
3: Loop the tiger tail around the clasp once and pull it tight (You don’t need to do this if you are using thicker tiger tail wire).

3: Put the short end of the wire through the crimp.

4: Squash the crimp using the flat nose pliers.

5: Add pearls until you have a necklace that is about 7cm longer than the length that you want your necklace to fall.

6: Add the second crimp to the other end of the wire.

7: Thread the wire through the jump ring like you did in steps 1 and 2, pulling it tight and then threading it through the crimp and the first few pearls on the strand. (Remember that if you are using thicker wire, you don’t have to do the extra wire looping around the jump ring).


8: Squash the crimp using flat nose pliers.

9: Trim excess wire using cutting pliers.

10: Take the ends of the wire and knot them as though you are making a basic square or reef knot, but omitting the second step. Adjust the knot to your preferences, moving it to the centre and trying not to make it too tight.


Once your knot is in place, your knotted pearl necklace is ready to wear! How cute!

What colour pearls will you use when you make yours?

If you’re looking for some more pearl jewellery tutorials to follow, you can find some here:
Pearl Earrings
- Mixed bead pearl drop earrings
- A single pearl earring with a chilli charm on the end.
- Pearl and love heart earrings
- Colourful pearl statement earrings
- Rainbow pearl drop earrings
- Pearl tassel hoop earrings
- Pearl hoop earrings
- Pearl charm huggies
- Cresent moon pearl charm earrings
- Shell and pearl earrings
- Simple pearl threader earrings
Pearl Necklaces
- Pearl charm lariat
- Floating pearl necklace
- Colourful beaded pearl necklace
- Single floating pearl necklace
- Mixed bead necklace with pearls
Other pearl accessories
-
Here’s how to make some crescent moon shaped earrings with wire :)
These earrings look one way when you lay them down… but then when you hang them from your ears they turn into beautiful crescent moons. So cute! Please note that this tutorial contains affiliate links.
Here are the tools and materials you will need to make your own crescent moon earrings:
1: Pliers. I used my cutting pliers, round nose pliers and flat nose pliers.

2: Some bracelet length memory wire cut into four half circle lengths.

3: Four small jump rings.

4: Two larger jump rings.

5: Six small head pins.

6: Earring hooks.

7: Beads. I used mixed glass seed beads and six pink freshwater pearl beads.

https://rover.ebay.com/rover/1/705-53470-19255-0/1?mpre=https%3A%2F%2Fwww.ebay.com.au%2Fitm%2F1kg-SUPER-MIX-Glass-Seed-Bugle-BEADS-Mixed-Assorted-Sizes-Colors-BULK%2F322739925149%3Fhash%3Ditem4b24cc709d%3Ag%3AXHgAAOSw791ZuJjX%26frcectupt%3Dtrue&campid=5338747881&toolid=10001&customid=5338747881 
Follow these steps to make your cute crescent moon earrings:
1: Add each of the pearls to the head pins and curl the tops using your round nose pliers to secure the pearls in place. Once you have made all your pearl charms you can set them aside.


2: Take one of the memory wire pieces and create a loop at one end using the round nose pliers. I curled my wires in towards the inside of the curve.


3: Add beads to the wire until there is about 1cm left without beads.


4: Loop the other end of the wire to secure the beads on.

5: Repeat steps 2 to 4 for the remaining three pieces of memory wire.

6: Take two of the pieces of memory wire and attach them at one end using one of the small jump rings.

7: Attach the bottom of the memory wire pieces together using another of the small jump rings to form an oval shape.

8: Repeat steps 6 and 7 using the remaining beaded memory wire pieces and small jump rings.

9: Add three of the pearl charms to one of the larger jump rings and attach it to the end of the memory wire ovals. Repeat this for the remaining three pearls and attach them to the other memory wire charm.


10: Add an earring hook to the top of each of the ovals to finish the earrings off.


Now you can hang them from your ears and have some fun!


-
Here’s how to make a fun hand harness with pearl tassel charms, so cool!
Are you bored at home staring at your hands with nothing else to do? Make them more interesting to look at with this fun hand harness! Making this should be fun and and you’ll have a cool accessory at the end. This tutorial contains affiliate links.
You’ll need these tools and materials to make your cool pearl tassel hand harness:
1: Pliers. I used my flat nose pliers and round nose pliers.


2: Chain that is long enough to wrap around your finger, the front of your hand and wrist. I used some gold-tone rolo chain.

3: Two medium jump rings.

4: A lobster clasp.

5: Pearl beads. I used eight pink pearl beads.

6: Eight smaller jump rings.

7: Eight head pins.

Follow these steps to make your pearl tassel hand harness:
1: Add each of the pearl beads to the head pins.

2: Curl the tops of the head pin around the round nose pliers to form loops and secure the beads in place. Once you have beaded and curled all eight pins you can set them aside.


3: Pick up the chain and create a loop that fits loosely around your middle finger.

4: Attach the end of the chain to the point where where it fits so that you have a loose loop of chain secured together. You can do this by opening one of the chain links and then closing it again around one of the links in the chain.

5: Measure a piece of chain so that it falls down the middle of your hand.
6: Then wrap the rest of the chain around your wrist, trim it and secure it into a large loop like you did with the ring part of the chain. Now you should have one small and one large loop with a single chain joining them.

7: Split the large loop so that it is open in the back opposite to the centre chain.

8: Attach the medium sized jump rings to either end of the open loop and attach the lobster clasp to one of them.


9: Now all that is left is to attach the pearl charms! Add the eight pearl charms to the centre chain that runs down the centre of your hand using the smaller jump rings.


Once all your pearls are attached your pearl tassel hand harness is finished and ready to wear!! So cute!


Here are some other hand harness designs that you can make:
This tutorial contains affiliate links.
-
These earrings are super easy to DIY and look really stylish.
I’ve seen gold hoops with pearl charms dangling from them around a lot in the past year, they look elegant and expensive but are actually really easy to make on your own!
You’ll need the following tools and materials to make these pearl hoop earrings:
1: A pair of gold-tone hoops. I used these gold-tone huggie style hoops.

2: Two pearls. I used these pink freshwater pearls.

3: Two head pins.

4: Pliers. I only used my round nose pliers to make these earrings.
Follow these steps to make your elegant pearl hoops:
1: Add each of the pearls to the head pins.

2: Create a loop at the top of one of the head pins by wrapping it around the barrel of the round nose pliers.

3: Place the newly formed charm onto one of the earrings.
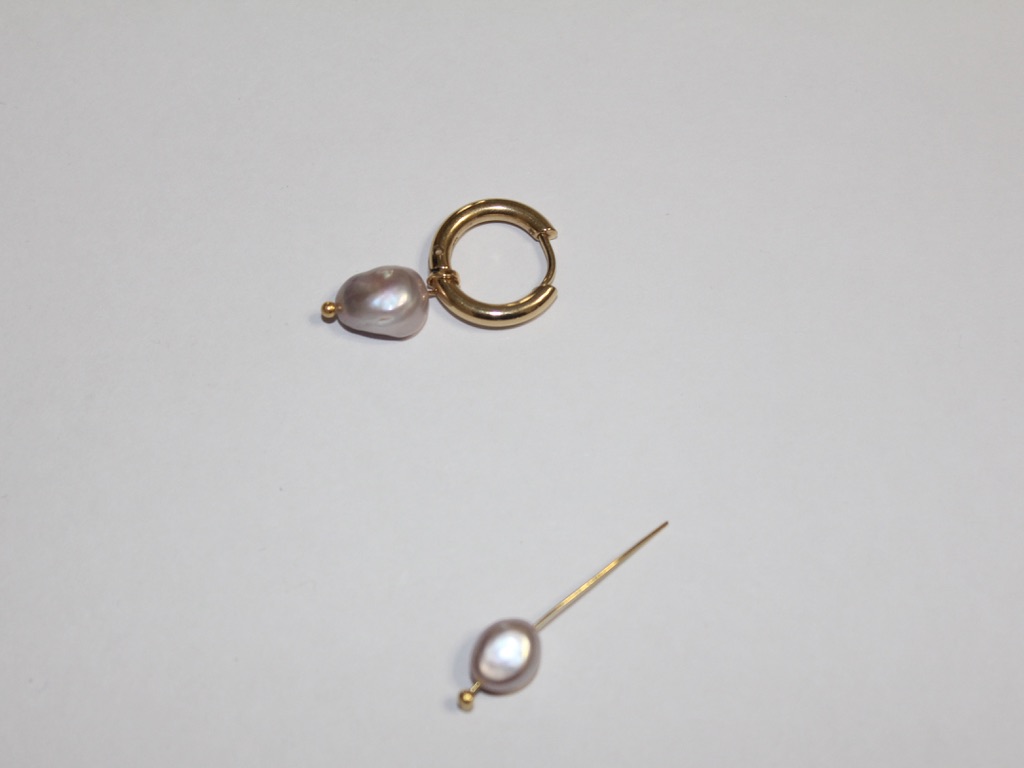
4: Repeat steps 2 and 3 for the second earring to finish the pair off!

Now your elegant pearl earrings are ready to wear!
Here are some other pairs I made with extra pearls and with pearls attached to a chunkier pair of hoops.

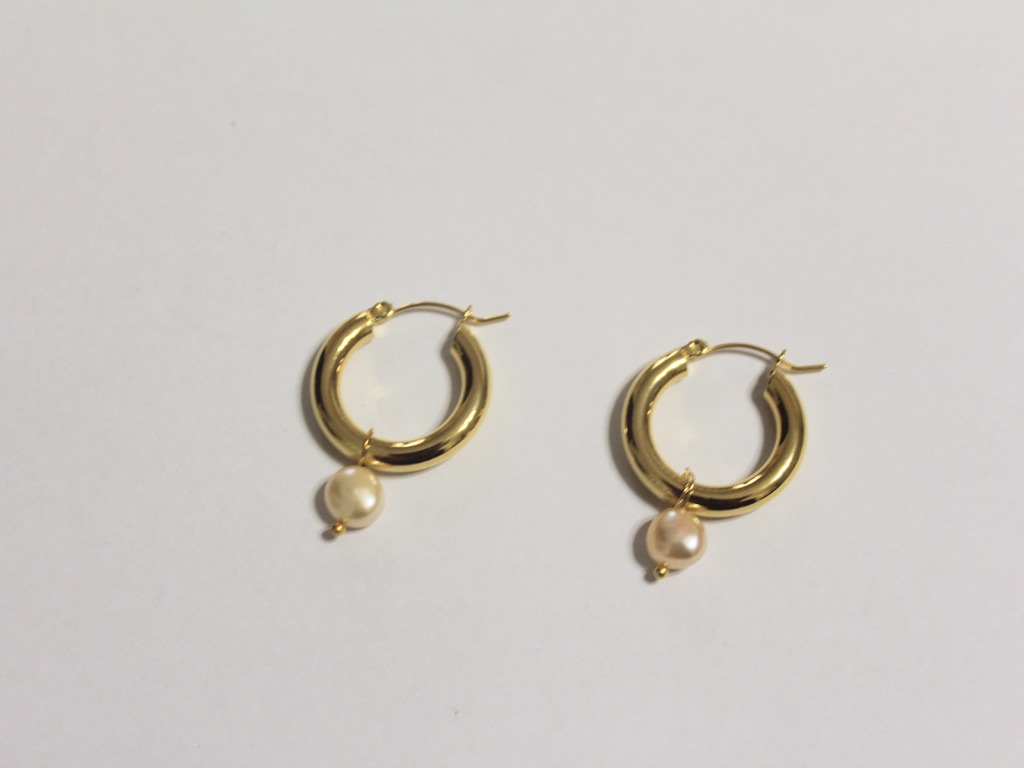
This tutorial contains affiliate links.
-
Combine the latest trends in one awesome design with this pearl anklet!

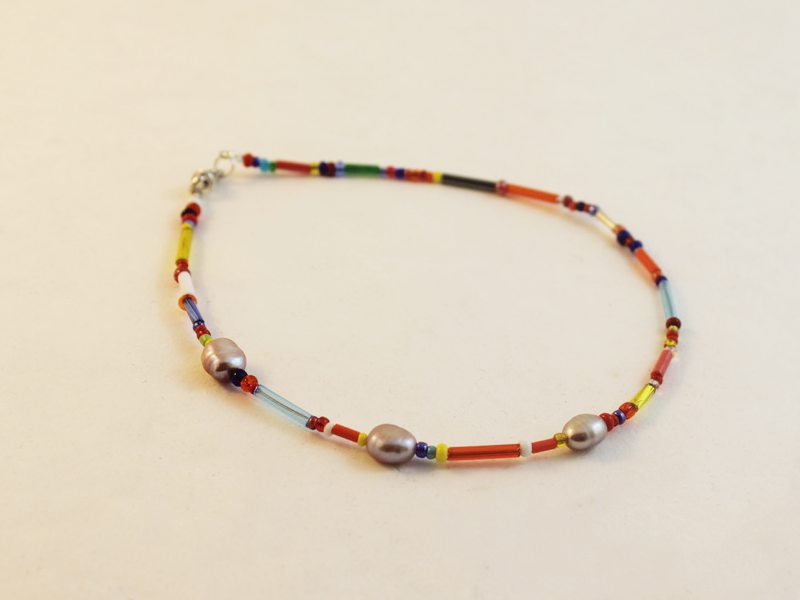
Pearls and anklets are having a moment right now. Hop in on the trend with this rainbow pearl beaded anklet. Contains affiliate links.
You’ll need the following tools and materials to make your pearl anklet:
1: Pliers. You’ll need cutting pliers, flat nose pliers and round nose pliers to make your anklet.
2: Tiger tail wire. Cut it a little longer than the length you want to make your anklet.
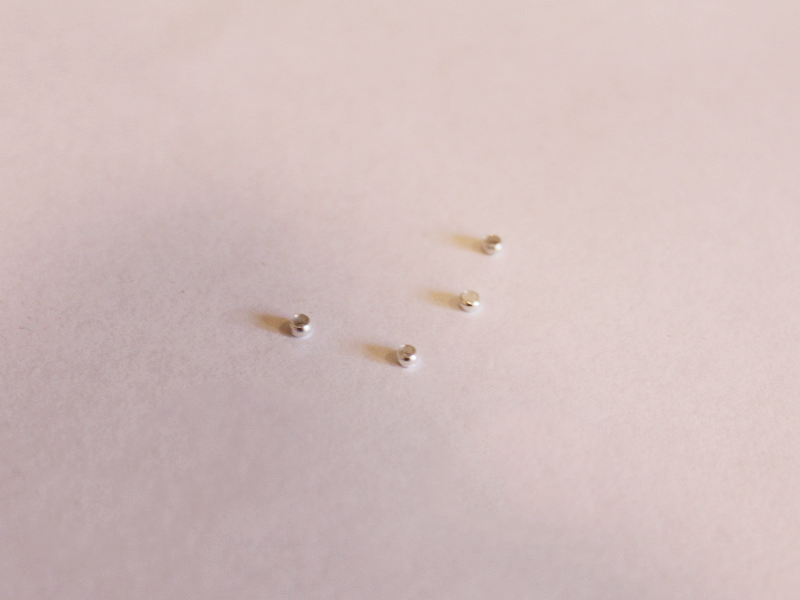
3: Four crimp beads.
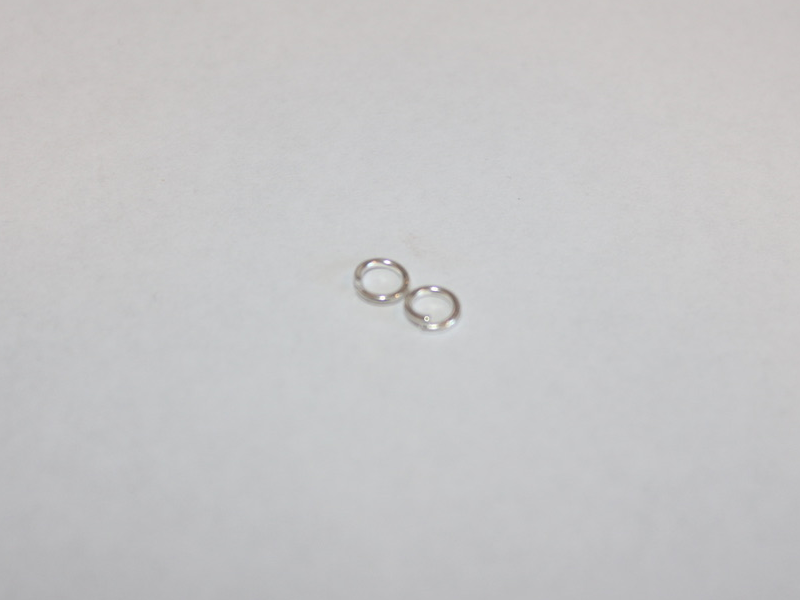
4: Two jump rings.
5: A lobster clasp.

6: Pearl beads. I used three pink freshwater pearls.

7: Mixed beads. I used a mix of bugle and seed beads.

Follow these steps to make your pearl anklet:
1: Add two crimp beads to one end of the wire.
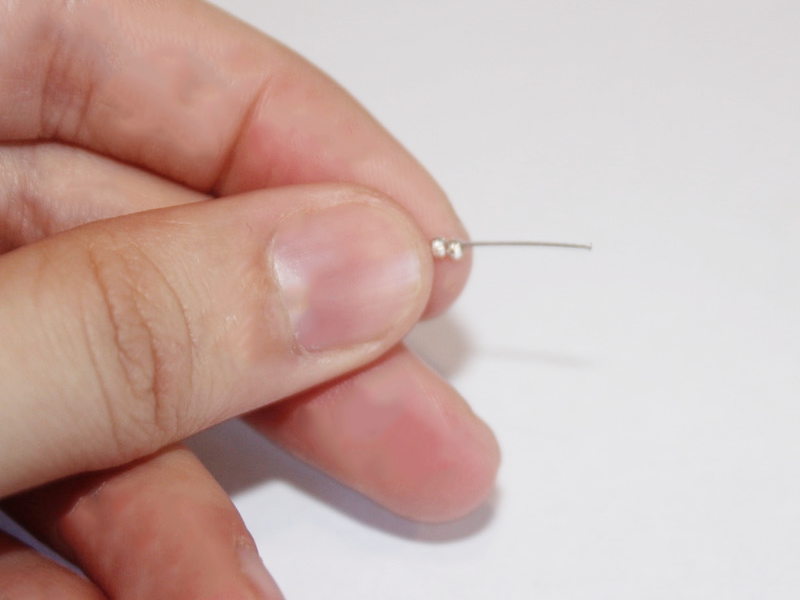
2: Add a jump ring.
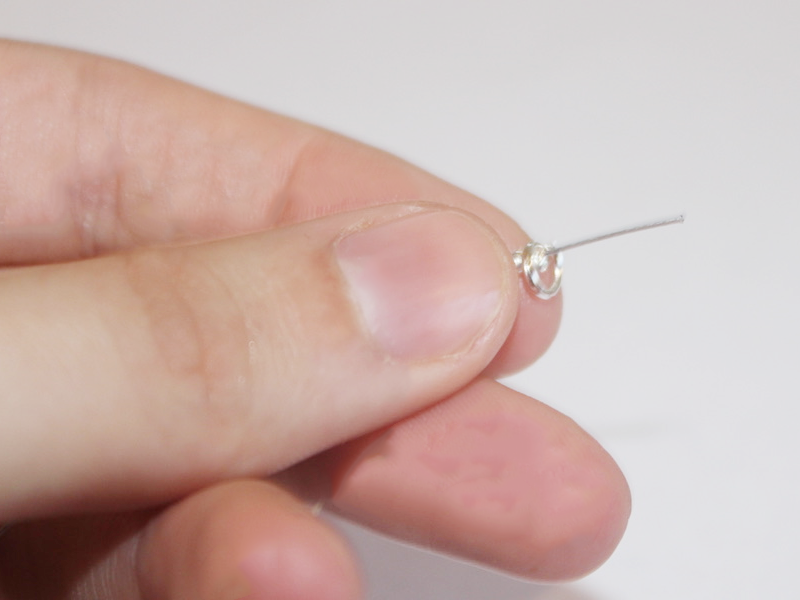
3: Loop the wire around the jump ring and through the crimp beads.
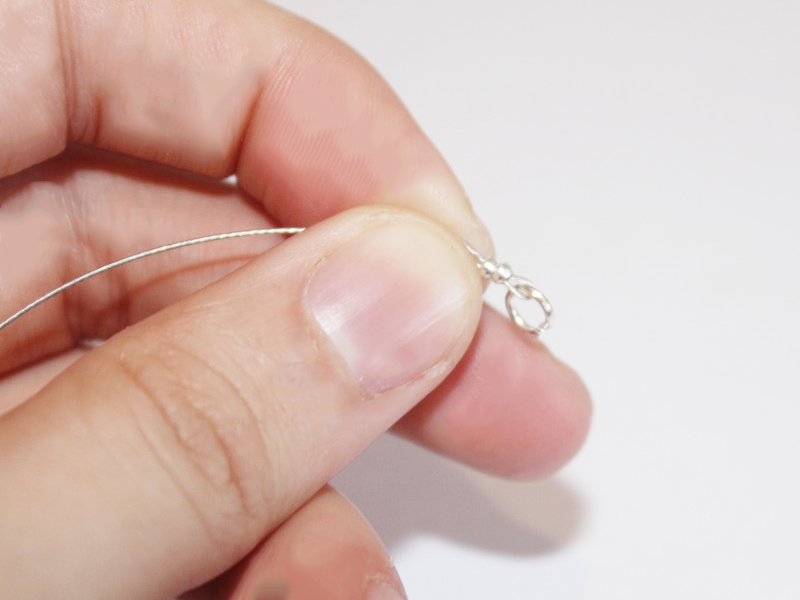
4: Squash the jump rings using the flat nose pliers.

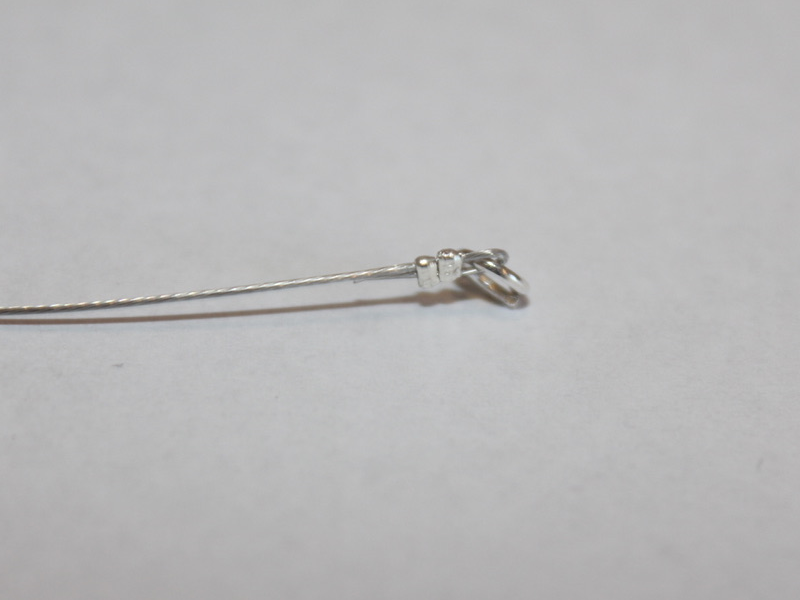
5: Add your beads. I added mine in a pattern with the pearls situated close to one side of the anklet.
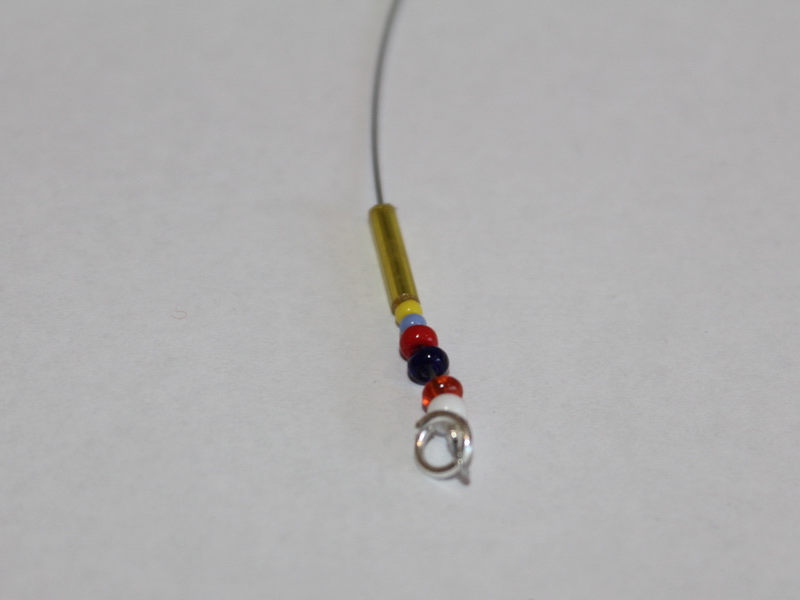
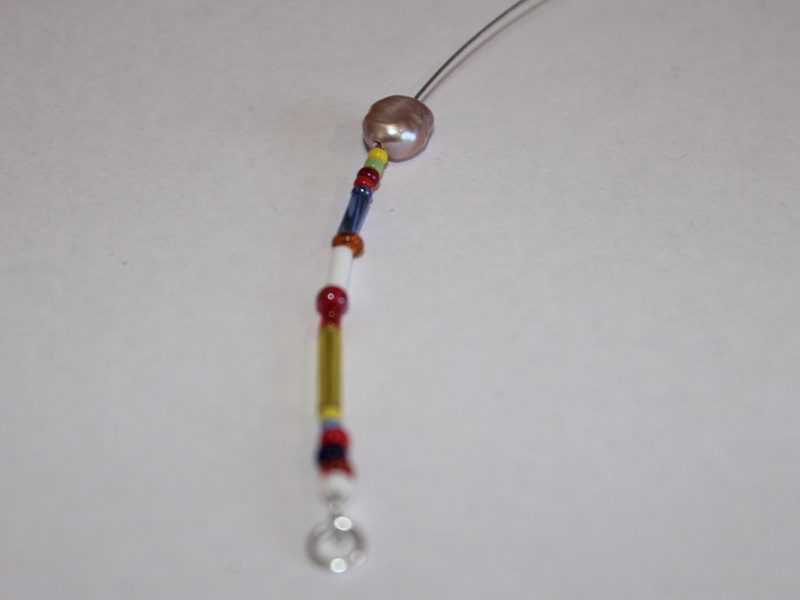

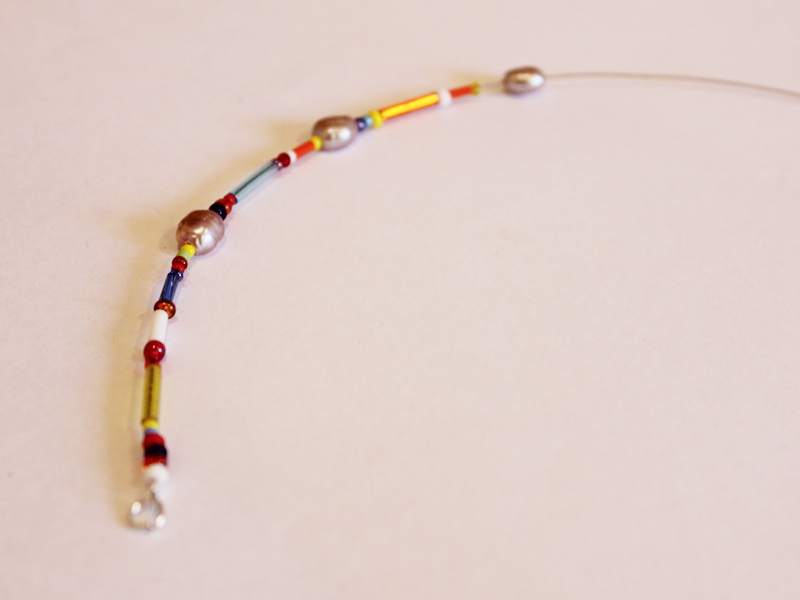
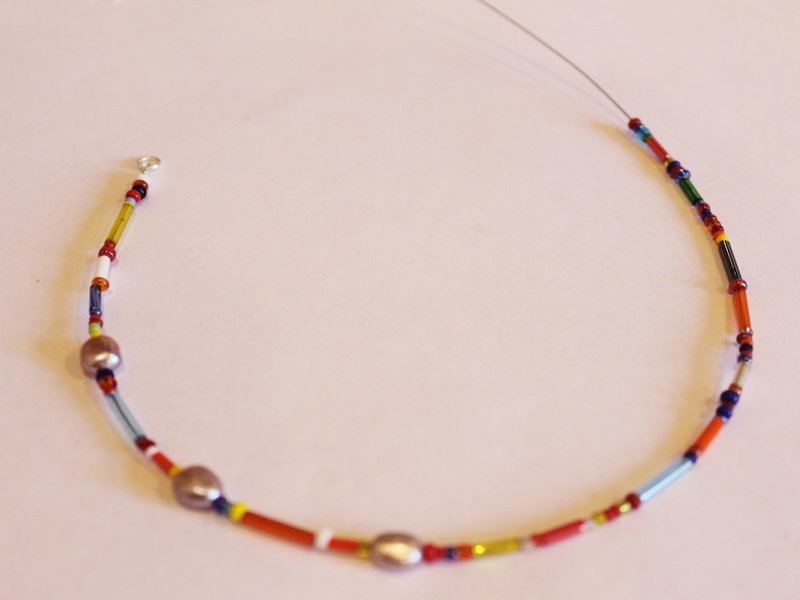
6: Once your anklet is fully beaded add the remaining crimp beads.
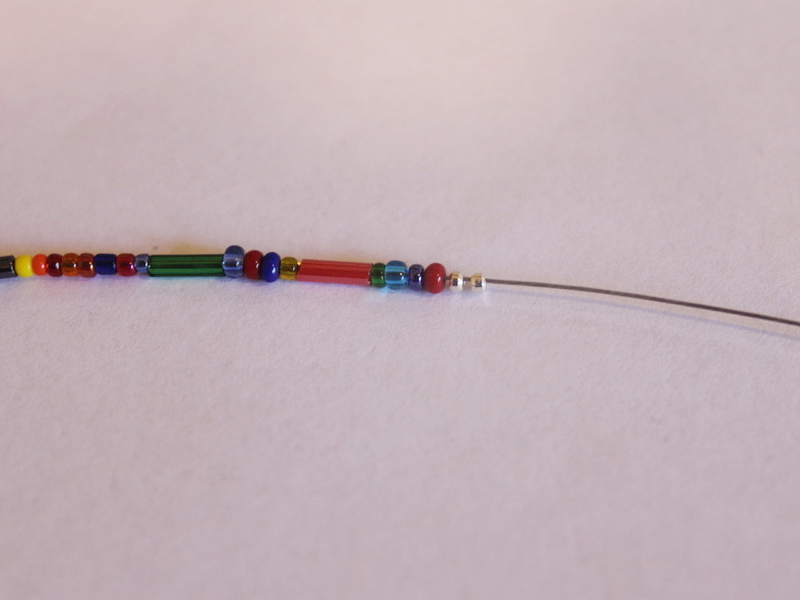
7: Add the second jump ring.
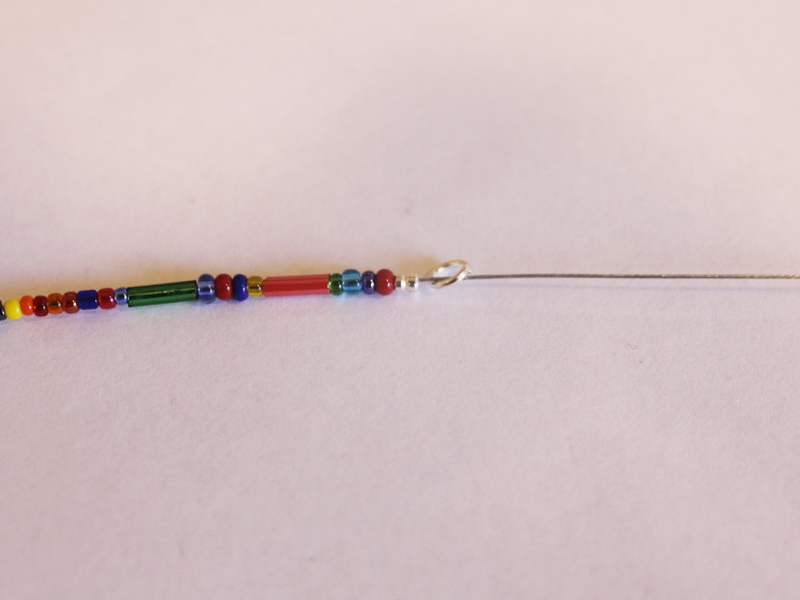
8: Loop the end of the wire around the jump ring and through the crimp beads and the end few glass beads.
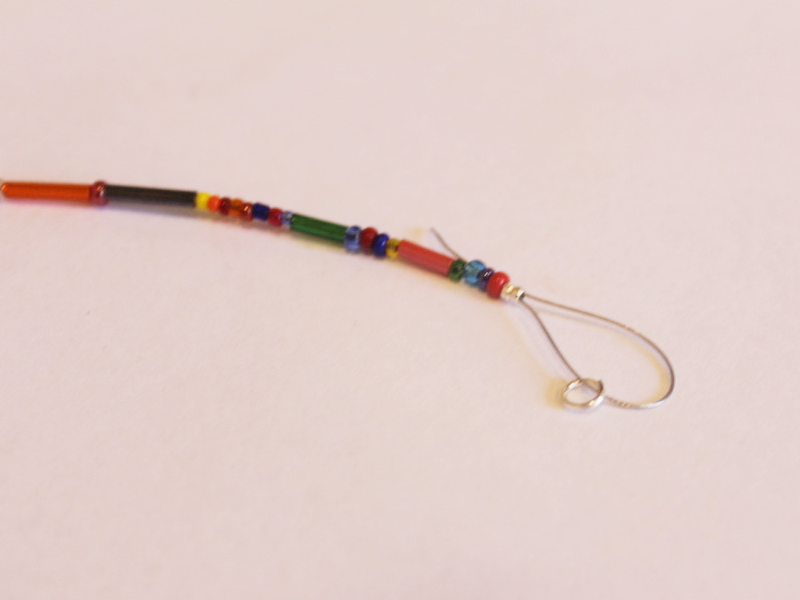
9: Pull the wire tight.
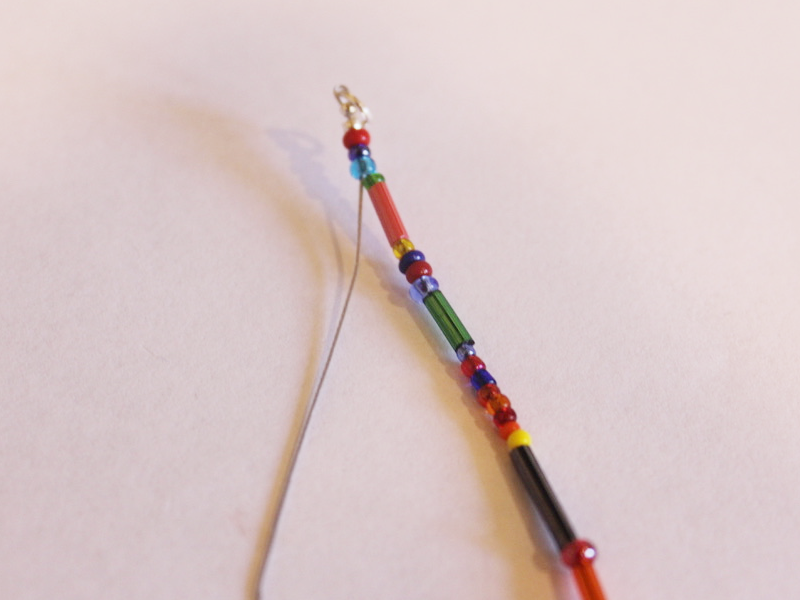
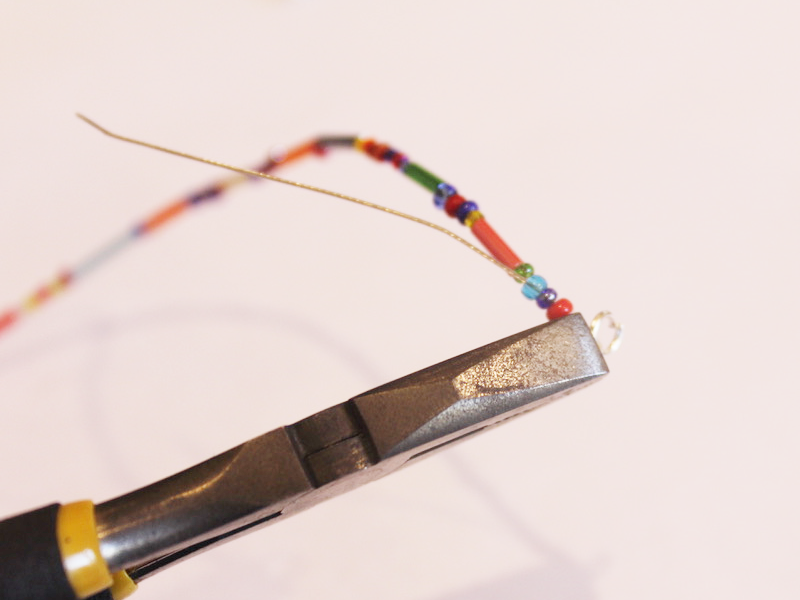
10: Squash the crimps using the flat nose pliers.
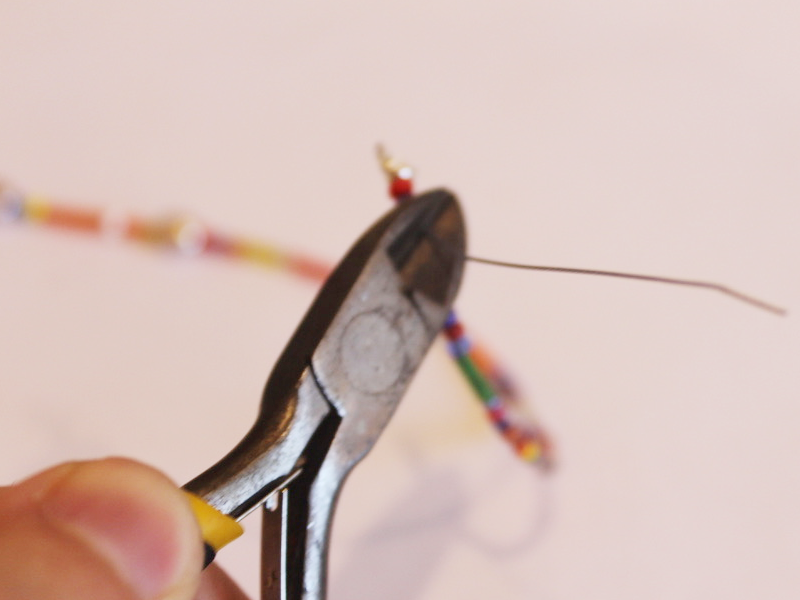
11: Trim the excess tiger tail wire.
12: Add the clasp to one side of the anklet. Close the jump ring to secure it in place.
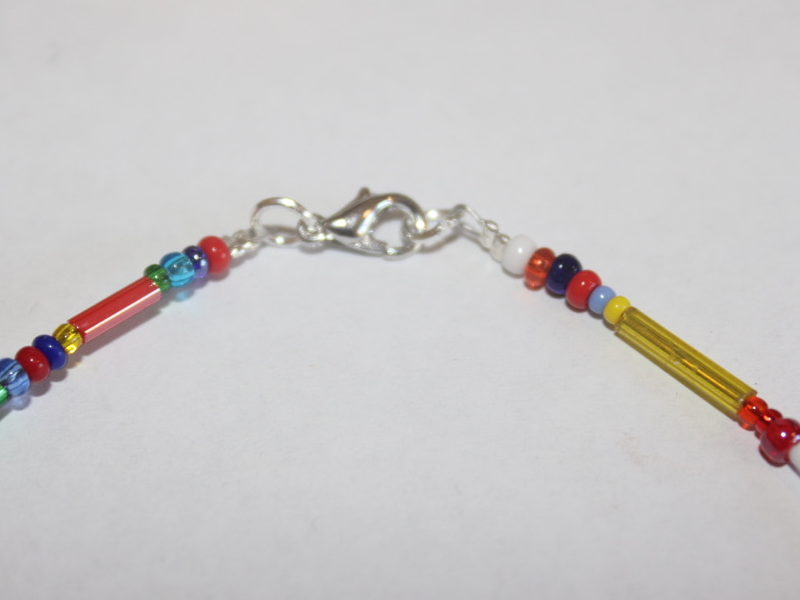
Now your pearl anklet is finished and ready for a summer #ankleparty.
-
Hop on the pearl trend with these beaded pearl hoop earrings!
I am loving the pearl jewelry trend right now! Here’s how you can DIY your way into unconventional pearl earrings. Contains affiliate links.
You will need the following tools and materials to make your beaded pearl hoops:
1: Pliers. I used cutting pliers to cut my wire, round nose pliers and flat nose pliers.
2: Some wire. I used this wire that I reclaimed from an old jewelry project.

3: Charm connector stud earrings.

4: Two small jump rings.

5: Two medium jump rings.

6: Two larger jump rings.

7: Two small head pins.

8: Two pearl beads. I used these freshwater pearl beads.

9: Seed beads. I used these mixed glass seed beads.
Follow these steps to make your beaded pearl hoops:
1: Curl the end of the wire to form a loop using the round nose pliers.

2: Add the seed beads to the wire.

3: Once the wire is beaded and there is only about 1cm left of the wire left use the round nose pliers again to curl the end into a loop.

4: Repeat steps one to three for the second piece of wire.

5: Form the beaded wires into circle shapes.

6: Join the ends of the wires using the two small jump rings and then set the hoops aside.


7: Add the pearls to each of the head pins.

8: Create a loop at the top of each pin using the round nose pliers. This will secure the pearls on the pins.

9: Attach each of the pearl charms to the beaded hoops using the medium sized jump rings.


10: Attach the earring posts to the top of the hoops using the largest jump rings.

Once the earring posts are in place they are ready to wear! How cute are they?!

Here’s another pair I made with some green pearls.