-
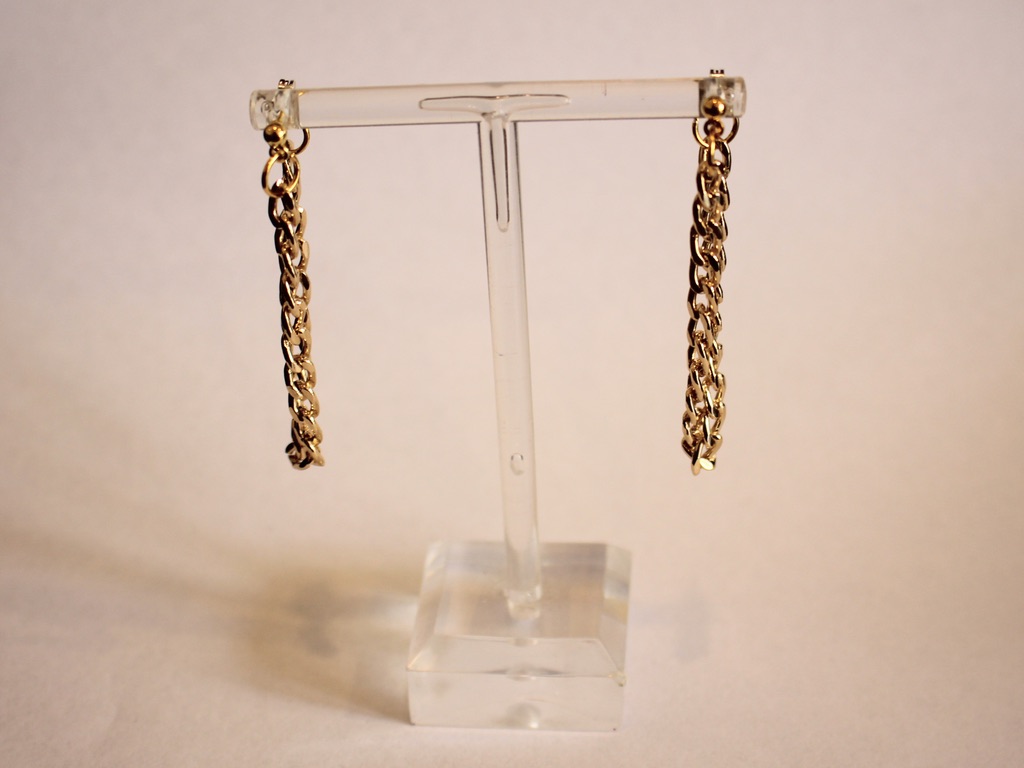
How to make some chunky chain loop earrings!
I think chain loop earrings are really cool! This DIY uses lightweight chunky curb chain to loop from the front to back of your ears. Please note that this tutorial contains affiliate links.
You’ll need the following tools and materials to make this pair of earrings:
1: Pliers. I used my flat nose pliers and round nose pliers.


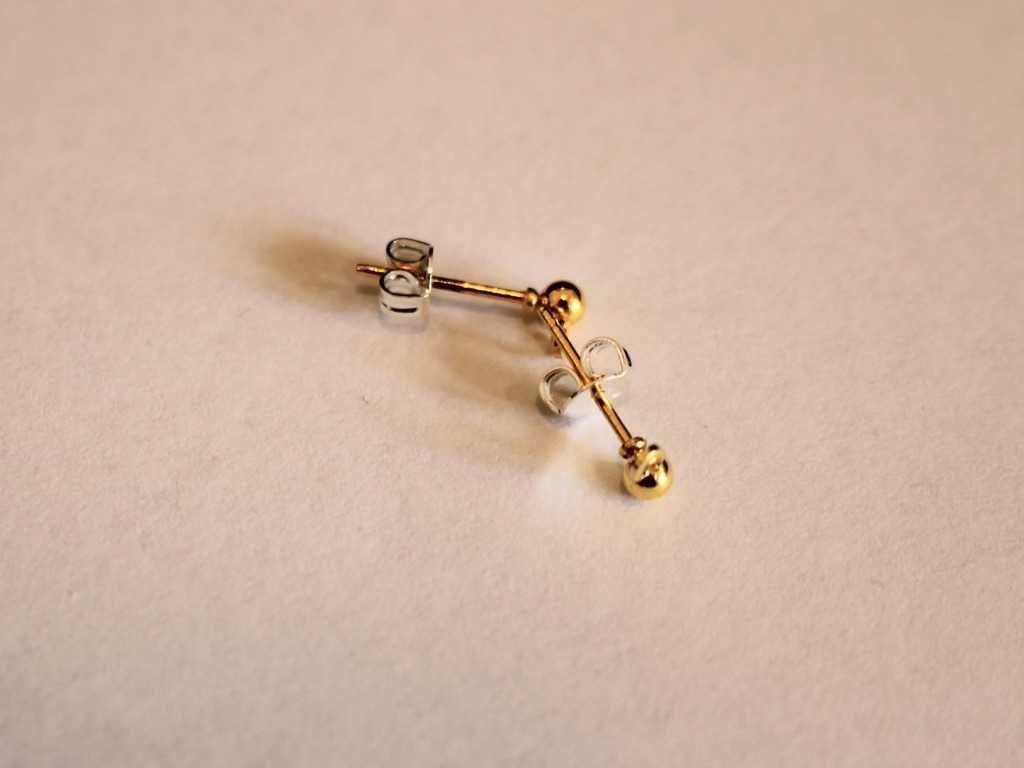
2: Two charm post earrings with butterfly backs.
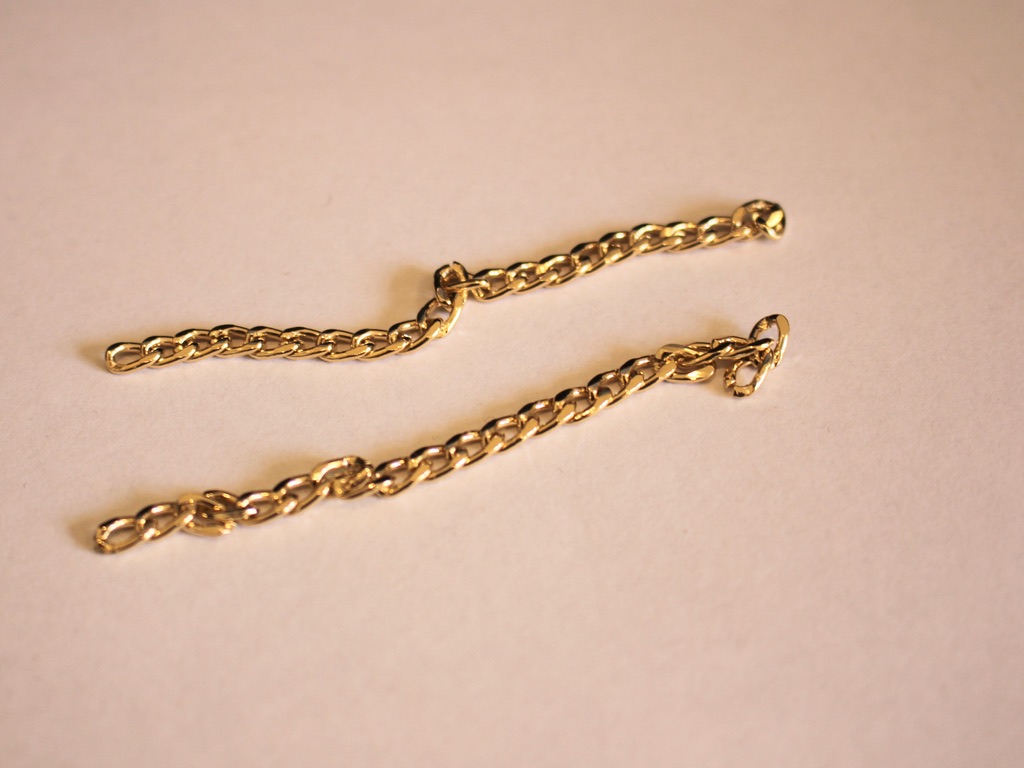
3: Two short pieces of chain, approximately 8cm long.
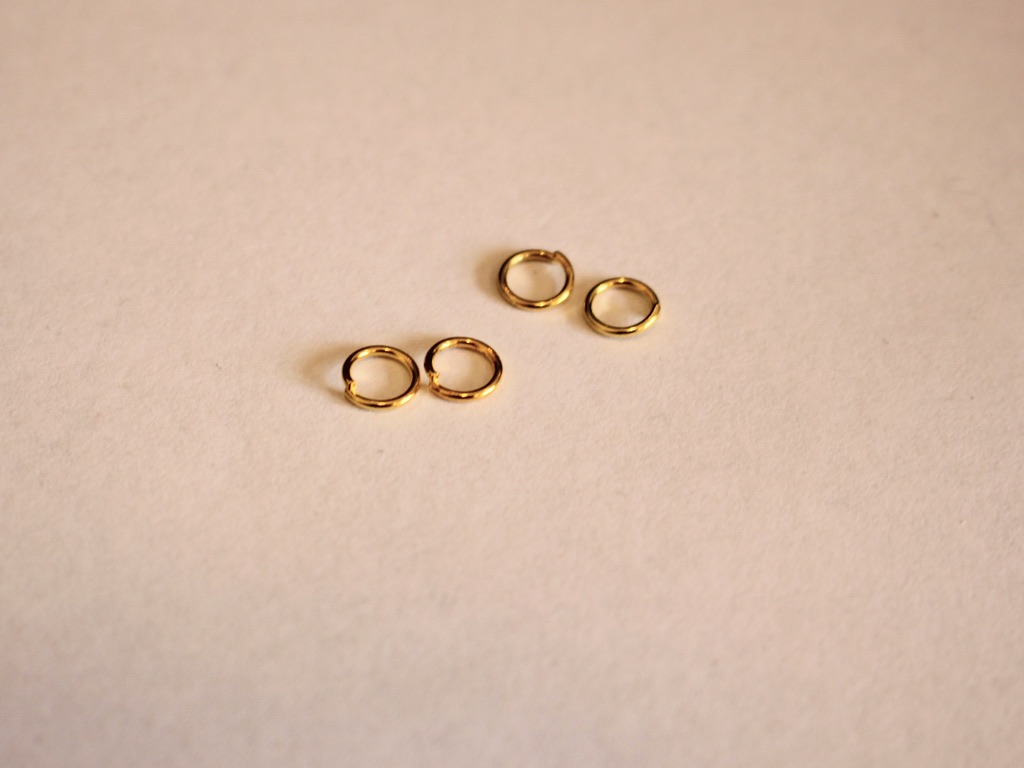
4: Four jump rings.
Follow these steps to make your chain loop earrings
1: Open one of the jump rings and slide it through the charm loop on one of the earrings.

2: Attach one end of a chain to the open jump ring.

3: Close the jump ring to secure the chain onto the earring.

4: Add another jump ring to the other end of the chain.
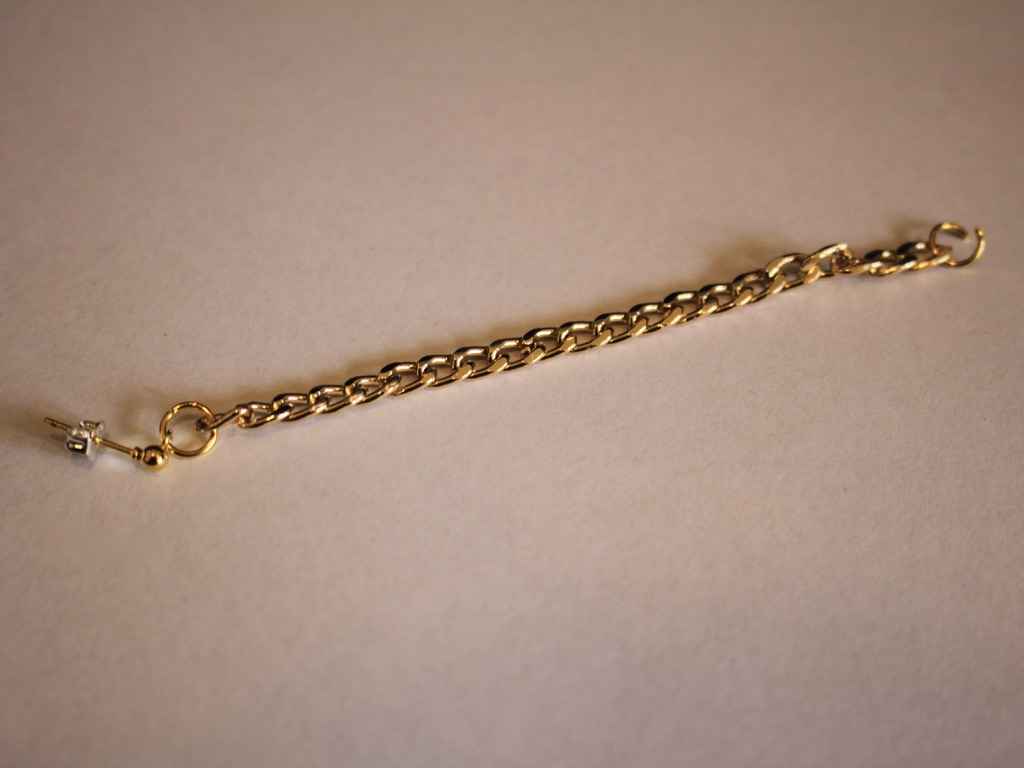
5: Secure the other end of the chain to the butterfly clasp by sliding the jump ring through and closing it using your pliers.

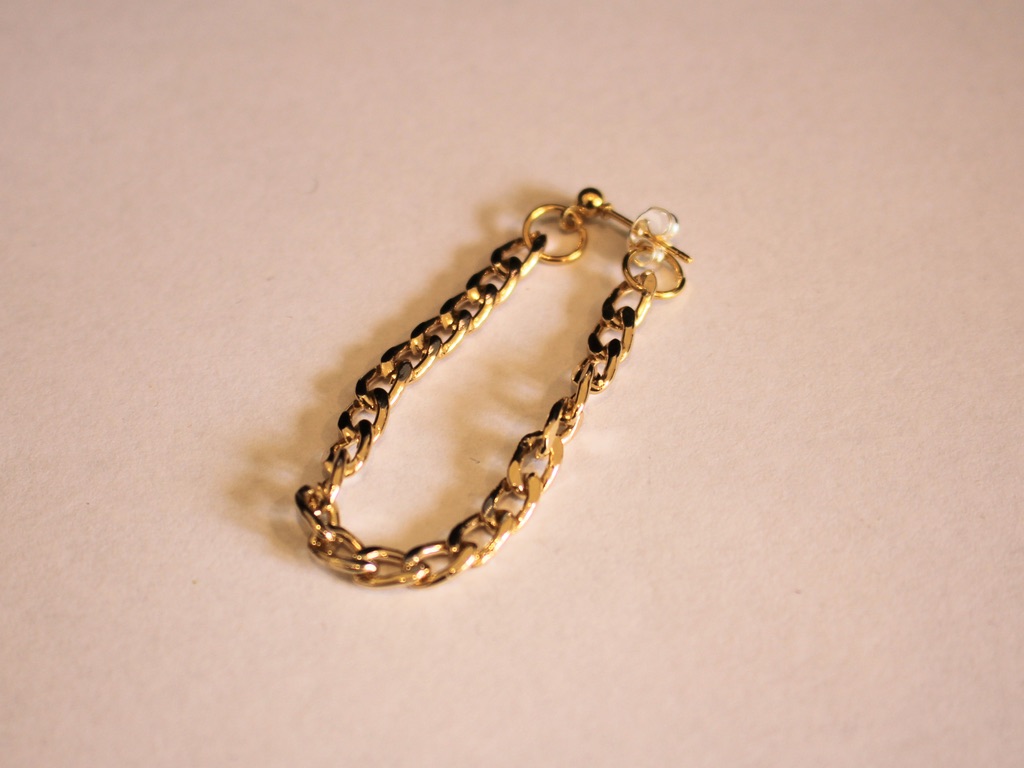
6: Repeat steps 1-5 for the second earring.


Now you can wear them (or give them to someone special)! 😉

Here are some other chain loop earring tutorials:
-
Half and Half for the best of both worlds? Here’s how to make a half bead half chain necklace!
This necklace is really cool! It is made using different materials for a half-half look. One side of the necklace is made with delicate chain while the other half features a rainbow of glass seed beads.
The Materials
You’ll need the following tools and materials to make your half and half necklace:
1: Pliers. I used my cutting pliers, round nose pliers and flat nose pliers.

2: A piece of tiger-tail wire.

3: Four crimp beads.

4: Three jump rings.

5: A lobster clasp.

6: Some chain. I used gold-tone rolo chain.

7: Beads. I used some mixed glass seed beads in different colors.

The steps
Follow these steps to make your half and half necklace:
1: Add two of the crimp beads and a jump ring to one end of the wire.

2: Fold the short end of the wire around it and back through the crimp beads.

3: Squash the crimp beads using the flat nose pliers.

4: Add beads and continue beading until you have a beaded section that is around half the length you want your necklace. I checked my length by measuring it against my neck, holding the secured end at the back of my neck and wrapping it loosely around the font of my neck.


5: Add two more crimp beads to the wire and a second jump ring.

6: Bend the wire around the jump ring and pull it tightly back through the crimps and a few of the beads.

7: Squash the crimp beads using the flat nose pliers again.

8: Trim the excess tiger tail wire using the cutting pliers.

9: Open a jump ring on one side of the beaded strand and attach one end of the chain.

10: Measure the chain so that it is the same length as the beaded strand and trim it.

11. Add the remaining jump ring to the other end of the chain, using it to secure the lobster clasp in place.

Now your half and half necklace is finished!


You can even add a charm to the middle to add some extra interest. I added this yellow clay and resin charm to mine.


This tutorial contains affiliate links.
-
I am super into lariat necklaces right now, here’s another way to make one with a double-hole bead.
Lariat necklaces are so elegant and cool. I really like how they look with a low cut top that hints at cleavage! We already have a few lariat tutorials on the site, but this is one that has a bit of a twist. All the materials and steps are listed below! This tutorial contains affiliate links.
You’ll need these materials and tools to make your lariat:
1: A bead with two holes. I used this hematite bead recycled from a bracelet I had as a kid.

2: Two accent beads. I used these round hematite beads.

3: Chain. I used some gold-tone rolo chain.

4: Two head pins.

5: Two short eye pins.

6: Two large jump rings.

7: Two small jump rings.
8: A lobster clasp.

9: Pliers. I used my flat nose and round nose pliers to make this lariat necklace.
Now here are all the steps you can follow to make your new lariat necklace:
1: Add one of the eye pins to one of the holes in the two-hole bead.

2: Bend the bead to form an angle.

3: Create a loop on the pin using the round nose pliers to secure the bead on the pin.

4: Repeat steps 1-3 for the second eye pin in the second bead hole.


5: Add each of the accent beads to the head pins.

6: Use the round nose pliers to loop the tops of the head pins.


7: Section out three pieces of chain, one long enough to fit around your neck and two shorter pieces, the shorter pieces will form the centre part of the lariat. I made one longer than the other.
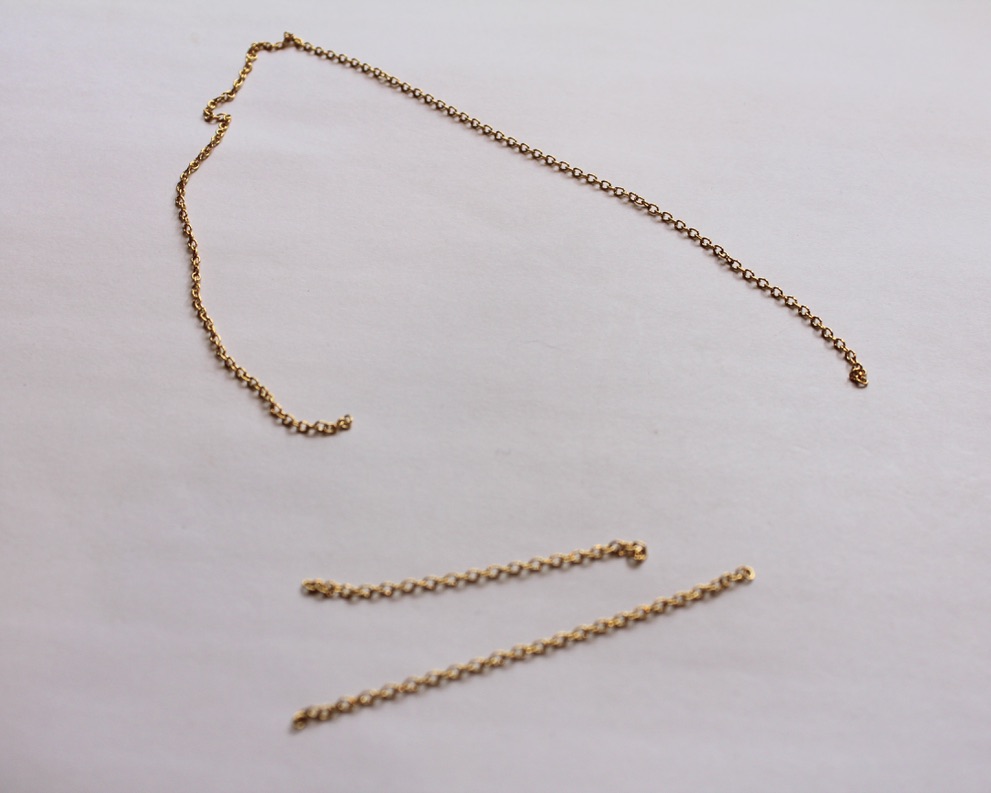
8: Attach one of the short chains to one side of the two hole bead charm.

9: Attach the other chain to the other side of the charm.

10: Attach the long chain to the top of the two hole bead charm.


11: Split the necklace chain in half.

12: Attach the larger jump rings and the lobster clasp to the middle of the split necklace chain.


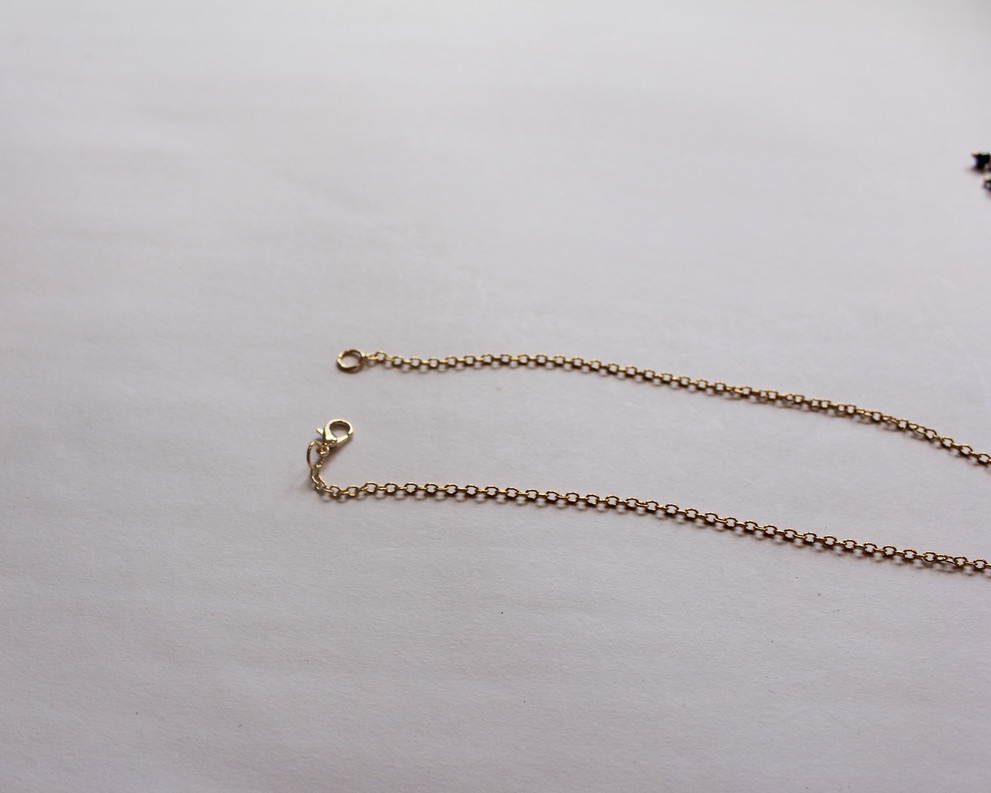
13: Add the accent bead charms to the end of each short chain using the small jump rings to finish the lariat off.


Now your cool new lariat is ready to wear!
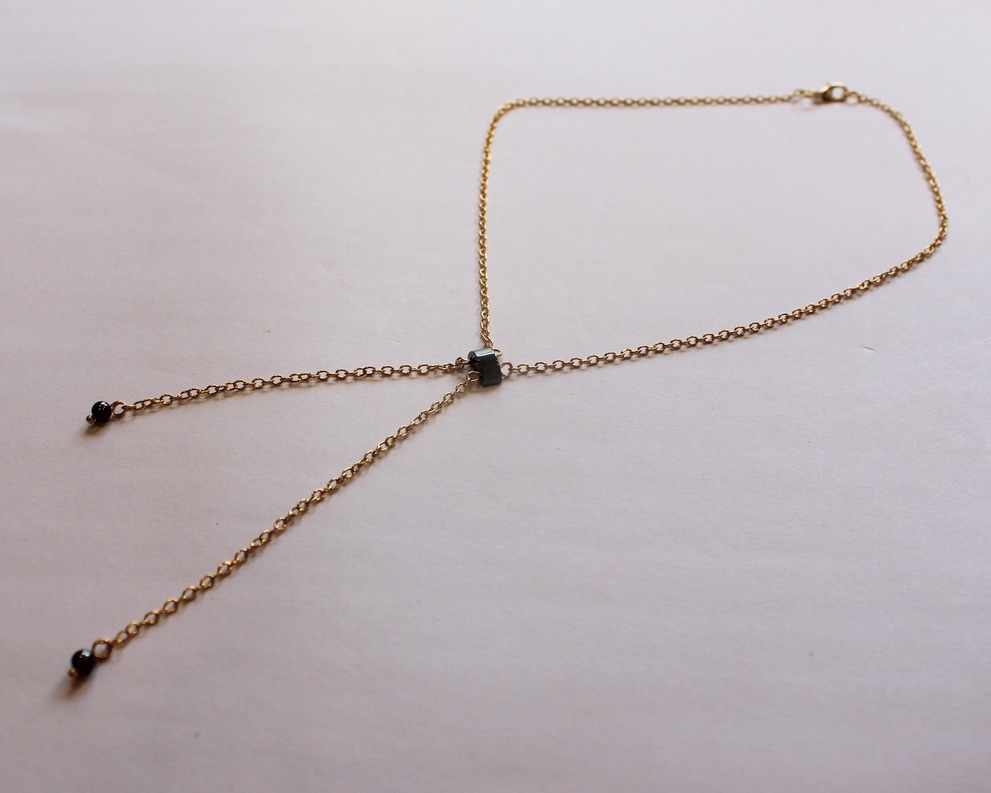
I suggest trying to make this necklace using materials you already have. If you don’t have the right pieces lying around this tutorial contains affiliate links so that you can buy them.
If you love a lariat too, here are some other ways you can make them:
- A bead and chain lariat
- This lariat is made with chunky gold-tone chain
- A lariat with two beaded circle charms
- Triangle charm lariat
- This chain charm that lets you transform any necklace into a lariat
- Make this chain belt that can also be worn as a lariat necklace
- How cool, this long leather strand can be worn as a lariat
- Our original lariat tutorial, a cute pearl lariat
-
How to make a double-strand knot necklace.
This one didn’t really turn out how I had anticipated, but I thought I would share it with you anyway. I had more success making two beaded strands to knot together compared to this design that knots together a beaded strand with a chunky chain. If you don’t want the chain just make one bead strand and knot it loosely in the middle for a cool knot necklace look! This tutorial contains affiliate links.
You’ll need the following tools and materials to make your double-strand knot necklace:
1: Tiger tail wire. Make it a little longer than the chain you are using.

2: Four crimp beads.

3: Pliers. I used cutting, flat-nose and round-nose pliers.
4: A length of chunky chain.

5: Two jump rings.
6: A lobster clasp.
7: Beads. I used some blue plastic beads and some green glass beads.


Follow these steps to make your two-strand knot necklace.
1: Add the crimps to one end of the tiger tail wire.

2: Add the jump ring and loop the end of the wire around it and back through the crimp beads.

3: Squash the crimp beads using the flat nose pliers.

4: Begin adding the beads in your chosen pattern.


5: Bead until it is at your desired length.

6: Add the second pair of crimp beads to the wire and repeat steps 2 and 3 to secure the beads onto the strand.


7: Trim the excess wire using the cutting pliers.


8: Add the chain to the bead strand by opening the jump rings at either end of the necklace and adding the ends of the chain.


9: Add a lobster clasp to the necklace.


10: Tie the strands into a loose knot that sits at the centre of the necklace opposite the lobster clasp closure.

Now your necklace is finished and ready to wear! Like I said, the chain looks a bit weird on this one, so you can leave it out if you like. You could also make the double strand necklace and skip the knot!

You can make this necklace with materials you already have, but if you need some new supplies this tutorial contains affiliate links.
-
How to make a mixed material lariat necklace
Do you like lariat necklaces? I think they are really elegant and kind of sexy. We have done some lariat tutorials in the past but this one is a bit different. It is made using a small piece of chain which hangs in the middle of a beaded strand like a pendant. I really like beading projects because they take time and patience, perfect for passing the time inside. This tutorial contains affiliate links.
You’ll need the following tools and materials to make your mixed material lariat:
1: Tiger tail wire. Cut it to your desired length (plus a bit extra). I think lariat necklaces look best when not too long.

2: One lobster clasp.

3: Four crimp beads.

4: Three smaller jump rings. One slightly larger than the other two.

5: One large jump ring.

6: A length of chain, approximately 10cm long (3.9 inches).

7: Beads of your choice. I used green and yellow glass beads.

8: Pliers. I used cutting pliers, flat nose filers and round nose pliers.
Follow these steps to make your own mixed material lariat necklace:
1: Add crimps to the end of the wire.

2: Add a jump ring and fold the tiger tail wire around the jump ring. Thread the end of the wire through the crimp beads.

3: Squash the crimps using the flat nose pliers.


4: Add the beads in your desired pattern.


5: Once your strand is fully beaded add the remaining crimp beads.

6: Add the other small jump ring and thread the end of the wire back through the crimp beads and the first few glass beads.


7: Squash the crimp beads using the flat nose pliers.

8: Trim the remaining wire using the cutting pliers.

9: Add the clasp to one side of the beaded strand.

10: Add the third smaller jump ring to one end of the necklace.

11: Add the large jump ring to the top of the piece of chain and then close it.


12: Add the chain to the beaded strand to finish the necklace off.

Now your necklace is finished! What colour will you make yours in?


Here is another one I made using mixed glass seed beads.

Here are some other lariat tutorials:
- Circle charm lariat
- Beaded triangle lariat
- Clip on lariat charm
- Belt/lariat tutorial
- A leather wrap lariat
- Pearl charm chain lariat
This tutorial contains affiliate links.
You May Also Like

Sick of single color jewelry? Make this two-tone chain choker necklace.
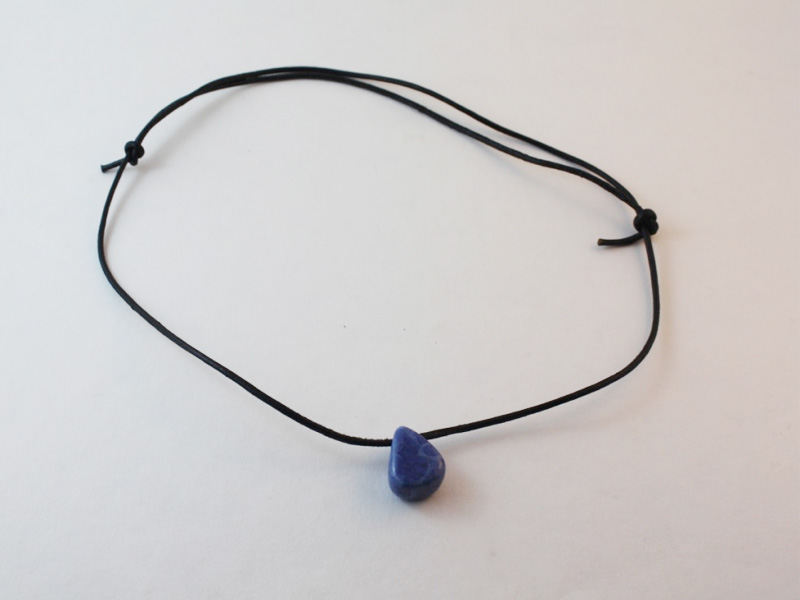
This is the Easiest Necklace Ever! Learn How to Make a Leather Charm Necklace

I keep hearing that chunky chain necklaces are trendy right now… here’s how to make a gold chunky chain necklace that makes a statement.
-
How to make a delicate layered necklace!
Layered statement necklaces are set to be on trend in the coming months. Here’s how you can make one for yourself with some delicate chain and pretty beads.
You’ll need the following tools and materials:
1: Pliers. I used my round nose and flat nose pliers.
2: Two pieces of chain, one longer than the other. I used gold-tone rolo chain.

3: Four beads. I used these matching glass beads.

4: Three pins with no ends.

5: One head pin.

6: Three larger jump rings.

7: Four small jump rings.

8: A lobster clasp.

Follow these steps to make your layered chain necklace:
1: Add one of the beads to the head pin.

2: Curl the top of the pin around the round nose pliers to form a loop.

3: Attach one of the larger jump rings to the top of the pin.

4: Slide the newly formed charm onto the shorter piece of chain.

5: Create a loop at one end of one of the pins using the round nose pliers.

6: Add one of the remaining three beads.

7: Create a loop at the other end of the pin to secure the bead in place.
8: Repeat steps 5-7 for the other two beads.

9: Join the bead charms together to form a chain using two of the small jump rings. Then split the longer chain in half.
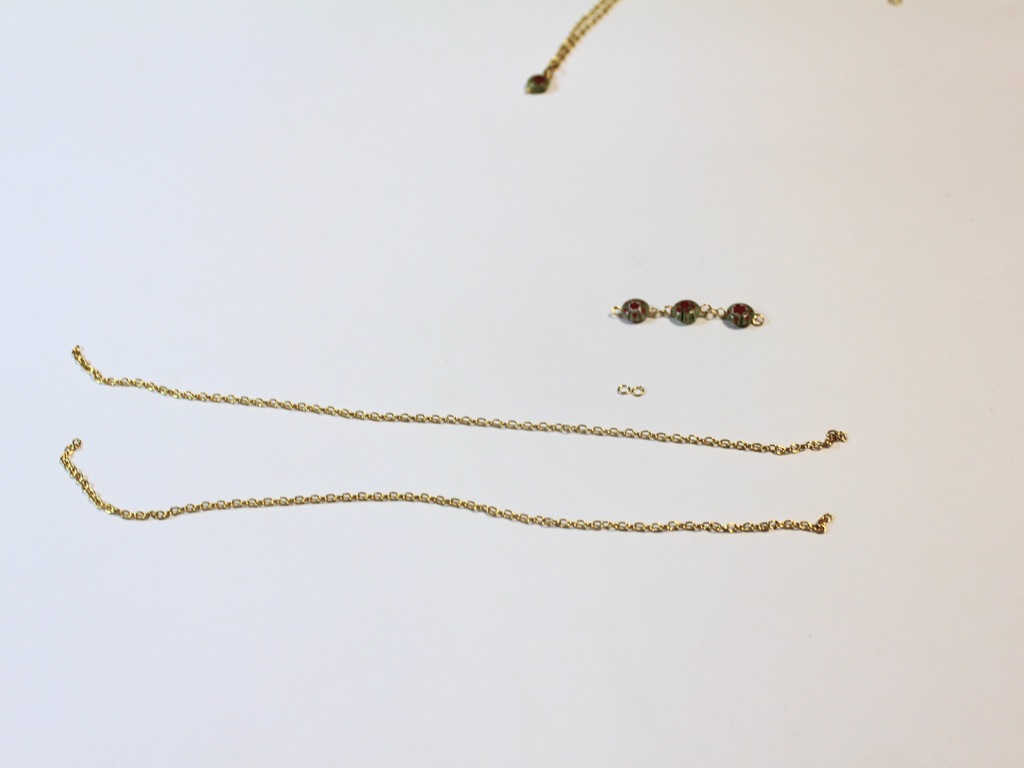
10: Use one of the remaining small jump rings to attach the bead chain to one of the two necklace chains you just split.


11: Attach the other end of the bead chain to the other necklace chain using the last small jump ring.

12: Join the two chains together by sliding them onto one of the larger jump rings.
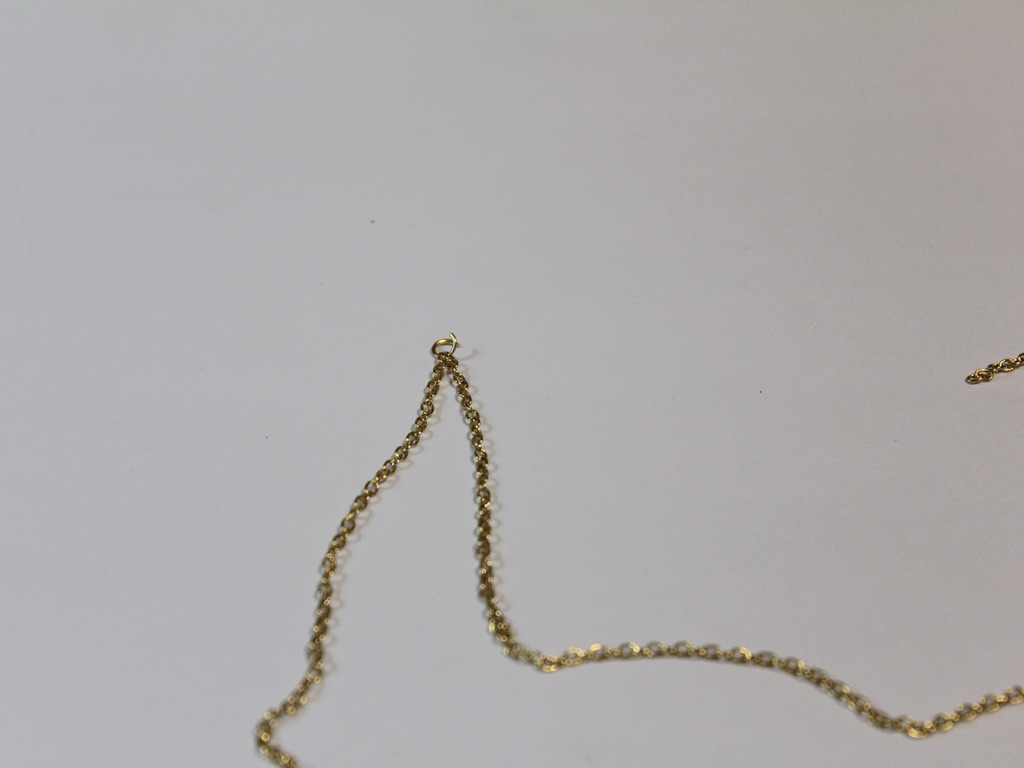

13: Repeat this for the other side of the necklace, adding the lobster clasp before closing the ring.

Now your layered necklace is finished! How cool!!


Here are some other multi-chain necklace tutorials:
- A double strand necklace made using string
- A necklace made with two beaded strands
- A layered necklace made with recycled materials
- A mixed material double strand necklace
- A two tone double chain choker
- A triple strand leather necklace
- A double chain necklace with gemstones
This tutorial contains affiliate links.
-
How to make a beaded chain ring. This is the cutest idea!
Do you like the look of delicate rings? This chain ring design is fun to make and even more fun to wear! This tutorial contains affiliate links.
You’ll need the following tools and materials to make your beaded chain ring:
1: Pliers. Round nose pliers and flat nose pliers are useful for this DIY.
2: A short piece of chain, make sure you have enough to fit around your ring.

3: An eye pin.

4: A bead. I used this blue wooden flat bead.

Follow these steps to make your cute beaded chain ring:
1: Add the bead to the eye pin.

2: Secure the bead to the pin by looping it around the barrel of the round nose pliers.

3: Attach one side of the newly formed charm to one side of the chain.

4: Wrap the chain around your finger to determine how long to make your chain.

5: Trim the chain to the length you chose.

6: Attach the other end of the chain to the other side of the bead charm.

Now your beaded chain ring is finished! How adorable is this design?


Here is another one I made using a plastic love heart bead.

This tutorial contains affiliate links.
-
Do you want a quick DIY? Here’s how to make a simple and fast knot chain bracelet.

This DIY is super duper quick and easy, all you need to do is tie a knot in some chunky chain and add a clasp! So simple and cool. I think this bracelet would make a great gift for the minimalist jewelry lover in your life.
You’ll need to use these tools and materials to make your knot chain bracelet:
1: Pliers. Round nose pliers and flat nose pliers will be useful for this DIY bracelet.
2: A piece of chain slightly longer than you would need to fit your wrist. I used this chunky gold chain.

3: Two jump rings. I used gold to match the chain.

4: A toggle clasp. I used a gold clasp to match the rest of my materials.

Now here are the steps to follow to make your knot chain bracelet.
1: Form a basic knot in the chain.
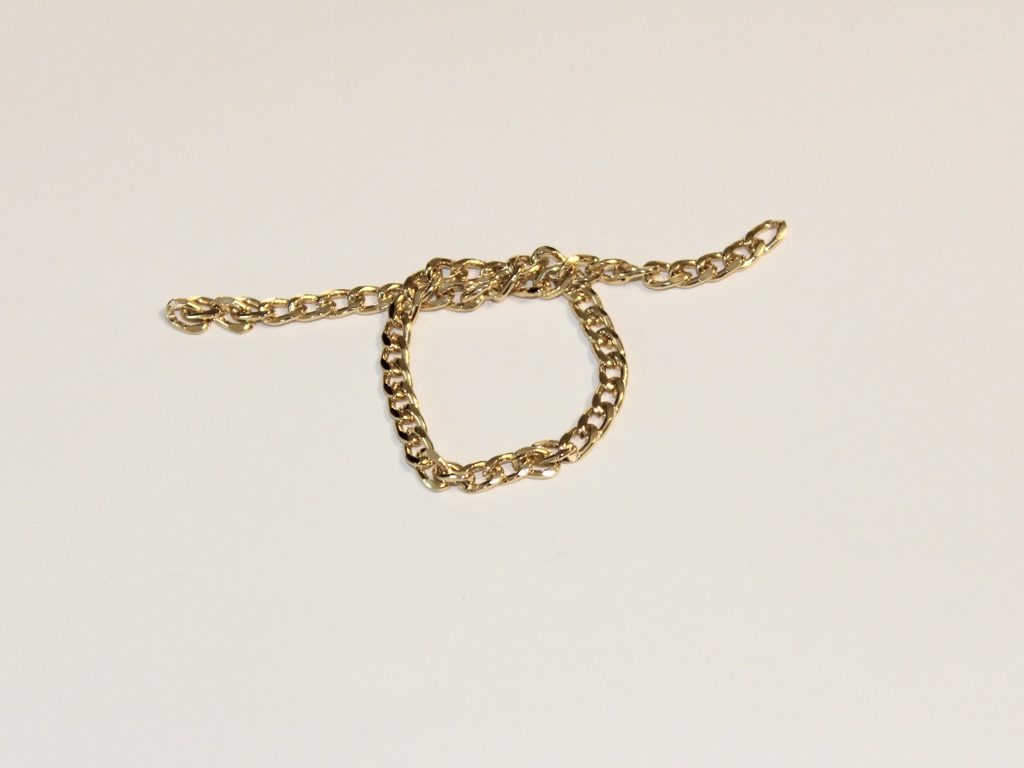
2: Pull the ends of the chain to tighten the knot. You might need to shift it slightly to make sure that the knot is in the middle.

3: Add one of the jump rings to one side of the knotted chain.
4: Add one side of the toggle clasp to the open jump ring. Close the jump ring using your pliers to secure the toggle component to the chain.
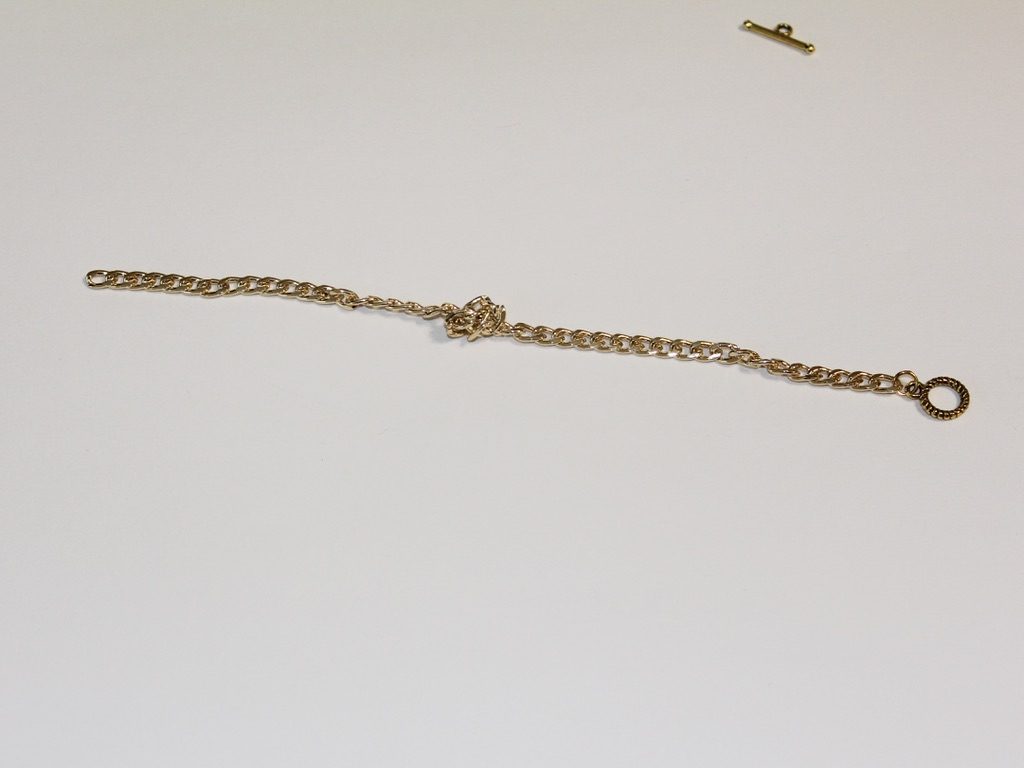
5: Add the other jump ring to the other side of the chain and attach the remaining toggle clasp component.
6: Close the second jump ring to secure the second part of the toggle clasp. Now that the clasp is in place your knot chain bracelet is ready to wear!

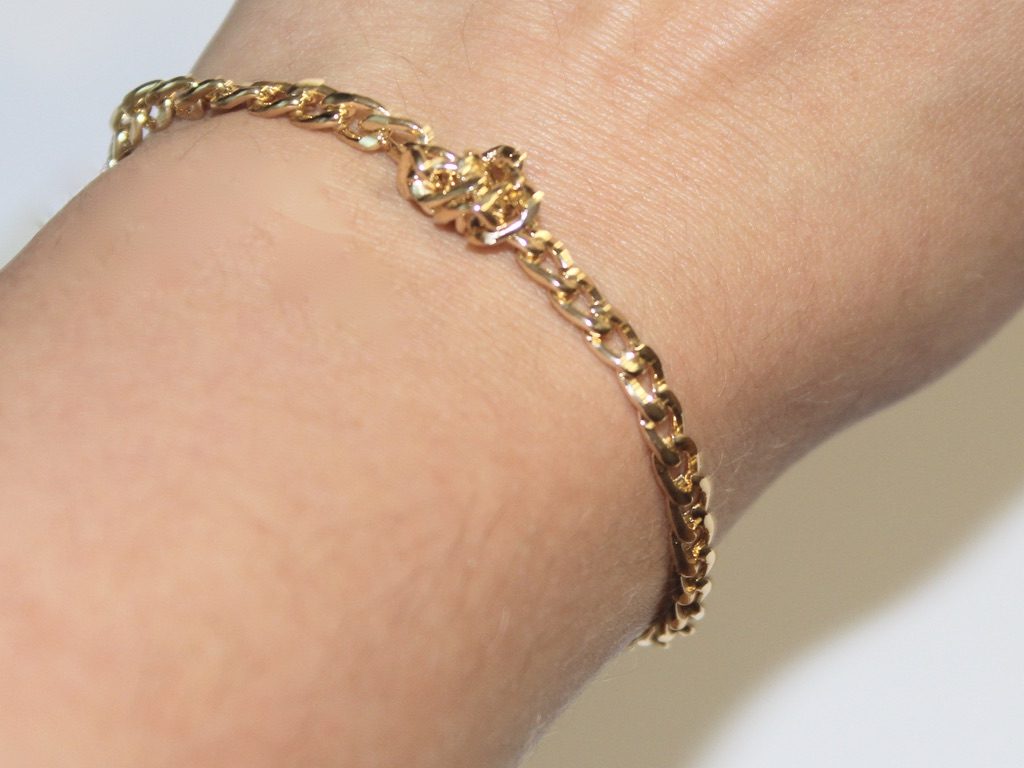
So cute!!!!! How perfect is this DIY for when you need a new accessory ASAP?!

Here are some other chain bracelet tutorials:
- A beaded chain bracelet
- Double chain bracelet
- Bead and chain bracelet
- Bar charm chain bracelet
- Velvet and chain bracelet
- Chain charm bracelet
This tutorial contains affiliate links.
-
Do you love body chains? Here’s how to DIY a cool bra body chain!
This body chain is a bit sexy and cool. It uses chains to make the shape of a bikini bra and it looks hot as hell! And if one body chain isn’t enough here are a couple more tutorials you can DIY and add to your collection. Find them here and here.
You will need these tools and materials to DIY your gold bra body chain:
1: Pliers. You’ll need the round nose and flat nose pliers.
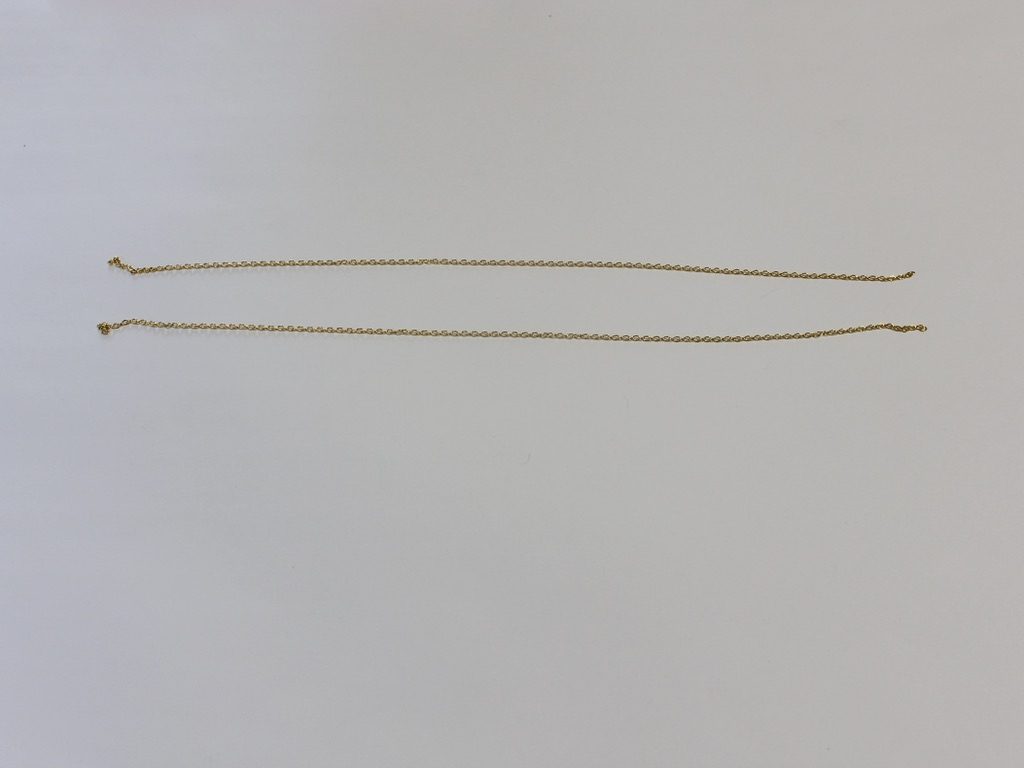
2: One long piece of gold chain that fits loosely around your ribcage. This will be the longest piece of chain.

3: One necklace length piece of gold chain that fits around your neck and down to the tops of the bra triangles.

4: Two pieces of gold chain the same length, measure your chest or against a bikini to get the right length to form the triangles of the bra.
5: Six small gold jump rings.


6: Four larger gold jump rings.

7: Two gold lobster clasps.
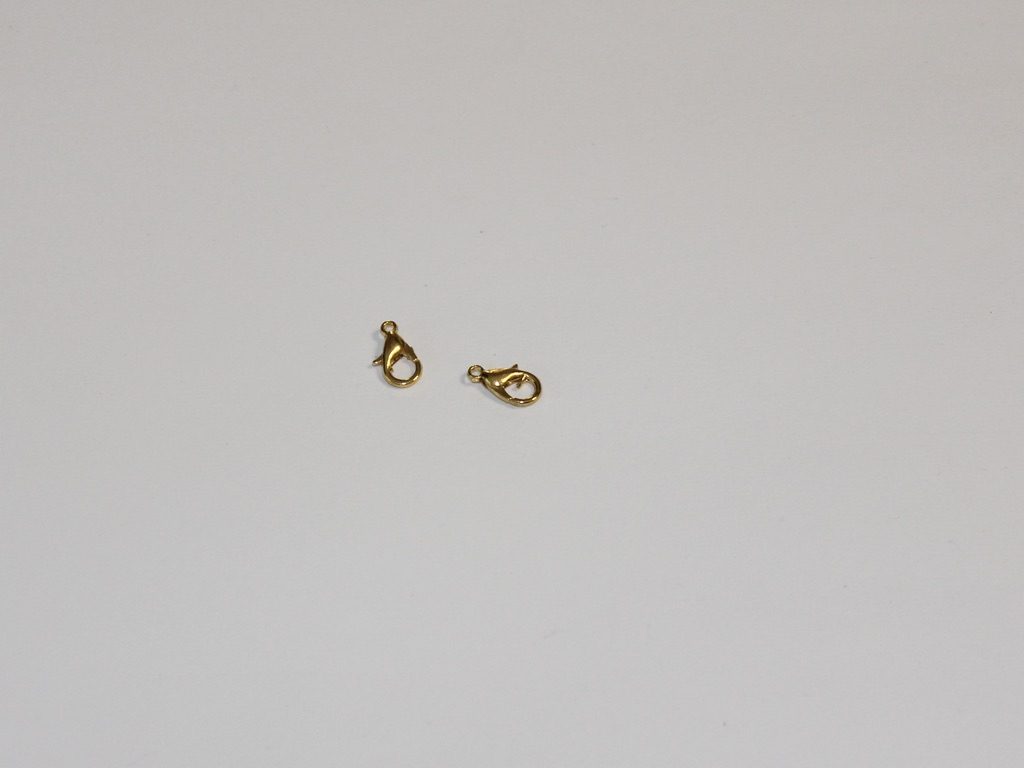
Now follow these steps to make your gold body chain bra:
1: Add one of the larger jump rings to one end of the longest piece of chain.

2: Add the first lobster clasp to this open jump ring. Close the jump ring to secure the clasp to the chain.


3: Add the other jump ring to the other side of the longest chain. Close it using your pliers to secure it in place.


4: Take one of the bra chains and place it slightly off centre of the longest chain. Attach it using one of the small jump rings. I selected the position by trying it on and measuring it against my body, however, checking against a triangle bikini top that fits you well.


5: Attach the second bra chain to the longest chain following the same process.
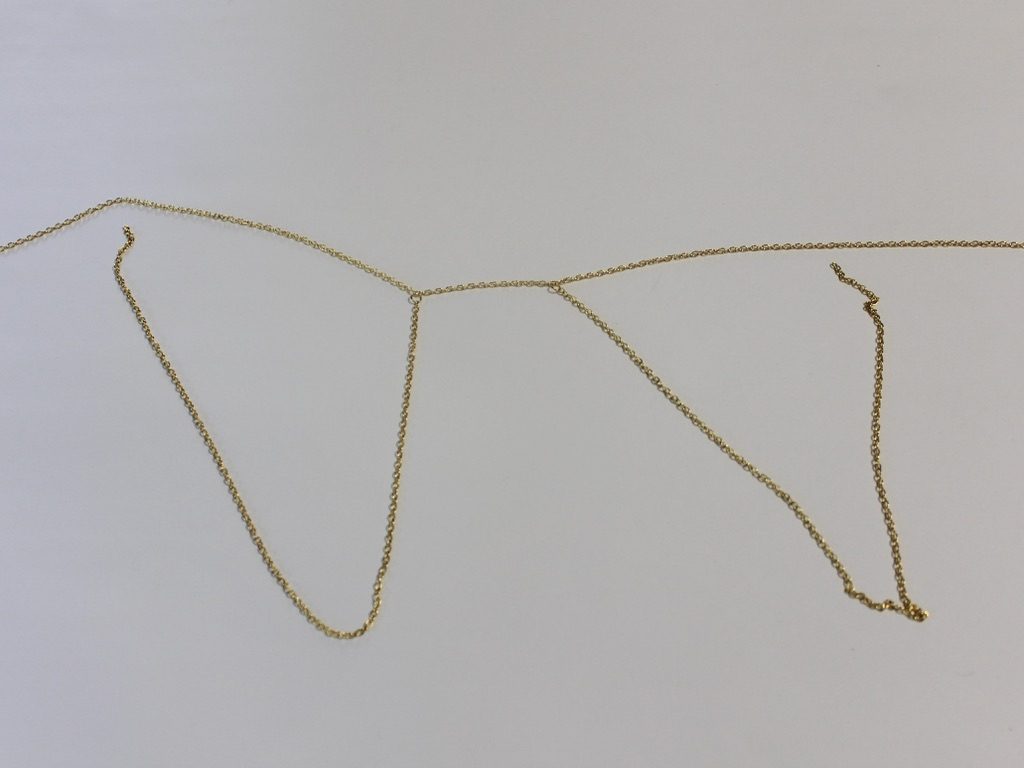
6: Measure out how wide you want the triangles to be by trying the bra chain on or comparing to a bikini and attach the other ends of the bra chains using the small jump rings.


7: Pull the bra chains into triangle shapes to find the middles.

8: Attach the necklace length chain to the middles of these triangles using the remaining small jump rings.


9: Separate the necklace length chain in half, now attached to the bra chains using your pliers.

10: Attach the second lobster clasp to one side of the separated chain using one of the larger jump rings.


11: Attach the last jump ring to the other side of the chain to finish the bra body chain off.

Now you can wear it!

How sexy and cool is this body chain design? I love it!
This tutorial contains affiliate links.