-
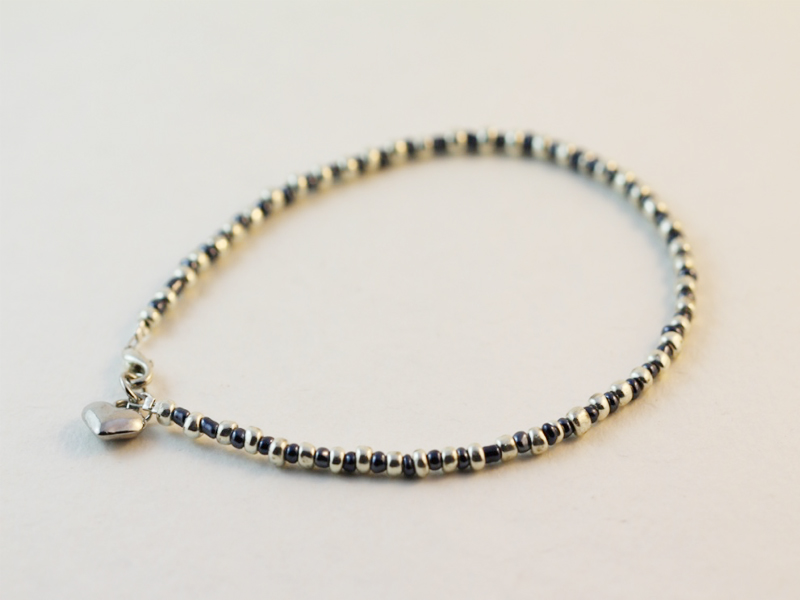
Got a project you don’t like anymore? Here’s one way you can take a piece apart so you can re-use the materials!
I have made many pieces of jewellery over the years. Some work out great… others not so much! So when I’ve got a piece that didn’t really work, or that I don’t like anymore, I take it apart and re-use the materials in other designs. This video shows you how to take apart a beaded chain design so that you can re-use the components and beads again! Please note that this tutorial video contains affiliate links.
The only tools you really need to take apart your old jewellery pieces are pliers and a pot to put the beads in so they don’t roll away!

And here’s where you can get a little pot to pop your beads in:
Watch this video to see how I took my beaded chain pieces apart.
Here are all the materials I ended up with that I can use again!


The pins won’t be completely straight, but you can trim them down and use them for smaller beads! I hope you found this video tutorial useful! I love taking apart my old work and transforming it into something new and I hope you do to!
-
How to make a bracelet that combines leather and beads into one piece!
This tutorial is a bit of a recycling piece. I used some scrap leather combined with some beads I recycled from an old necklace to construct something new. I think this bracelet is a cute statement piece, but it can also be layered with other bracelets to make a cool stack. Please note that this tutorial contains affiliate links.
You’ll need these tools and materials to make your leather and bead bracelet:
1: A piece of leather, I used this scrap piece of leather that was about 1cm wide and 9cm long. If you don’t have any scrap leather you could also use some leftover ribbon or cord.

2: Some pliers. I used my flat nose pliers and round nose pliers for this piece.


3: A bunch of eye pins. The number you will need will vary depending on the length of your bracelet and your piece of leather.

4: Two flat crimp ends.

5: Some beads. I used these timber beads I recycled from an old necklace.

6: Two jump rings.

7: A lobster clasp. I used this large one.

Follow these steps to make your own leather and bead bracelet:
1: Take your piece of leather and place one of the crimp ends on one end. Be careful to line up the edges.

2: Squash the crimp using the flat nose pliers.


3: Repeat steps 1 and 2 for the other end of the leather, attaching the other crimp.

4: Set the piece of leather aside.
5: Take one of the eye pins and add a bead.

6: Bend the pin to form an angle.
7: Use the round nose pliers to create a loop at the top of the pin, securing the beads in place.


8: Repeat steps 1-7 for another bead, before closing the loop, slide it onto the first charm you made. Close it to secure the charms together.

9: Repeat steps 1-8 for another bead.

10: Attach the small chain you made to one end of the piece of leather, this will help you keep track of the overall bracelet length.

11: Keep adding beads to the chain until your bracelet is long enough to fit around your wrist.

12: Attach the lobster clasp to the beaded end of the bracelet using one of the jump rings.

13: Attach the other jump ring to the other side of the bracelet to finish it off.

Now your bracelet is finished! How will you wear yours?


-
How to make a cute statement necklace with cord!
This cute necklace features a beaded ladder pendant threaded onto a recycled cord necklace. This is a cool way to use recycled materials and make a cool pendant that stands out from the usual jewellery you see! Please note that this tutorial contains affiliate links.
You’ll need these tools and materials to make your cord statement necklace:
1: Some eye pins. The number depends on how many ‘rungs’ you want to make. I used 10.

2: Two head pins.

3: A piece of cord. I used this one that I had already attached some crimp ends and a clasp to. If you don’t have one already made up, you’ll also need two flat crimp ends, two jump rings and a lobster clasp.

4: A couple of large jump rings.

5: Some beads. I used these green e beads and some glass floral beads. I had to use an extra e-bead on one of the charms because the bead hole was bigger than the end of the head pin. You won’t need this extra bead if you’re pins are the right size!


6: Pliers. I used my flat nose and round nose pliers. Keep your cutting pliers on hand just in case.
Follow these steps to make your cord statement necklace:
1: Add the glass beads to the head pins.

2: Bend the pins to form a right angle and then loop the tops to secure the beads in place.


3: Set the charms aside.
4: Add beads to one of the eye pins, leave about 1cm without beads.

5: Bend the end of the pin to form a loop which will secure the beads in place.


6: Repeat steps 4 and 5 for the rest of the eye pins, so you have ten pins beaded.

7: Attach two of the pins together, do this by slightly opening one of the loops and sliding the other pin through. Close the loop again to secure them together.

8: Repeat step 8 to attach another two pins so that you have a chain of four pins.

9: Take the ends of the chain and attach them together to form a square shape.

10: Attach another three pins together.


11: Attach the three pins to the bottom of the first square you made. This will form the second square.


12: Repeat steps 10 and 11 for the remaining three pins, now you will have a ladder shape with three rungs.


13: Take the charms you made at the start and attach each one to the bottom corners of the ladder.


14: Add a jump ring to each corner of the top of the ladder.


15: Now slide the ladder charm onto the cord necklace.

Now your necklace is finished and ready to wear! So so unique and cute! I think this is a great summer piece perfect for your boho hippie look!


-
How to make a double strand bracelet with ribbon and beads!
This bracelet is another way that you can make a multi-strand bracelet. This bracelet makes use of ribbons and a beaded chain for an alternative look. I used some recycled materials in this design, it is a great way to reuse ribbons and cords from old packaging or gifts. Please note that this tutorial contains affiliate links.
You’ll need these tools and materials to make this double strand bracelet:
1: A piece of ribbon. I used this thin ribbon that I had recycled from a piece of clothing.

2: Scissors. I used my scissors to cut the ribbon to length.

3: Pliers. I used my flat nose and round nose pliers for this design.
4: Some sticky tape.
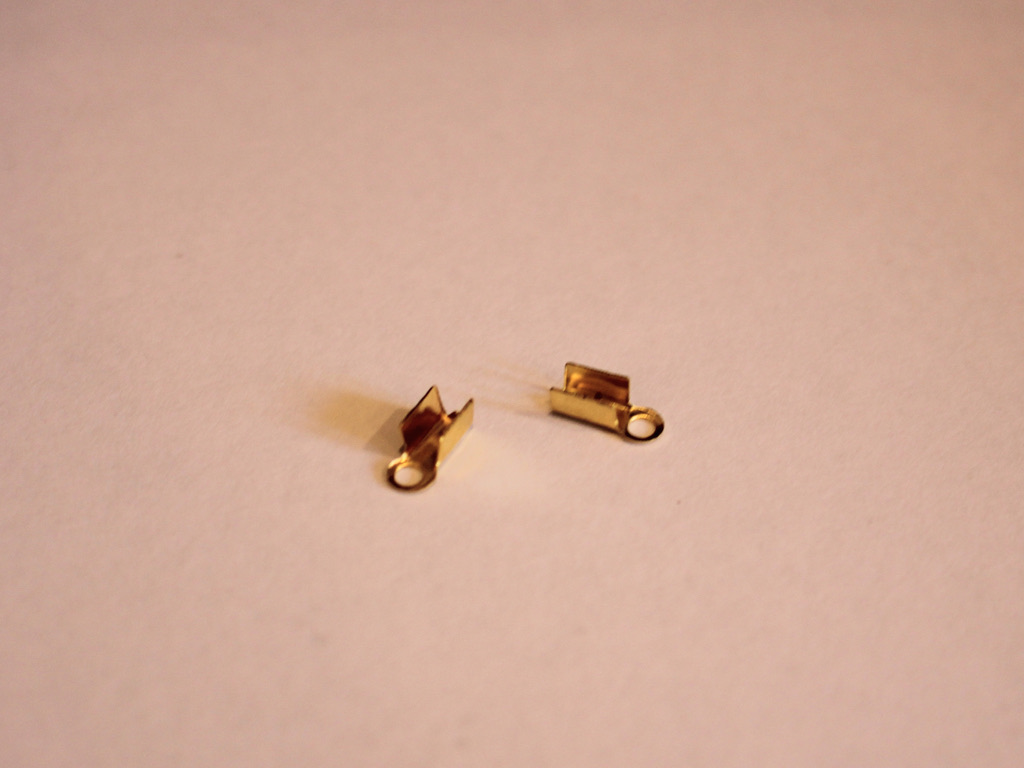
5: Two crimp ends.
6: A bunch of eye pins. The number you will need depends on the length of your bracelet so it’s good to have a few extra on hand.

7: Beads. I used these black plastic beads that I recycled from an old piece of jewelry.

8: Two jump rings.

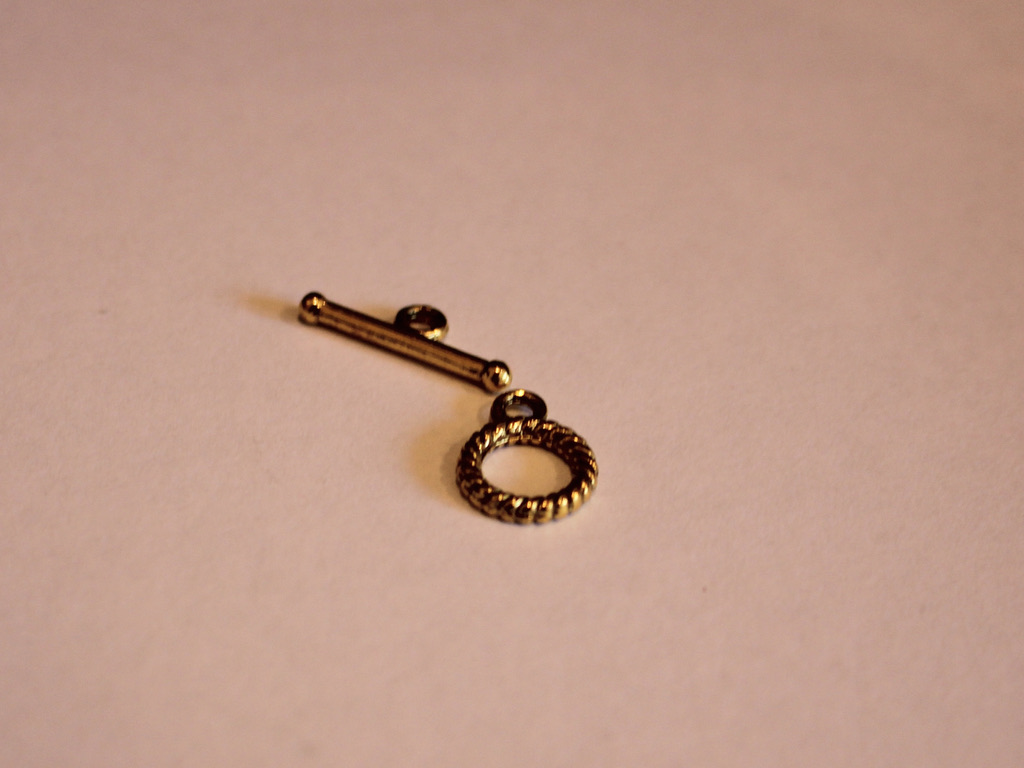
9: A toggle clasp.
Follow these steps to make your own double strand bracelet made with mixed materials:
1: Take the ribbon, cut it to a length that fits around your wrist.
2: Add some sticky tape to either end of the ribbon. This will give the crimps a bit more material to grip on to. You can skip this step if you have a thicker piece of ribbon.
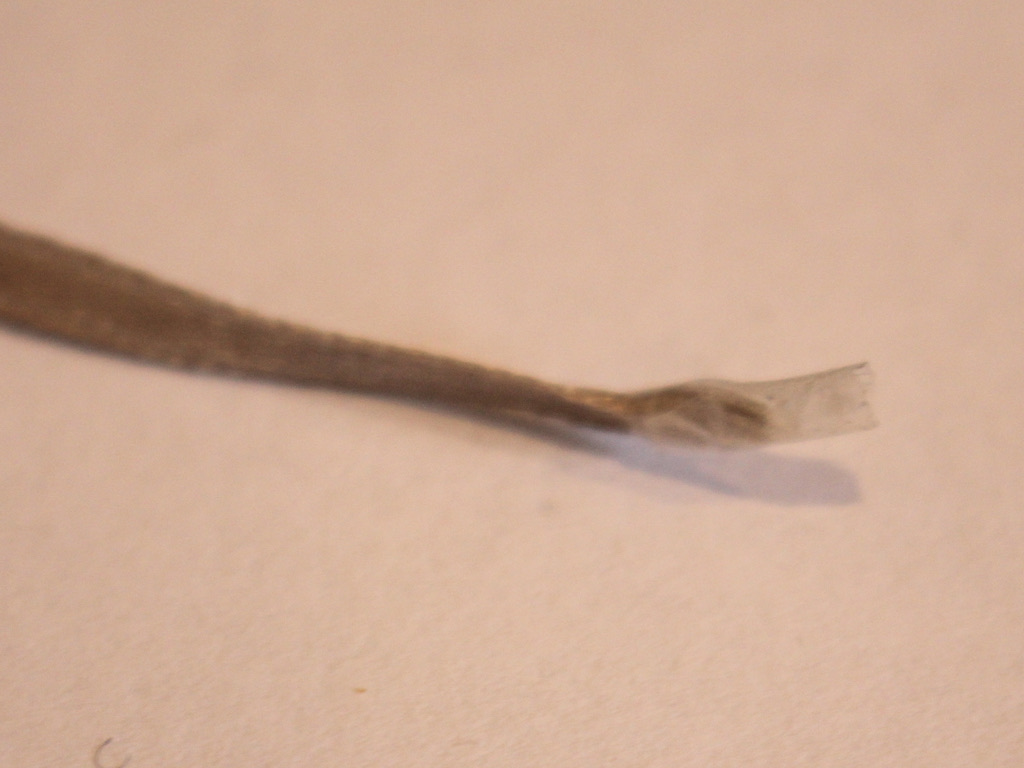
3: Place the crimp around the end of the ribbon.

4: Squash one side of the crimp around the ribbon using the flat nose pliers.

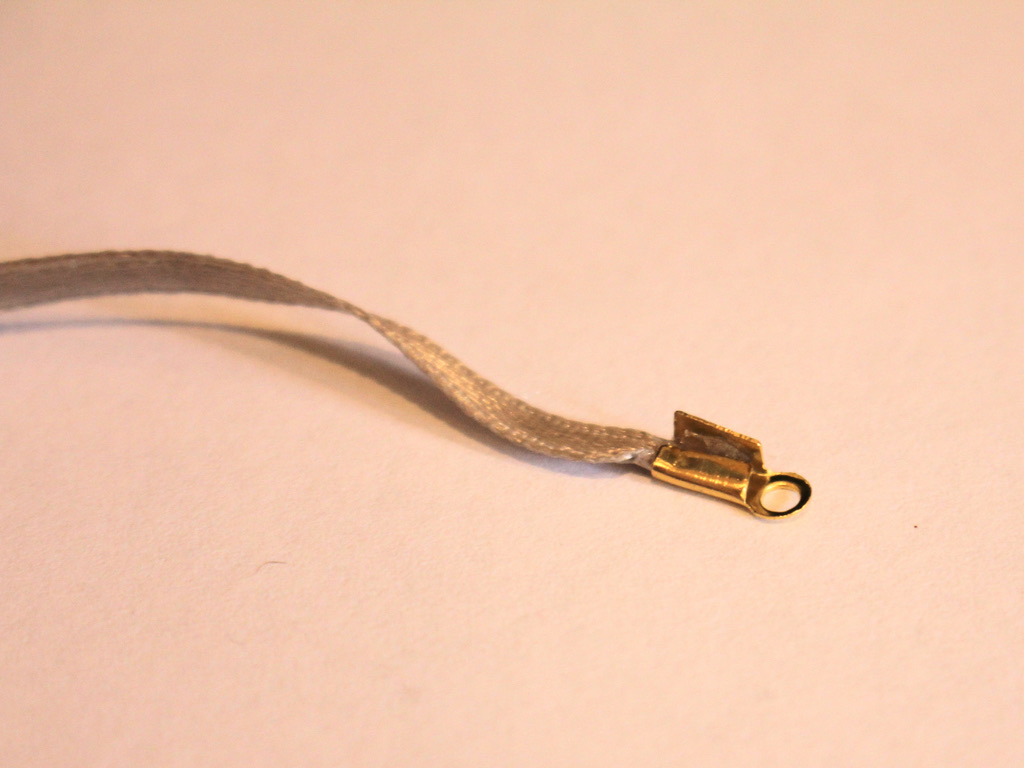
5: Squash the other side of the crimp around the ribbon using the flat nose pliers.

6: Repeat steps 3 to 5 for the other end of the ribbon, squashing the other crimp in place.

7: Set the ribbon aside.
8: Take one of the eye pins and place a bead on it.

9: Bend the pin to form an angle with the bead.
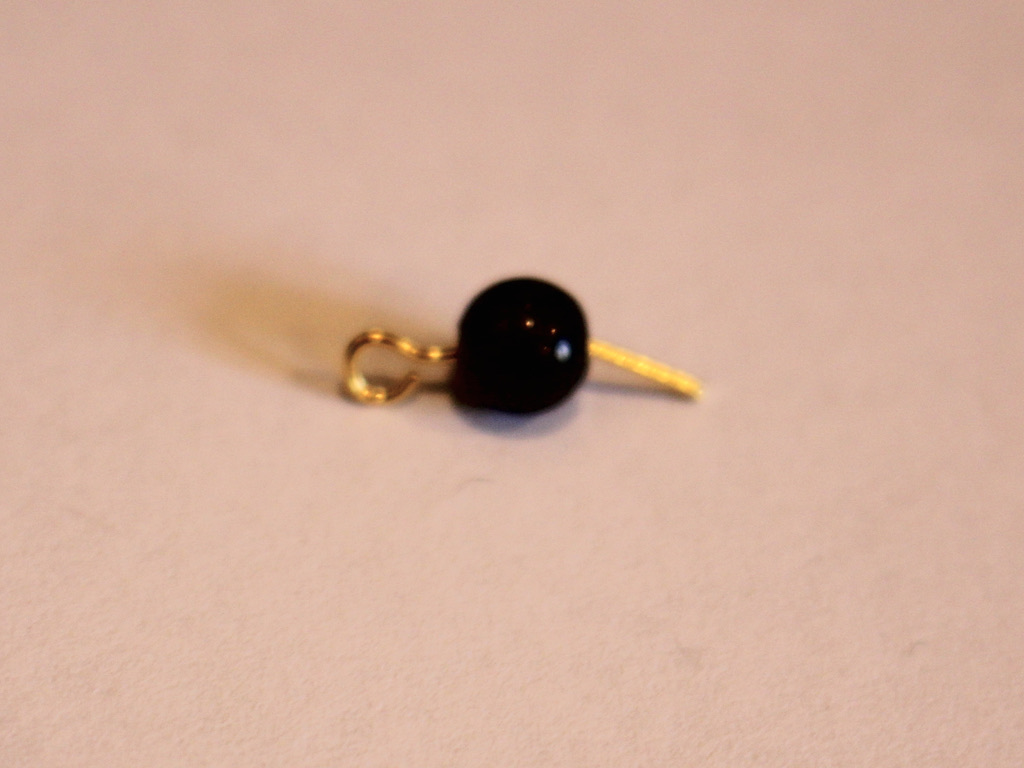
10: Loop the end of the pin around the round nose pliers to form a loop.


11: Repeat steps 8-10 for another pin and bead, now you will have two beaded pins that you can now attach together. Do this by slightly opening one of the loops and sliding the other charm on. Close the loop to secure the pieces together.

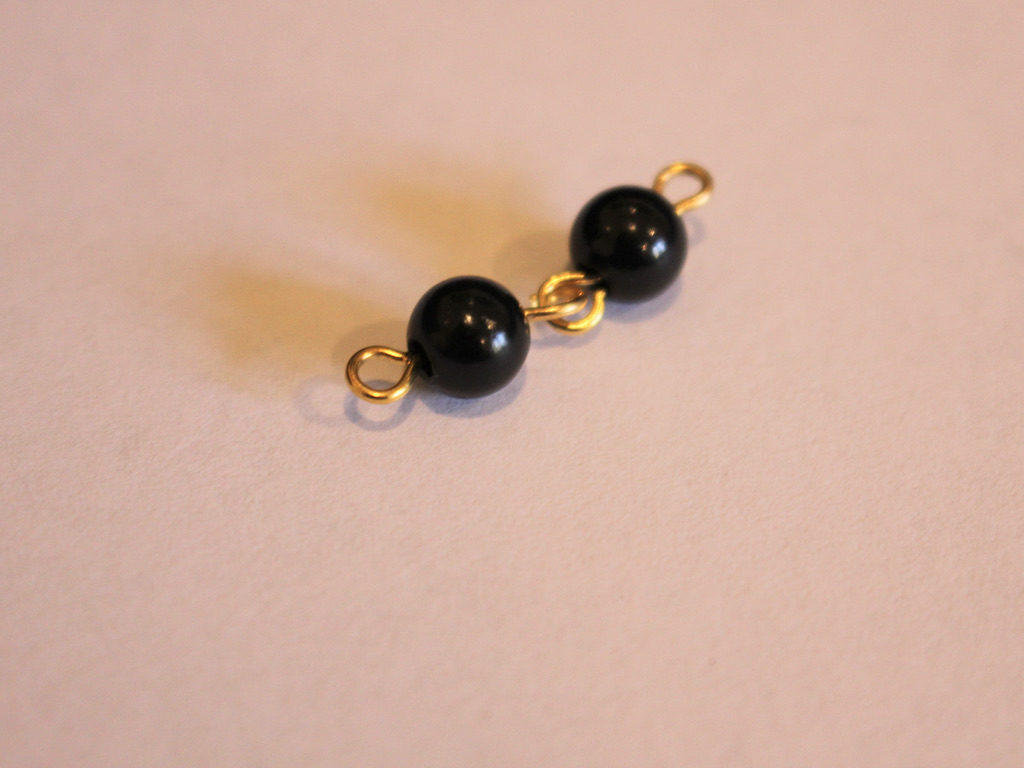
12: Repeat steps 1-11 until you have a chain that is the same length as the ribbon. It doesn’t matter if it is a tiny bit longer or shorter.


13: Take a jump ring and slide it through one end of each strand. Close the jump ring to secure the strands together.
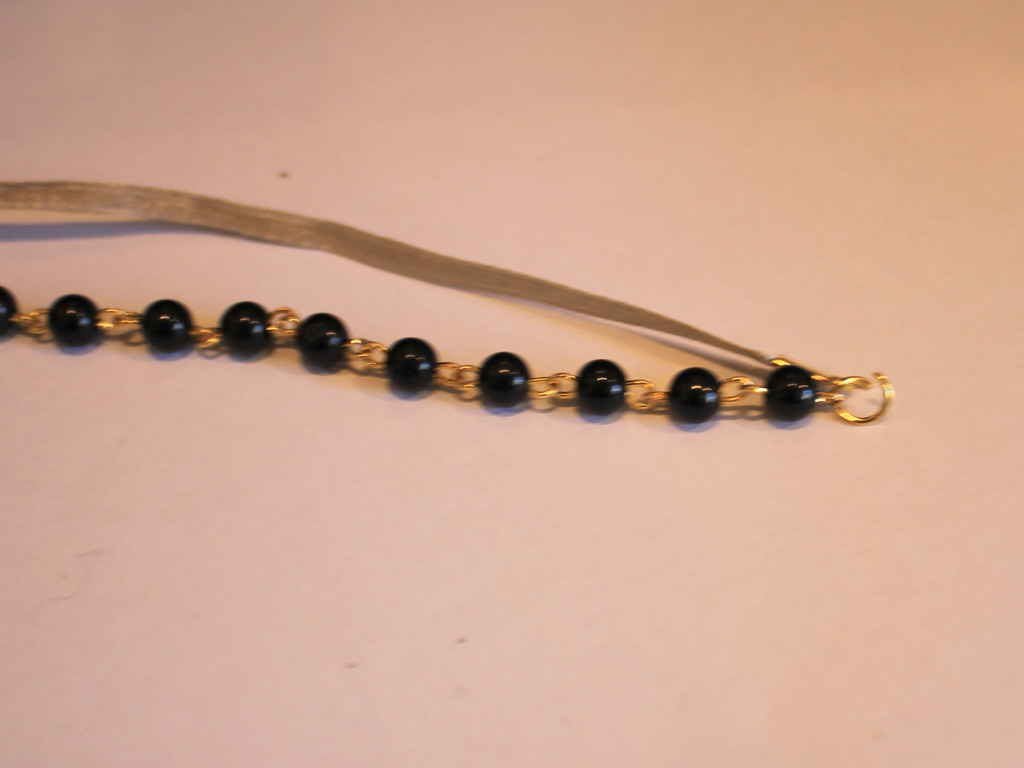

14: Repeat step 13 for the other end of the bracelet.
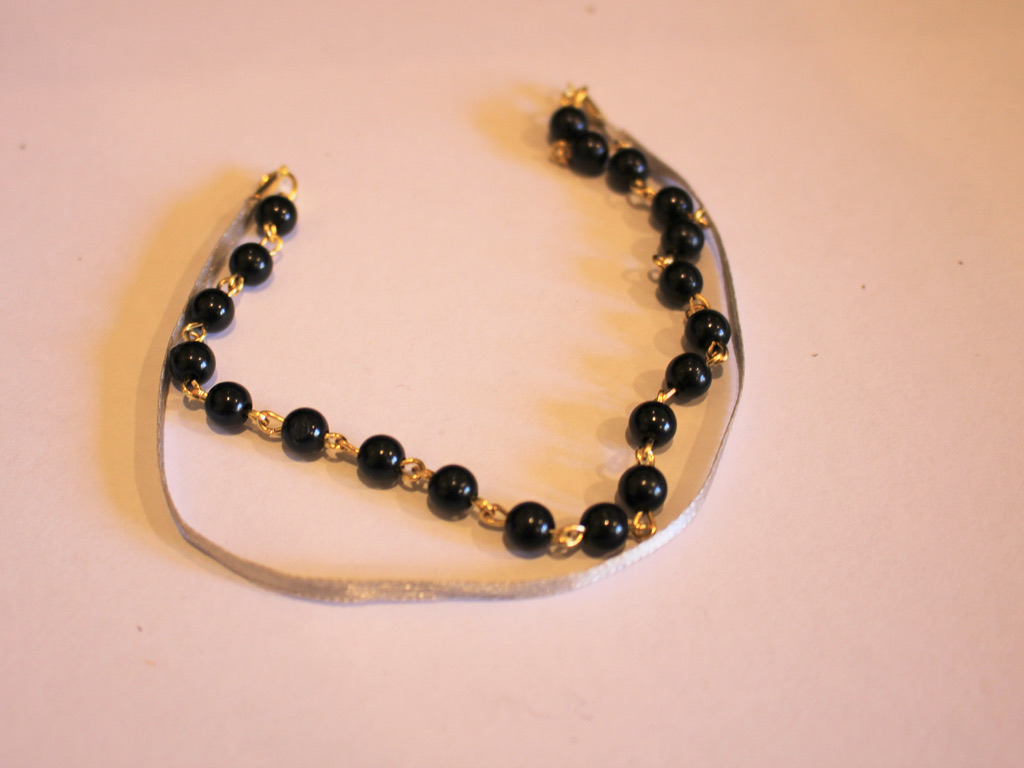
15: Attach one side of the toggle clasp to one side of the bracelet by slightly opening the jump ring, sliding the clasp on, then closing the jump ring again.

16: Repeat step 15 for the second part of the clasp.

Now your bracelet is finished and ready to wear! So cute.

-
Here’s how to make a 2-tone necklace that clips together for a customisable look.
This necklace makes use of clasps to create a customiseable design that you can mix and match. Make as many of these strands as you like, and clip them together for a custom look each time. please note that this tutorial contains affiliate links.
You’ll need the following tools and materials to make this necklace:
1: Pliers. I used my round nose (middle), cutting (left) and flat nose pliers (right).
2: Two lengths of tiger tail wire. Make sure they add up to be long enough to fit around your neck. You can measure this by wrapping the wire loosely around your neck, choosing the necklace length you like, then cut the wire in half.

3: Eight crimp beads.
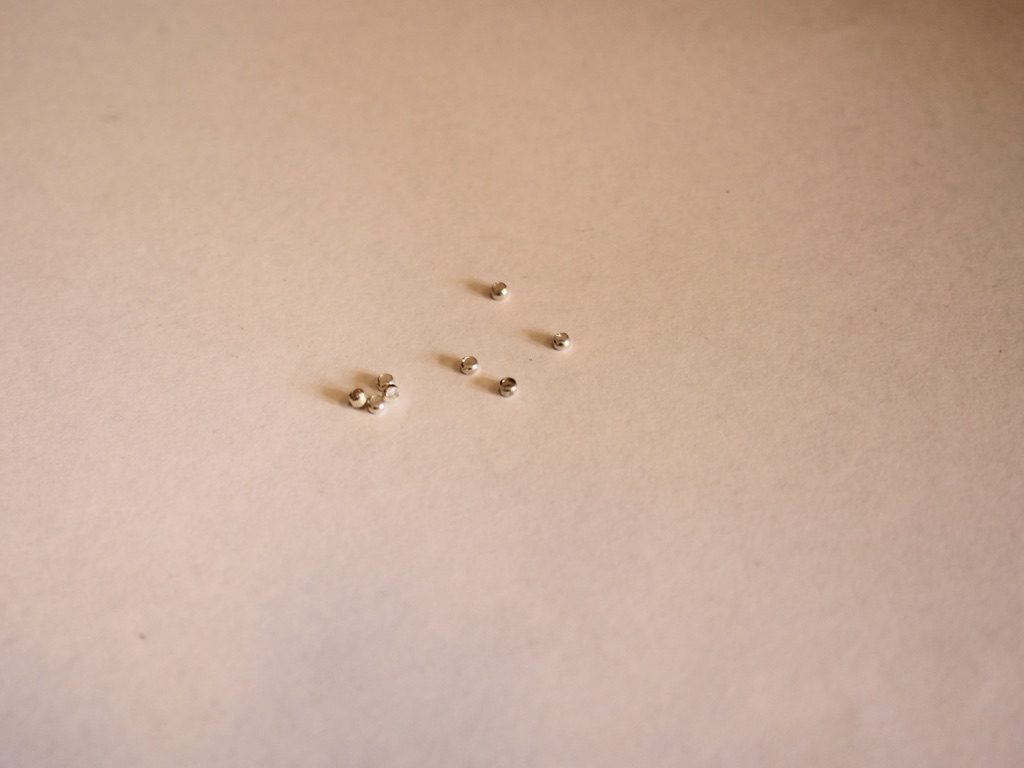
4: Four jump rings.

5: Four large lobster clasps.

6: A head pin.
7: Beads of your choice. I used some recycled timber beads (the blue disks and natural tone beads) and some yellow glass beads. I also used a floral glass bead to make an extra charm.


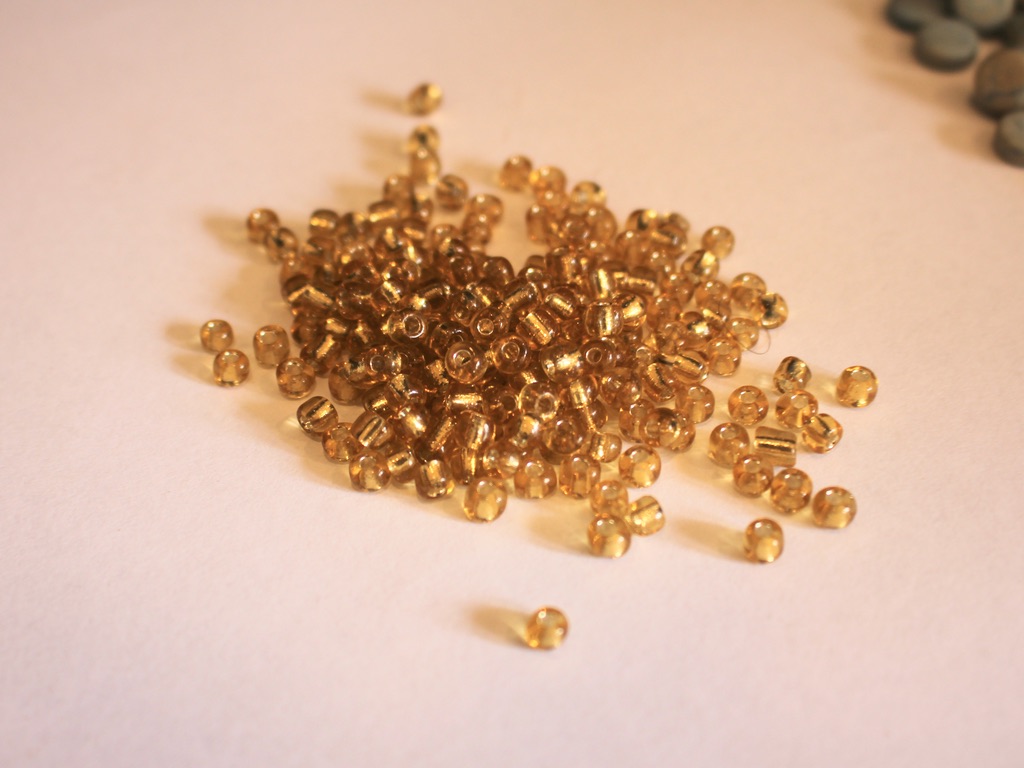

Follow these steps to make your customisable necklace that clips together:
1: Take one of the pieces of tiger tail wire and add two crimps and one of the jump rings.

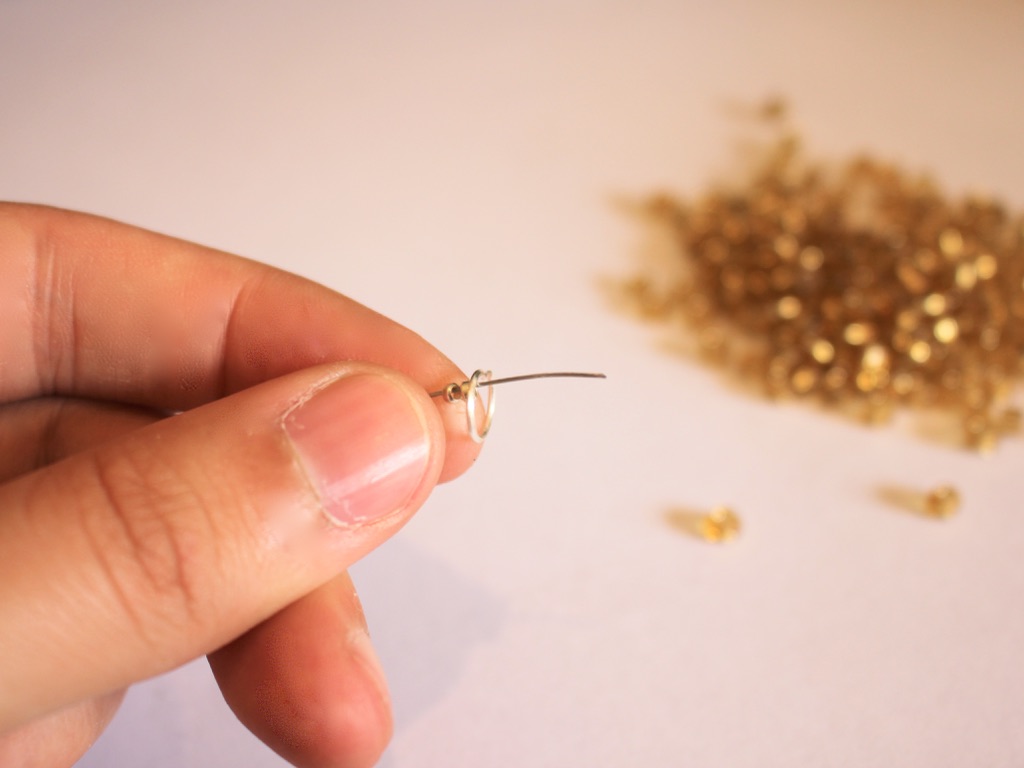
2: Loop the end of the wire around the jump ring and through the crimp beads.
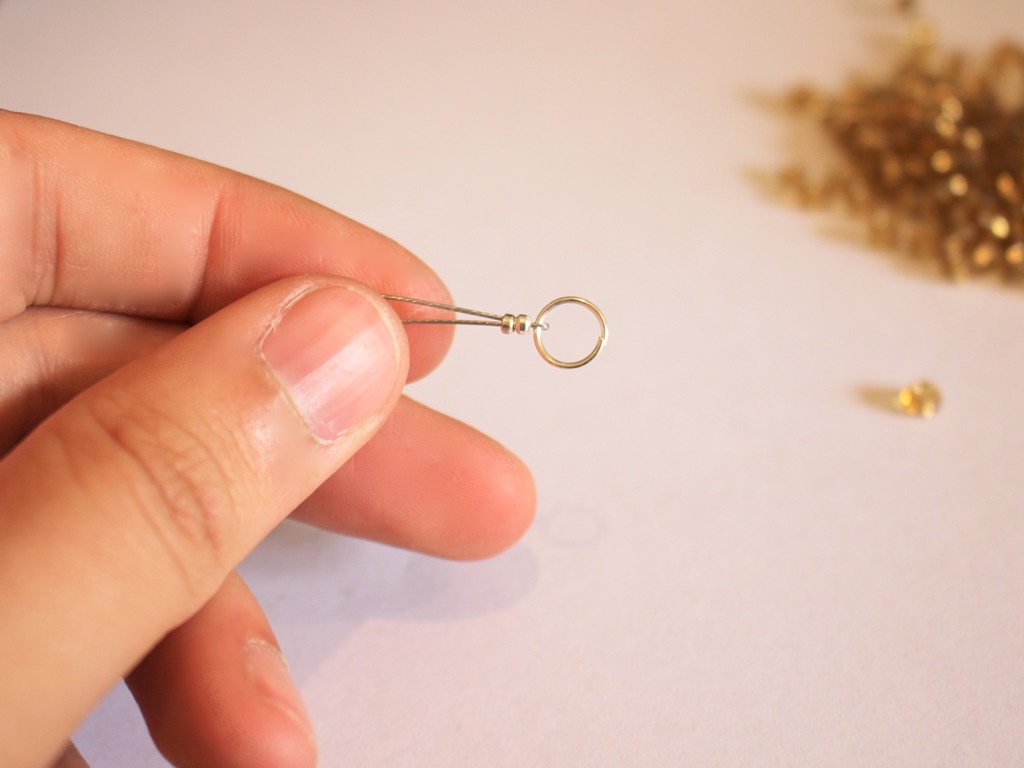
3: Squash the crimp beads to secure the jump ring to the end of the wire.

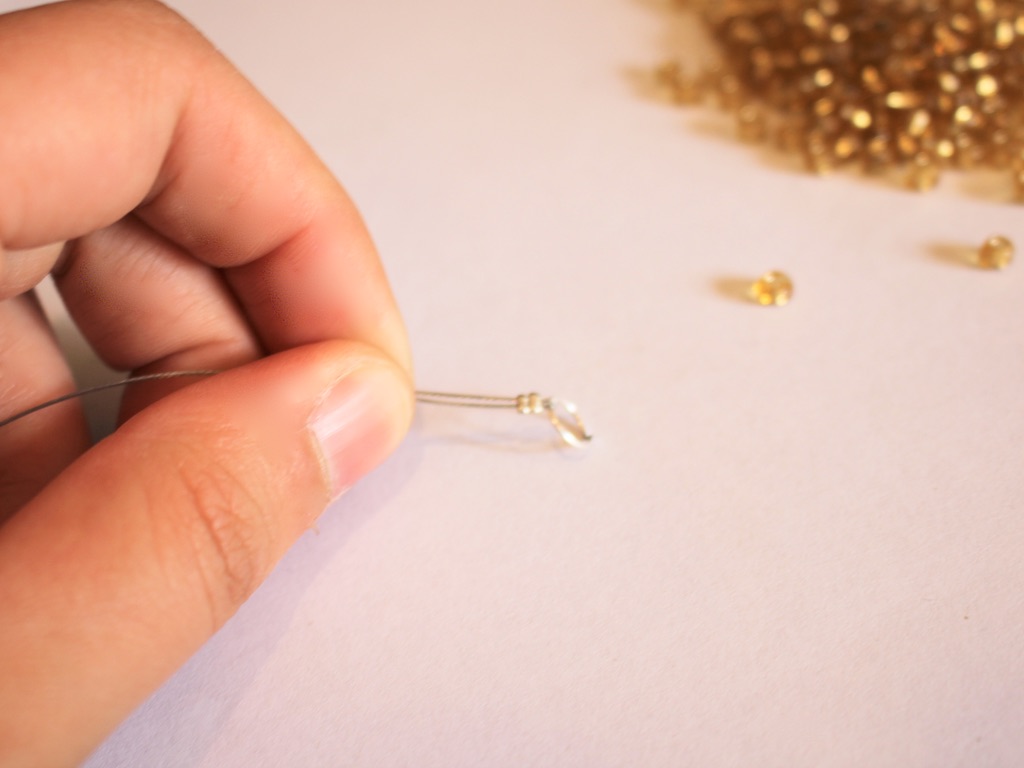
4: Begin beading in your choice of pattern.

5: Once you have reached the length you like, add another pair of crimps and a jump ring to the end of the wire as you did in steps 1-3. This will secure the beads on the strand. Trim the excess wire with cutting pliers once the end has been secured.


6: Repeat steps 1-5 for the other strand.


7: Attach a lobster clasp to each end of the pair of strands by opening the jump rings slightly, sliding the clasps on and then closing the rings using your pliers.
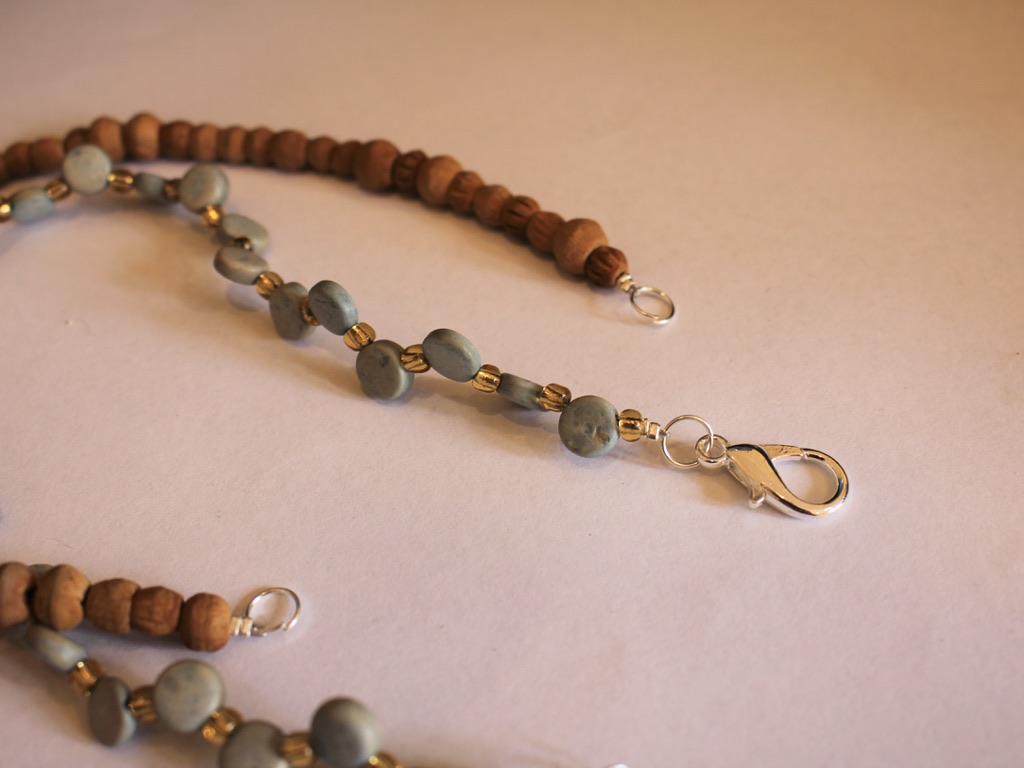

You can clip the strands together at this point.

8: Take the head pin and add your accent beads.

9: Bend the top of the pin over and then curl it into a loop using your round nose pliers.

10. Attach the charm to one of the strands.
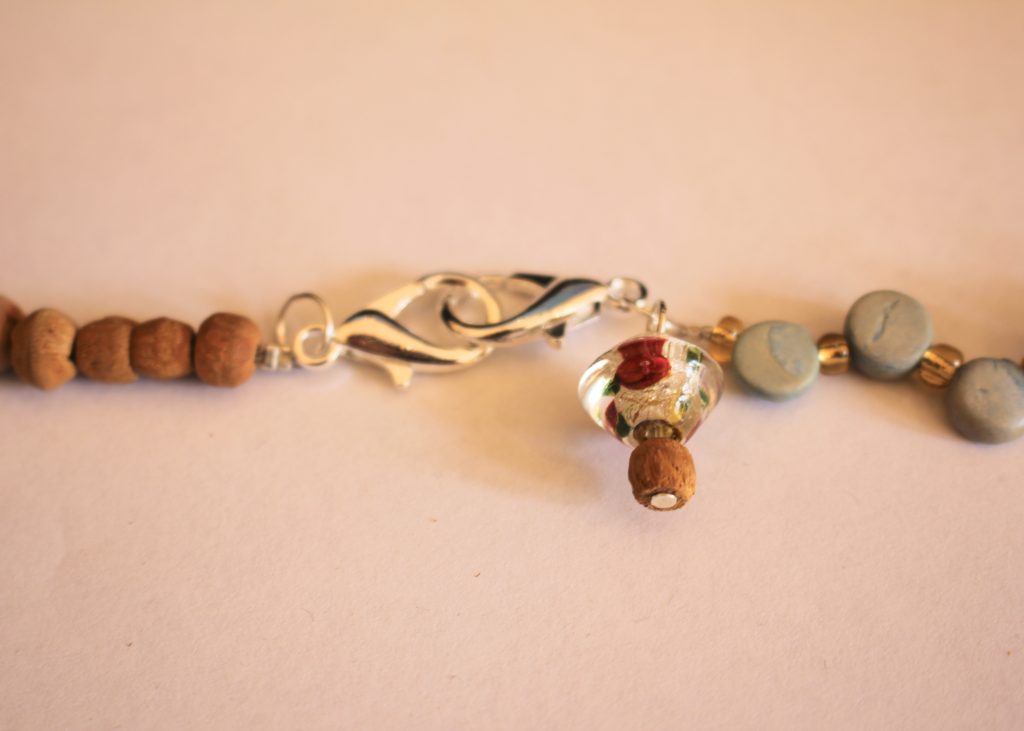
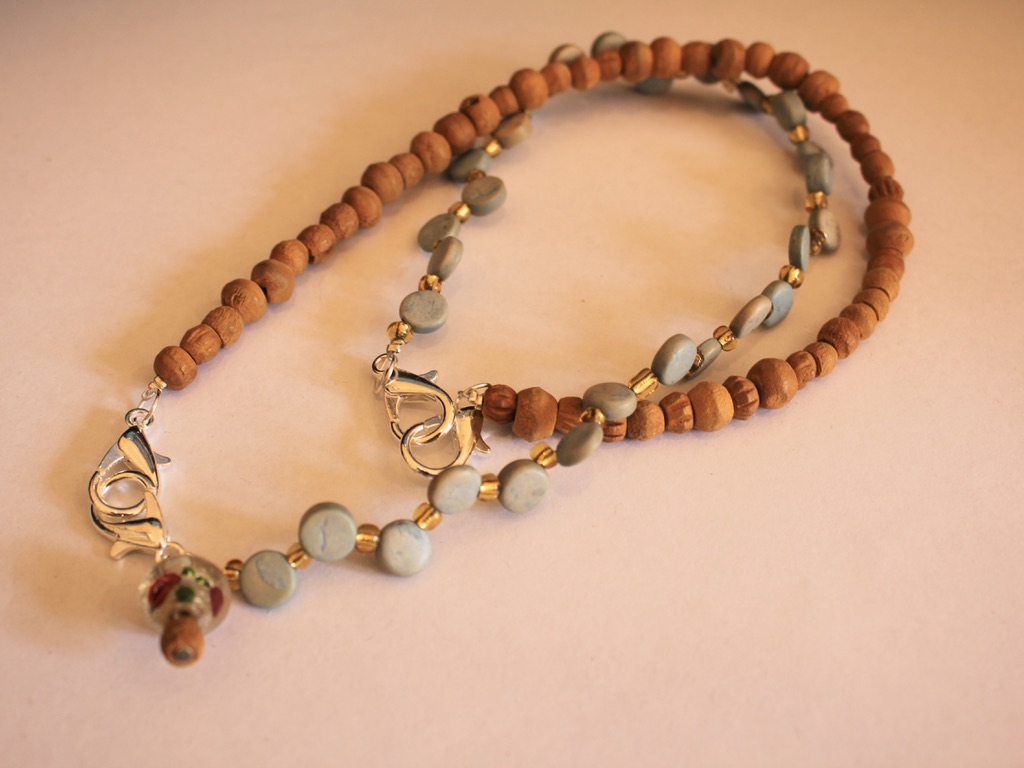
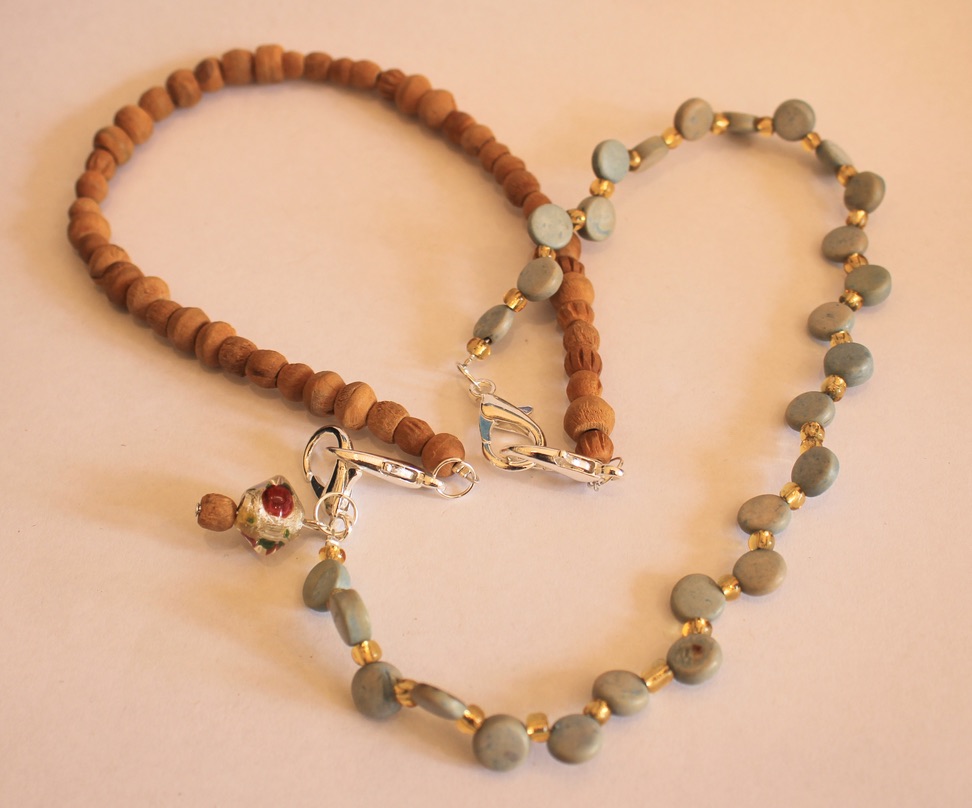
Now your necklace is finished and ready to wear, open up one side and put it on as you would an ordinary necklace. Make as many clip end strands as you like so you can mix and match them depending on your outfit or mood!


-
This video shows you how to make some fluttering silk earrings!
Check out this vid for all the tools, materials and steps you need to make a cute pair of earrings using silk. I made mine out of some silk recycled from a dress that I altered. If you have some old fabric or old worn out clothes this tutorial is one way that you can recycle those materials
Here are some affiliate links so you can buy some of the materials to make these silk earrings:
1: Eye pins
2: Wooden beads
3: Glass beads
4: Earring hooks
5: Crimp ends
Here are the finished earrings, what colours will you feature in your version of this cool DIY?


-
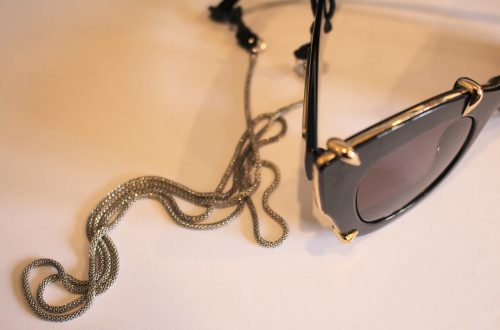
Here’s how to incorporate recycled materials into a glasses chain DIY

Are you interested in incorporating recycled materials in to your DIY jewelry designs? Here’s an idea for you… a glasses chain made with a recycled headphone cord.
You will need the following tools and materials to make your glasses chain:
1: Pliers. You will need your round nose pliers, flat nose pliers and cutting pliers.
2: A piece of cord from an old broken pair of headphones. I used this cord leftover from another project.

3: Beads with holes big enough to fit your cord. I used 10 of these painted wooden beads.

4: Two crimp ends.

5: Two jump rings.

6: Two rubber glasses holders.

Follow these steps to make your glasses chain:
1: Trim excess material from your cord using the cutting pliers.


2: Add the beads to the cord.


3: Fold one of the crimp ends around one end of the cord using the flat nose pliers.


4: Add the second crimp end to the other end of the cord.

5: Attach the glasses holders to each end of the cord using the jump rings.


Now your glasses chain is finished and ready to use. Perfect for windy spring days or for when you’re getting active outside!

Here’s another version I made using some broken apple headphones and some plastic heart shaped beads.

-
Here’s another way to make a cool anklet for summer…

Like I said before, anklets are going to be a hot ticket accessory this summer, so here’s another way to make an anklet to add to your #ankleparty
You will need the following tools and materials to make your anklet:
1: Pliers. You’ll need flat nose pliers, round nose pliers and cutting pliers for this anklet design.
2: A broken pair of headphones. I used these headphones left over from a different project.

3: Two crimp ends.

4: Two jump rings.

5: A lobster clasp.

6: A long gold coloured bead.

Follow these steps to make your simple anklet:
1: Measure the headphone cord around your anklet and cut it to length using the cutting pliers.


2: Add the bead to the trimmed headphone cord.

3: Add a crimp to either end of the cord, folding it around the cord using the flat nose pliers.


4: Add a jump ring to one end of the anklet and attach the lobster clasp.


5: Add the other jump ring to the other side of the anklet.

Now your anklet is done! How cute is this simple design? Add it to your #ankleparty and dance the night away!

-
Here’s another cute way to upcycle your broken headphones, a double strand necklace!
If you aren’t sick of my headphone recycling tutorials yet here is another way you can upcycle them into beautiful jewelry. This one gives you all the steps you need to take to make a double strand headphone necklace.
You will need the following tools and materials to make your double strand headphone necklace:
1: Pliers. You’ll need cutting pliers, flat nose pliers and round nose pliers
2: A pair of broken headphones. I used the top part of the headphones that I used in the finger knit bracelet tutorial.

3: Four crimp ends.

4: Four small pieces of chain, one pair longer than the other. My headphone cords weren’t quite long enough to fit around my neck so I added some small pieces of chain to the end of each to make them fit.

5: Two beads. I used these chunky wooden beads with big holes.

6: Four larger jump rings.

7: Four smaller jump rings.

8: A lobster clasp.

Follow these steps to make your double strand necklace out of recycled headphones.
1: Cut the headphone cords using the cutting pliers to separate them and remove the ear buds.


2: Add a crimp end to either end of the headphone cords, folding them in place using your flat nose pliers.


3: Add one pair of chains to either end of one of the cords using two of the larger jump rings.


4: Add the second pair of chains to the other cord using another pair of larger jump rings.

5: Add the beads to each of the strands.

7: Secure the chains together using a smaller jump ring on either side of the necklace.


8: Attach the clasp using another smaller jump ring.

9: Add the remaining jump ring to the other side of the necklace to finish it.
Now your double strand necklace made from recycled headphones is finished! I love coming up with creative ways to save broken products from the trash.

-
One more way to upcycle those headphones… a double strand headphone bracelet!
This bracelet is another way you can upcycle your broken headphones. You can check out the other headphone upcycling tutorials here and here.
Follow these steps to make a double strand bracelet out of headphones:
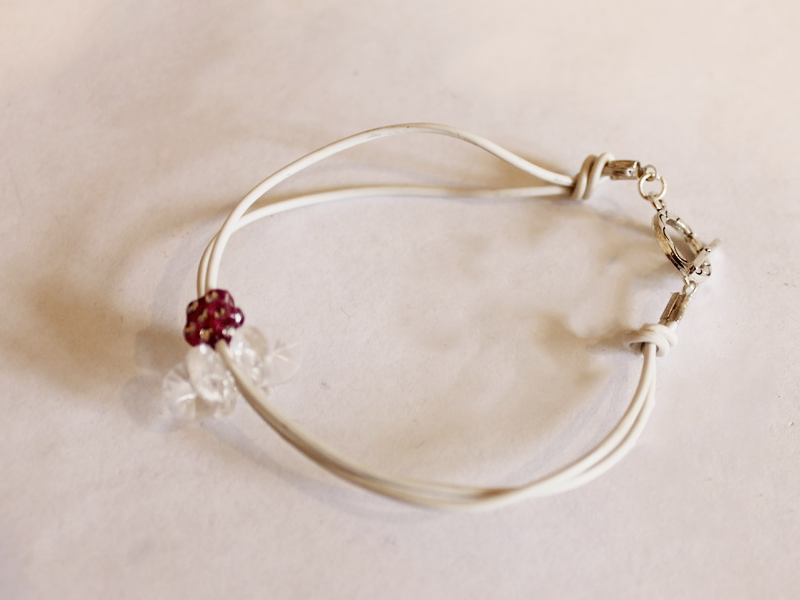
You’ll need the following tools and materials to make your double strand headphone bracelet:
1: Pliers. You’ll need your cutting pliers, flat nose pliers and round nose pliers.
2: A pair of broken headphones.

3: Some beads. I used these two plastic beads from my childhood bead collection.

4: Some leather crimp ends.

5: Two jump rings.

6: A toggle clasp.

Follow these steps to make your double strand headphone bracelet.
1: Cut a strand of cord from the headphones. I used the part between the ear bud and the split point.


2: Fold the cord in half and cut it so you have two pieces.


3: Add beads to each of the cords.

4: Hold the ends of the cords together and secure them with the crimp end, folding it around the cords using the flat nose pliers.


5: Repeat step 4 for the other side.

6: Attach the toggle clasp components to either side of the bracelet using the jump rings.

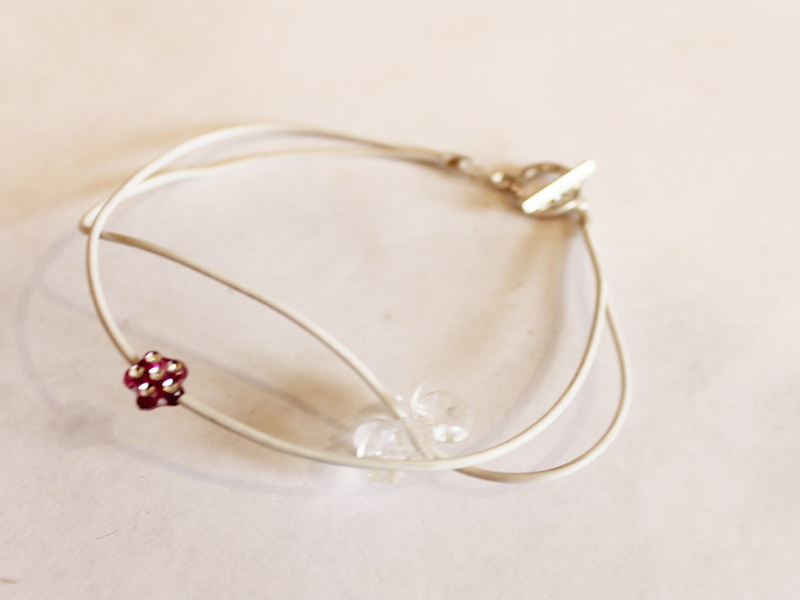
7: Depending on the length of your cords you might need to add some knots to either end to shorten the bracelet.
Now your double strand headphone bracelet is finished! How fun!