-
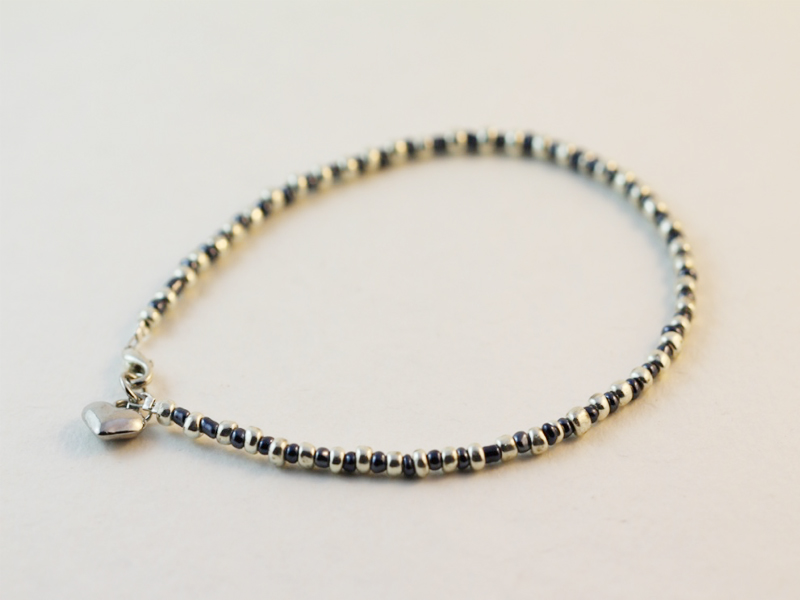
Here’s how to take apart your beaded jewellery so you can reuse the materials.
Do you have a beaded necklace or bracelet that you don’t like anymore? Here’s a video tutorial that shows you how to take that piece apart so that you can re-use the beads, the wire and most of the findings! Knowing how to take apart jewelry you don’t want anymore is a way to both save money and be a bit more eco friendly! Please note that this tutorial contains affiliate links.
You’ll need the following tools and materials to take apart your jewels:
1: A piece of jewellery you don’t want anymore. I took apart a beaded anklet.

2: A pair of cutting pliers.

3: A bowl to put your beads in so they don’t fly everywhere.
4: A pair of flat nose or round nose pliers for opening jump rings.


Watch this video to see all the steps:
Will you take apart your old creations, or maybe some vintage jewels you found at a market or online?
-
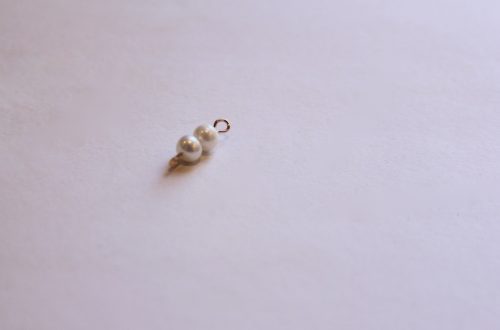
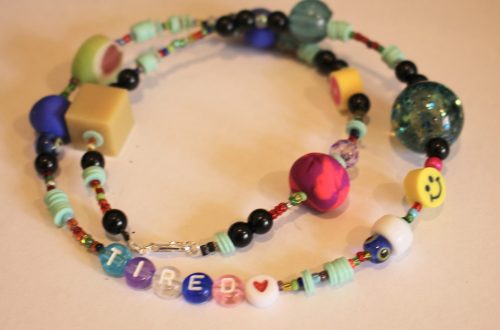
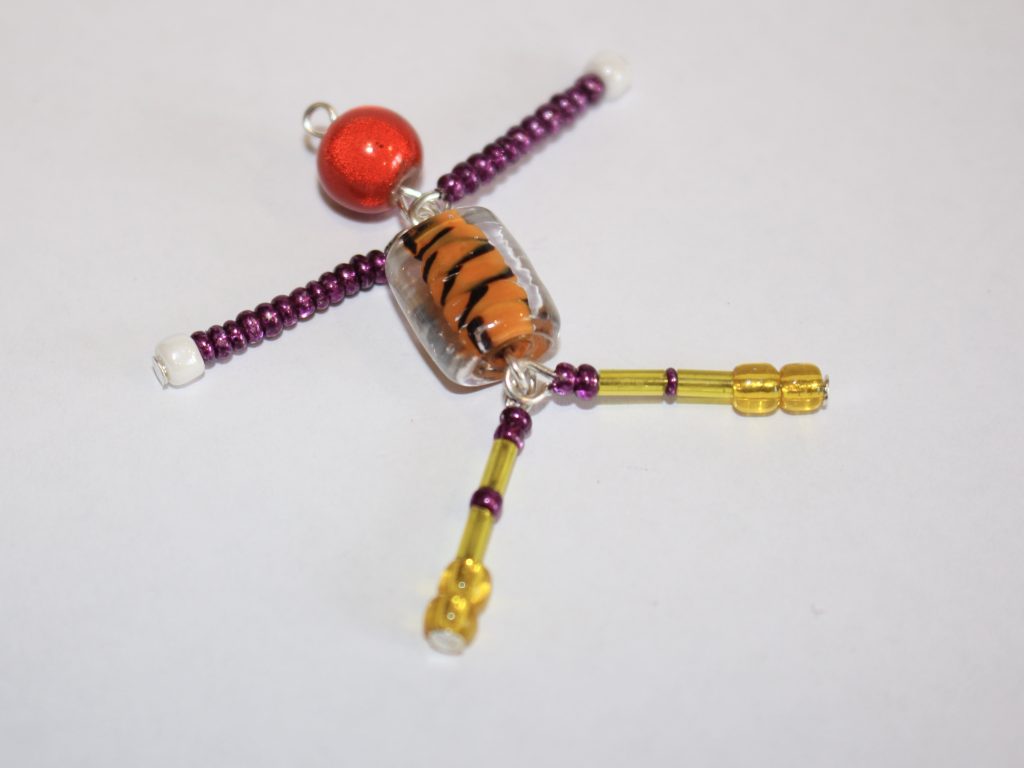
Here’s how to make a necklace strand for your cute beaded person charm…
Remember this charm? Here’s how to make a crazy mixed bead necklace to hang it on and wear about! This tutorial makes use of those random mixed beads you aren’t sure what to do with! Please note, this tutorial contains affiliate links.
You’ll need these tools and materials to make your beaded necklace:
1: A person charm, you can follow the tutorial here.
2: A piece of tigertail wire, long enough for your desired necklace length, plus a few extra centimetres.

3: Four crimp beads.

4: A toggle clasp.

5: Two jump rings.

6: Pliers.

7: A selection of beads.

Follow these steps to make your necklace for your cute person charm:
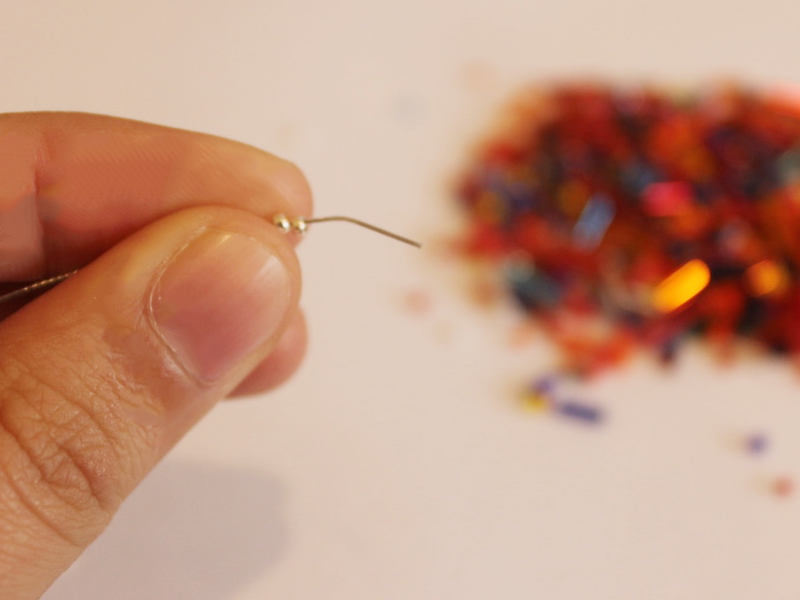
1: Take the tigertail wire an add two crimps to one end.

2: Add a jump ring to the end of the wire.

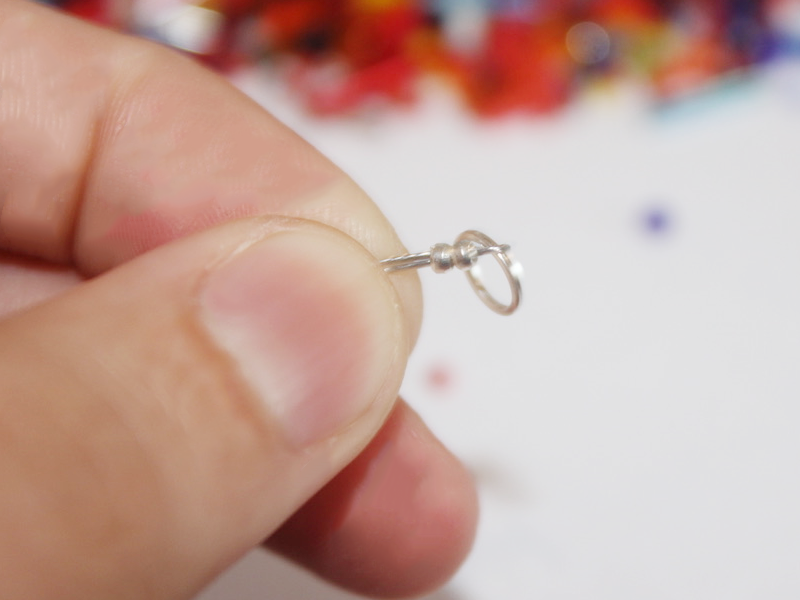
3: Fold the end of the wire around the jump ring and through the crimp beads.

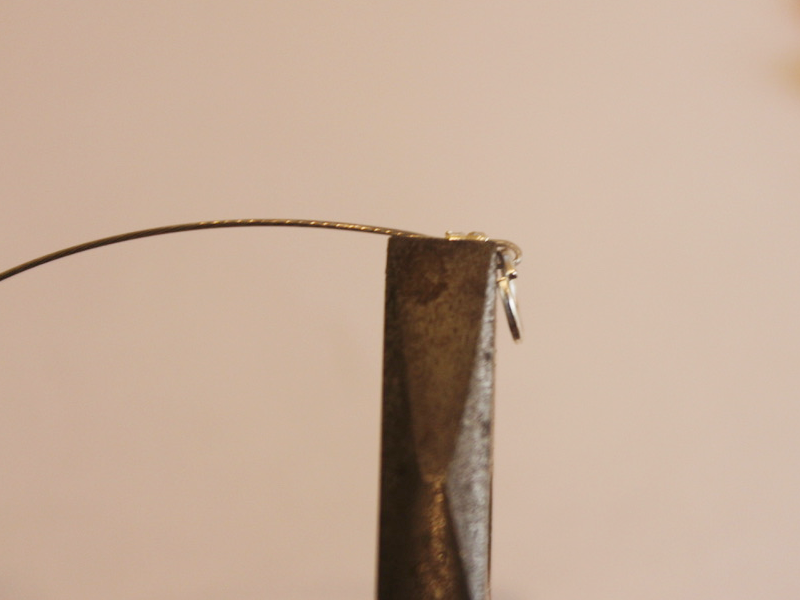
4: Squash the crimp beads using the flat nose pliers.


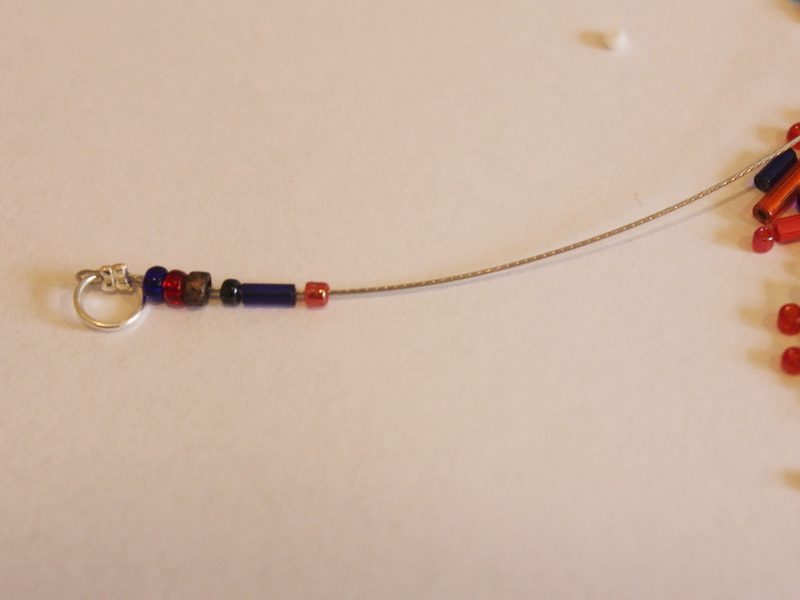
5: Begin adding beads.

6: Continue adding beads until you have a length you like.

7: Add the second set of jump rings to the other end of the necklace.

8: Add the second jump ring.

9: Loop the end of the wire around the jump ring and back through the crimp beads and the last couple of beads on the strand. Pull the wire tight.

10: Squash the crimp beads to secure the jump ring in place at the end of the necklace.

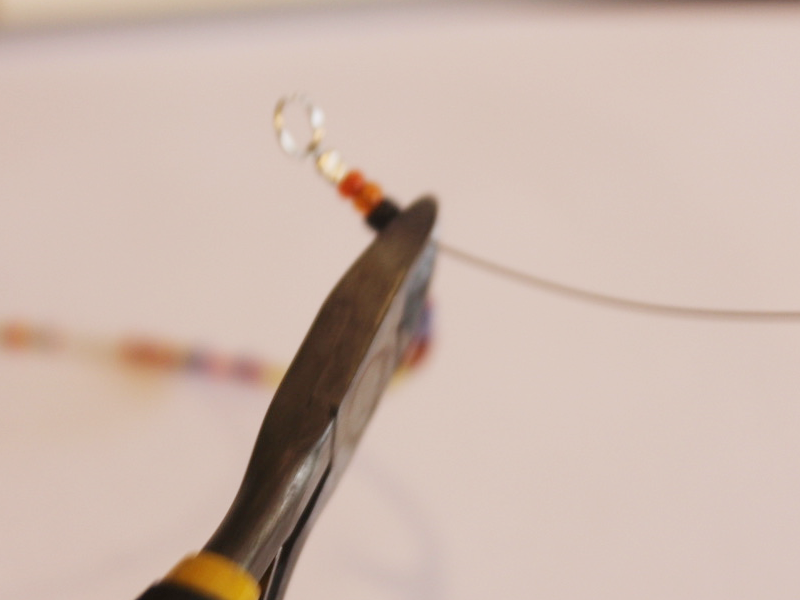
11: Trim the excess wire.

12: Open one of the jump rings using pliers and add the person charm.

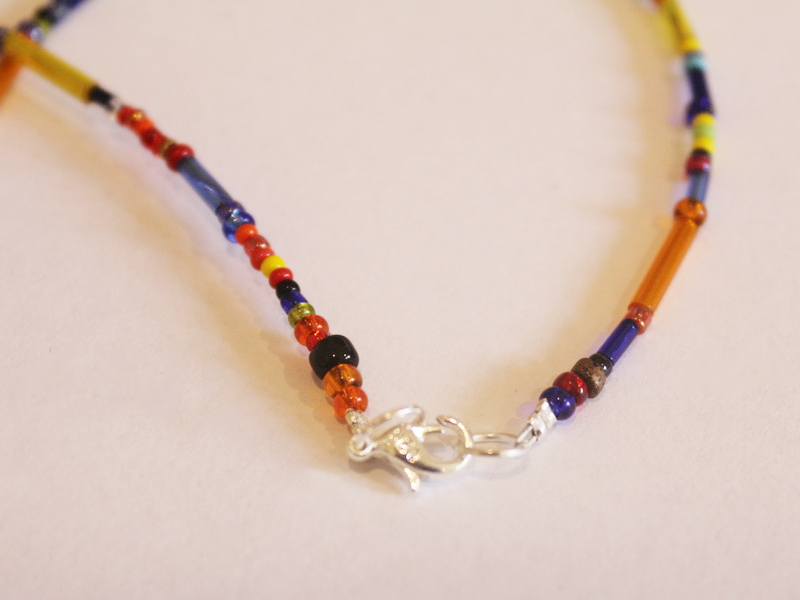
13: Add the circle side of the toggle clasp and close the jump ring to secure the components together.


14: Add the other side of the toggle clasp and close the jump ring to finish the necklace off.


Now your adorable person charm necklace is finished and ready to wear! How cute!!


-
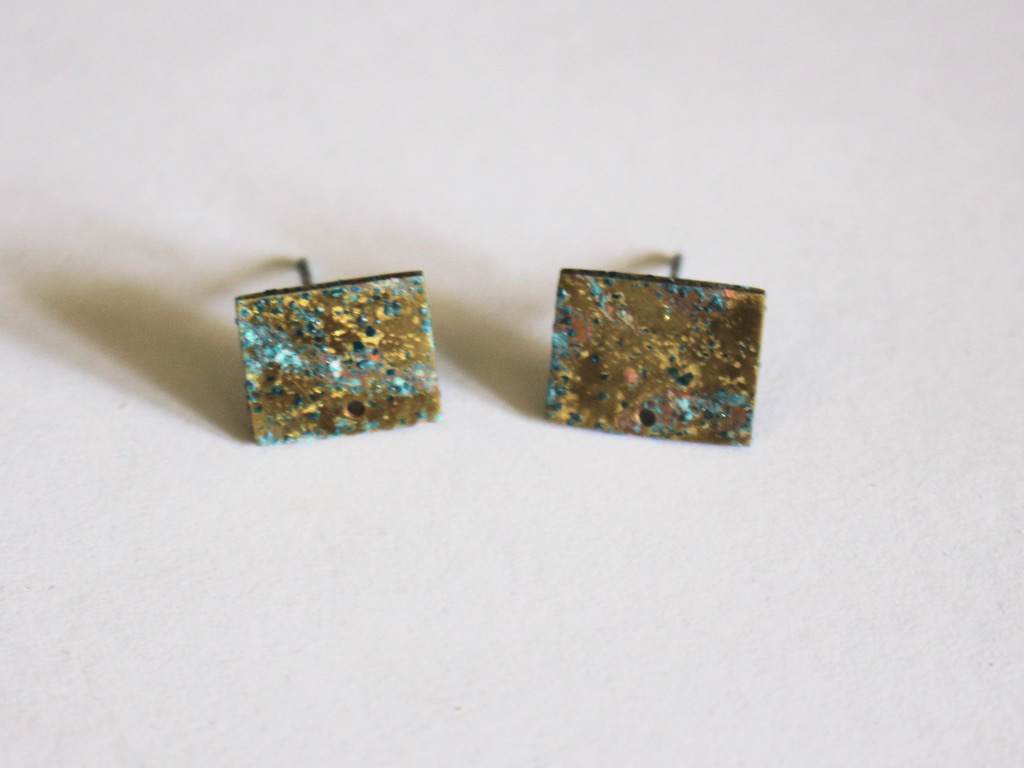
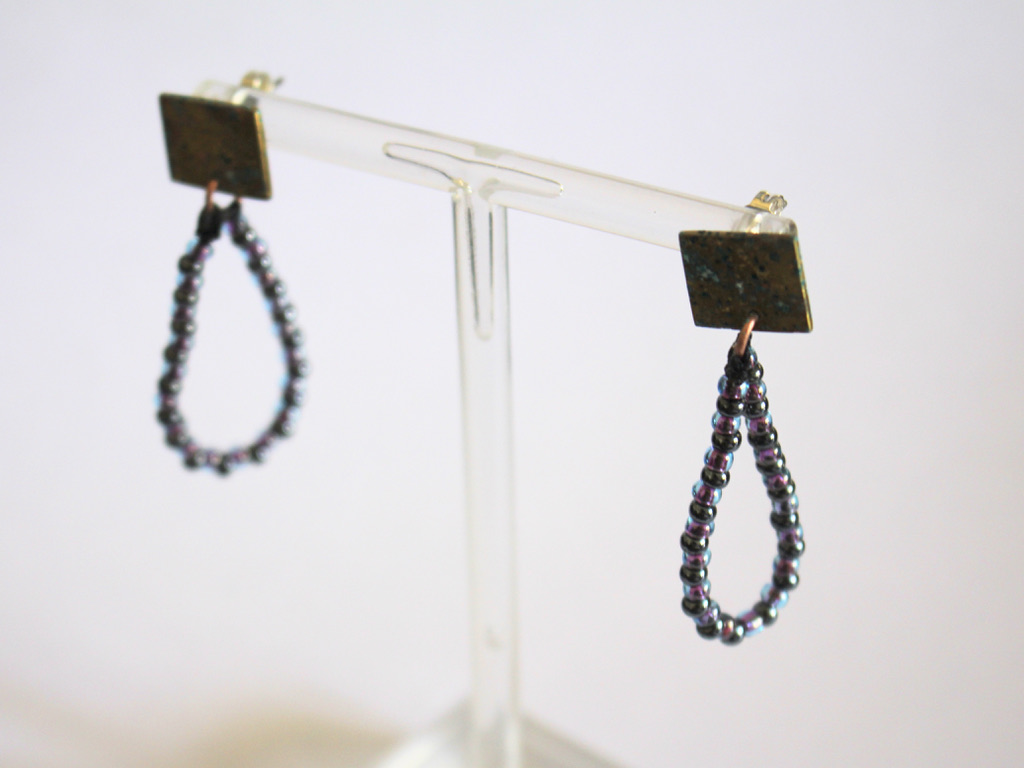
Here’s how to make a special pair of earrings using earring findings and beaded thread…
Here are some fun earrings you can construct at home! This is a great way to use the pieces of copper or brass that you created patina on using our salt and vinegar patina tutorials as well as some of your fave beads. Please note that this tutorial contains affiliate links.
You’ll need these tools and materials to make these earrings:
1: A pair of brass earrings with drilled holes or charm loops, I used these ones I made a while ago.
2: Some nylon beading thread. I used two scrap pieces about 30cm long.
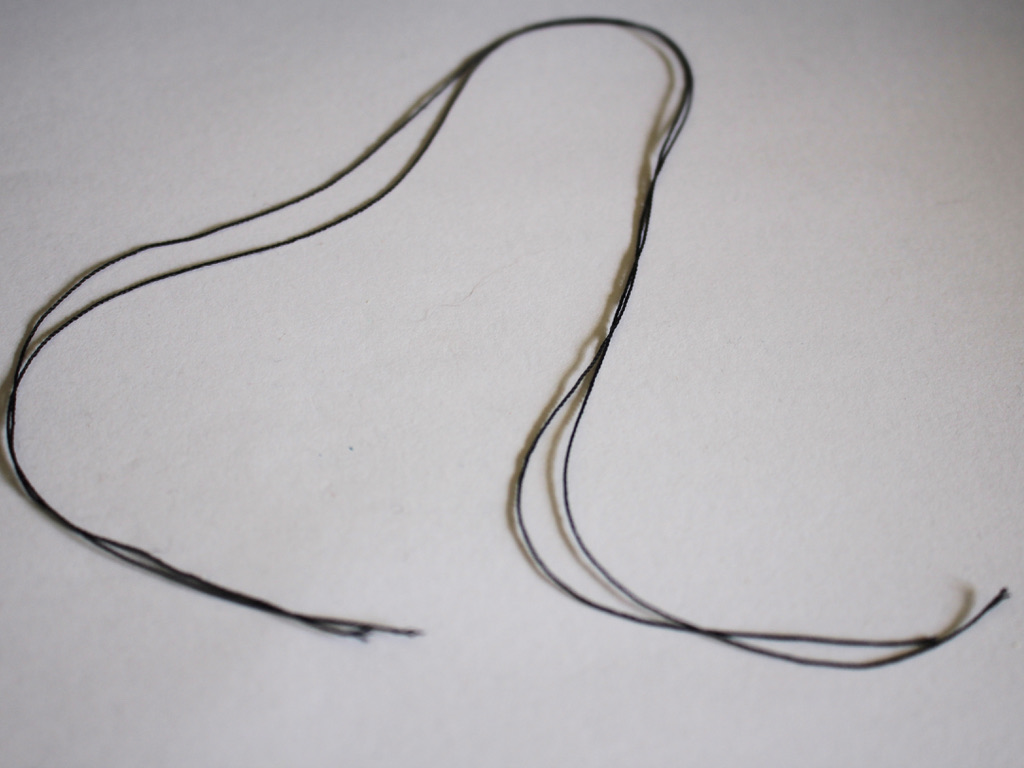
3: A beading needle with a thin loop of thread attached to it.

4: Beads. I used these purple and blue glass seed beads.

5: Jump rings. I used two copper jump rings.

6: Scissors.

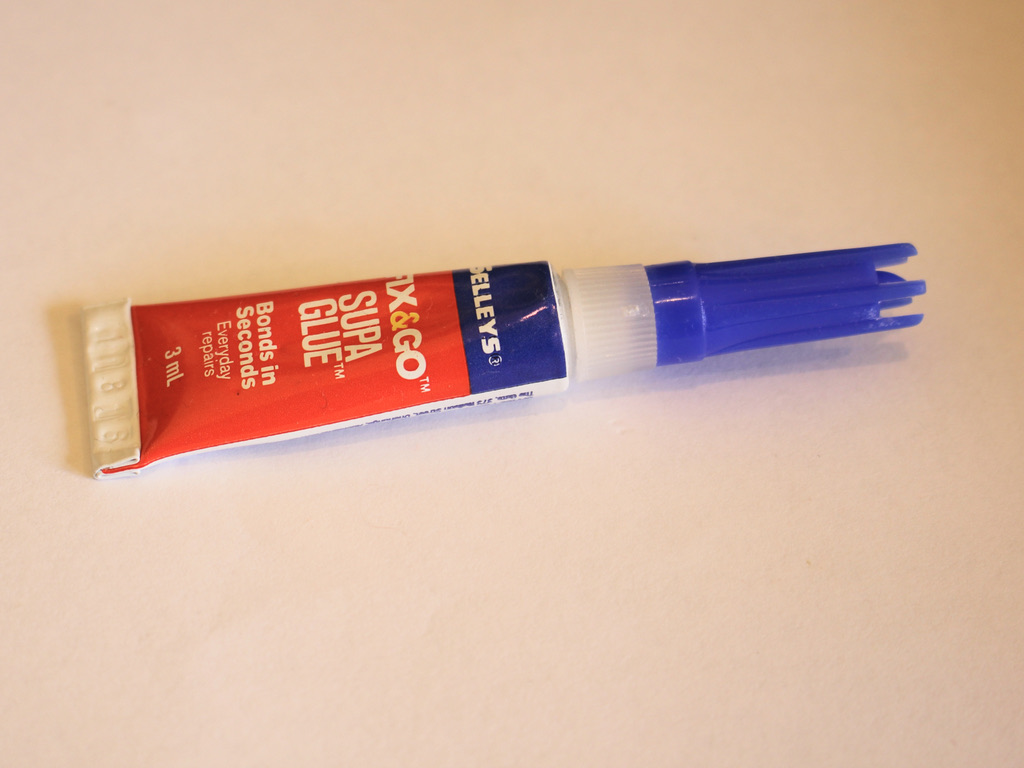
7: Super glue.
8: Pliers.
Follow these steps to make your cute pair of earrings:
1: Close both of the jump rings using your pliers.
2: Fold one of the pieces of thread in half and loop it around the jump ring.

3: Tie some additional knots to secure the thread to the jump ring.

4: Pull the thread through the loop at the bottom of the needle.

5: Begin adding beads to the string in your chosen pattern.


6: Continue adding beads until you have a length you like, I made mine about 7cm long.

7: Tie a knot at the end of the thread to secure the beads onto the thread.

8: Tie the end of the thread onto the jump ring to form a loop, thread it through the jump ring and tie a couple of knots to secure it.

9: Trim the excess thread using scissors.

10: Add a dab of superglue to both knots to secure them.

11: Repeat steps 2-10 for the second beaded loop.

12: Open the jump rings and thread them through the earring findings. Close the jump rings using your pliers to secure them in place.

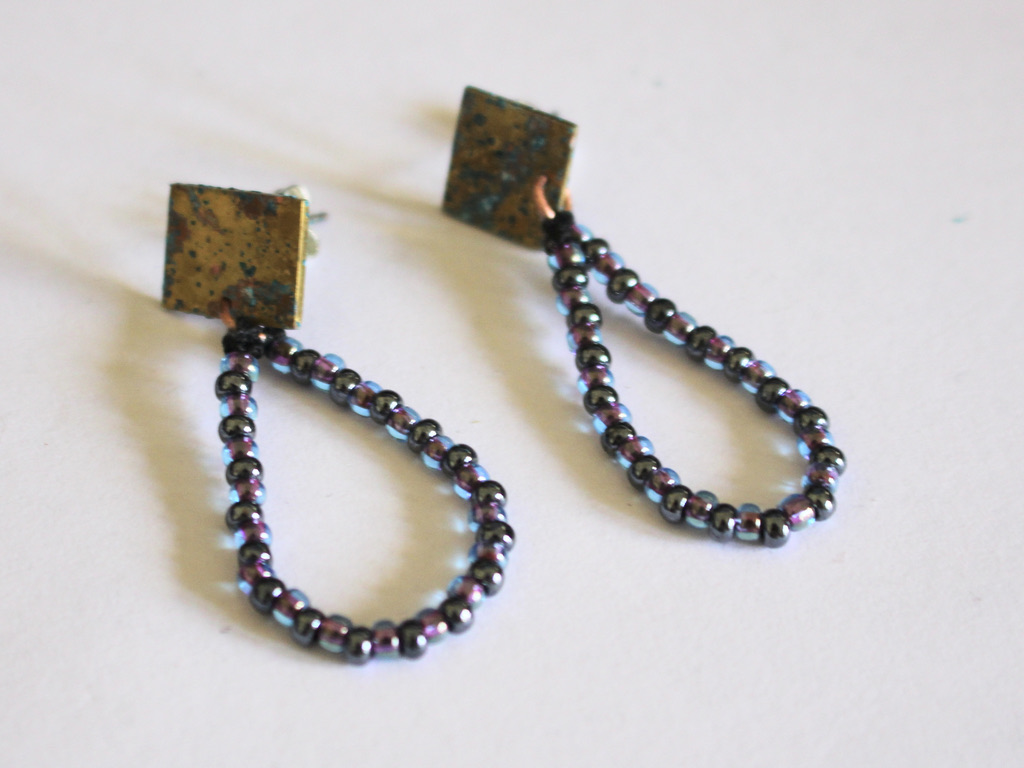
Now your earrings are finished and ready to wear! How fun is this design?


-
Here’s how to make some crescent moon shaped earrings with wire :)
These earrings look one way when you lay them down… but then when you hang them from your ears they turn into beautiful crescent moons. So cute! Please note that this tutorial contains affiliate links.
Here are the tools and materials you will need to make your own crescent moon earrings:
1: Pliers. I used my cutting pliers, round nose pliers and flat nose pliers.
2: Some bracelet length memory wire cut into four half circle lengths.

3: Four small jump rings.

4: Two larger jump rings.

5: Six small head pins.

6: Earring hooks.

7: Beads. I used mixed glass seed beads and six pink freshwater pearl beads.

https://rover.ebay.com/rover/1/705-53470-19255-0/1?mpre=https%3A%2F%2Fwww.ebay.com.au%2Fitm%2F1kg-SUPER-MIX-Glass-Seed-Bugle-BEADS-Mixed-Assorted-Sizes-Colors-BULK%2F322739925149%3Fhash%3Ditem4b24cc709d%3Ag%3AXHgAAOSw791ZuJjX%26frcectupt%3Dtrue&campid=5338747881&toolid=10001&customid=5338747881 
Follow these steps to make your cute crescent moon earrings:
1: Add each of the pearls to the head pins and curl the tops using your round nose pliers to secure the pearls in place. Once you have made all your pearl charms you can set them aside.


2: Take one of the memory wire pieces and create a loop at one end using the round nose pliers. I curled my wires in towards the inside of the curve.


3: Add beads to the wire until there is about 1cm left without beads.


4: Loop the other end of the wire to secure the beads on.

5: Repeat steps 2 to 4 for the remaining three pieces of memory wire.

6: Take two of the pieces of memory wire and attach them at one end using one of the small jump rings.

7: Attach the bottom of the memory wire pieces together using another of the small jump rings to form an oval shape.

8: Repeat steps 6 and 7 using the remaining beaded memory wire pieces and small jump rings.

9: Add three of the pearl charms to one of the larger jump rings and attach it to the end of the memory wire ovals. Repeat this for the remaining three pearls and attach them to the other memory wire charm.


10: Add an earring hook to the top of each of the ovals to finish the earrings off.


Now you can hang them from your ears and have some fun!


-
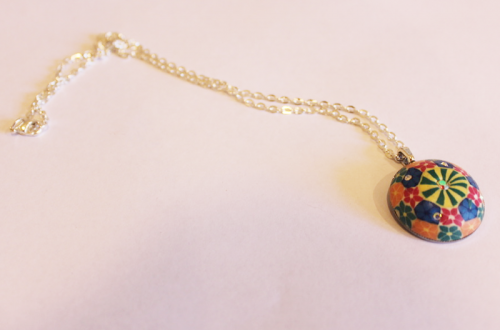
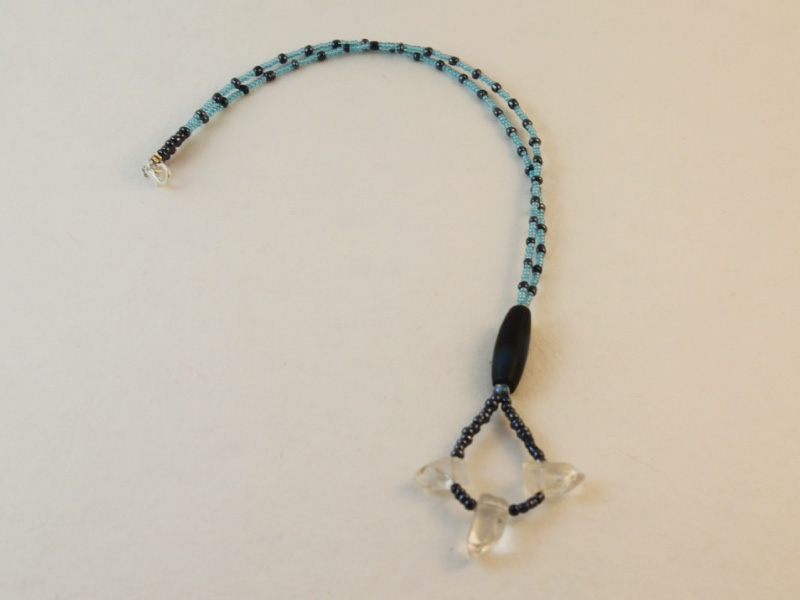
Got a ring that doesn’t fit anymore? Turn it into a fun pendant!
I popped this ring on the other day… and it got stuck on my finger! After panicking a little I managed to get it off and decided it needed a new life as a pendant rather than a ring. Here’s how to transform your too small ring into a cool necklace pendant…
This tutorial contains affiliate links.
You’ll need the following tools and materials:
1: A ring that doesn’t fit you anymore. I used this steel ring.

Here’s something similar:
2: Pliers. I used my cutting pliers, round nose pliers and flat nose pliers.
3: Some tiger tail wire, long enough to make a necklace.

4: Four crimp beads.

5: Two small jump rings.

6: A lobster clasp.

7: Beads. I used this mix of pastel glass seed beads. I also used six larger beads to fit over the folded tiger tail wire.


Follow these steps to make your ring pendant necklace:
1: Add two of the crimp beads and a jump ring to one end of the tiger tail wire.


2: Loop the end of the wire around the jump ring and back through the crimp beads, pull the wire tight.

3: Squash the crimp beads using the flat nose pliers.


4: Bead the wire in any pattern you wish. I beaded mine randomly with no particular pattern.


5: Once you have your necklace at the length you want it, add the remaining crimp beads and jump ring.

6: Loop the end of the wire around the second jump ring and back through the crimp beads and the last few glass beads, pull it tight.

7: Squash the crimps using the flat nose pliers and then trim the excess tiger tail wire using the cutting pliers.


8: Add the ring to the strand.

9: Attach a lobster clasp to one of the end jump rings to finish it off.

Now your ring pendant necklace is finished and ready to wear!


Here’s another idea, pop your rings onto a chain. Here’s one I made with two brass rings on a silver-tone chain.

Here are some other ways to use rings in your jewellery:
- How to turn a ring into the central feature of a choker necklace
- Here’s how to turn a costume ring into a different kind of pendant
This tutorial contains affiliate links.
-
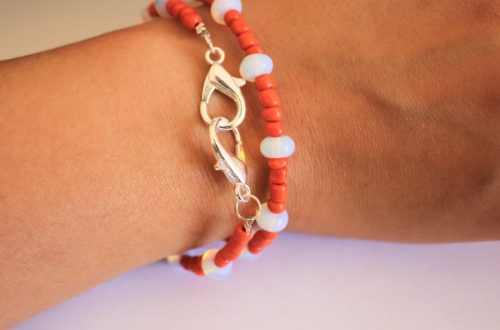
Half and Half for the best of both worlds? Here’s how to make a half bead half chain necklace!
This necklace is really cool! It is made using different materials for a half-half look. One side of the necklace is made with delicate chain while the other half features a rainbow of glass seed beads.
The Materials
You’ll need the following tools and materials to make your half and half necklace:
1: Pliers. I used my cutting pliers, round nose pliers and flat nose pliers.
2: A piece of tiger-tail wire.

3: Four crimp beads.

4: Three jump rings.

5: A lobster clasp.

6: Some chain. I used gold-tone rolo chain.

7: Beads. I used some mixed glass seed beads in different colors.
The steps
Follow these steps to make your half and half necklace:
1: Add two of the crimp beads and a jump ring to one end of the wire.

2: Fold the short end of the wire around it and back through the crimp beads.

3: Squash the crimp beads using the flat nose pliers.

4: Add beads and continue beading until you have a beaded section that is around half the length you want your necklace. I checked my length by measuring it against my neck, holding the secured end at the back of my neck and wrapping it loosely around the font of my neck.


5: Add two more crimp beads to the wire and a second jump ring.

6: Bend the wire around the jump ring and pull it tightly back through the crimps and a few of the beads.

7: Squash the crimp beads using the flat nose pliers again.

8: Trim the excess tiger tail wire using the cutting pliers.

9: Open a jump ring on one side of the beaded strand and attach one end of the chain.

10: Measure the chain so that it is the same length as the beaded strand and trim it.

11. Add the remaining jump ring to the other end of the chain, using it to secure the lobster clasp in place.

Now your half and half necklace is finished!


You can even add a charm to the middle to add some extra interest. I added this yellow clay and resin charm to mine.


This tutorial contains affiliate links.
-
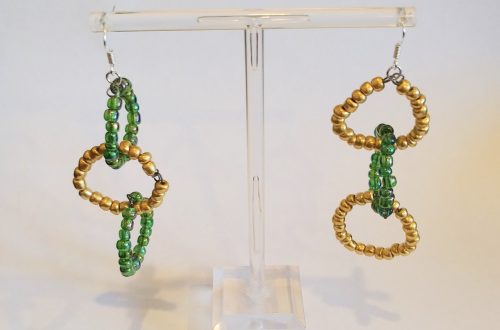
Here’s another way you can use memory wire to make jewelry…
Did you like our D-shaped earrings tutorial? Well here is how you can use a similar technique to make a beaded D-shaped pendant. This design includes a beaded chain accent as well. I really like this design and have made a few versions of it! Maybe you’ve seen some on my Instagram, @hfgjewelsbalmain ?
This tutorial contains affiliate links.
You’ll need these tools and materials to make this D-shaped beaded pendant necklace:
1: Pliers. I used cutting pliers, flat nose pliers and round nose pliers.
2: Half a coil of bracelet length memory wire.

3: One long eye pin.

4: Two pieces of chain.

5: A lobster clasp.

6: Six small eye pins.

7: A couple of jump rings.

8: Beads. I used six shiny blue plastic beads and a selection of pastel-tone glass seed beads.


Now here are all the steps to follow to make your D-shaped beaded pendant:
1: Add the blue beads to each of the small eye pins.


2: Create loops at the top of each pin to secure the beads in place.


3: Attach three of the bead charms together to form a short chain.

4: Repeat for the remaining three charms so that you have two small chains.

5: Set the bead chains aside.
6: Create a loop at one end of the memory wire.


7: Add the beads to the memory wire until there is only 1cm left without beads.


8: Create another loop at the other end of the memory wire to secure the beads on.


9: Add beads to the long eye pin and create a loop at the other end as you did with the memory wire.


10: Attach either end of the long eye pin to the loops at the end of the memory wire to form the D shape.


11: Attach each of the bead chains to either side of the D charm.


12: Attach a piece of chain to each of the bead chains to form the full length necklace chain.


13: Attach a lobster clasp to one side of the necklace using one of the jump rings.


14: Attach the other jump ring to finish the necklace.

Now it is finished and ready to wear! How will you customise this design?


Here are some other versions I have made:


This tutorial contains affiliate links.
-
Want some lightweight earrings? This ribbon design has you covered.
These lightweight earrings are really cute! Made out of beads and ribbons they’ll pack a visual punch without weighing your lobes down. They can also be made with materials you might already have at home. I don’t know about you but I have loads of ribbons that I have saved from gifts and shopping bags.

You’ll need the following tools and materials to make these lightweight ribbon earrings:
1: Pliers. You’ll need your flat nose and round nose pliers.

2: Two pieces of ribbon. I used this thin (approx 1cm wide) blue satin ribbon. Each piece was approximately 7cm long.

3: Two large jump rings.

4: Two flat end crimps.

5: Two earring hooks.

6: Two small head pins.

4: Beads. I used four green glass beads.

Follow these steps to make your lightweight ribbon earrings:
1: Fold the ribbon around so that it forms a folded loop. You can achieve this by layering the ends over each other facing the same way up.

2: Add the flat crimp to the ends of the ribbon and squash them using the flat nose pliers.


3: Add the glass beads to each of the head pins.

4: Curl the ends of the pins to secure the beads.


5: Add the beaded pins to each of the jump rings.

6: Close the jump rings around the bottom of each ribbon loop.


7: Attach each of the earring hooks to the crimps at the top of each ribbon charm.


Now your cute ribbon earrings are ready to wear!

Note: This article contains affiliate links
Here are some other ribbon earring DIYs
-
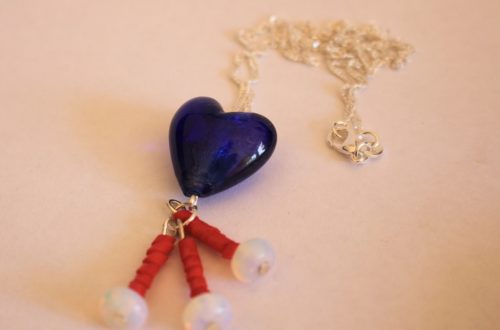
How to make a rainbow beaded pearl necklace

I’ve seen a lot of pearl and glass bead jewelry online lately so I thought it would be a good time to share a rainbow pearl necklace tutorial so you can DIY these expensive jewels at home. Contains affiliate links.
You will need the following tools and materials to make your rainbow pearl necklace:
1: Pliers. You’ll need your cutting pliers, round nose pliers and flat nose pliers.
2: Tiger tail wire.
3: Four crimp beads.
4: Two jump rings.
5: A lobster clasp.

6: Multicolored glass beads. I used these mixed glass beads.

7: A pearl bead. I used this white pearl bead.
Follow these steps to make your rainbow pearl necklace:
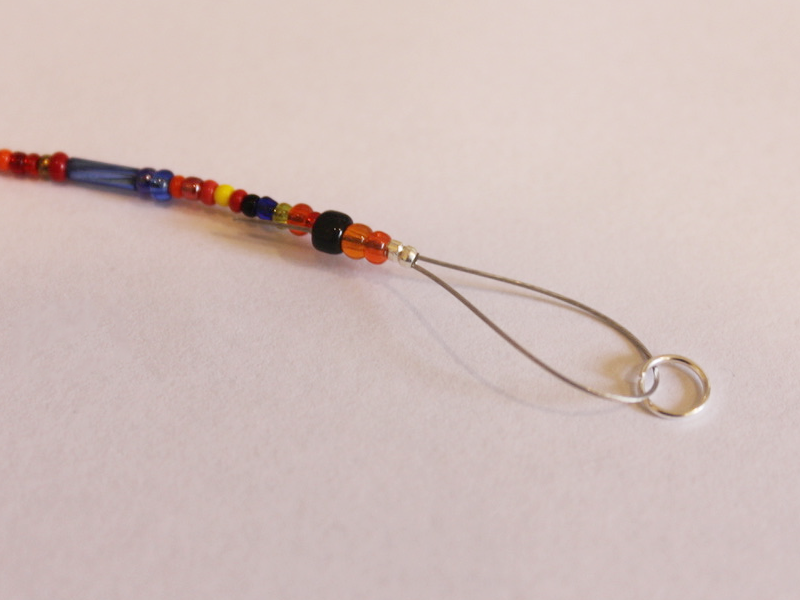
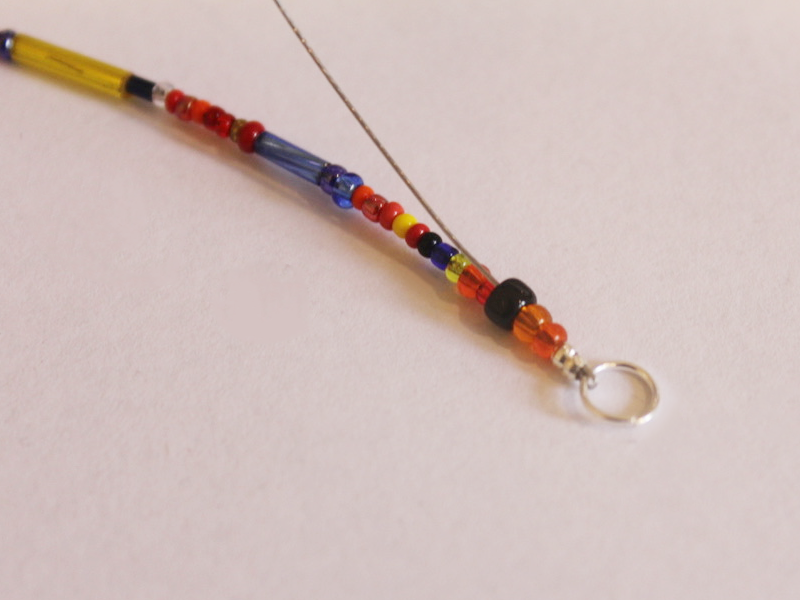
1: Add two of the crimp beads to the tiger tail wire.
2: Add a jump ring to the wire.
3: Fold the end of the wire around the jump ring and through the crimp beads.
4: Squash the jump rings using the flat nose pliers.
5: Start adding the glass beads to the wire.
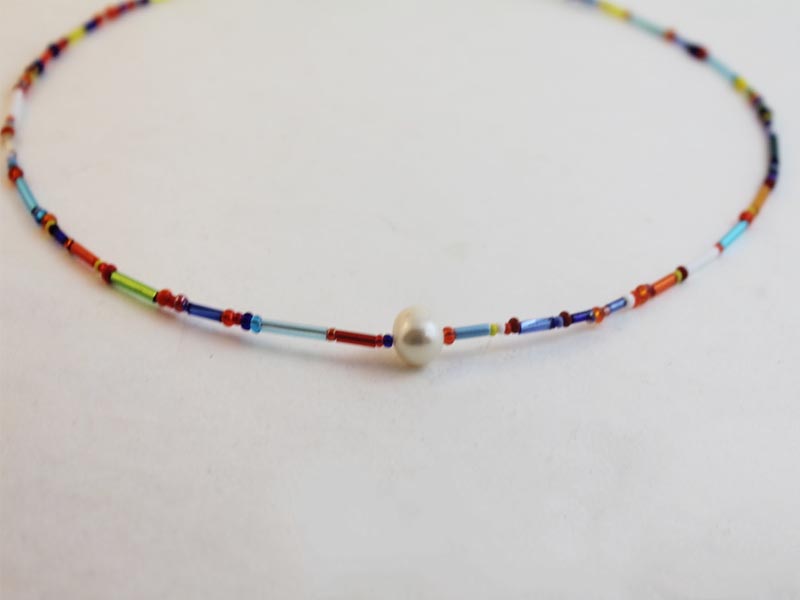
6: Add beads to half of the length you want your necklace and add the pearl. beads.
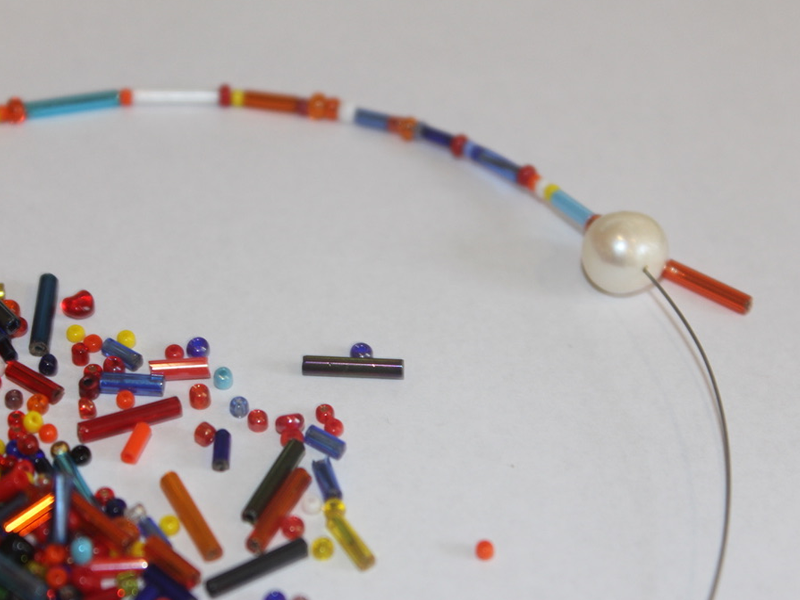
7: Add the glass beads to the rest of the wire so that the pearl sits in the middle.
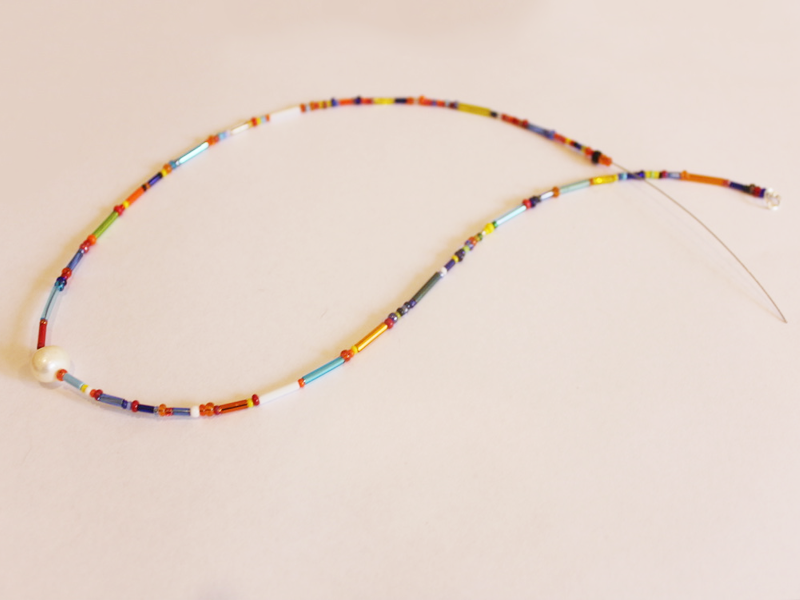
8: Add the remaining crimp beads and the other jump ring to the wire.

9: Fold the end of the wire around the jump ring and through the crimp beads and the last few glass beads.
10: Pull the wire tight.
11: Squash the jump rings using the flat nose pliers.

12: Trim the excess wire using the cutting pliers.
13: Attach the lobster clasp to one side of the necklace onto one of the jump rings.
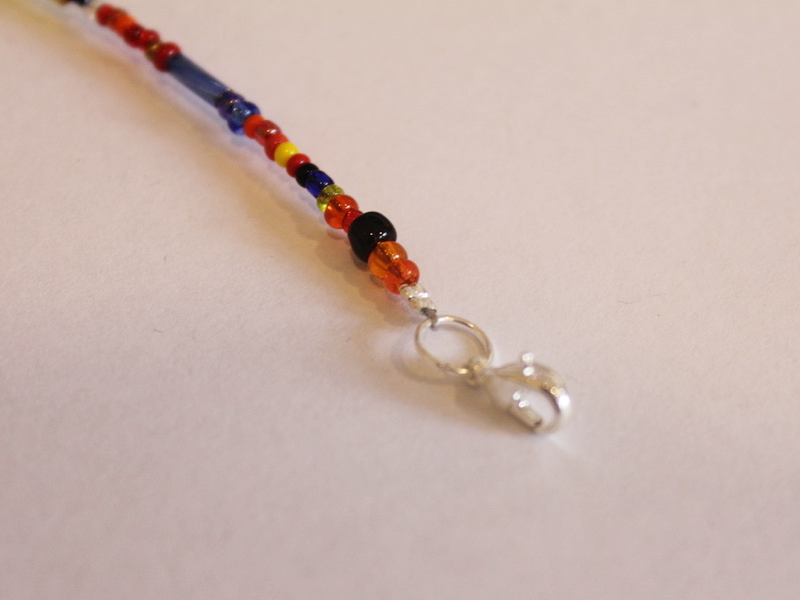
Now your rainbow pearl necklace is finished! How satisfying to get the look for less by making it yourself?
-
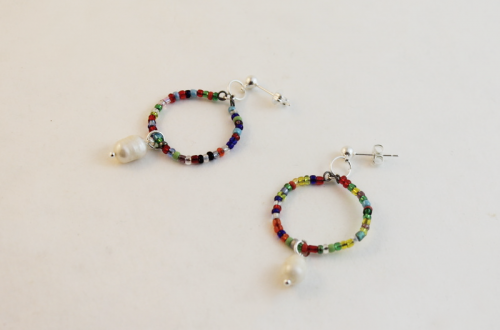
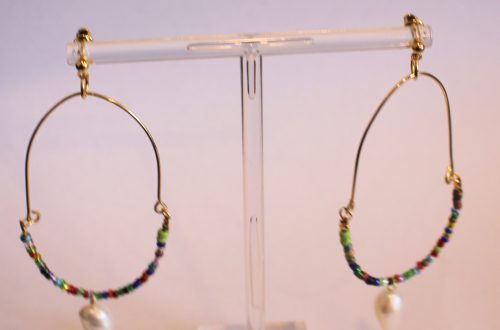
Hop on the pearl trend with these beaded pearl hoop earrings!
I am loving the pearl jewelry trend right now! Here’s how you can DIY your way into unconventional pearl earrings. Contains affiliate links.
You will need the following tools and materials to make your beaded pearl hoops:
1: Pliers. I used cutting pliers to cut my wire, round nose pliers and flat nose pliers.
2: Some wire. I used this wire that I reclaimed from an old jewelry project.

3: Charm connector stud earrings.

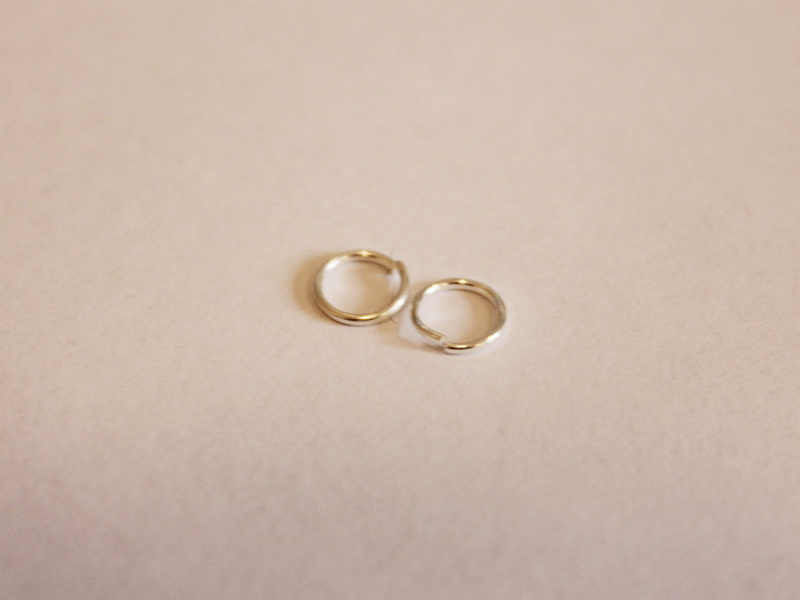
4: Two small jump rings.

5: Two medium jump rings.

6: Two larger jump rings.

7: Two small head pins.

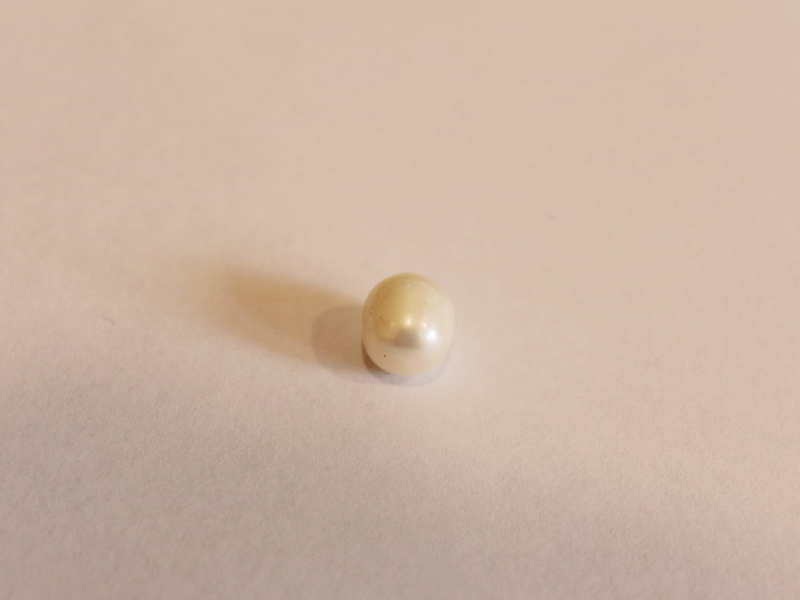
8: Two pearl beads. I used these freshwater pearl beads.

9: Seed beads. I used these mixed glass seed beads.
Follow these steps to make your beaded pearl hoops:
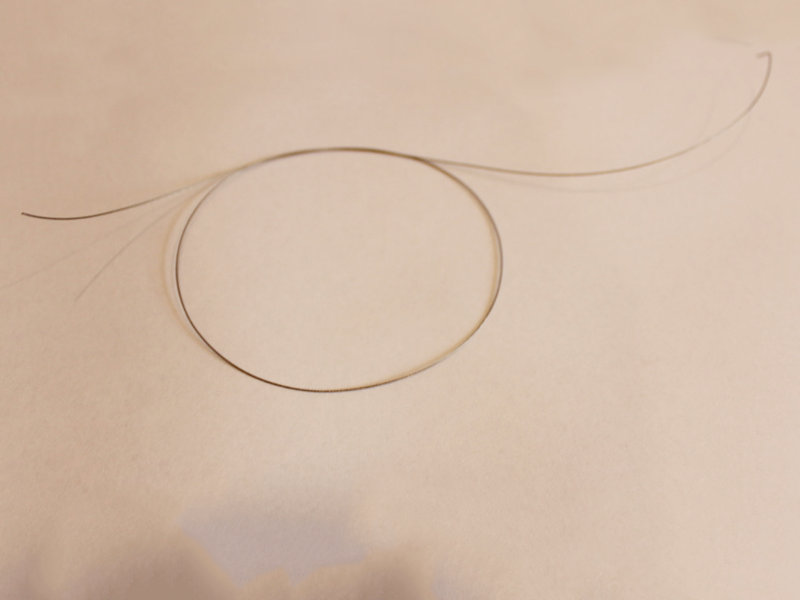
1: Curl the end of the wire to form a loop using the round nose pliers.

2: Add the seed beads to the wire.

3: Once the wire is beaded and there is only about 1cm left of the wire left use the round nose pliers again to curl the end into a loop.

4: Repeat steps one to three for the second piece of wire.

5: Form the beaded wires into circle shapes.

6: Join the ends of the wires using the two small jump rings and then set the hoops aside.


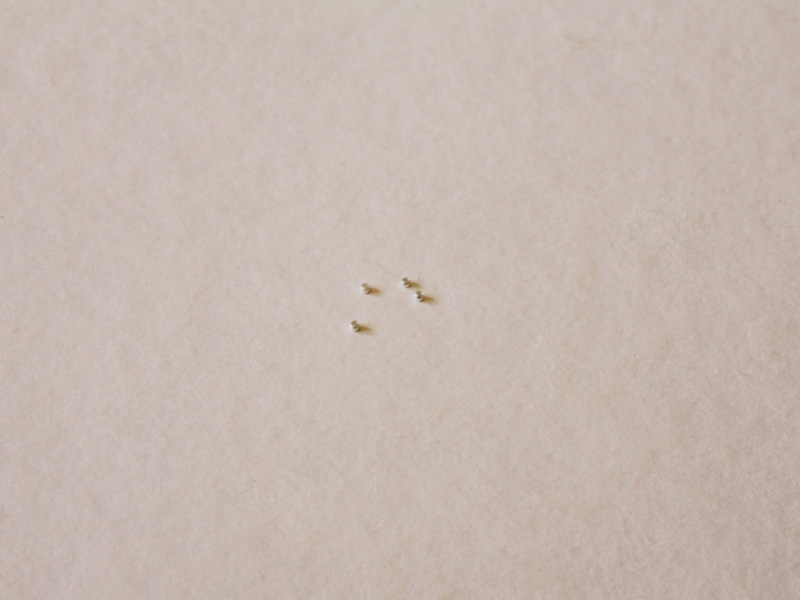
7: Add the pearls to each of the head pins.

8: Create a loop at the top of each pin using the round nose pliers. This will secure the pearls on the pins.

9: Attach each of the pearl charms to the beaded hoops using the medium sized jump rings.


10: Attach the earring posts to the top of the hoops using the largest jump rings.

Once the earring posts are in place they are ready to wear! How cute are they?!

Here’s another pair I made with some green pearls.