Step-By-Step Tutorials
-
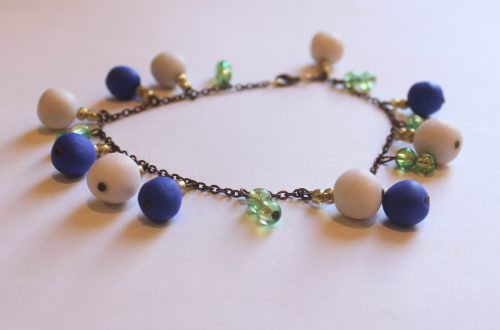
Ankle wear is cool! Here’s how to make a wrap anklet with clip on charms.
This anklet is so cool! It is made from chunky chain that wraps twice around your ankle and has three cute clip on charms. This is sure to keep you busy for a little while, make tonnes of charms so that your ankle feels fancy!
You’ll need the following tools and materials to make your wrap anklet with charms:
1: A length of chain long enough to wrap twice around your ankle.

2: Two medium sized jump rings.

3: A small lobster clasp.

4: Three head pins

5: Three large jump rings.

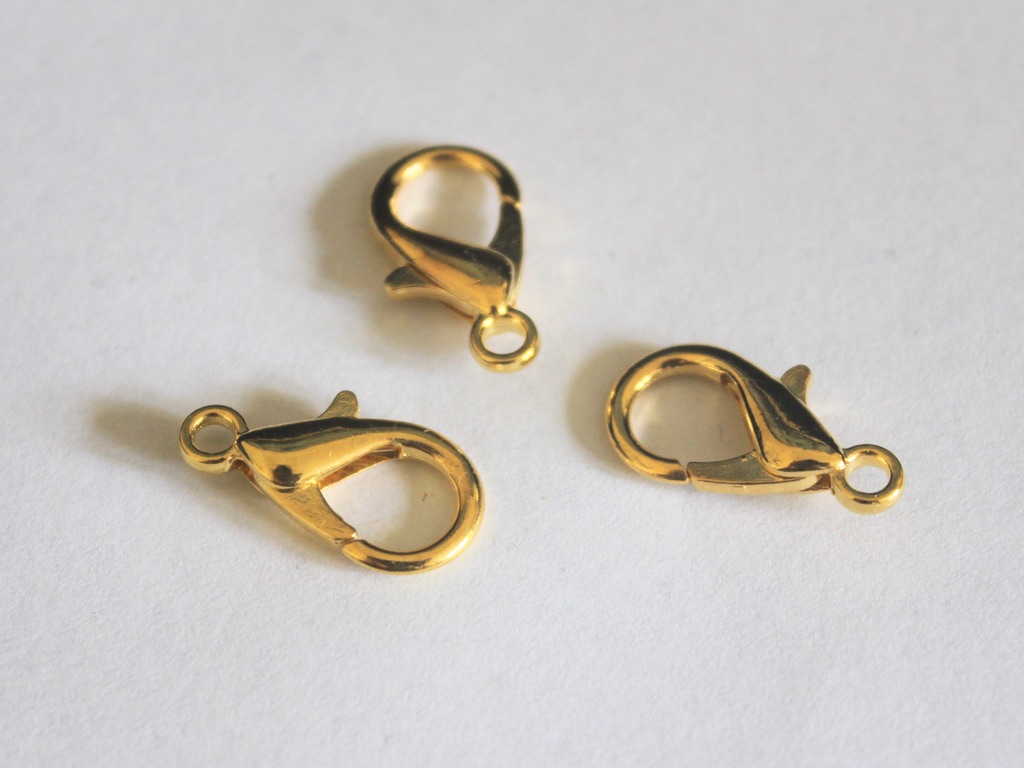
6: Three large lobster clasps.
7: Beads. I used these resin beads with some green glass beads.

8: Pliers. I used cutting pliers, round nose pliers and flat nose pliers.

Here are the steps to make your wrap anklet with clip on charms:
1: Add jump rings to either side of the length of chain.
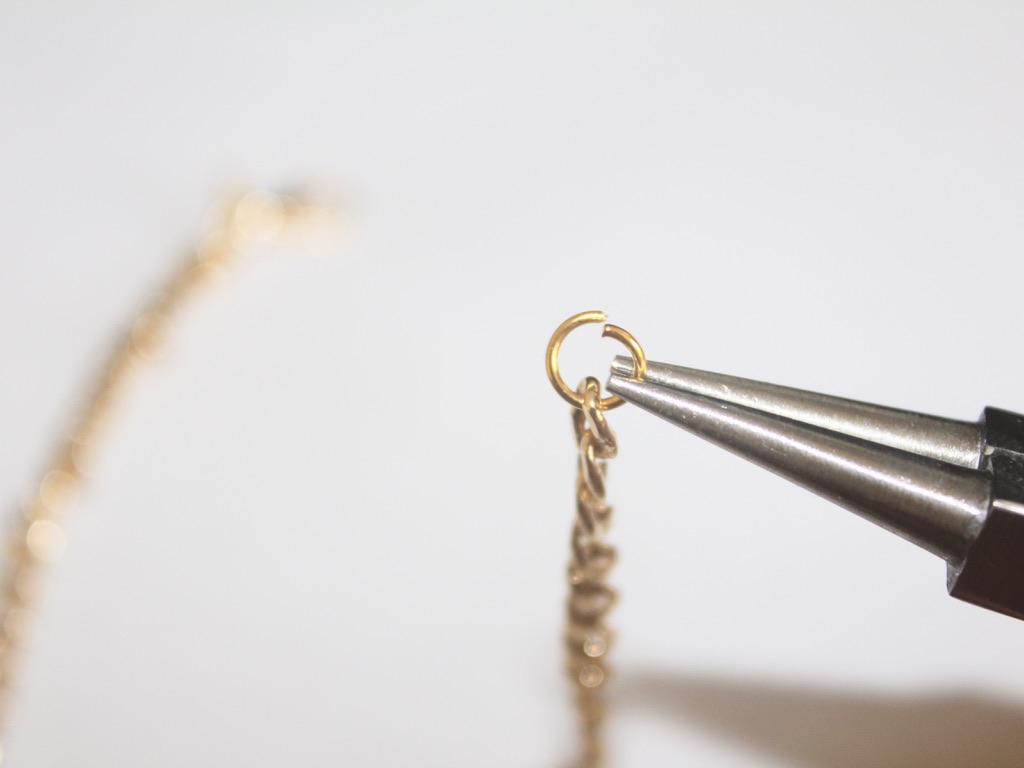
2: Before closing one of the jump rings add the small lobster clasp. You can set the chain aside for a moment at this stage.
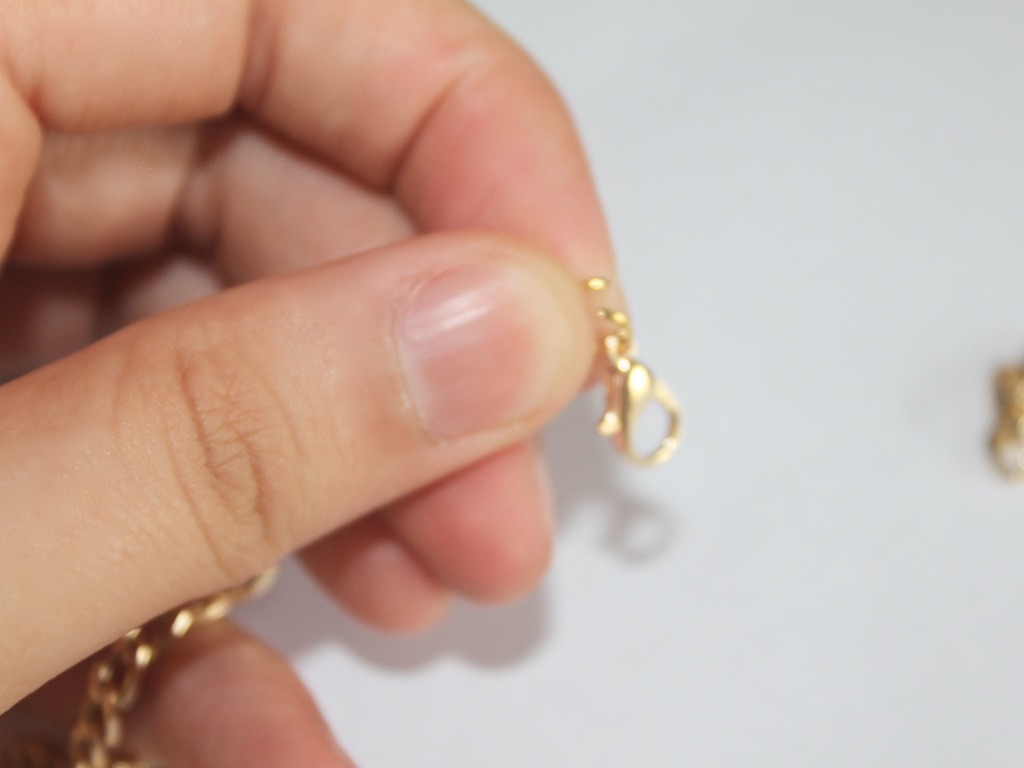

3: Add the beads to each of the head pins.


4: Bend the pins at a right angle and trim them so that there is only approximately 1cm exposed.

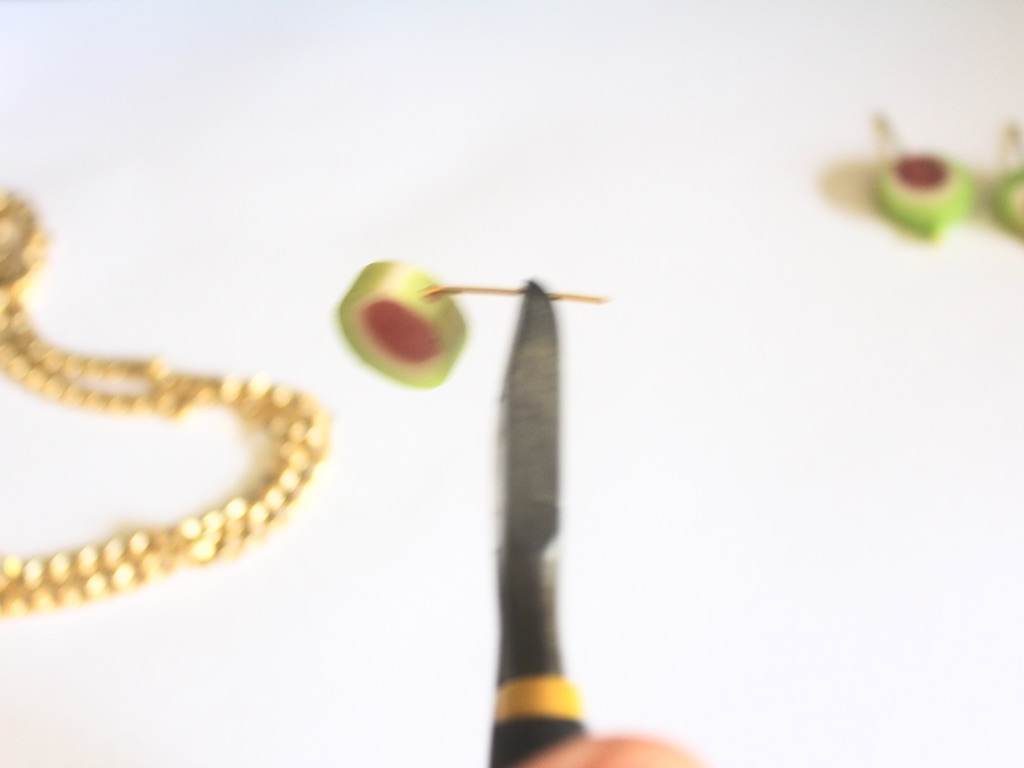

5: Loop the tops of each pin using the round nose pliers to secure the beads on the pins.


7: Add a jump ring to each charm.
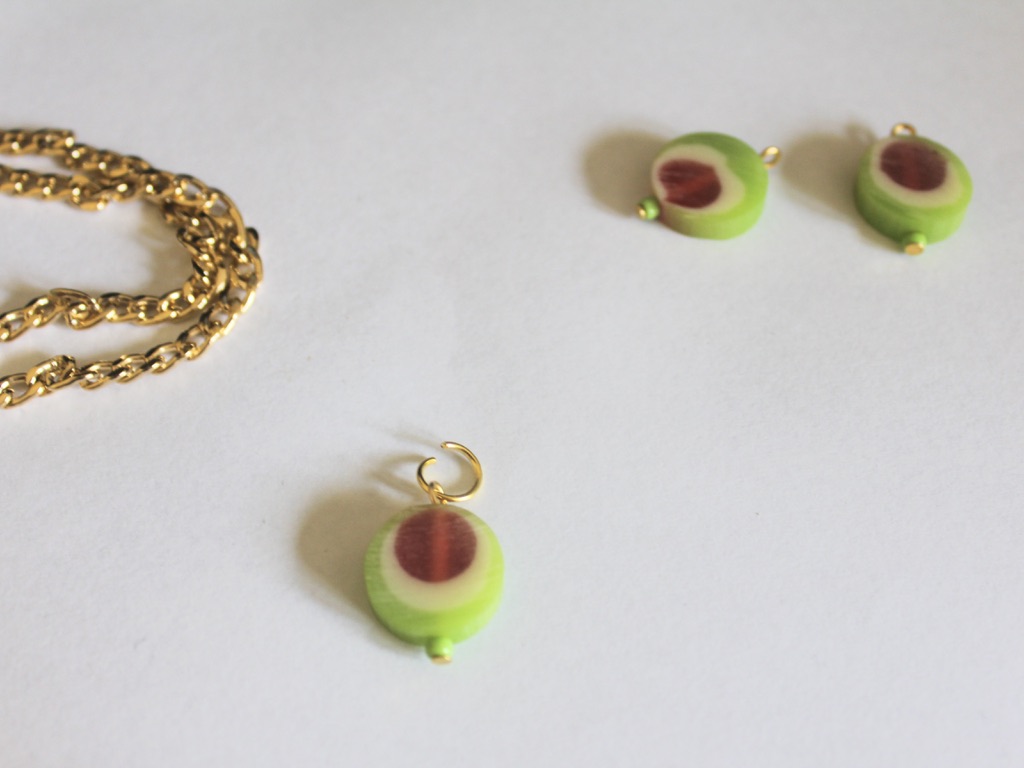
8: Attach each of the charms to each of the large lobster clasps and secure them by closing the jump ring.

9: Attach the charms to the chain wherever you choose. Now your anklet is finished!

Here’s what the finished product looks like on.

This tutorial contains affiliate links.
We have lots of other anklet DIYs you can follow if you want to shine up your ankle game:
- This fully beaded charm anklet
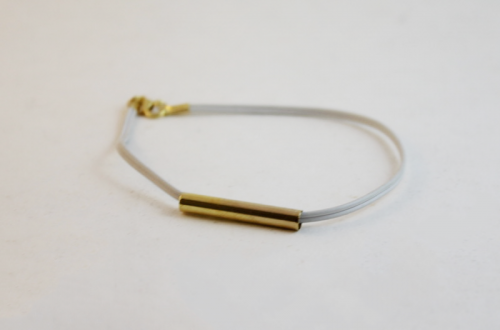
- Simple chain anklets that feature cool tube beads
- Chain anklets with cute charms
- A Gemstone embellished chain anklet
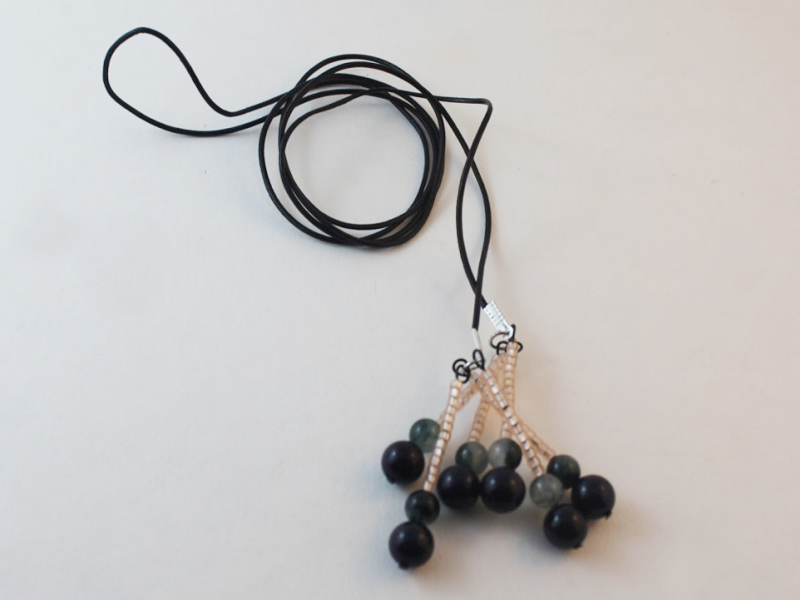
- Why not make a leather and bead charm anklet?
- Braid up this string and bead anklet
- Double chains for this anklet
- Recycle broken headphones to make this anklet
- Here’s how to add shell charms to a chain anklet
- Love charm connectors? Add one to a delicate anklet
- Construct a beaded chain anklet
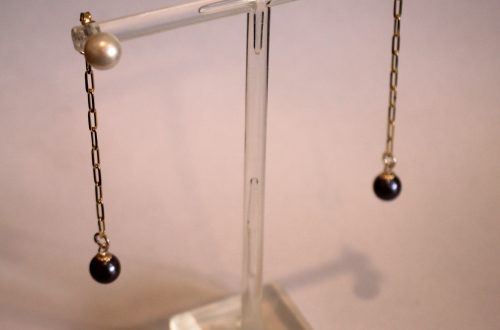
- Add some fun to your ankle with this pearl beaded anklet
- Finger knit this bohemian shell anklet
- Use recycled shopping bag cords to make this anklet
-
Do you need a new ring to cheer up your fingers? This one is fun!
This ring is pretty fun, made with a mixture of different beads threaded onto some ring sized memory wire, this ring is cute, versatile and cheerful. I enjoyed making this one while I was chilling at home. This tutorial
You’ll need these tools and materials to make your own fun memory wire ring:
1: Pliers. I used my round nose pliers, cutting pliers (to cut the memory wire) and flat nose pliers.
2: Ring-sized memory wire. I cut mine to have two full coils.

3: Beads. I used a mixture of feature beads in different materials, two matching beads for the charms and some green glass seed beads.


4: Two small head pins.

5: Two small jump rings.

Here’s the steps to make your cool beaded memory wire coil ring.
1: After cutting your ring wire to your desired length, create a circle at one end using your round nose pliers.


2: Begin adding beads. I added mine in a random pattern alternating between feature beads and green glass beads.


3: Bead the ring until you have approximately 1cm left unbeaded.

4: Coil the end of the wire like you did at the start to form a loop and secure the beads on the wire.


5: Set the ring aside.
6: Add the two matching beads to each of the head pins.

7: Coil the tops of the headpins around the barrel of the round nose pliers to secure the beads in place.


8: Attach each of the bead charms to the end loops of the ring using the small jump rings.


Now your ring is finished! It will stretch to fit larger fingers too which is pretty cool. Will you wear your charms backwards or forwards?


It is great if you can make this design with materials you already have at home, but if you need supplies, this tutorial contains affiliate links.
Here’s another memory wire ring tutorial that uses polymer clay.
-
Need something new in your jewelry box? Make this pair of D-Shaped statement earrings.
These earrings are made using some hard memory wire and some cool statement beads. Dangly and unique, these earrings are worth making.
You’ll need these tools and materials to make these earrings:
1: Pliers. Round nose, flat nose and cutting pliers are useful for this design.
2: Memory wire cut into two half circles.

3: Two long eye pins.

4: Two pieces of chain, not too long.

5: Two earrings. I used these silver charm post earrings.

Here is a fancier pair!
6: Two larger jump rings.

7: Four small jump rings.

AliExpress.com Product – Free Shipping! 1 Box SP Open Jump Rings 3mm-8mm(1500 PCs Assorted) (B08915)8: Beads. I used some green glass e-beads.

9: Two statement beads. I used these silver-tone plastic beads.

Follow these steps to make your D-shaped statement earrings:
1: Use the round nose pliers to make a loop at one end of the memory wire half circle.


2: Add the beads to around halfway on the curve.
3: Add the statement bead to the centre of the curve.

4: Bead the remaining part of the curve with the glass beads again until there is about 1cm left un-beaded.
5: Create a loop at the other end of the memory wire curve using the round nose pliers again.

6: Repeat steps 1 to 5 for the second piece of memory wire.

7: Add beads to the long eye pin and leave 1cm un-beaded at the end. Repeat for both pins.

8: Create a loop at the end of both pins using the round nose pliers.


9: Attach each of the beaded eye pins to the top of each memory wire curve. This will create a tighter curve on each piece of memory wire and form the D shape.


10: Attach the chain to each side of the D shape using the small jump rings. Both D shapes will now have a chain loop attached to them.


11: Add one of the larger jump rings to each of the earring posts.

12: Attach the earrings to the charms by threading the chain through each of the open jump rings. Close the jump rings on the earring posts to secure them together.


Now your earrings are finished and ready to wear!


This tutorial contains affiliate links.
-
How to make a mixed material lariat necklace
Do you like lariat necklaces? I think they are really elegant and kind of sexy. We have done some lariat tutorials in the past but this one is a bit different. It is made using a small piece of chain which hangs in the middle of a beaded strand like a pendant. I really like beading projects because they take time and patience, perfect for passing the time inside. This tutorial contains affiliate links.
You’ll need the following tools and materials to make your mixed material lariat:
1: Tiger tail wire. Cut it to your desired length (plus a bit extra). I think lariat necklaces look best when not too long.

2: One lobster clasp.
3: Four crimp beads.

4: Three smaller jump rings. One slightly larger than the other two.

5: One large jump ring.

6: A length of chain, approximately 10cm long (3.9 inches).

7: Beads of your choice. I used green and yellow glass beads.

8: Pliers. I used cutting pliers, flat nose filers and round nose pliers.
Follow these steps to make your own mixed material lariat necklace:
1: Add crimps to the end of the wire.

2: Add a jump ring and fold the tiger tail wire around the jump ring. Thread the end of the wire through the crimp beads.

3: Squash the crimps using the flat nose pliers.


4: Add the beads in your desired pattern.


5: Once your strand is fully beaded add the remaining crimp beads.

6: Add the other small jump ring and thread the end of the wire back through the crimp beads and the first few glass beads.


7: Squash the crimp beads using the flat nose pliers.

8: Trim the remaining wire using the cutting pliers.

9: Add the clasp to one side of the beaded strand.

10: Add the third smaller jump ring to one end of the necklace.

11: Add the large jump ring to the top of the piece of chain and then close it.


12: Add the chain to the beaded strand to finish the necklace off.

Now your necklace is finished! What colour will you make yours in?


Here is another one I made using mixed glass seed beads.

Here are some other lariat tutorials:
- Circle charm lariat
- Beaded triangle lariat
- Clip on lariat charm
- Belt/lariat tutorial
- A leather wrap lariat
- Pearl charm chain lariat
This tutorial contains affiliate links.
-
Want some lightweight earrings? This ribbon design has you covered.
These lightweight earrings are really cute! Made out of beads and ribbons they’ll pack a visual punch without weighing your lobes down. They can also be made with materials you might already have at home. I don’t know about you but I have loads of ribbons that I have saved from gifts and shopping bags.

You’ll need the following tools and materials to make these lightweight ribbon earrings:
1: Pliers. You’ll need your flat nose and round nose pliers.


2: Two pieces of ribbon. I used this thin (approx 1cm wide) blue satin ribbon. Each piece was approximately 7cm long.

3: Two large jump rings.

4: Two flat end crimps.

5: Two earring hooks.

6: Two small head pins.

4: Beads. I used four green glass beads.

Follow these steps to make your lightweight ribbon earrings:
1: Fold the ribbon around so that it forms a folded loop. You can achieve this by layering the ends over each other facing the same way up.

2: Add the flat crimp to the ends of the ribbon and squash them using the flat nose pliers.


3: Add the glass beads to each of the head pins.

4: Curl the ends of the pins to secure the beads.


5: Add the beaded pins to each of the jump rings.

6: Close the jump rings around the bottom of each ribbon loop.


7: Attach each of the earring hooks to the crimps at the top of each ribbon charm.


Now your cute ribbon earrings are ready to wear!

Note: This article contains affiliate links
Here are some other ribbon earring DIYs
-
Here’s how to turn a scarf pin into a pendant!
Sometimes things look cool when they are converted into something other than intended. In this case, we will show you how to transform a scarf pin into a charm laden pendant necklace.
You’ll need these tools and materials:
1: A scarf pin with charm loops.

2: A necklace length chain split in half.

3: Three head pins.

4: Two smaller jump rings.

5: Two larger jump rings.

6: A lobster clasp.

7: Three beads. I used these gemstone beads.

Follow these steps to make your scarf pin necklace:
1: Add each of the beads to the pins.

2: Bend the pins to form a right angle.

3: Create a loop at the top of each pin using the round nose pliers.


4: Attach each charm to the loops on the scarf pin.


5: Attach one piece of chain to the top of the pin using one of the larger jump rings.


6: Repeat step 5 for the second piece of chain.

7: Attach one of the smaller jump rings to the end of one of the chains. Attach the lobster clasp before closing the jump ring.

8: Add the last jump ring to the other piece of chain to finish the necklace.

Now your transformed scarf pin is ready to wear as a necklace. You can also take the chains off to wear it as a pin again!


Here is another scarf pin tutorial
This article contains affiliate links.
-
Love dangly earrings but hate the weight? These sequin earrings might be perfect for you!
These cool shiny earrings are made using some lightweight iridescent sequins so they will have a great visual impact without weighing your lobes down.
You’ll need these tools and materials to make these lightweight earrings:
1: A stack of smaller jump rings.

2: A pair of charm connector studs. I used these gold-tone ones.

3: Sequins. I used 10 of these round sequins that had holes at the top.

4: Pliers. Your round and flat nose pliers will be useful for this tutorial.
5: Two larger jump rings.

Follow these steps to make your sequin earrings:
1: Attach one of the jump rings to the top of one sequin.

2: Attach another jump ring to the first one, this will be the start of a chain.
3: Continue steps 1 and 2 until you have 5 sequins attached together with one dangling from the bottom.


4: Repeat this for the second earring.

5: Find the top of the earring and attach it to one of the post earrings using one of the larger jump rings.

6: Repeat step 5 for the second earring.

Now your lightweight and shiny sequin earrings are finished and ready to put on. Perfect for dancing!


This tutorial contains affiliate links.
-
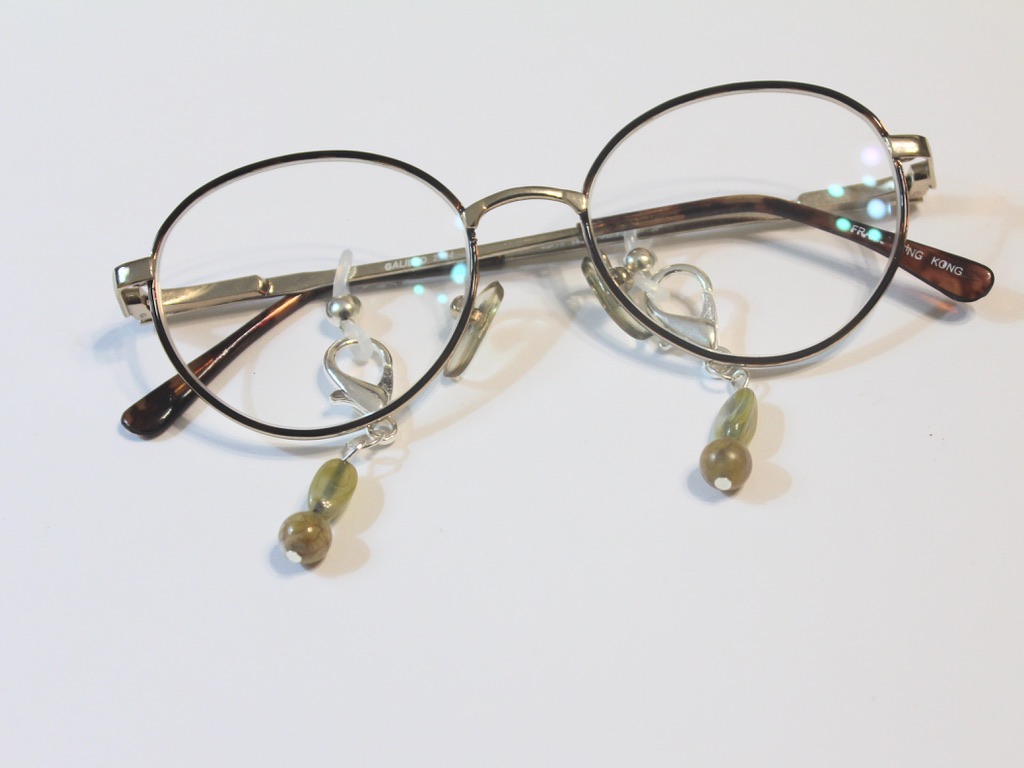
Do your glasses need a spruce up? Make these glasses charms!
These charms attach to the arms of your glasses to give them some extra pizzaz! Make them with some special beads to add some glam to your everyday pair of specs or shades. Because they feature large clasps, you can easily mix and match them with new charms that you make!
You’ll need the following tools and materials to make these glasses charms:
1: Two rubber glasses holders.

2: Pliers. I used round nose and flat nose pliers.
3: Two jump rings.

4: Two large lobster clasps.

5: Two head pins.
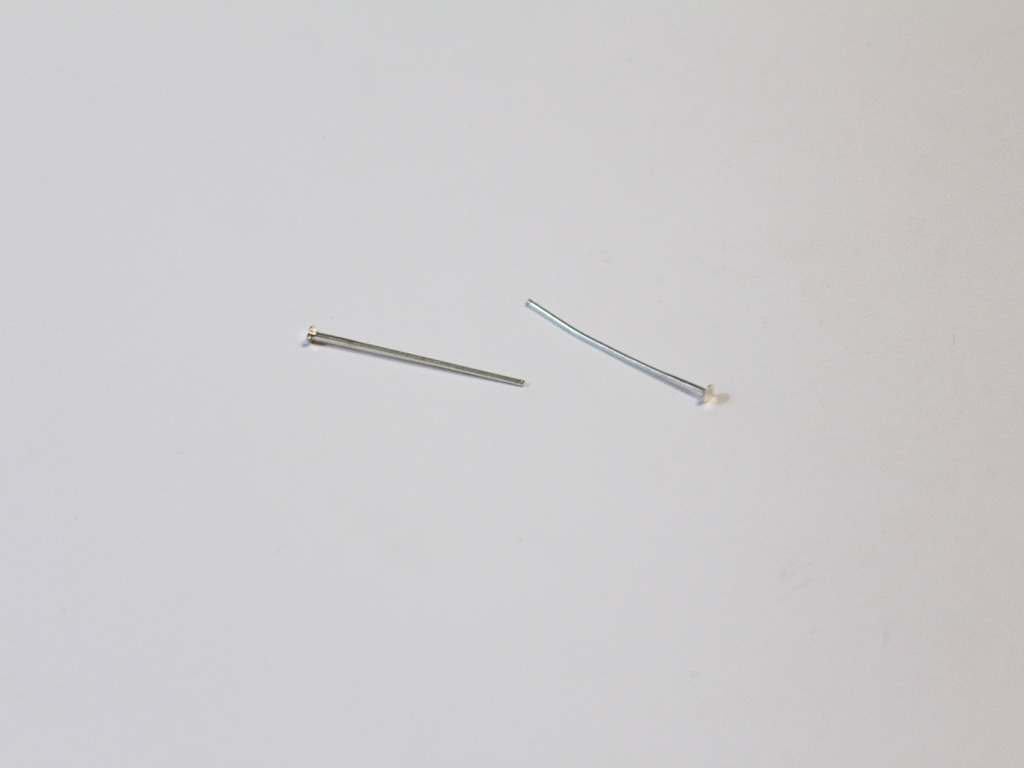
6: Beads. I used these vintage plastic beads.

Follow these steps to make your glasses charms:
1: Add the beads to each of the pins.

2: Bend the pin to form a right angle and form a loop at the top of the pin using the round nose pliers. This will secure the beads on the pin.
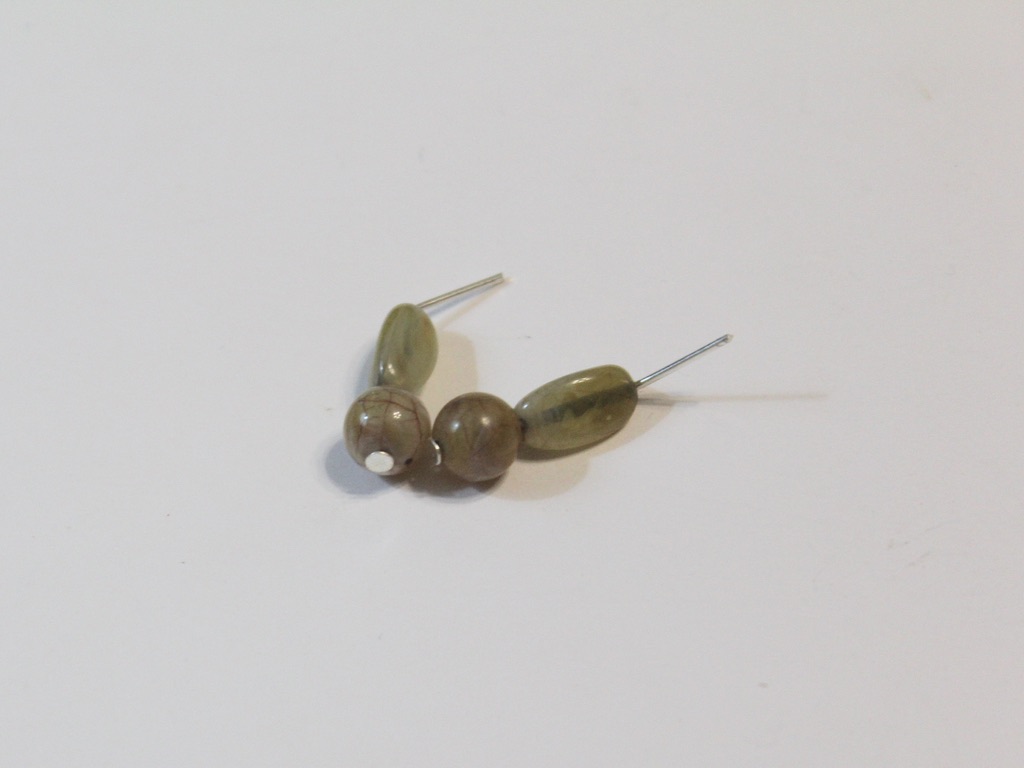


3: Attach the charms to each of the lobster clasps using the jump rings.


4: Attach the lobster clasps to the rubber holders to finish the charms off.


Pop your charms onto your favourite glasses and then wear them!


This tutorial contains affiliate links.
-
How to make a delicate layered necklace!
Layered statement necklaces are set to be on trend in the coming months. Here’s how you can make one for yourself with some delicate chain and pretty beads.
You’ll need the following tools and materials:
1: Pliers. I used my round nose and flat nose pliers.
2: Two pieces of chain, one longer than the other. I used gold-tone rolo chain.

3: Four beads. I used these matching glass beads.

4: Three pins with no ends.

5: One head pin.

6: Three larger jump rings.

7: Four small jump rings.

8: A lobster clasp.

Follow these steps to make your layered chain necklace:
1: Add one of the beads to the head pin.

2: Curl the top of the pin around the round nose pliers to form a loop.

3: Attach one of the larger jump rings to the top of the pin.

4: Slide the newly formed charm onto the shorter piece of chain.

5: Create a loop at one end of one of the pins using the round nose pliers.

6: Add one of the remaining three beads.

7: Create a loop at the other end of the pin to secure the bead in place.
8: Repeat steps 5-7 for the other two beads.

9: Join the bead charms together to form a chain using two of the small jump rings. Then split the longer chain in half.
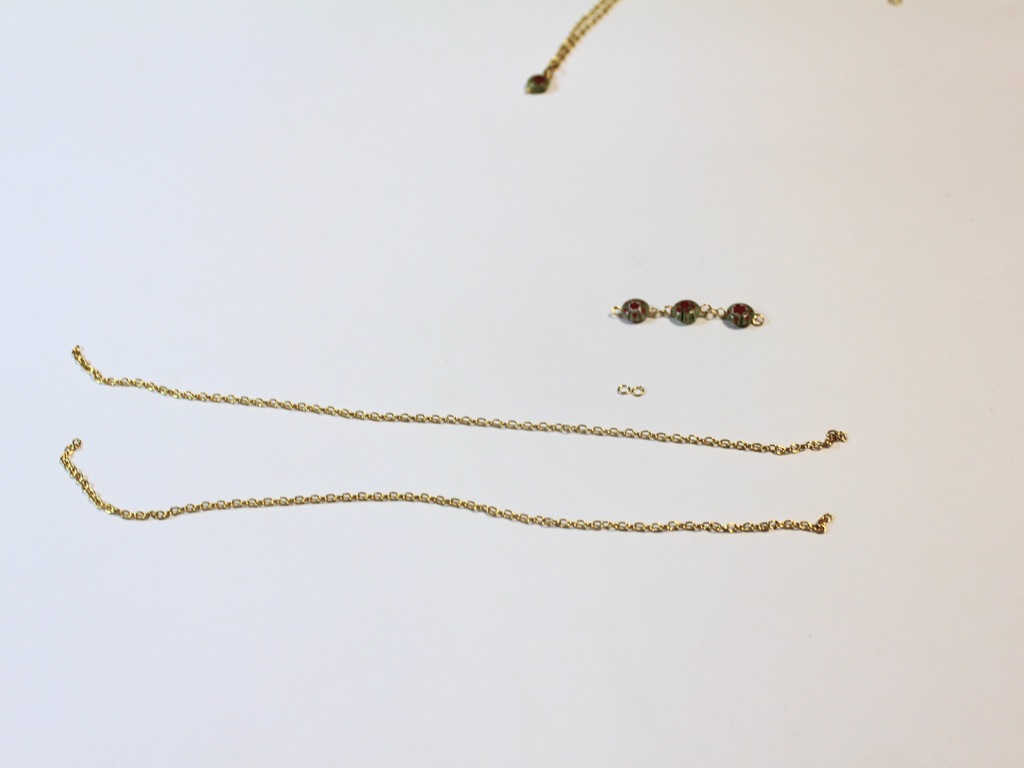
10: Use one of the remaining small jump rings to attach the bead chain to one of the two necklace chains you just split.


11: Attach the other end of the bead chain to the other necklace chain using the last small jump ring.

12: Join the two chains together by sliding them onto one of the larger jump rings.
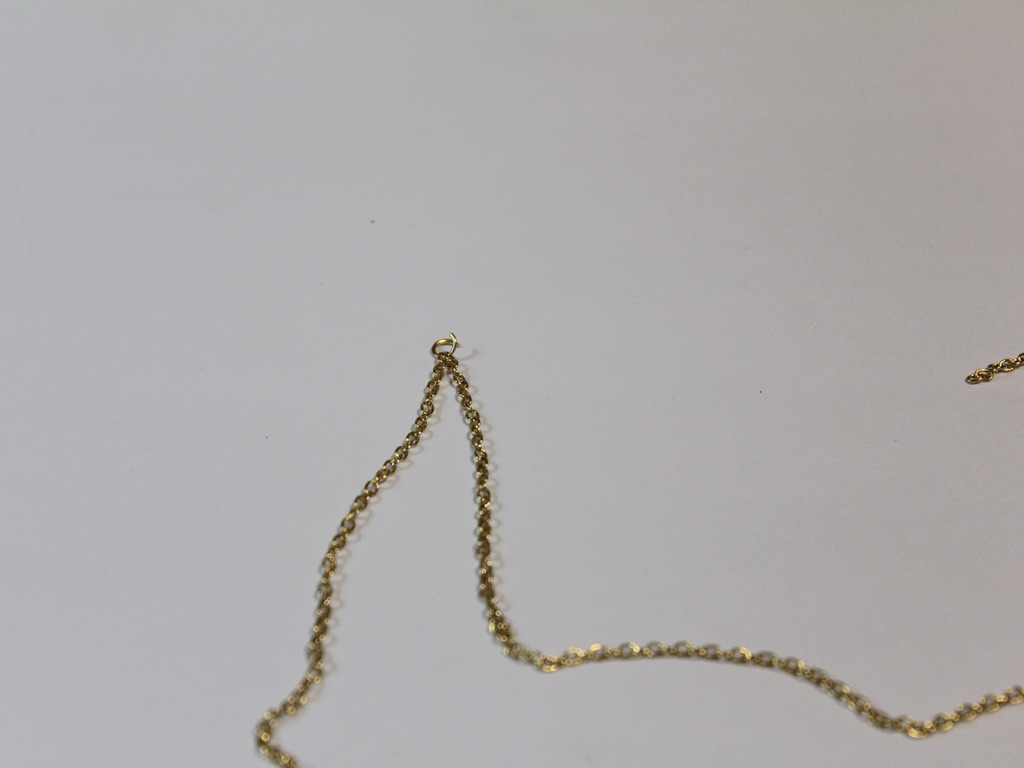

13: Repeat this for the other side of the necklace, adding the lobster clasp before closing the ring.

Now your layered necklace is finished! How cool!!


Here are some other multi-chain necklace tutorials:
- A double strand necklace made using string
- A necklace made with two beaded strands
- A layered necklace made with recycled materials
- A mixed material double strand necklace
- A two tone double chain choker
- A triple strand leather necklace
- A double chain necklace with gemstones
This tutorial contains affiliate links.
-
How to make a beaded chain ring. This is the cutest idea!
Do you like the look of delicate rings? This chain ring design is fun to make and even more fun to wear! This tutorial contains affiliate links.
You’ll need the following tools and materials to make your beaded chain ring:
1: Pliers. Round nose pliers and flat nose pliers are useful for this DIY.
2: A short piece of chain, make sure you have enough to fit around your ring.

3: An eye pin.

4: A bead. I used this blue wooden flat bead.

Follow these steps to make your cute beaded chain ring:
1: Add the bead to the eye pin.

2: Secure the bead to the pin by looping it around the barrel of the round nose pliers.

3: Attach one side of the newly formed charm to one side of the chain.

4: Wrap the chain around your finger to determine how long to make your chain.

5: Trim the chain to the length you chose.

6: Attach the other end of the chain to the other side of the bead charm.

Now your beaded chain ring is finished! How adorable is this design?


Here is another one I made using a plastic love heart bead.

This tutorial contains affiliate links.