Step-By-Step Tutorials
-
These earrings are super easy to DIY and look really stylish.
I’ve seen gold hoops with pearl charms dangling from them around a lot in the past year, they look elegant and expensive but are actually really easy to make on your own!
You’ll need the following tools and materials to make these pearl hoop earrings:
1: A pair of gold-tone hoops. I used these gold-tone huggie style hoops.

2: Two pearls. I used these pink freshwater pearls.

3: Two head pins.

4: Pliers. I only used my round nose pliers to make these earrings.

Follow these steps to make your elegant pearl hoops:
1: Add each of the pearls to the head pins.

2: Create a loop at the top of one of the head pins by wrapping it around the barrel of the round nose pliers.

3: Place the newly formed charm onto one of the earrings.
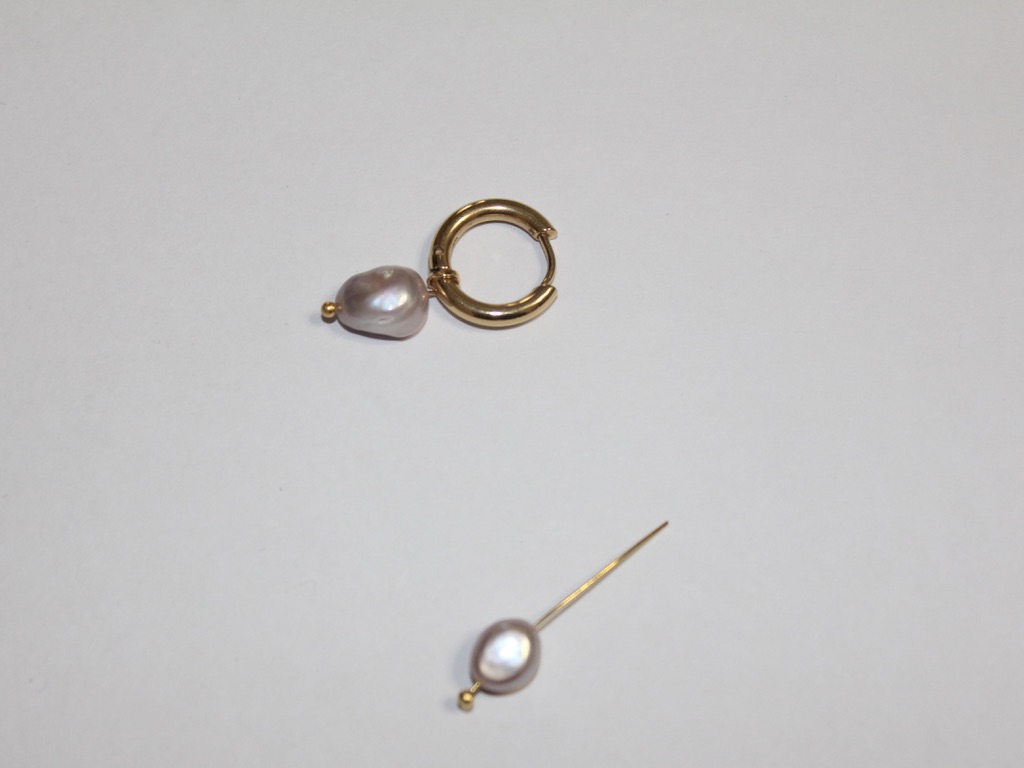
4: Repeat steps 2 and 3 for the second earring to finish the pair off!

Now your elegant pearl earrings are ready to wear!
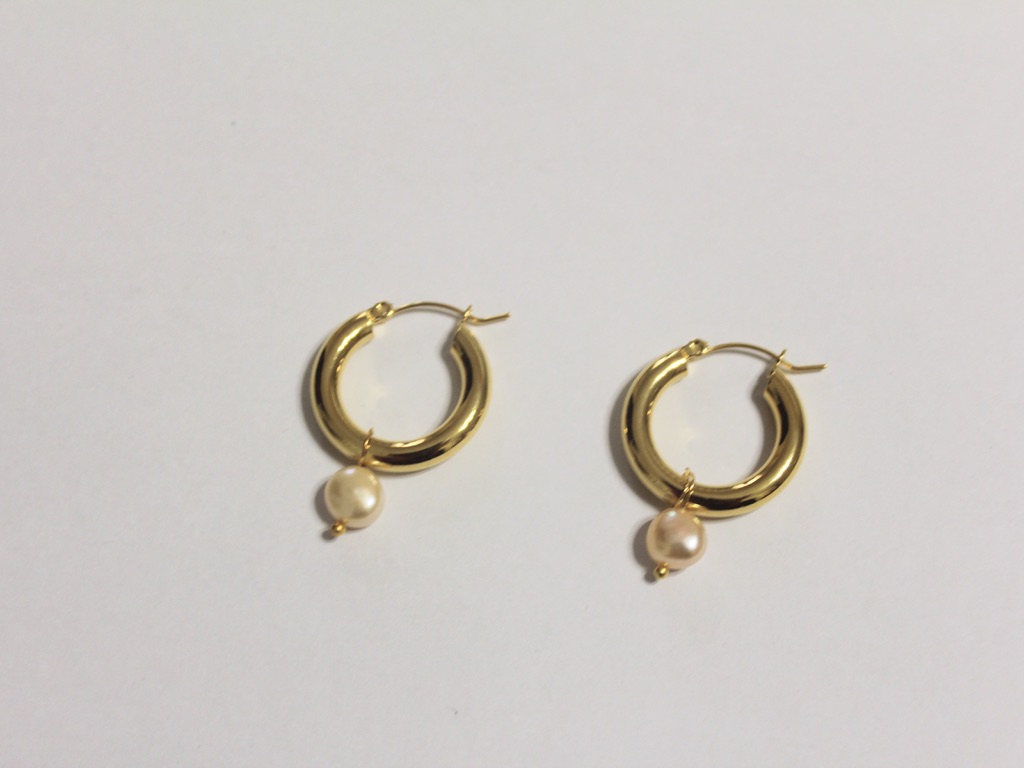
Here are some other pairs I made with extra pearls and with pearls attached to a chunkier pair of hoops.

This tutorial contains affiliate links.
-
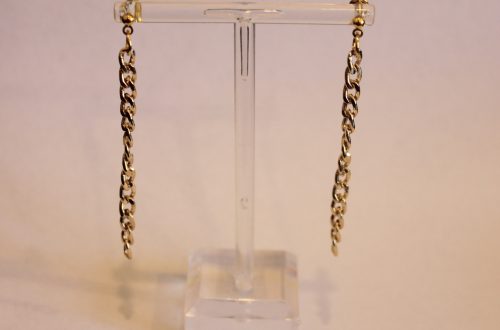
These earrings are cute! Make your own chain earrings.
These chain earrings are super cute and simple to make, all you need to do is attach some chunky chain to some earring findings!
You’ll need the following tools and materials to make your chain drop earrings:
1: Pliers. I used my flat nose and round nose pliers.

2: Two short pieces of chunky chain. I made mine about 6cm long.

3: Two jump rings.

4: Two ball stud charm connector earrings. I used a gold pair.

Follow these steps to make the chunky chain drop earrings:
1: Open one of the jump rings.

2: Thread the open jump ring through a link at the end of one of the pieces of chain.

3: Attach the open jump ring with chain attached to the loop on the bottom of the earring finding.

4: Close the jump ring to secure the chain to the earring.

5: Repeat steps 1 to 4 for the second earring.

Now your earrings are done. How are these for a simple but impactful statement?


This tutorial contains affiliate links
-
Do you love a lariat necklace? Here’s how to make a chunky chain lariat.
This chain lariat is really cool! using a strand of chunky chain you can make a cool statement necklace that packs a visual punch.
You’ll need these tools and materials to make this lariat:
1: A piece of chain that fits around your neck with a little extra to spare (the extra part will form the centre of your lariat.

2: Two jump rings.

3: Pliers. I used round nose and flat nose pliers for this design.
4: A lobster clasp. I used a big chunky lobster clasp to match my chain.

Follow these steps to make your chunky gold chain lariat:
1: Wrap the chain around your neck to determine how close you want the necklace to fit and how long you want the centre chain.
2: Open the end link of the chain.

3: Close the open link around the point where you want your necklace to form the ‘y’ shape of the lariat.


4: Separate the centre of the loop you just formed.

5: Add a jump ring to one side of the newly formed gap you just made.
6: Add the lobster clasp to the jump ring.


7: Add the remaining jump ring to the other side of the necklace to finish it off.

Now your chunky chain lariat is ready to wear!!!

This tutorial contains affiliate links
-
Another way to make polymer clay statement earrings

If you like the look of polymer clay earrings, I have another fun tutorial for you! These earrings combine polymer clay with beaded tassels for a fun statement look.
You’ll need the following tools and materials to make your polymer clay statement earrings:
1: Pliers. I used my round nose and flat nose pliers.
2: Polymer clay. I used sculpey in pink and purple.

3: Two large jump rings.

4: Two small jump rings.

5: Six head pins.

6: Two glue on stud earrings.

7: Beads. I used these shiny yellow glass beads.

8: Two part epoxy glue.

9: A skewer.

9: A scrap piece of paper.

10: Some baking paper.

11: Foil.

12: An oven.
Follow these steps to make your earrings:
1: Mix the polymer clay and form it into two rectangle shapes.

2: Poke holes in each of the polymer clay charms. Make them big enough to slide a jump ring through.


3: Bake the polymer clay in the oven, following the instructions on the polymer clay package. Bake them in the foil tray you made. I baked mine on a low heat.

4: Take your clay out and leave it to cool.
5: Add the beads to the head pins.


6: Bend the top of the pins to form a right angle.


7: Loop the top of the pin to secure the beads in place.


8: Loop all the pins following steps 6 and 7.

9: Separate the pins in half and add three to each of the small jump rings. Close the rings to form the beaded tassels.


10: Squeeze out the glue in equal parts and mix it with the skewer.



11: Add the glue to the earring posts and the polymer clay charms.


12: Set the polymer clay charms aside to dry.
13: When the glue is dry add one of the big jump rings to the bottom of the polymer clay charm by putting it through the hole you made before you baked it.

14: Repeat for the second earring.

15: Add the tassel charms to both of the polymer clay earrings, closing the jump rings to secure them in place.


Now your earrings are finished and ready to wear! How fun are colorful are these babies?

This tutorial contains affiliate links.
-
Can’t get enough of ankets? Here’s another cool anklet to DIY.

Anklets are a fun summer accessory you can adorn your legs with. Why not make this simple one to stack with other fun ankle accessories? This article contains affiliate links.
You will need the following tools and materials to make your anklet:
1: One piece of ankle length chain. I used this gold-tone chain.

2: Two jump rings.

3: A lobster clasp.
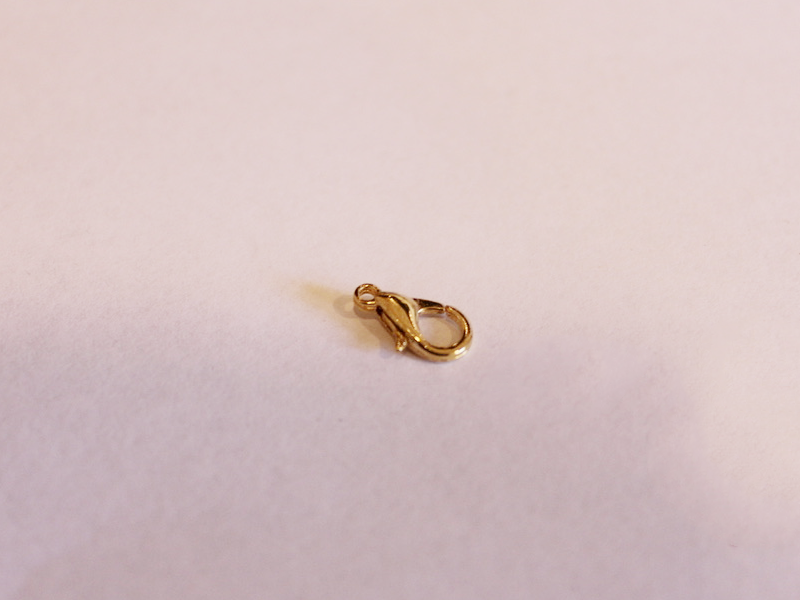
4: A tube bead. I used this gold-tone tube bead.

5: Pliers. I used my round nose and flat nose pliers.
Follow these steps to make your new anklet:
1: Add the tube bead to the chain.
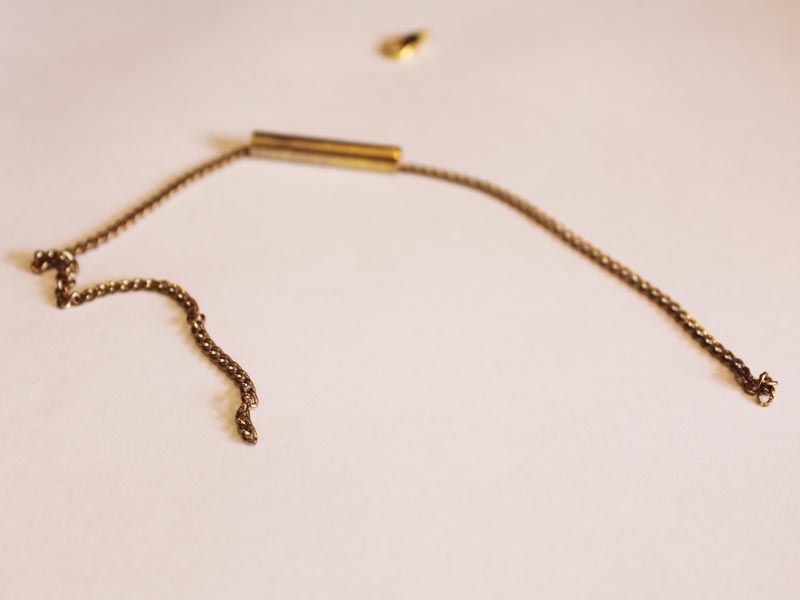
2: Attach one of the jump rings to one end of the chain. Do this by sliding the open jump ring through the end link of chain.

3: Add the lobster clasp to the open jump ring.

4: Close the jump ring to secure the clasp in place.

5: Add the other jump ring to the other side of the anklet and close it to finish it off.

Now your anklet is finished and ready to wear!
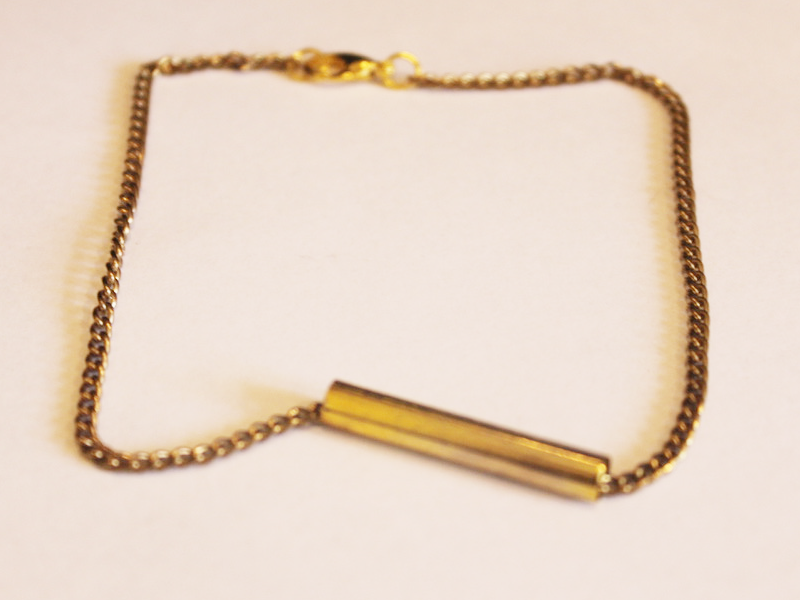
Here’s another one I made using a curved silver bead.
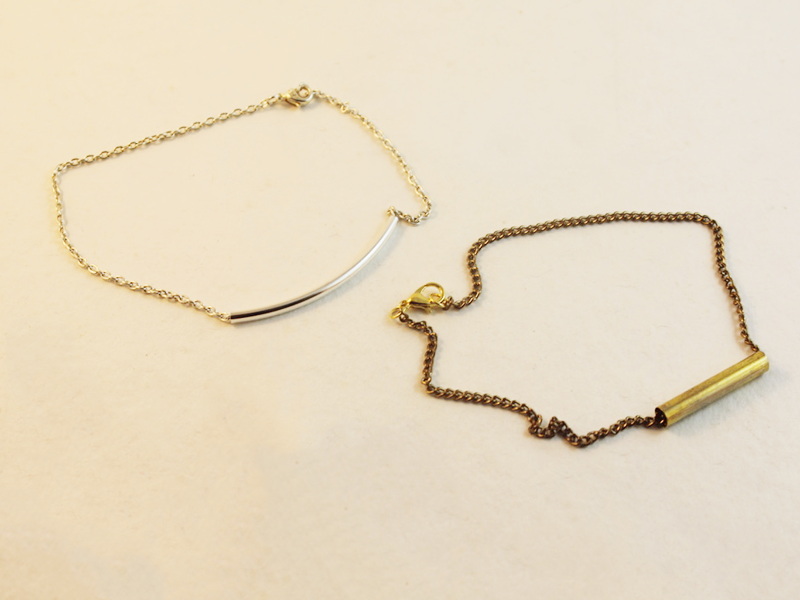
Here is a link so you can buy some curved silver beads if you like that look more!
Note: This article contains affiliate links
-
Want a cute new ring? Here’s a super easy way to make one out of chunky chain.
Are you ready for a super simple DIY? Make this chunky chain ring! I keep reading over and over that chunky chains are trendy right now. This ring tutorial is a fun way to dip your toe into this fun new jewelry trend.
You’ll need just a few tools and materials to make this cool chain ring:Pliers. I used my round nose and flat nose pliers.
1: Pliers. I used my round nose and flat nose pliers.
2: Some chunky chain
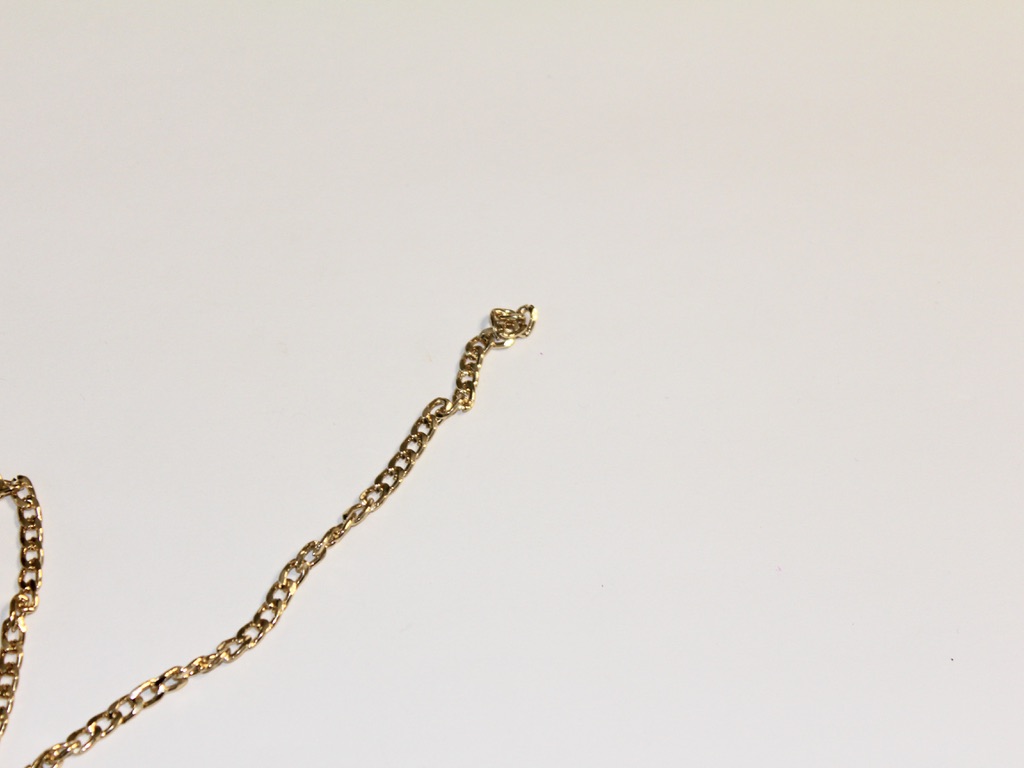
Now you can make your ring:
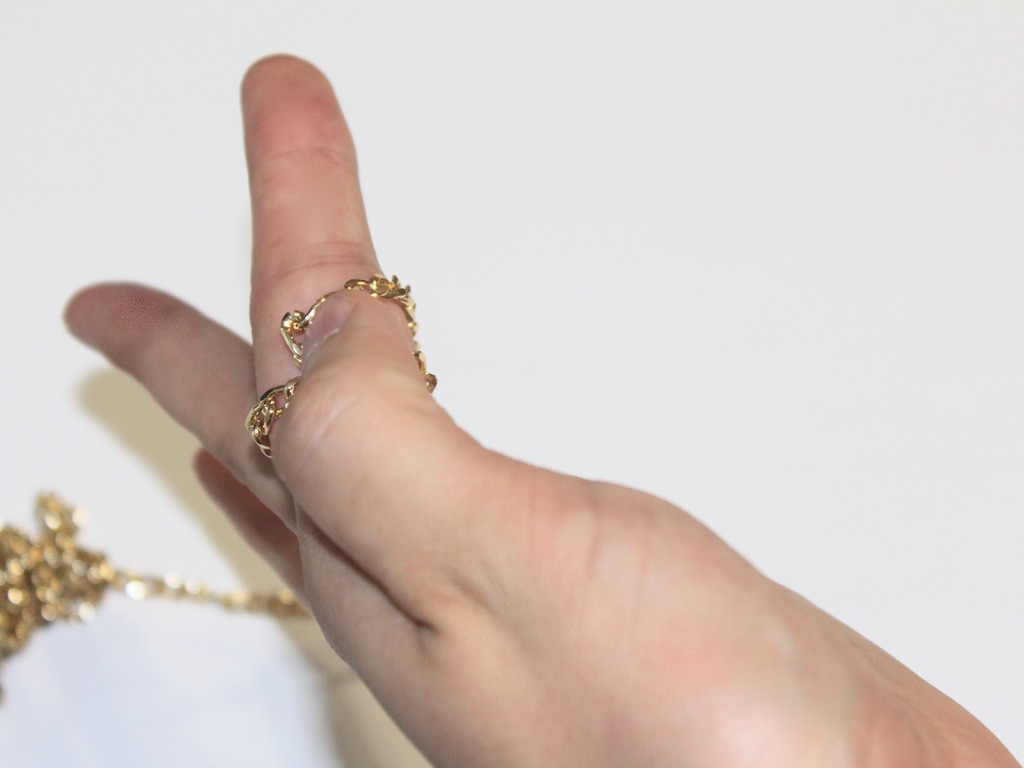
1: Wrap the chain around your finger to get the right size.
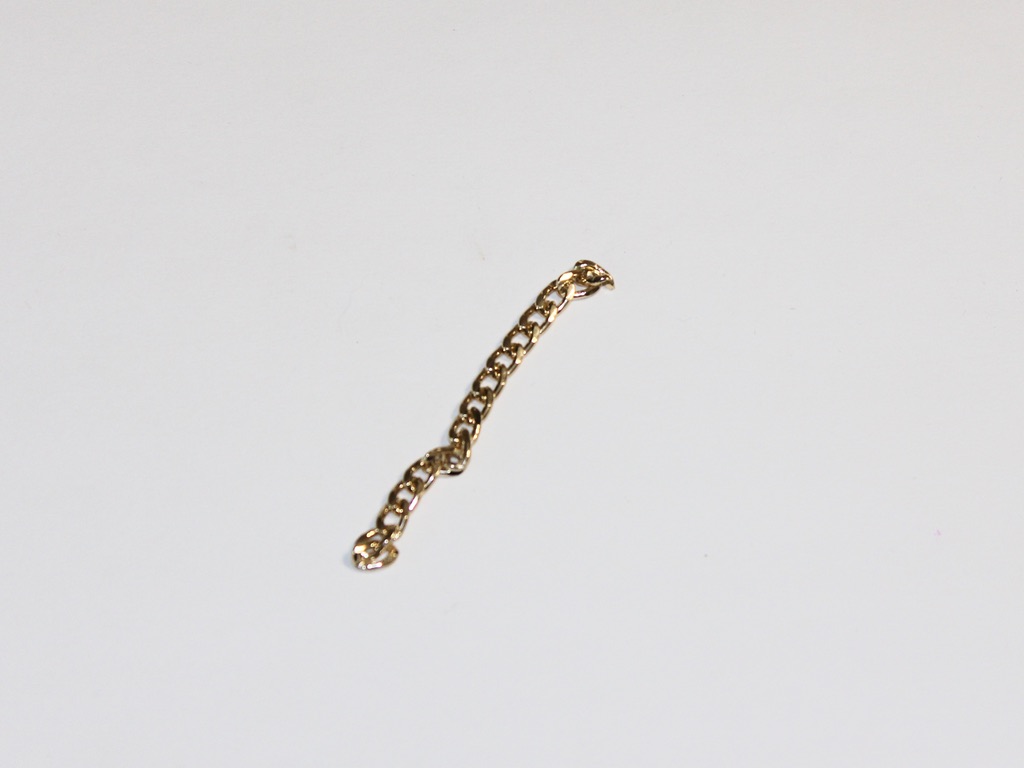
2: Open a link and detatch the short amount of chain that you measured out.
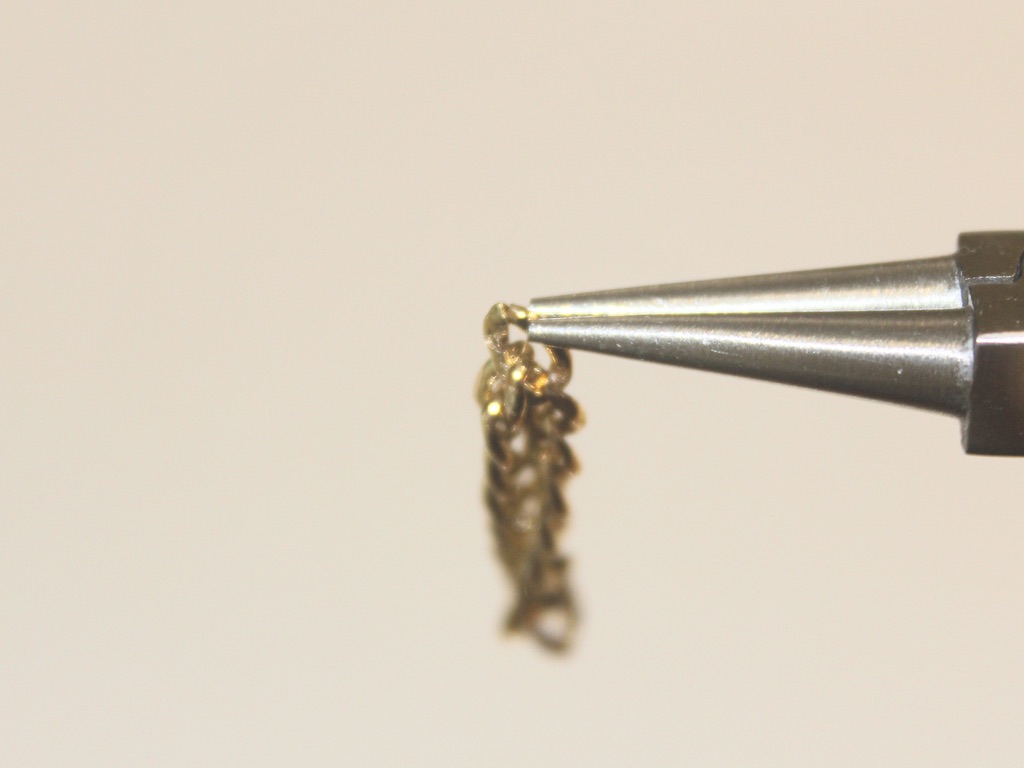
3: Form a loop and put the end link into the open one.
4: Close the link to form a circle.
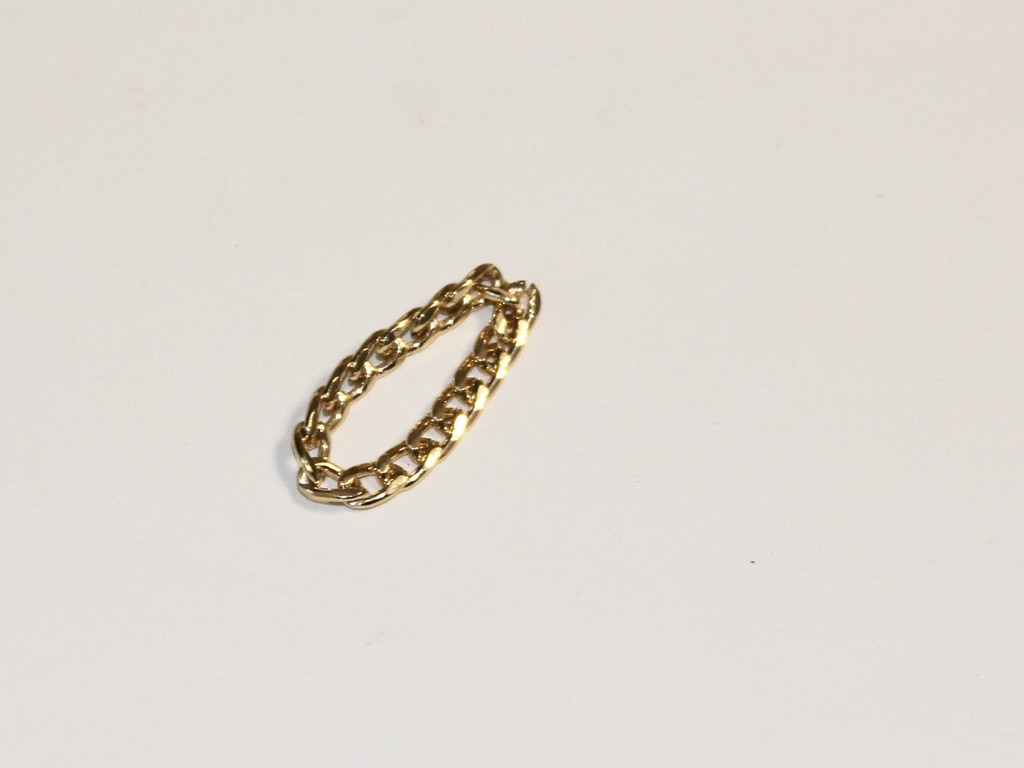
Now your ring is finished! How easy was that?
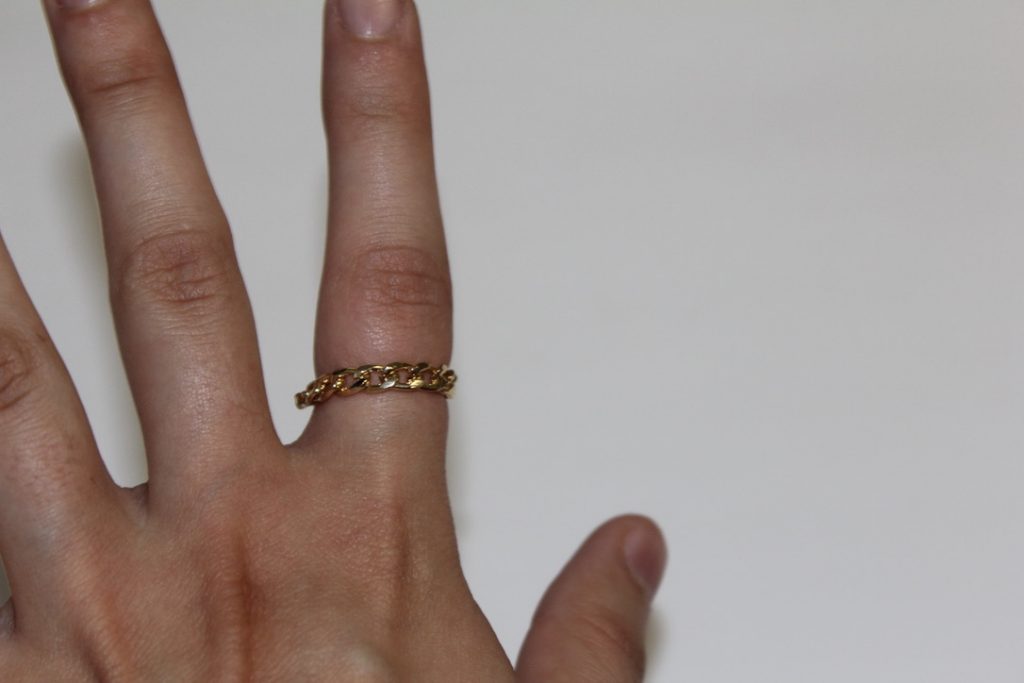
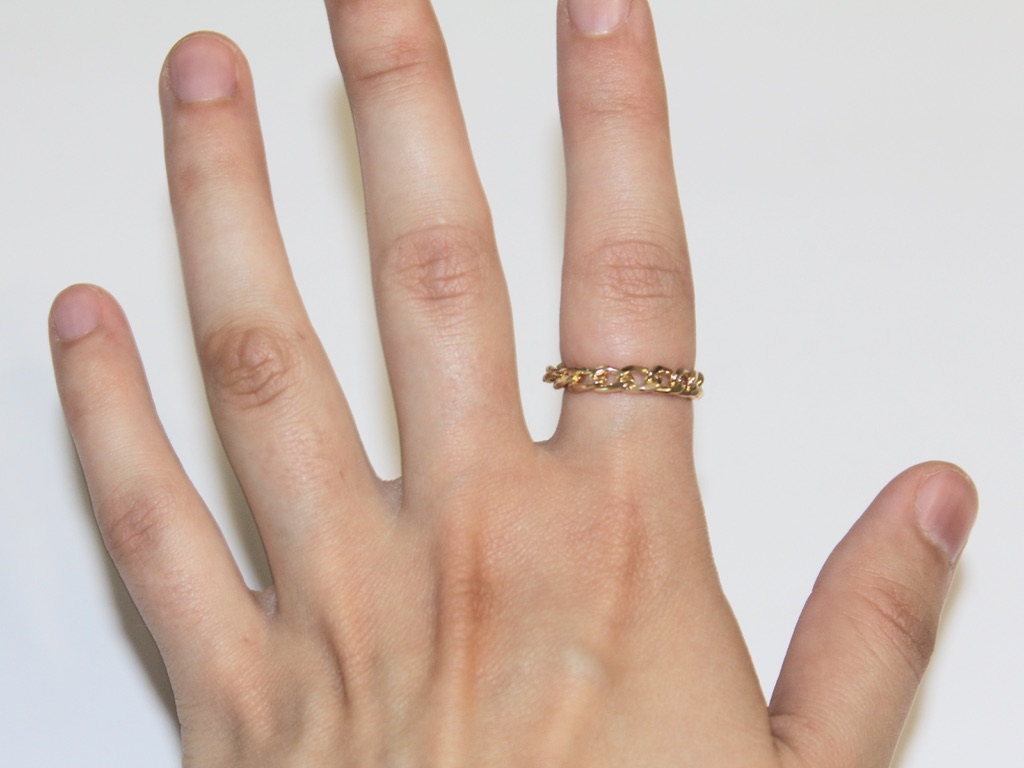
This tutorial contains affiliate links.
-
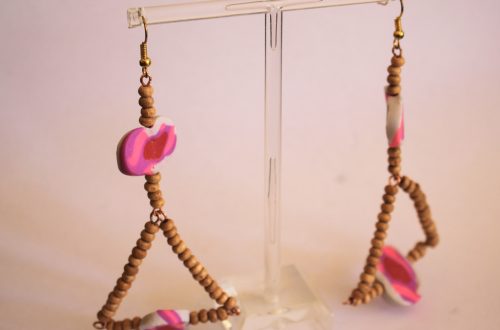
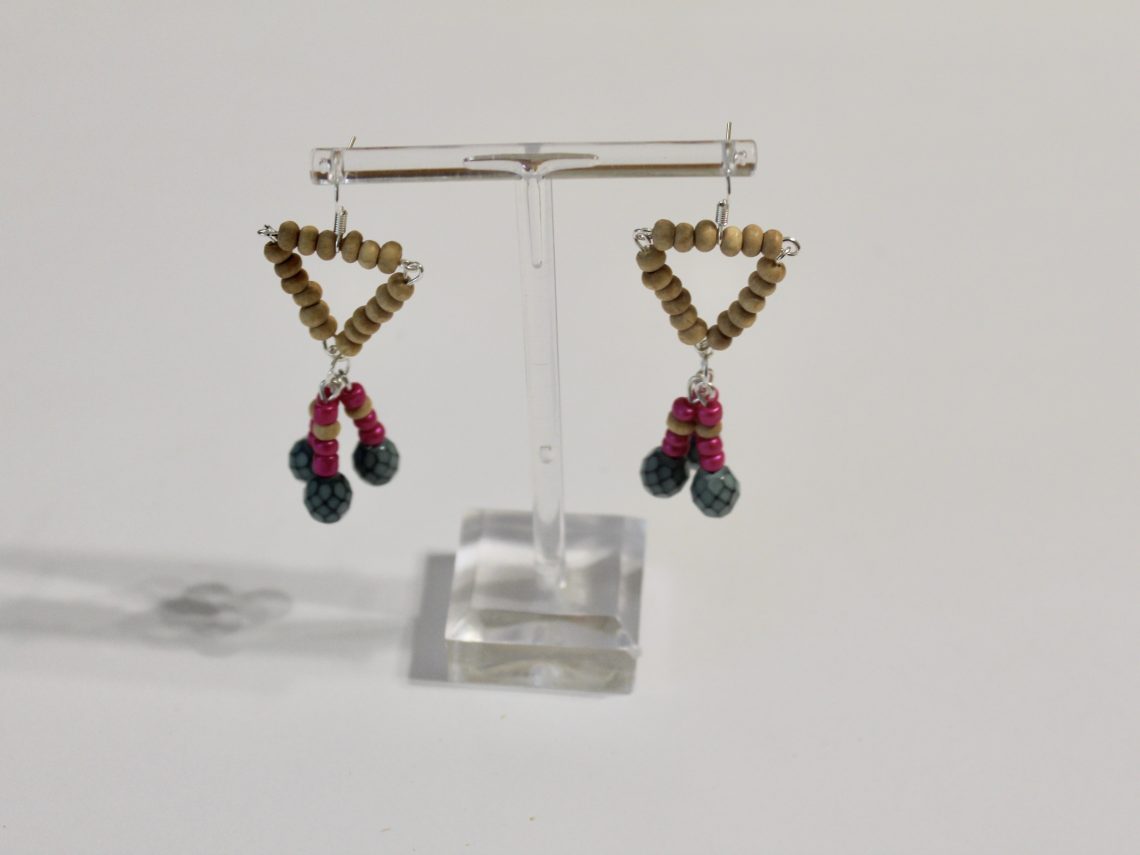
This vid shows you how you can make beaded triangle tassel earrings

This video is a little longer than some of my other video tutorials, but it shows you, in detail, all the steps you need to take to make a cool pair of beaded triangle tassel earrings.
Here are some affiliate links so that you can get all the tools and materials you’ll need to make a similar pair of triangle tassel earrings:
1: Eye pins
2: Earring hooks
3: Head pins
4: Jewelry pliers
5: Wooden beads
6: Pink glass beads
7: Blue faceted beads.
Here are some other tassel earring tutorials:
-
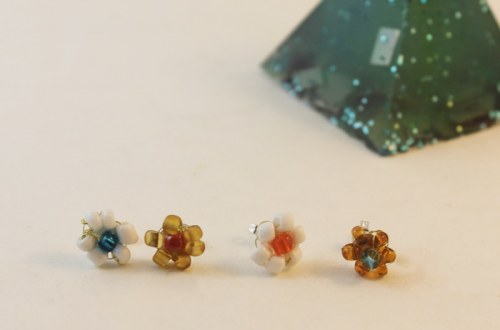
Stud Earrings are Classic! Use some beads to make your own statement studs
These stud earrings are made using some plastic beads and some head pins and they look adorable!
You will need the following tools and materials to make your stud earrings:
1: Two flat bed earring findings.

2: Two large head pins.

3: Two small head pins.

4: Two small jump rings.

5: Two part epoxy glue, I used Araldite.
6: A piece of scrap paper.
7: A skewer.
8. Four beads. I used two large resin beads and two small blue plastic beads.


9: Pliers. You’ll need your cutting pliers, flat nose pliers and round nose pliers.

Follow these steps to make your stud earrings:
1: Add the small beads to the small head pins.

2: Curl the ends of the pins around your round nose pliers to secure the beads in place. Do this for both beads.


3: Add the larger beads to the larger head pins.

4: Bend and trim the pins so that the pins protrude around 1cm from the bead.

5: Loop the ends of the pins using the round nose pliers.


6: Attach the small beads to the larger ones using the small jump rings.


7: Squeeze out the glue in equal parts onto the scrap paper and mix with the skewer.
8: Add the glue to the earring posts and place them on the backs of the large beads and leave them to dry.


Once the earrings are dry you can wear them! How cute are they?!

Note: This article contains affiliate links
-
I keep hearing that chunky chain necklaces are trendy right now… here’s how to make a gold chunky chain necklace that makes a statement.

You might have seen our other tutorial that shows you how to make a chunky chain necklace. Well this one is a little different. It uses two gold chunky chains to make a cool statement. Please note that this tutorial contains affiliate links,
You’ll need these materials and tools to make your gold chunky chain necklace:
1: Pliers. Flat nose pliers and round nose pliers are the only tools you need to make your chunky gold chain statement necklace.
2: Two pieces of necklace length chunky gold chain.

3: Two large gold jump rings.

http://rover.ebay.com/rover/1/705-53470-19255-0/1?ff3=4&pub=5575554392&toolid=10001&campid=5338626756&customid=5338626756&mpre=https%3A%2F%2Fwww.ebay.com.au%2Fitm%2F250-pce-Brass-Gold-Tone-Open-Jump-Rings-5mm-Jewellery-Findings%2F173217759617%3Fhash%3Ditem2854954181%3Ag%3ACX0AAOSwYJNaqgxG
4: A gold toggle clasp.

Here are the steps you need to make your gold chunky chain statement necklace:
1: Fold the first piece of chain in half.

2: Fold the second chain in half and loop it around the first chain so that they are looped together.


3: Gather the matched chain ends together and secure them by attaching one of the jump rings.

4: Add one side of the toggle clasp and close the jump ring to secure one side of the necklace.

5: Repeat steps 3 and 4 for the other side of the necklace using the remaining jump ring and the other side of the toggle clasp.


Now your statement chunky chain necklace is finished! I think this is such a cool version of the current chunky gold chain necklace trend happening right now.
Here’s what it looks like on:

And here’s a sketch I did on my phone when I had the original idea… how cool is it that you can make sketches and write down your ideas when you’re on the go without any paper?!


Here are some other chunky chain tutorials:
-
Anklets are the coolest!!!!! Here’s how to make a simple chain charm anklet.
This anklet is super simple in design, add a cute charm to a plain chain and you’re ready to go! What kind of charms will you put on your DIY anklet? This tutorial contains affiliate links.
You’ll need the following tools and materials to make your simple chain charm anklet:
1: Some pliers. Use your flat nose and round nose pliers.
2: A piece of chain long enough to fit your ankle.

3: Two jump rings.

4: A lobster clasp.

5: Another jump ring.

6: A charm of your choice. I used an enamel peach charm.

Follow these steps to make your simple charm anklet:
1: Add a jump ring to one end of the chain.
2: Add the lobster clasp to the open jump ring. Close the jump ring to keep the clasp in place.


3: Add another jump ring to the other side of the anklet.


4: Add the remaining jump ring to the top of the charm.
5: Attach the charm to the jump ring that attaches the clasp to the chain.

6: Close the charm jump ring to secure the charm in place and finish off your anklet.

Now it is ready to wear! How cute is this little peach charm anklet? I am really into food and fruit themed jewelry at the moment 🙂

This tutorial contains affiliate links.