Step-By-Step Tutorials
-
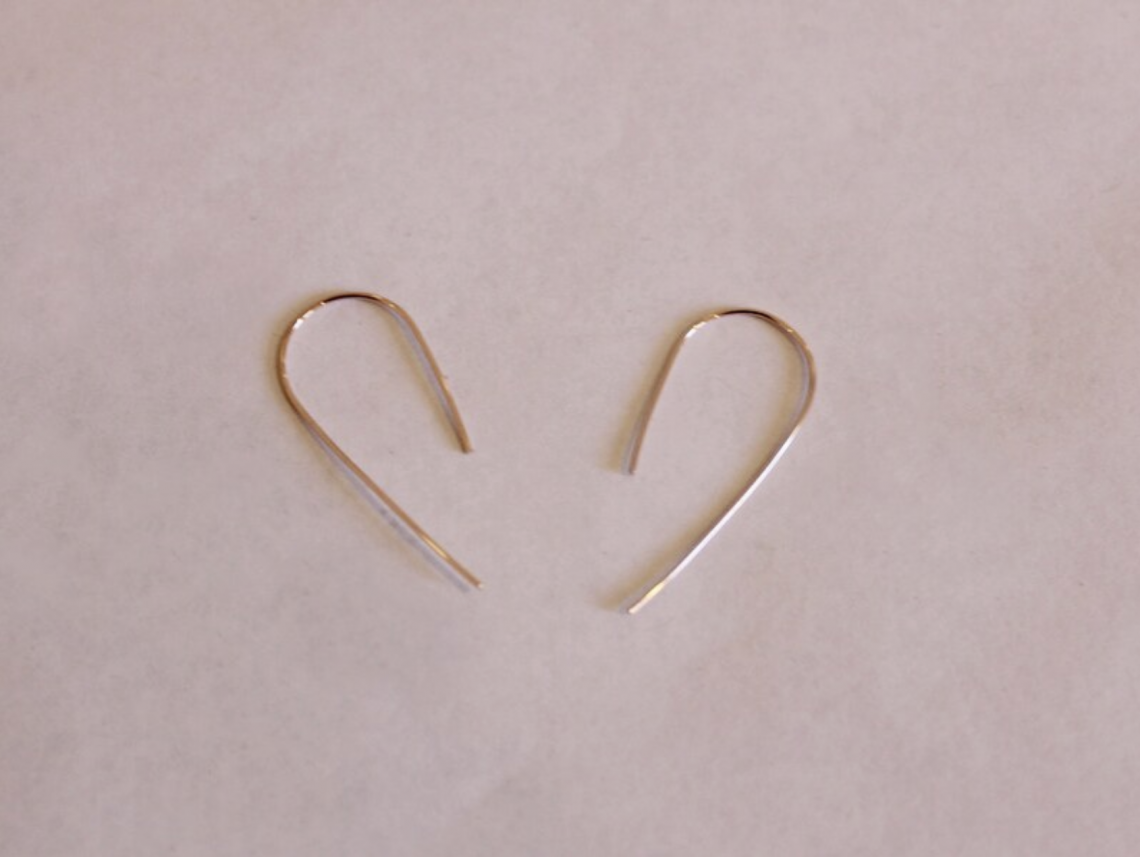
How to make textured arch threader earrings
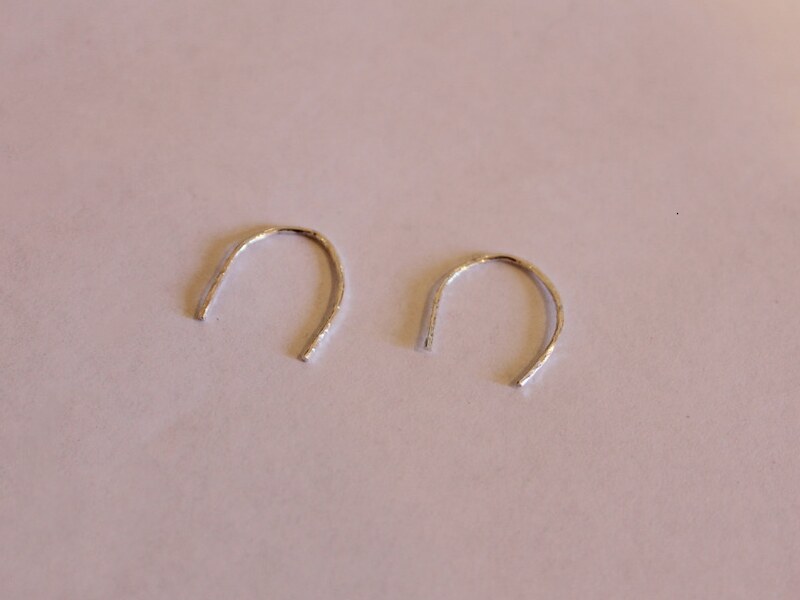
Here’s how to add some extra flare to your threader earrings… add some texture! Use a hammer to add some glittery facets to your wire threader earrings.
You will need the following tools and materials to make your earrings:
1: Cutting pliers to cut your wire to length.

2: Two pieces of wire. I used some sterling silver wire approximately 4.5cm long.
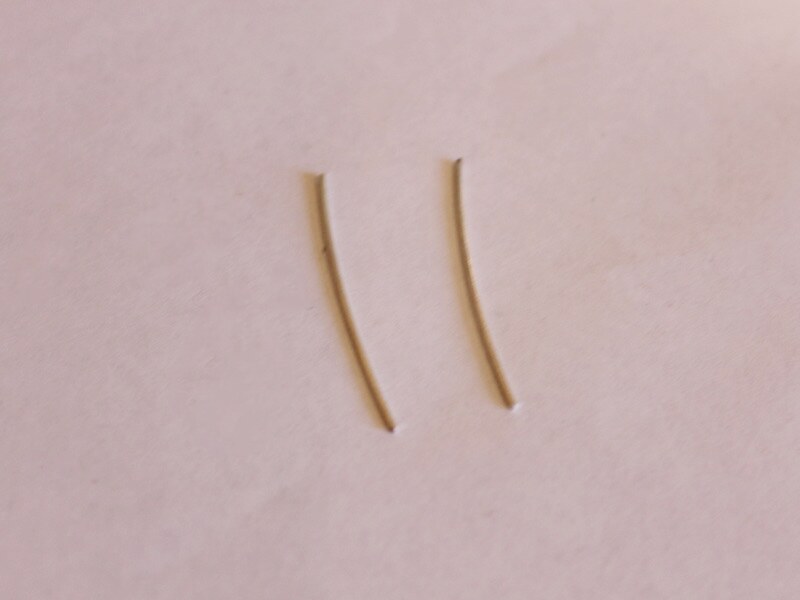
3: A steel block.

4: A hammer.

5: A file.

6: Tape.

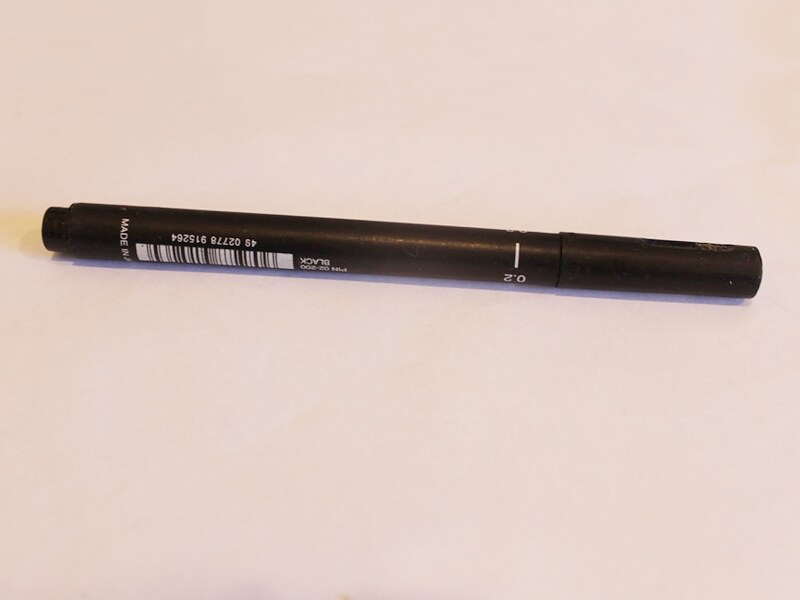
7: A pen or something else that is round to shape your wire around.
Follow these steps to make your textured wire threader earrings:
1: Hammer the wire so that it is textured on all surfaces. Do this by hitting the wire lightly with the edge of the hammer.
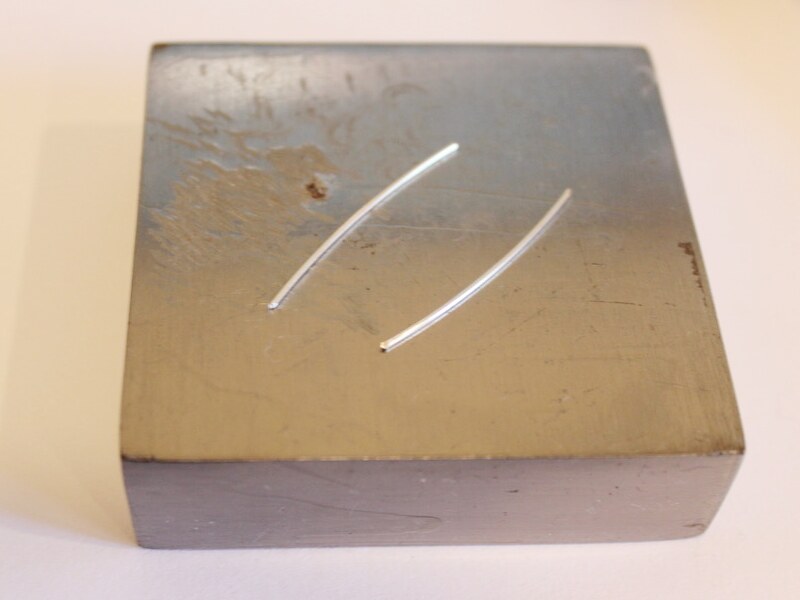
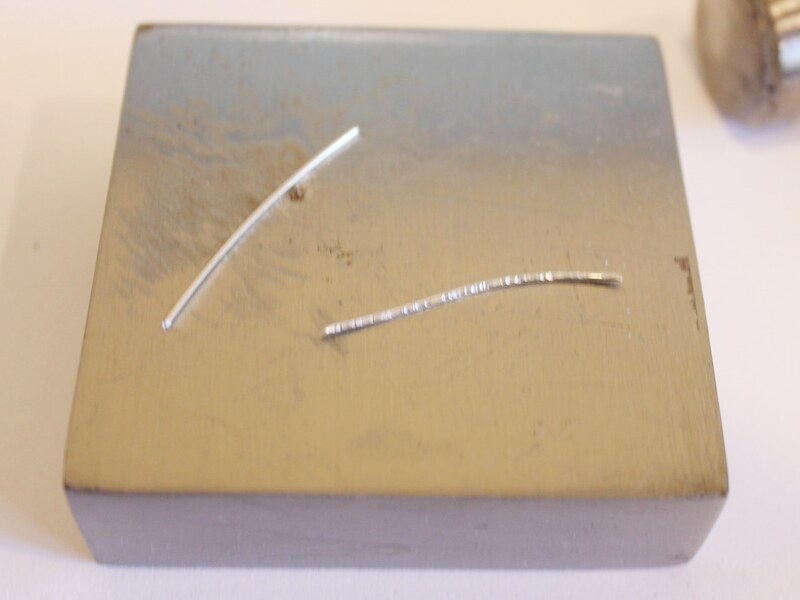
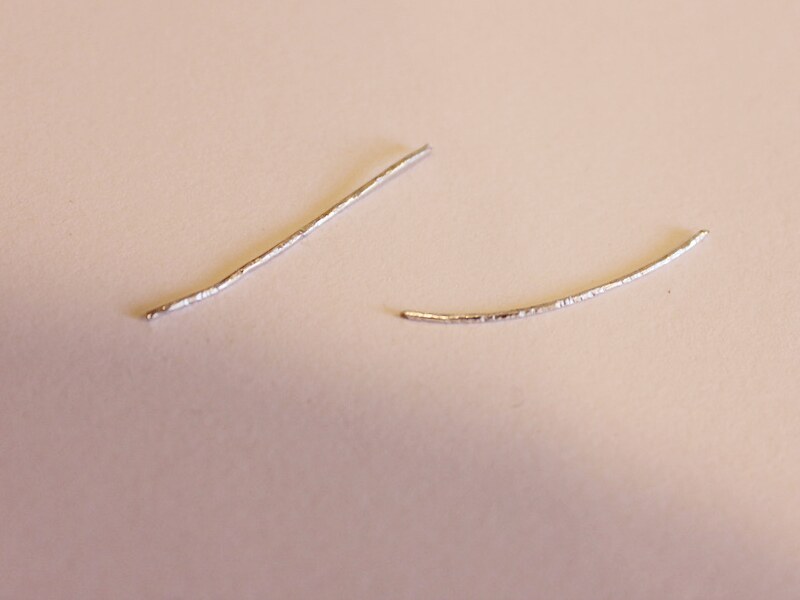
2: Once both pieces are textured line them up and tape them to the pen.
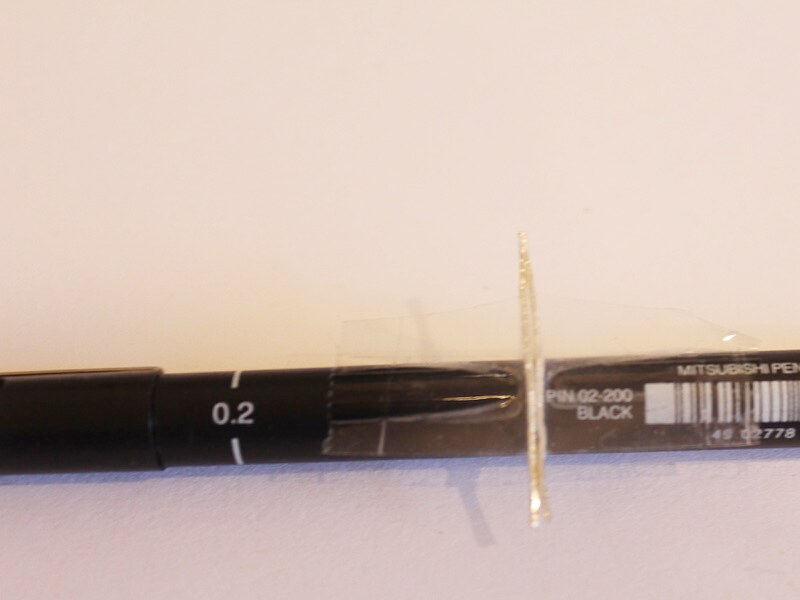
3: Bend the wire around the pen to form a curved arch shape.
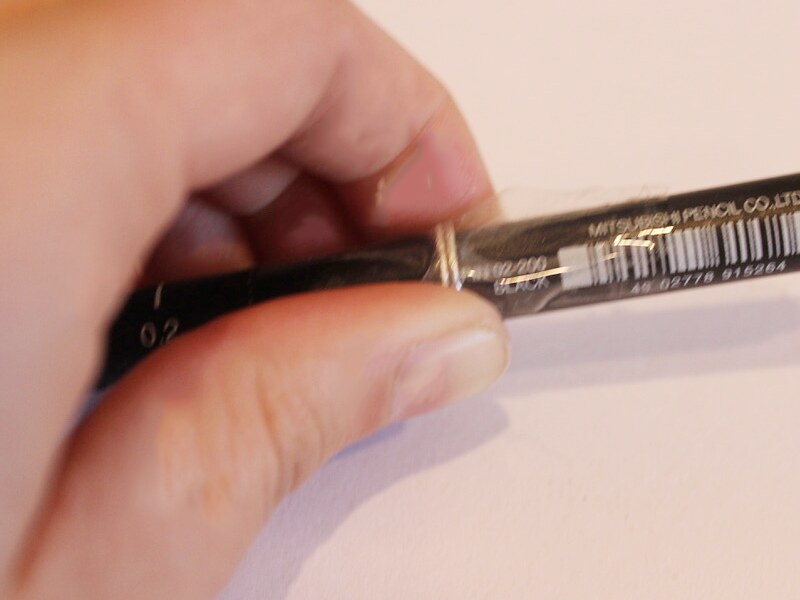
4: Take the wire off the pen.
5: File the ends of the wire until they are smooth.
Once your earrings are filed they are ready to wear! How cute are these little arch threader earrings?!
-
Here’s how to make a beaded body chain for summer!

This body chain looks incredible. Using glass beads and some delicate gold chain it is sure to make a statement with your next summer outfit!
You will need the following tools and materials to make your beaded body chain:
1: Pliers. You will need your flat nose pliers, round nose pliers and cutting pliers to make this body chain.

2: Eight glass beads. I used these blue beads.

3: Eight eye pins.

4: Five jump rings.

5: Two lobster clasps.

6: A necklace length piece of chain.

7: Another piece of chain long enough to fit around your waist (plus another 10cm).

Follow these steps to make your beaded body chain:
1: Add the beads to each of the eye pins.

2: Bend each of the pins to form a right angle.

3: Create a loop at the end of each pin to secure the beads in place.


4: Attach all the beads together to form a beaded chain.


5: Attach the beaded chain to the middle of the shorter piece of chain.

6: Add a jump ring to one side of the short chain.

7: Attach one of the lobster clasps to the open jump ring and close the ring to secure the clasp in place.


8: Add another jump ring to the other side of the necklace chain.

9: Add one end of the long chain to the bottom of the beaded section.

10: Create a loop with the long chain, attach approximately 10cm from the end of the beaded section using one of the jump rings.


11: Split the long loop in the middle (this will be the back of the body chain).

12: Add a jump ring and clasp to one side of the long loop.

13: Add the last remaining jump ring to the other side of the body loop to finish it off.

Now it’s finished and ready to wear! How fun?!

-
Here’s another way to make threader earrings

So we’ve already had a couple of tutorials that show you how to make square top threader earrings, which you can find here and here. So here’s one that shows you how to make threader earrings with a curved top.
You will need the following tools and materials to make these earrings:
1: Pliers (you will need cutting pliers to cut your wire).
2: Two pieces of wire the same length. I used some rose-gold fill wire. Mine were approximately 8.5cm long.

3: A pen or something else that is round to bend your wire around.
4: Tape.
5: A file.
Follow these steps to make your curved threader earrings:
1: Line up the ends of the wire and tape it to your pen.

2: Gently push the wire around the pen until you have the shape you like.


4: Take the earrings off the pen.

5: Use the file to smooth down the ends of the earrings so that they are the same length.
Once you have finished filing your earrings are finished and ready to wear! Who thought it would be so easy to make such delicate and elegant earrings.
You can find another way to make curved wire threader earrings here.
This tutorial contains affiliate links.
-
Here’s how to make your own shell stud earrings! So cute for summer!!!
These shell studs are simple to make and will defs be your summer staple (or perfect for bringing some summer vibes to the winter months).
You’ll need the following tools and materials to make your shell stud earrings:
1: Two shells. Look for shells that have a flatish base to glue your stud onto. I used these mismatched shells that I found a while ago (If you can’t find any try buying some, but I think that making earrings with shells you have found yourself is more special!).

2: Blu tack. You’ll need this to keep your shells still while the glue is drying.

3: Two earring posts (and earring backs).

4: Araldite Glue.

5: A Skewer.

6: A piece of scrap paper for mixing glue on.

Follow these steps to make your earrings:
1: Pop your shells onto the blu tack with the underside exposed.

2: Squeeze out the glue in equal parts and mix it using the skewer.



3: Add glue to each of the shells and the tops of the earring posts. Place the posts onto the shells and leave them to dry.


4: Once the earrings are dry they are ready to wear! How easy was that?!

Here’s another pair I made using a matching pair of shells (as matching as unique shells can be).

Another tip: If your shells are looking a bit dull and dusty rub them with a soft cloth and a little bit of cooking oil (I used peanut oil because it was in the kitchen) to give them back their lustre!
-
Get the look without the pain! Make this faux double piercing earring.

Do you like the look of earrings made for two piercings but don’t want to get any new holes? Why not make this faux double piercing earring?
You will need the following tools and materials to make this earring:
1: Pliers. You will need your flat nose pliers and round nose pliers.


2: Araldite glue.
3: A skewer.
4: A scrap piece of paper.
5: One clip on earring finding.

6: One earring post.

7: One butterfly back.

8: Two jump rings.

9: A small piece of chain.

10: Glue on charms. I used a piece of acrylic and a couple of rhinestones.


Follow these steps to make your faux double piercing earring:
1: Squeeze out the glue in equal parts onto the scrap paper.
2: Mix the glue with the skewer.
3: I glued one of the rhinestones onto the acrylic piece first.


4: Glue the rhinestones onto each earring. Make sure you leave the charm loop exposed on the clip on earring finding.


5: Set the earrings aside to dry.

6: Once the earrings are dry add a jump ring to the butterfly back. Slide one end of the chain onto the open jump ring and close it to secure the components together.


7: Add the remaining jump ring to the loop on the clip on earring.

8: Secure the other end of the chain to the clip on earring and close the jump ring to secure the earrings together.

Once your earrings are connected with the chain they are ready to wear, pop the earring post into your piercings and clip the other end onto the side of your ear! How cute?!

-
Here’s another lariat tutorial, and it’s a great one! Make this triangle lariat!
This triangle lariat is adorable and special! Here’s how to make your own.
You will need the following tools and materials to make your necklace:
1: Pliers. You will need your flat nose pliers and round nose pliers.
2: Two long pieces of chain to fit around your neck.

3: One shorter piece of chain.

4: Five jump rings.


5: A lobster clasp.

6: Three eye pins.

7: One head pin.

8: Beads. I used these bronze colored e-beads.

Follow these steps to make your triangle lariat necklace:
1: Add beads to each of the eye pins.

2: Bend each eye pin to form a right angle to the beaded section.

3: Loop the end of each pin to secure the beads in place.


4: Add the beads to the head pin. Bend the pin to form a loop to secure the beads in place.


5: Add the small eye pin charm to the shortest chain.

5: Attach the eye pins together to form a chain.


6: Attach the ends of the beaded chain to create a triangle.

7: Use one of the jump rings to attach one piece of long chain to one side of the triangle, so that it points down.


8: Attach the other long piece of chain to the other side of the triangle.


9: Attach the short chain to the bottom of the triangle.


10: Attach the remaining jump rings to the ends of the long pieces of chain and attach the lobster clasp to finish the lariat necklace.


Here’s another triangle lariat design I made using silver chain and some orange and yellow glass beads.


-
Here’s another way to use ribbons in your jewelry!
This necklace is made using velvet ribbon to form the chain, finished off with a cute rhinestone charm!
You will need the following tools and materials to make your necklace:
1. Pliers. You will need your round nose and flat nose pliers to make your necklace.
2: Scissors to cut your ribbon to length.

3: A ribbon crimp end.

Tradico® 600 Pieces Ribbon Ends Flat Clamp Crimp for Jewelry Finding Accessories
4: A ribbon. I used this velvet ribbon.

5: A jump ring.

6: A charm. I used this rhinestone charm that I took off a pair of old earrings that weren’t my style any more.

Follow these steps to make your ribbon necklace:
1: Cut your ribbon to length. Make sure it is long enough to fit around your head when folded in half.
2: Hold the two ends of the ribbon together. Fold your ribbon so that both sides of the velvet face the same direction.

3: Secure the ends of the ribbon together with the flat crimp. Squeeze the crimp closed using the flat nose pliers.


4: Add the jump ring to the loop of the crimp end.

5: Attach the charm to the jump ring and close it to secure the charm to the necklace.


Once your charm is in place your new ribbon necklace is finished and ready to wear!

You May Also Like

I keep hearing that chunky chain necklaces are trendy right now… here’s how to make a gold chunky chain necklace that makes a statement.

DIY Beaded Necklace Tutorial: Creating a Stunning Strand for Silver Pendants

This fringe pendant necklace is so bright and fun! Make one as a fun christmas present!
-
Searching for something different? Make yourself some cute collar clips!

Here’s a fun way to use clip on earring findings… Collar clips! Pop these on your favorite shirt collar to jazz it up.
You will need the following tools and materials to make these collar clips:
1: Pliers. You will need your round nose pliers and flat nose pliers.
2: Two clip on earring findings with charm holes at the end.

3: Two cabochons. I used these sparkly resin cabs.

4: Two jump rings.
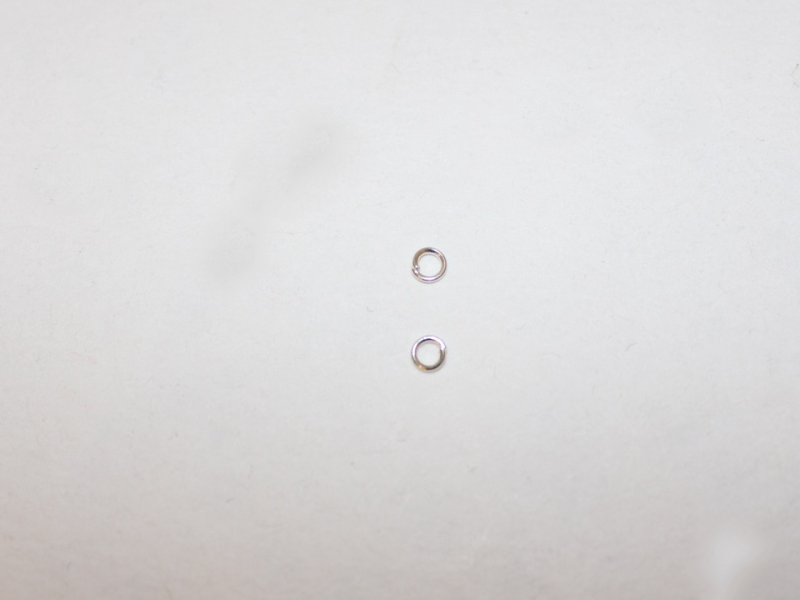
5: A piece of chain, mine was approximately 12cm long.

6: Araldite Glue.
7: A Skewer.
8: A scrap piece of paper.
Follow these steps to make your collar clips:
1: Squeeze out the glue in equal parts onto the scrap paper and mix well with the skewer.
2: Add the glue to the charms and place them onto the clip on earrings, leaving the charm loop exposed.


3: Wait for the charms to dry.
5: Once the clips are dry, add a jump ring to one of the charm loops and attach one end of the chain. Close the jump ring to secure the chain in place.


6: Repeat step five to attach the other clip to the other end of the chain.

Once your chain has been attached to both clips your collar clips are ready to wear! How will you style yours?

-
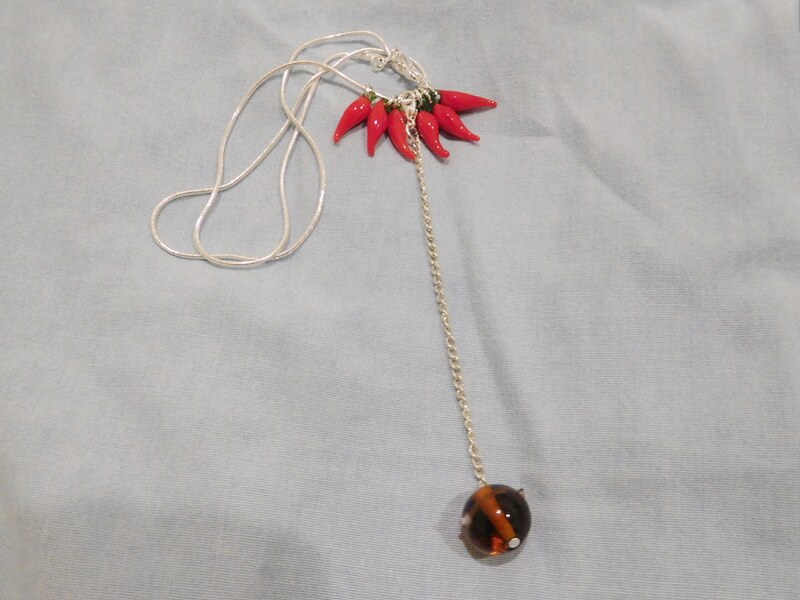
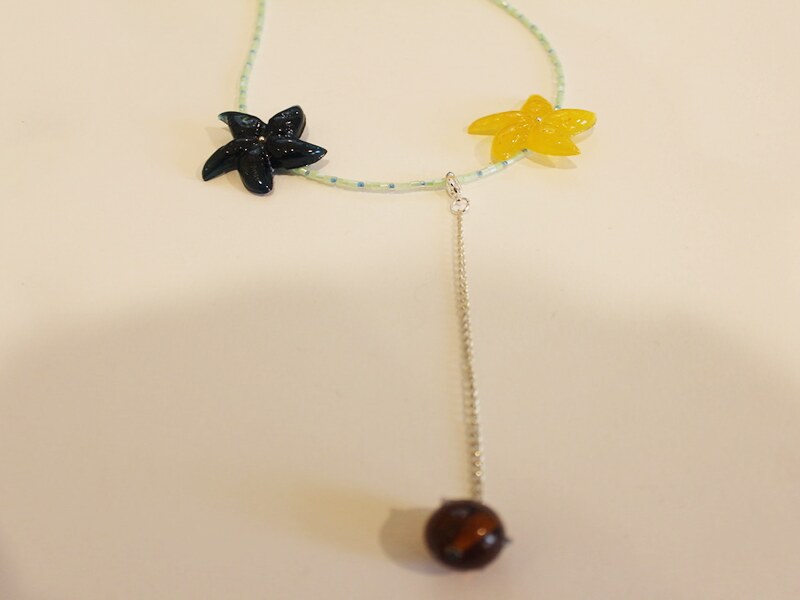
This charm will let you turn any necklace into a lariat!
Do you love the look of a lariat necklace? Here’s a tutorial that will allow you to turn any necklace into a lariat.
You will need the following tools and materials to make your clip on lariat charm:
1: Pliers. You will need your round nose, cutting pliers and flat nose pliers.
2: A piece of chain, mine was approximately 9cm long.
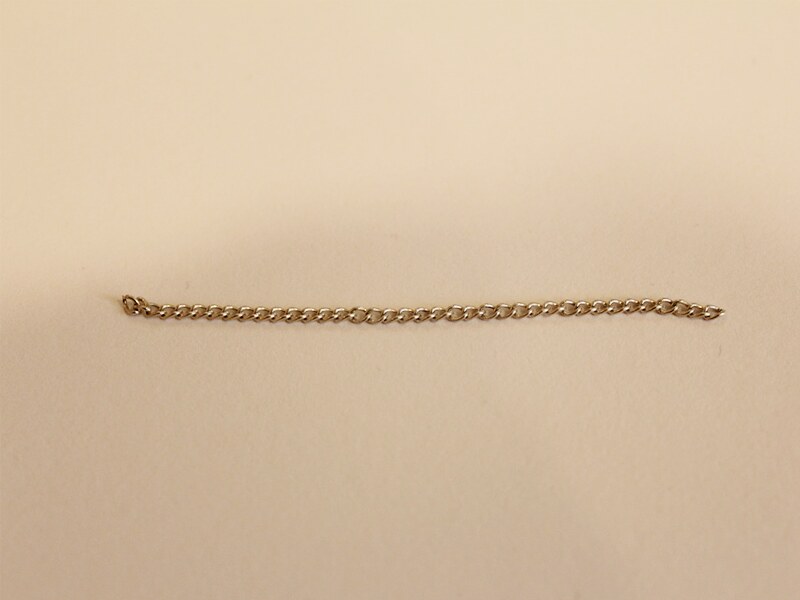
3: A lobster clasp.

4: A jump ring.

5: A head pin.
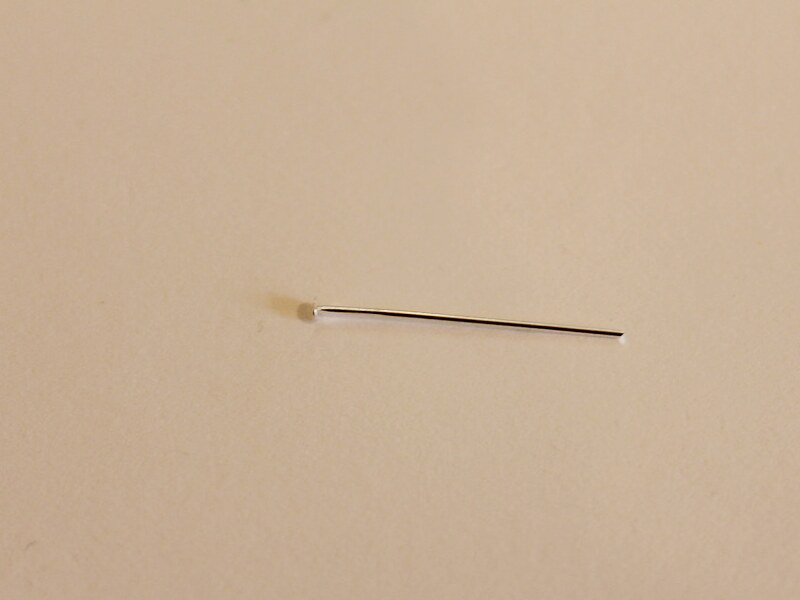
6: A bead of your choice (You can also use a charm). I used this glass bead.

Follow these steps to make your clip on lariat charm:
1: Add the bead to the head pin.
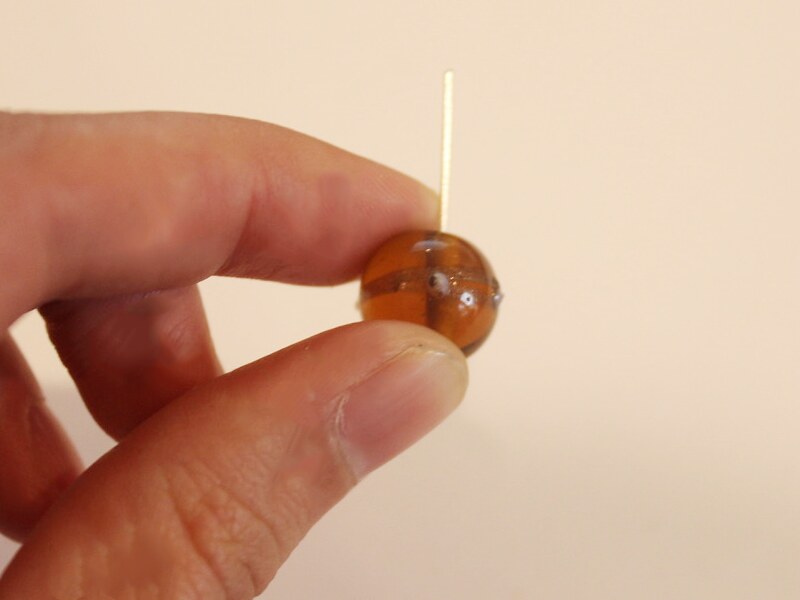
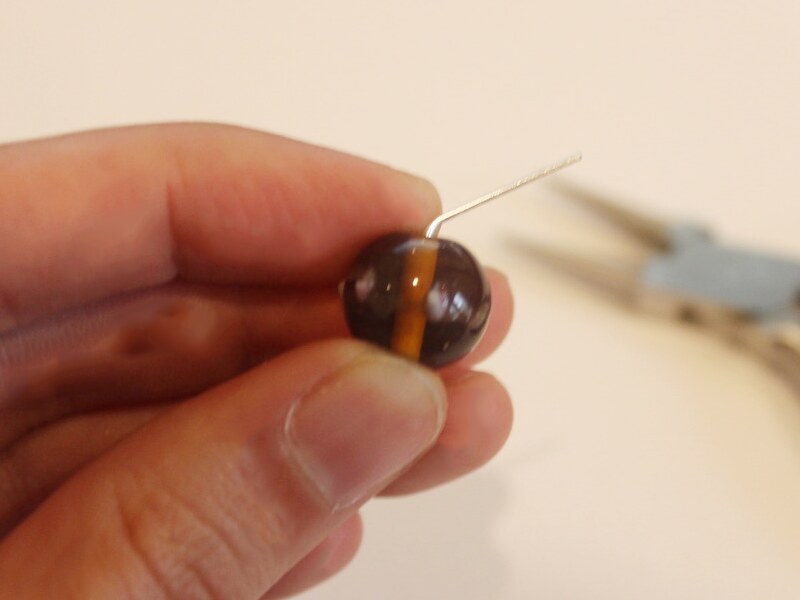
2: Bend the pin to form a right angle.
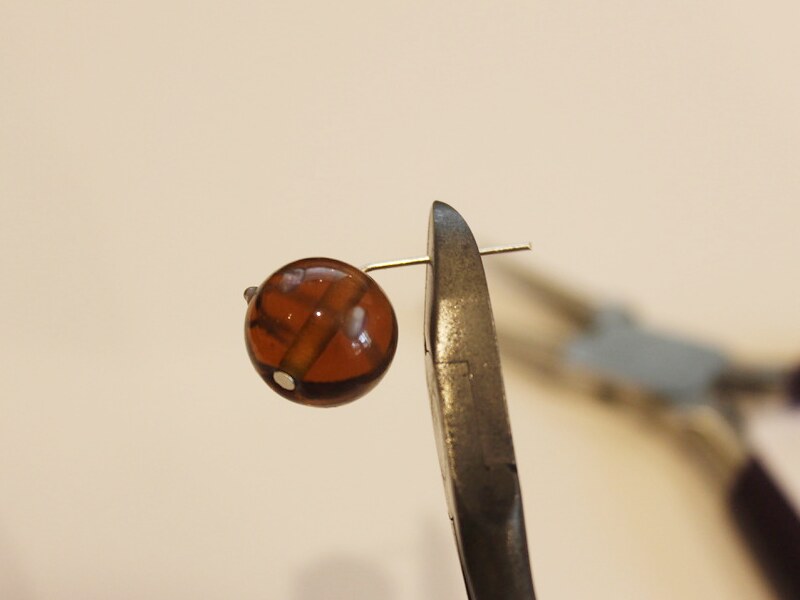
3: Trim the pin so that there is only 1cm left.

4: Create a loop at the top of the pin using the round nose pliers.

5: Attach the charm to one end of the chain.
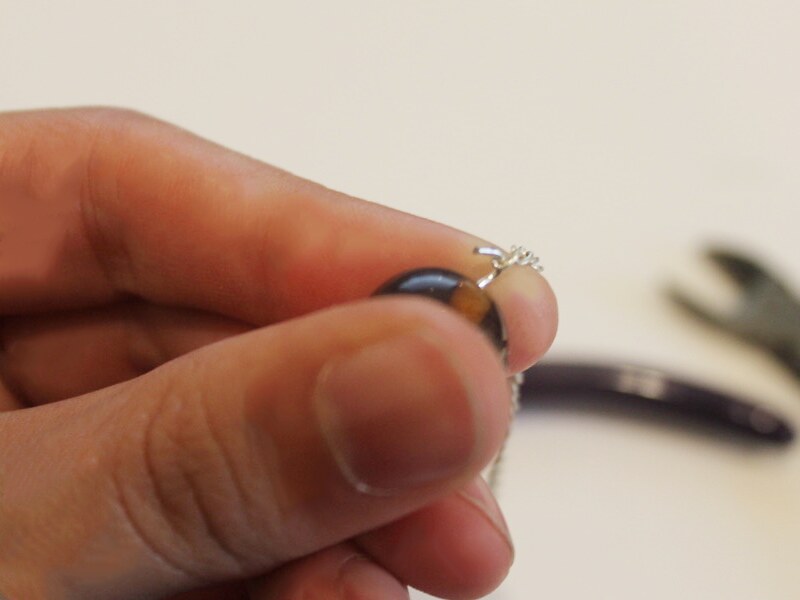
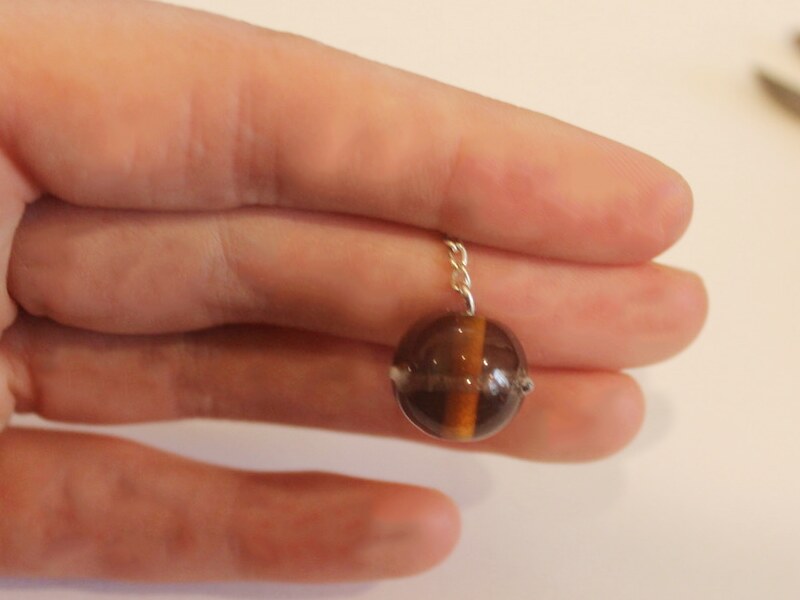
6: Add the jump ring to the other end of the chain and add the lobster clasp.
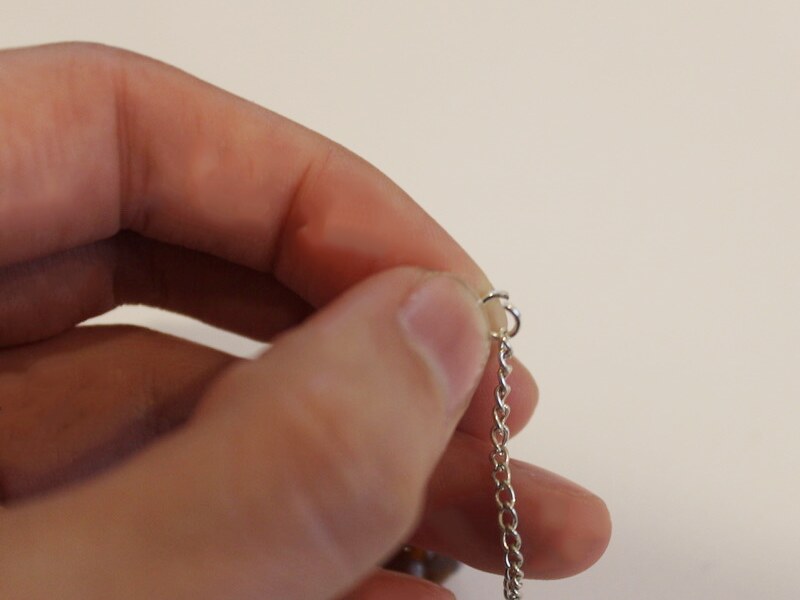
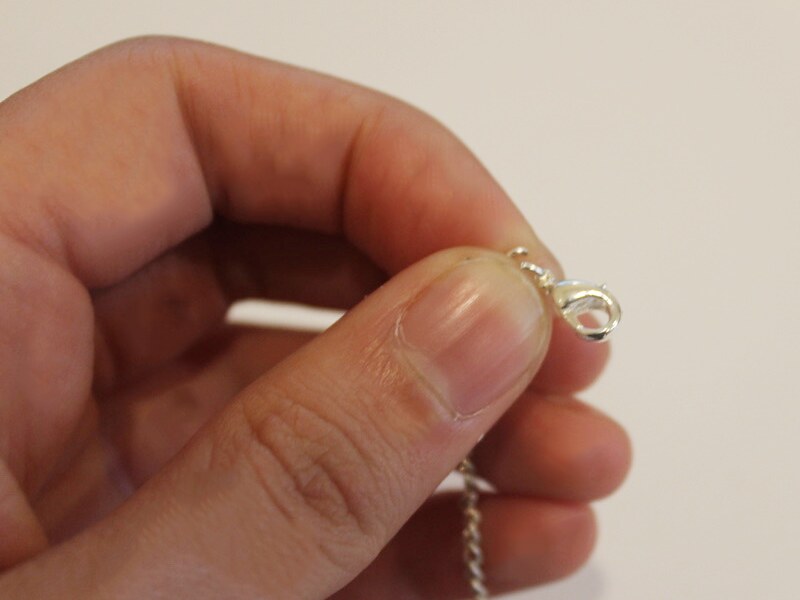
7: Close the jump ring to secure the clasp to the chain.
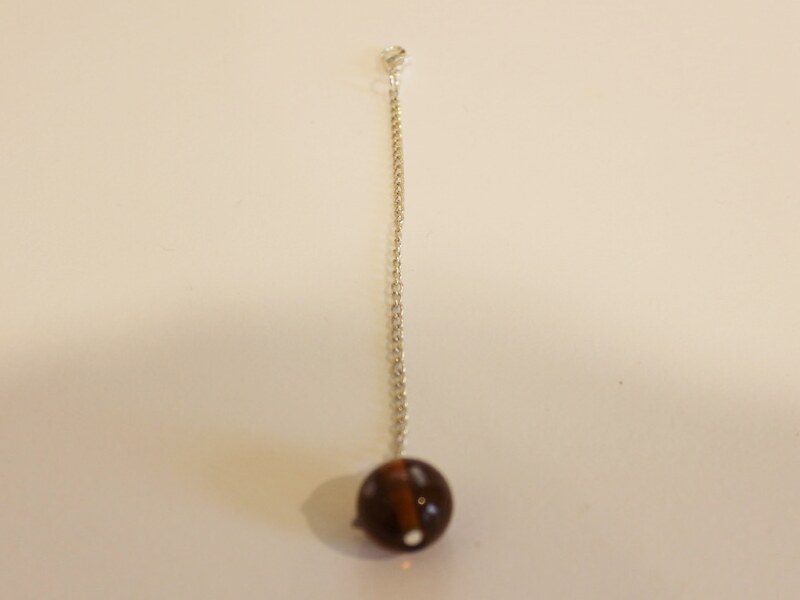
Once the clasp is in place your charm is ready to be attached to all the necklaces in your collection! How will you style your lariat charm?
-
Don’t have pierced ears but want to get in on the statement earring game? Make your own clip on earrings!
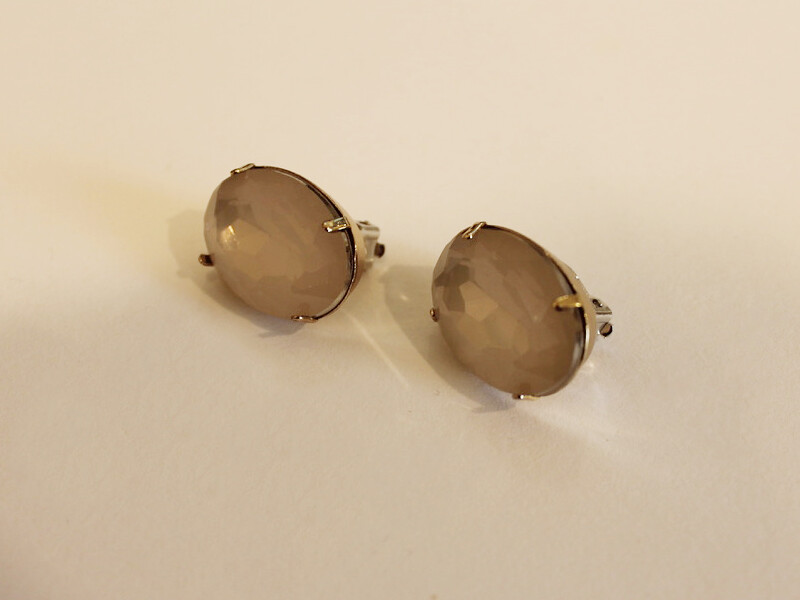
Do you want to get in on the earring game without getting your ears pierced? Here’s how you can make your own clip on earrings!
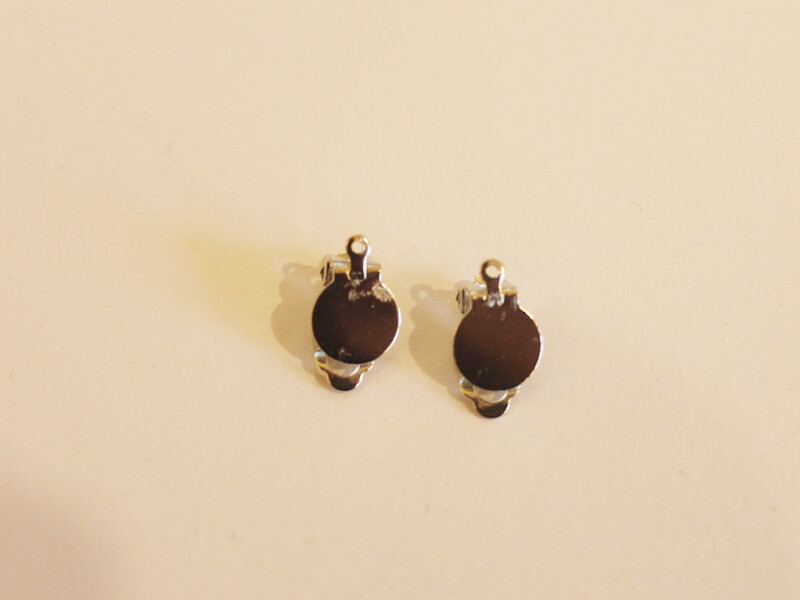
You will need the following tools and materials to make these earrings:
1: Two clip on earring findings.
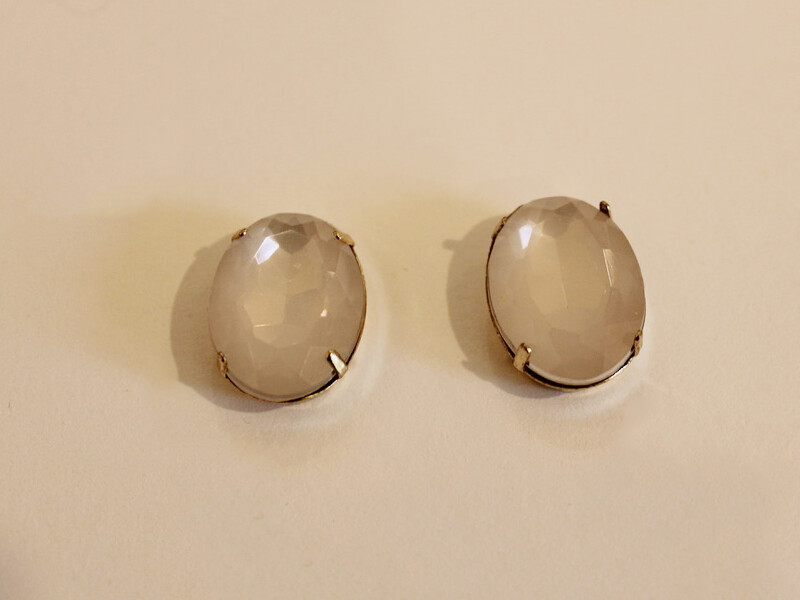
2: Two charms. I used these large pink rhinestones.
3: Araldite glue.
4: A skewer.
5: Scrap paper.
Follow these steps to make your clip on earrings:
1: Squeeze out the glue in equal parts onto the scrap paper.
2: Mix the glue with the skewer.
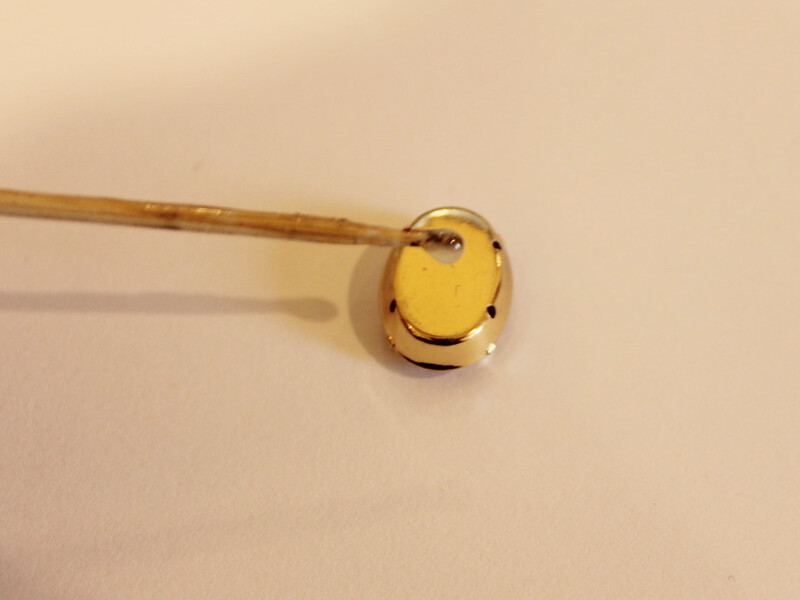
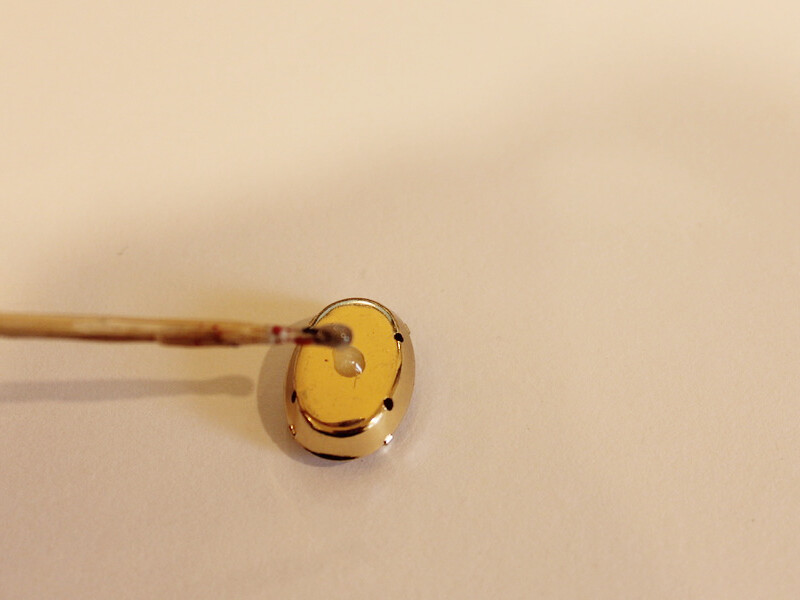
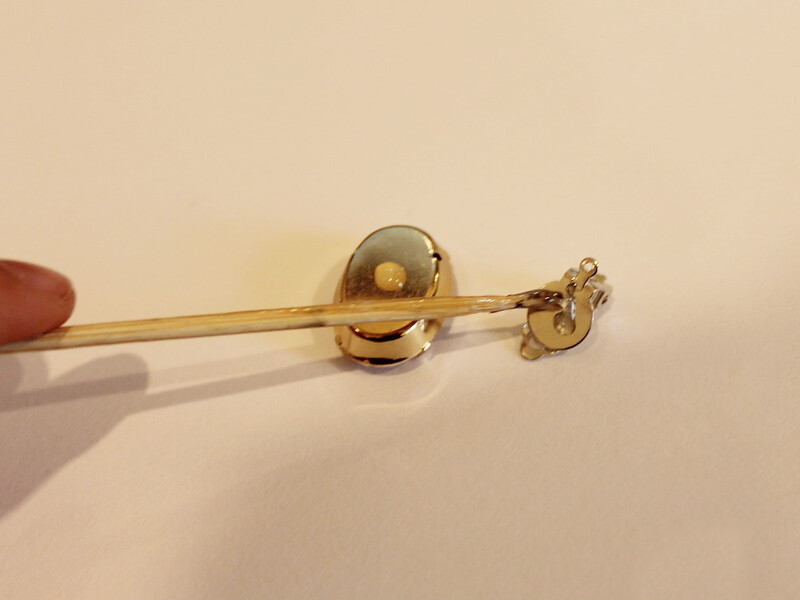
3: Add the glue to the backs of both rhinestones and the clip on earrings. (Open the earrings so that the clip doesn’t get glued shut).
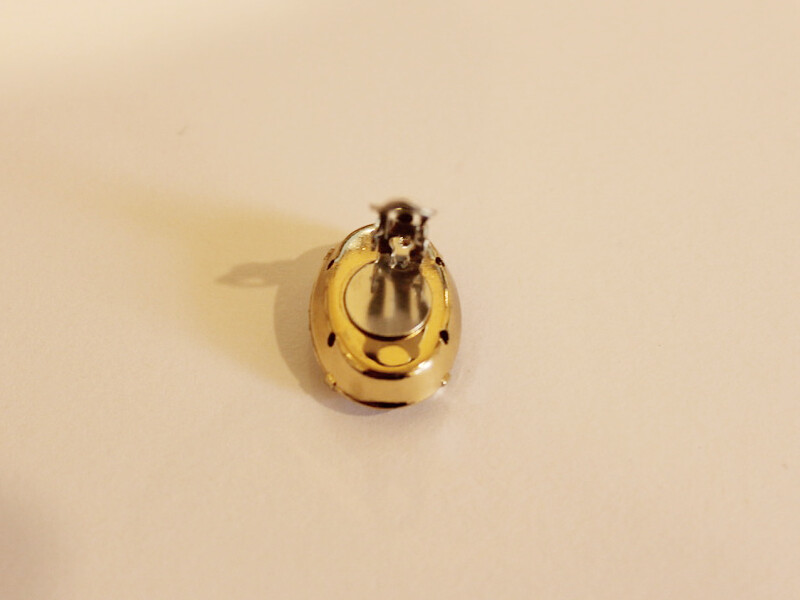
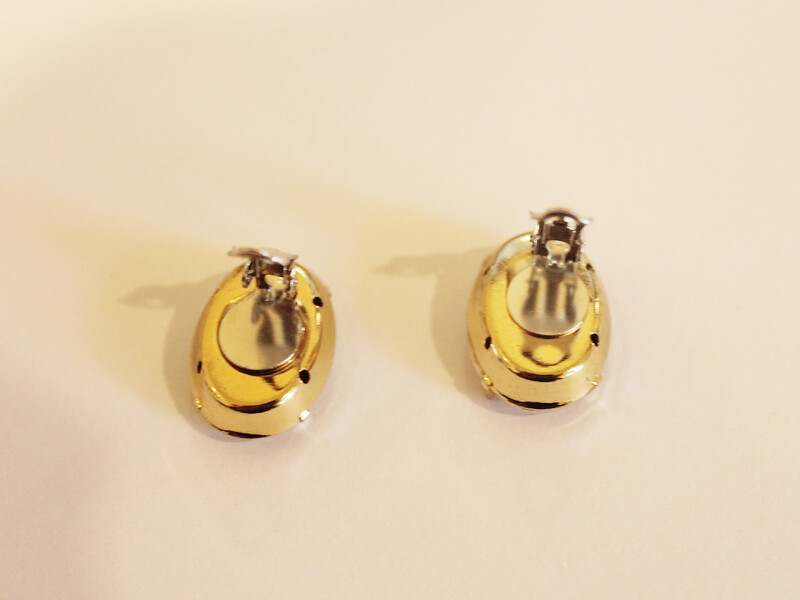
4: Once your earrings are dry they are finished and ready to wear!!!