Step-By-Step Tutorials
-
Here’s Some Cute Finger Bling, Make Yourself A Button Ring!

Do you have any random plastic decorations lying around? Why not use them to make some cute rings? All you need are your fave buttons, a ring finding and some trusty araldite! This tutorial contains affiliate links.
You will need the following tools and materials to make your button ring:
1: A button or plastic cabochon of your choice. I used this pink rose-shaped button, I recommend using something that already has a flat back so you don’t need to go through the hassle of cutting the button loop off.

2: A ring finding.

4: Araldite glue.

5: A piece of scrap paper.

6: A Skewer.

Follow these steps to make your ring:
1: Squeeze out the glue and mix it using the skewer.


2: Add the glue to the ring using the skewer.

3: Place the ring on the back of the button and let it dry. You might need to check it to make sure that the ring doesn’t slide out of place.

Once your ring is dry it is ready to wear! Cute!!

-
This Tassel Necklace Design Is A Chain-Laden Delight!

Want to add some drama to your delicate chain jewelry? Why not try making this pretty chain tassel necklace?
You will need the following tools and materials to make this necklace:
1: Pliers. You will need your cutting pliers, flat nose pliers and round nose pliers.

2: a feature bead of your choice. I used this rough smoky quartz bead.


4: A piece of chain long enough for a necklace.

5: Six short pieces of chain.

6: One large jump ring.
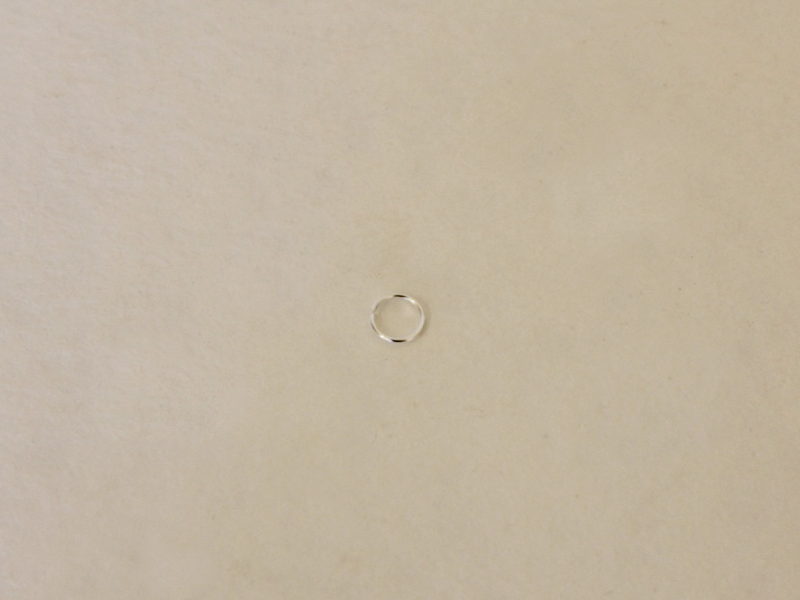
7: Three small jump rings.

8: One lobster clasp.

Follow these steps to make your chain tassel necklace:
1: Add the feature bead to the eye pin.

2: Bend the pin at a right angle to the bead using the round nose pliers.

3: Trim the pin using the cutting pliers.

4: Create a loop with the round nose pliers.


5: Add a jump ring to the closed loop.

6: Add one side of the necklace chain to the open jump ring.

7: Add the other side of the chain to the same jump ring and then close the ring to secure the chain in place.


8: Add all of the smaller chains onto the large jump ring.

9: Add the jump ring with the chains to the bottom of the bead charm.


10: Split the middle of the necklace chain and add a jump ring to one side.

11: Add a lobster clasp to the open jump ring and close the jump ring to secure the clasp in place.


12: Add another jump ring to the other side of the necklace to complete it.

Once that last jump ring is in place your necklace is complete! How cute is this chain tassel necklace? Use this design to show off your favorite gemstones.


Here is another one I made using gold chain and a jasper gemstone bead.

You May Also Like
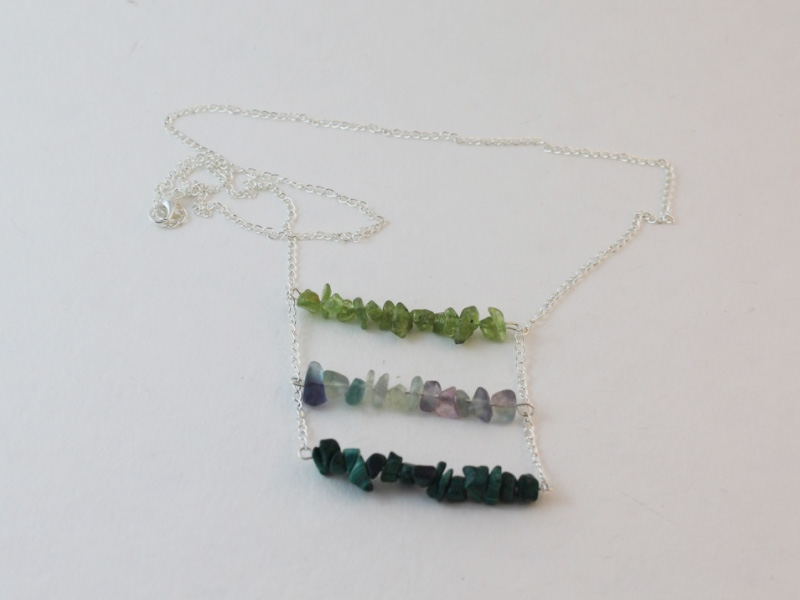
Step it up, here’s How to Make a Triple bar charm necklace.
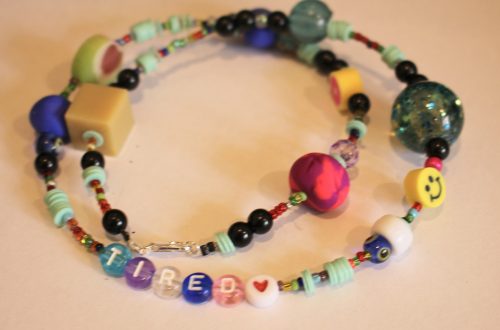
Love the nostalgic craft-core style? If that sounds like you, here’s the perfect tutorial for you to follow.

I keep hearing that chunky chain necklaces are trendy right now… here’s how to make a gold chunky chain necklace that makes a statement.
-
Is your ankle looking too bare? Check out this cool leather anklet tutorial.

Anklets are a lot of fun! Is there a more perfect summer accessory than a flirty little anklet? This anklet design is made with some black leather cord and some bohemian glass beads!
You will need the following tools and materials to make this awesome leather anklet:
1: Pliers. You will need your cutting pliers (to cut your cord), flat nose pliers and round nose pliers to make this anklet.
2: A piece of leather cord long enough to fit comfortably around your ankle.

3: Two leather crimp ends.

4: Two small jump rings.
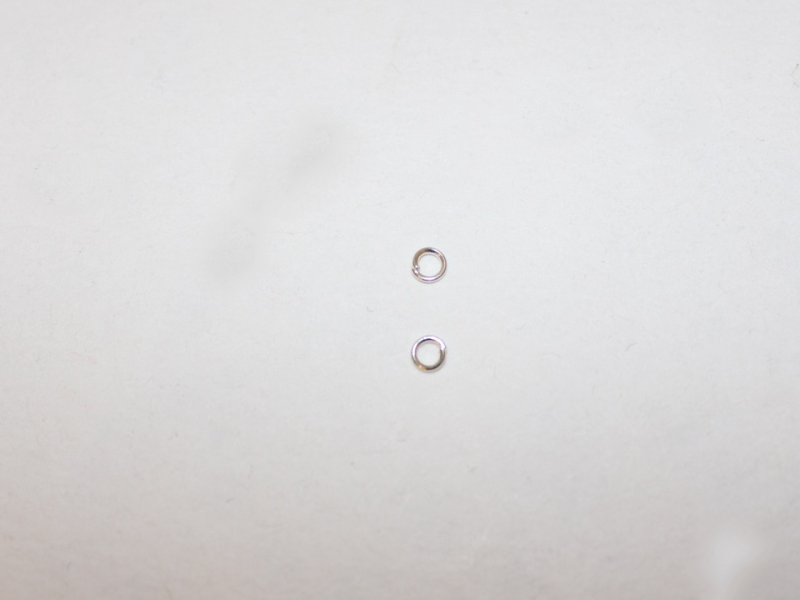
5: One larger jump ring.
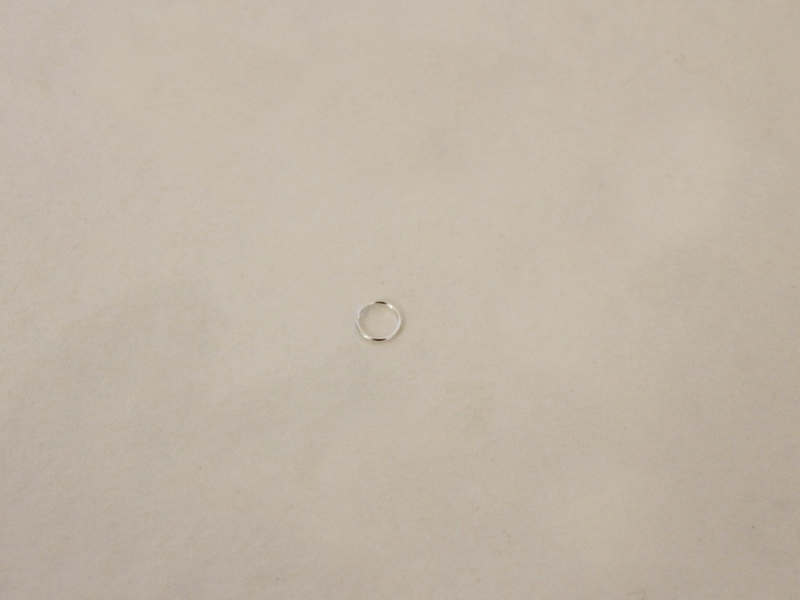
6: One lobster clasp.
7: Two small head pins.

8: Beads of your choice. I used these blue glass beads and two small seed beads.


Follow these steps to make yourself a cute leather anklet:
1: Place a crimp end at the end of the leather cord and get ready to secure it in place.
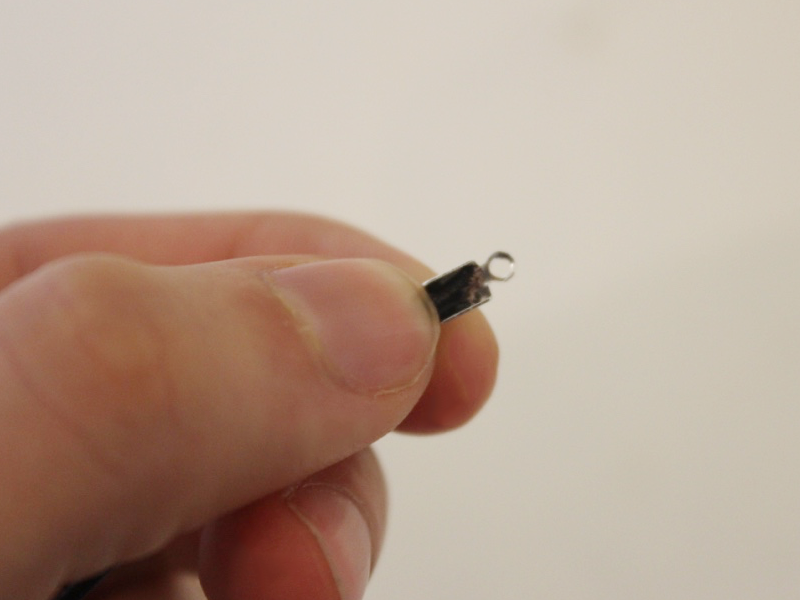
2: Squash one side of the crimp end down using the flat nose pliers.


3: Squash the other side of the crimp down to secure the crimp in place.

4: Repeat steps 2 and 3 for the other end of the leather.

5: Add a jump ring to one end of the leather cord and add the lobster clasp. Secure the lobster clasp in place by closing the jump ring.

6: Add another jump ring to the other end of the anklet.

7: Add your beads to each of the head pins.


8: Bend each pin at a right angle to the beaded section.


9: Using the round nose pliers again, form a loop at the top of each beaded pin to secure the beads in place.


10: Add the beaded head pins to the larger jump ring.

11: Slide the larger jump ring onto the closed one that attaches the clasp to the anklet. Secure it in place by closing it using your pliers.


Once your bead charms are in place your anklet is complete! How will you make this design your own?

-
Make this thin wire ring and give your fingers some delicate bling!

This ring makes use of firm memory wire to create a delicate cocktail ring that is simple to make and a delight to wear.
Follow these steps to make your own delicate thin wire ring:
1: Pliers. You will need your cutting pliers to make this ring.

2: Ring sized memory wire.

3: Araldite glue. I suggest wearing gloves and working in a well ventilated space when gluing.
4: Skewer.
5: A piece of scrap paper.
6: A bead of your choice. I used this handmade polymer clay cube bead.

Follow these steps to make your own elegant thin wire ring:
1: Cut one loop of memory wire using the cutting pliers.

2: Squeeze out some glue and mix it using the skewer on the scrap paper.

3: Add the glue to one side of the opening on the memory wire.

4: Place the glue end into one side of the bead.

5: Add glue to the other side of the ring and place the end into the other side of the bead.
6: Once the wire has been secured in place you may need to add some extra glue to the bead opening to ensure that the ring is secured.

7: Wait for the glue to dry before you wear your ring.

Once the ring is dry it is ready to wear… Looking good!

Here is another ring made with a grey polymer clay bead.


-
Want to give some edge to your wrist-wear? Make this leather beaded bracelet
This bracelet is simple to make but it has a brilliant impact! Made with some black leather cord and some beautiful beads of your choice this bracelet makes a statement. This tutorial is similar to the suede bracelet, but makes use of round leather cord for a cool look.

You will need the following tools and materials to make this leather beaded bracelet:
1: Pliers. You will need your flat nose pliers and cutting pliers (to cut your leather to length).

2: A piece of leather cord long enough to fit around your wrist. The crimp ends and clasp will add some extra length.

3: Two leather crimp ends.
4: Two jump rings.
5: A toggle clasp.

6: Beads of your choice. I used these jade beads. Make sure the beads you choose have a hole large enough to fit on the leather cord.

Follow these steps to make your leather bracelet:
1: Add the beads to the piece of leather.

2: Place a crimp end on one end of the piece of leather.
4: Squash the first side of the crimp using the flat nose pliers.
5: Squash the other side of the crimp end using the flat nose pliers.
6: Repeat steps 4 and 5 for the other side of bracelet.

7: Add a jump ring to one end of the bracelet.

8: Slide one part of the toggle clasp onto the jump ring and secure the clasp in place by closing it using your pliers.

9: Repeat step 8 for the other side of the bracelet.

10: Once the clasp is in place your bracelet is finished! Wear and enjoy.

-
Is There Anything Cuter Than a Bow? Make this Adorable Bow Tie Necklace!

Here’s a twist on the choker trend, a pretty delicate chain with an adorable ribbon bow clasp. This necklace will give you an elegant edge when you jump on the choker trend! I used some stunning red velvet and some delicate silver chain to make this necklace.
You will need the following tools and materials to make this bow tie necklace:
1: Pliers. You will need your flat nose pliers and round nose pliers to make this necklace.

2: Scissors. You will need some scissors to cut your ribbon to length.

3: A piece of chain. Make sure it is slightly smaller than the circumference of your neck so that you can tie the bow comfortably.

4: Some ribbon. I used some red velvet ribbon.

5: Four flat crimp ends.

6: Four small head pins.

7: Beads of your choice. I used these eight yellow glass e-beads.

8: Four jump rings.

9: A ruler or tape measure.

Follow these steps to make your bow tie choker necklace:
1: Attach a flat crimp to one end of the ribbon. Flatten it in place using the flat nose pliers.


2: Attach a jump ring to the newly secured crimp end and then slide on one end of the chain. Secure the ribbon and chain together by closing the jump ring.


3: Use the ruler to measure out how long you want your pieces of ribbon to be.

4: Cut the ribbon to length and then measure out the next piece of ribbon.

5: Cut the second piece of ribbon to length using your scissors.

6: Attach a crimp end to one end of the second piece of ribbon and attach it to the other end of the chain as you did in step 2.

7: Attach crimps to the other ends of the ribbon.

8: Add beads to all four of the head pins.

9: Bend all the pins at a right angle to the beaded part.

10: Curl the pins around the barrel of the round nose pliers to create a loop. Do this for all four pins.


11: Add two of the beaded pins to either side of the necklace. Attaching them to the ends of the ribbon using the remaining two jump rings.


12: Once the beaded pins are in place your necklace is finished and ready to wear!


-
Give your lobes some love with these chain loop earrings!

These earrings are a hybrid of two past tutorials. The chain loop necklace tutorial and the triangle earring tutorial. I think they fuse together to make something pretty special!
You will need the following tools and materials to make these chain loop earrings:
1: Pliers. You will need your flat nose pliers and round nose pliers to make these earrings.
2: Two eye pins.

3: Two longer pieces of chain. These will be the top part of the earrings.

4: Two shorter pieces of chain. These will form the loop at the bottom of the earrings.

5: Two earring hooks.

6: Beads of your choice. I used these malachite chip beads.

7: Two large jump rings.

Follow these steps to make your chain loop earrings:
1: Add the beads to each of the eye pins.

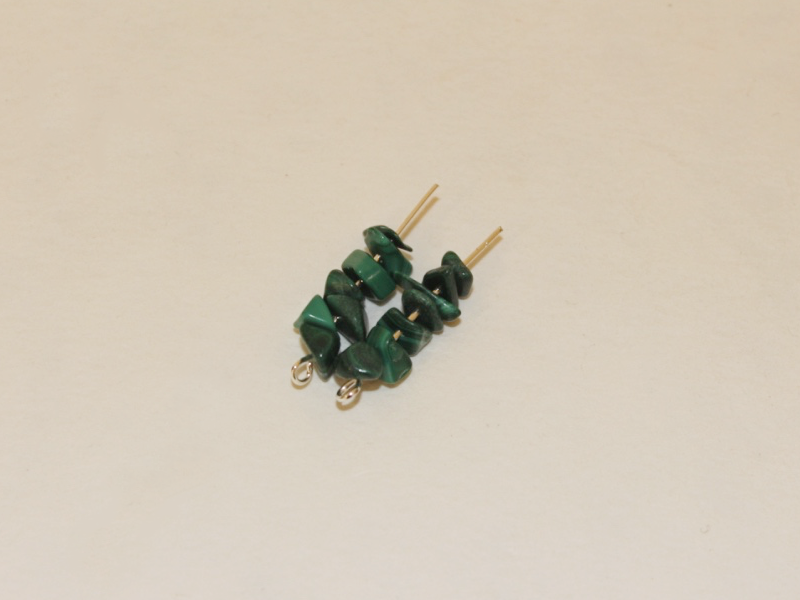
2: Use the round nose pliers to bend each pin at a right angle to the beaded section.


3: Then create a loop at the end of each pin to secure the beads in place.


4: Take one of the pins and open a loop on one side.

5: Add the shorter piece of chain to the open loop.

6: Add a longer piece of chain to the same open loop and then close the loop to secure the chains in place.


7: Open the loop on the other side of the pin and loop both pieces of chain around and slide them onto the other side. Make sure that you don’t cross them over. You want the shorter chain to fall on one side and the longer chain to fall on the other without the chains overlapping.

8: Close the loop again to secure the chains in place.

9: Open one of the large jump rings and slide it through a chain link at the center of the longer chain.

10: Add the earring hook to the open jump ring. Secure the earring in place by closing the jump ring with your pliers.


11: Repeat steps 4 to 10 for the second earring.

12: Once both your earrings are complete all that’s left to do is pop them on your lobes!
Here’s another pair made with gold findings and some round smoky quartz beads.


-
Can’t Get Enough of the Choker Trend? Here’s Another Cool Choker Design to Add to Your Collection!

Everyone knows that chokers are the IT accessory right now. If you can’t get enough of the choker trend and want to make sure that you stand out from the crowd this chain and suede choker design is for you. This choker might be simple to make but it sure does have a big impact!
You will need the following tools and materials to make this suede and chain choker:
1: Pliers. You will need your cutting pliers (or scissors), flat nose pliers and round nose pliers to make this choker.
2: Suede cord. I already cut mine to length. Make each piece a tiny bit shorter than you think you need so that the choker will fit snugly on your neck once the charm connector and clasp have been added.

3: Two pieces of chain trimmed to the same length as the suede.

4: Four leather crimp ends.

5: Eight small jump rings.

6: Two charm connectors.

7: Two large jump rings.
8: One Lobster Clasp.
Follow these steps to make your own stunning suede and chain choker necklace:
1: Attach a crimp end to either end of both pieces of suede cord. Do this by using the flat nose pliers to fold both sides of the crimp end in place around the end of the suede cord.


2: Open a jump ring and attach one end of a suede cord to one of the loops of the charm connectors.

3: Close the jump ring to secure the strand in place.

4: Add a piece of chain using another jump ring. This will be the second strand.
5: Repeat steps 2 and 3, adding the second suede strand.
6: Repeat step 4, adding the last piece of chain to the first charm connector. Now all four strands will be secured together at one end.

7: Repeat steps 2 to 6 for the other side of the necklace, attaching all strands to the second charm connector.

8: Add one of the large jump rings to one end of the choker and attach the lobster clasp. Secure the clasp in place by closing the jump ring.

9: Add another jump ring to the other side of the choker to finish it off.

Once the last jump ring is secured in place your multi-strand suede and chain choker is complete!

Here’s another multi-strand choker made using beaded strands.


-
Got Some Old Buttons or plastic cabochons lying Around? Here’s How to Turn Them into Earrings!

Have you ever stumbled upon some cool buttons but don’t know what to do with them? Here are some instructions for turning your button collection into some cool stud earrings. Using some cutting pliers and a file you can turn those buttons into stunning decorations for those lobes.
You will need the following tools and materials to make your button earrings:
1: 2 flat bed earring posts.

2: Araldite Glue (I recommend wearing gloves and working in a ventilated space).
3: A Skewer.
4: A Scrap Piece of Paper.
5: Buttons or flat plastic cabochons of your choice. I used these plastic glitter buttons. If you do chose buttons, I suggest choosing ones with flat loops, otherwise you will need to go through the hassle of cutting the button loops off.

Here are some flat back pieces so you don’t need to cut or file anything.
Follow these instructions to make your cute button earrings:
1: Flip the plastic cabochons over.
2: Squeeze out some glue in equal parts onto the paper and quickly mix it with the skewer.
3: Apply some glue to both of the earring posts using the skewer.


4: Place the earrings carefully onto the backs of the buttons and wait for them to dry.


5: Once the earrings are dry they are ready to wear!
What fun decorations will you make your earrings with? I love these glittery buttons!

Here’s another pair made with some different glittery buttons!

Here are some other tutorials you can follow to make jewelry out of buttons:
This tutorial contains affiliate links.
-
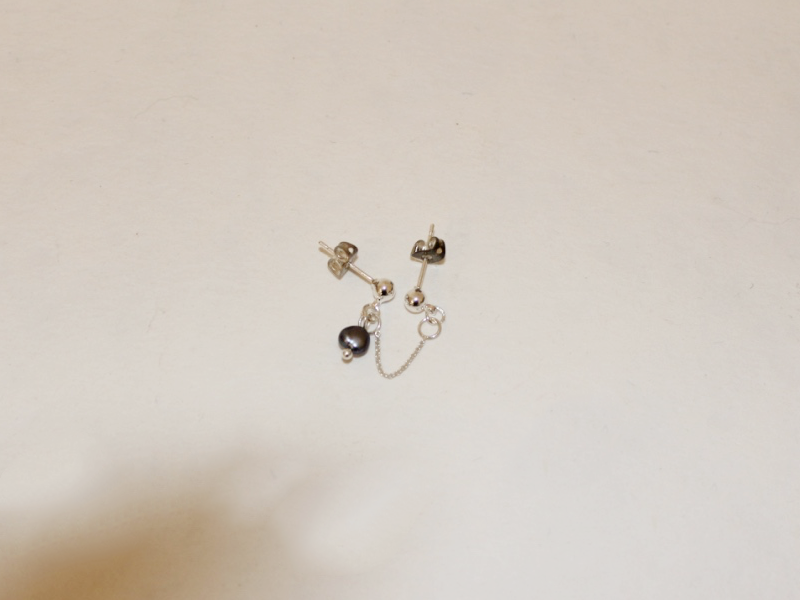
Got multiple piercings? This Chain Linked Double Piercing earring is for you…

Multiple piercings are it right now! Do something cool with your double piercings, pretty them up with an earring made especially for them. This double piercing earring is made using some delicate chain and some charm connector stud earrings. You can even adapt this design for even more piercings and run that chain all the way up your ears!
You will need the following tools and materials to make these chain linked double pierced earrings:
1: Pliers. You will need your flat nose pliers and round nose pliers.
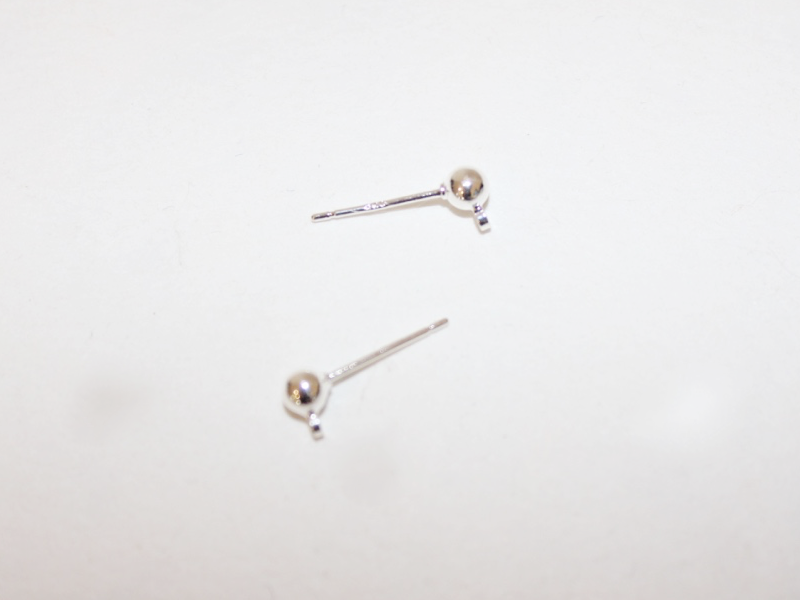
2: Two charm connector stud earrings.
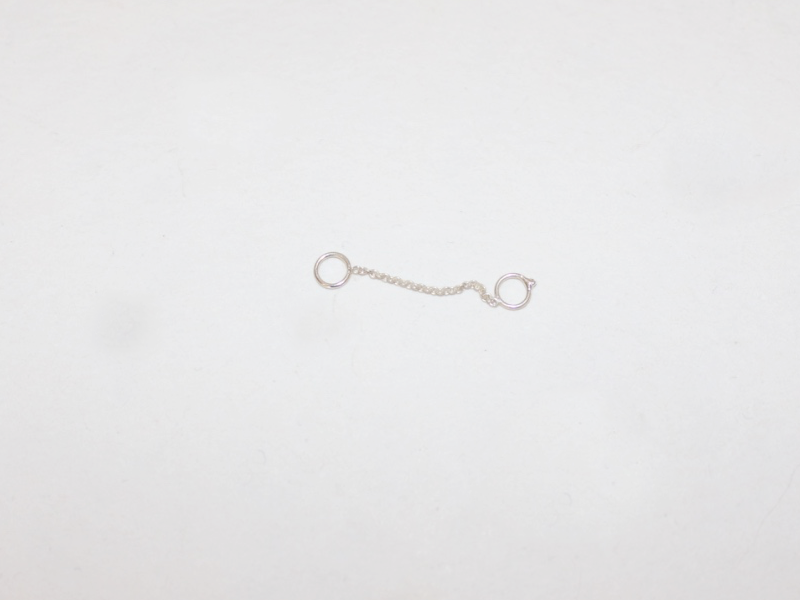
3: A piece of chain. The length depends on how far apart your piercings are and how long you want it to hang from your ear lobes.
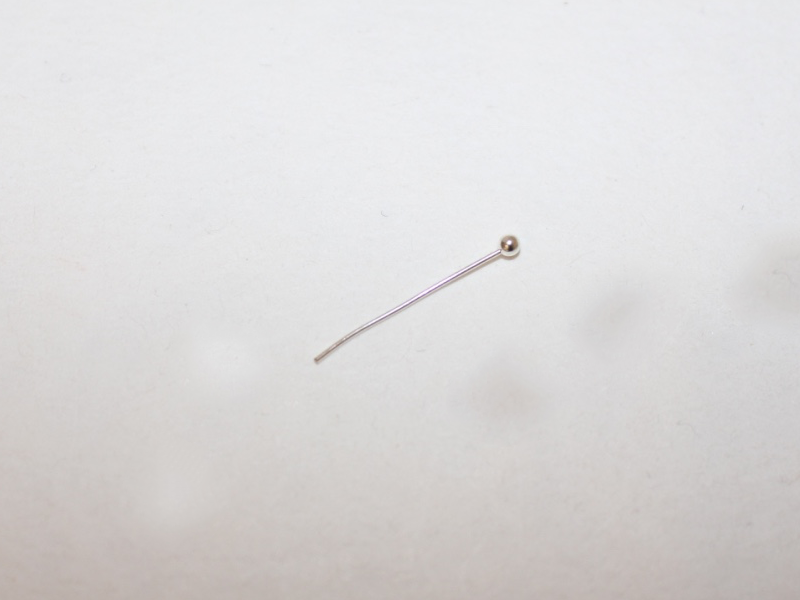
4: One small head pin.
5: Two small jump rings.
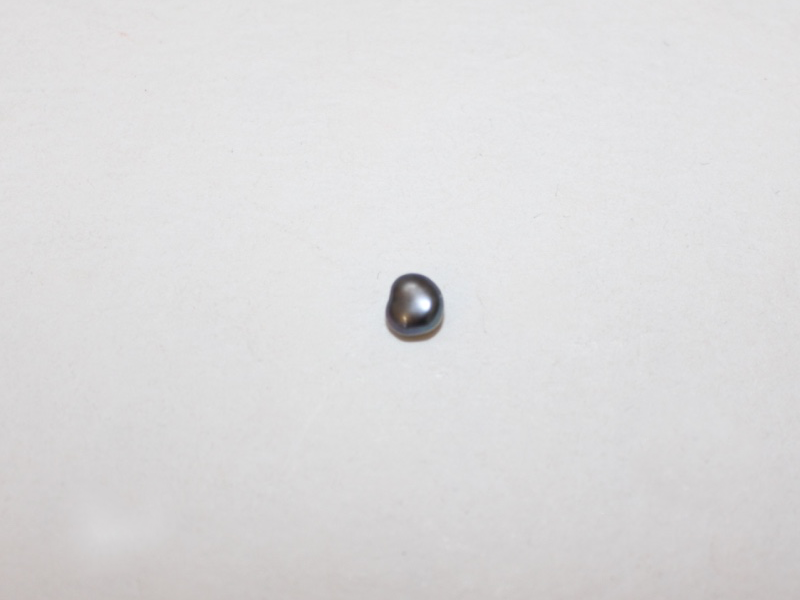
6: A bead or beads of your choice. I used this small grey freshwater pearl bead.
Follow these steps to make yourself this cool double piercing earring:
1: Add the pearl bead to the small head pin.
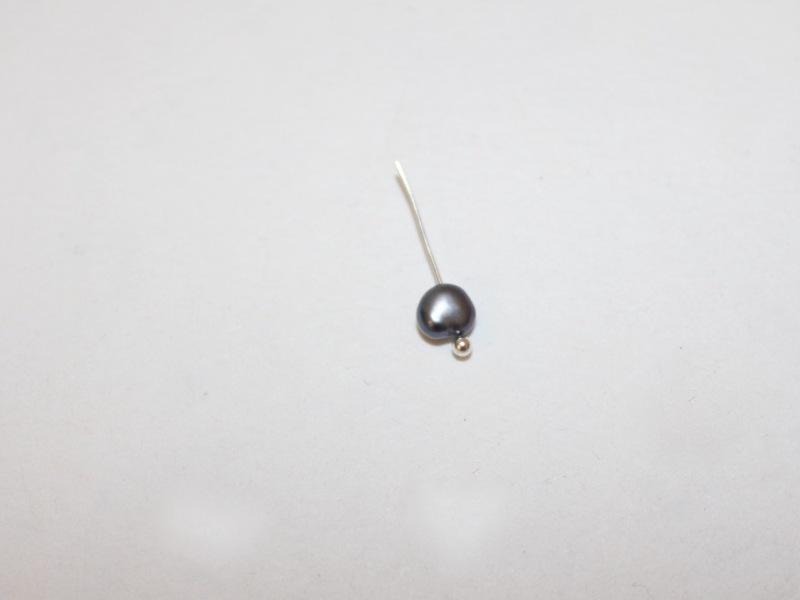
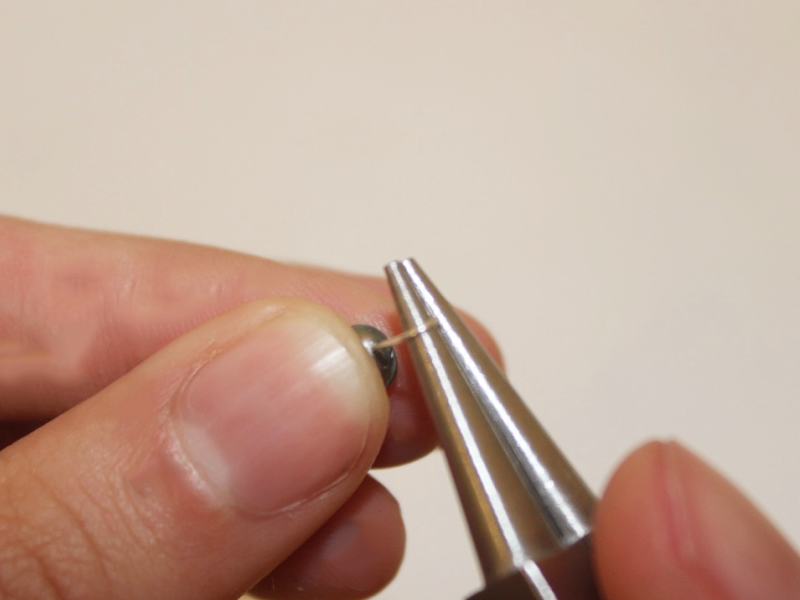
2: Use the round nose pliers to curl the end of the head pin around the round nose pliers to form a loop. Keep curling the pin around the barrel of the pliers until the loop sits closely to the bead, securing it in place.
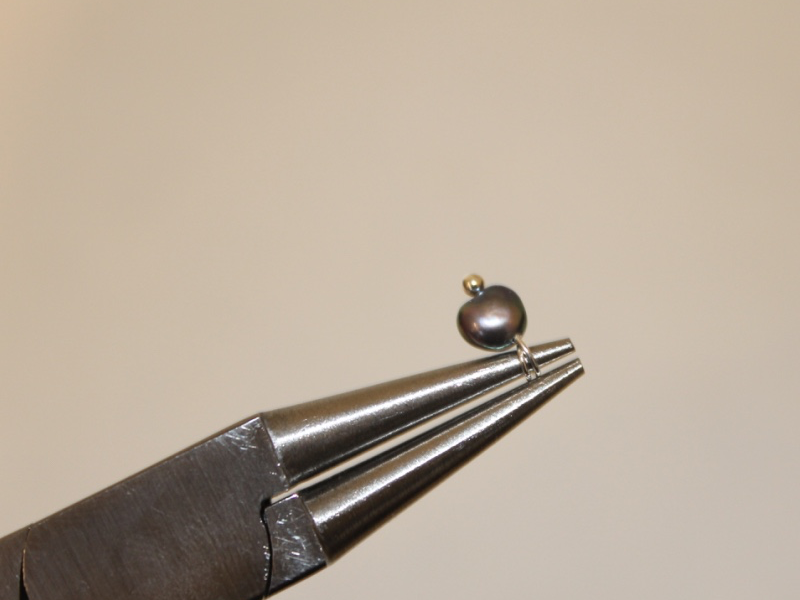
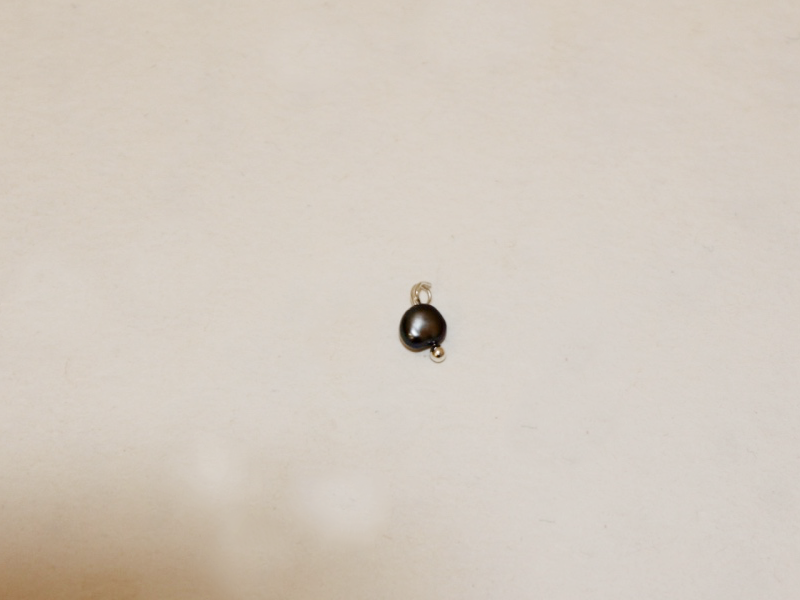
3: Set the bead charm aside and open one of the jump rings. Slide one of the earrings and one end of the chain onto the ring and then close it again using your pliers.
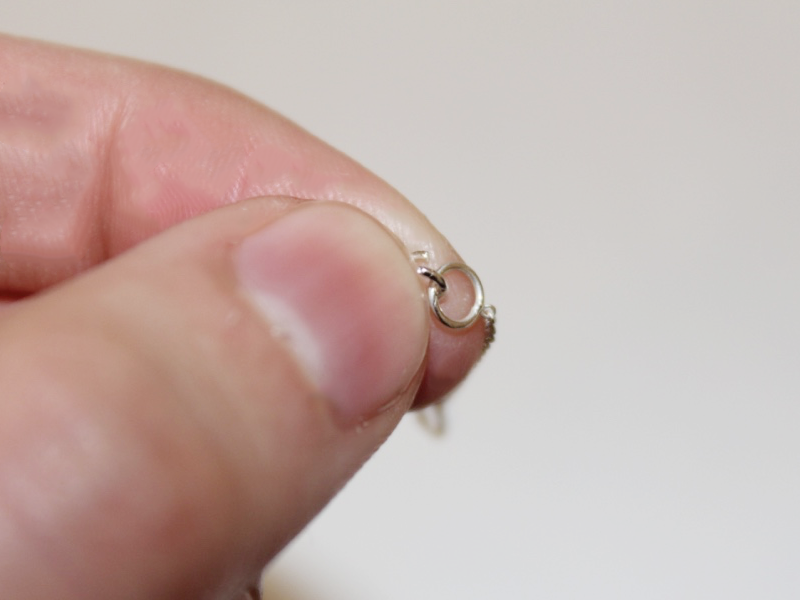
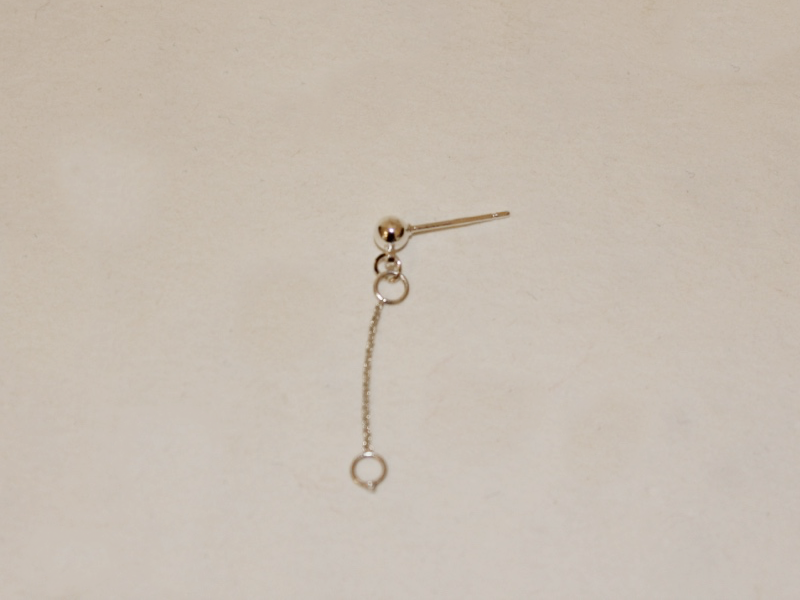
4: Repeat step 3 for the other earring, attaching the earring to the other end of the chain using the remaining jump ring. This time make sure you add your bead charm before closing the jump ring.
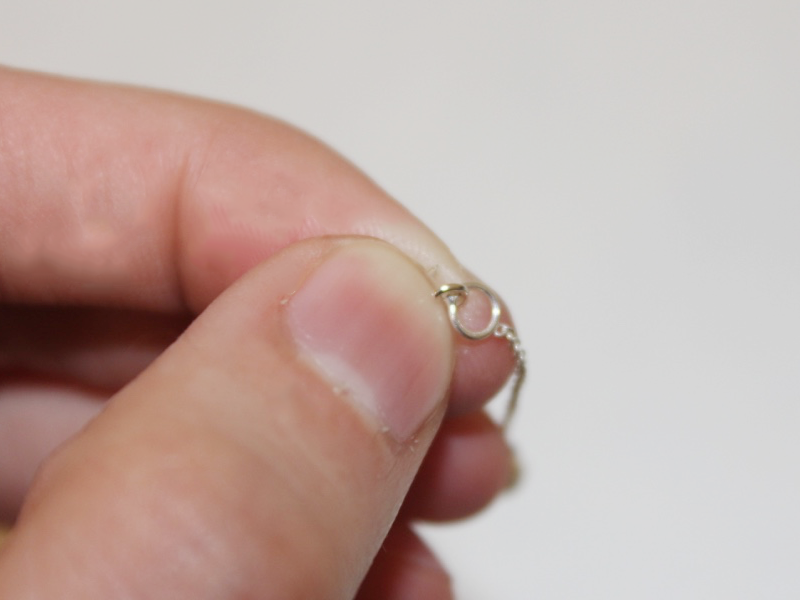
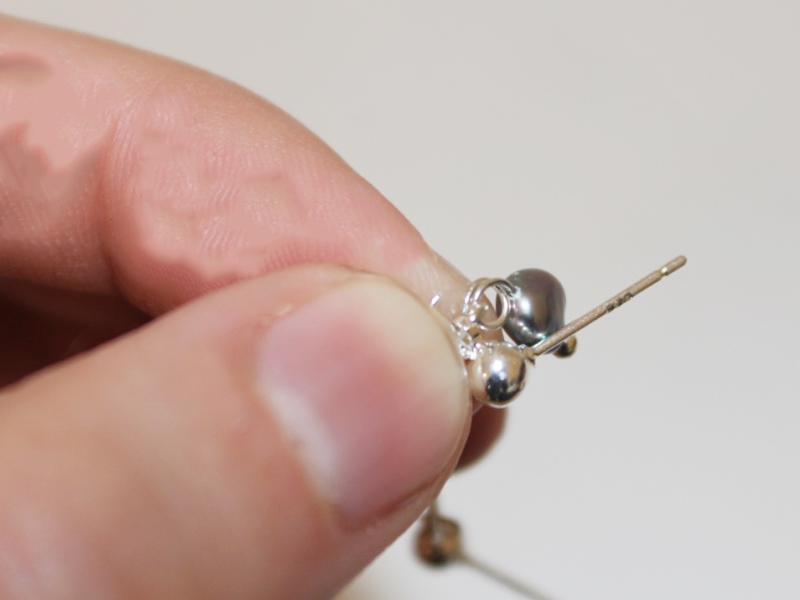
5: Once you have completed step 4 your double piercing earring is complete. Wear and enjoy!