Step-By-Step Tutorials
-
Take on the Choker Trend. Three ways to make ribbon chokers.

These tutorials are simple and effective, you’ll be on the choker trend train in no time! Using ribbons with different textures you can create stunning and elegant choker necklaces that everyone will envy.

You will need the following tools and materials to make a basic ribbon choker:
1: Flat nose pliers.

2: Scissors.

3: Flat crimp ends.

4: A length of satin ribbon.

5: Two jump rings.

6: A lobster clasp.

Follow these instructions to make the basic ribbon choker:
1: Make sure that your ribbon is the right length to fit around your neck. Make sure that it fits comfortably and isn’t too tight. Use your scissors to trim the ribbon to the right length.
2: Once your ribbon is at the right length, take one of the crimp ends and use the flat nose pliers to secure it in place.


3: Repeat step 2 for the other side of the ribbon.

4: Once the crimp ends are secured in place add a jump ring to either end of the choker.

5: Add a lobster clasp to one end of the choker, securing it in place by attaching it to one of the jump rings.

6: Once the clasp is in place your choker is ready to wear!

You can make a velvet choker by following the above steps, replacing the satin ribbon with some velvet faced ribbon in your choice of colors. I used black velvet ribbon.

Here are the two simple chokers together.

Follow these instructions to make yourself an embellished choker. This choker is a little more complicated to make, featuring a silver ring at the center of the ribbon choker.

You will need the following tools and materials to make this ring center choker:
1: Flat nose pliers.
2: Scissors.
3: Two pieces of ribbon that are long enough to fold around the center ring and will create a total length that fits comfortably around your neck. This can be a little fiddly to figure out but can be made easier with an extra pair of hands!
3: A flat ring. I used this silver colored ring that features colorful rhinestones around the edge.

4: Two flat crimp ends.
5: Two jump rings.
6: One lobster clasp.
And here are the steps…
1: Loop each piece of ribbon around the ring so that they sit on either side.


2: Take one side and line the ends of the ribbon up. Take one of the flat crimps and line it up.
3: Secure the flat crimp end in place using the flat nose pliers.

4: Repeat steps 2 and 3 for the other side of the choker.

5: Once both the crimp ends are secured in place, add a jump ring to either side of the choker.
6: Add a lobster clasp to one end of the choker to finish it off.
Now your choker is done and ready to wear!

-
This tassel is worth the hassle! Make yourself these wonderful earrings

These earrings are wonderfully dramatic. Using some tassels and some beautiful beads you can whip up these incredible tassel earrings in no time. These earrings are sure to be an elegant addition to your evening ensemble.
You will need the following tools and materials to make these earrings:
1: Pliers. You will need your round nose pliers and cutting pliers to make these earrings.


2: Two eye pins.

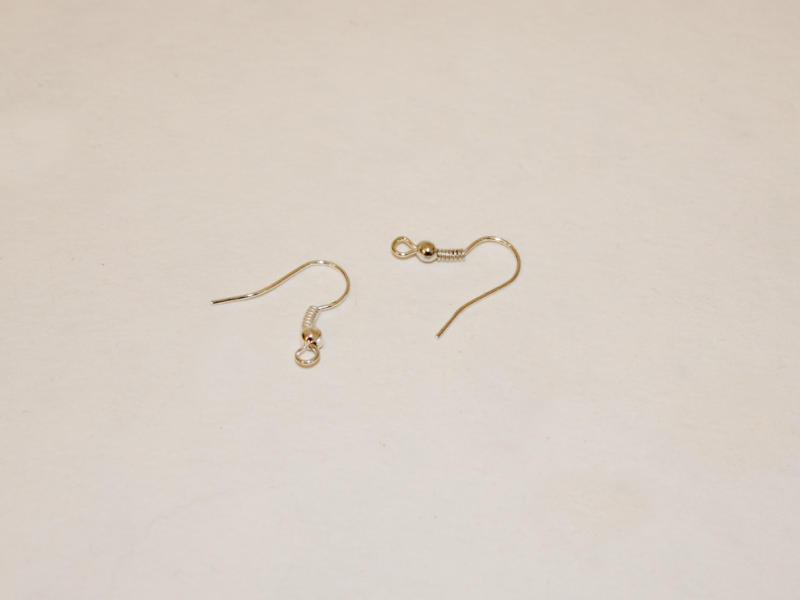
3: Two earring hooks.
4: Two tassels.

5: Two beads. I used these green gemstone beads.

Follow these steps to make your tassel earrings:
1: First step is to cut the loops off the top of the tassels using the cutting pliers.


2: Once the loops have been removed, take the eye pins and poke them through the center of each tassel so that the loop is inside the tassel and the open end pokes through the top. (If the loop doesn’t hold you may need to add a bead to the bottom of the pin.)


3: Add each of the beads to the tops of the tassels.

4: Bend each pin at a right angle to the bead using the round nose pliers.


5: Create a loop at the top of the bead to secure it in place using the round nose pliers.


6: Open the loop at the bottom of each earring hook.

7: Slide each of the tassel charms onto the earring hooks and close the loop to secure it in place.

8: Once each charm has been attached to the earring hooks your earrings will be complete!


You can also use this technique to make charms for your necklace designs! Here’s an example of a gemstone and tassel charm on a strand beaded with pink and purple glass seed beads.


-
Here’s something a bit different… how to make cufflinks

Customized cufflinks are closer than you think. You can make your own unique cufflinks using some cool buttons and a pair of silver cufflink findings.
You will need the following tools and materials to make these cufflinks:
1: A pair of cufflink findings.

2: Two buttons of your choice. I used these buttons because they had a flat back. You can use other buttons by cutting off the loop attachment.

3: Two part epoxy glue. I used Araldite.

4: Scrap paper for mixing the glue on.

5: a skewer.

Follow these steps to make your own cufflinks:
1: Squeeze out some glue onto the scrap paper.

2: Mix the glue using the skewer.

3: Apply some of the glue to the flat part of the cufflink finding.

4: Place the glue side of the finding down onto the backside of the button. Hold it in place for a little while to make sure that the cufflink doesn’t slide out of place.


5: Repeat steps 3 and 4 for the second cufflink.
6: Wait for the glue to dry.

7: Once the glue has dried the cufflinks are ready to wear.

These cufflinks have been decorated with some polymer clay leaves.

These cufflinks have been made using some vintage clip on earrings.

If you were inspired by this button cufflink tutorial here are some other ways that you can use buttons in your DIY jewelry designs:
- Button bracelets
- Transform buttons into stud earrings
- Use a button to decorate a ring
- Use buttons to add texture to handmade clay beads
This tutorial contains affiliate links.
-
Here’s a fun DIY For you… hand painted wooden bangles!
This DIY couldn’t get easier, all you need are some simple wooden bangles and an assortment of acrylic paints in the colors of your choice. Grab your brushes and get creative.

I painted these three wooden bangles using some brightly colored acrylic paints, some special paint mediums and some glitter.
To make this turquoise colored glitter bangle I sprinkled some gold glitter onto the paint while it was still wet. Once the paint was dry I went over the bangle with some acrylic varnish.

To create this bangle I painted a base coat and waited for it to dry. Once dry I added a top coat of gold paint. Once both of these layers were dry I used some sandpaper to sand back the top coat, revealing the paint underneath for an aged look.


To make this last bangle I used three different colors of paint and some acrylic crackle medium. To create the crackle effect I initially painted the bangle with a layer of yellow paint. Once the yellow base coat was dry I added a layer of crackle medium and left it to dry. Finally, I added a coat of red paint, which, when painted on top of the crackle medium will reveal the undercoat as it dries.

-
Make this cute beaded arrow necklace for some pretty stunning results
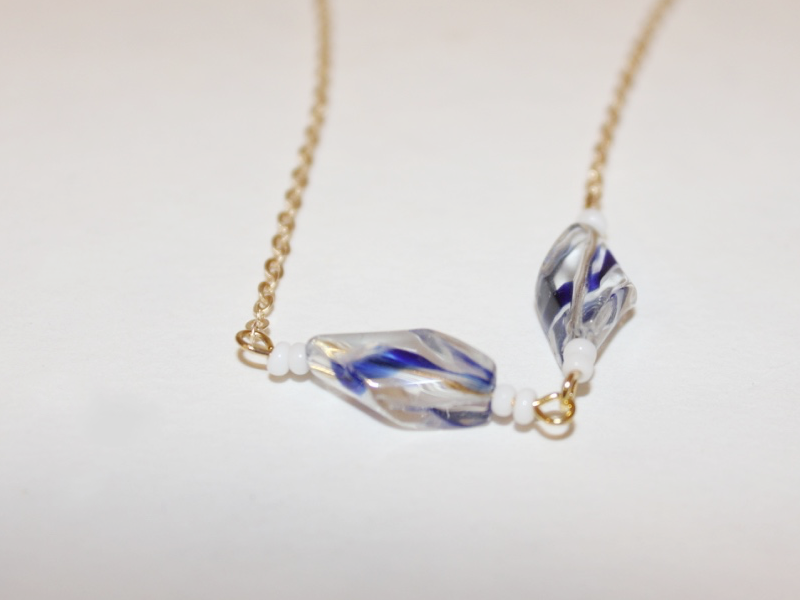
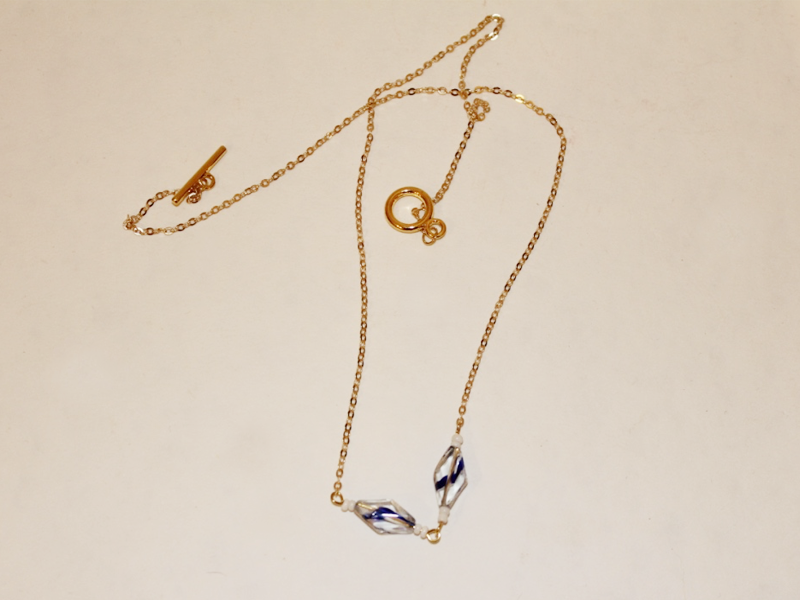
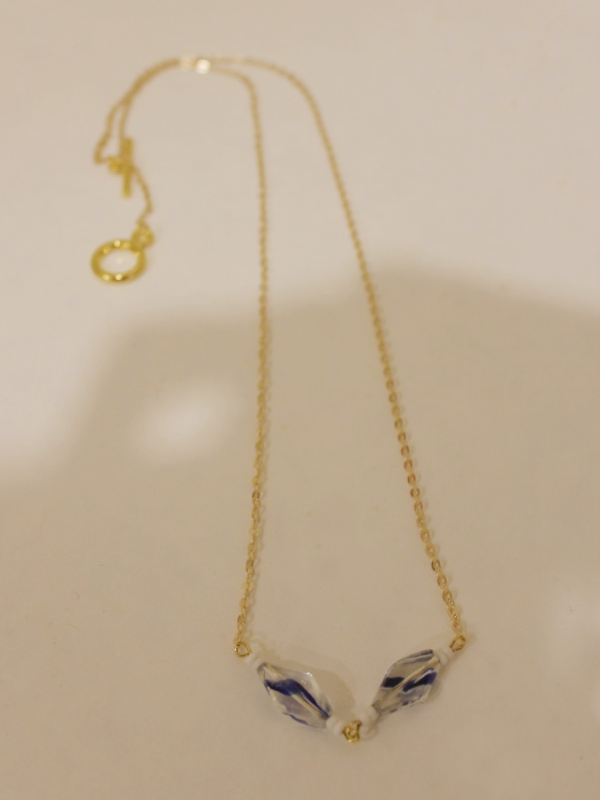
This necklace is made using a couple of eye pins, some pretty chain and any beads you choose. It’s a simple but stunning design that will compliment any number of styles. This arrow necklace is also super easy to make, it shouldn’t take you more than 30 minutes to put together, so you can have a nice new necklace for your next celebration.
You will need the following tools and materials to make this arrow necklace:
1: Pliers. You will need your round nose pliers and flat nose pliers to make this necklace.
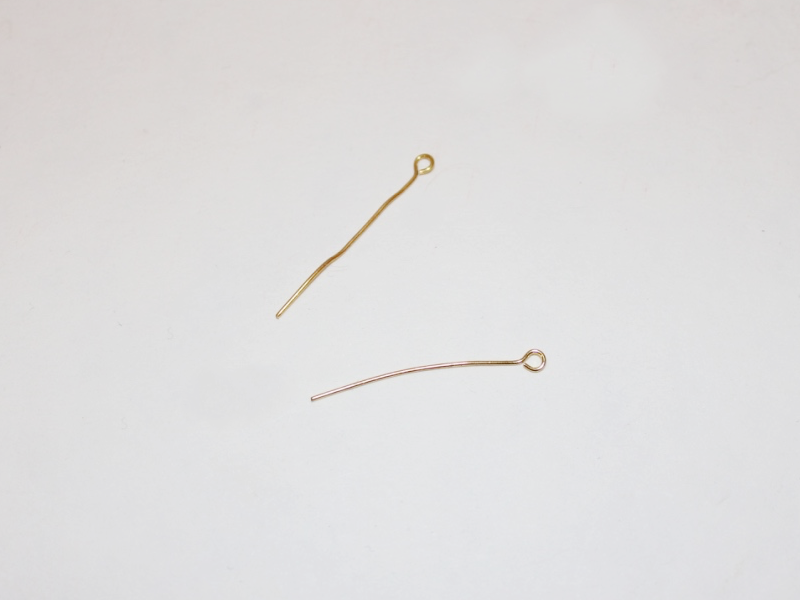
2: Two eye pins.
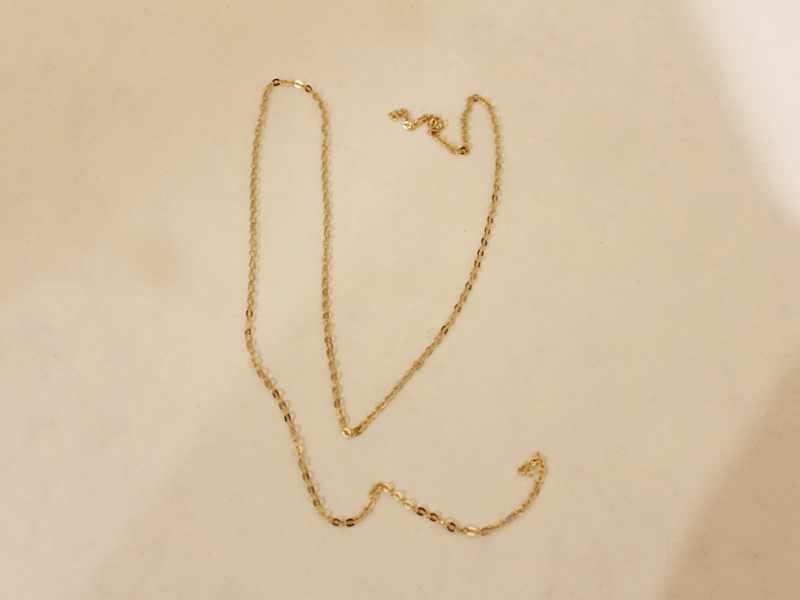
3: A piece of chain.
4: One toggle clasp.

5: Two jump rings.

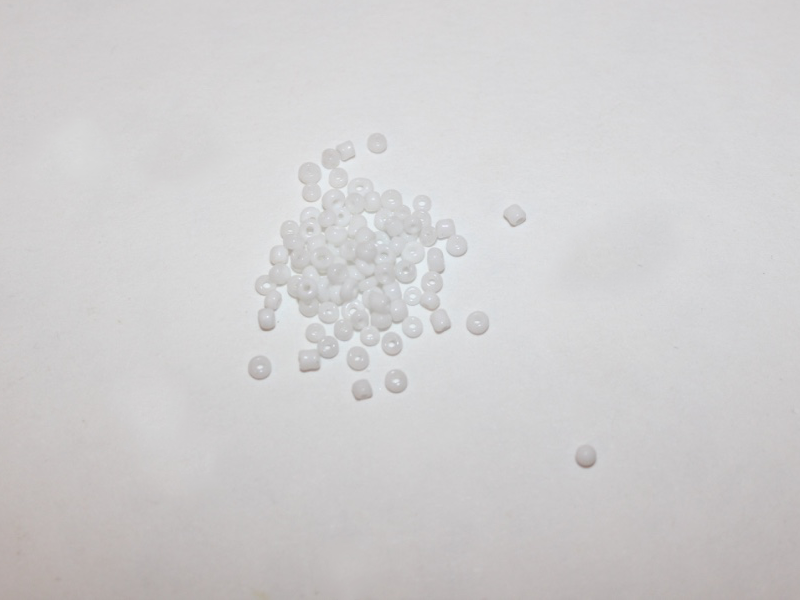
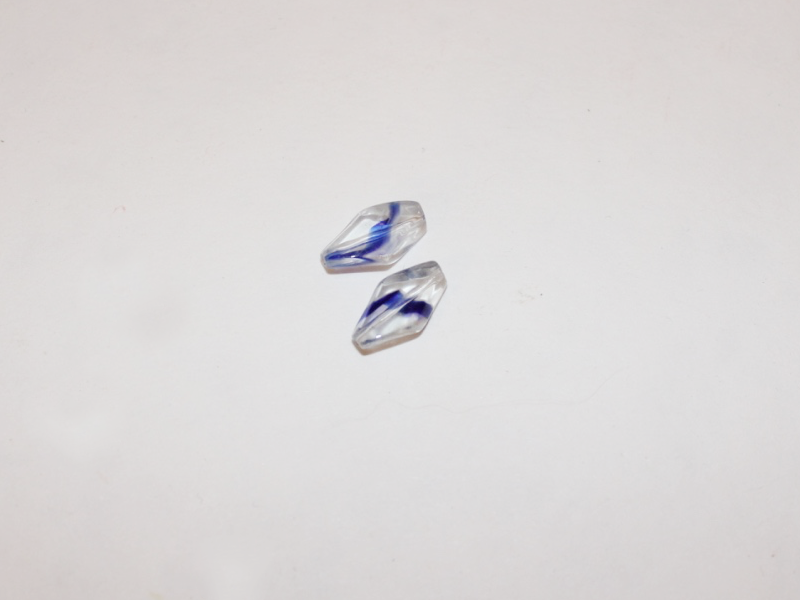
6: Beads of your choice. I used some white seed beads and two blue twisted glass beads.
Follow these steps to make your arrow necklace:
1: Add the beads to each of the head pins in your desired pattern. I used the blue twist beads as feature beads.
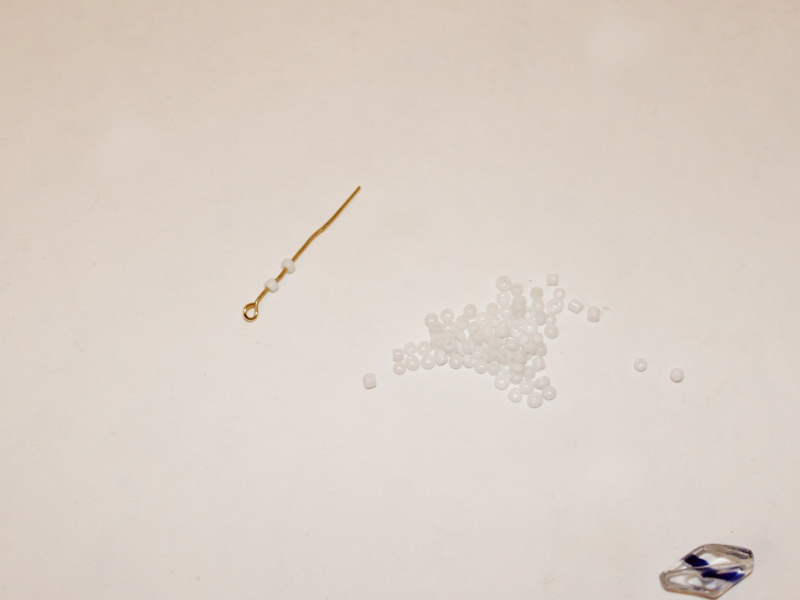
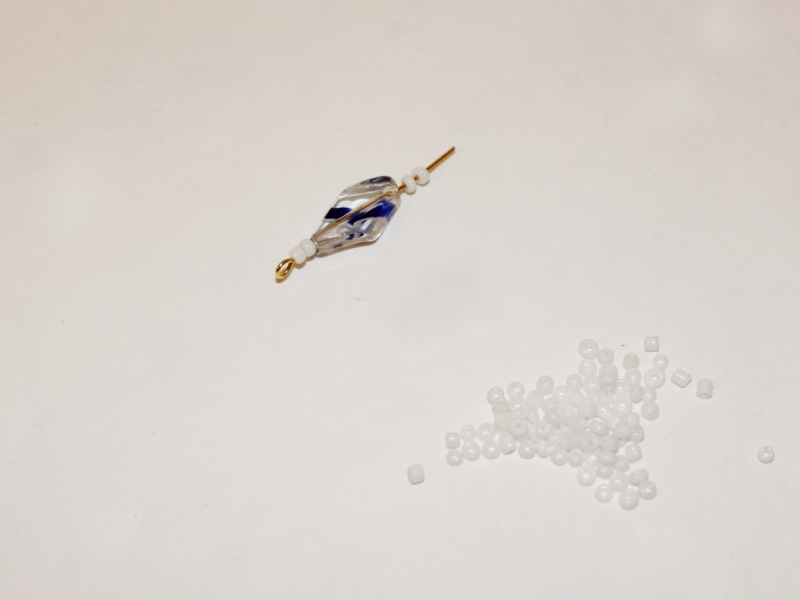
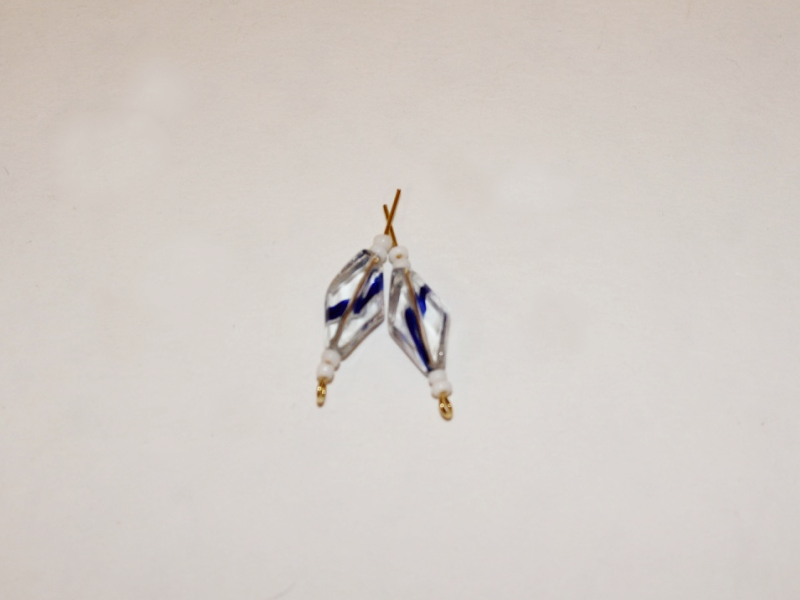
2: Once all the beads have been added, use the round nose pliers to bend each pin at a right angle to the beaded section.
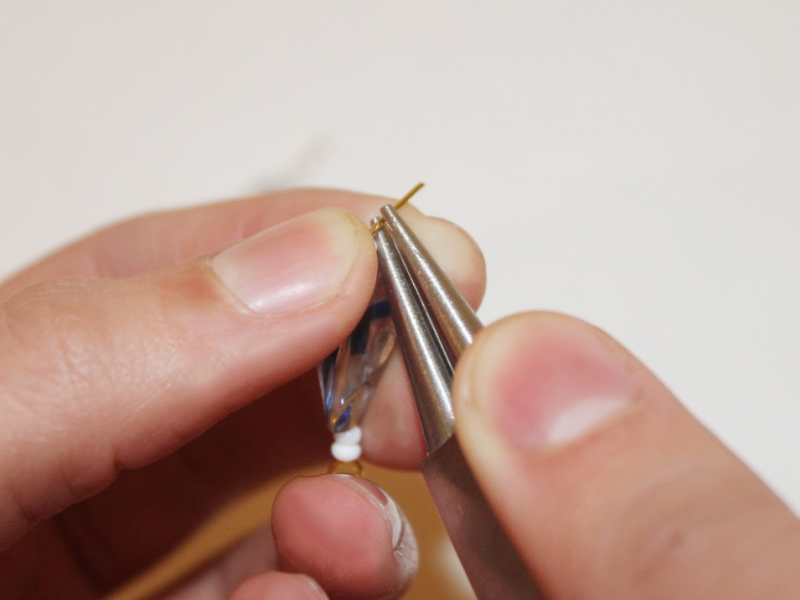
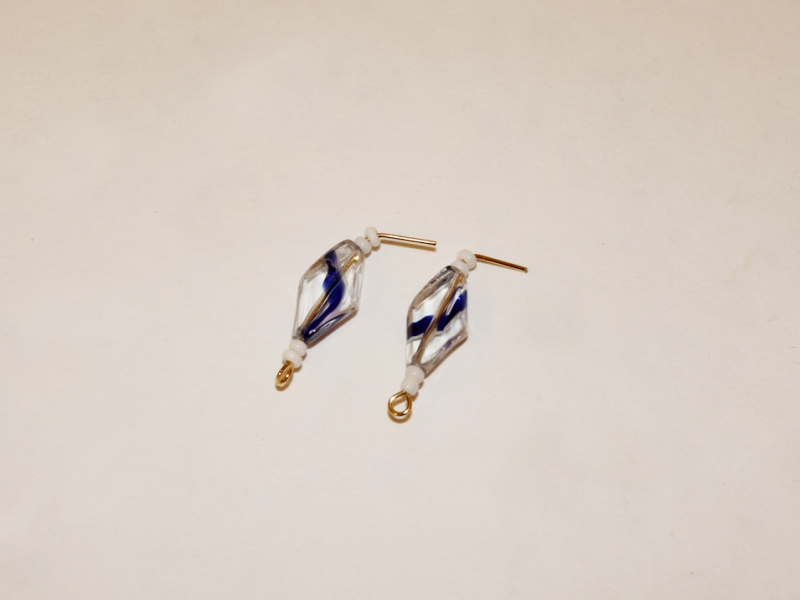
3: Once both pins have been bent, use the round nose pliers again to create a loop at the end of the pin, securing the beads in place.
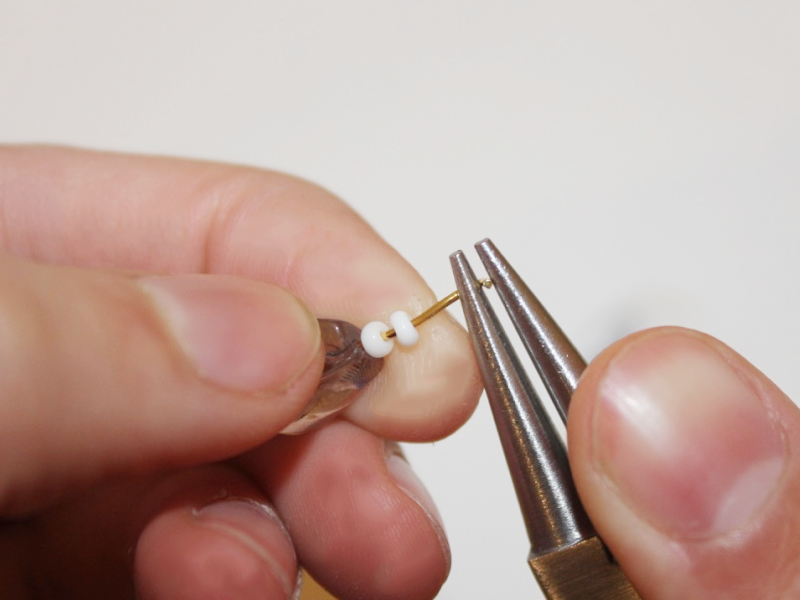
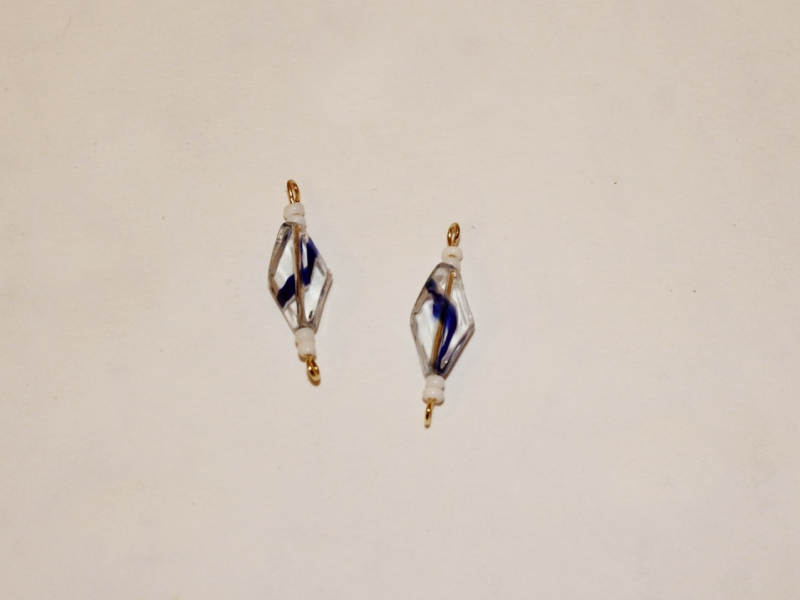
4: Open one of the loops again slightly and attach the two bead charms together. Close the loop again to secure the charms to each other.
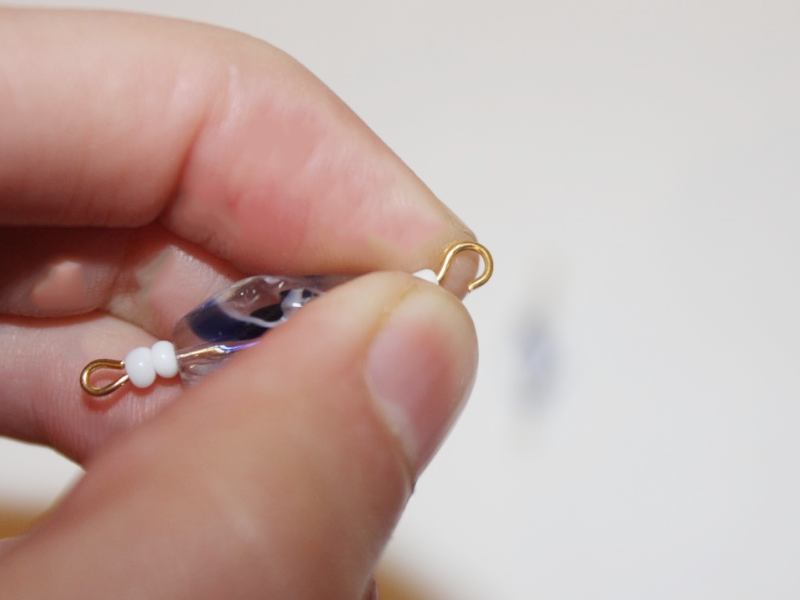
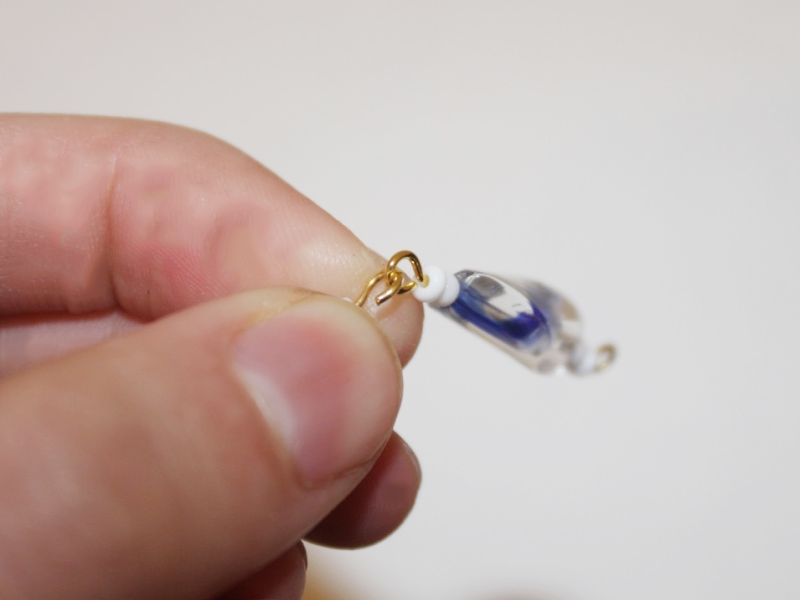
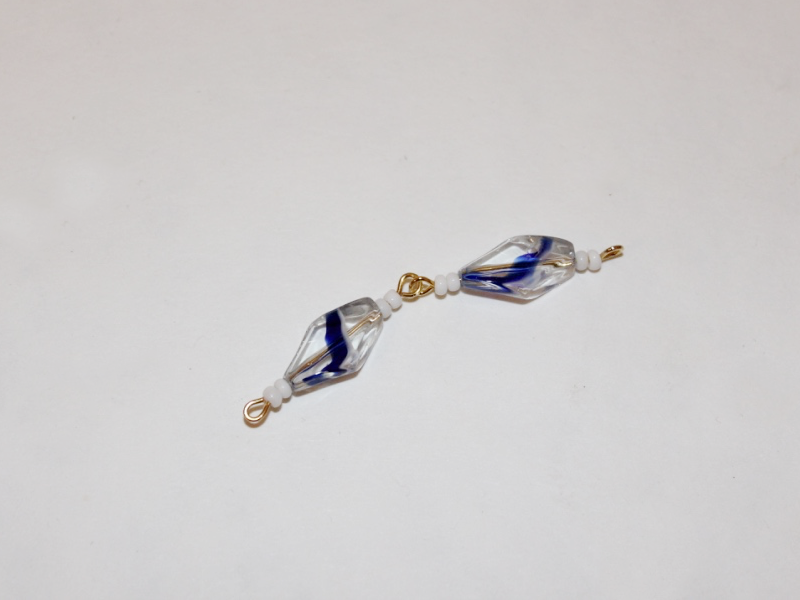
5: Open the end of the charm on one side and slide the open end into the end loop of the necklace chain. Close the loop again to secure the charm to the chain.
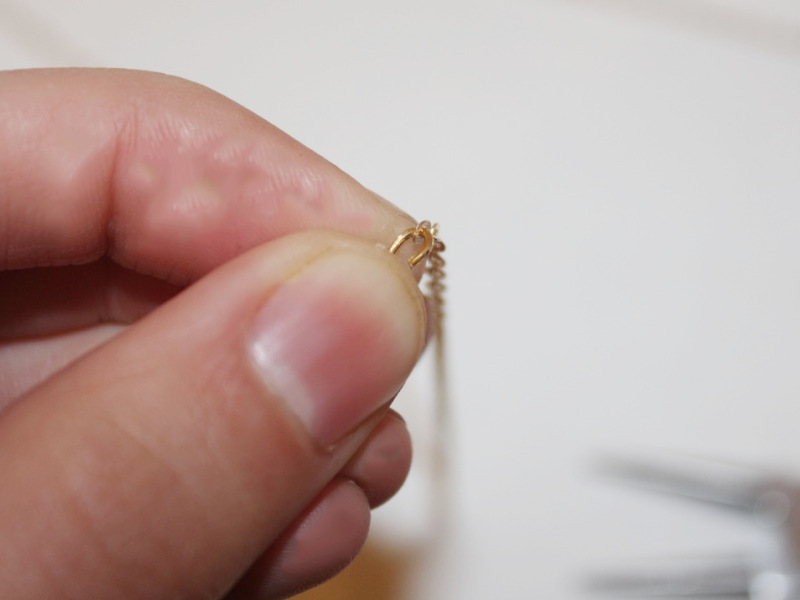
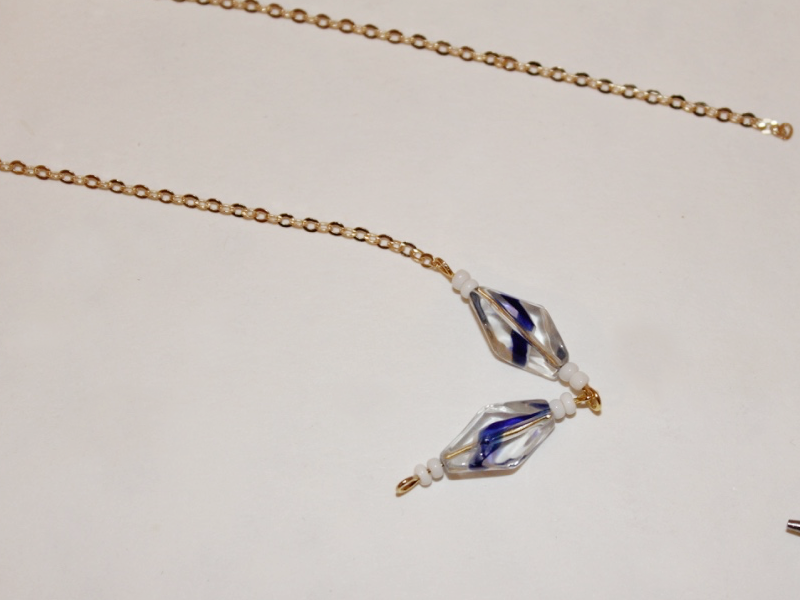
6: Repeat step 5 for the other side of the bead charm.
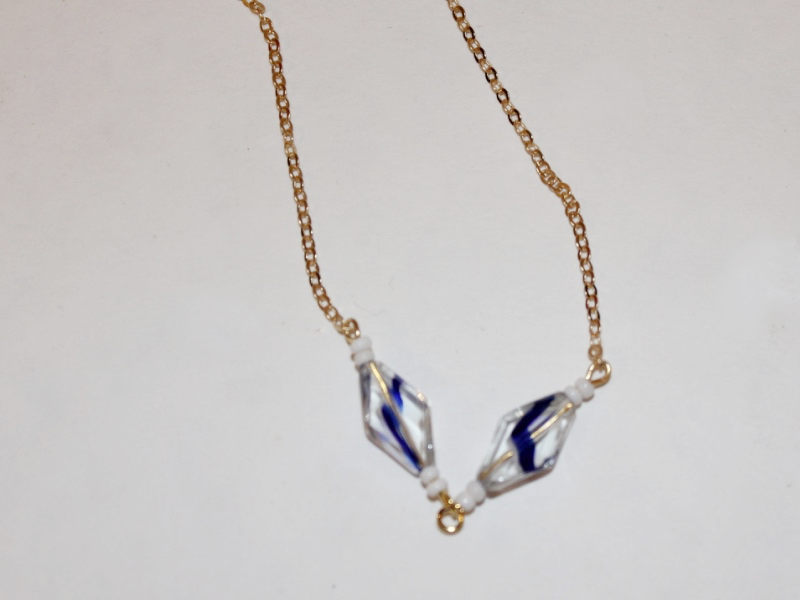
7: Split the chain in the middle to prepare for the attachment of the toggle clasp.
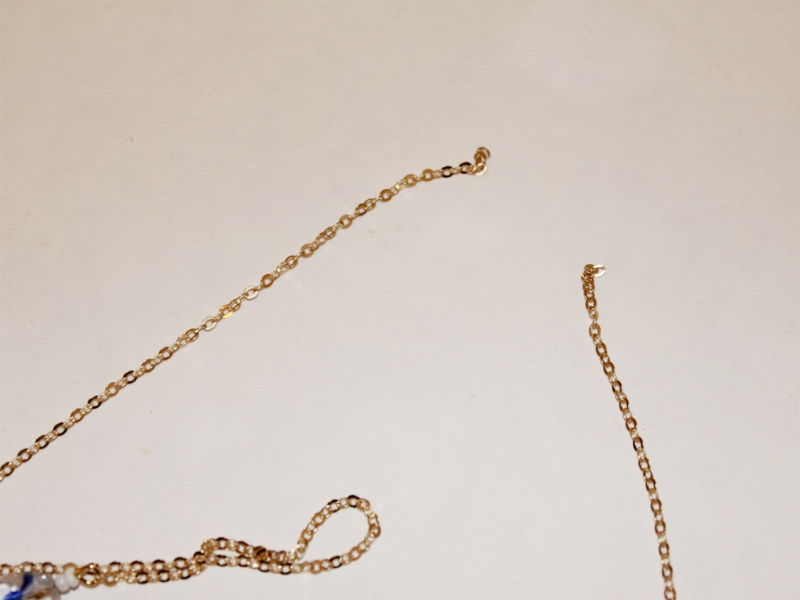
8: Add one of the jump rings to one end of the chain, slide on one side of the toggle clasp and secure it in place by closing the jump ring again.
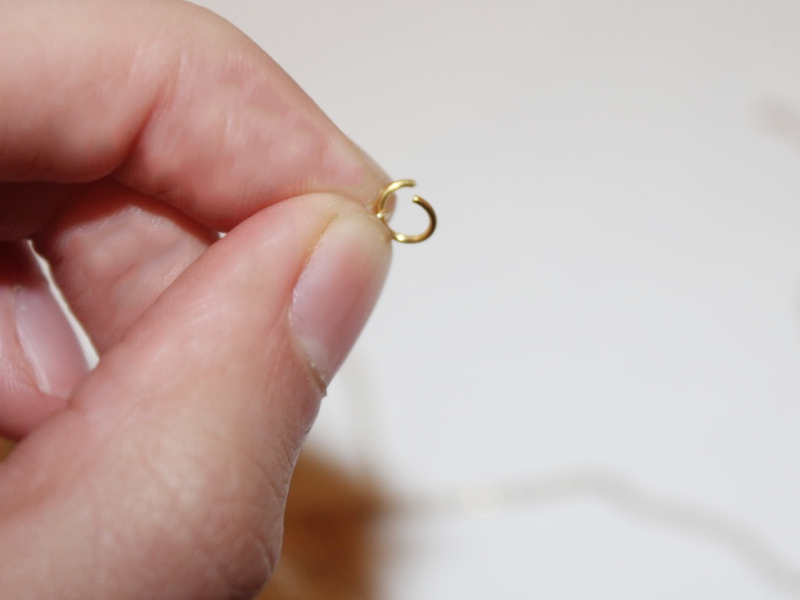
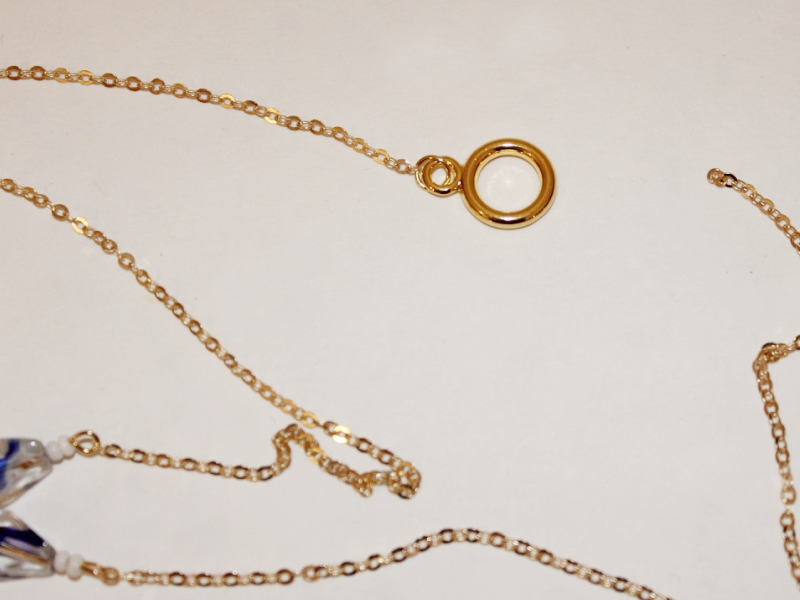
9: Repeat step 8 for the other side of the chain adding the other side of the toggle clasp.
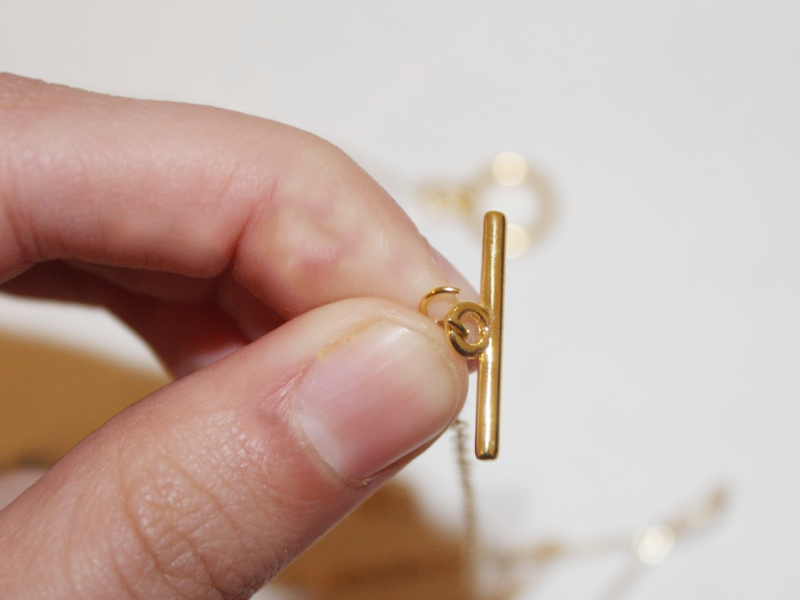
10: Once the toggle clasp is in place your necklace is finished and ready to wear! Where will you wear your new arrow necklace for the first time?
-
Make those delicate chains work in special ways with this bar charm necklace
This necklace design uses eye pins and chains in some clever ways to create a special and delicate piece of jewelry. Pick out some of your favorite beads to make this wonderful necklace design your own. I used some beautiful orange coral beads to make this pretty looped chain necklace.
You will need the following tools and materials to make this pretty chain necklace:
1: Pliers. You will need your flat nose pliers and round nose pliers to make this necklace.
2: Two pieces of chain, one long enough to fit around your neck and another shorter piece.

3: One eye pin.

4: Two jump rings
5: One lobster clasp

6: Beads of your choice. I used these coral beads.

Follow these easy steps to make this beautiful chain necklace.
1: Add your beads to the eye pin. Try to use the full length of the pin, leaving enough room to make a loop at the end.


2: Using the round nose pliers, bend the end of the eye pin at a right angle to the beaded section.
3: Use the round nose pliers again to create a loop at the end of the pin to secure the beads in place.


4: Open one of the loops at one end of the pin and slide the end of each chain onto the pin. Once the chains are in place, close the pin loop end again using your pliers.


5: Repeat step 4 for the other side of the pin attaching the opposite ends of the chain.

6: Split the longer chain in two, separating the chain using your flat nose pliers.

7: Add a jump ring and lobster clasp to one side of the split chain.

8: Attach another jump ring at the other end of the necklace opening.

9: Once your lobster clasp is in place your necklace is complete. I love this design, it is simple, elegant and easy to make!


-
Sick of those delicate chains? Try making this cute cord necklace!
Sometimes you don’t feel like adorning yourself with delicate chains and dainty necklaces. Instead, sometimes you found yourself in the mood for a bolder choice. This cord necklace is simple to make but to great effect! Using some recycled cord and a couple of crimp ends you can make this great (and comfortable) necklace.
You will need the following tools and materials to make this cord necklace:
1: Pliers. You will need your flat nose and round nose pliers to make this necklace.
2: A piece of cord. I used this white cord recycled from a paper shopping bag.

3: Two flat crimp ends.
4: One large jump ring.

5: Two small jump rings.
6: Two small head pins.

7: One lobster clasp.
8: Beads of your choice. I used these glass beads (you’ll see that I had to swap my beads around because the first one I chose was too large)

Like the orange? Grab some orange beads here:
9: A charm of your choice. I used this blue shell star charm recycled from an old pair of earrings.

Follow these instructions to make your stunning cord necklace:
1: Add your chosen beads to each of the head pins.

2: Bend each pin at a right angle to the beaded section using the round nose pliers.

3: Once each pin has been bent, use the round nose pliers to form a loop at the top of each pin.

4: Open the jump ring at the top of your chosen charm. Add each of the bead charms and close the jump ring to secure in place (You’ll see here that I ended up swapping my beads around here).


5: Add all the charms to the large jump ring and close it to secure it in place.

6: Slide the large jump ring with the charms onto the piece of cord.

7: Once the charm is in place, take one of the flat crimp ends and place it carefully on one of the cord ends.

8: Use the flat nose pliers to secure the first flat crimp in place.


9: Repeat steps 7 and 8 for the second crimp at the other end of the cord.

10: Add a jump ring to both ends of the necklace on each of the crimps.
11: Keeping on of the jump rings open, slide on the lobster clasp and close the ring again to secure it in place.

12: Once the clasp is in place your necklace is finished! How easy was that?


Here are some other examples of necklaces made using cords and ribbons secured with flat crimp ends.


You May Also Like

I keep hearing that chunky chain necklaces are trendy right now… here’s how to make a gold chunky chain necklace that makes a statement.

Here’s how to make a cute square pendant necklace
Do you want to keep the ocean close? Here’s how to make a bottle charm filled with shells and sea glass
-
Need Something New to Hang around your neck? Make this cute V-shaped charm necklace

Do you need something simple and lovely to hang around your neck? Then this is the DIY necklace design for you! This necklace features a beautiful and simple v-shaped beaded charm that looks stunning when worn with a simple sophisticated outfit. This v-shaped necklace is also super easy to make, it’ll take you less than an hour to put this beauty together.
You will need the following tools and materials to make this v-shaped necklace:
1: Pliers. You will need your round nose pliers and cutting pliers to make this necklace.
2: Three long head pins.

3: A length of chain.

4: A lobster clasp.
5: Two jump rings.
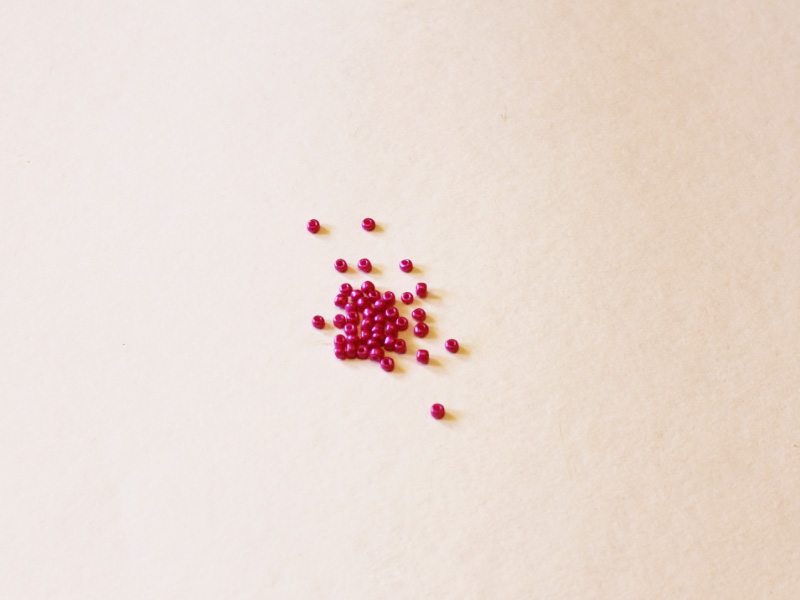
6: Beads of your choice. I used a selection of glass seed and e-beads in different colors to make my necklace.


Follow these steps to make your own lovely v-shaped necklace.
1: Add the e-beads to one of the eye pins, approximately 2/3rds of the way up the pin.

2: Add all of the light pink seed beads to the second eye pin.

3: Bend the end of the eye pin at a right angle to the beaded section using the round nose pliers.

4: Use the round nose pliers to create a loop at the end of the pin to secure the beads in place.

5: Repeat steps 2-4 for the third eye pin, this time using the blue seed beads.
6: Add the pin that was beaded with the light pink beads to the first pin you beaded. Once it is in place, add more of the e-beads until the pin has been completely beaded.

7: Secure the e-beads on place by forming a loop at the end of the pin using your round nose pliers.

8: Add the blue pin to the end so that it sits parallel to the light pink beaded pin. Now the v-shape has been formed.

9: Add the end of the chain to one end of the v-shaped pendant.

10: Add the other end of the chain to the end of the blue beaded pin.


11: Open the loop on the end of the light pink beaded pin and slide it though a loop on the chain so that it hangs evenly.


12: Once the v-shaped charm has been secured in place, split the middle of the chain to prepare for the attachment of the clasp.
13: On one side of the chain end attach a jump ring and slide on the lobster clasp. Secure the clasp in place by closing the jump ring.

14: Attach the other jump ring to the other side of the chain to complete the necklace.

15: And now your necklace is complete! How easy was that? What color and bead combo will you use in your design?

Here’s another cute v-shaped necklace!

-
Decorate those lobes with some incredible beaded chain dangle earrings

Remember my tutorial that showed you how to add beads to a necklace chain? Well this technique is back in the form of some stunning beaded chain dangle earrings. These earrings can be a little fiddly to put together but the elegant results are well worth it! Use your favorite gemstones to create some delicate dangles that are all your own.
You will need the following tools and materials to make these elegant beaded chain earrings:
1: Pliers. You will need your flat nose, round nose and cutting pliers to make these earrings.

2: Two small pieces of chain. Make sure that they are the same length so that your earrings match.

3: Four eye pins.

4: Two head pins.

5: Two earring hooks.

6: Two jump rings.
7: Beads of your choice. I used six of these round gemstone beads.

Try making these with some beautiful purple agate beads:
Follow these steps to make your own dainty beaded chain earrings:
1: Add a bead to each of the head pins.

2: Using the round nose pliers, bend each pin at a right angle to the bead.


3: Once the pins have been bent, use the round nose pliers again to create a loop to hold the bead in place.


4: Attach each length of chain to each of the head pin charms.

5: Set the chains aside and add the remaining beads to each of the eye pins.

6: Use the round nose pliers to bend each pin at a right angle to the beads.


7: You may need to trim the pins a little using the cutting pliers.

8: Once all your pins have been trimmed to the right length, form each pin end into a loop to secure the bead in place.


9: Take one of the chains with the bead attached to the end. Count four links and then separate the chain to make two pieces.

10: Add one of the beaded head pins to the short piece of chain.


11: Reattach the long piece of chain to the top of the second beaded pin.


12: Count another four chain links and then separate the chain again.

13: Add the third beaded pin to the earring charm.

14: Add the remaining piece of chain to the top of the last beaded pin.

15: Add a jump ring to the top of the earring charm and then slide the earring hook in place.

16: Secure the earring hook in place by closing the jump ring using your pliers.

17: Repeat steps 9 to 16 to complete the second earring.
18: Once you’ve finished your second earring your beaded chain earrings are ready and waiting to adorn those lobes!
-
Want create a beaded necklace that drapes beautifully? This one is for you!
Sometimes head pins don’t give you the look you want for your DIY necklace designs. When you want to add a beaded section to your jewelry chain tiger tail wire can be the perfect material to give you the finish you want. Here are the instructions for making a flexible beaded charm for your pretty chain necklaces!

You will need the following tools and materials to make this beaded tiger tail charm necklace:
1: Pliers. To make this necklace you will need your flat nose pliers and cutting pliers.
2: Tiger tail wire. I used this bronze colored tiger tail wire.

3: Four gold colored crimp beads.

4: A length of chain. I used this gold plated chain.

5: Two gold colored jump rings.
6: One gold colored toggle clasp.
7: Beads of your choice. I used these turquoise tear drop beads with some purple glass seed beads and blue metallic glass seed beads.


Follow these steps to make the necklace:
1: Cut a length of tiger tail wire using the cutting pliers. This length of wire will add to the overall length of the necklace.


2: Bend the tiger tail wire around the first loop of the piece of chain.

3: Add two crimp beads to the wire.

4: Use the flat nose pliers to squash the crimp beads and secure the tiger tail wire in place so that it is ready for you to add the beads.

5: Once the crimp beads have been squashed begin adding the beads onto the piece of wire.

7: Continue adding beads in your desired pattern.

8: Once all the beads are in place add another two crimp beads to the end of the tiger tail wire.

9: Loop the end of the wire through the other end of the necklace chain and back through the crimp beads.

10: Use the pliers to pull the wire tight and then squash the crimp beads in place.
11: Trim the excess wire using the cutting pliers.


12: Split the center of the necklace chain at the top of the necklace.

13: Add a jump ring and one side of the toggle clasp to one end of the split chain. Secure the clasp in place by closing the jump ring.


14: Add the other side of the toggle clasp as you did in step 13.

15: Once your clasp has been secured in place your necklace is finished. Pop it on and have some fun!


Here’s another tiger tail chain necklace made with rutilated quartz and gold chain!