-
Want a new pair of hoops? Here’s how to turn two pieces of wire into a unique pair of wiggle hoop earrings.
Want to work with metal but don’t want to invest in all the equipment? Then this tutorial is for you! Follow along to make a unique pair of wiggle hoop earrings using pliers and some wire. I love how simple but stunning this tutorial is. Please note that this tutorial contains affiliate links from which we may receive a small commission.
You’ll need the following tools and materials to make your wiggle hoop earrings:
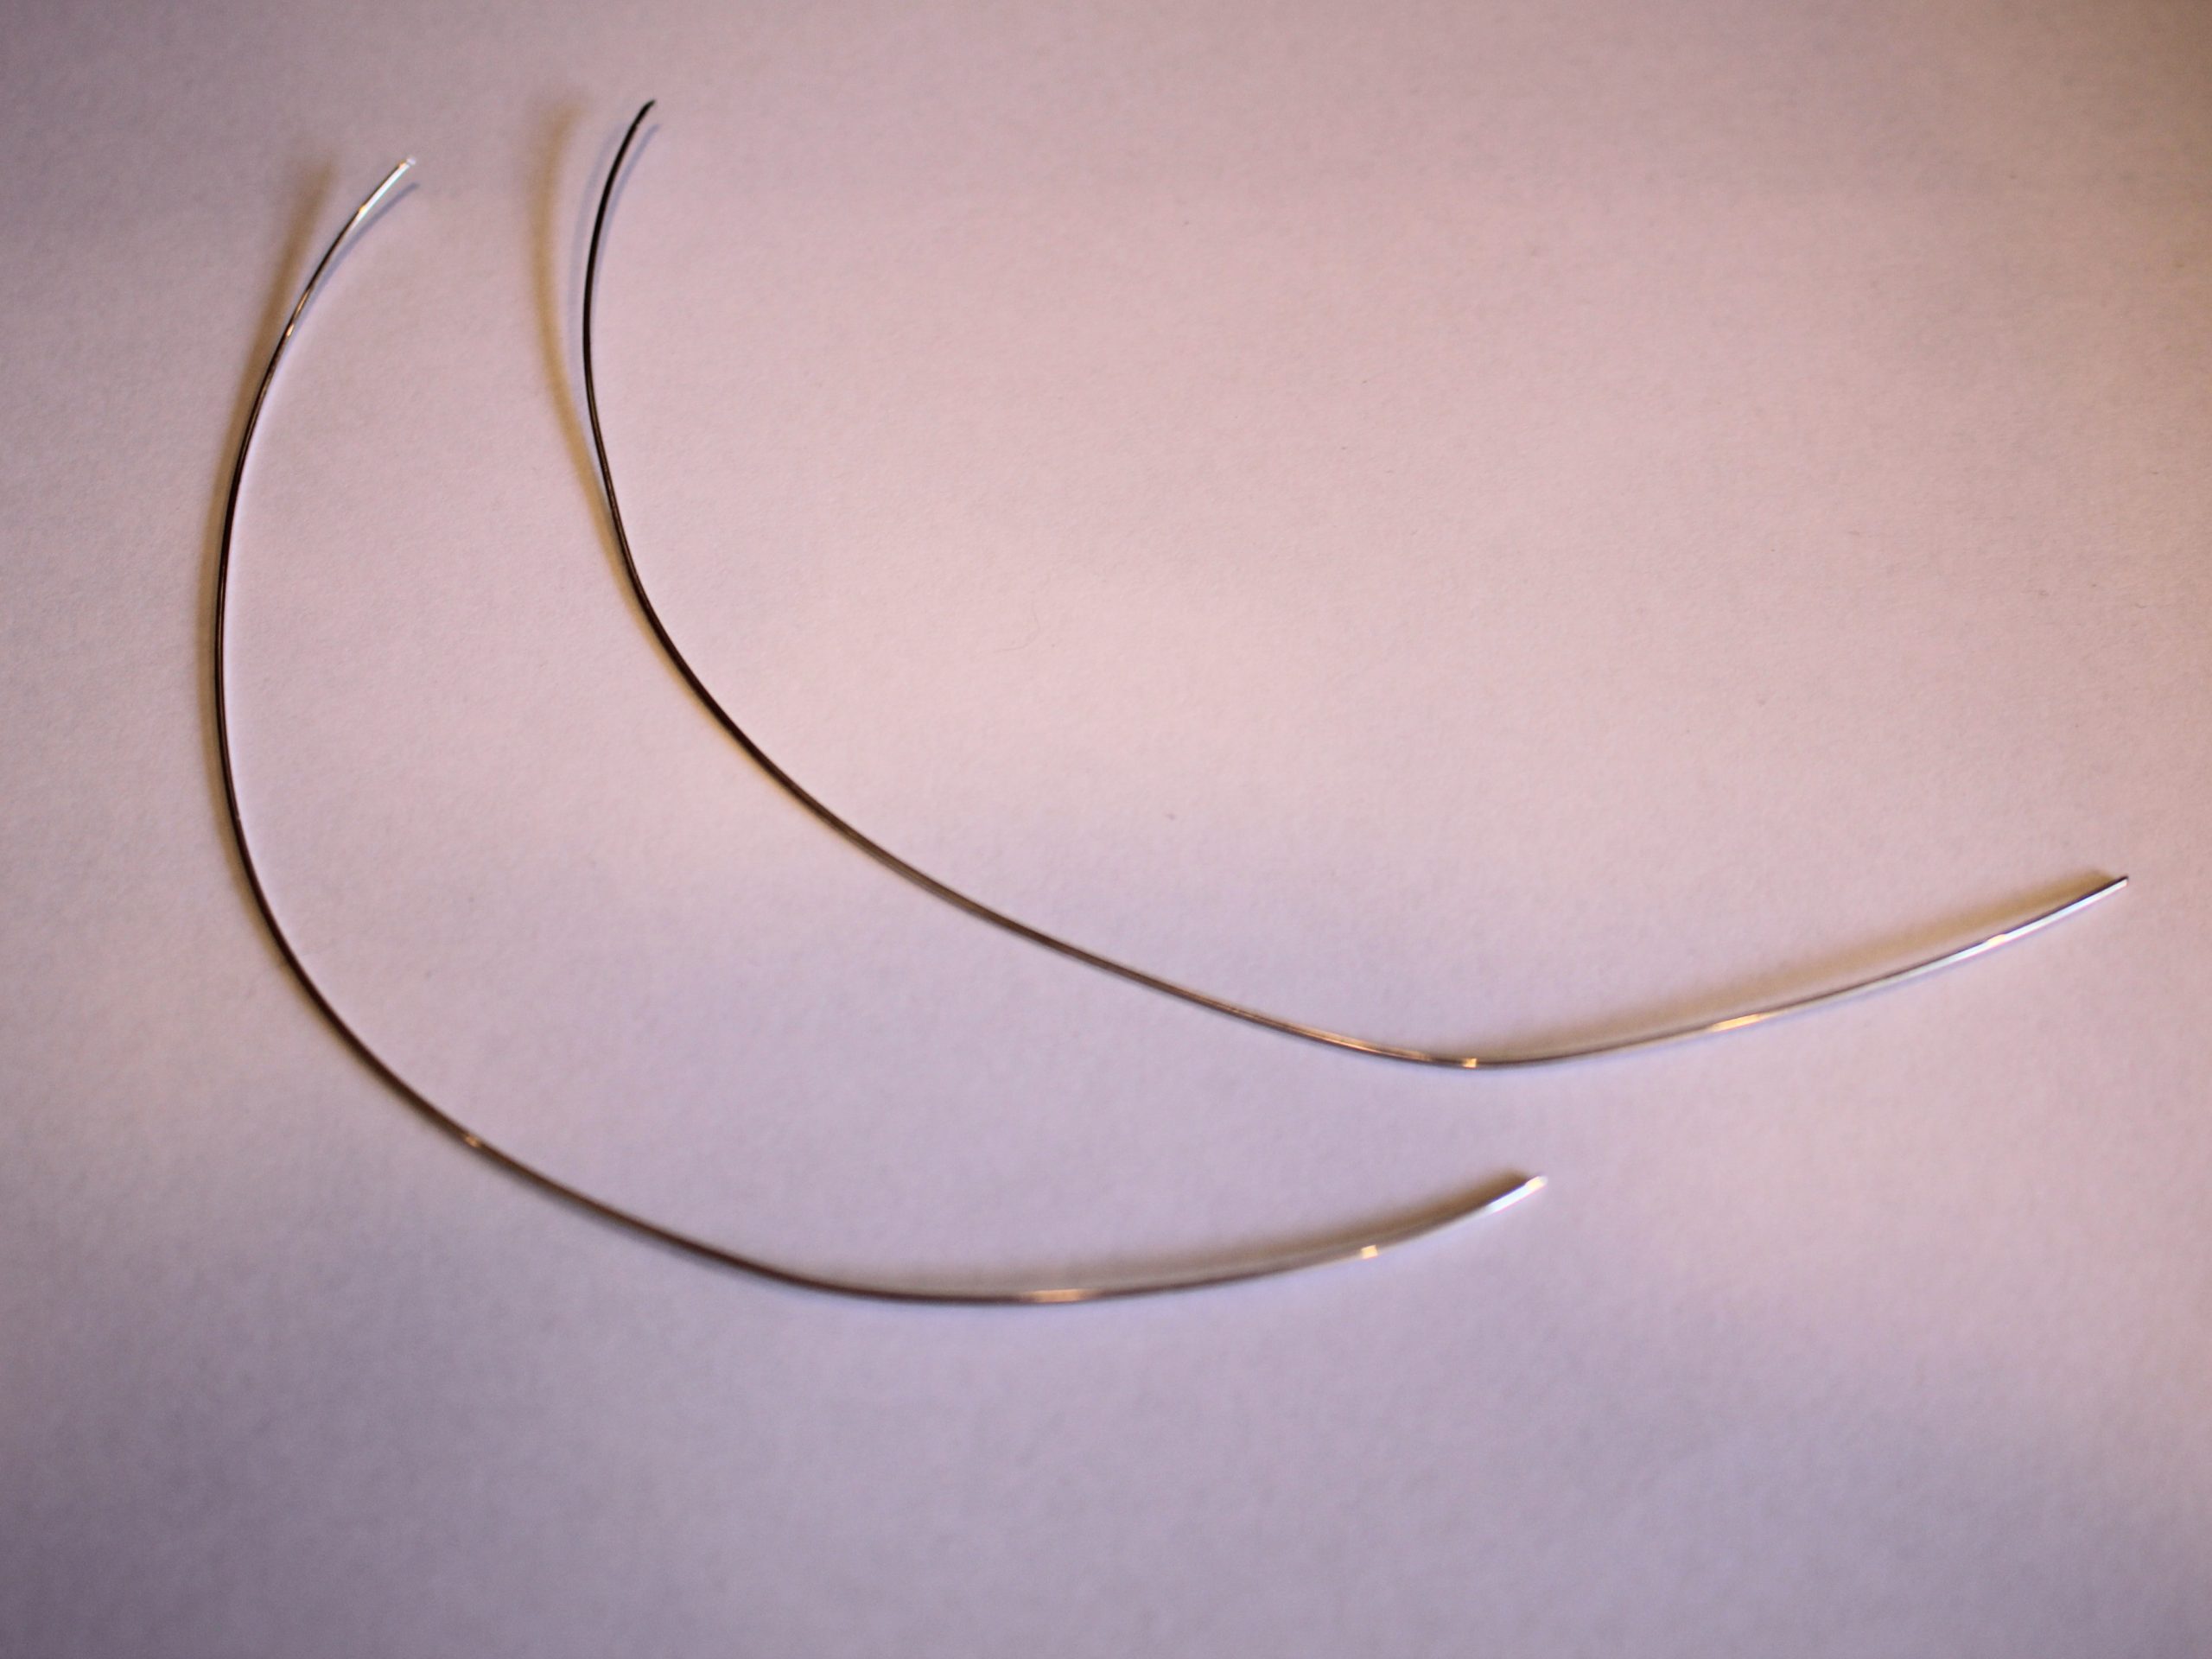
1: Two pieces of wire, I used 0.8mm diameter sterling silver and cut mine to be about 18cm long each.

You can get silver wire here:
If you’re feeling fancy, you can get solid gold wire here:
2: A jewellery file or emery paper to ensure that the ends of the wire aren’t too sharp.

You can get a jewellery file here:

I have my emery paper attached to a stick for more control. You can get some here:
3: Half round-Flat pliers. These pliers have a half-round side and a flat side to make curves.

You can get a pair here:
4: Round-flat pliers.

You can get a pair here:
5: Parallel pliers.

You can get some here:
6: A bangle mandrel or something else that is the right diameter so you can shape your earrings into a circle.

You can get one here:
7: Butterfly backs.

You can get butterfly backs here:
8: A nylon or leather hammer for shaping the earrings against the mandrel (Don’t use this if you are shaping your earrings around something breakable).

You can get a hammer here:
9: Sticky tape. I used plastic tape but masking tape would likely be more suitable.
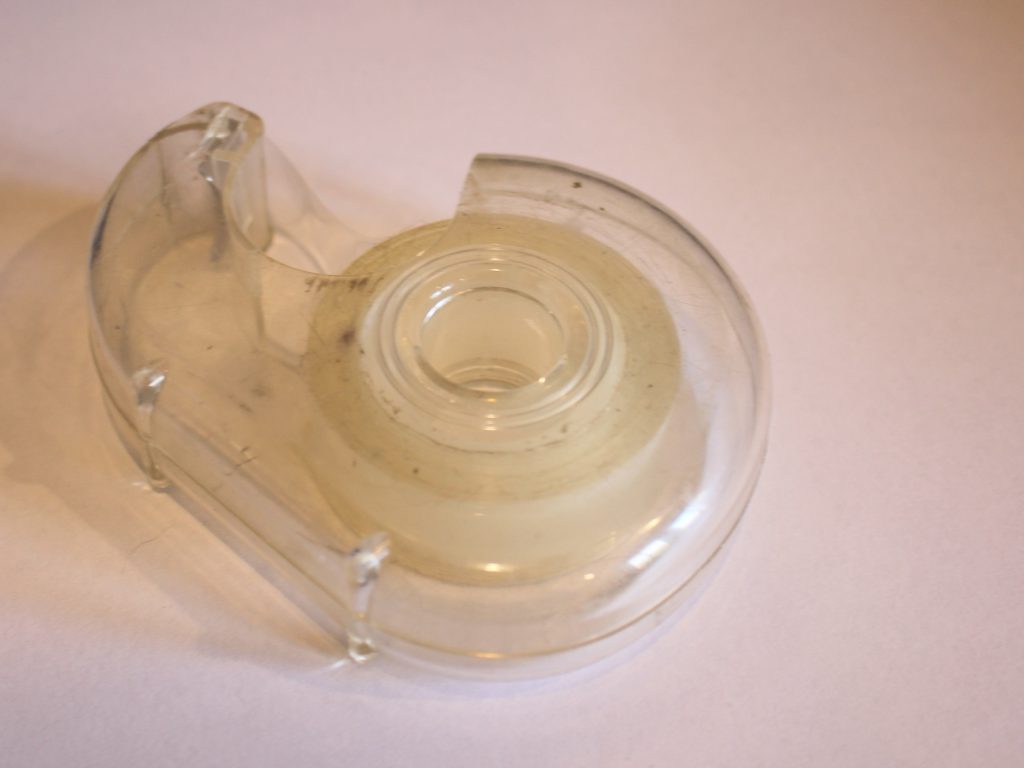
You can get masking tape here:
Follow these steps to make your own pair of hoop earrings:
1: File the ends of the wire so that they are flat and have no sharp edges.

2: If you have emery paper, sand the ends as well to further break down any sharp ends.
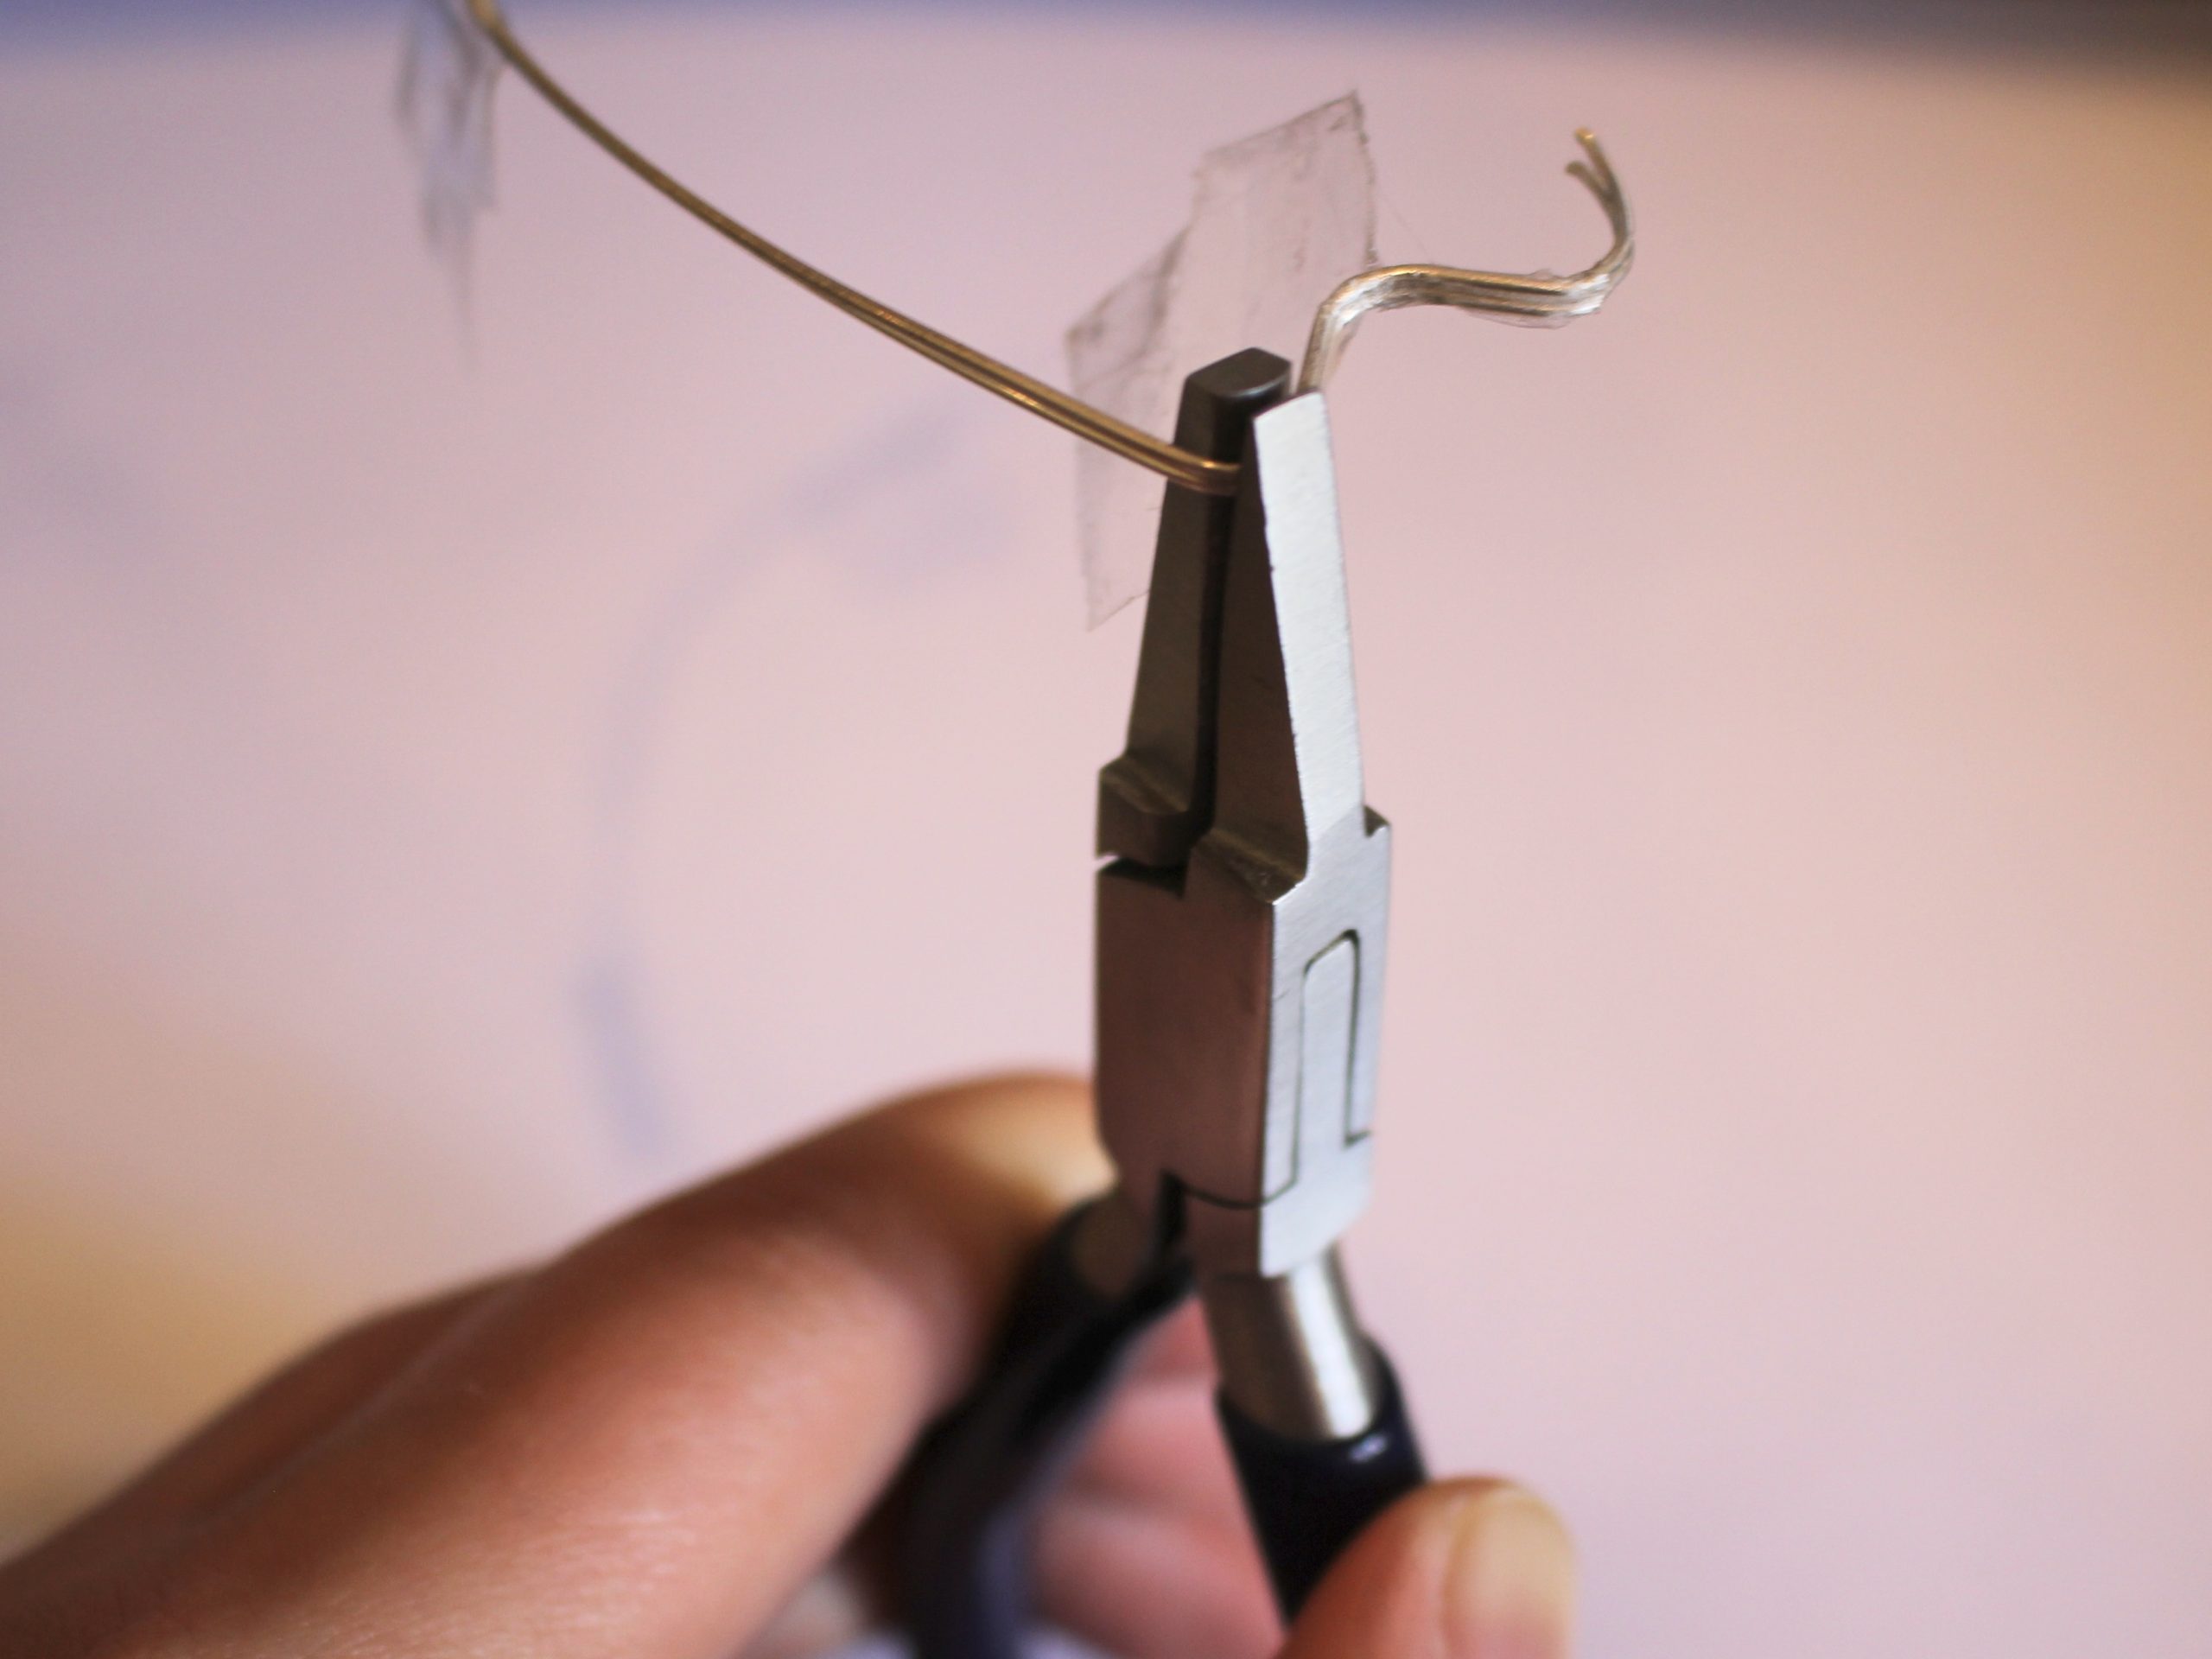
3: Tape the two pieces of wire together.

4: Take your half round-flat pliers and create the first bend at the end of the wire by clamping the wire into the jaws of the pliers and pressing them together.

5: Flip the pliers around and place them on the other side of the wire and repeat step 4 to make a curve in the wire in the opposite direction.

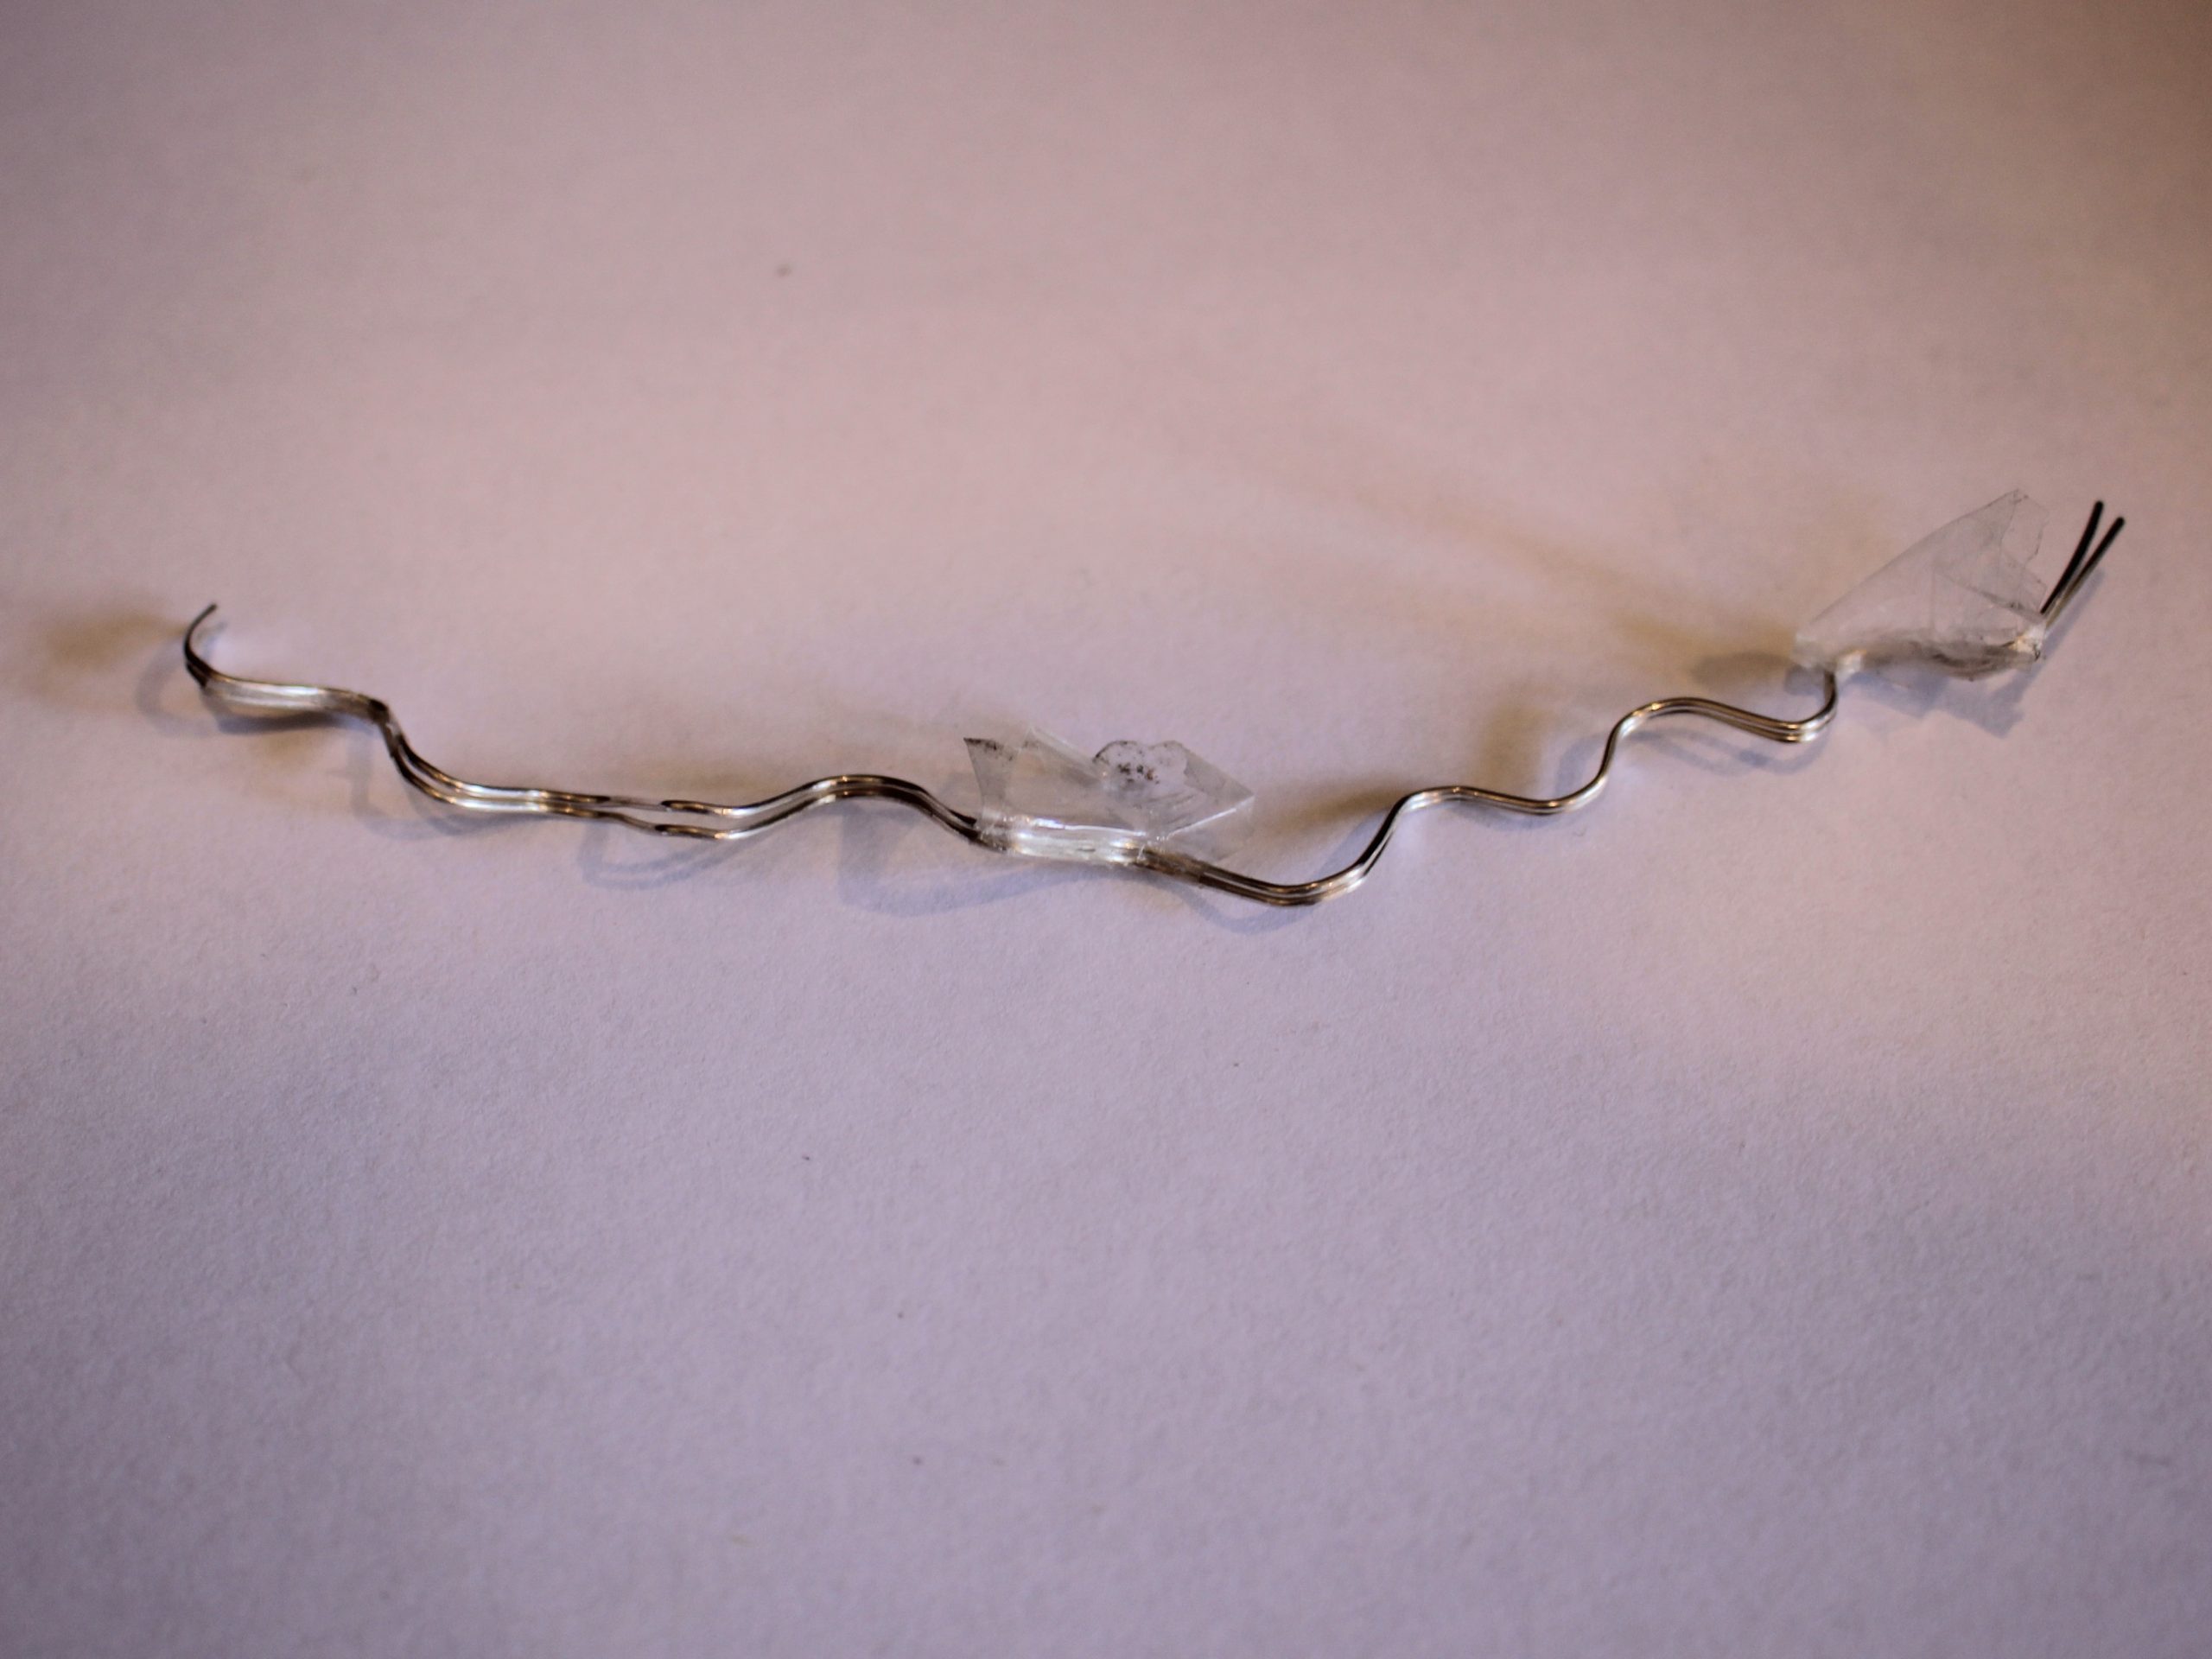
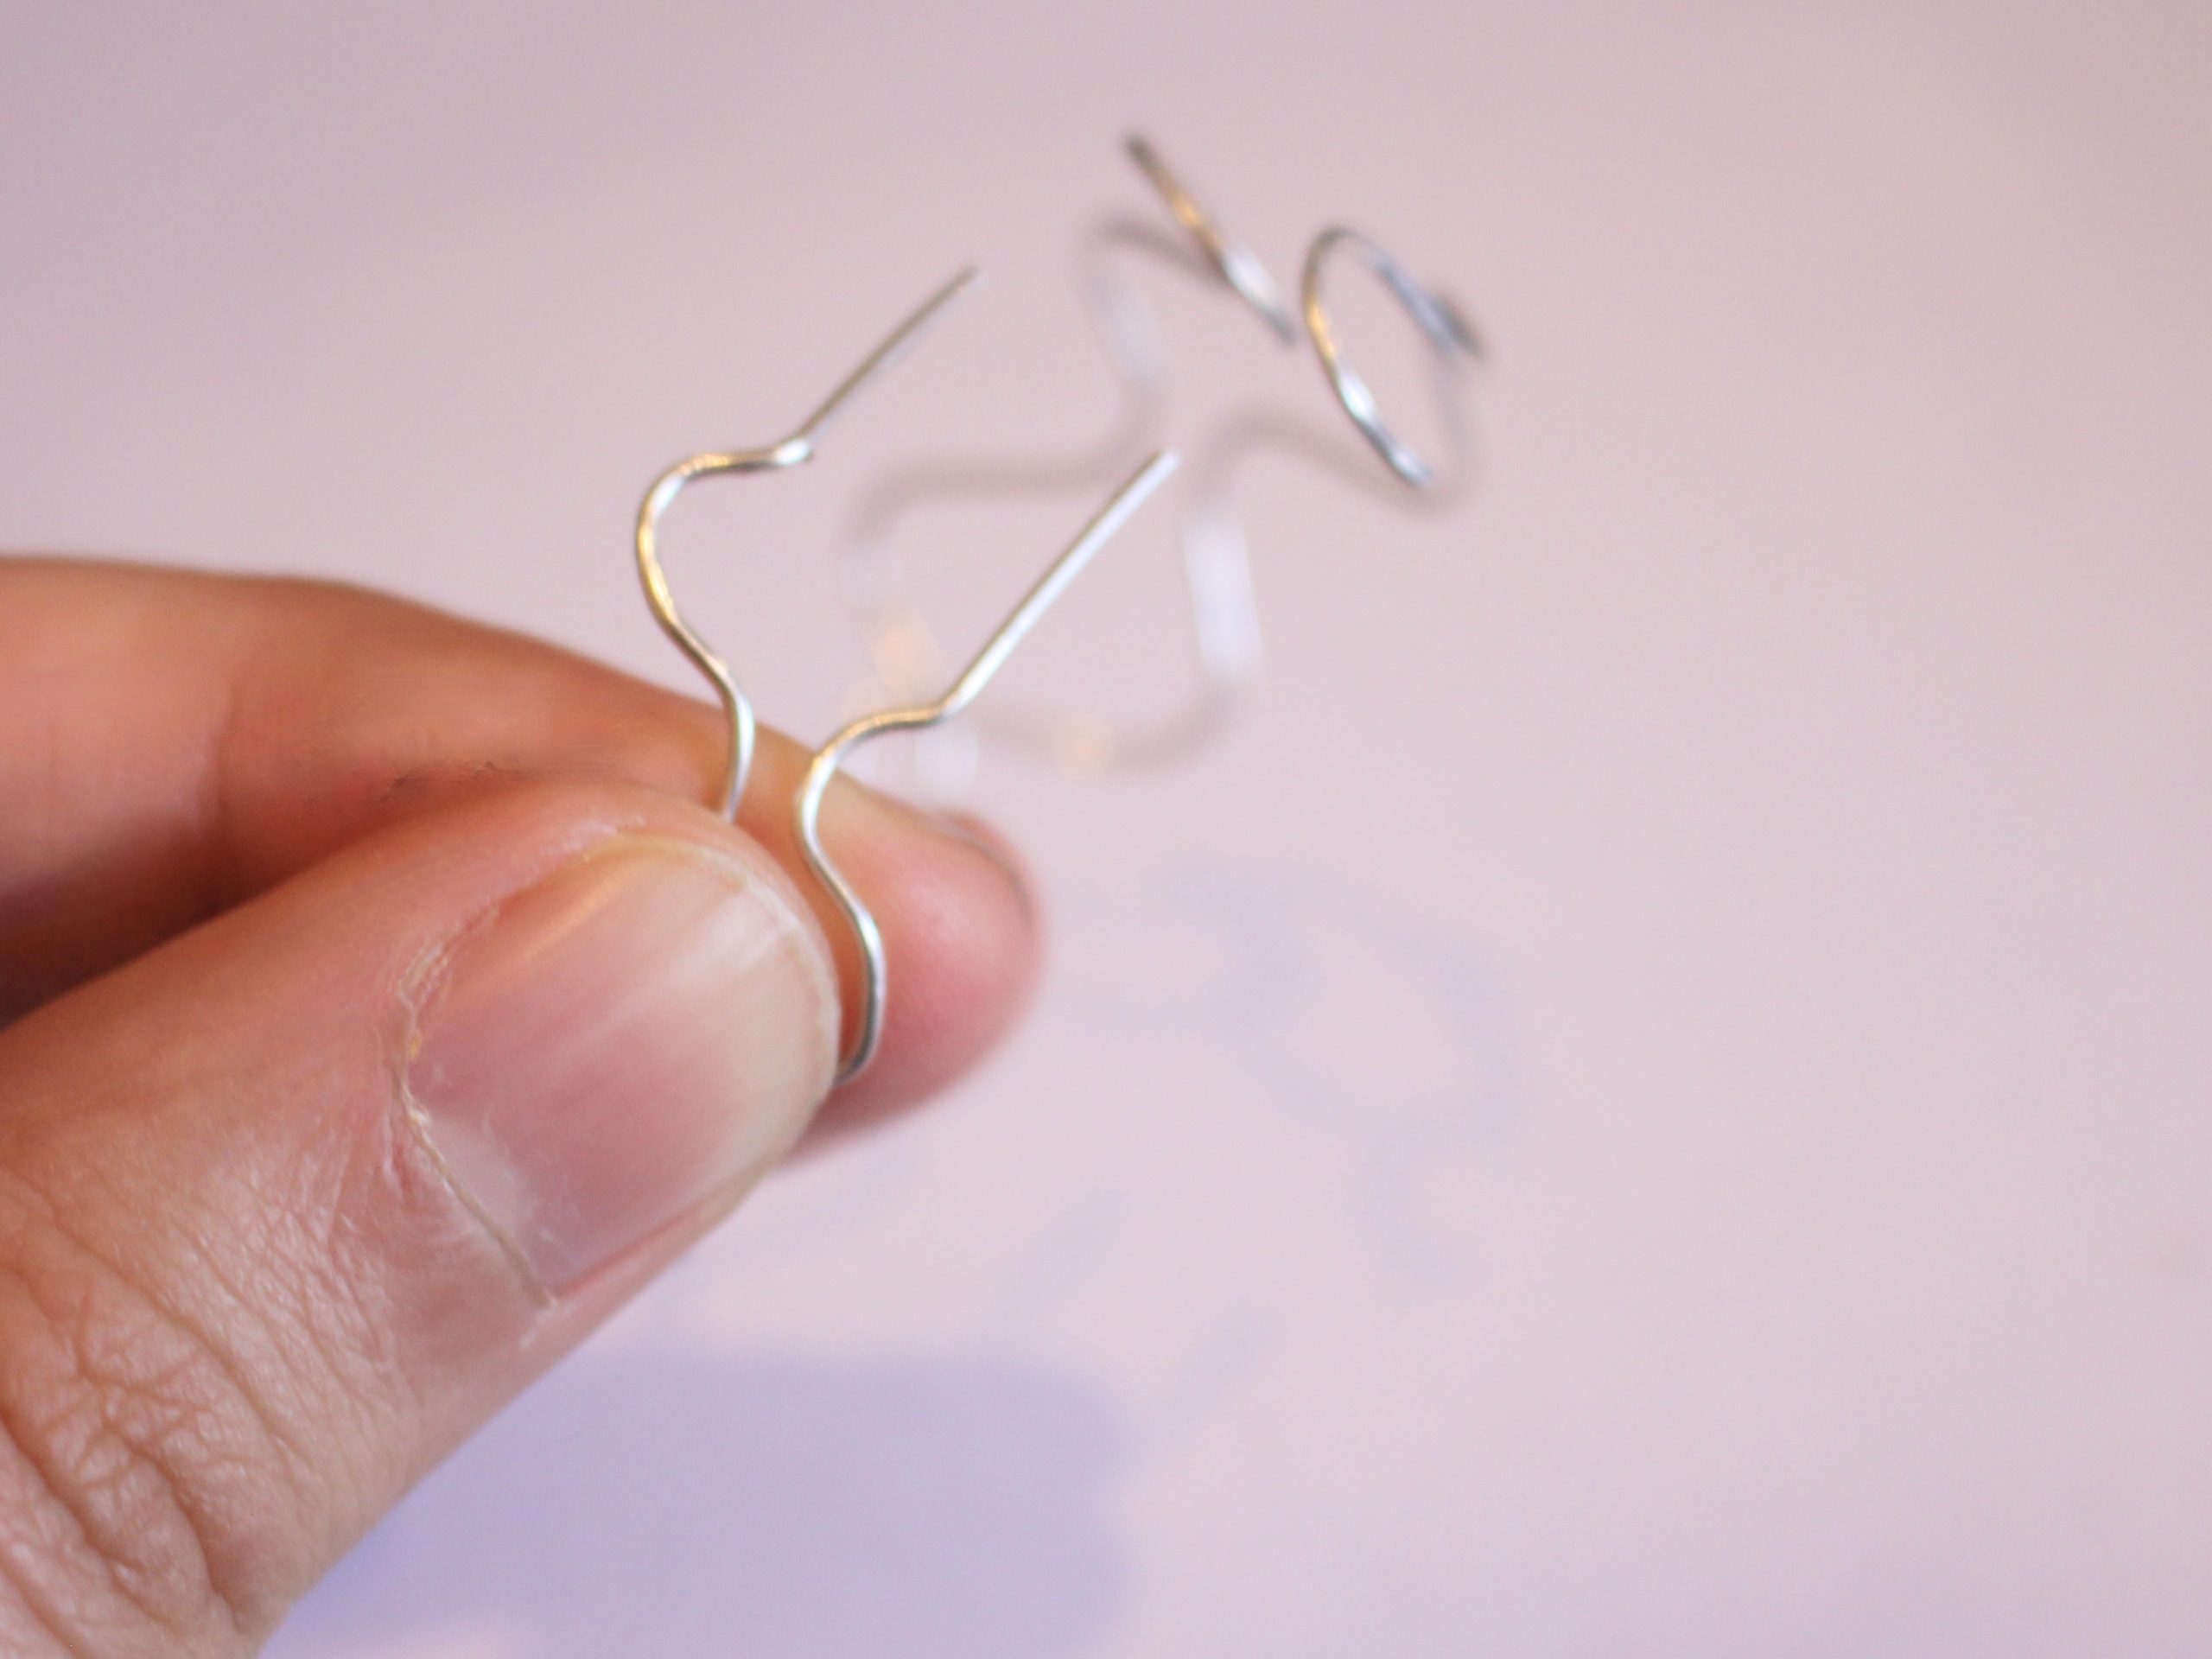
6: Repeat steps 4 and 5 until your pieces of wire are formed into a squiggle shape, but leave about 1cm at the end for the earring post.


7: Remove the tape and separate the wires.
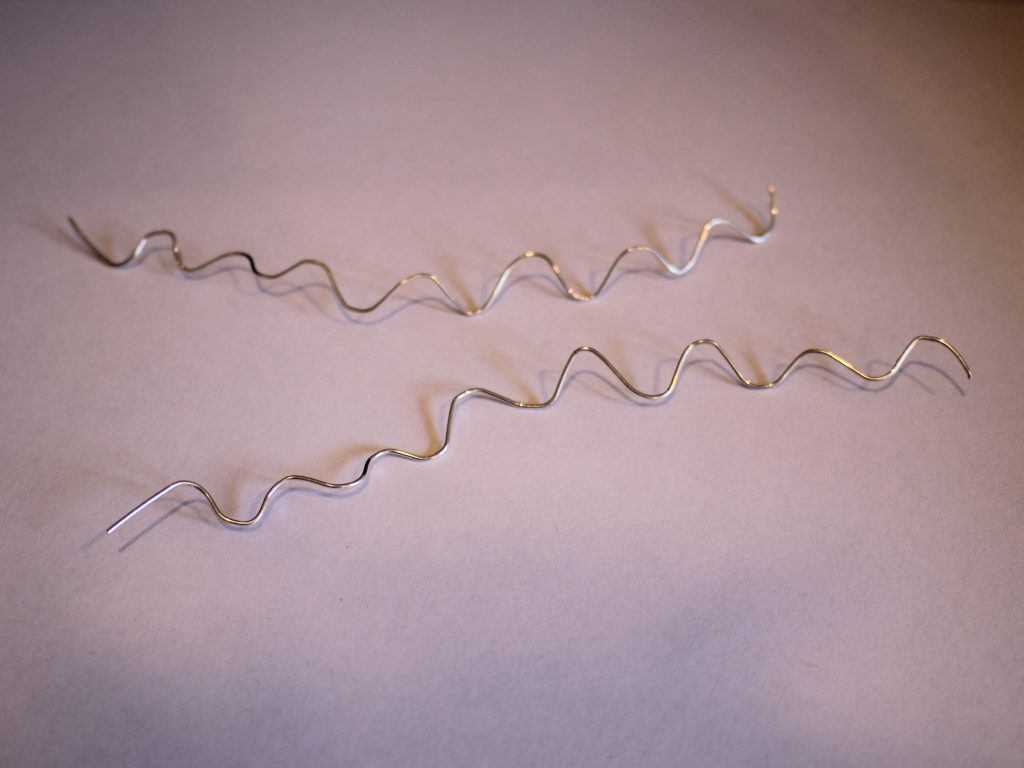
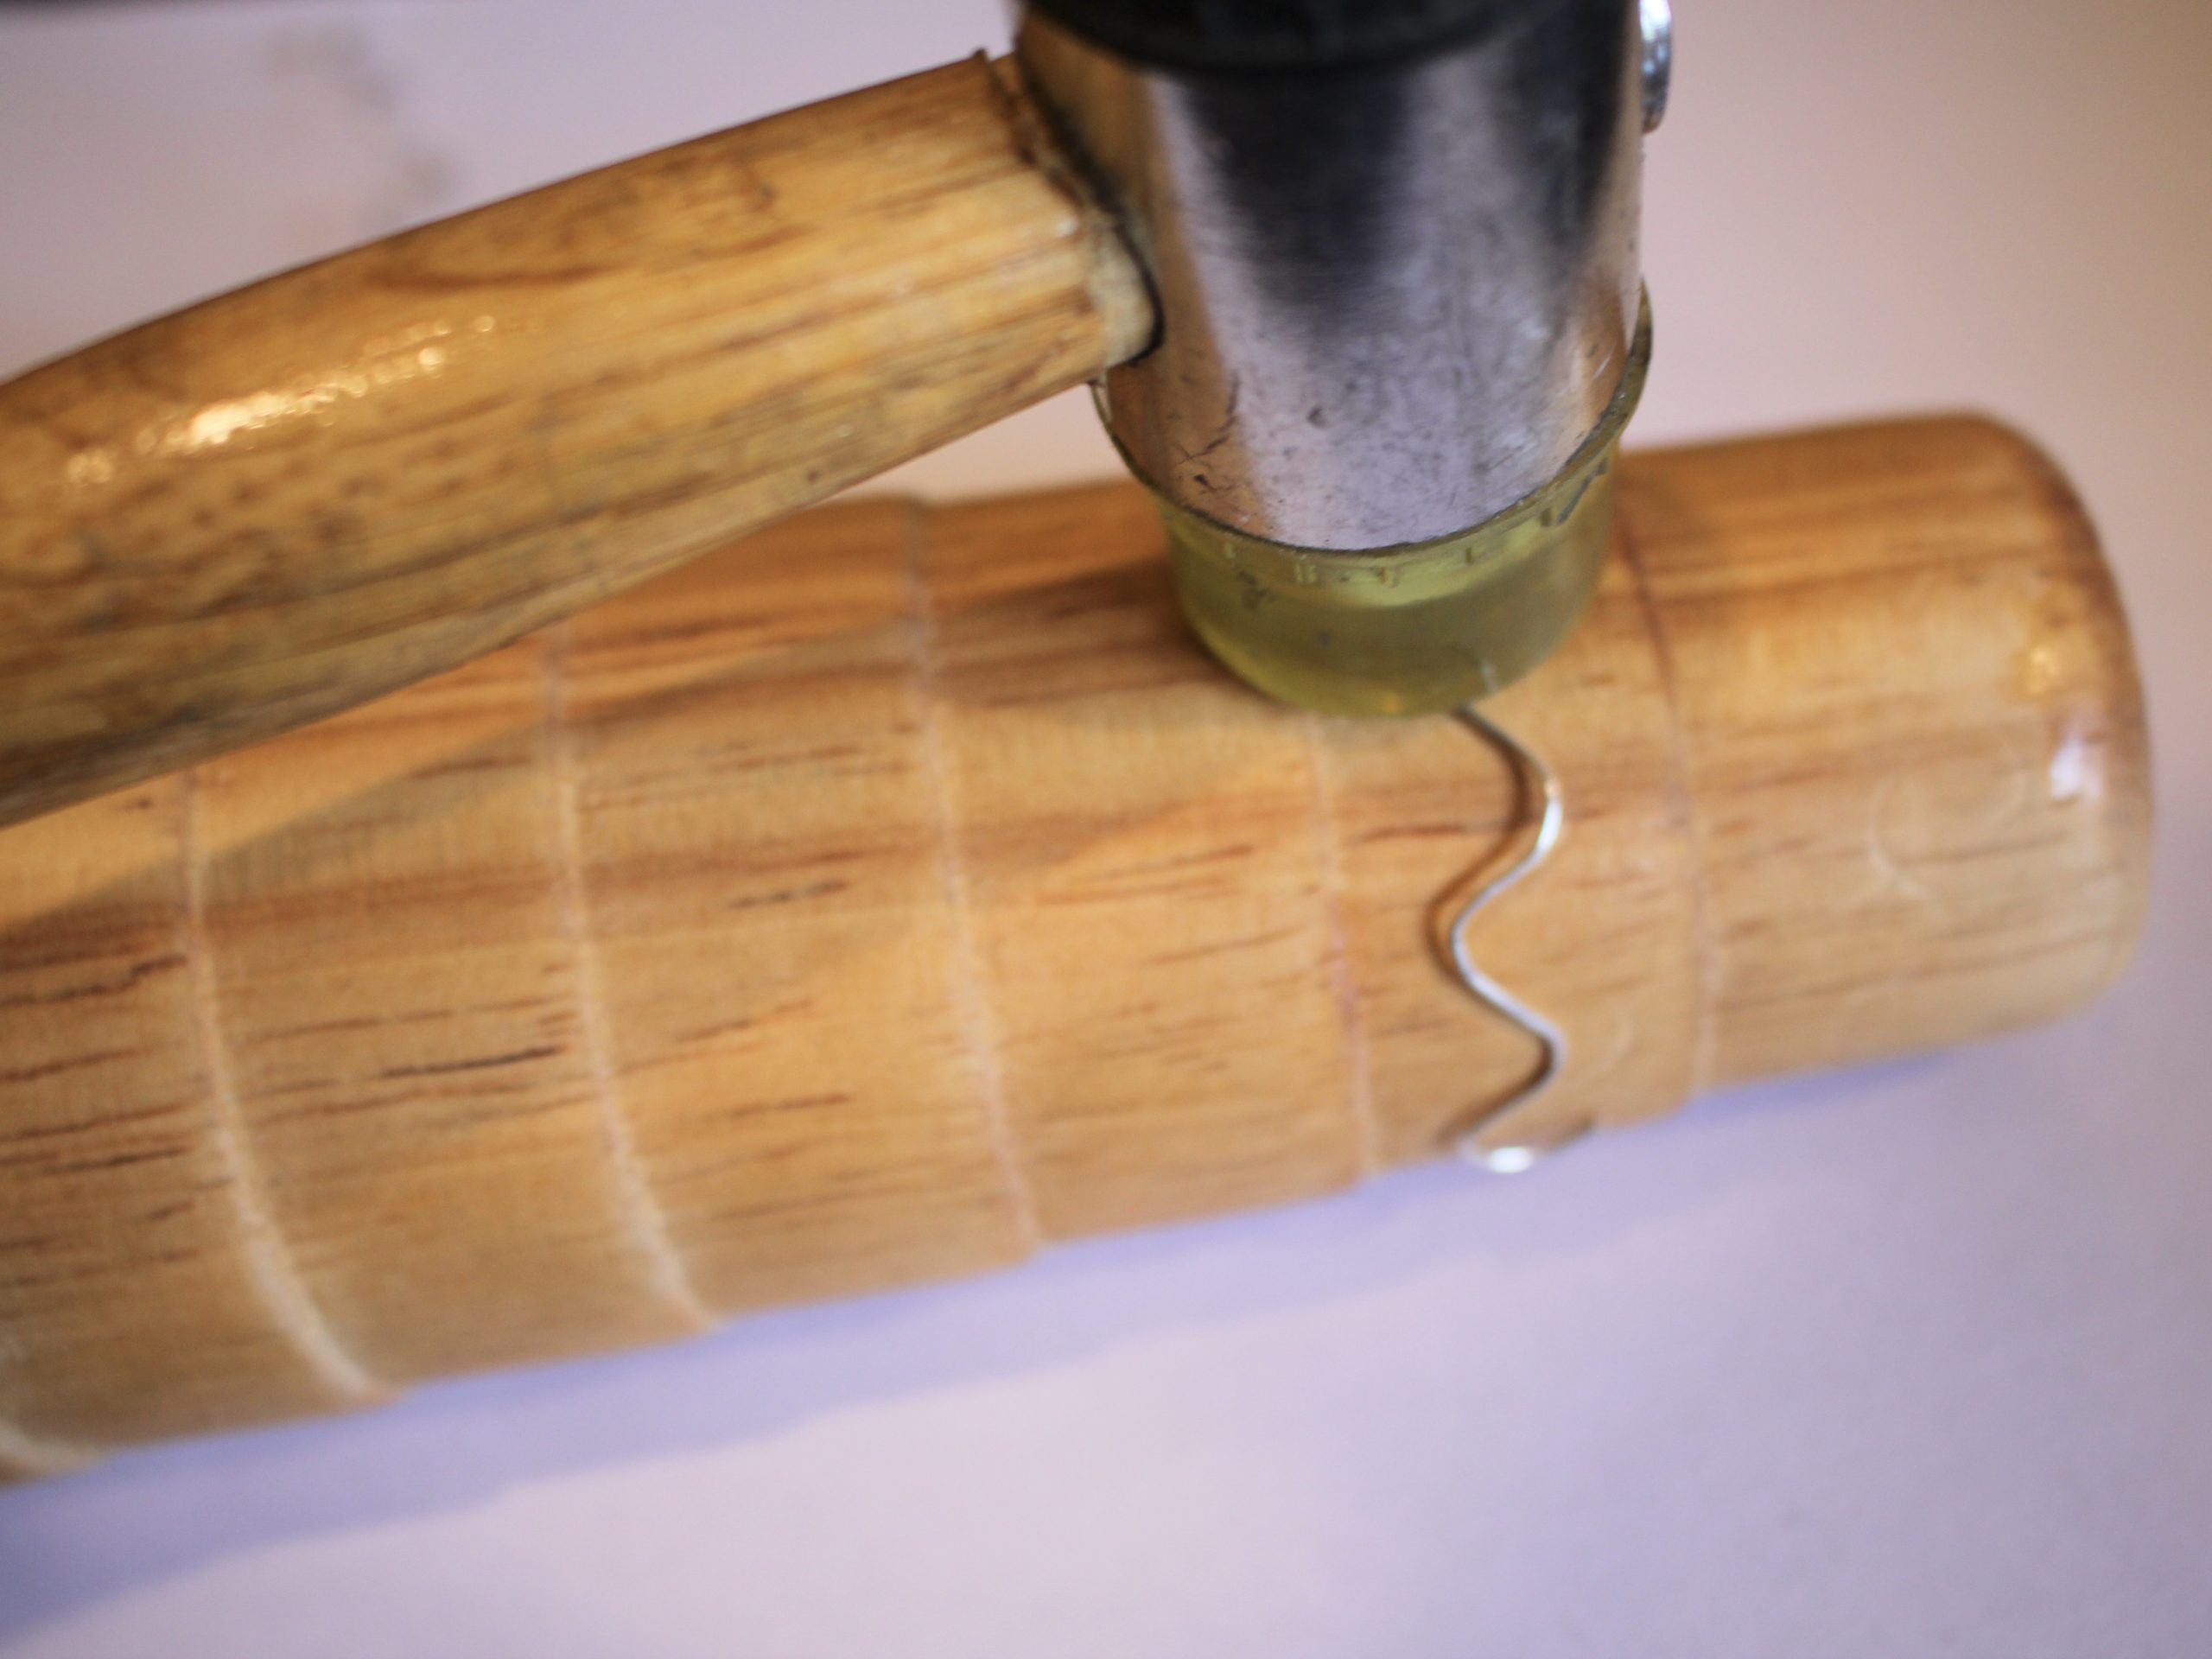
8: Wrap the wire around the bracelet mandrel to form it into the earring shape. Use the nylon hammer to hammer it into shape. Repeat this for both of the earrings.


9: You can further adjust the shape of the earrings by pressing the half round-flat pliers around the earring, making sure to match the curve of the pliers with the inner curve of the earrings. Doing this will add more tension to your earrings to help them hold their shape.
10: When you are happy with the shape of your hoops, Take the round flat pliers and push the straight ends of the wire around so they sit sideways.


11: Then take your parallel pliers and use them to adjust the straight ends of each earring so that they are centered in the middle of the wiggle to sit evenly in your ears.


12: Once you have adjusted the ends, your earrings are finished and ready to wear. Pop the butterfly backs on to secure them on your lobes.

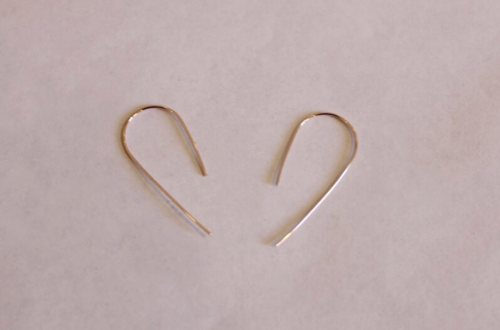
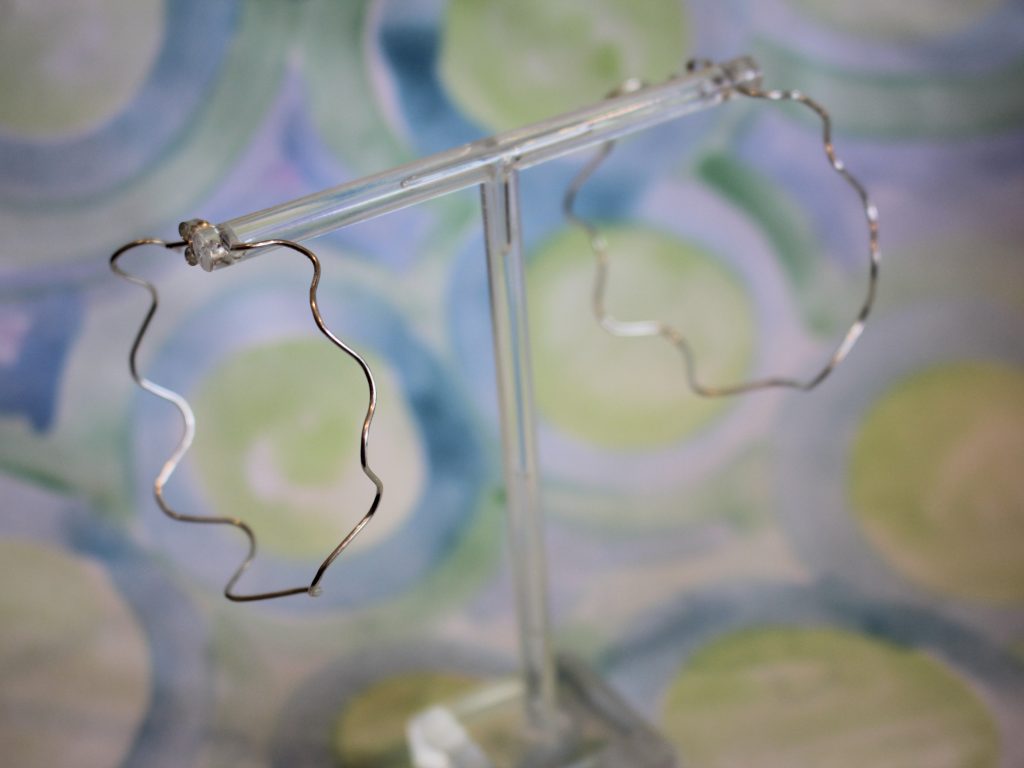
Here’s how the finished product looks! How will you style yours?


-
Want to make your own hoop earrings out of wire? Here’s how you can do it!
It can be so satisfying to make your own jewellery out of metal, but you might wonder how you can do it without all the tools and fire… well I’ve got an answer for you… here’s how you can make some metal hoop earrings out of wire and a few tools, no fire or expensive tools required! Please note that this tutorial contains affiliate links.
You’ll need these tools and materials for your pair of metal hoop earrings:
1: Two pieces of wire, mine were about 12cm long (I used rose gold-filled wire). The longer the wire is, the bigger your hoops will be. It is helpful to note that longer pieces of wire are easier to work with than shorter pieces.

2: A pair of round flat pliers.

3: A pair of round nose pliers.

4: Cutting pliers to cut your wire to length.

5: Flat nose pliers.

6: A ring mandrel or something round that you can use to form the earring shape.

7: A file.
Follow these steps to make your special metal hoop earrings:
1: File both ends of each piece of wire so that it is flat and smooth, this will make it nicer to put through your ear.


Here is an example of what the filed ends will look like. 2: Take one of the wires and bend one end to form a right angle using the flat round pliers. I used the edge of the flat side to measure out how much to bend.

3: Repeat step 2 for the second wire.

4: Using the round nose pliers, turn the short bent end of each wire into a loop.


5: Take each wire and wrap it around the ring mandrel or round item to form the hoop shape. Press gently around with your fingers or tap lightly with a plastic or leather hammer to get the shape you like. Because my mandrel was a bit small for the length of wire I used, I pulled it gently and let the wire flex back to make a bigger hoop.

Note: pulling the wire tight around the mandrel like this helps give it tension and hold the hoop shape. 
6: Add a small kink to the non-looped end of each earring using flat nose pliers. This will allow the ends to hook into the loops of the hoop.
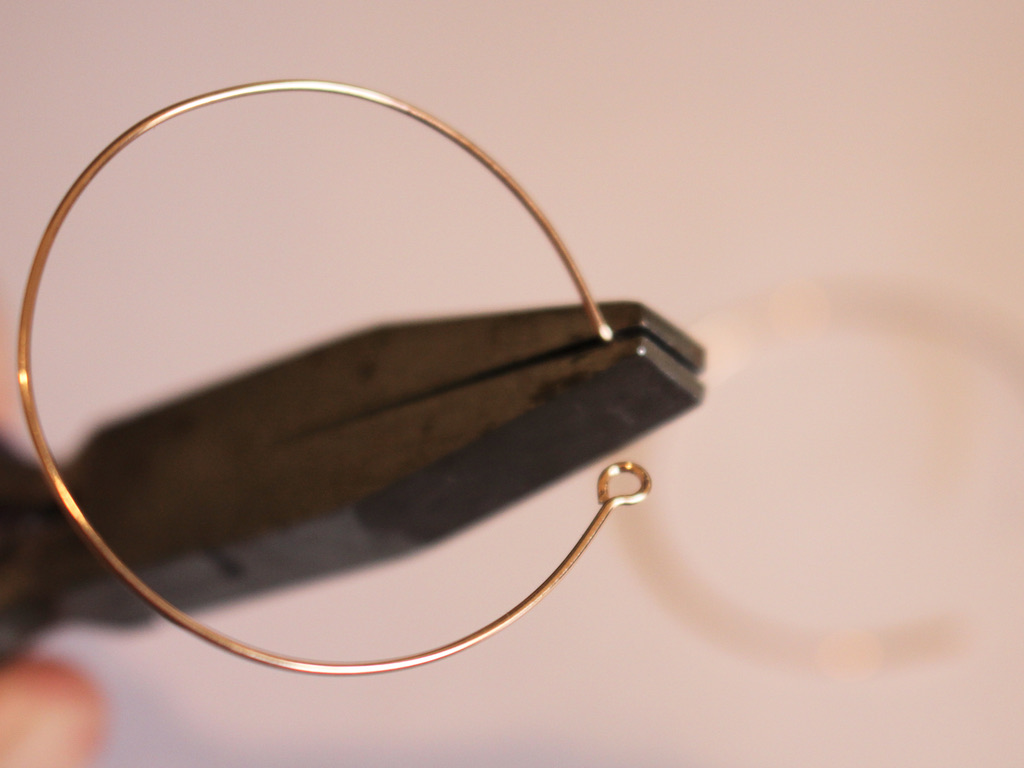

Now your hoop earrings are finished! How lovely is it that you can make your own precious metal jewellery at home?!


Here are some more tutorials that show you how to make metal wire jewelry without needing a jeweller’s torch:
-
How to add cute square charms to a pair of hoop earrings!
These hoop earrings are really cute! Each hoop has a little dangly beaded square charm which moves prettily as you wear them! This is a really special way to upgrade a basic hoop finding. Please note that this tutorial contains affiliate links.
Grab these tools and materials to make your earrings:
1: A pair of hoop findings.

2: Eight eye pins.

3: Four head pins.

4: Four small jump rings.

5: Four large jump rings.

6: Glass beads. I used yellow glass e-beads.

7: Some accent beads, I used four blue seed beads and four silver-tone beads.


8: Pliers. I used my flat nose and round nose pliers for this pair of earrings.
Follow these steps to make your elevated hoop earrings:
1: Add beads to one of the eye pins.

2: Bend the end of the pin to form an angle.

3: Curl the end of the pin around the round nose pliers to make a loop. This secures the beads in place.


4: Repeat steps 1-3 for the remaining seven eye pins. Now you will have eight beaded pins.

5: Take four of the pins and join them together to form a chain.


6: Do this again for the second set of pins.

7: Attach the ends of each chain together to make a square shape.


8: Set the two squares aside.
9: Add two of the accent beads to the head pins.


10: Wrap the end of the pin around the round nose pliers to create a loop.


11: Repeat steps 9 and 10 for the other three pins, using up the rest of the beads.

12: Attach two of the charms you just made to the bottom corners of each of the squares using the small jump rings.


13: Add the larger jump rings to the top corners of the squares.


14: Using the larger jump rings, slide a charm onto each of the hoops.


Now your elevated hoop earrings are finished and ready to wear! How fun is this design? I love how they move and wiggle as I wear them!

Here are some other ways you can incorporate beaded squares into your jewelry:
-
How to add cute charms to a pair of hoop earrings… these charm hoops are perfect!
This is a simple DIY that looks really cute! Update a pair of hoops with some adorable glass star beads that dangle from the centre. I really like how these hoops show off the cutest little stars. As an added bonus, these are really simple to put together, giving you that instant gratification hit! Please note that this tutorial contains affiliate links.
You’ll need the following tools and materials to make your charm hoops:
1: Pliers. I used my round nose pliers.
2: A pair of hoop earrings. I used these gold-tone hoops with lever backs.

3: A pair of head pins.

4: A couple of beads, I used these green star beads.

Follow these steps to make your charm hoop earrings:
1: Add each of the beads to each of the pins.

2: Bend the pins around the barrel of the round nose pliers to form a loop.


3: Slide each of the charms onto the hoops to finish off the earrings!


Now they’re ready to wear! How cute are these little charm hoops? I love them!


Here are some other charm hoop earrings you can make:
-
These earrings have not one, not two… but three hoops! Here’s how to make them.
Do you love it when your earrings to do the most? These earrings are a true hoop statement, made with three hoops that nest into each other. I think these are so cute!
Please note that this tutorial contains affiliate links.
You’ll need the following tools and materials to make your triple hoop earrings:
1: Six pieces of wire in three different lengths (two pieces of each length). The longest piece of wire will determine the size of the rest of the hoops. I used copper wire.

2: Six small jump rings.
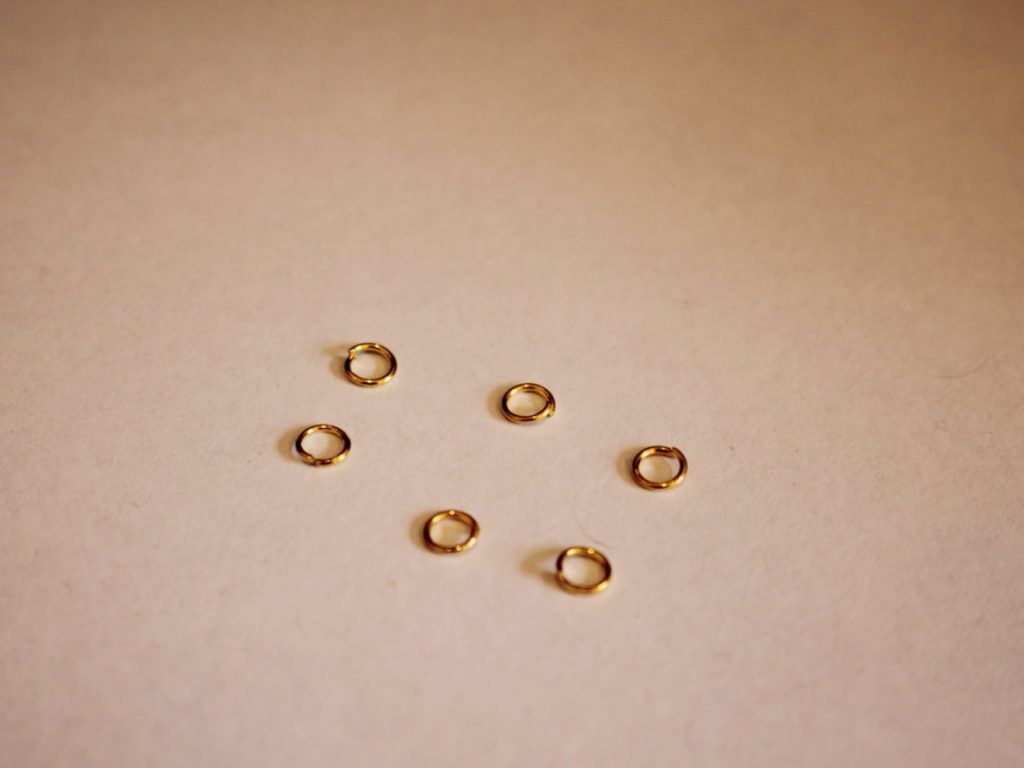
3: A pair of earring hooks.

4: Beads of your choice. I used six red timber beads and some yellow glass e-beads.


Follow these steps to make your triple hoop earrings:
1: Create a loop at one of the ends of the long wires using your round nose pliers. Do this by creating a right angle first and then looping that small end of the wire around the barrel of your pliers.


2: Add beads to the wire in your chosen pattern. I beaded mine primarily with the yellow beads, placing a red timber bead in the centre. You can estimate the centre of the wire by forming it into a rough circle shape.

3: Once the wire is beaded, with 1cm left bare, create another loop at the end of the wire. This will secure the beads in place. Open the end loop up a bit and slide it into the loop you made at the start, close it to secure the ends together and form the circle shape.
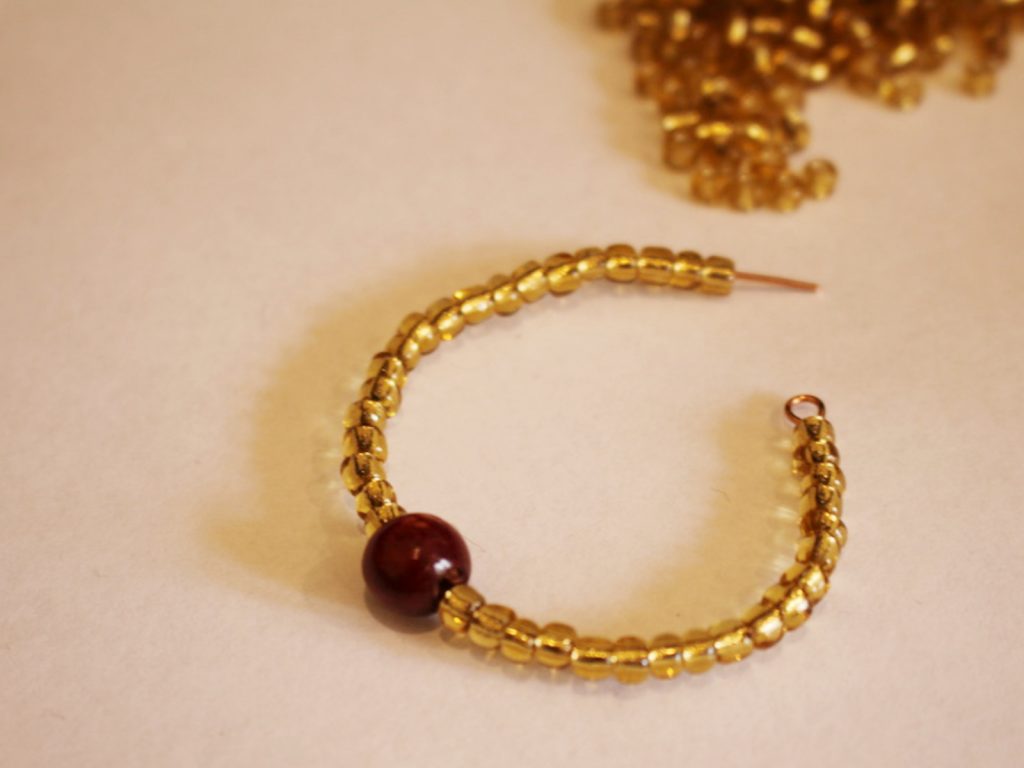


4: Repeat steps 1-3 for the rest of the wires to create six circles.
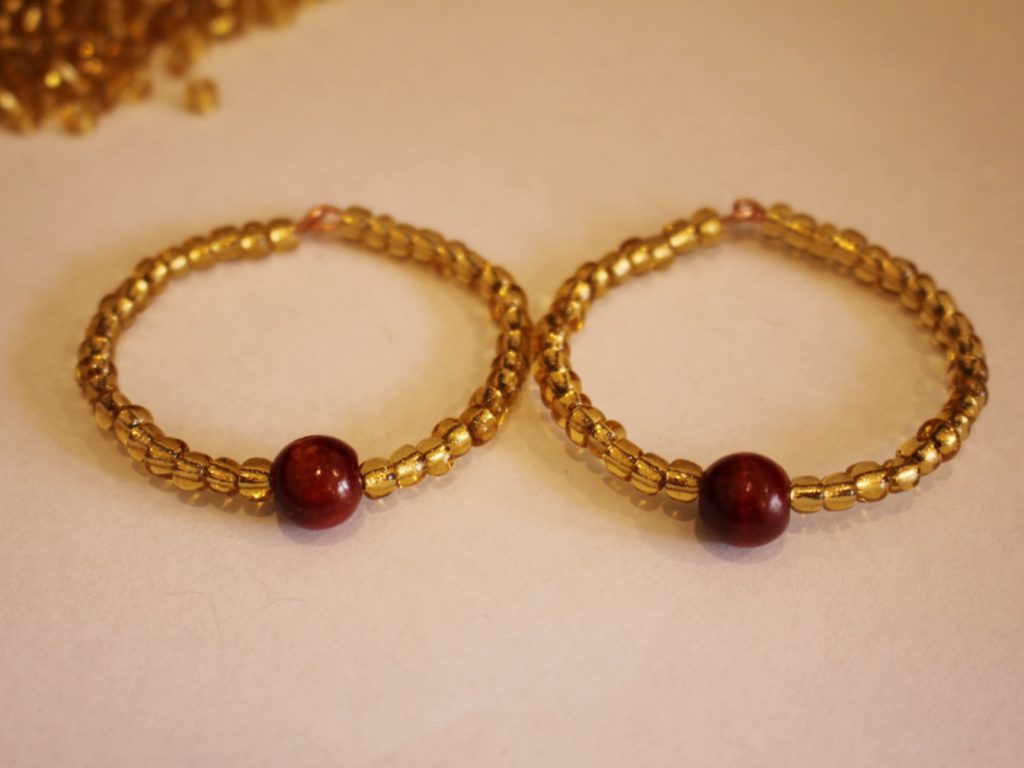


5: Take one of the biggest circles and one of the medium circles. Attach them together using one of the jump rings. Slide the jump ring through the loops at the top of each hoop and close it to secure them together.

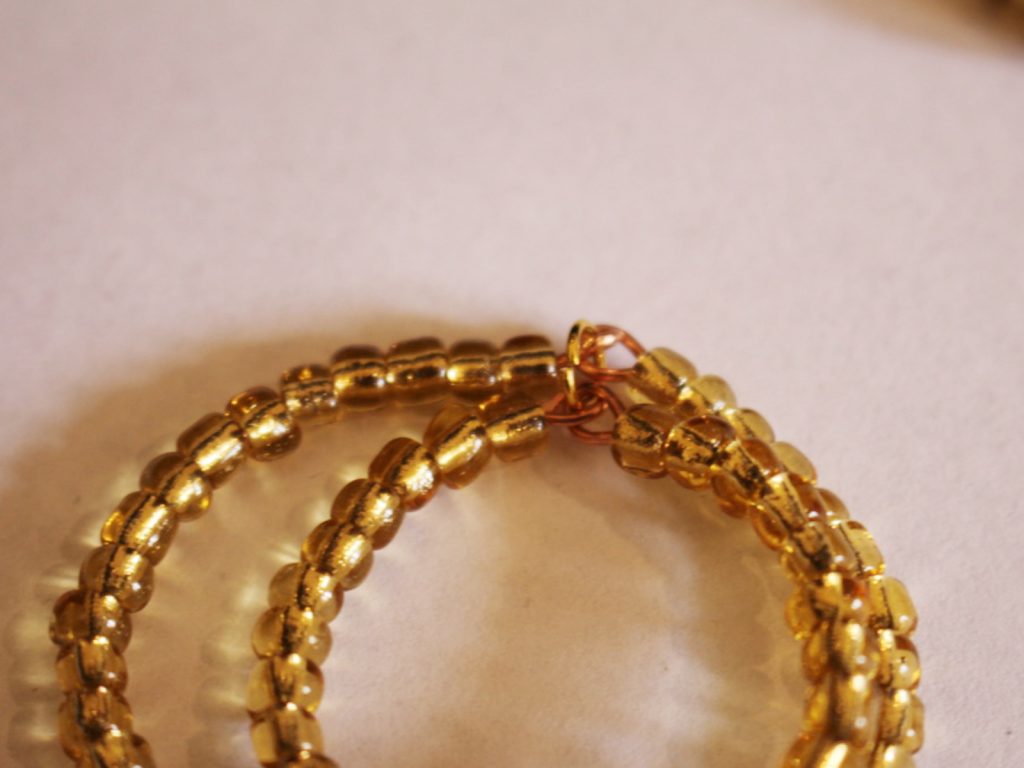
6: Repeat step 5 to attach the smallest hoop to the middle hoop so that you have a stack of three hoops attached together.

7: Repeat steps 5 and 6 for the second set of hoops.

8: Attach an earring hook to both sets of hoops to finish them off.


Now your cute triple hoops are finished and ready to wear!


If you like this design, here are some other multi-hoop earring tutorials:
You May Also Like

Want a new pair of hoops? Here’s how to turn two pieces of wire into a unique pair of wiggle hoop earrings.

These arched and chain embellished earrings are so cool. Here’s how to make them.

Got Some Special Beads You Want to Show Off? Try Making These Triangle-Shaped Ladder Earrings
-
Add a cool feature to your hoop earring designs by using toggle clasps… here’s how!
These earrings use toggle clasps to add an interesting feature to your standard beaded hoop earrings. Make lots of charms to switch them up and mix and match. This tutorial contains affiliate links.
You’ll need these tools and materials to make your toggle clasp hoop earrings:
1: Pliers. I used my cutting pliers, round nose pliers and flat nose pliers.

2: Two pieces of bracelet sized memory wire.

3: Two toggle clasp sets.

4: Four jump rings.

5: A pair of stud earrings with charm loops.

6: Beads. I used these silver lined clear glass beads and some wooden chip beads.


Follow these steps to make your toggle clasp hoop earrings:
1: Create a loop at one end of the memory wire using the round nose pliers.


2: Add beads to the wire in any pattern you choose.


3: When there is approximately 1cm of the wire left unbeaded, create a loop at the other end of the wire and thread it through the initial loop you made to close the beaded hoop.

4: Repeat steps 1-3 for the second hoop.

5: Add the circle parts of the toggle clasps to the top of each hoop, attaching them using two of the jump rings.


6: Add the toggle part of the clasps to each of the post earrings using the remaining jump rings.


7: Now you can attach the hoops to the earrings and wear them out!


If you like your earrings to be customisable, here’s another charm earring tutorial with clip on charms.
This tutorial contains affiliate links.
-
This is a bit of fun, how to make clip charms for your hoop earrings.
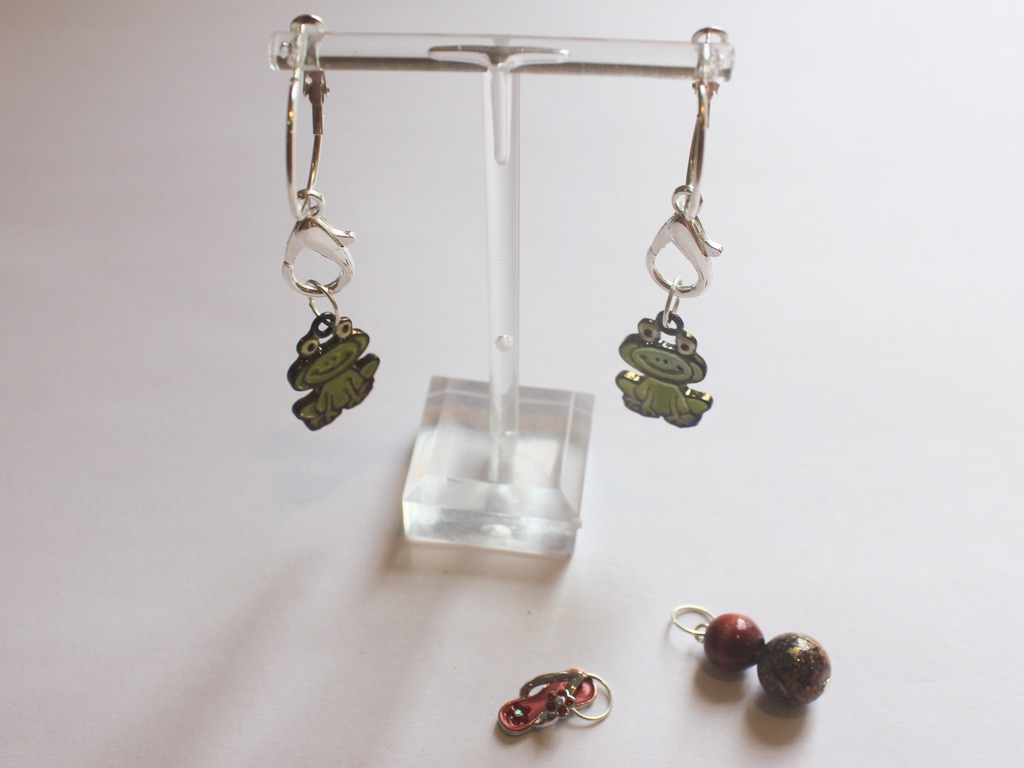
This DIY is a little bit silly, but hopefully a bit of fun as well. It is a way to make the most of your face hoop earrings and show off your favorite charms. This design uses large lobster clasps that you can use to clip different charms onto your hoops. This tutorial contains affiliate links.
You’ll need these tools and materials to make your customizable charm hoop earrings:
1: Pliers. I used my round nose and flat nose pliers.
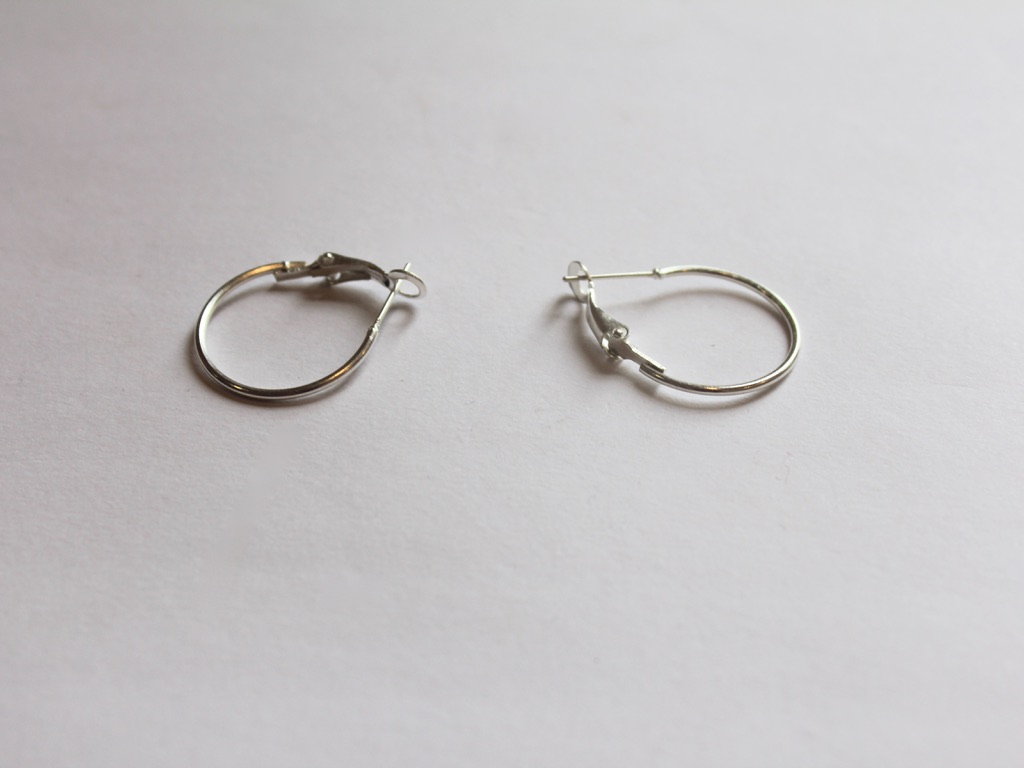
2: Hoop earrings. I used these silver hoop earrings with a lever back.
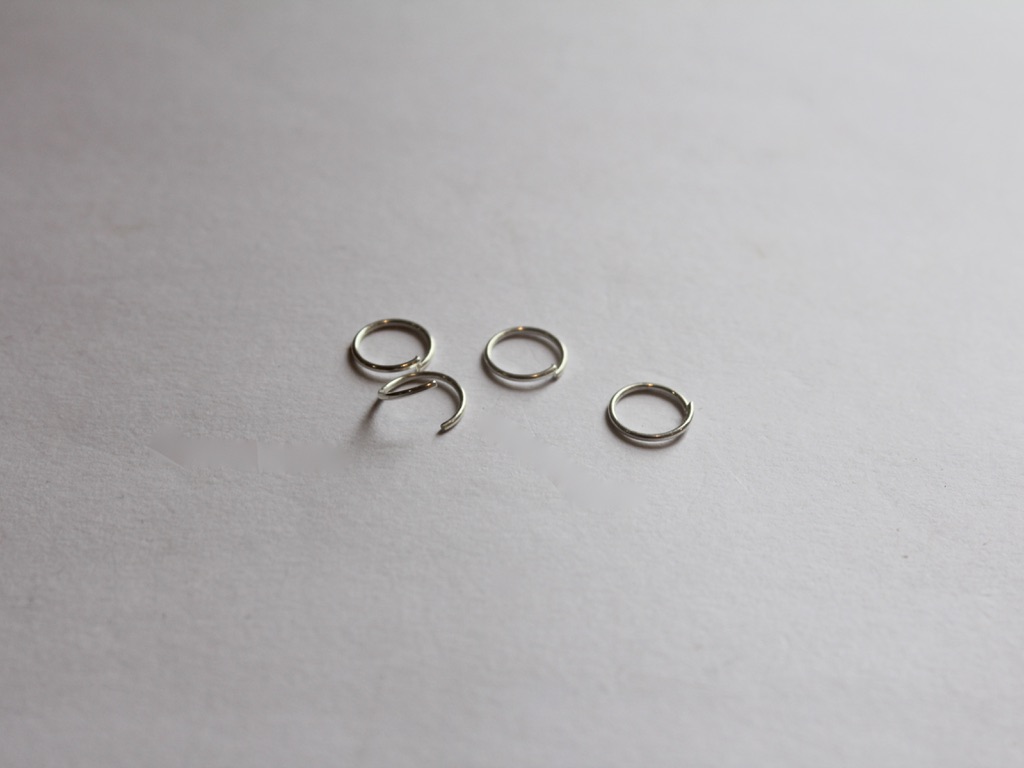
3: Jump rings to attach to your charms.
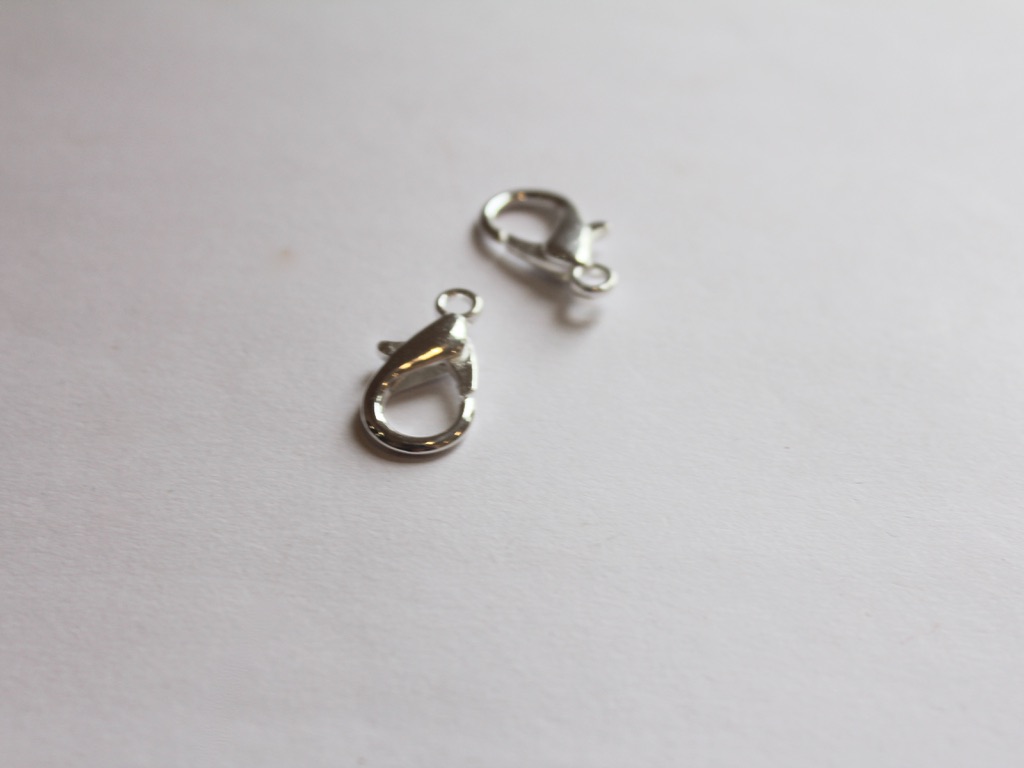
4: Two large lobster clasps the same color as your hoops.
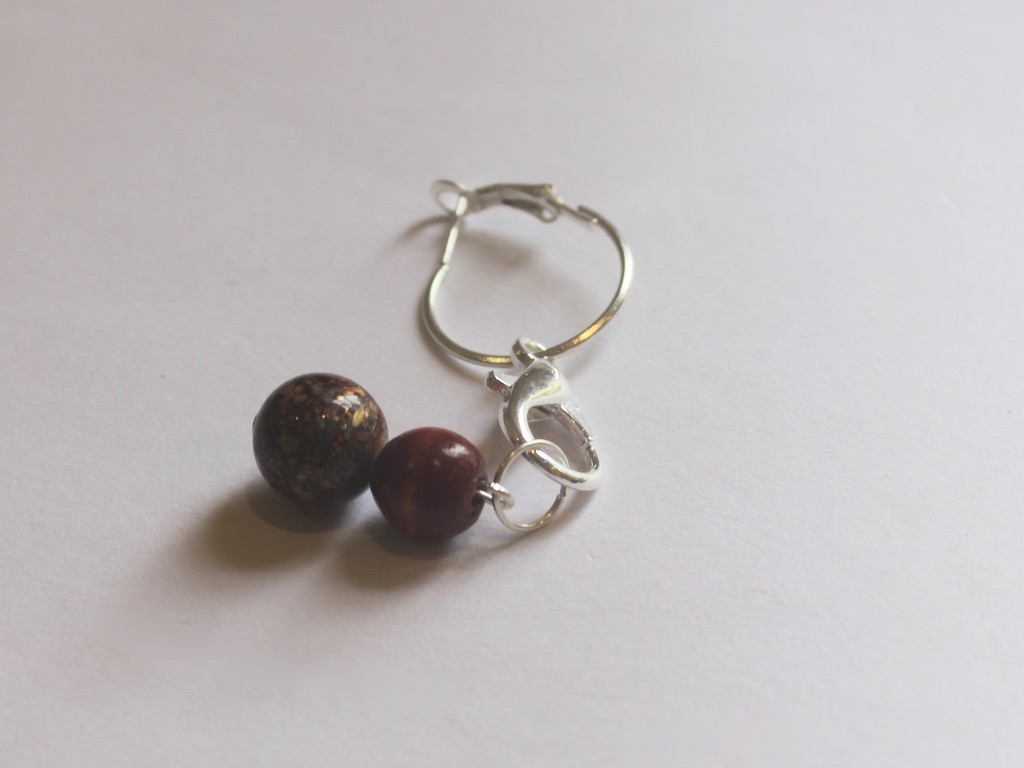
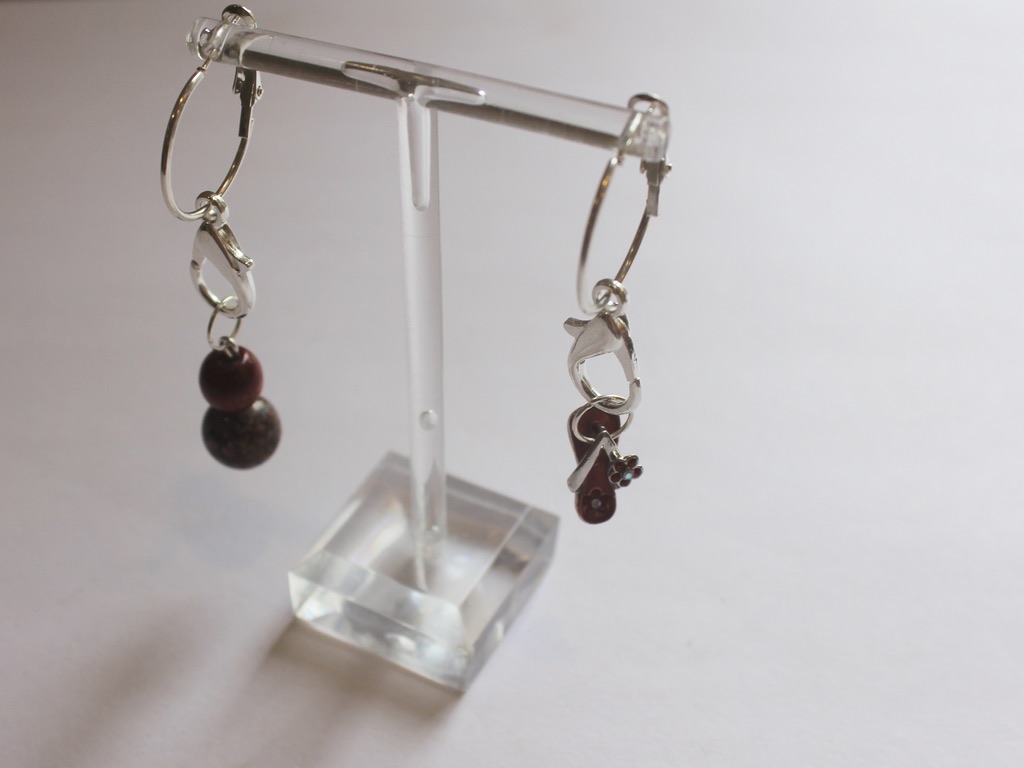
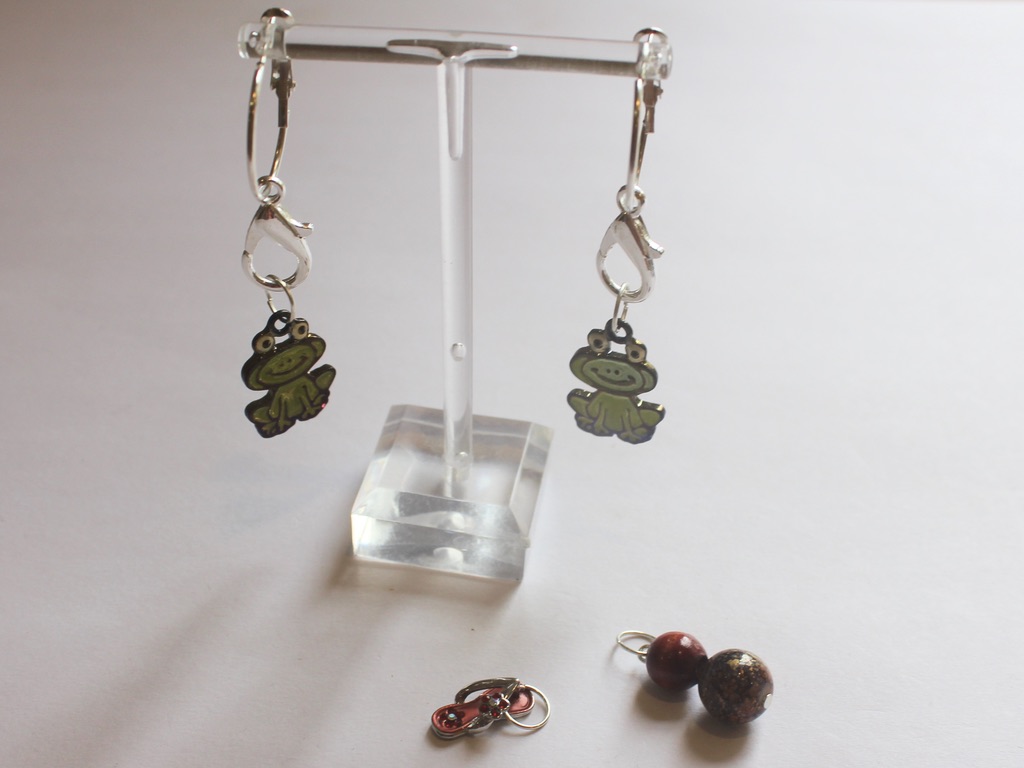
5: Charms or beads and head pins. I used both to make some mismatched charms.
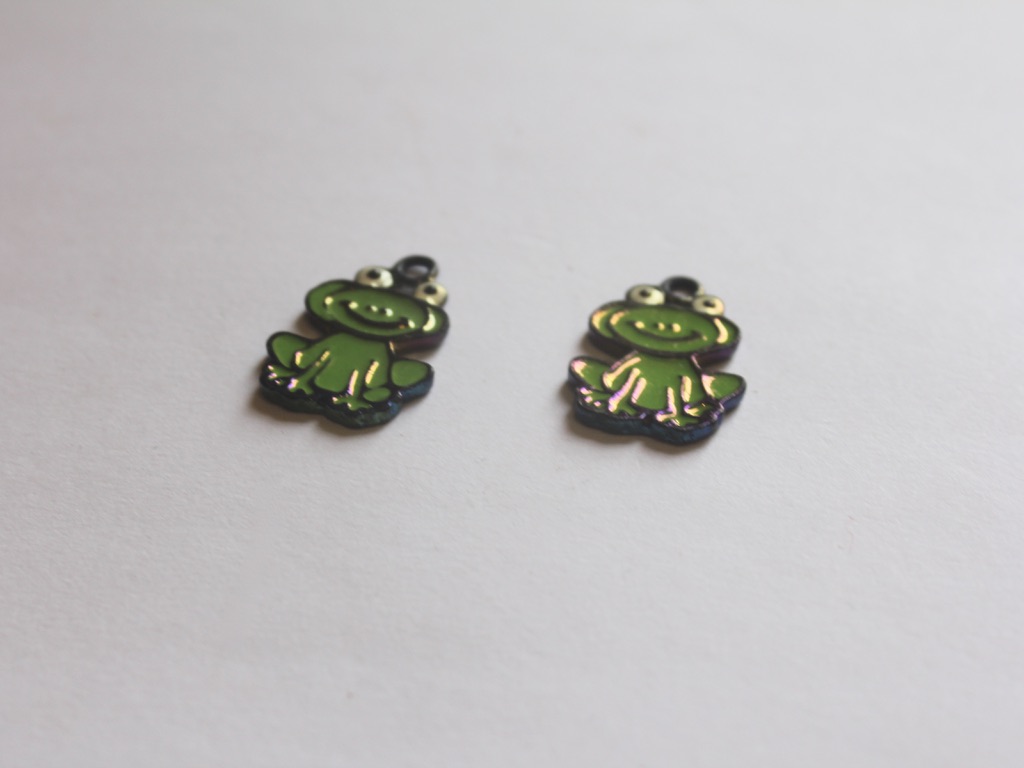
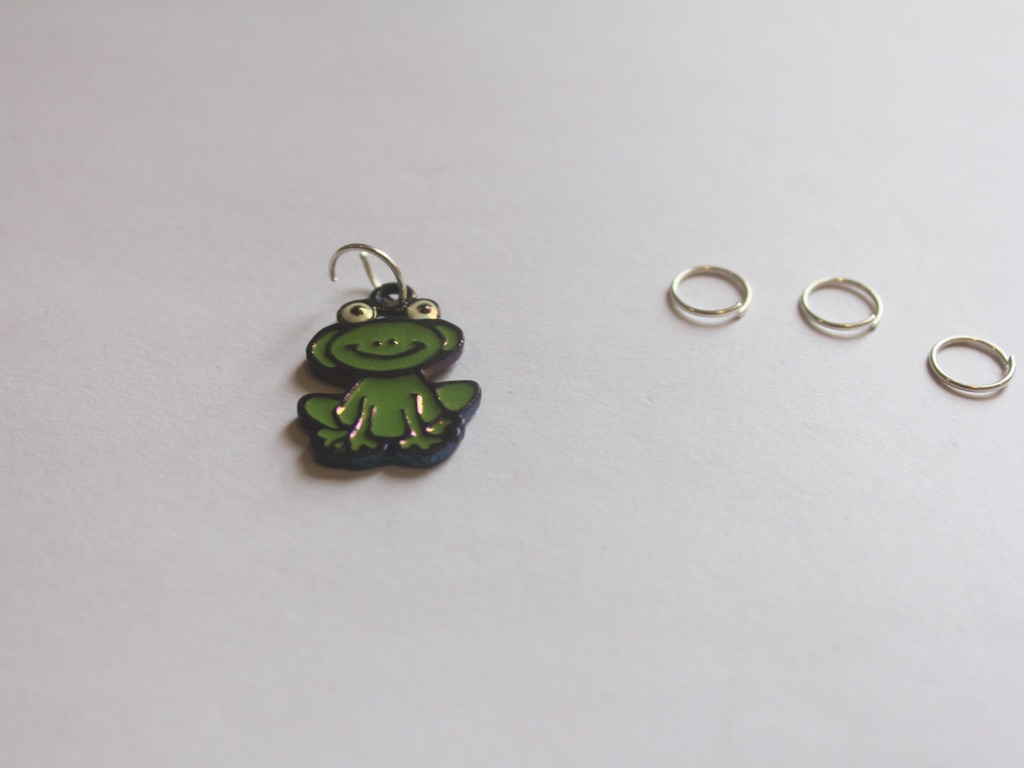
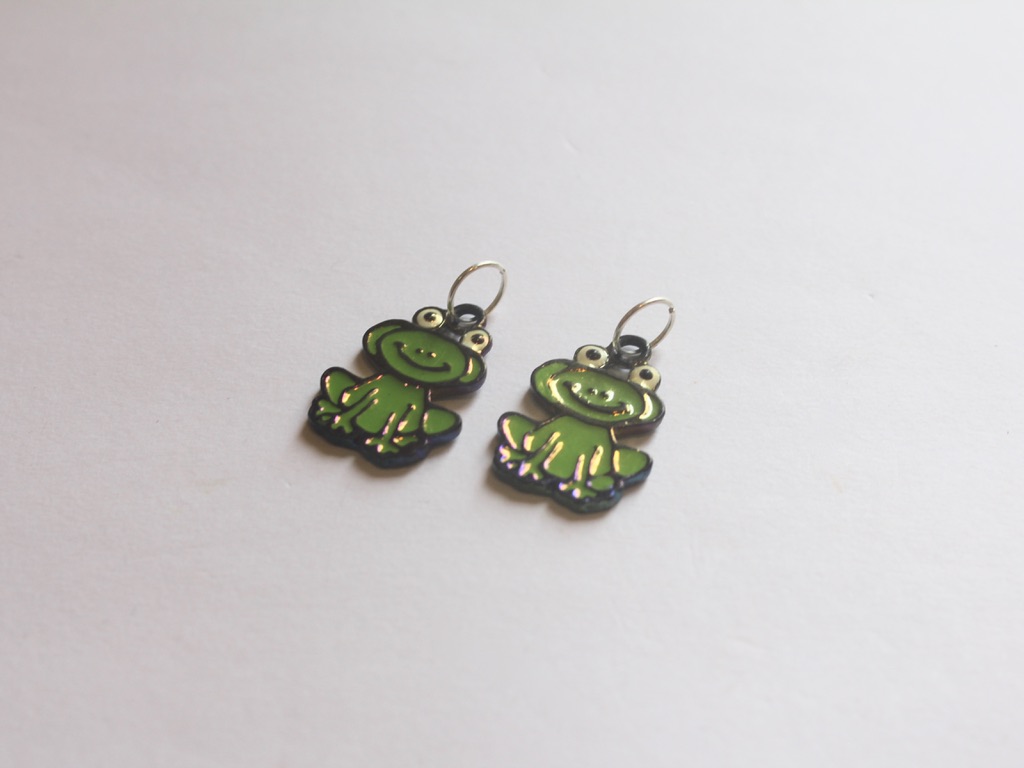
I used these cartoon frog charms.
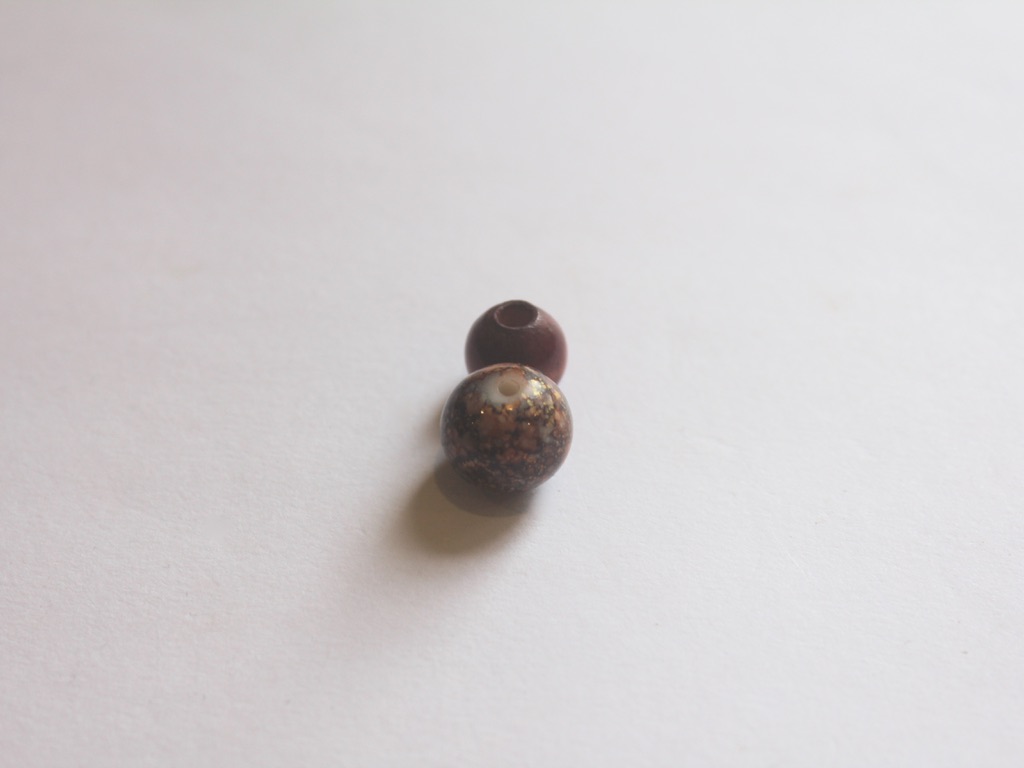
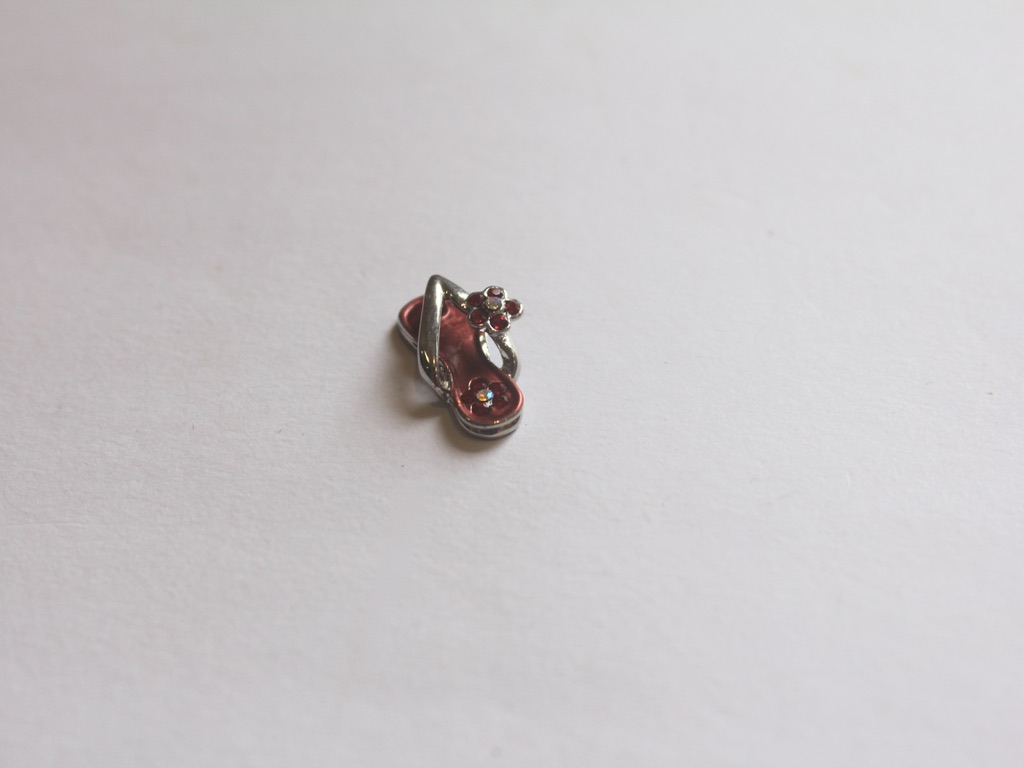
And some beads and a head pin with a flip flop charm.
Follow these steps to make your customisable hoop earrings:
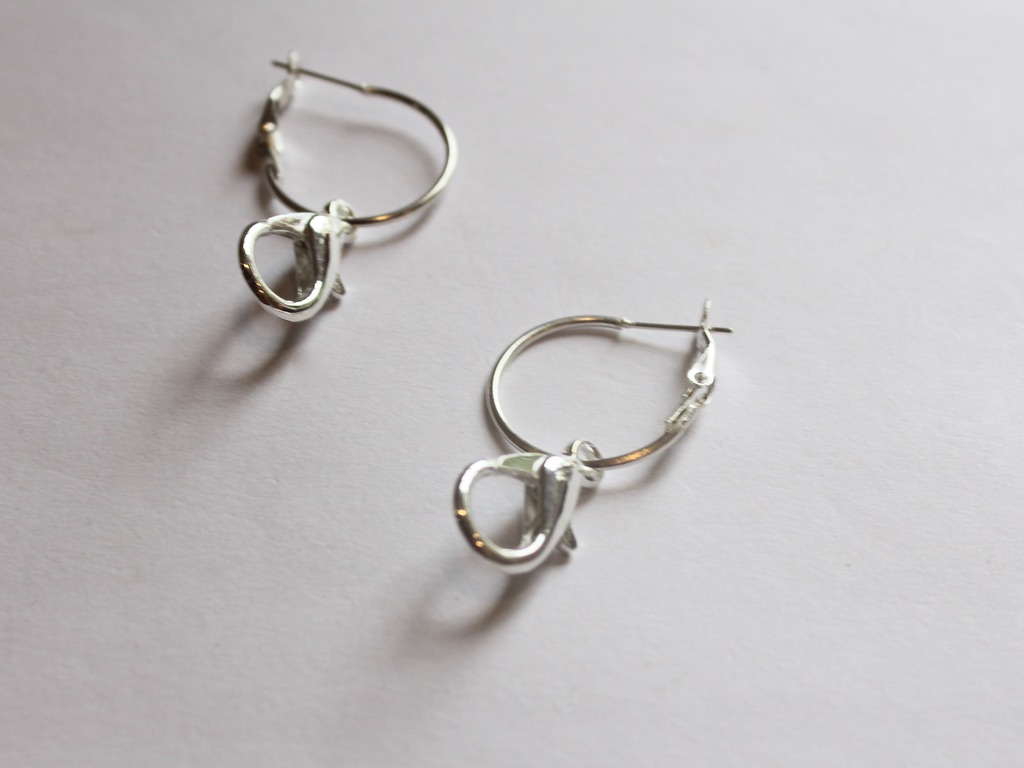
1: Add each of the lobster clasps to the hoops.
2: Add jump rings to the top of each charm you want to feature on your earrings.
3: Create your bead charms, do this by adding beads to your head pin and curl the tops into a loop using the round nose pliers. Add a jump ring to the top if you need it.
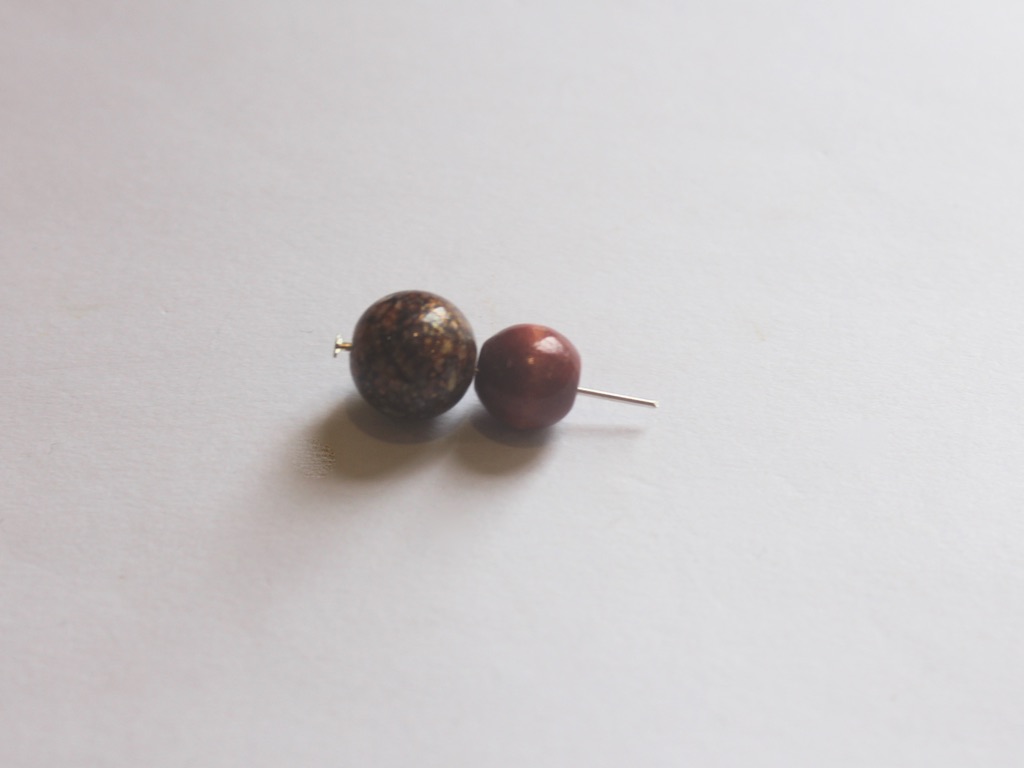
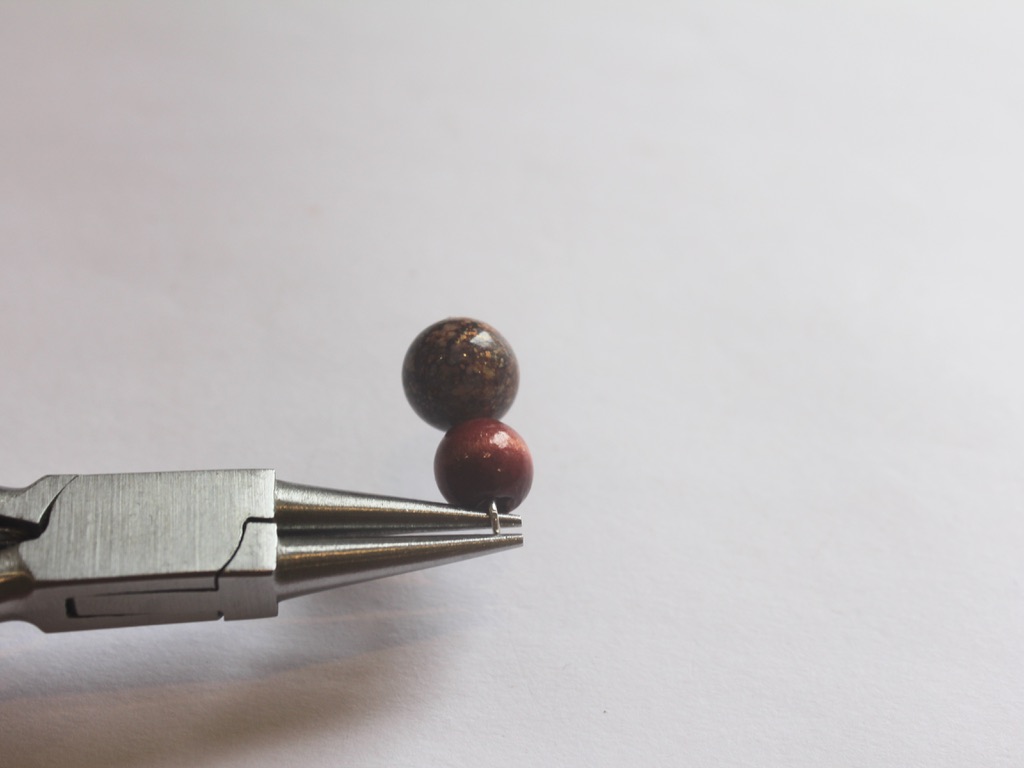
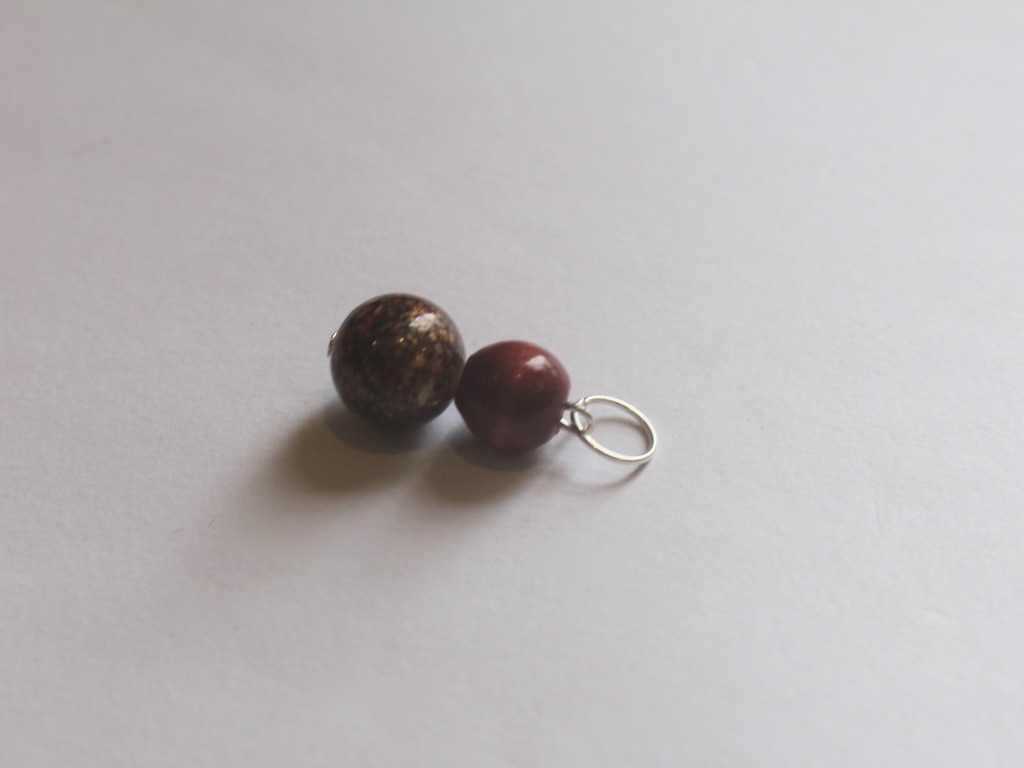
Now you can clip on the charms you like, mix and match for a unique look!
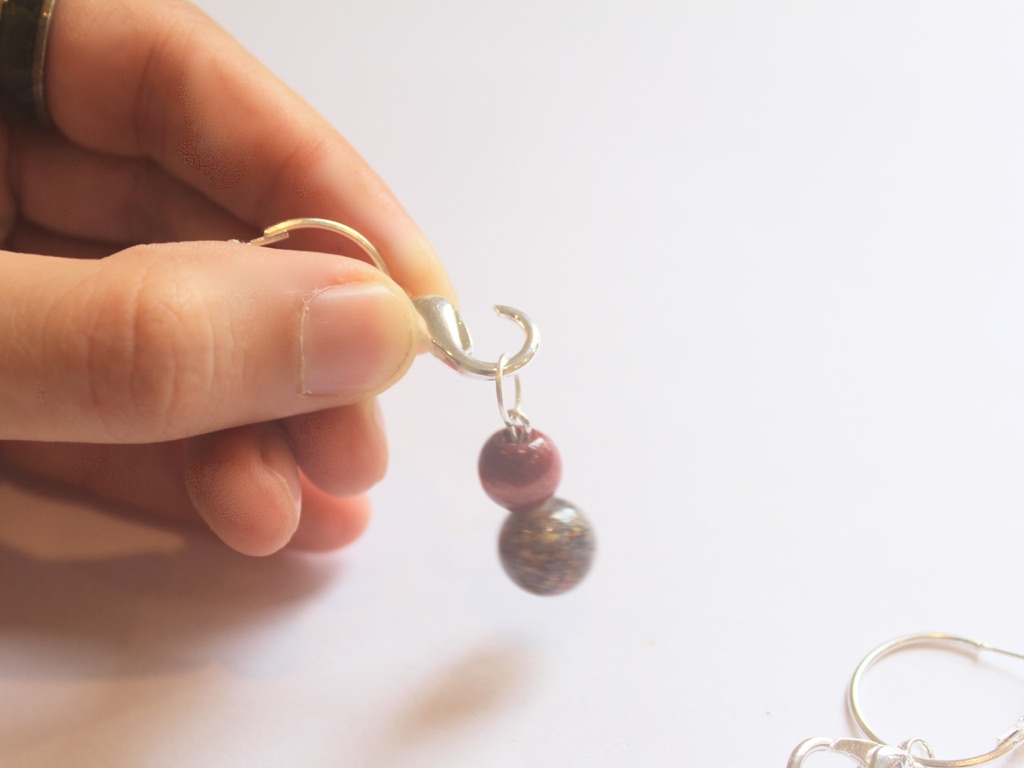
I think this tutorial is great for showcasing the charms you already have at home, but this post also contains affiliate links if you want to buy some new charms and materials.
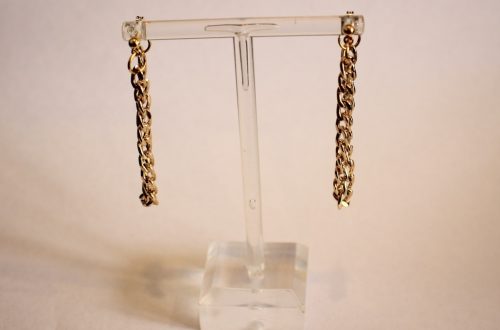
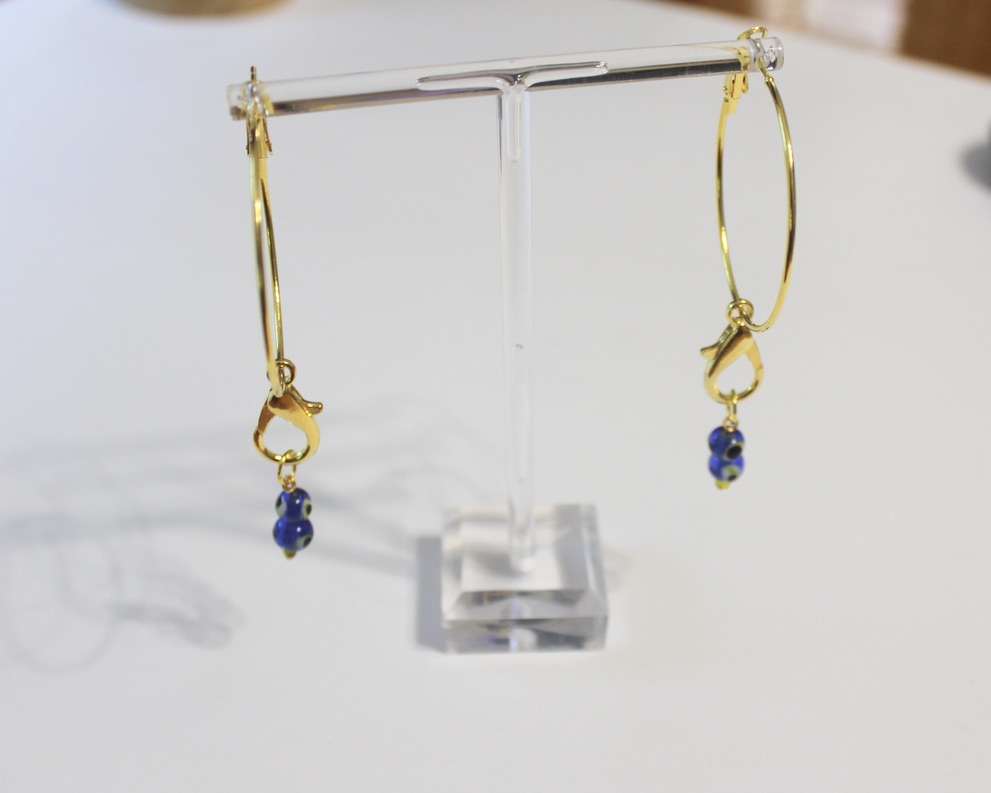
Here’s another pair I made using gold-tone materials and glass beads.
-
These earrings are super easy to DIY and look really stylish.
I’ve seen gold hoops with pearl charms dangling from them around a lot in the past year, they look elegant and expensive but are actually really easy to make on your own!
You’ll need the following tools and materials to make these pearl hoop earrings:
1: A pair of gold-tone hoops. I used these gold-tone huggie style hoops.

2: Two pearls. I used these pink freshwater pearls.

3: Two head pins.

4: Pliers. I only used my round nose pliers to make these earrings.
Follow these steps to make your elegant pearl hoops:
1: Add each of the pearls to the head pins.

2: Create a loop at the top of one of the head pins by wrapping it around the barrel of the round nose pliers.

3: Place the newly formed charm onto one of the earrings.
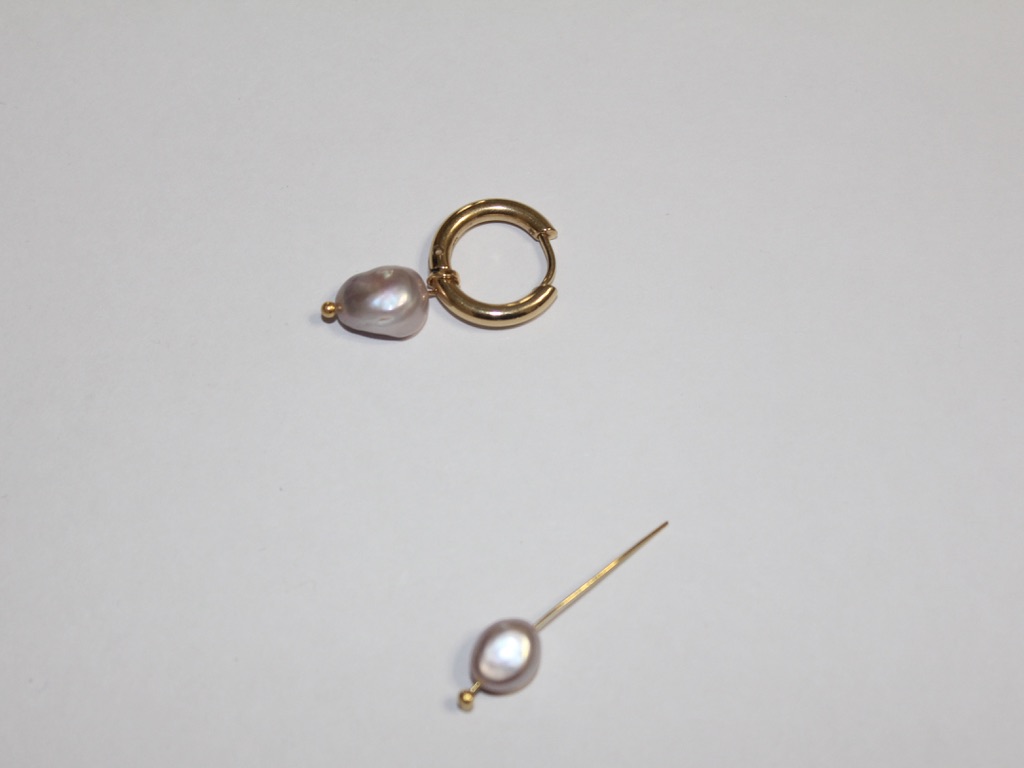
4: Repeat steps 2 and 3 for the second earring to finish the pair off!

Now your elegant pearl earrings are ready to wear!
Here are some other pairs I made with extra pearls and with pearls attached to a chunkier pair of hoops.

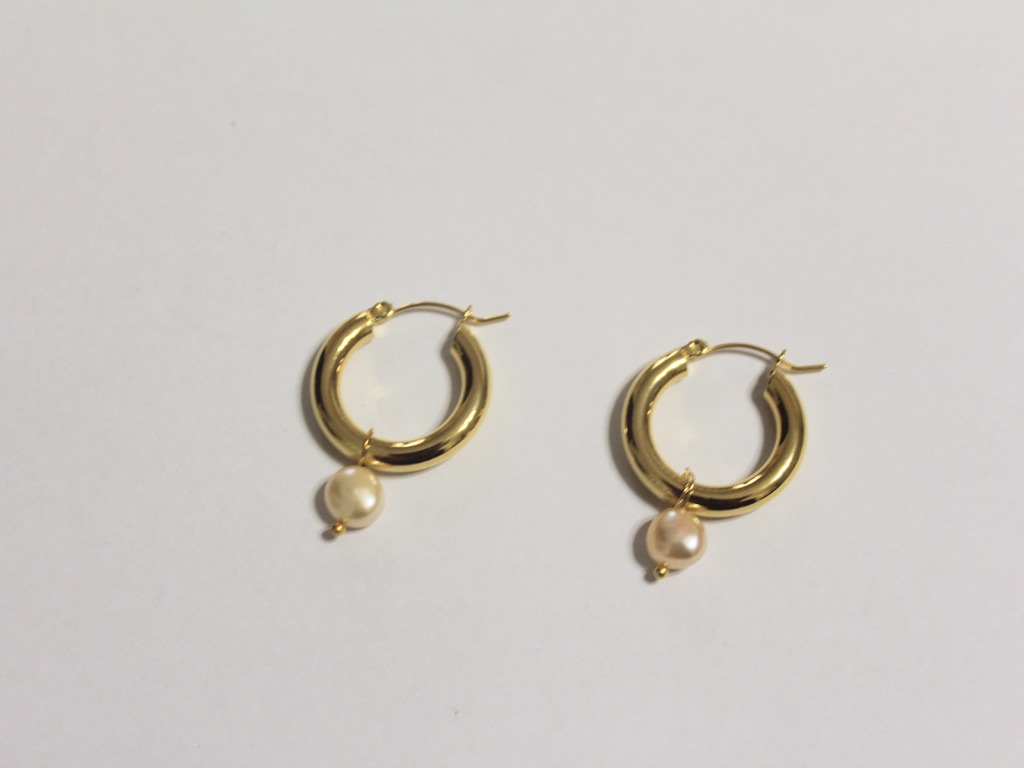
This tutorial contains affiliate links.
-
These Pom Pom hoop earrings are the CUTEST!

Here’s a quick tutorial that shows you all the steps to make a pair of adorable and colorful pom pom hoop earrings. Contains affiliate links.
You will need the following tools and materials to make your pom pom hoop earrings:
1: Small pom poms. I added four to each earring.

2: Two hoop earrings.

3: A cutting mat.

4: A pointed tool for poking a hole in each pom pom (be careful!)

Follow these steps to make your pom pom hoop earrings:
1: Using your cutting mat, carefully poke a hole in the first pom pom. If you puncture it too close to the edge it will fall off the earring.


2: Carefully slide the punctured pom pom onto the hoop earring.

3: Continue puncturing 3 more pom poms and put them on the first earring.
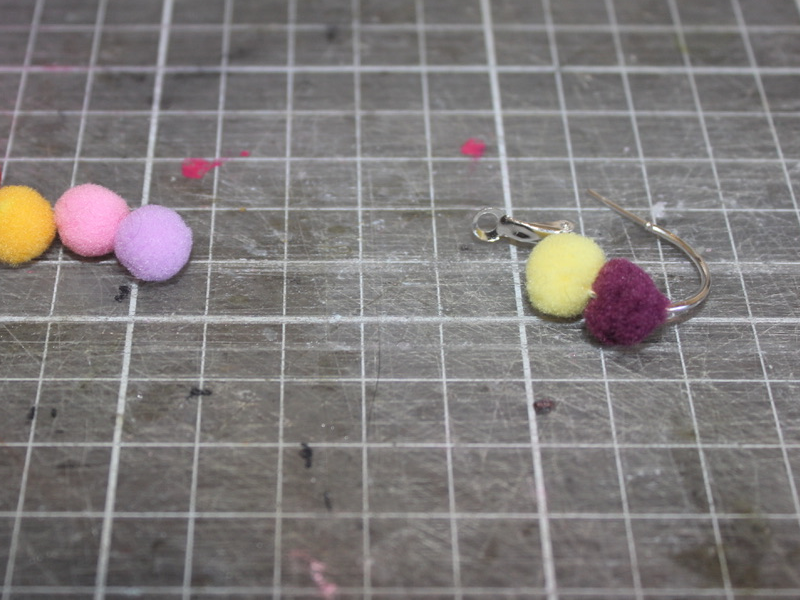

4: Repeat steps 1-3 for the remaining 4 pom poms and the second hoop earring.
Now your earrings are finished! How adorable are these fuzzy rainbow hoops?!
Here’s another pair made with matching pom poms.