-
How to make a bracelet that combines leather and beads into one piece!
This tutorial is a bit of a recycling piece. I used some scrap leather combined with some beads I recycled from an old necklace to construct something new. I think this bracelet is a cute statement piece, but it can also be layered with other bracelets to make a cool stack. Please note that this tutorial contains affiliate links.
You’ll need these tools and materials to make your leather and bead bracelet:
1: A piece of leather, I used this scrap piece of leather that was about 1cm wide and 9cm long. If you don’t have any scrap leather you could also use some leftover ribbon or cord.

2: Some pliers. I used my flat nose pliers and round nose pliers for this piece.


3: A bunch of eye pins. The number you will need will vary depending on the length of your bracelet and your piece of leather.

4: Two flat crimp ends.

5: Some beads. I used these timber beads I recycled from an old necklace.

6: Two jump rings.

7: A lobster clasp. I used this large one.

Follow these steps to make your own leather and bead bracelet:
1: Take your piece of leather and place one of the crimp ends on one end. Be careful to line up the edges.

2: Squash the crimp using the flat nose pliers.


3: Repeat steps 1 and 2 for the other end of the leather, attaching the other crimp.

4: Set the piece of leather aside.
5: Take one of the eye pins and add a bead.

6: Bend the pin to form an angle.
7: Use the round nose pliers to create a loop at the top of the pin, securing the beads in place.


8: Repeat steps 1-7 for another bead, before closing the loop, slide it onto the first charm you made. Close it to secure the charms together.

9: Repeat steps 1-8 for another bead.

10: Attach the small chain you made to one end of the piece of leather, this will help you keep track of the overall bracelet length.

11: Keep adding beads to the chain until your bracelet is long enough to fit around your wrist.

12: Attach the lobster clasp to the beaded end of the bracelet using one of the jump rings.

13: Attach the other jump ring to the other side of the bracelet to finish it off.

Now your bracelet is finished! How will you wear yours?


-
Here’s another way to upcycle broken headphones… into a necklace!

Remember the upcycled bracelet tutorial? Here’s another idea for how you can recycle broken headphones… turn them into a stylish necklace!
You will need the following tools and materials to make your headphone necklace:
1: Pliers. You’ll need cutting, flat nose and round nose pliers.

2: A charm. I used this old vintage earring charm.

3: Two crimp ends.

4: Two jump rings.

5: A lobster clasp.

6: A pair of broken headphones. I used these Sony headphones that don’t work any more.

Follow these steps to make your headphones into a necklace:
1: Clip the headphones so that you have a length that fits around your neck. I used the part between the ear bud and the split.


2: Add the charm to the cord.

3: Add a crimp end to either side of the cord, folding it in place using the flat nose pliers.


4: Add the lobster clasp to one side of the necklace using one of the jump rings.

5: Add the remaining jump ring to the other side of the necklace to finish it.
Now your upcycled headphone necklace is finished and ready to wear!
-
How to upcycle your old broken headphones into a bracelet!

I have a load of broken headphones, if you’re like me and don’t want to chuck them in the bin, here’s a way to upcycle them… turn them into a beaded finger-knit bracelet. Contains affiliate links.
You will need the following tools and materials to make your headphone bracelet:
1: Pliers. You’ll need cutting pliers, round nose pliers and flat nose pliers.
2: A pair of broken headphones. I used these broken apple headphones.

3: Some beads with large holes. I used these yellow plastic heart beads.

4: Two crimp ends.

5: Two jump rings.

6: A toggle clasp.

Follow these steps to make your headphone bracelet:
1: Clip the headphones so that you have one long thread.

2: Create a slip knot at one end of the headphone cord.

3: Put the knot around your finger and loop it again right next to the first loop. If you need a refresher on how to finger knit check out this video tutorial.

4: Pull the first loop over the second one and off your finger.
5: Add a bead to the next loop and repeat steps 3 and 4.

6: Continue this until your finger knitting is long enough to fit your wrist.
7: Knot the end of the finger knitting to secure it.

8: Add a crimp end to both ends of the headphone cord.


9: Attach the toggle clasp using the jump rings.


Now your upcycled headphone bracelet is ready to wear!

https://flic.kr/p/RqQsqF
-
Got Some Old Brooches Hanging Around? Here’s How to Turn them into a necklace Pendant!
I recently acquired some of my grandmother’s old costume jewelry, and among all the beads and clip on earrings I found some wonderful brooches. I am not really a brooch wearer myself so I decided to turn them into something that I would wear, a necklace. Attaching the tiger tail wire to the necklace wire can be a bit tricky, but once you have it in place the rest is smooth sailing. This tutorial is a really fun way to re-purpose and recycle old pieces that you have stashed away in your jewelry box!
You will need the following tools and materials to make a brooch pendant necklace:
1:Pliers. To make this necklace I used the round nose pliers, flat nose pliers and cutting pliers.
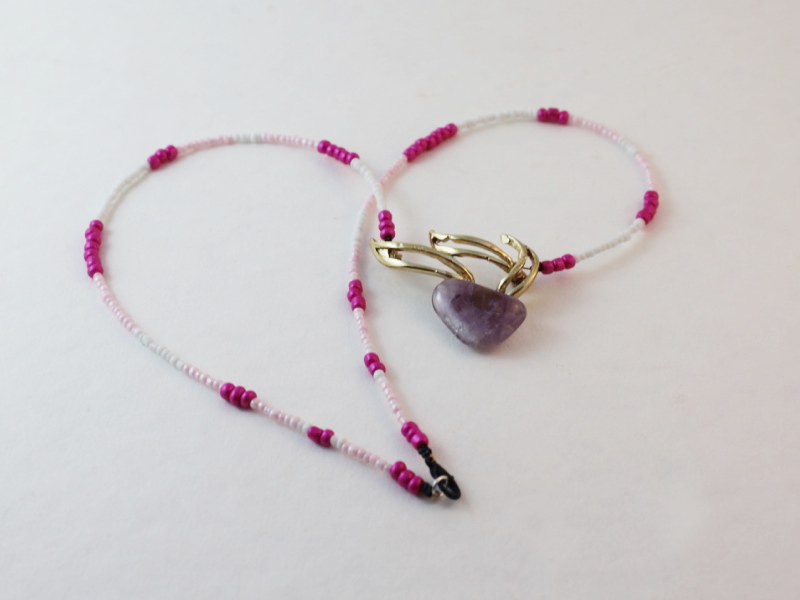
2: A brooch. I used this gold colored amethyst broach that was handed down from my grandmother.

3: Tiger tail wire. I used this bronze colored tiger tail wire.

4: Eight crimp beads. I used these black colored crimp beads.

5: One lobster clasp. I used this black colored lobster clasp.

6: One jump ring.

7: Beads of your choice. I used a selection of pink and white glass beads.


The steps for making this broach necklace:
1: The first step is to remove the pin from the back of the brooch. If you want to be able to use it again as a brooch i recommend skipping this step and leaving the pin where it is. To remove the pin you can either try to pull it off using your flat nose pliers or cut it off using the cutting pliers.

2: Cut a length of tiger tail wire long enough to fit comfortably around your neck.

3: Using the cutting pliers, cut the length of tiger tail wire in half. These pieces will be used to make either side of the necklace.


4: Take one piece of tiger tail wire and add two crimp beads to the end. Then wrap the end around the back pin prong on the brooch. Make sure you pull the wire tight around the pin and through the crimps to ensure that it stays in place.

5: Once the loop has been formed, squash the crimp beads using your pliers to secure the strand in place. Because of the way this brooch was formed I needed to use my round nose pliers to squash the crimps but you can also use flat nose pliers to secure the crimps in place.


6: Repeat steps 4 and 5 for the second strand, attaching it to the other pin prong on the back of the brooch.

7: Begin adding beads to one side of the necklace in your chosen pattern.


8: When you reach the end of the first strand, add two crimp beads and the lobster clasp.

9: Loop the tiger tail around the clasp and back through the crimp beads. Make sure you pull it tight before squashing the crimp beads.

10: Once your tiger tail wire has been pulled tight, use the flat nose pliers to squash the crimps and secure the end of the strand.

11: Trim any excess wire using the cutting pliers.


12: Repeat steps 7 to 11 for the second strand, this time adding the jump ring to the end rather than a clasp.


13: Once you have completed the second strand of the necklace your new piece of jewelry is complete! Using a vintage brooch is a great way to make sure that you will have a special design that no one else has. How’s that for exclusive?!
This tutorial contains affiliate links
-
Make Your Garbage Glam With This Cute Ribbon Bangle
If you’re anything like me you’ve got all sorts of junk lying around just because it ‘might be useful’ one day. This tutorial shows you how you can make some sweet bangles using left over cardboard and some ribbon. This bangle design is a great way to recycle old tube and other bits and pieces into some stunning and very affordable jewelry.
You will need the following tools and materials to make these bangles:
1: Cardboard tube or anything you can find that is an appropriate bangle shape. I used tube that was leftover from some knitting yarn.

2: A few lengths of ribbon in different colors. I used some fluorescent green ribbon, pink spotty ribbon and hot pink ribbon.

Why not collect some neon ribbon to use in your own recycled jewelry designs?
3: A hot glue gun and a glue stick for securing the ribbon to the bangle base.
4: Scissors to trim the ribbon ends.

The Steps:
1: Heat up the glue gun. Place it on a safe surface and make sure you keep an eye on it so that you don’t end up with hot glue everywhere!
2: Once your glue gun is hot enough, squeeze a dab of hot glue onto the inside of the cardboard.

3: Carefully press the ribbon into the wet glue being careful not to get any on your fingers.

4: Begin wrapping the ribbon around the cardboard tube, being careful to pull it tight.


5: Continue wrapping in this manner until the whole tube is covered by the ribbon.


6: Add more glue to the inside of the bangle.

7: Attach the end of the ribbon to the inside of the bangle.

8: Trim the excess ribbon on the inside of the bangle.

9: Now the bangle is complete. So easy, cheap and stylish!

This bangle was made using the same steps as the cardboard bangle, but this time the bangle base is a large plastic ring.
1: Adding glue to the bangle ring.

2: Attaching the ribbon to the bangle base.

3: Wrapping the ribbon around the bangle base.


4: Adding glue to the bangle to secure the end of the ribbon.

5: Trimming the ribbon.

Here are all the completed ribbon bangles. Pretty cute for a bunch of junk!

-
Don’t Like It? Recycle It! Here’s Why You Should Consider Recycling Your Old Jewelry
I’m a bit of a jewelry hoarder; rings, beads, necklaces and charms seem to just appear in my jewelry box (lucky me)! Some pieces have stayed firm favorites over the years; others however, don’t quite stand the test of time for a myriad of reasons.
I hate see jewelry sit around unworn so I try to reinvent those pieces that are tired, worn out or that are just ‘not quite right’. Jewelry and accessories are a great addition to a boring outfit, rather than buying new pieces, why not recycle some older jewelry to bring new life to your wardrobe?
I think recycling jewelry is one of my favorite DIY jewelry making tricks. I have made many special pieces using old pieces of jewelry that have broken, become dated or don’t quite match my style any more. Scroll down to check out some of my recycled jewelry designs.
Happy making!

This star charm came from an old pair of earrings. 
This plain metal bangle was made more exciting with the addition of some glass beads. 
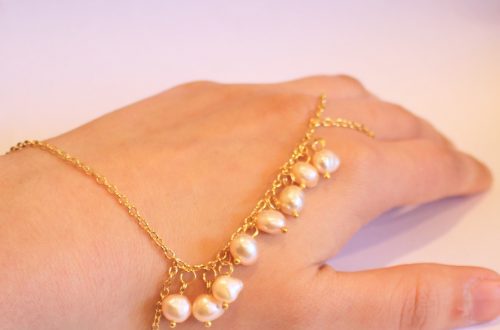
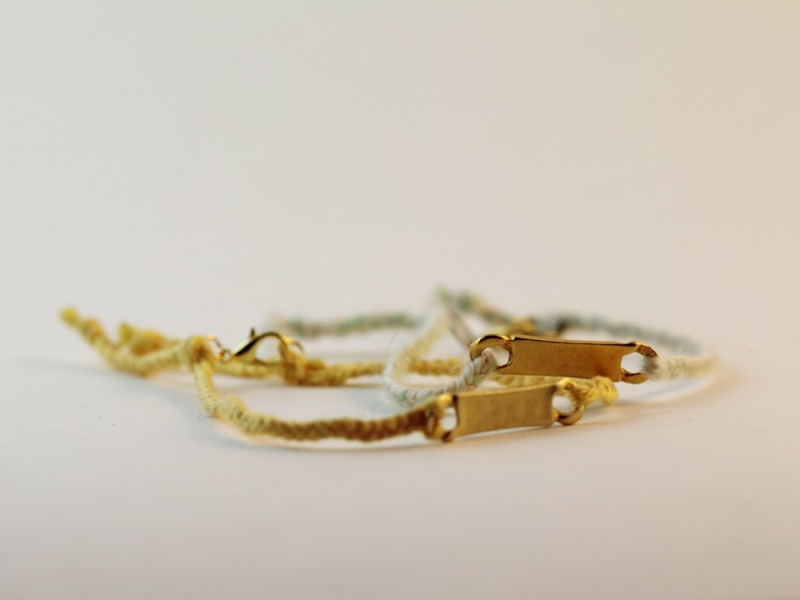
This braided bracelet features a charm from a childhood necklace. 
I sprayed these rhinestone earrings with red spray paint. 
These bangles have been covered with ribbon and a beaded loom strand. 
These mismatched stud earrings were made using a glass charm and a polished gemstone. 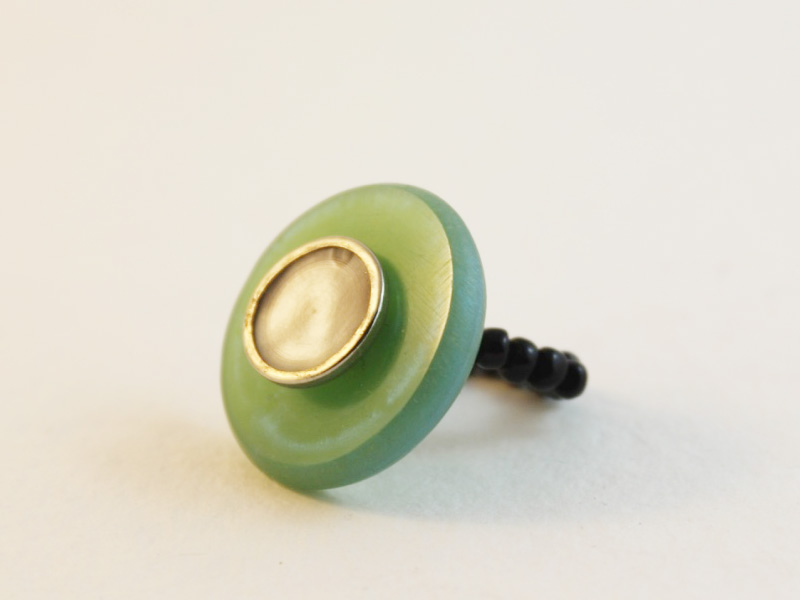
The green disc on this ring comes from an earring and the center piece is made from a shell button. 

These bangles were updated with some ribbon and some knitted I-cord.