-
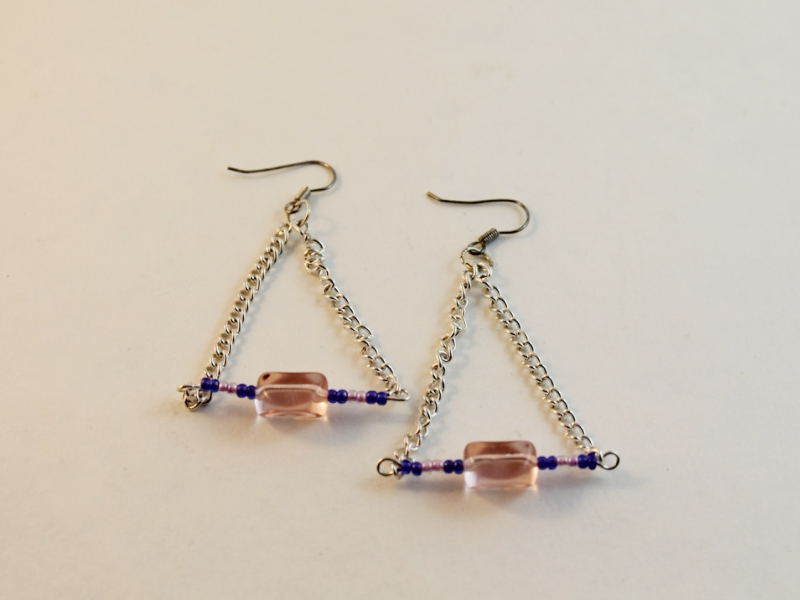
How to make a pair of triangle statement earrings!
Here’s how to make a cute pair of statement earrings, these are such a fun design that pack a bold punch with their size and colours. Please note that this tutorial contains affiliate links.
You’ll need these tools and materials to make these earrings:
1: Eight pieces of wire all the same length. I used 0.8mm copper wire.

Here’s a pre-made eye pin option if you don’t feel like making them yourself: https://tidd.ly/3WCad6D
2: Four statement beads. I used these polymer clay beads I made. Here’s a polymer clay bead tutorial for you.

3: Some accent beads. I used these timber beads.

4: A pair of earring hooks. If you don’t have any, you can find tutorials that show you how to make your own here, here and here.

5: Some flat nose pliers and round nose pliers. You will also need your cutting pliers if you are not using pre-made eye pins.



Follow these steps to make your amazing triangle statement earrings:
1: Bend the end of each wire to form a right angle using the flat nose pliers.


2: Loop the end of each wire using round nose pliers.

3: Add beads to two of the wires, these will form the bottom of your triangles. I added some statement beads to each of these wires.

4: Bend the ends of the beaded wires to form another right angle.


5: Loop the end of the wire using the round nose pliers. This will secure the beads in place.
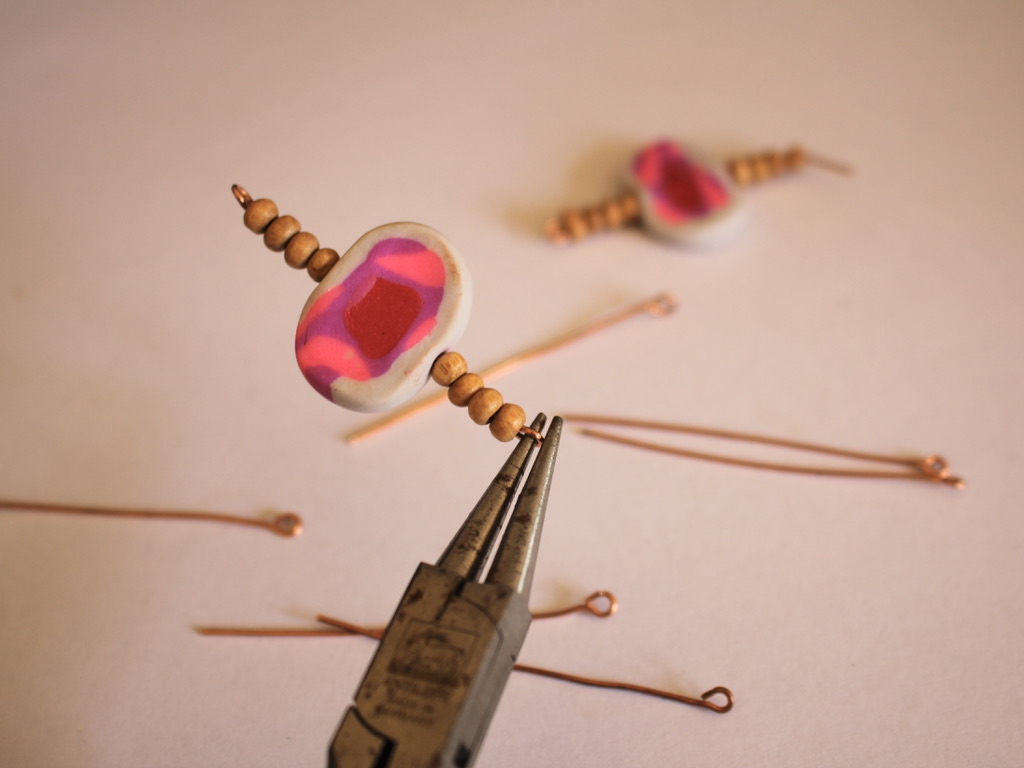

6: Repeat steps 3-5 for two more of the pins, these will be used to attach the triangles to the earring hooks.

7: Add your accent beads to the four remaining wires to create four solid beaded pins, secure the beads in place as you did in steps 4 and 5.

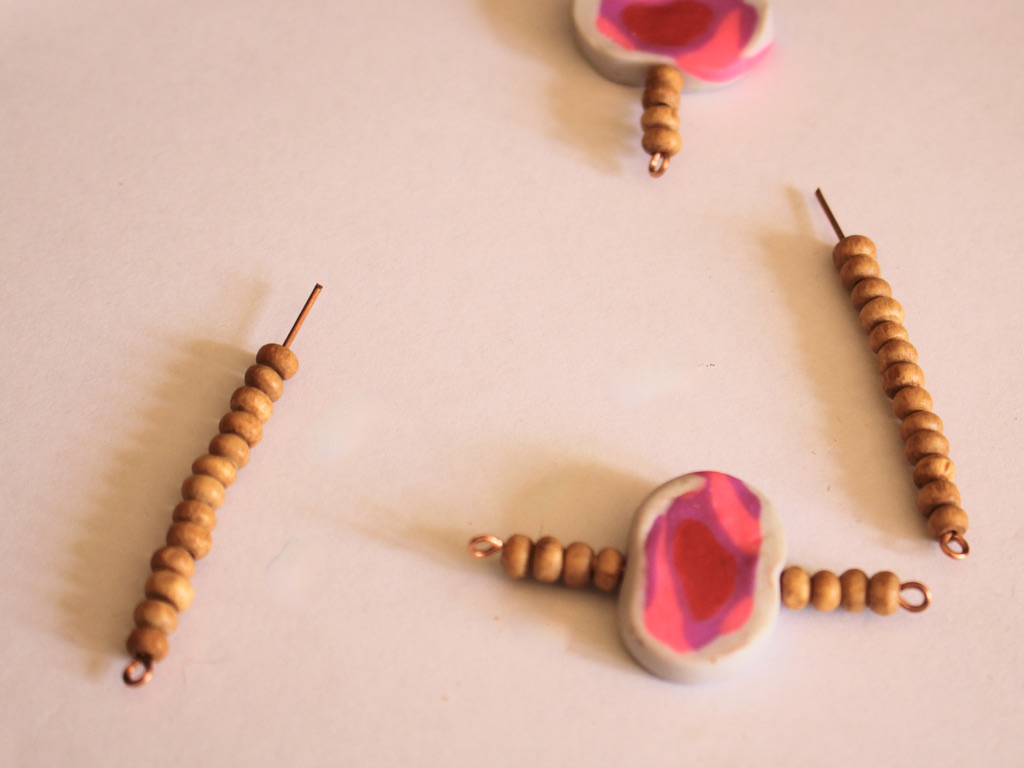


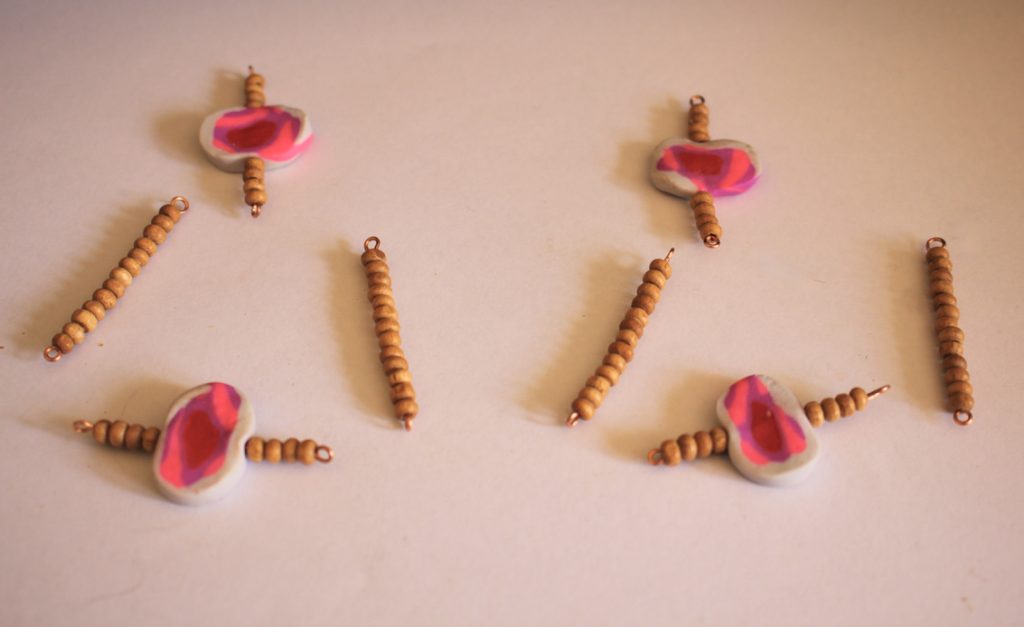
8: Now it is time to start assembling your earrings, Add one of the solid beaded wires to one of the accent beaded wires.
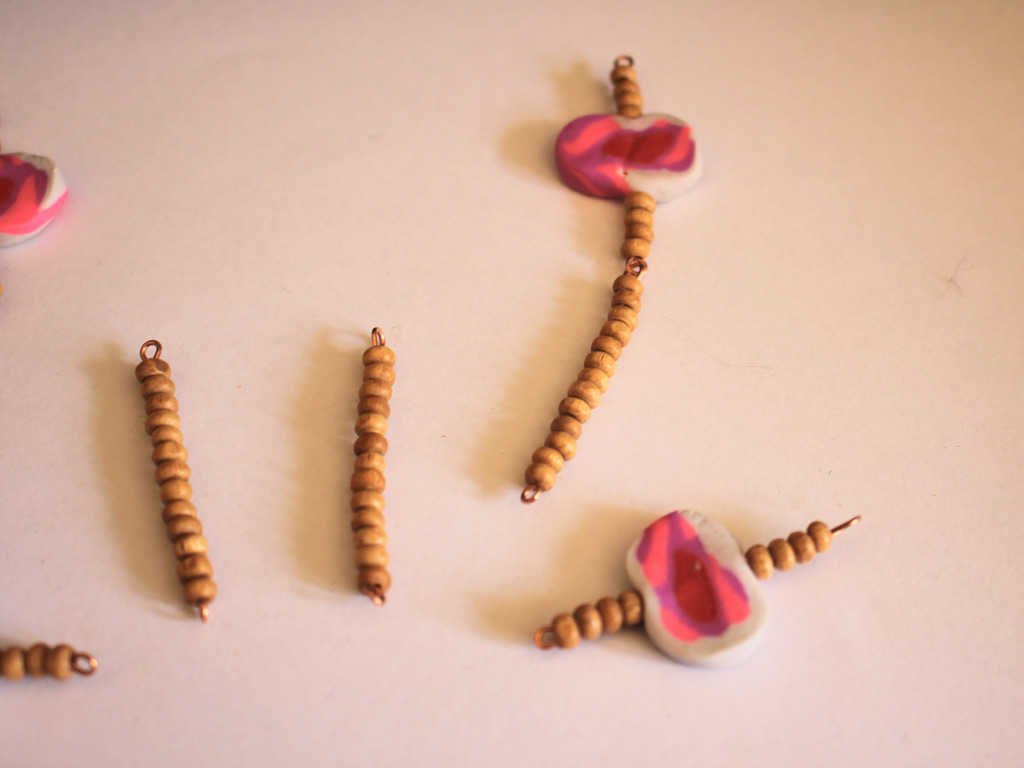
9: Add a second solid beaded wire to the first accent beaded wire, so you have one statement beaded wire with two solid beaded wires attached.
10: Add a second statement beaded wire to the earring, attaching each end to each of the solid beaded wires to form a triangle shape.


11: Repeat steps 8 to 10 for the second earring.

12: Attach each of the earring hooks to the triangle forms. Once both earring hooks are attached your earrings are finished and ready to wear out! How will you style yours?


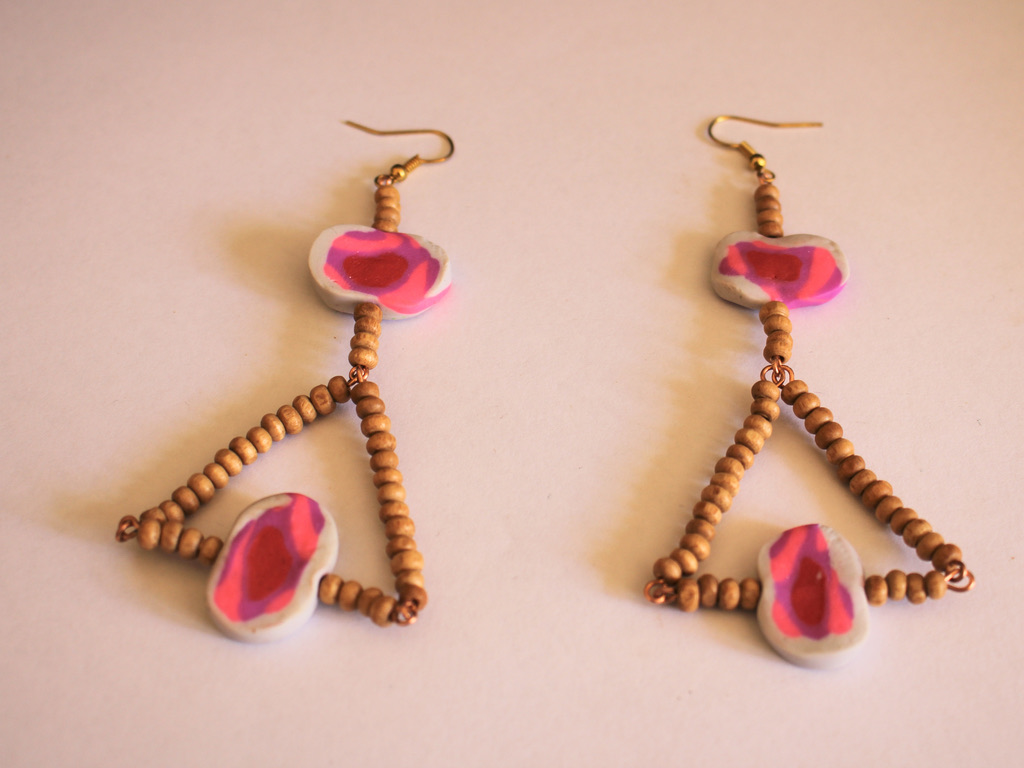
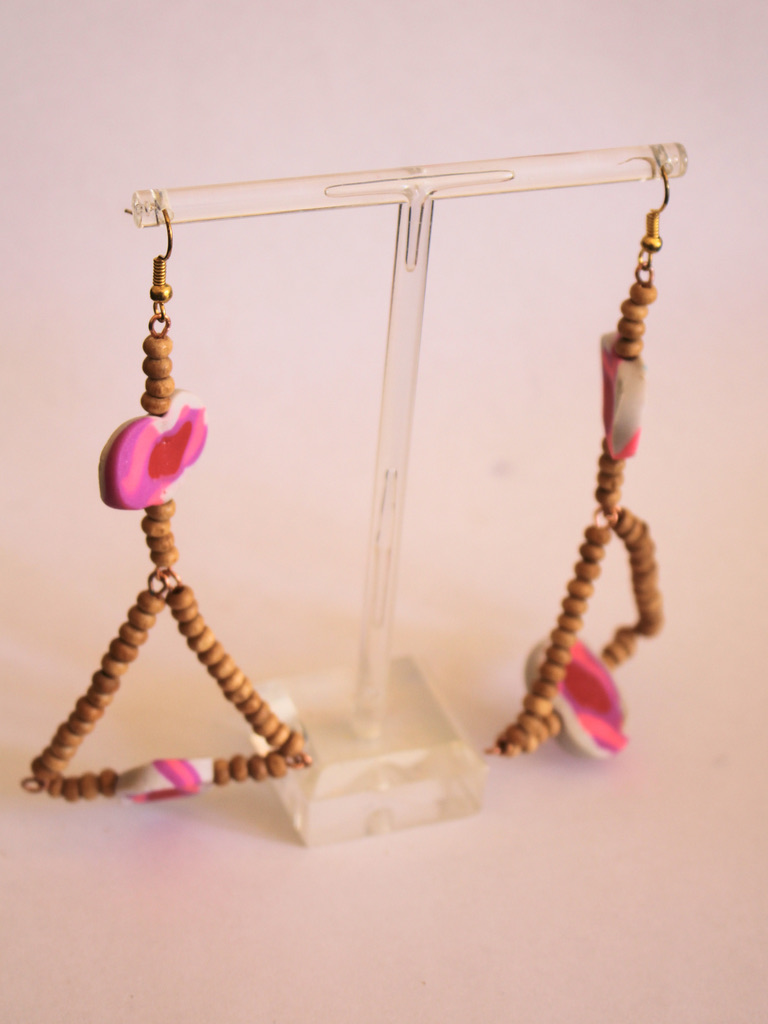
Here are the finished earrings!

-
Here’s how to make some statement beaded earrings. These babies are special!
Do you love statement earrings? These statement earrings feature some gorgeous beads and some clever wire work to make a cute pair of bold earrings to wear on your next outing. Please note that this tutorial contains affiliate links.
You’ll need these tools and materials to make these earrings:
1: Two pieces of tiger tail wire about 20cm long.

2: Two crimp beads.
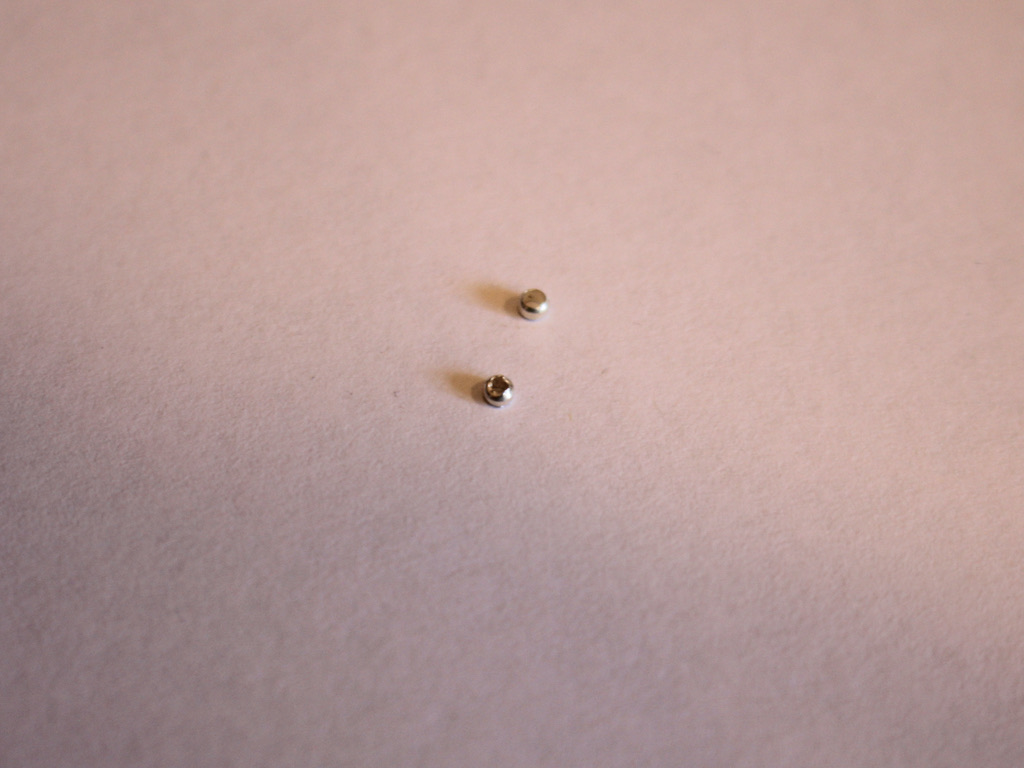
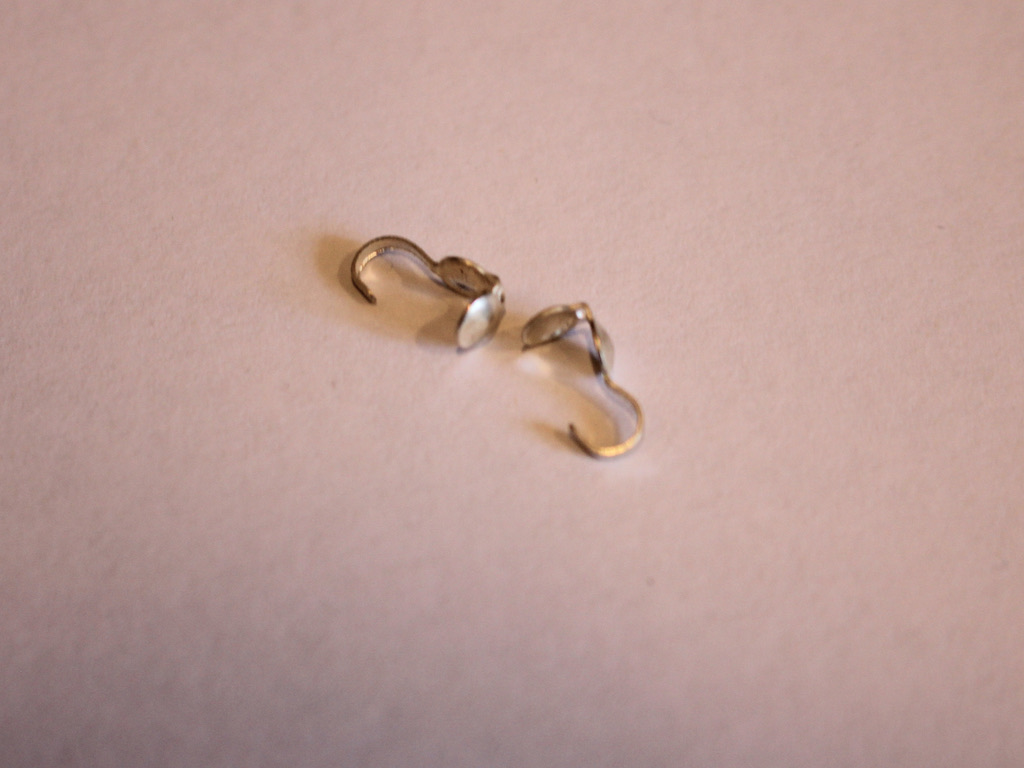
3: Two crimp cover ends.
4: A pair of earring hooks.

5: Pliers. I used my flat nose, cutting and round nose pliers.

6: Beads. I used some resin cube beads, some handmade polymer clay beads (tutorial for these here), and some timber beads.


Follow these steps to make your statement earrings:
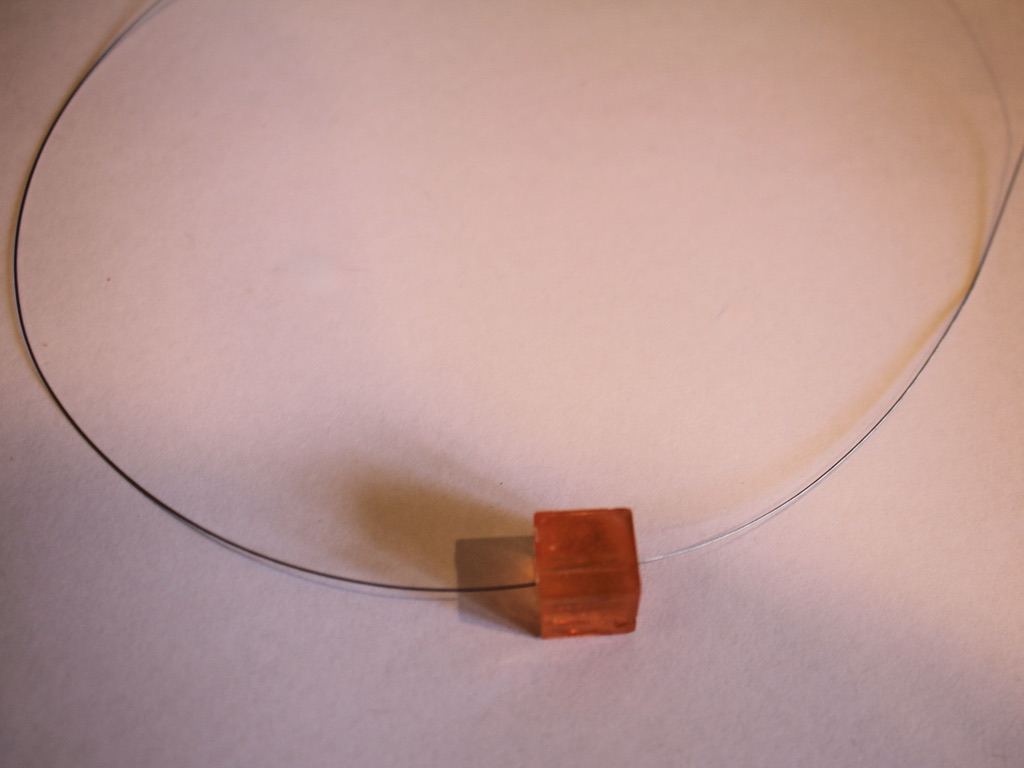
1: Add one of the cube beads to the middle of the wire.
2: Add the smaller timber beads either side of the cube bead, I added 10 to each side, but you can add more or less depending on the size of the beads you are using. You’ll want to get a circle about 2.5cm in diameter.

3: Add one of the polymer clay beads to one side of the wire.
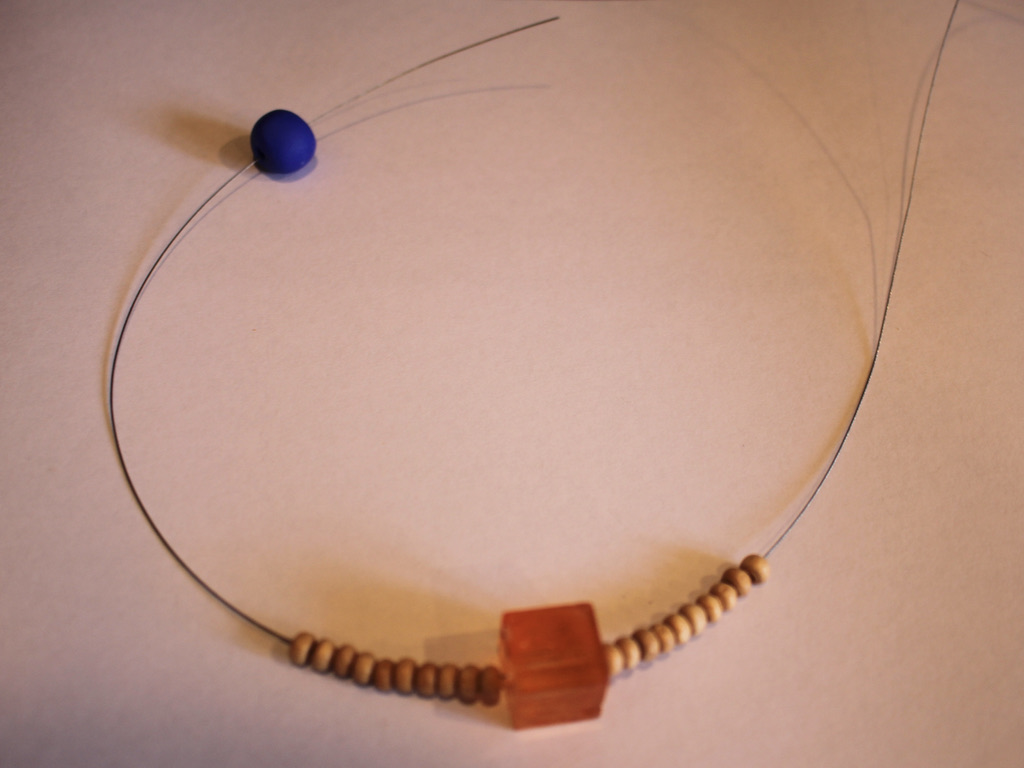
4: Thread the other side of the wire through the polymer clay bead to create a loop.


5: Add another four beads to each end of the wire.

6: Add the crimp cover to the two wires held together.
7: Keeping the crimp cover open, add a crimp bead to the wire.
8: Squash the crimp bead using flat nose pliers.

9: Trim the excess wire.


10: Squash the crimp cover around the crimp bead using the flat nose pliers.

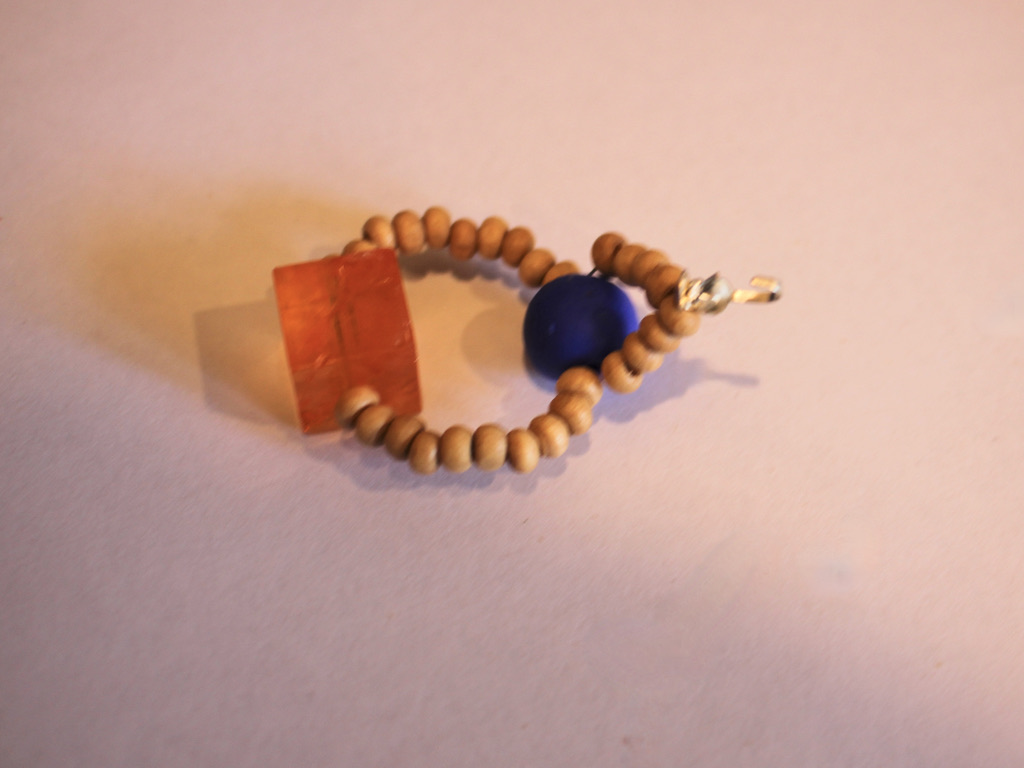
11: Use the wire at the end of the crimp cover to create a loop, thread on an earring hook and close it to secure the earring to the beaded design.
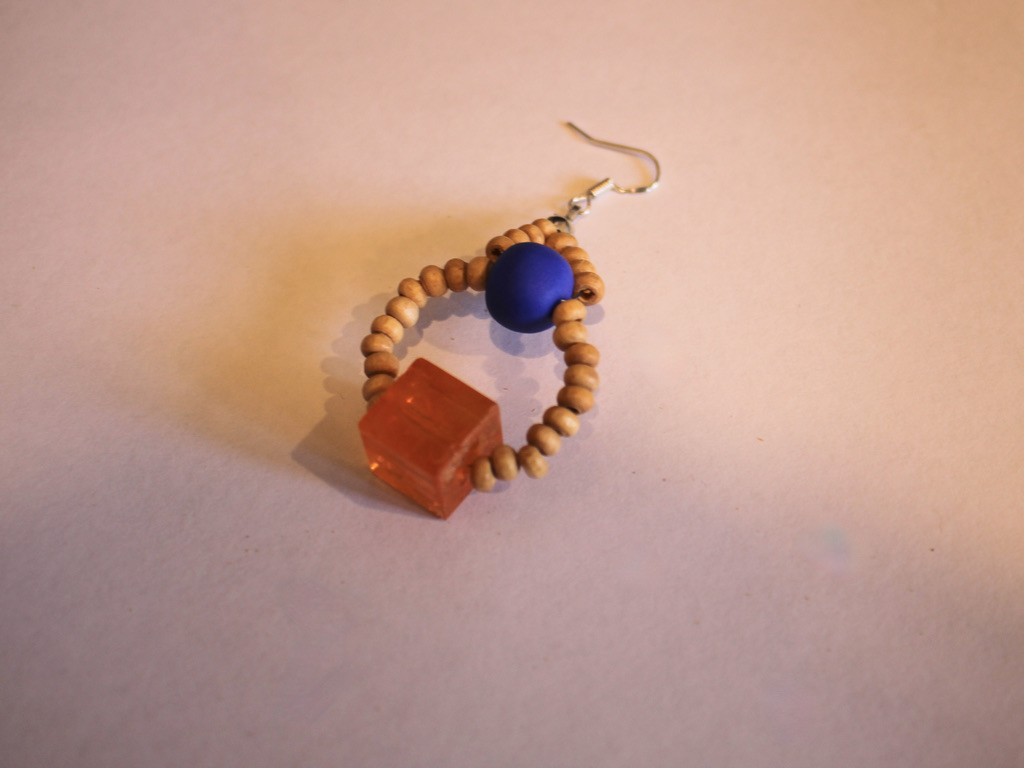
12: Repeat steps 1-11 for the second earring.
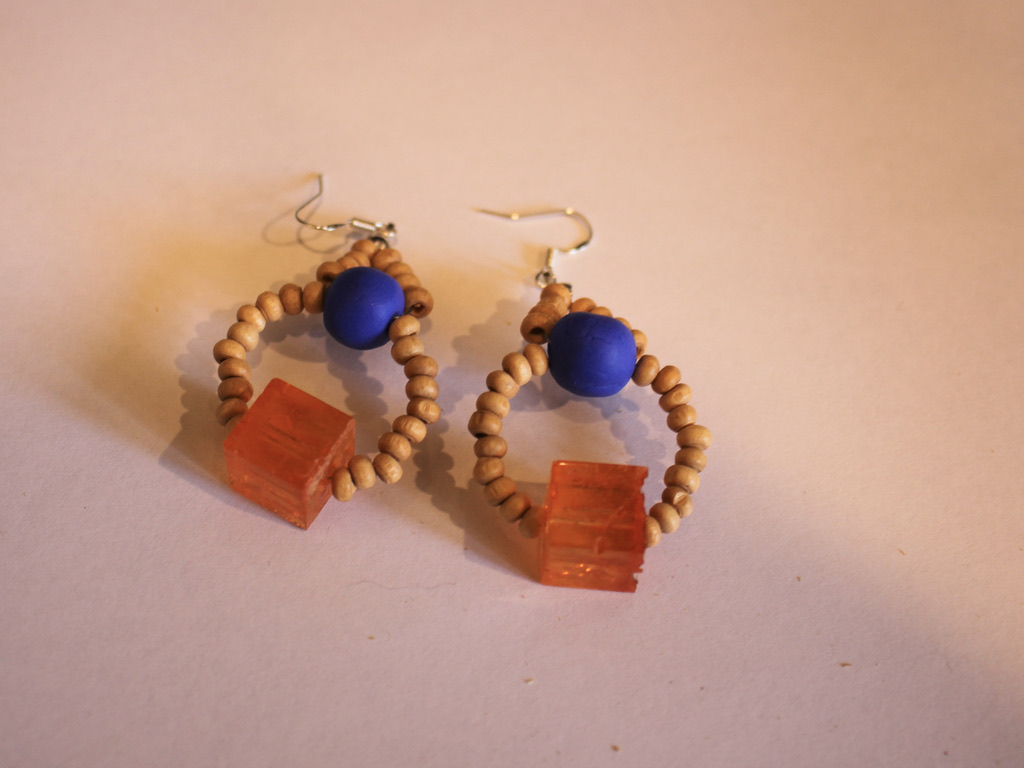
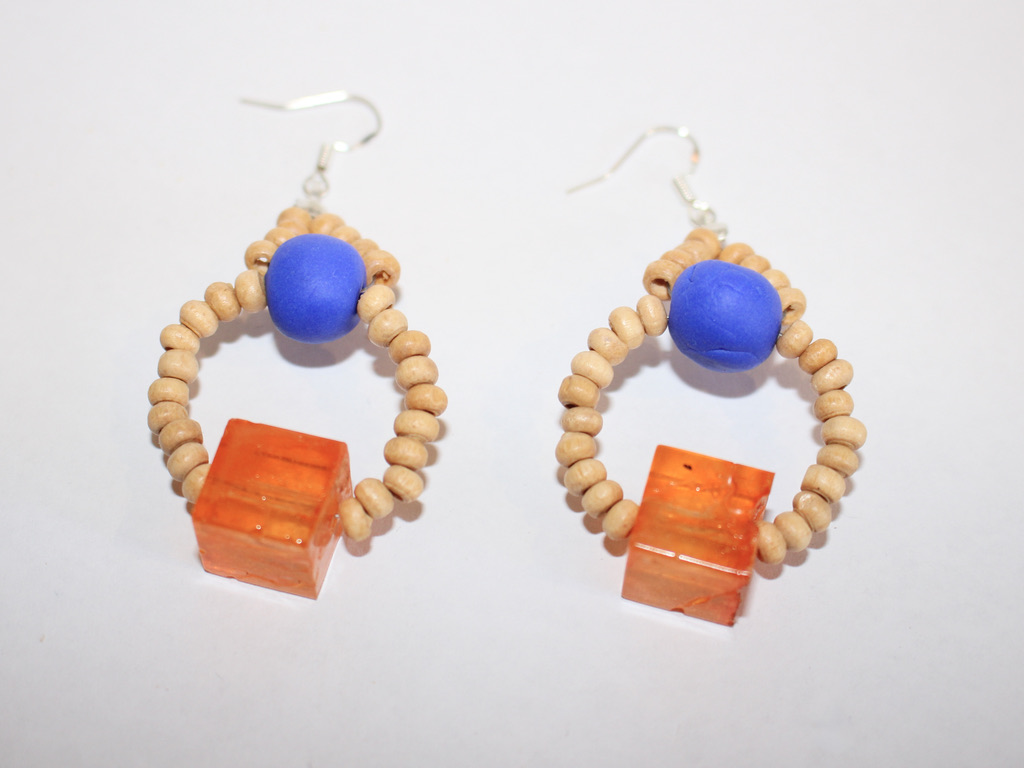
Now your beaded statement earrings are complete and ready to wear!


-
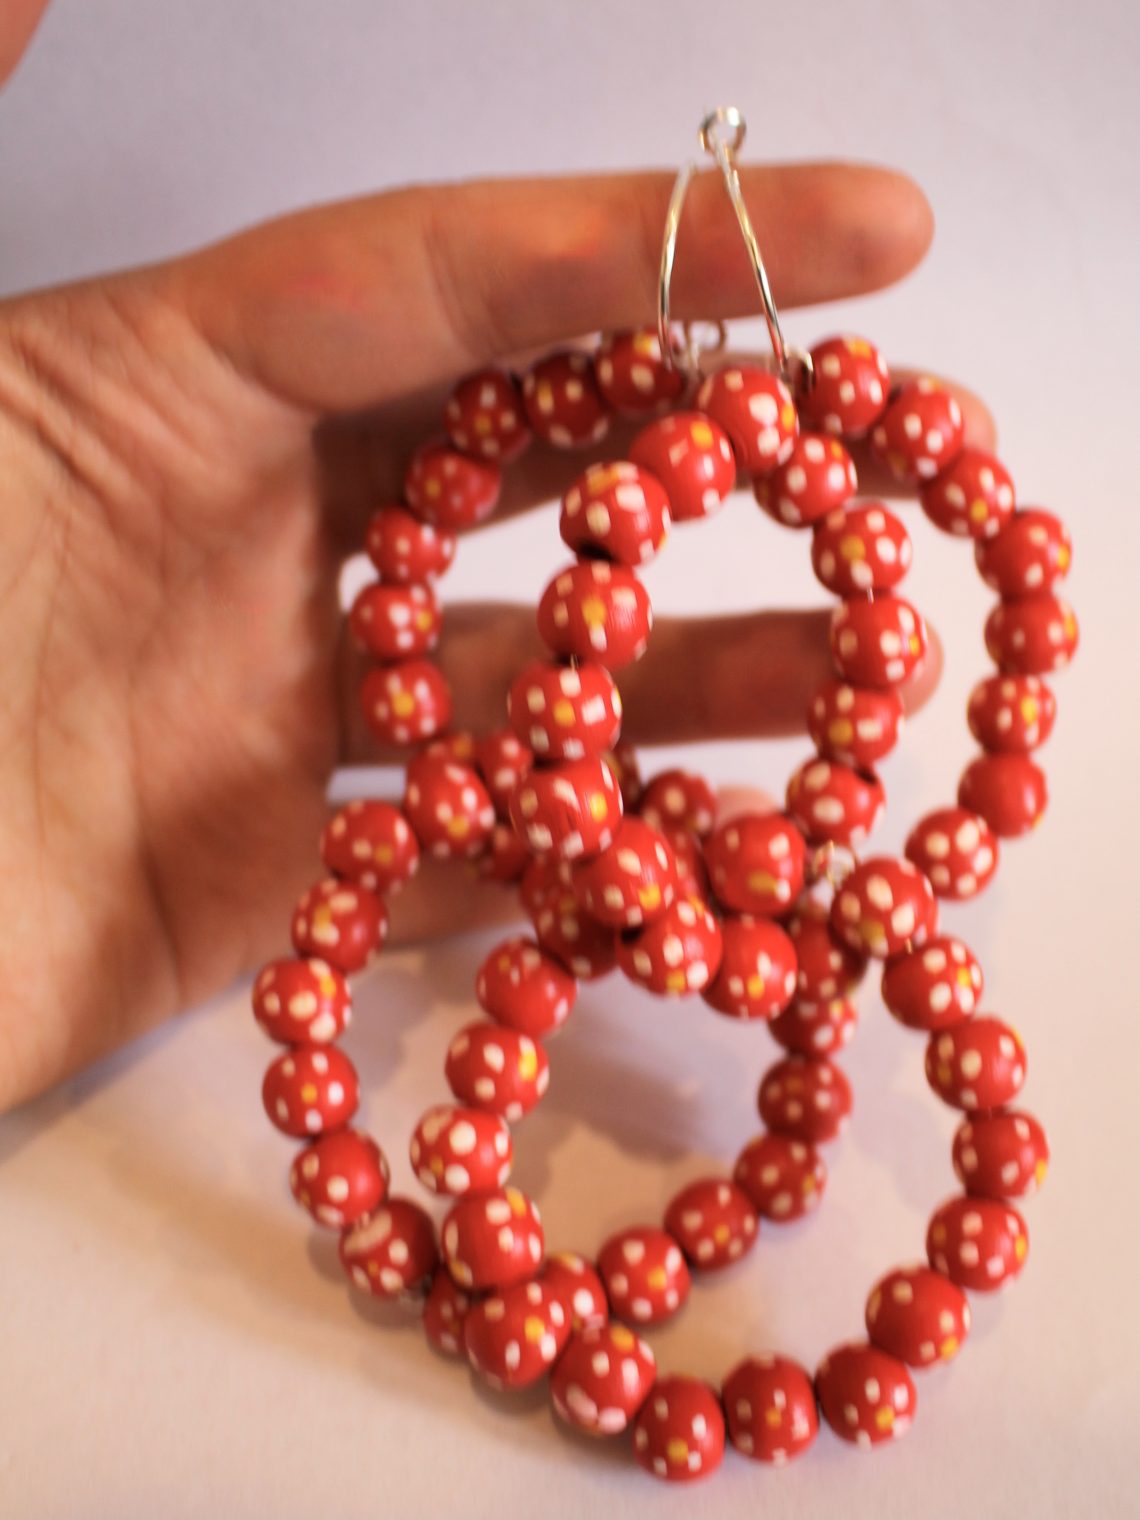
Here’s how to make some fun earrings… these mega hoops are super cute!
I think these earrings are pretty fun! You make some beaded mega hoops, link them together, and then thread them onto some hoop findings for a funky statement look. These earrings are such a statement they’ll add some fun to your next zoom outfit or real life party! please note that this tutorial contains affiliate links.
You’ll need these tools and materials to make your mega hoops:
1: Pliers. I used round nose pliers and cutting pliers.

2: Bracelet sized memory wire cut into four pieces.

3: Beads. I used these red painted wooden beads.

4: Two earring hoop findings. these ones have lever backs so they stay on securely.

Follow these steps to make your mega hoop earrings:
1: Take one of the pieces of memory wire and create a loop at one end using the round nose pliers.


2: Add beads to the wire until you’ve got about 1cm left of the wire without beads.


3: Loop the other end of the wire using the round nose pliers but don’t close the loop.

4:Thread the open loop through the first loop you made and then close it. This will secure the beads onto the wire and create a circle shape.


5: Repeat steps 1-3, before you attach the end loops together, thread the new circle through the first one.

6: Close the second beaded circle and set it aside.

7: Repeat steps 1-6 for the second set of hoops.


8: Add each of the beaded hoops you just made to each of the hoop earring findings.


Now your fun mega hoop statement earrings are ready to wear! So fun and eye catching!
Click here to find some other fun earring tutorials to make at home!
-
These earrings have not one, not two… but three hoops! Here’s how to make them.
Do you love it when your earrings to do the most? These earrings are a true hoop statement, made with three hoops that nest into each other. I think these are so cute!
Please note that this tutorial contains affiliate links.
You’ll need the following tools and materials to make your triple hoop earrings:
1: Six pieces of wire in three different lengths (two pieces of each length). The longest piece of wire will determine the size of the rest of the hoops. I used copper wire.

2: Six small jump rings.
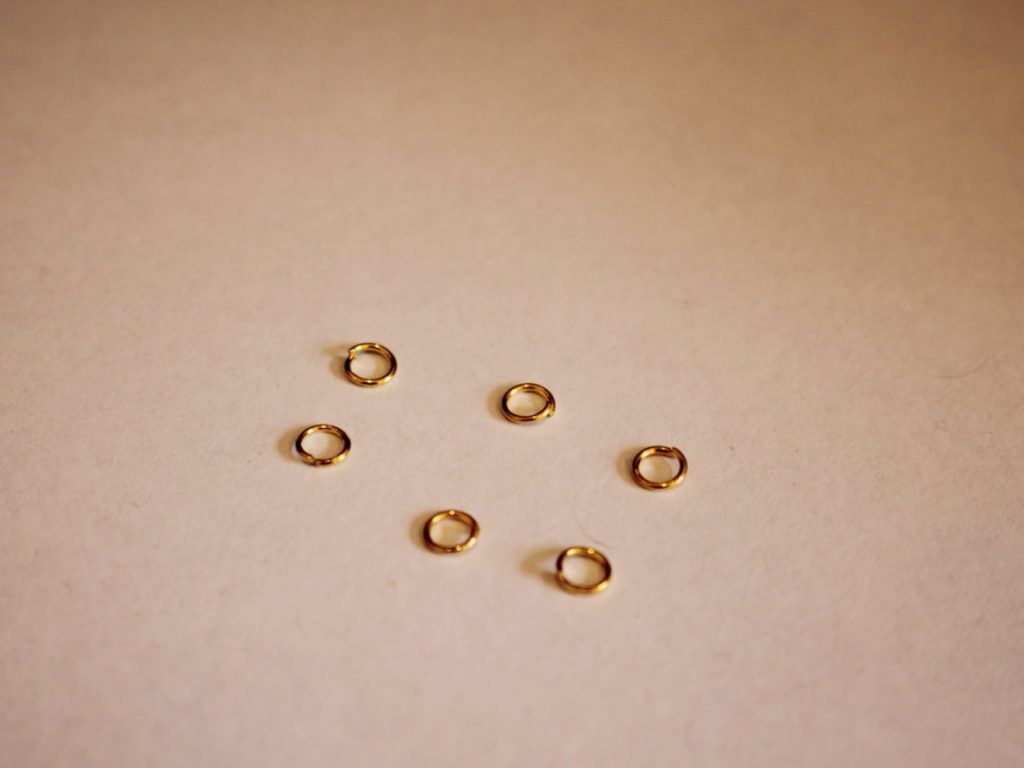
3: A pair of earring hooks.

4: Beads of your choice. I used six red timber beads and some yellow glass e-beads.


Follow these steps to make your triple hoop earrings:
1: Create a loop at one of the ends of the long wires using your round nose pliers. Do this by creating a right angle first and then looping that small end of the wire around the barrel of your pliers.


2: Add beads to the wire in your chosen pattern. I beaded mine primarily with the yellow beads, placing a red timber bead in the centre. You can estimate the centre of the wire by forming it into a rough circle shape.

3: Once the wire is beaded, with 1cm left bare, create another loop at the end of the wire. This will secure the beads in place. Open the end loop up a bit and slide it into the loop you made at the start, close it to secure the ends together and form the circle shape.
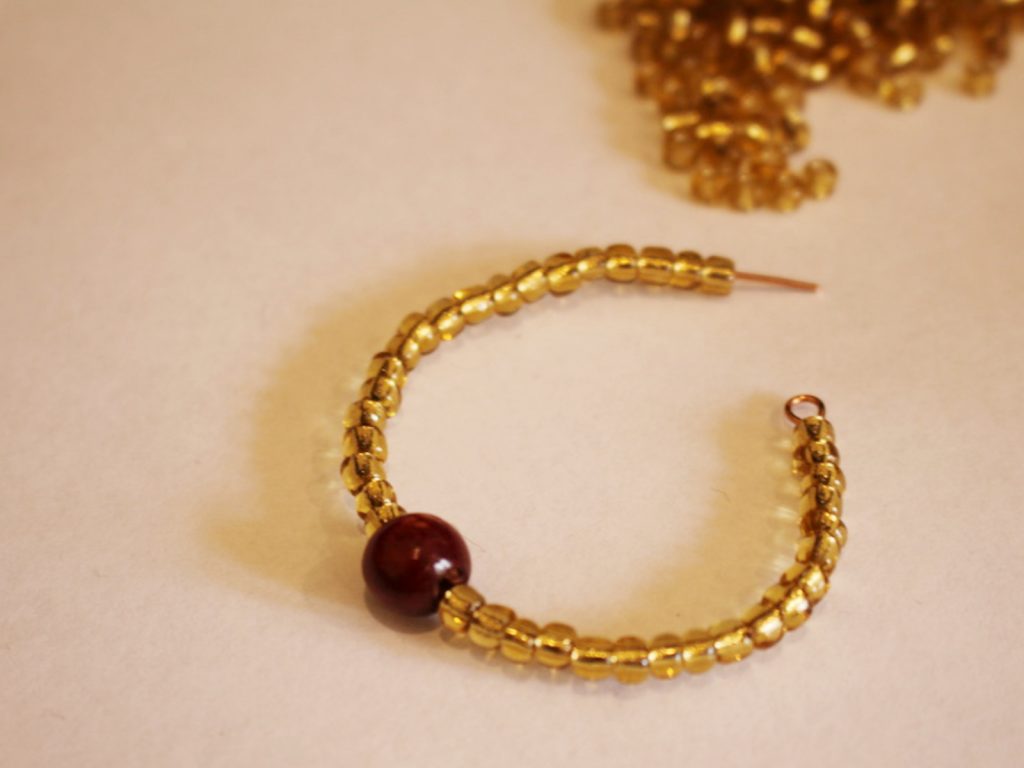


4: Repeat steps 1-3 for the rest of the wires to create six circles.
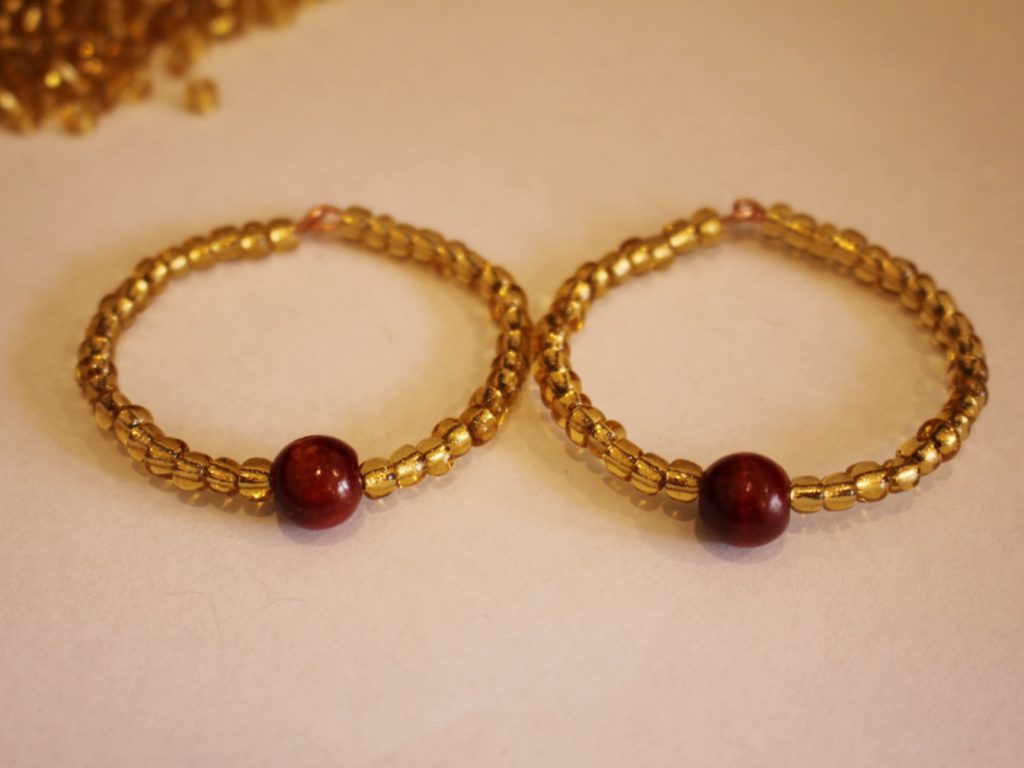


5: Take one of the biggest circles and one of the medium circles. Attach them together using one of the jump rings. Slide the jump ring through the loops at the top of each hoop and close it to secure them together.

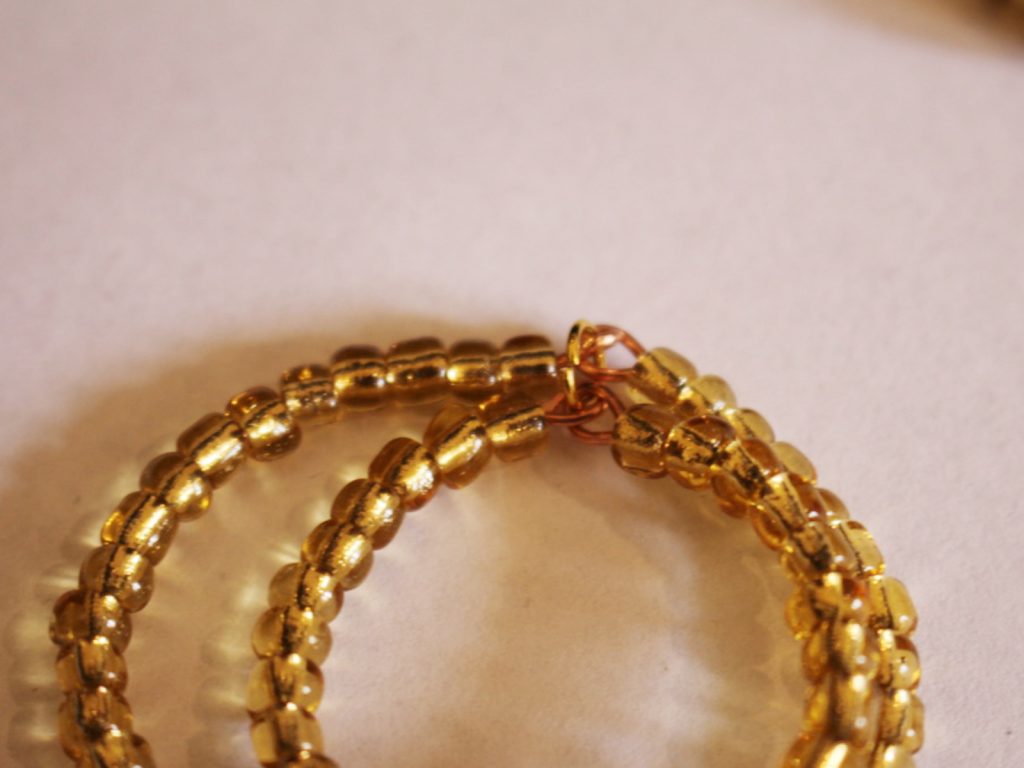
6: Repeat step 5 to attach the smallest hoop to the middle hoop so that you have a stack of three hoops attached together.

7: Repeat steps 5 and 6 for the second set of hoops.

8: Attach an earring hook to both sets of hoops to finish them off.


Now your cute triple hoops are finished and ready to wear!


If you like this design, here are some other multi-hoop earring tutorials:
-
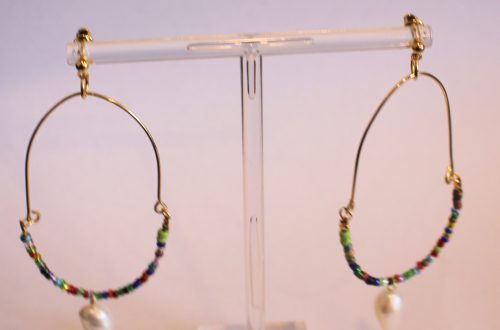
Combine gold wire and pearls with these amazing statement earrings
These earrings use different materials to create a loop of gold wire and rainbow beads with a sweet dangly pearl in the centre. This tutorial contains affiliate links.
You’ll need the following tools and materials to make your earrings:
1: Pliers. I used my cutting pliers (left), flat nose pliers (right) and round nose pliers (middle).
2: Two pieces of 0.8mm wire approximately 7-10cm long. I used gold fill wire.

3: Two pieces of tiger tail wire, around 10-15cm long.

4: Four small jump rings.

5: Two head pins.

6: Two larger jump rings.

7: Post earrings with charm loops.

8: Beads. I used mixed glass beads.

9: Two pearl beads.

10: Eight crimp beads.

11: Something round to form your wires around. I used a bead container.
Follow these steps to make your earrings:
1: Take one of the pieces of tiger tail wire and add two crimp beads and a small jump ring to the end.

2: Loop the end of the wire around the jump ring and through the crimp beads. Pull it tight.

3: Squash the crimps using flat nose pliers.

4: Add beads to the tiger tail wire until you have a length you like.

5: Once fully beaded add another two crimp beads and another small jump ring to the end of the wire.
6: Pull the end of the wire around the jump ring and back through the crimps and last few beads.

7: Squash the crimp beads at the end and trim the excess wire.

8: Repeat steps 1 to 8 for the second bead strand.

9: Add each of the pearl beads to the head pins and use round nose pliers to curl the tops, this secures the beads on to the pins.


10: Add the pearls to each beaded strand.

11: Bend the wires around your round thing to form an arch shape.


12: Add a loop to either end of the wire using the round nose pliers.


13: Attach a bead strand to each of the wires using the jump rings.


14: Add an earring post to each earring, attaching it using the remaining two larger jump rings.


Now your earrings are finished and ready to put on! Perfect for adding some color to neutral outfits!


-
Need something new in your jewelry box? Make this pair of D-Shaped statement earrings.
These earrings are made using some hard memory wire and some cool statement beads. Dangly and unique, these earrings are worth making.
You’ll need these tools and materials to make these earrings:
1: Pliers. Round nose, flat nose and cutting pliers are useful for this design.
2: Memory wire cut into two half circles.

3: Two long eye pins.

4: Two pieces of chain, not too long.

5: Two earrings. I used these silver charm post earrings.

Here is a fancier pair!
6: Two larger jump rings.

7: Four small jump rings.

AliExpress.com Product – Free Shipping! 1 Box SP Open Jump Rings 3mm-8mm(1500 PCs Assorted) (B08915)8: Beads. I used some green glass e-beads.

9: Two statement beads. I used these silver-tone plastic beads.

Follow these steps to make your D-shaped statement earrings:
1: Use the round nose pliers to make a loop at one end of the memory wire half circle.


2: Add the beads to around halfway on the curve.
3: Add the statement bead to the centre of the curve.

4: Bead the remaining part of the curve with the glass beads again until there is about 1cm left un-beaded.
5: Create a loop at the other end of the memory wire curve using the round nose pliers again.

6: Repeat steps 1 to 5 for the second piece of memory wire.

7: Add beads to the long eye pin and leave 1cm un-beaded at the end. Repeat for both pins.

8: Create a loop at the end of both pins using the round nose pliers.


9: Attach each of the beaded eye pins to the top of each memory wire curve. This will create a tighter curve on each piece of memory wire and form the D shape.


10: Attach the chain to each side of the D shape using the small jump rings. Both D shapes will now have a chain loop attached to them.


11: Add one of the larger jump rings to each of the earring posts.

12: Attach the earrings to the charms by threading the chain through each of the open jump rings. Close the jump rings on the earring posts to secure them together.


Now your earrings are finished and ready to wear!


This tutorial contains affiliate links.
-
Love dangly earrings but hate the weight? These sequin earrings might be perfect for you!
These cool shiny earrings are made using some lightweight iridescent sequins so they will have a great visual impact without weighing your lobes down.
You’ll need these tools and materials to make these lightweight earrings:
1: A stack of smaller jump rings.

2: A pair of charm connector studs. I used these gold-tone ones.

3: Sequins. I used 10 of these round sequins that had holes at the top.

4: Pliers. Your round and flat nose pliers will be useful for this tutorial.
5: Two larger jump rings.

Follow these steps to make your sequin earrings:
1: Attach one of the jump rings to the top of one sequin.

2: Attach another jump ring to the first one, this will be the start of a chain.
3: Continue steps 1 and 2 until you have 5 sequins attached together with one dangling from the bottom.


4: Repeat this for the second earring.

5: Find the top of the earring and attach it to one of the post earrings using one of the larger jump rings.

6: Repeat step 5 for the second earring.

Now your lightweight and shiny sequin earrings are finished and ready to put on. Perfect for dancing!


This tutorial contains affiliate links.
-
How to make beaded love heart earrings.

Do you remember the love heart necklace tutorial? Here’s how to make love heart earrings too! Contains affiliate links.
You will need the following tools and materials to make your beaded love heart earrings:
1: Pliers. You’ll need flat nose pliers, cutting pliers and round nose pliers.
2: Four pieces of wire cut to approximately 12cm long.

3: Earring hooks.
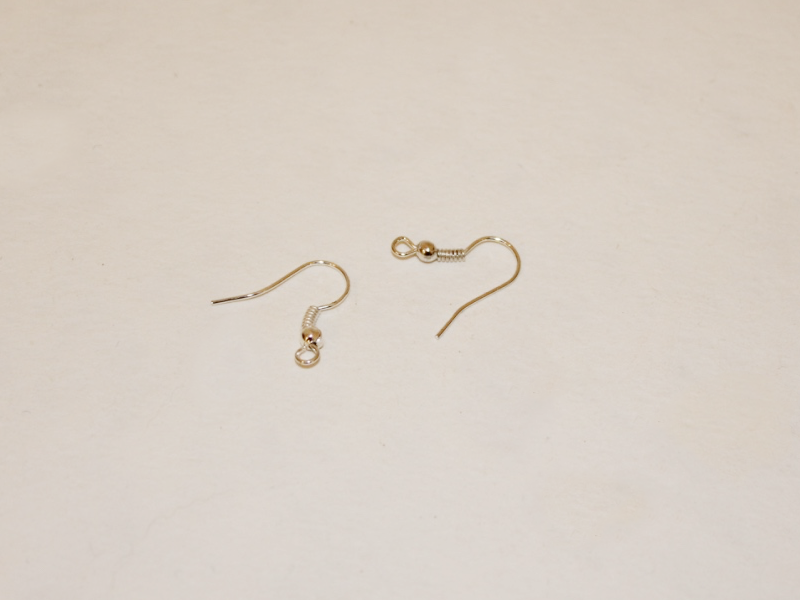
4: Beads. I used timber beads and some yellow glass beads.

Follow these steps to make your love heart earrings:
1: Create a loop at one end of the wire using the round nose pliers.

2: Add beads to the wire leaving 1cm unbeaded.

3: Create a loop at the other end of the wire using the round nose pliers.
4: Repeat steps 1-3 for the remaining pieces of wire, make 2 wires with the timber beads and 2 with the glass beads.

5: Link one of the timber bead wires to the glass bead wires and one end.

6: Form the wires into a heart shape and link the wires at the bottom of the heart.


7: Repeat these steps for the second heart.
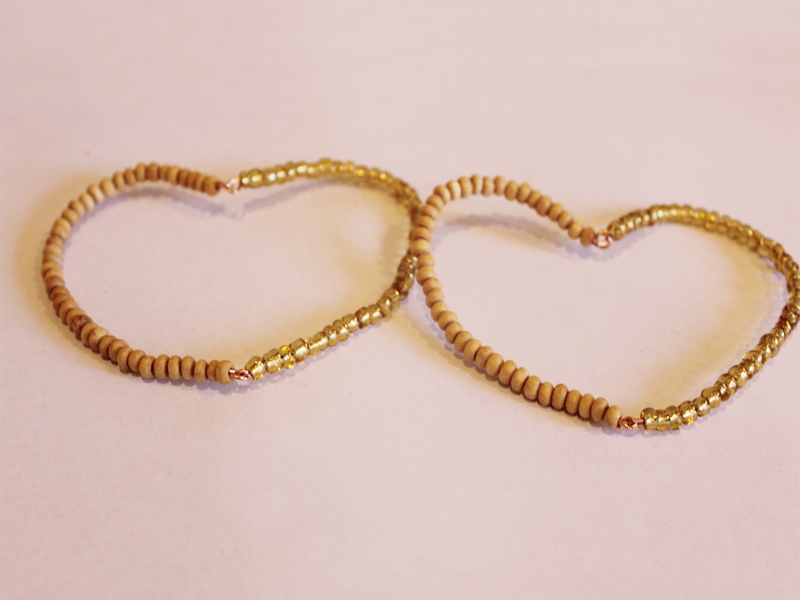
8: Squash the bottom loops of each earring so that it doesn’t fold in half when it hangs from your ears.


9: Add an earring hook to the top of each heart earring.

Now your love heart earrings are ready to wear!