-
Here’s another way to make a cool anklet for summer…

Like I said before, anklets are going to be a hot ticket accessory this summer, so here’s another way to make an anklet to add to your #ankleparty
You will need the following tools and materials to make your anklet:
1: Pliers. You’ll need flat nose pliers, round nose pliers and cutting pliers for this anklet design.

2: A broken pair of headphones. I used these headphones left over from a different project.

3: Two crimp ends.

4: Two jump rings.

5: A lobster clasp.

6: A long gold coloured bead.

Follow these steps to make your simple anklet:
1: Measure the headphone cord around your anklet and cut it to length using the cutting pliers.


2: Add the bead to the trimmed headphone cord.

3: Add a crimp to either end of the cord, folding it around the cord using the flat nose pliers.


4: Add a jump ring to one end of the anklet and attach the lobster clasp.


5: Add the other jump ring to the other side of the anklet.

Now your anklet is done! How cute is this simple design? Add it to your #ankleparty and dance the night away!

-
This adjustable chain belt can also be worn as a necklace.

An adjustable chain belt is a cool way to add some interest to your old outfits. This one is super easy to make and it could double as a lariat if you like!
You will need the following tools and materials to make this adjustable chain belt:
1:Pliers. You’ll need your cutting pliers, flat nose pliers and round nose pliers to make this chain belt.
2: A long piece of chunky chain. Long enough to fit around your waist with a little bit extra.


4: A large jump ring.

5: A head pin.

6: Beads of your choice. I used this metal cylinder bead and a pink glass e-bead.

Follow these steps to make your adjustable chain belt:
1: Add the beads to the head pin.

2: Bend the pin to form a right angle.

3: Trim the head pin so that only 1cm protrudes from the bead.


4: Curl the trimmed pin to form a loop. Once you have done this you can set the charm aside.

5: Add a lobster clasp to one side of the chain.


6: Add the charm to the other end of the chain using the jump ring.


Now your chain belt is done and ready to wear! Or throw it on as a statement necklace instead!

How will you wear your adjustable chain belt? What charm will you attach to yours?
-
All the steps to make your own triple strand leather necklace

Want to show off what’s under the collar? Why not enhance your decolletage with this amazing triple strand necklace?
You will need the following tools and materials to make your triple strand necklace:
1: Pliers. You’ll need your cutting pliers, flat nose pliers and round nose pliers.
2: Three pieces of leather cord, each one longer than the other. I used this brown leather cord.

3: Two flat crimp ends. I used two gold ones.

4: Two jump rings.

5: A clasp.

6: Beads that will fit on your leather cord. I used six of these gold tube beads.

Follow these steps to make your triple strand necklace:
1: Hold the ends of the cords together.

2: Place one of the crimps around the ends of the leather.

3: Squash the crimp around the leather using the flat nose pliers.


4: Add beads to each of the strands. I added one bead to the shortest strand, two to the middle strand and three to the longest one.

5: Line up the other ends of the strands.

6: Add the crimp to the other side of the necklace to secure the strands together.

7: Add a jump ring to one side of the necklace and attach the clasp.

8: Add the other jump ring to the other side of the necklace to finish the necklace.

Now it’s ready to wear! Gorgeous.
-
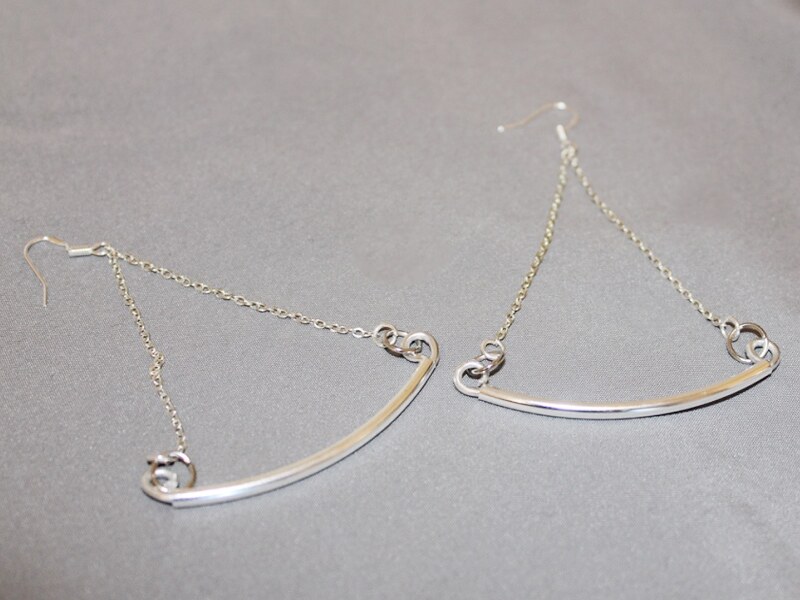
How to Make Curved Bar Earrings Using Some Cool Tube Beads.
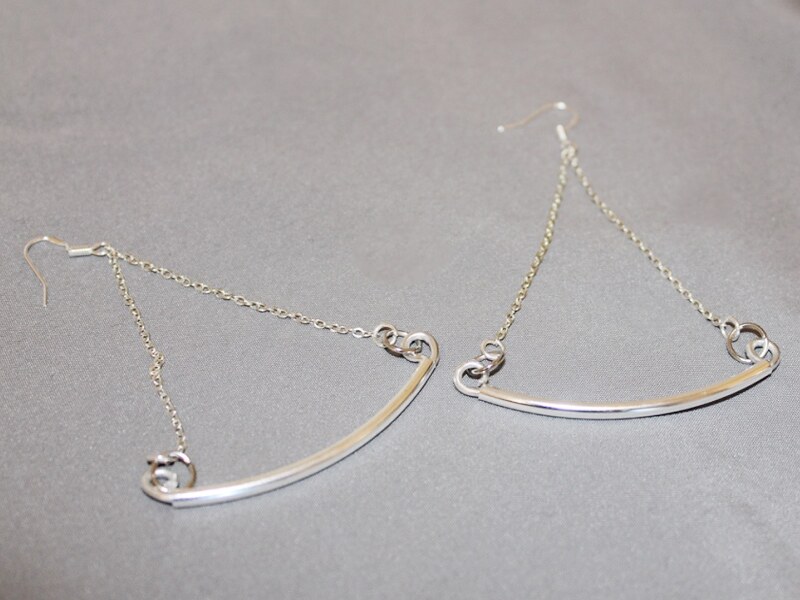
Do you like your earrings to be nice and curvy? This tutorial shows you how to make some sweet curved earrings that hang on delicate chains. Contains affiliate links.
You will need the following tools and materials to make these curved bar earrings:
1: Pliers. You will need your flat nose pliers, round nose pliers and cutting pliers to make these earrings.
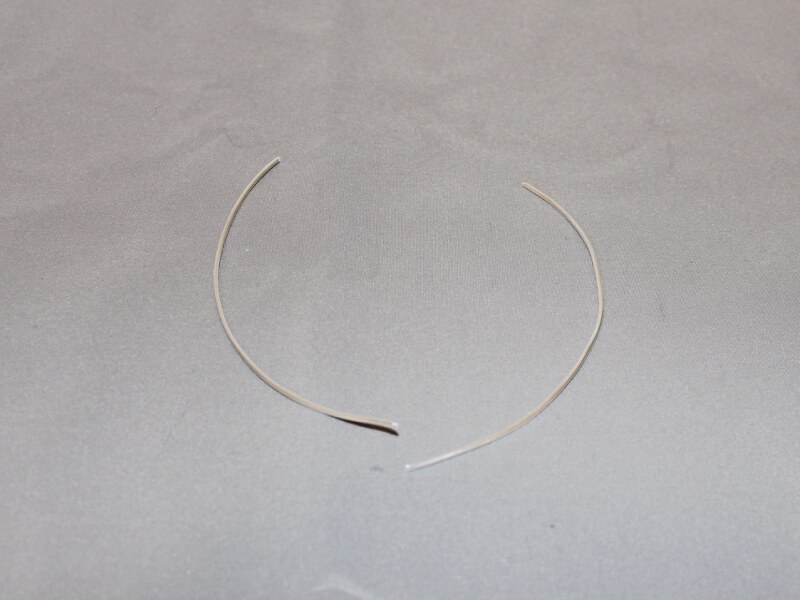
2: Two pieces of wire. I used this thick silver colored wire.
3: Two curved tube beads.
4: Two pieces of chain. the length will determine how far your earrings drop. My pieces were approximately 10cm (approx 3.9 inches) long.

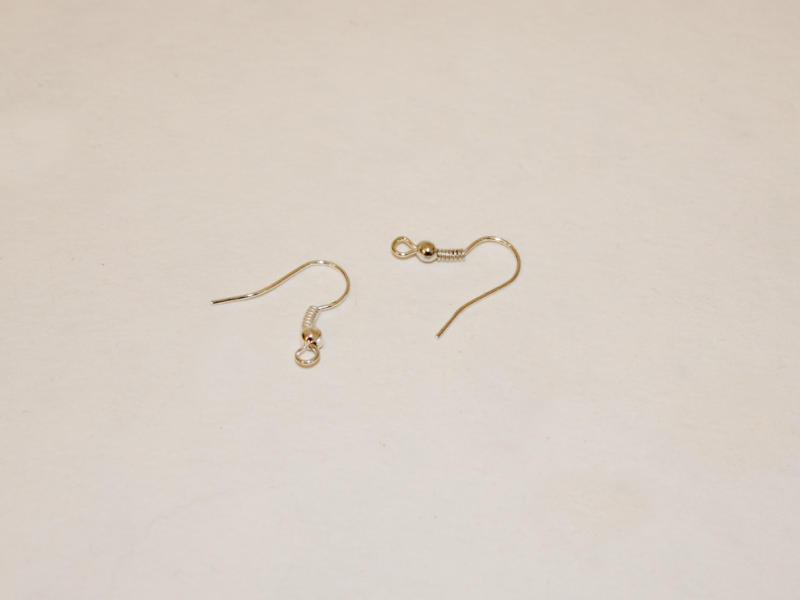
5: Two earring hooks.
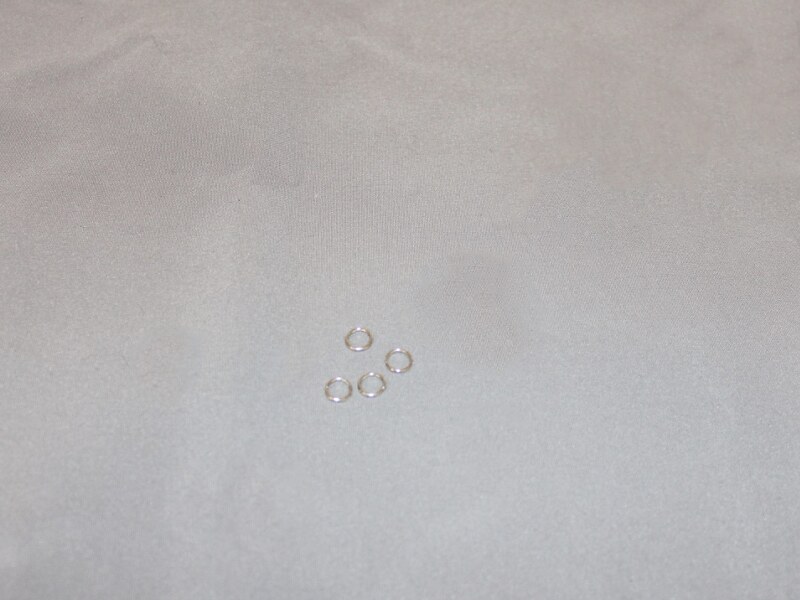
6: Four large jump rings.
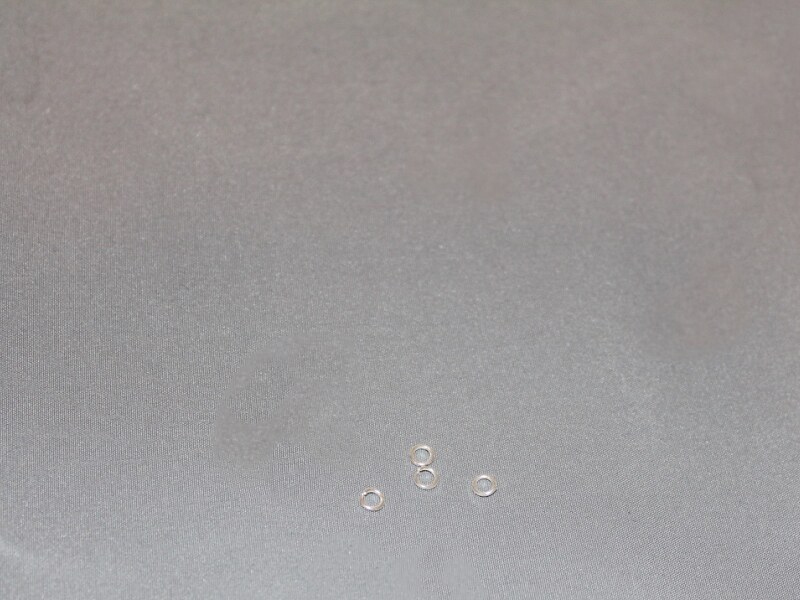
https://www.awin1.com/cread.php?awinmid=10781&awinaffid=1029234&ued=https%3A%2F%2Fwww.etsy.com%2Fau%2Flisting%2F62573744%2F100pcs-925-sterling-silver-4mm-open-jump%3Fga_order%3Dmost_relevant%26ga_search_type%3Dall%26ga_view_type%3Dgallery%26ga_search_query%3Dsterling%2Bsilver%2Bjump%2Brings%26ref%3Dsc_gallery-1-1%26bes%3D1%26sts%3D1%26plkey%3D03a0882d2bdf37c941bdf704bf4acd8ac8de47e7%253A62573744 7: Four small jump rings.
https://www.awin1.com/cread.php?awinmid=10781&awinaffid=1029234&ued=https%3A%2F%2Fwww.etsy.com%2Fau%2Flisting%2F733879360%2Fsterling-silver-jump-rings25mm-3mm-4mm%3Fga_order%3Dmost_relevant%26ga_search_type%3Dall%26ga_view_type%3Dgallery%26ga_search_query%3Dsterling%2Bsilver%2Bjump%2Brings%2Bsmall%26ref%3Dsc_gallery-1-1%26sts%3D1%26plkey%3Dc9251a6bca3549ce13b286c6eea64a0b994e7864%253A733879360 Follow these steps to make your curved earrings:
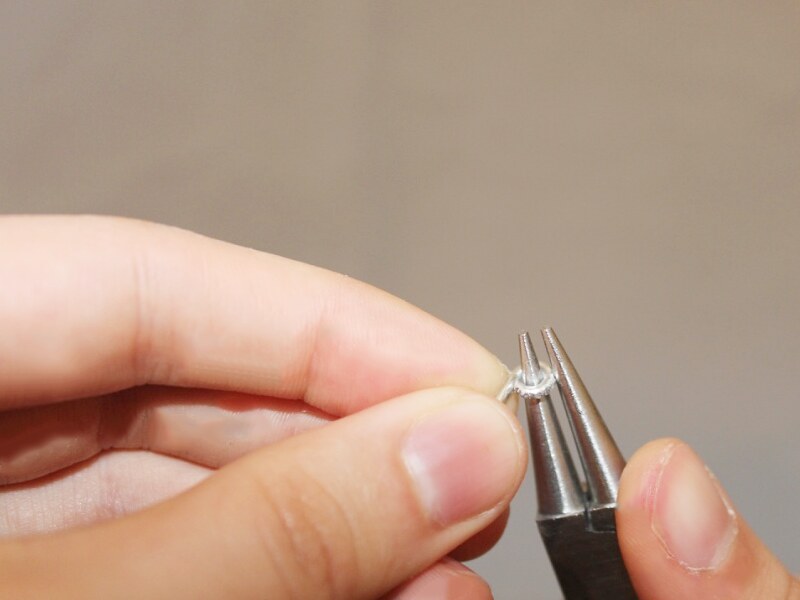
1: Create a loop at the end of one of the pieces of wire using the round nose pliers.
2: Add one of the long tube beads to the piece of wire.
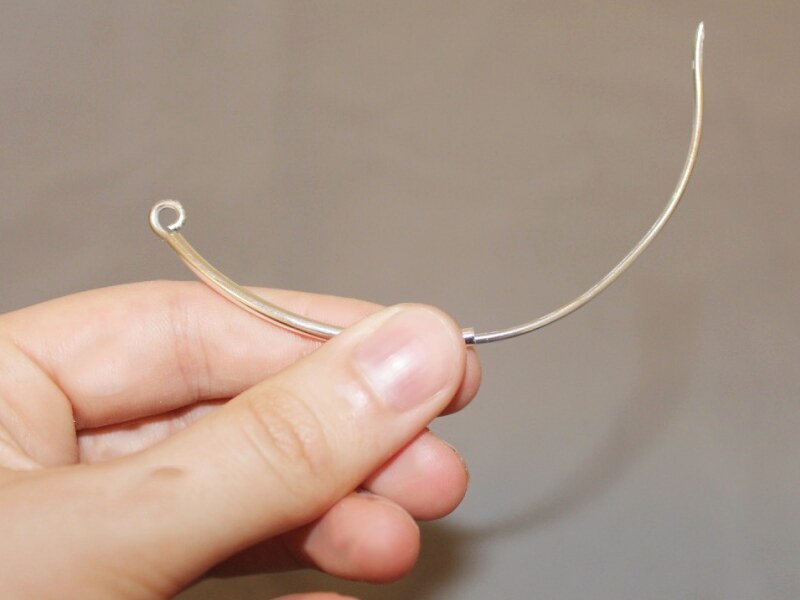
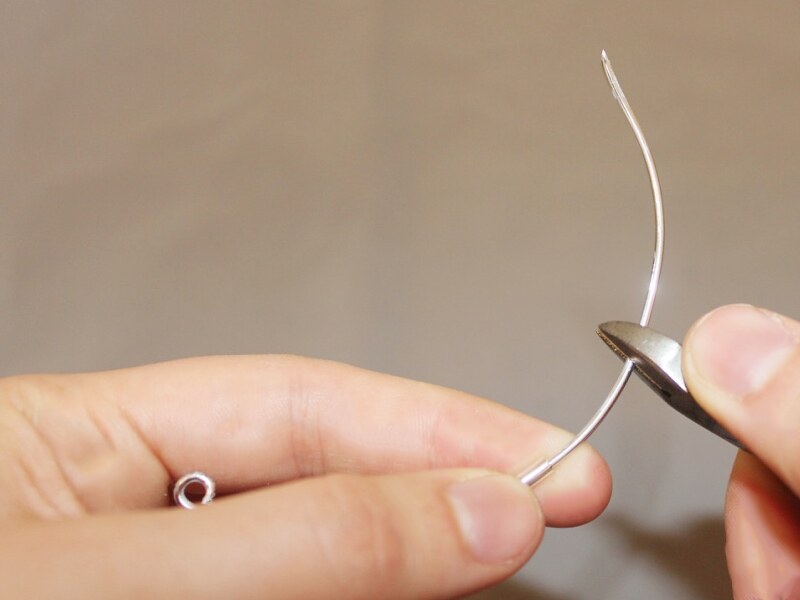
3: Trim the wire using your cutting pliers until only approximately 1.5cm protrudes from the bead.
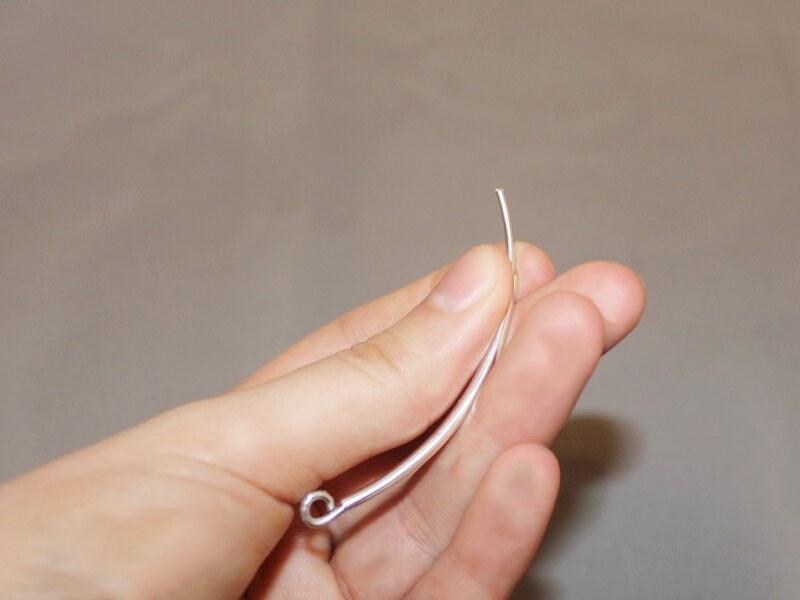
4: Create a second loop at the other end of the wire to secure the long tube bead in place.
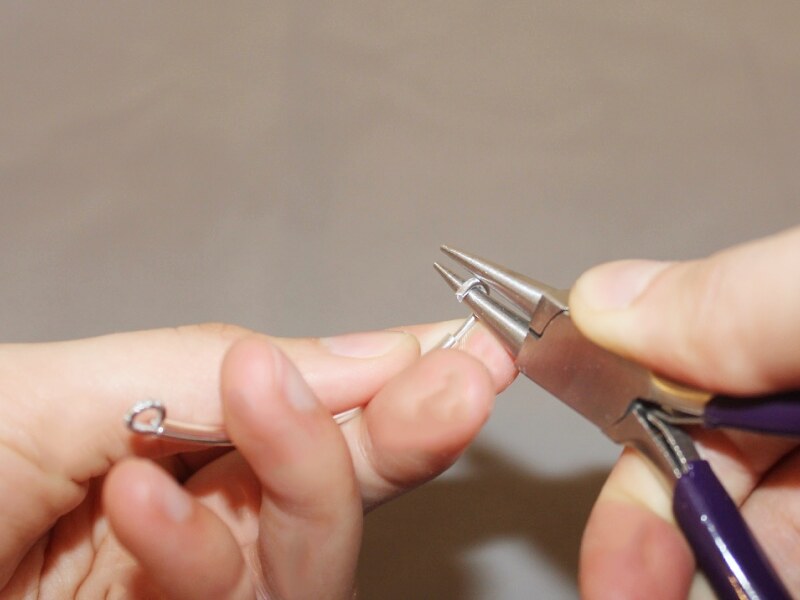
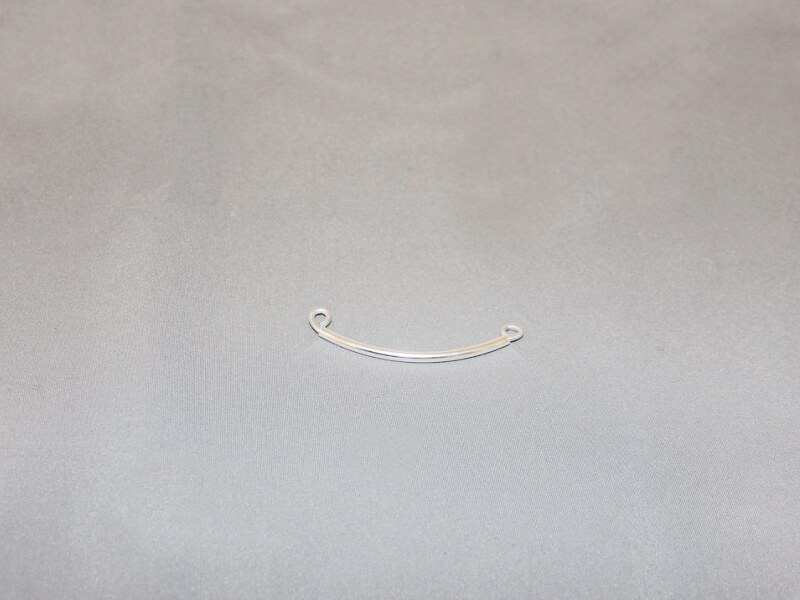
5: Repeat steps 1 to 4 for the second charm using the other piece of wire and tube bead.
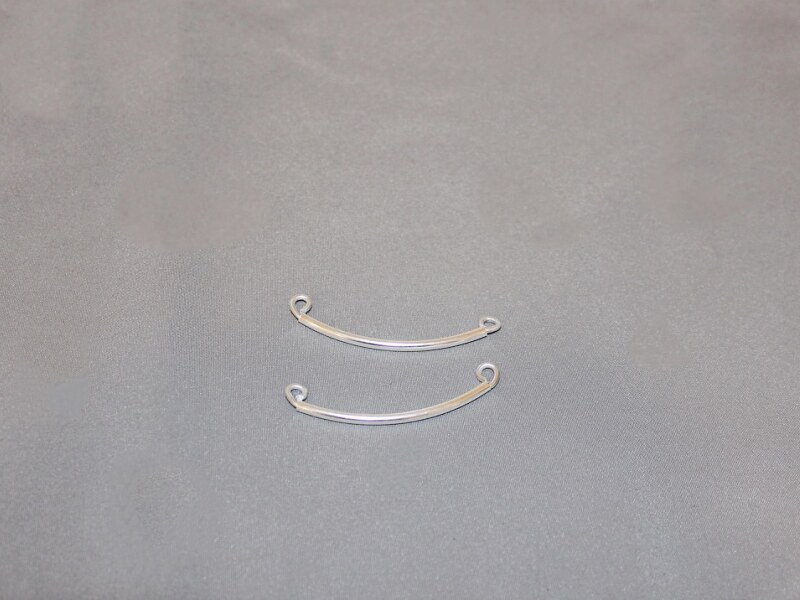
6: Add two large jump rings to either side of the curved charm, attaching them to the loops you just made.
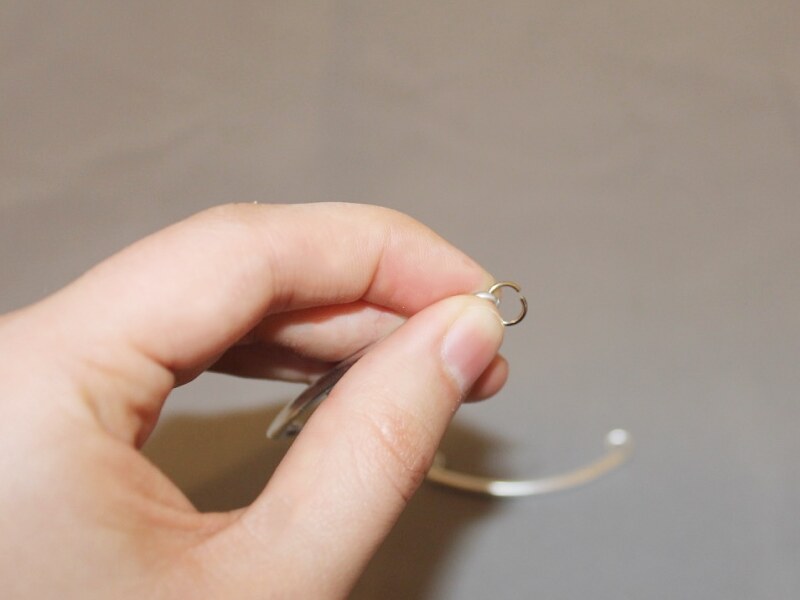
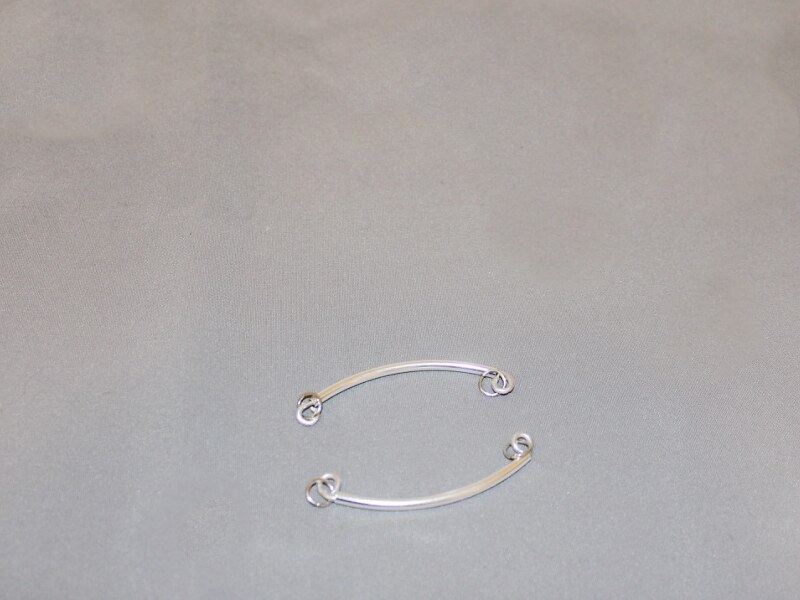
6: Add a small jump ring to either end of the pieces of chain. (You won’t need to do this if you are using chain that has large links).
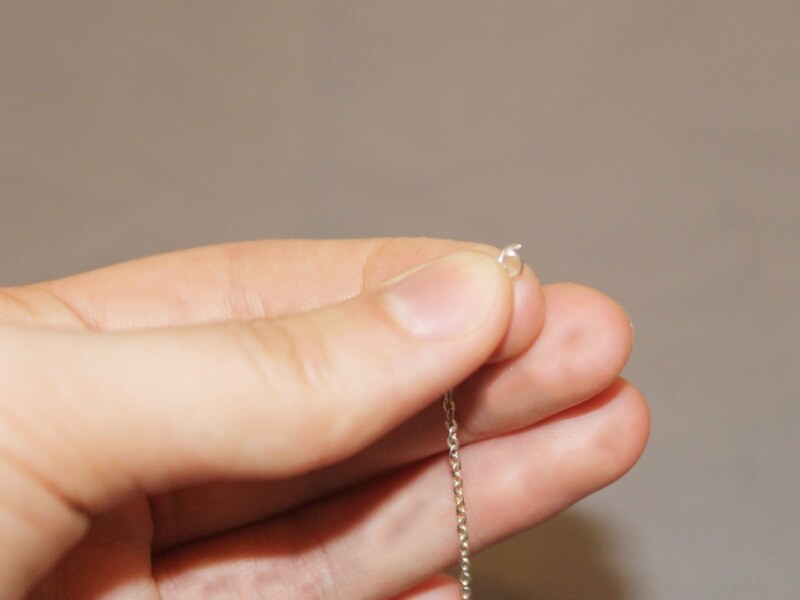
7: Attach the ends of the chain to the larger jump rings, closing the smaller jump rings to secure the ends in place.
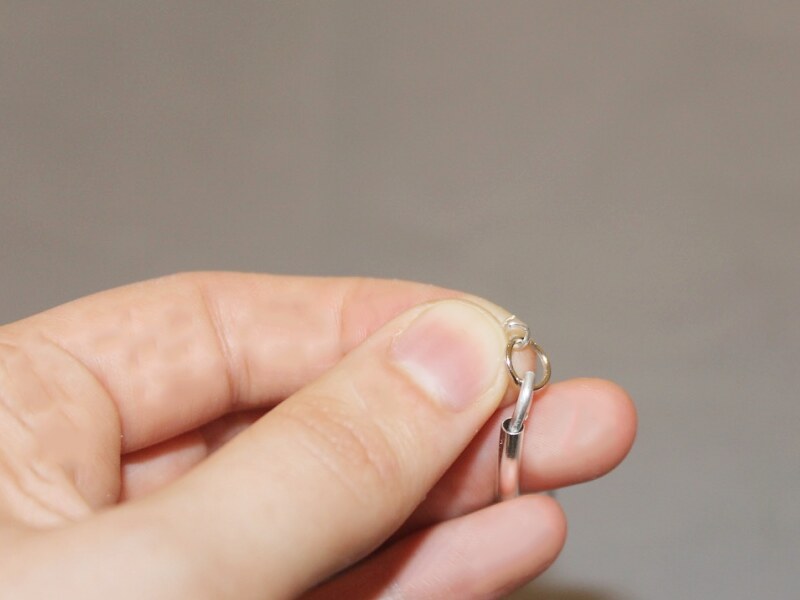
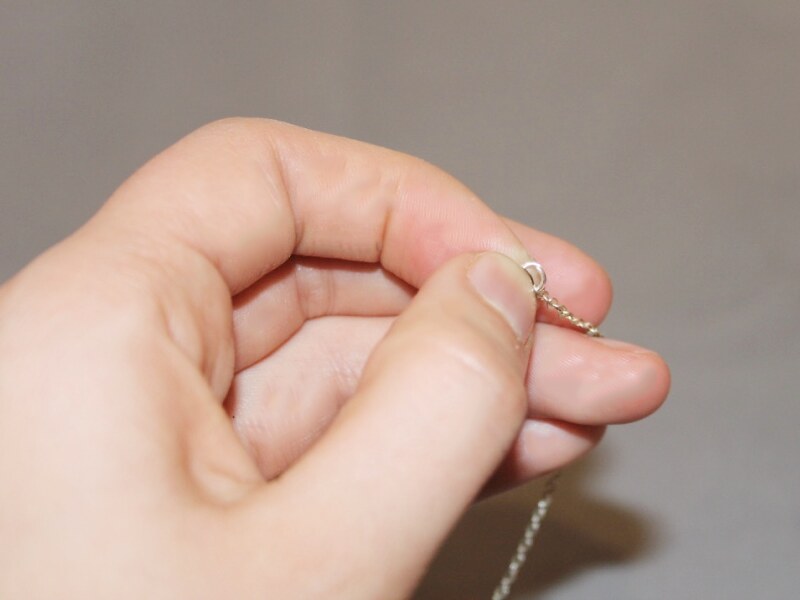
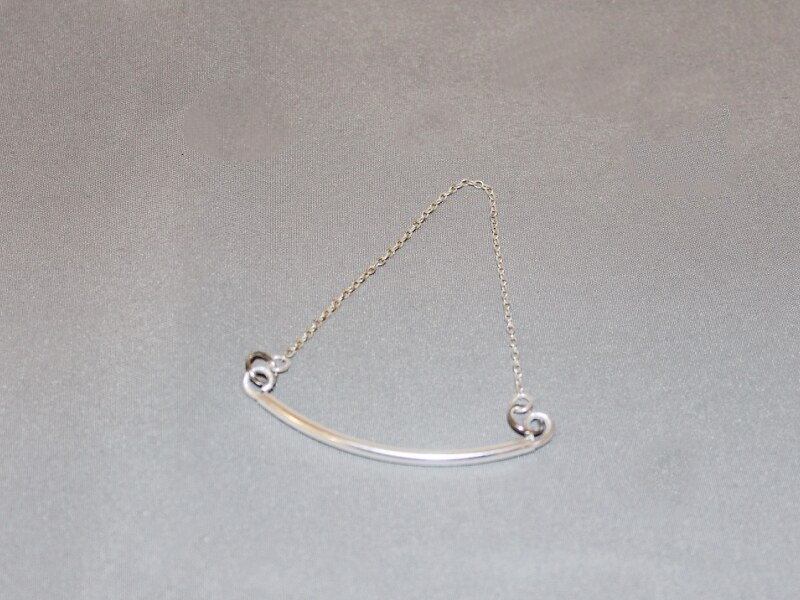
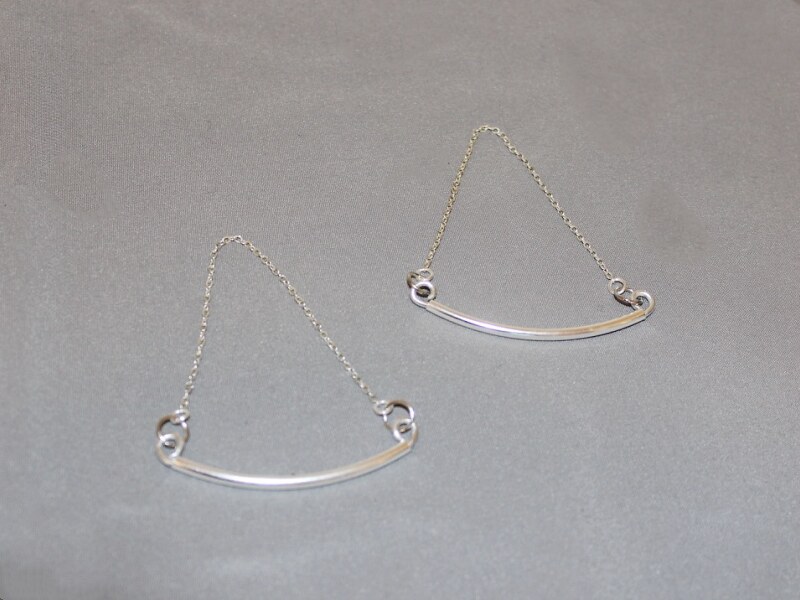
8: Find the middle of the chain and attach one of the earring hooks to form a triangle shape.
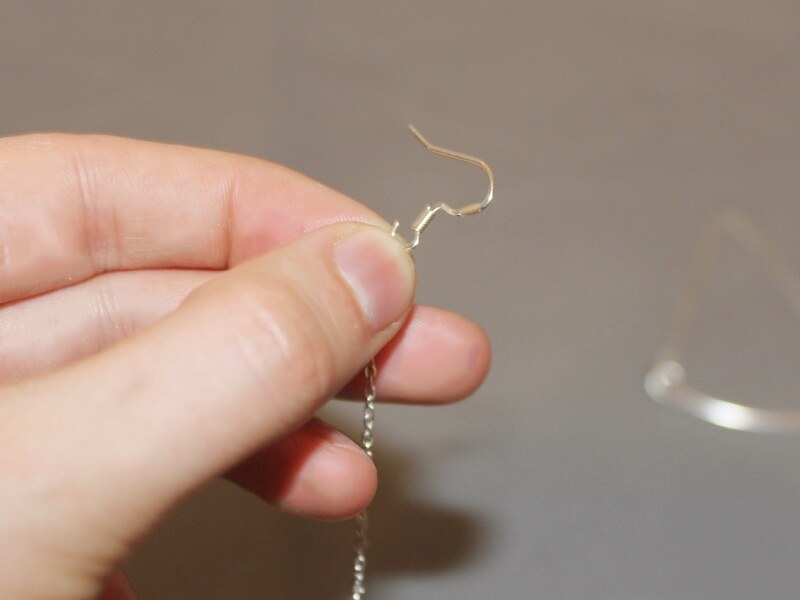
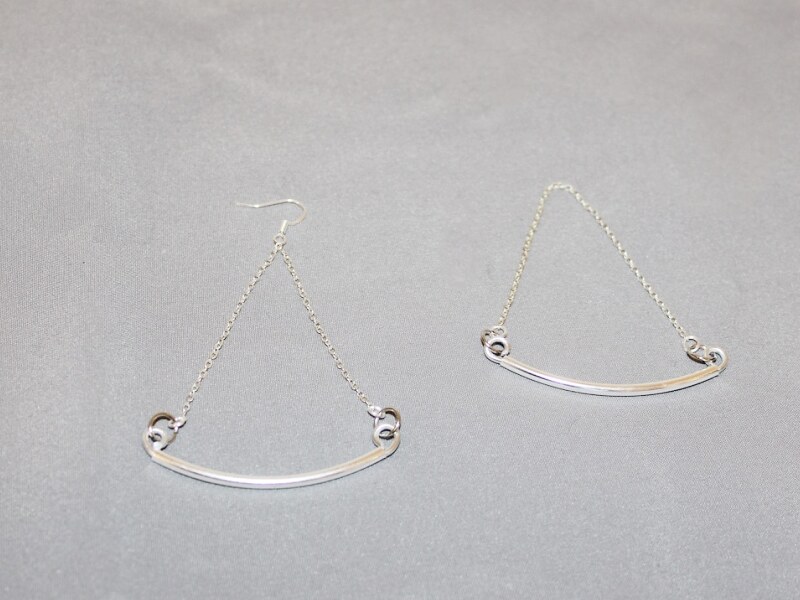
9: Repeat step 8 for the second earring to make a pair.
Once you’ve finished both pairs your earrings are finished and ready to wear.
-
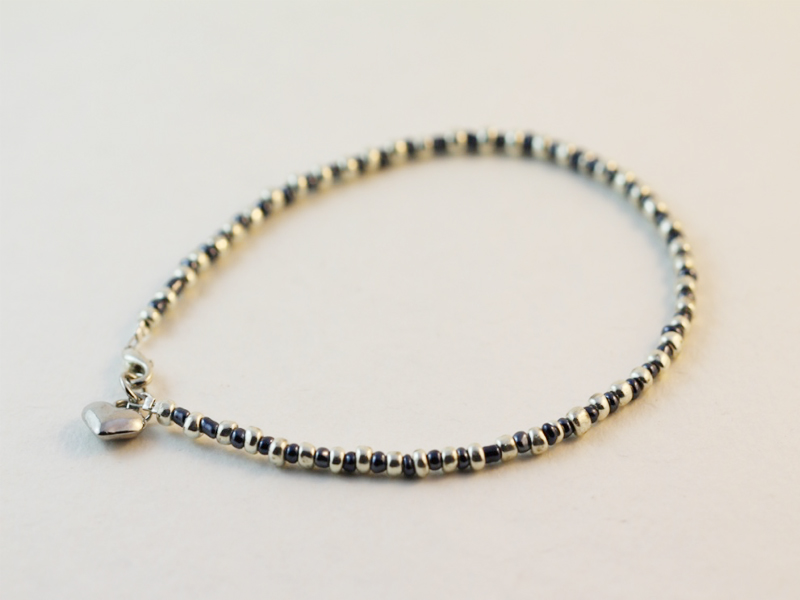
Need Some Valentine’s Day Inspiration? Make Your Honey This Sweet Bracelet
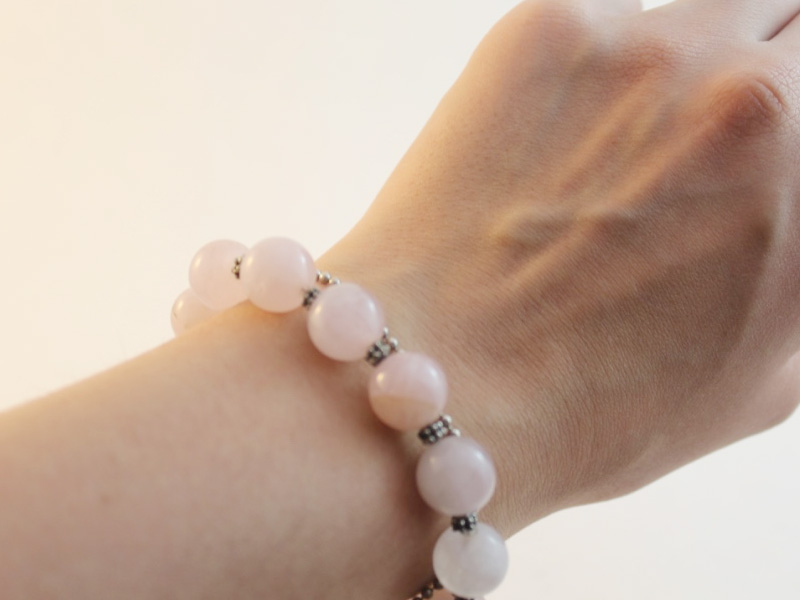
Valentine’s Day is fast approaching and if you are stuck for ideas as to what to get your someone special you might want to give this tutorial a go. This bracelet is super special and easy to make, I made mine using some beautiful rose quartz (the gemstone that is meant to represent unconditional love) but you can use any bead or stone that is special to you and your loved one. Cue the love heart eyes and adorable smiles, this is bracelet a beauty.
You will need the following tools and materials to make this stunning Valentine’s bracelet:
1: Pliers. You will need your round nose, flat nose and cutting pliers to make this bracelet.
Don’t have any pliers yet? Get some here.2: A piece of chain long enough to fit comfortably around your wrist.

3: One lobster clasp.

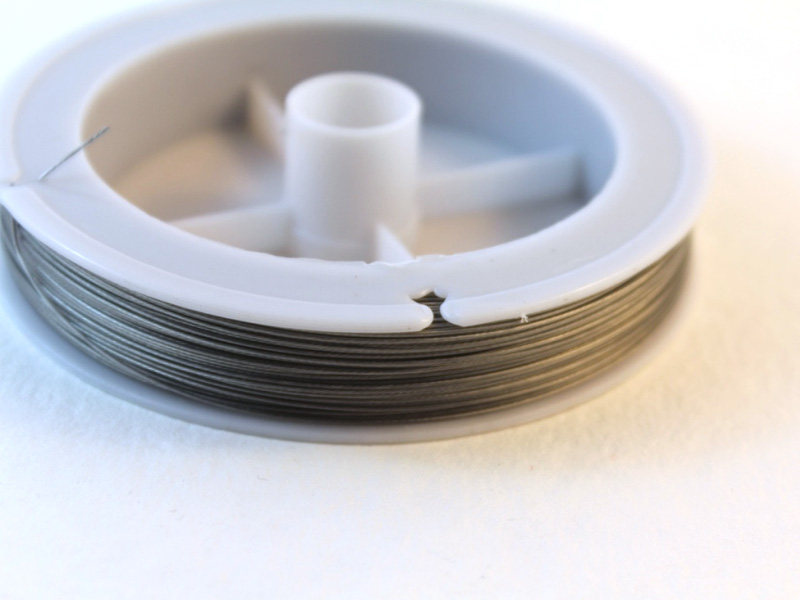
4: Tiger tail wire.
5: Four crimp beads.
6: Beads of your choice. I used these round rose quartz beads and some silver colored spacer beads.


Want to use Rose Quartz too? Get some pretty pink beads here:
The Steps:
1: Attach the lobster clasp to the piece of chain.


2: Measure out a length of tiger tail wire slightly longer than the length of your chain. (This will ensure that your bracelet fits comfortably).

3: Cut the tiger tail wire to length using the cutting pliers.

4: Add two crimp beads to the wire and thread the wire through the end of the bracelet chain.

5: bend the wire and thread the end through the crimp beads.


6: Use the flat nose pliers to squash the crimp beads and secure the wire in place.

7: Begin adding beads to the wire.


8: Continue adding beads until you reach your desired length, then add two more crimp beads.

9: Thread the end of the wire through the end of the bracelet chain and back through the crimp beads.

10: Use the pliers to squash the crimp beads and secure the strand in place.


11: Trim the excess wire using the cutting pliers.

12: Once you have trimmed the excess wire your sweet Valentine’s day bracelet is complete! Make this adorable bracelet and you will be sure to impress, what could be sweeter than a handmade Valentine’s day gift for that special person in your life?


-
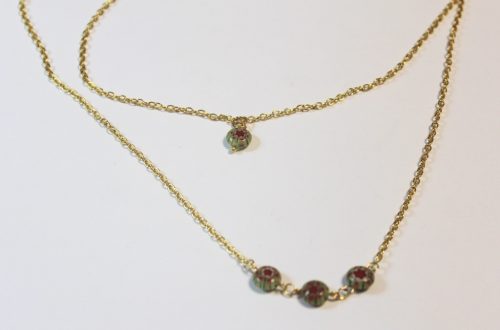
Does Your Wrist Need Something Pretty and New? Here’s How to Make a Beaded Chain Bracelet
If you’ve already tried your hand at the beaded chain necklace tutorial you will notice that the steps for making this pretty beaded chain bracelet are very similar. Using chain allows you to create simple, delicate pieces that you can wear alone or stacked high with your other DIY jewelry creations. Take a few moments out from your day to make this beautiful beaded bracelet, as a present for someone special or maybe as a treat for yourself this festive season.
You will need the following tools and materials to make this beaded chain bracelet:
1: Pliers. To make this bracelet you will need your round nose pliers, flat nose pliers and cutting pliers.
2: Head pins.

3: Chain.

4: Beads of your choice. I used these gold colored enamel beads that feature a floral design.

The Steps:
1: Slide each bead onto a head pin.

2: Take each pin and using the round nose pliers, bend it at a right angle to the bead.


3: Use the round nose pliers again to create a loop and secure the bead onto the pin.


4: Once you have completed steps 1 to 3 for each bead, take your chain and count 5 links.
Open the 6th link and separate the pieces of chain.

5: Open one side of the first bead charm and slide the chain into the loop. Close it again using pliers.

6: Return to the other piece of chain and slide the open link onto the other side of the bead charm. Close the chain using your pliers.

7: Count three chain links and repeat steps 4 to 6. Continue in this pattern until all your beads have been added to the chain.


8: Count another 5 links from the last bead you added. Open the 6th link and remove the excess chain.

9: Take one end of the chain and slide an open jump ring through the end link. Close the jump ring again with your pliers.

10: Open a chain link at the other end of the bracelet, slide the lobster clasp onto the link and secure it in place by closing the link with your pliers.

11: Now your bracelet is finished! Put it on and wear it with pride. I love the sense of satisfaction I get knowing that I have made my own unique accessories.


You can adapt this design by experimenting with different beads. I made this bracelet using orange glass beads.


-
How to Make a Beaded Necklace (Just quietly, It’s really easy)
Do you want to learn how to make a necklace? Well then you have come to the right place! Making your own necklace doesn’t to be an intimidating task… it’s easy as! In this DIY jewelry tutorial you’ll learn all the steps you need to make your own beaded necklace with the beads of your choice.
You will need the following tools and materials to make this necklace:
1. Pliers
To make this necklace you will need flat nose pliers, round nose pliers and cutting pliers.
2. Tiger tail wire.
3. Four crimp beads.

4. A lobster clasp.

5. A jump ring.
6. A selection of beads.
In this design I have used three turquoise beads as feature beads and a selection of e beads, seed beads and metal beads.

The Steps
1. Cut wire the tiger tail wire to the length you want it. You can quickly measure and test your length by pulling the wire around your neck and checking where it falls on your chest before cutting. For this necklace I cut my wire to 46cm (approximately 18 inches). Remember to cut it slightly longer than you want the length of your necklace to be.

2. Add two crimp beads and the lobster clasp to the end of your tiger tail wire.

3. Bend the tiger tail wire around the clasp and into the crimp beads.

4. Squash the crimp beads using the round nose pliers to secure the clasp in place.

5. Start threading your beads.

6. When you start getting close to the middle of your length of wire, add the first of the three feature beads.

7. Continue your beading pattern until all feature beads have been added.

8. Continue beading until the necklace is beaded up to the length you want it and the middle feature bead hangs in the middle of your wire. It helps if you keep count of the number of beads you have used before the first feature bead to ensure that your necklace looks even.

9. Once the beading has been completed, add another two crimp beads and a jump ring. Bend the wire around the jump ring and back through the crimp beads and a few necklace beads.


10. Use round nose pliers to pull the wire tight.

11. Once the wire has been pulled all the way through, secure it in place by squashing the crimp beads using your round nose pliers.

12. Once your crimps have been secured you can trim the extra tiger tail wire.

13. Open the jump ring using your pliers and slip on the clasp tag. Close the jump ring once the tag has been put into place.

14. Now your necklace is complete. How easy was that?!

-
Metal Beads


This bracelet features metal bead spacers. Metal beads are available in a range of shapes, sizes, colors and materials. You can use them as spacers between other beads or as feature beads in your DIY jewelry designs.
Here are a couple of links to get you started using metal beads: