-
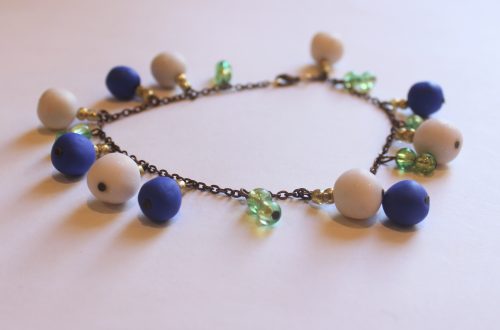
How to make a long pair of triangle dangle earrings!
It’s no secret that I really like making triangle shaped jewelry. Triangles are easy to construct using eye pins, and their angles add striking geometric features to your jewelry collection! These earrings feature three triangles each for a cool look. Please note that this tutorial contains affiliate links.
You’ll need these tools and materials to make this pair of triangle dangle earrings:
1: A set of pliers. I used my cutting pliers and round nose pliers most of the time. Flat nose pliers are handy to have around too.

2: Eighteen eye pins.

3: Six small jump rings.
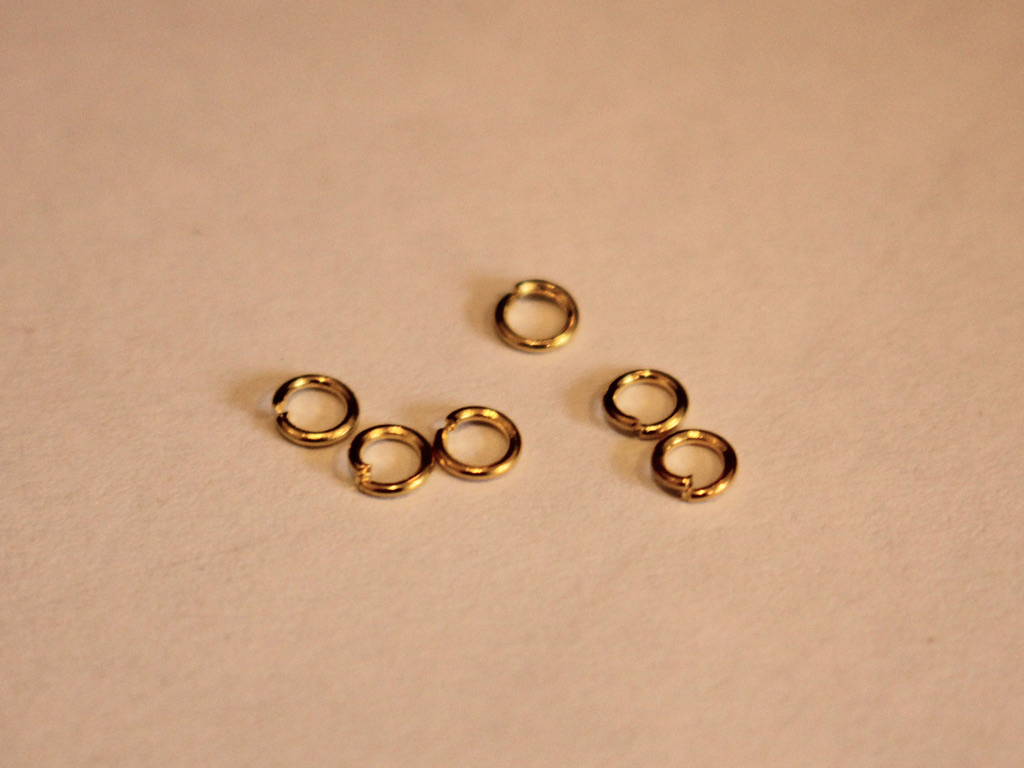
4: A pair of larger jump rings.

5: A pair of earring findings.

6: Beads. I used some cute green glass seed beads.

Follow these steps to make your own pair of cute triple triangle dangles:
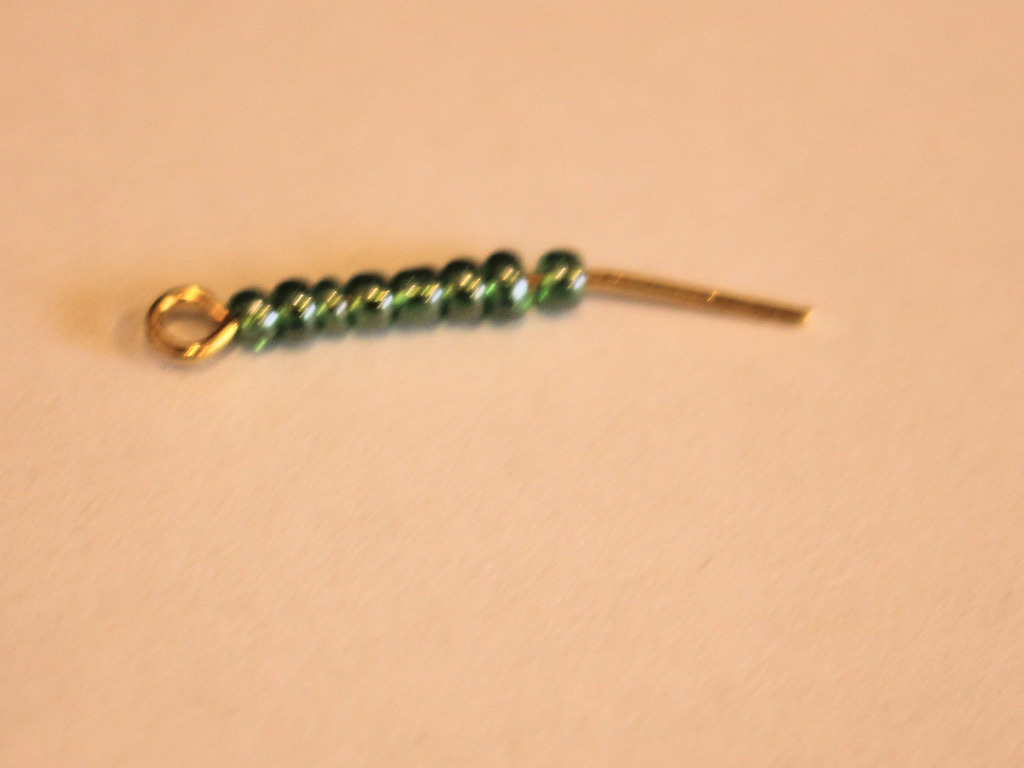
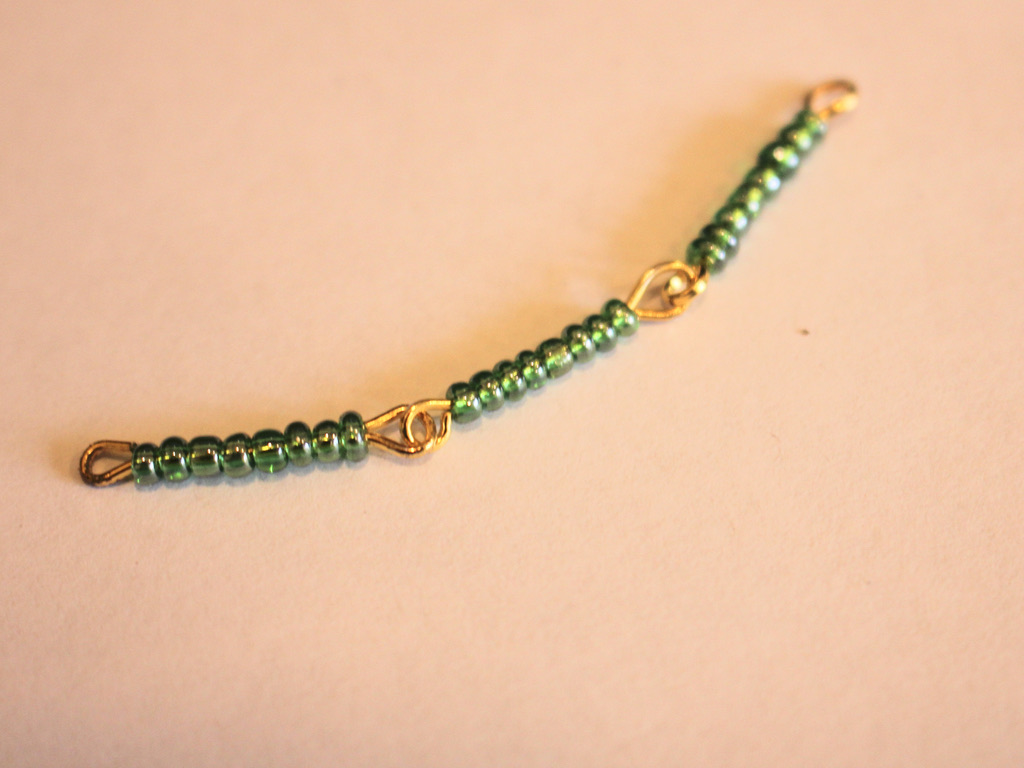
1: Add four beads to one of the eye pins.
2: Add one of the small jump rings.

3: Add another four glass beads.

4: Secure the beads in place by looping the end of the eye pin using your round nose pliers.

5: Repeat steps 1 to 4 for another pin.

6: Set the first pins with the jump rings aside.
7: Bead another four eye pins, this time skipping the step where you add the jump ring. These pins will just have beads.
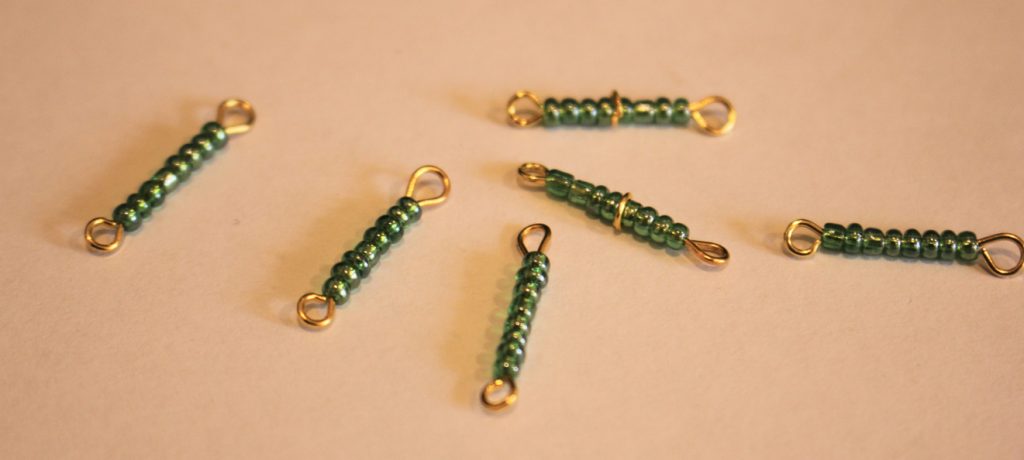
8: Now attach two of the beaded pins to one of the pins with a jump ring to form a chain.

9: Attach the last pin on the chain to the loop at the other end of the first pin, this will form your triangle shape.


10: Repeat steps 8 and 9 to make another triangle with a jump ring pin on the top.

11: Set your first two triangles aside.
12: Now bead the rest of your eye pins like you did in step 7.

13: Form the pins into four more triangle shapes using the steps you performed in steps 8 and 9.

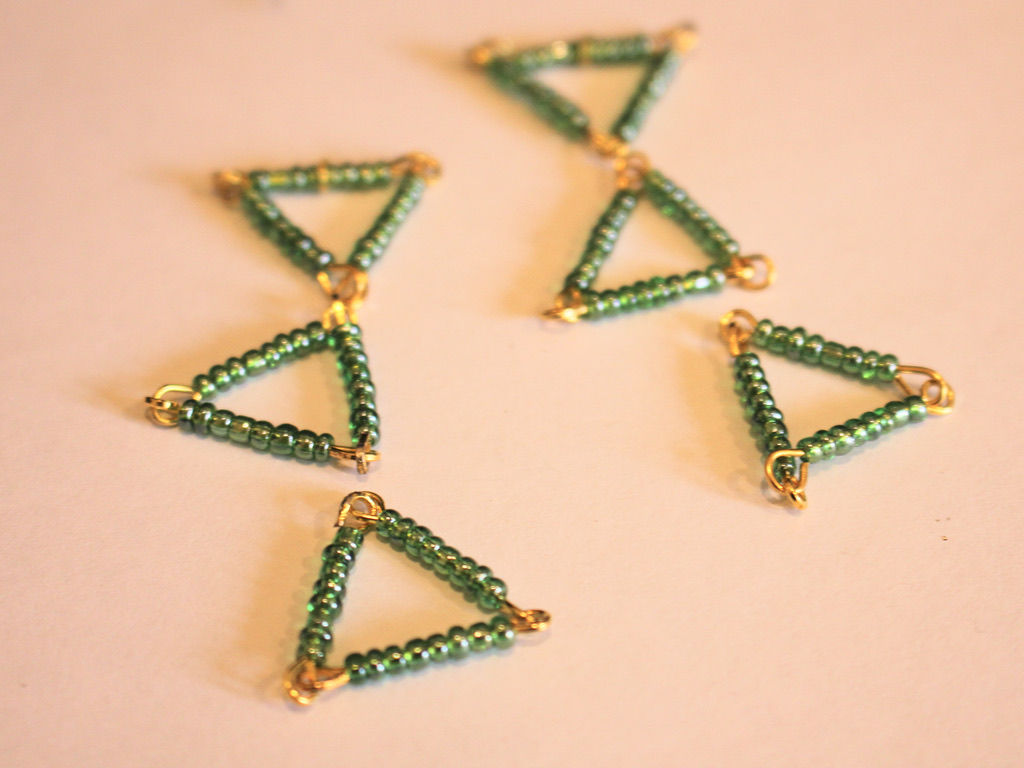
14: Now you can attach the triangles together.
15: And now you can attach three triangles together using the small jump rings, make sure you have the first triangle you made at the top.


16: Repeat step 15 for the other set of triangles.

17: Now you can attach an earring to each of the earrings, slide one of the bigger jump rings through the ring at the top of each triangle and through the loop on the earring finding. Close the jump ring to secure the earrings in place. Repeat this for the other earring.

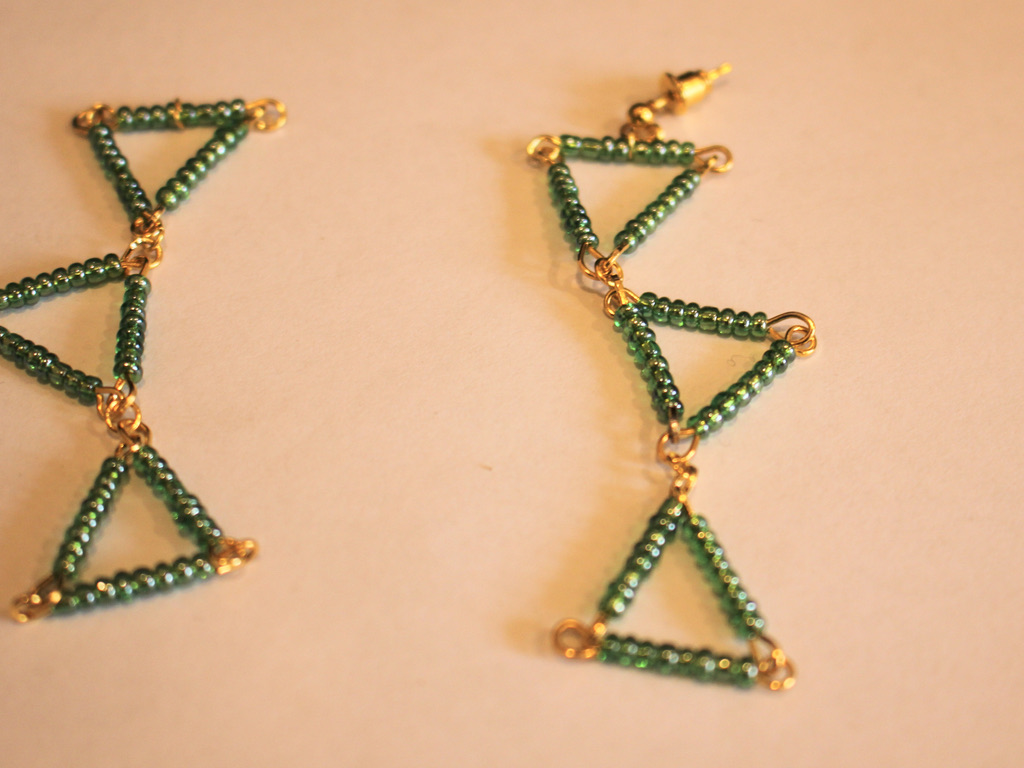


So now you can wear your triangle earrings! Super cute and fun. What color will you make yours in?


Here are some other triangle earrings you can make:
-
How to add cute charms to a pair of hoop earrings… these charm hoops are perfect!
This is a simple DIY that looks really cute! Update a pair of hoops with some adorable glass star beads that dangle from the centre. I really like how these hoops show off the cutest little stars. As an added bonus, these are really simple to put together, giving you that instant gratification hit! Please note that this tutorial contains affiliate links.
You’ll need the following tools and materials to make your charm hoops:
1: Pliers. I used my round nose pliers.

2: A pair of hoop earrings. I used these gold-tone hoops with lever backs.

3: A pair of head pins.

4: A couple of beads, I used these green star beads.

Follow these steps to make your charm hoop earrings:
1: Add each of the beads to each of the pins.

2: Bend the pins around the barrel of the round nose pliers to form a loop.


3: Slide each of the charms onto the hoops to finish off the earrings!


Now they’re ready to wear! How cute are these little charm hoops? I love them!


Here are some other charm hoop earrings you can make:
-
Half and Half for the best of both worlds? Here’s how to make a half bead half chain necklace!
This necklace is really cool! It is made using different materials for a half-half look. One side of the necklace is made with delicate chain while the other half features a rainbow of glass seed beads.
The Materials
You’ll need the following tools and materials to make your half and half necklace:
1: Pliers. I used my cutting pliers, round nose pliers and flat nose pliers.
2: A piece of tiger-tail wire.

3: Four crimp beads.

4: Three jump rings.

5: A lobster clasp.

6: Some chain. I used gold-tone rolo chain.

7: Beads. I used some mixed glass seed beads in different colors.

The steps
Follow these steps to make your half and half necklace:
1: Add two of the crimp beads and a jump ring to one end of the wire.

2: Fold the short end of the wire around it and back through the crimp beads.

3: Squash the crimp beads using the flat nose pliers.

4: Add beads and continue beading until you have a beaded section that is around half the length you want your necklace. I checked my length by measuring it against my neck, holding the secured end at the back of my neck and wrapping it loosely around the font of my neck.


5: Add two more crimp beads to the wire and a second jump ring.

6: Bend the wire around the jump ring and pull it tightly back through the crimps and a few of the beads.

7: Squash the crimp beads using the flat nose pliers again.

8: Trim the excess tiger tail wire using the cutting pliers.

9: Open a jump ring on one side of the beaded strand and attach one end of the chain.

10: Measure the chain so that it is the same length as the beaded strand and trim it.

11. Add the remaining jump ring to the other end of the chain, using it to secure the lobster clasp in place.

Now your half and half necklace is finished!


You can even add a charm to the middle to add some extra interest. I added this yellow clay and resin charm to mine.


This tutorial contains affiliate links.
-
I am super into lariat necklaces right now, here’s another way to make one with a double-hole bead.
Lariat necklaces are so elegant and cool. I really like how they look with a low cut top that hints at cleavage! We already have a few lariat tutorials on the site, but this is one that has a bit of a twist. All the materials and steps are listed below! This tutorial contains affiliate links.
You’ll need these materials and tools to make your lariat:
1: A bead with two holes. I used this hematite bead recycled from a bracelet I had as a kid.

2: Two accent beads. I used these round hematite beads.

3: Chain. I used some gold-tone rolo chain.

4: Two head pins.

5: Two short eye pins.

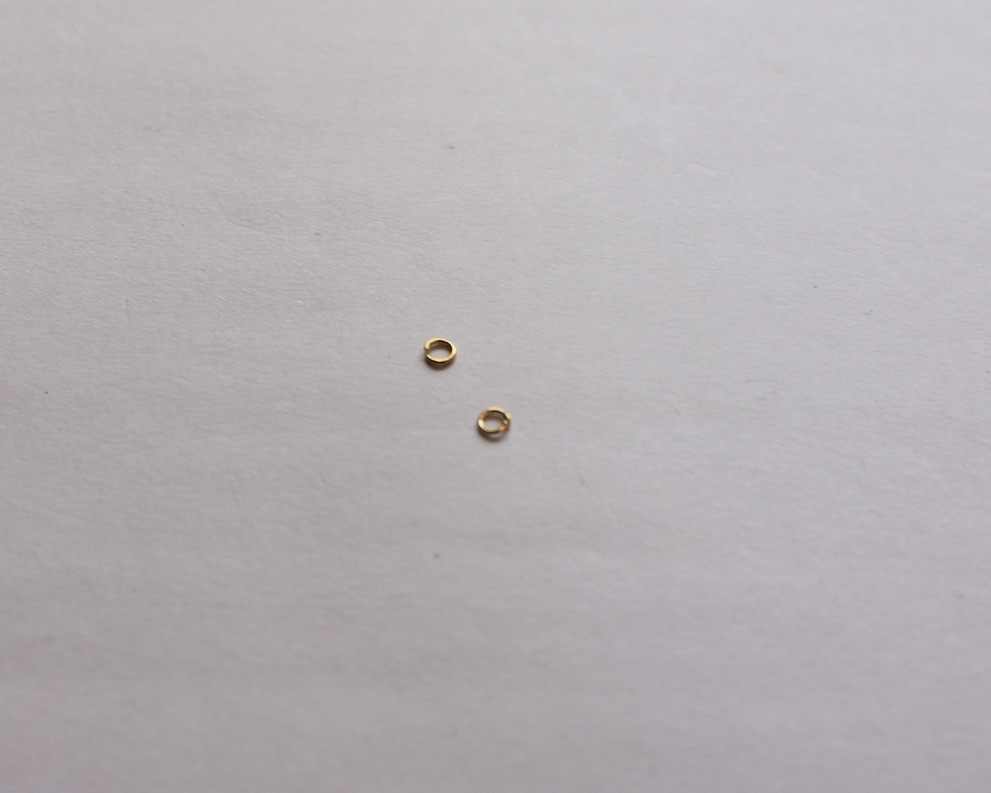
6: Two large jump rings.

7: Two small jump rings.
8: A lobster clasp.

9: Pliers. I used my flat nose and round nose pliers to make this lariat necklace.

Now here are all the steps you can follow to make your new lariat necklace:
1: Add one of the eye pins to one of the holes in the two-hole bead.

2: Bend the bead to form an angle.

3: Create a loop on the pin using the round nose pliers to secure the bead on the pin.

4: Repeat steps 1-3 for the second eye pin in the second bead hole.


5: Add each of the accent beads to the head pins.

6: Use the round nose pliers to loop the tops of the head pins.


7: Section out three pieces of chain, one long enough to fit around your neck and two shorter pieces, the shorter pieces will form the centre part of the lariat. I made one longer than the other.
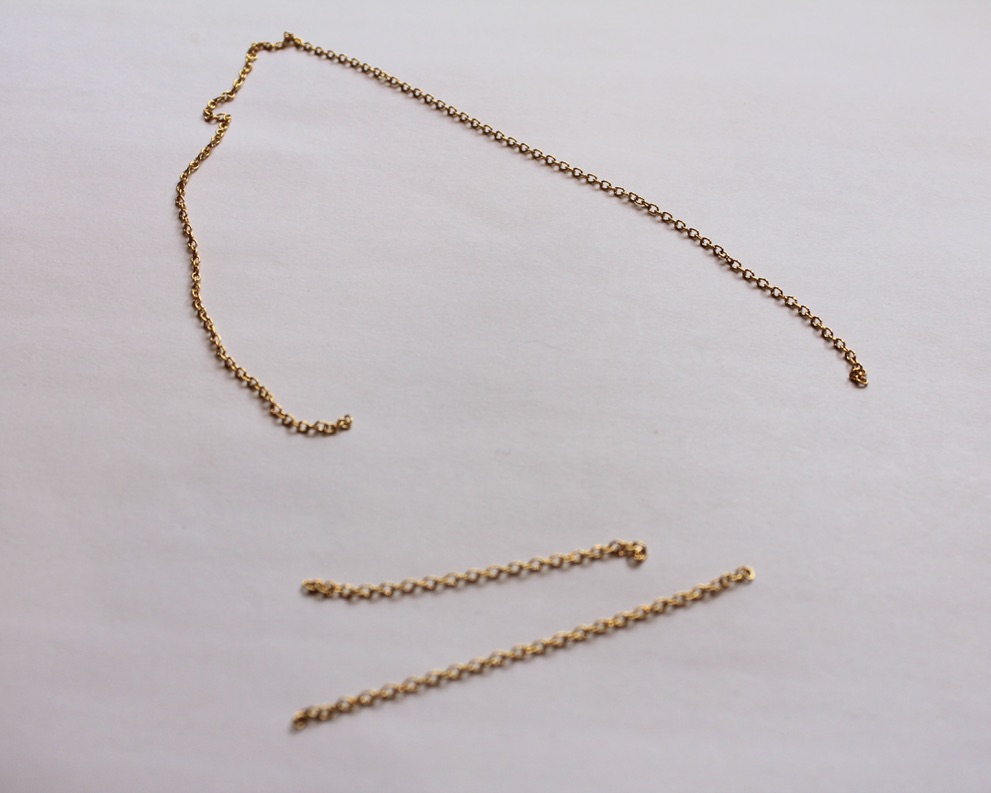
8: Attach one of the short chains to one side of the two hole bead charm.

9: Attach the other chain to the other side of the charm.

10: Attach the long chain to the top of the two hole bead charm.


11: Split the necklace chain in half.

12: Attach the larger jump rings and the lobster clasp to the middle of the split necklace chain.


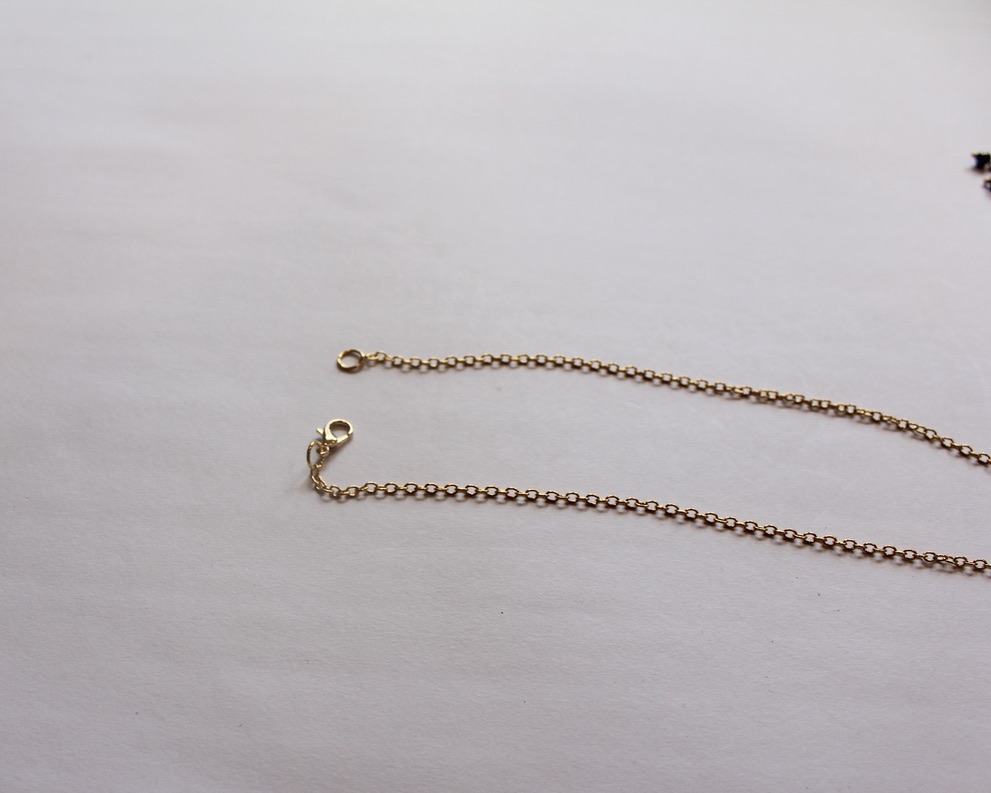
13: Add the accent bead charms to the end of each short chain using the small jump rings to finish the lariat off.


Now your cool new lariat is ready to wear!
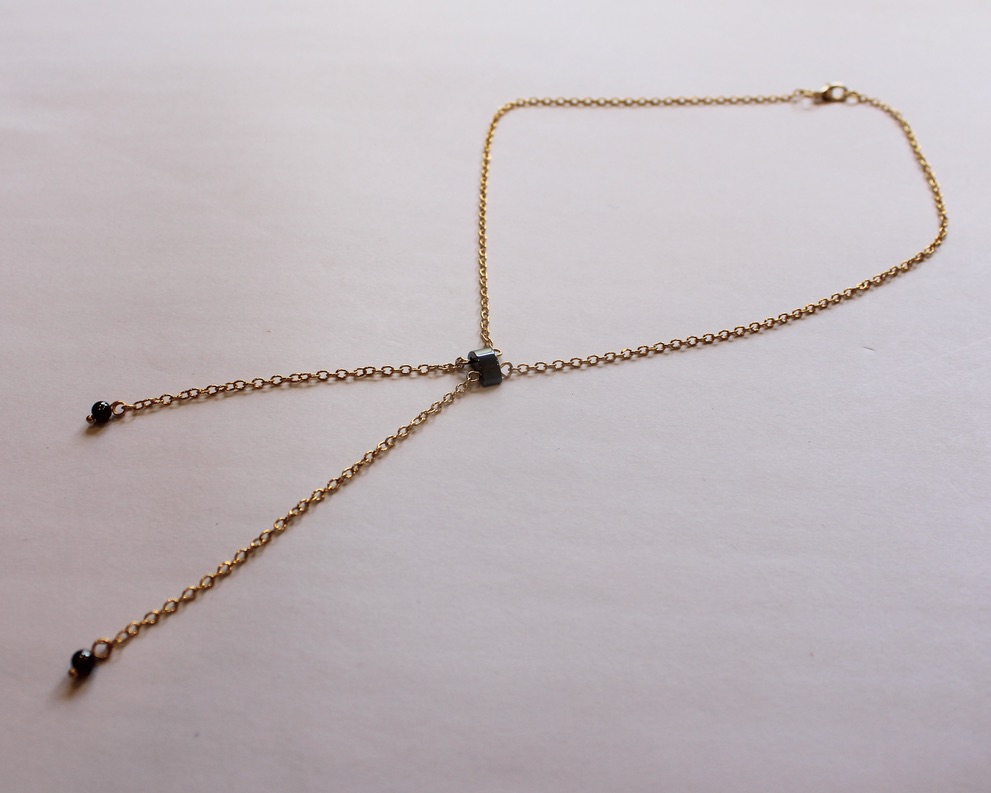
I suggest trying to make this necklace using materials you already have. If you don’t have the right pieces lying around this tutorial contains affiliate links so that you can buy them.
If you love a lariat too, here are some other ways you can make them:
- A bead and chain lariat
- This lariat is made with chunky gold-tone chain
- A lariat with two beaded circle charms
- Triangle charm lariat
- This chain charm that lets you transform any necklace into a lariat
- Make this chain belt that can also be worn as a lariat necklace
- How cool, this long leather strand can be worn as a lariat
- Our original lariat tutorial, a cute pearl lariat
-
Do you love a lariat necklace? Here’s how to make a chunky chain lariat.
This chain lariat is really cool! using a strand of chunky chain you can make a cool statement necklace that packs a visual punch.
You’ll need these tools and materials to make this lariat:
1: A piece of chain that fits around your neck with a little extra to spare (the extra part will form the centre of your lariat.

2: Two jump rings.

3: Pliers. I used round nose and flat nose pliers for this design.
4: A lobster clasp. I used a big chunky lobster clasp to match my chain.

Follow these steps to make your chunky gold chain lariat:
1: Wrap the chain around your neck to determine how close you want the necklace to fit and how long you want the centre chain.
2: Open the end link of the chain.

3: Close the open link around the point where you want your necklace to form the ‘y’ shape of the lariat.


4: Separate the centre of the loop you just formed.

5: Add a jump ring to one side of the newly formed gap you just made.
6: Add the lobster clasp to the jump ring.


7: Add the remaining jump ring to the other side of the necklace to finish it off.

Now your chunky chain lariat is ready to wear!!!

This tutorial contains affiliate links
-
Crystals are Classic… here’s how to make a crystal necklace.
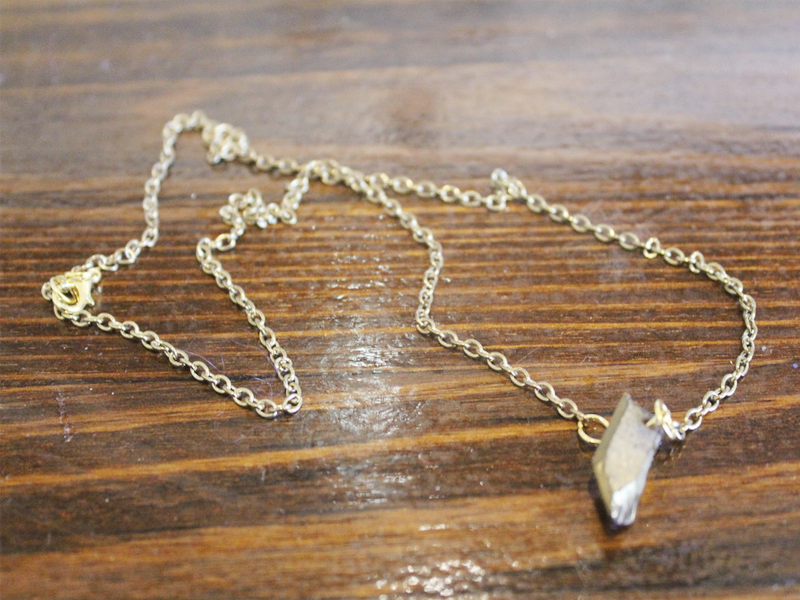
This crystal necklace is a classic piece that you can wear alone or layer with other pieces.
You will need the following tools and materials to make your crystal necklace:
1: Pliers. You will need your round nose pliers, flat nose pliers and cutting pliers.
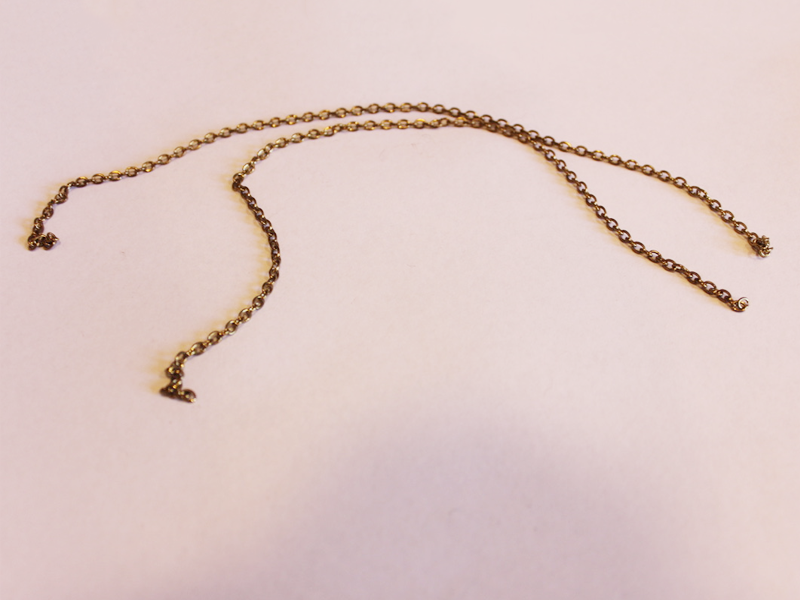
2: Two pieces of chain long enough to form a necklace.
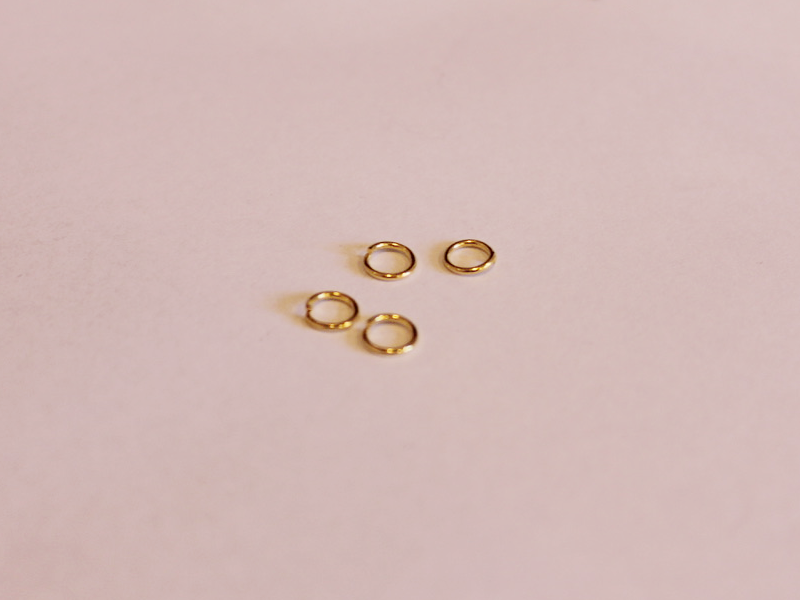
3: Four jump rings.
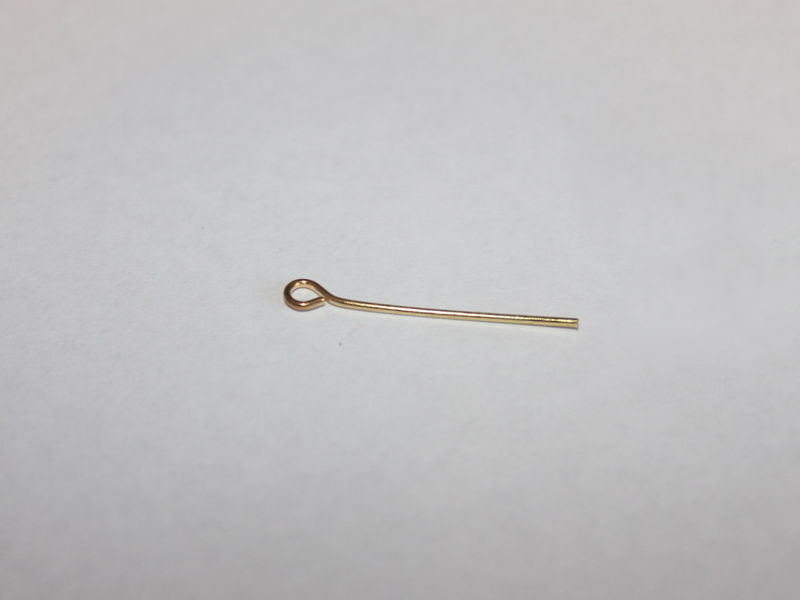
4: One eye pin.
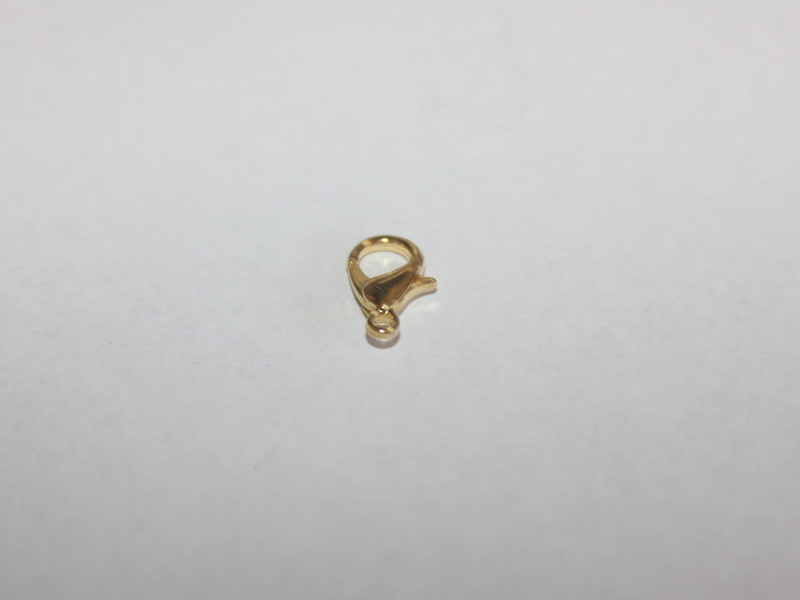
5: A lobster clasp.
6: A crystal bead. I used this crystal bead with a metallic coating on it.
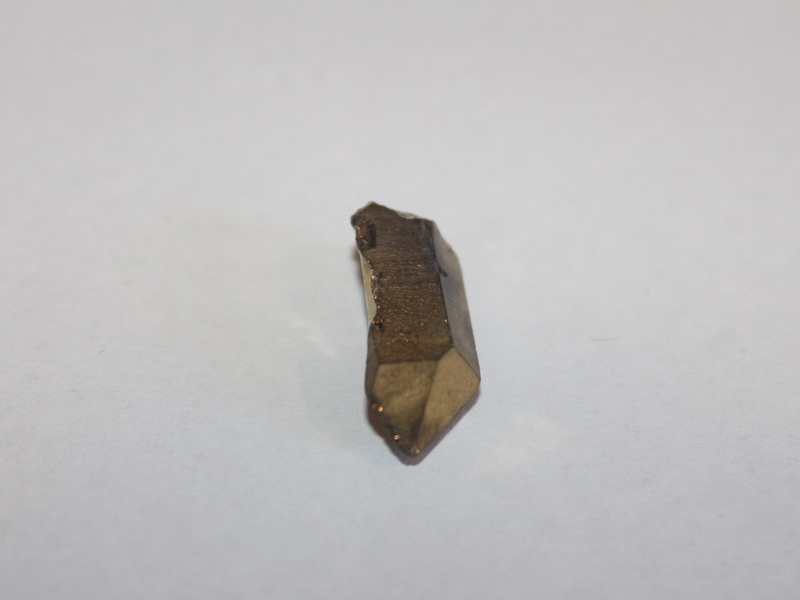
Follow these steps to make your crystal necklace:
1: Add the bead to the eye pin.
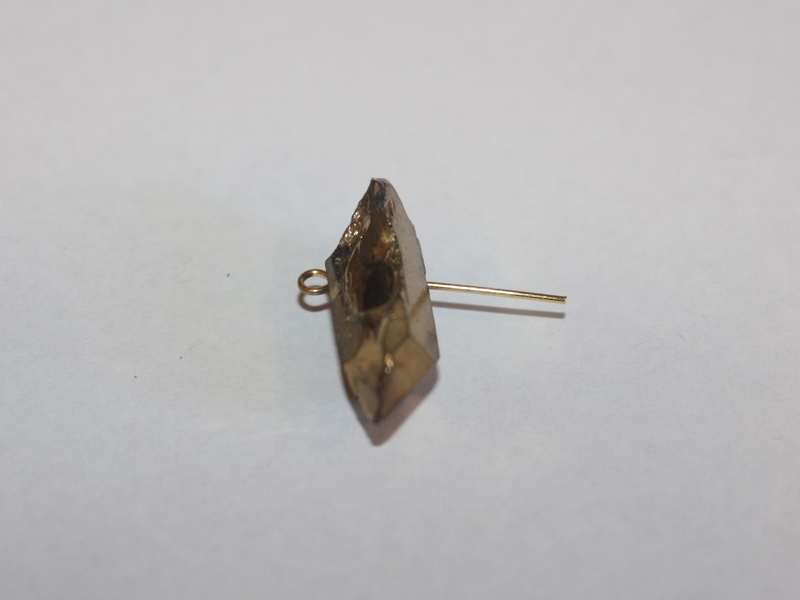
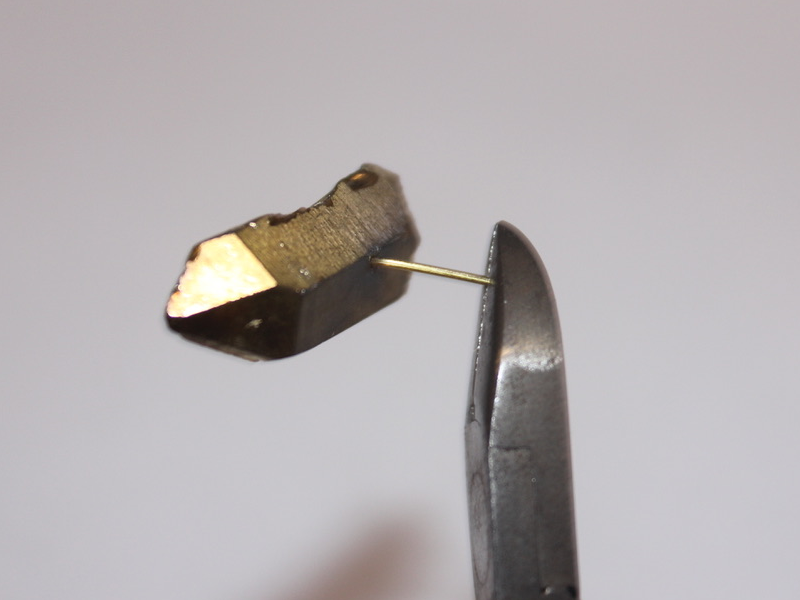
2: Trim the eye pin using the cutting pliers.
3: Create a loop at the end of the wire using the round nose pliers to secure the crystal bead on to the pin.
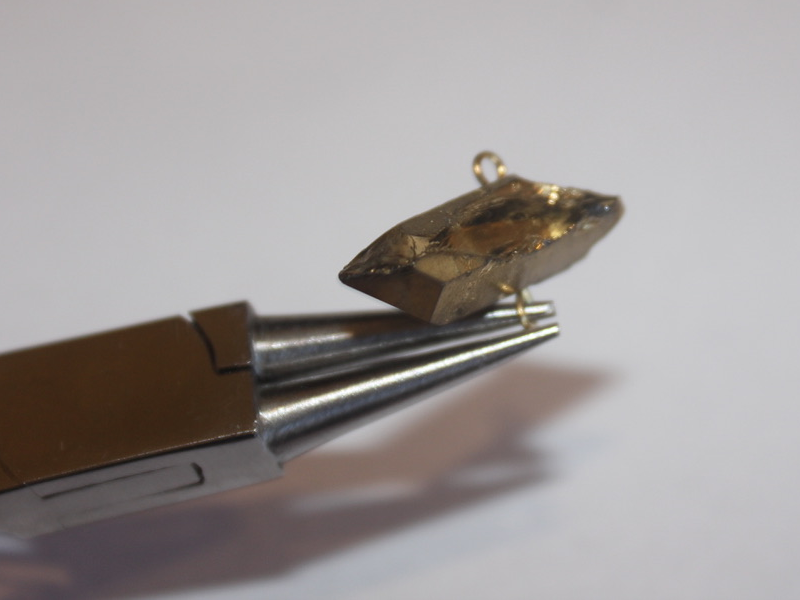
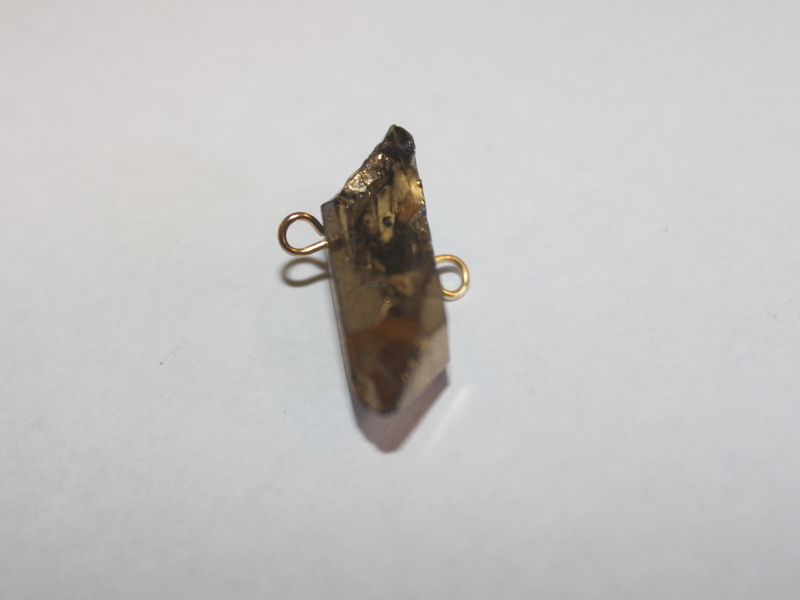
4: Attach one of the chains to one side of the crystal using one of the jump rings.
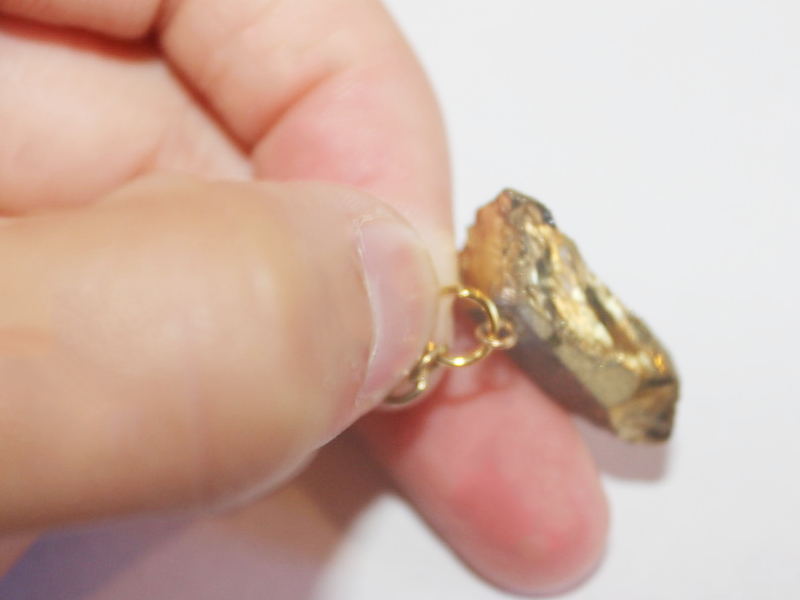
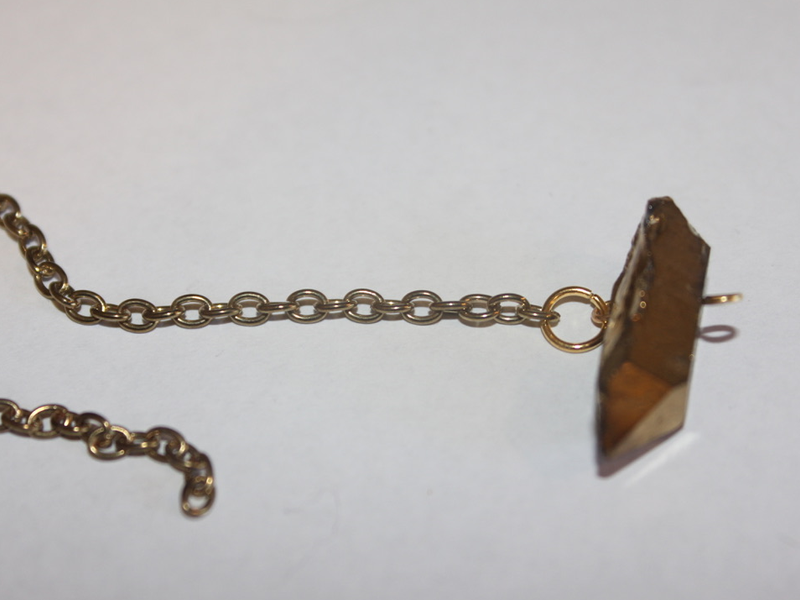
5: Attach the other chain to the other side of the crystal with another jump ring.
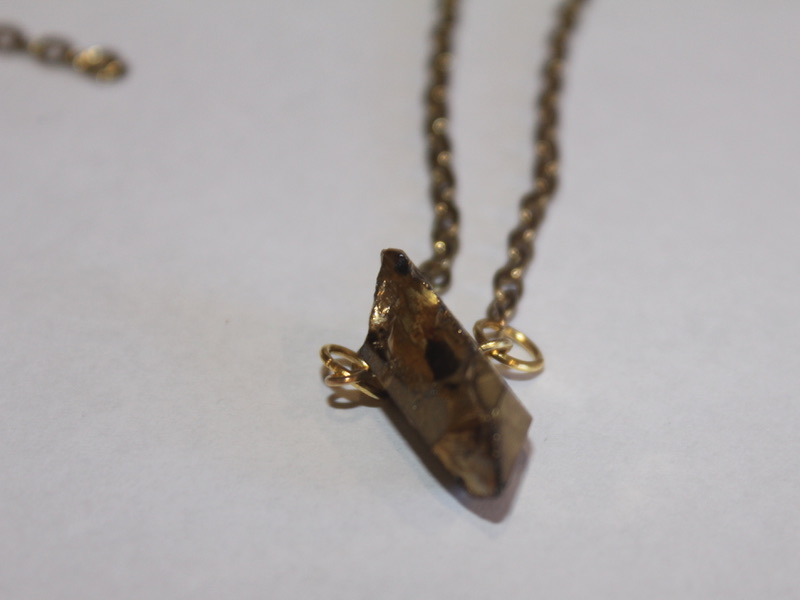
6: Add a jump ring to one of the ends of the chains and attach the lobster clasp.
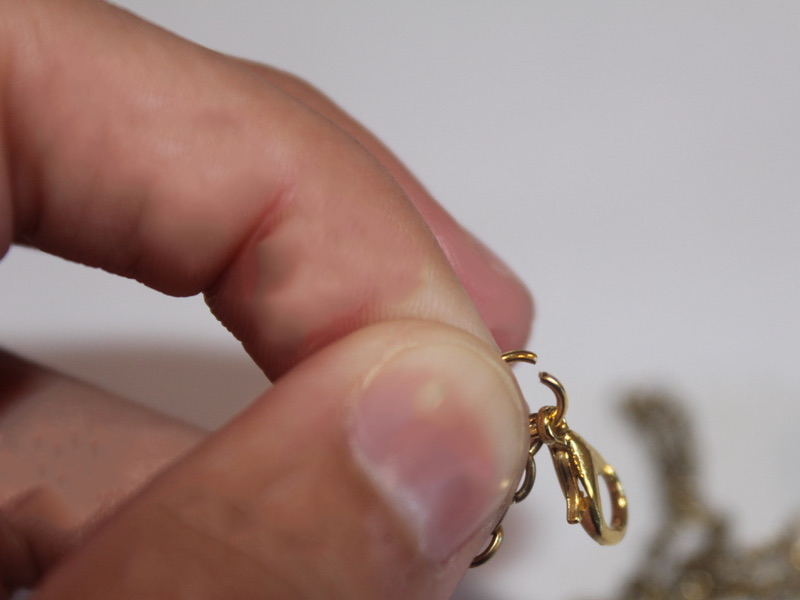
7: Add the other jump ring to the other side of the necklace to finish it off.
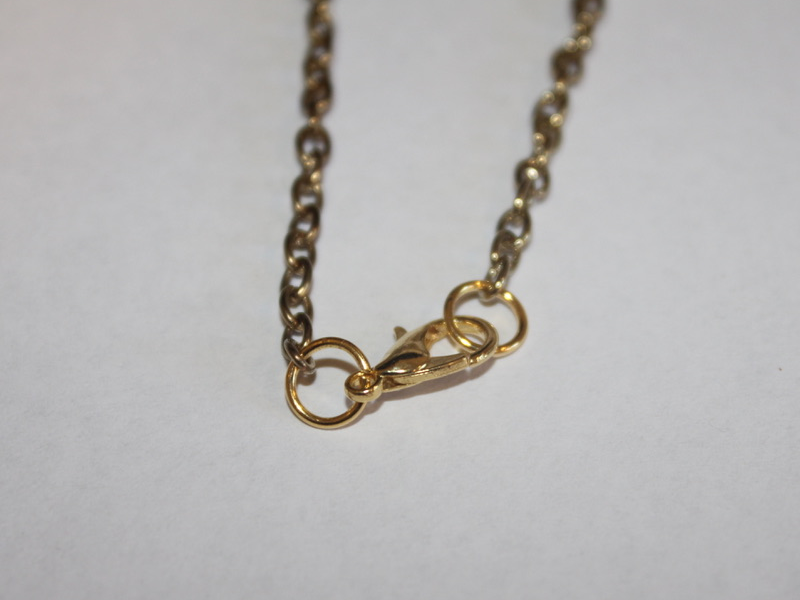
Now your crystal necklace is finished! How will you style yours?

You May Also Like

How to make a super cute letter bead necklace! Add your word to a chain for a cute twist on the y2k jewelry trend!

Simply Amazing! Here’s How to Make a Double Strand Necklace Using String.

Half and Half for the best of both worlds? Here’s how to make a half bead half chain necklace!
-
Here’s another way to make a cool anklet for summer…

Like I said before, anklets are going to be a hot ticket accessory this summer, so here’s another way to make an anklet to add to your #ankleparty
You will need the following tools and materials to make your anklet:
1: Pliers. You’ll need flat nose pliers, round nose pliers and cutting pliers for this anklet design.
2: A broken pair of headphones. I used these headphones left over from a different project.

3: Two crimp ends.

4: Two jump rings.

5: A lobster clasp.

6: A long gold coloured bead.

Follow these steps to make your simple anklet:
1: Measure the headphone cord around your anklet and cut it to length using the cutting pliers.


2: Add the bead to the trimmed headphone cord.

3: Add a crimp to either end of the cord, folding it around the cord using the flat nose pliers.


4: Add a jump ring to one end of the anklet and attach the lobster clasp.


5: Add the other jump ring to the other side of the anklet.

Now your anklet is done! How cute is this simple design? Add it to your #ankleparty and dance the night away!

-
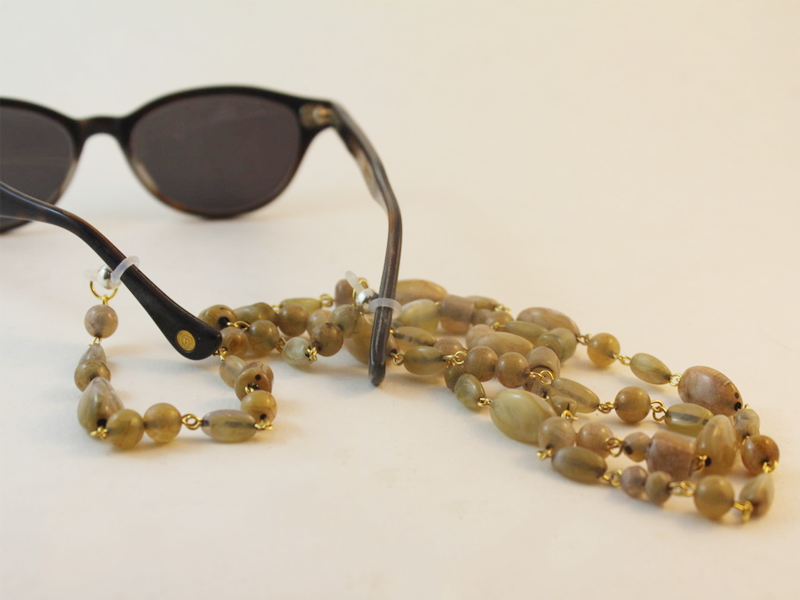
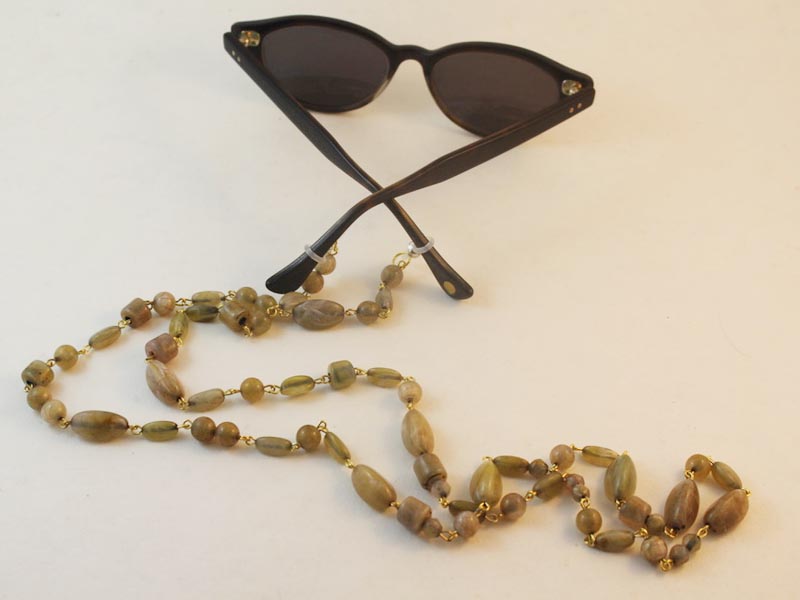
Glasses chains are HOT! Make your own cool sunglass chain holder for summer.

Glasses chains are really hot right now! If our other glasses chain tutorials aren’t for you why not try this one out? Contains affiliate links.
You’ll need the following tools and materials to make your glasses chain:
1: Pliers. You’ll need your flat nose and round nose pliers to make this glasses chain.
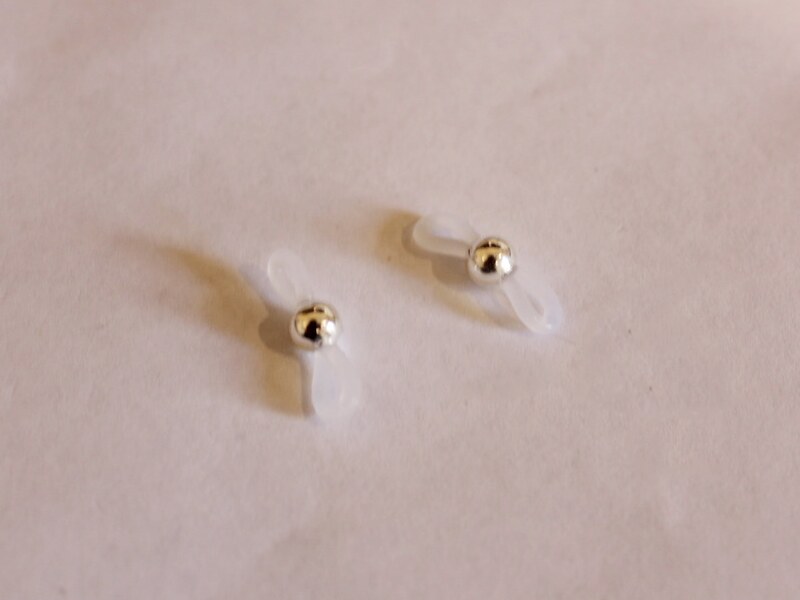
2: Two glasses holder findings.
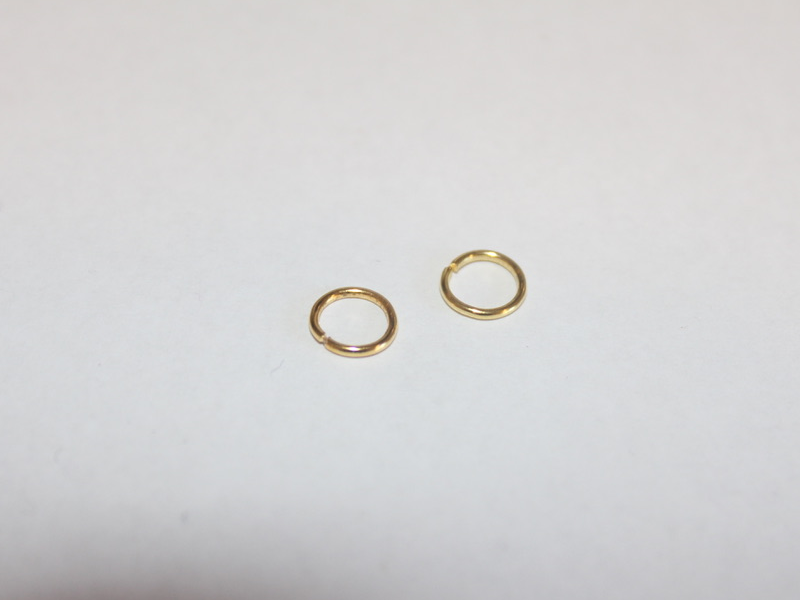
3: Two large jump rings.
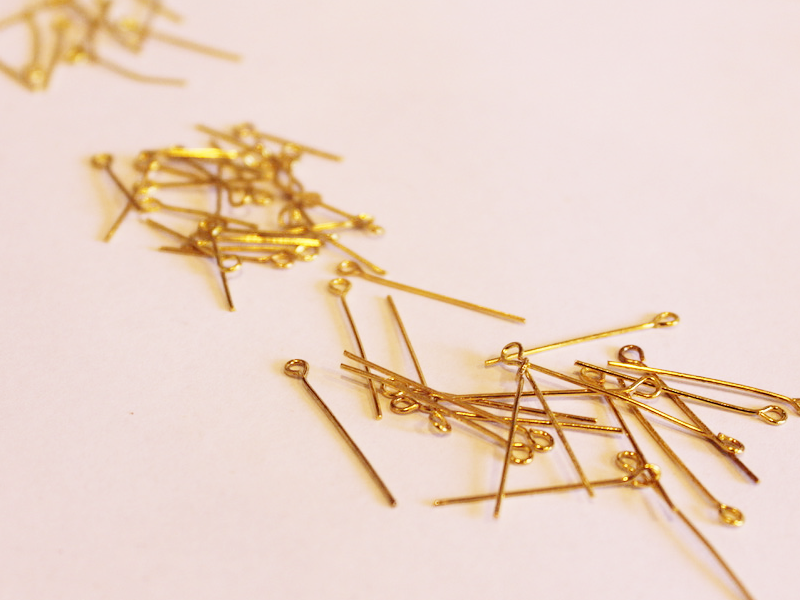
4: Eye pins.
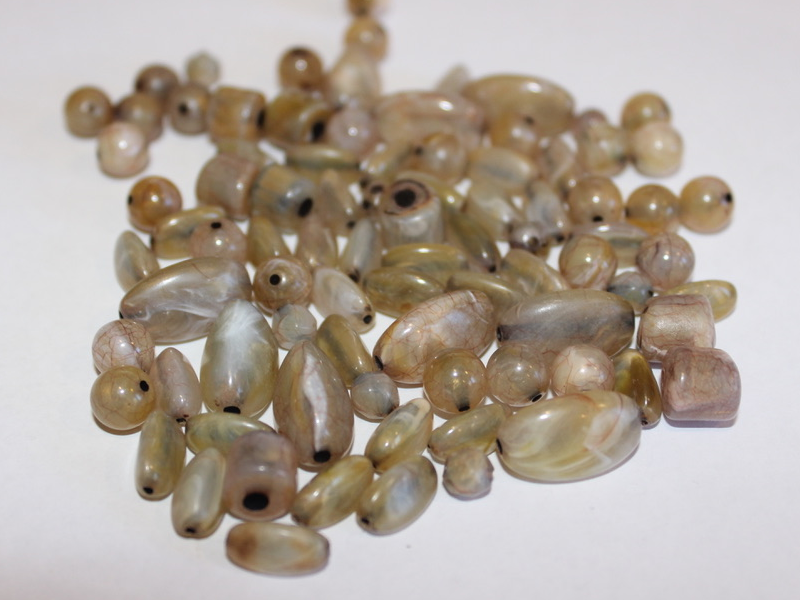
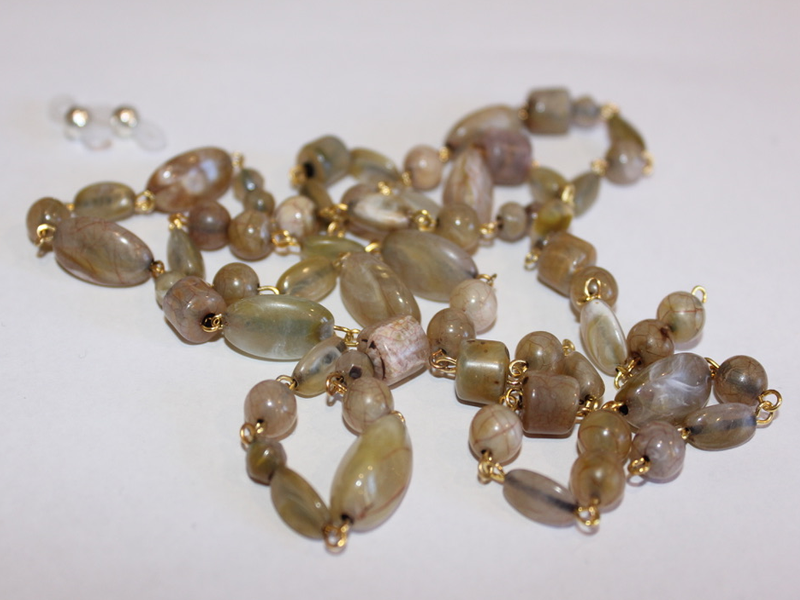
5: Beads. I used these vintage plastic beads recycled from a necklace I inherited.
Follow these steps to make your beaded glasses chain:
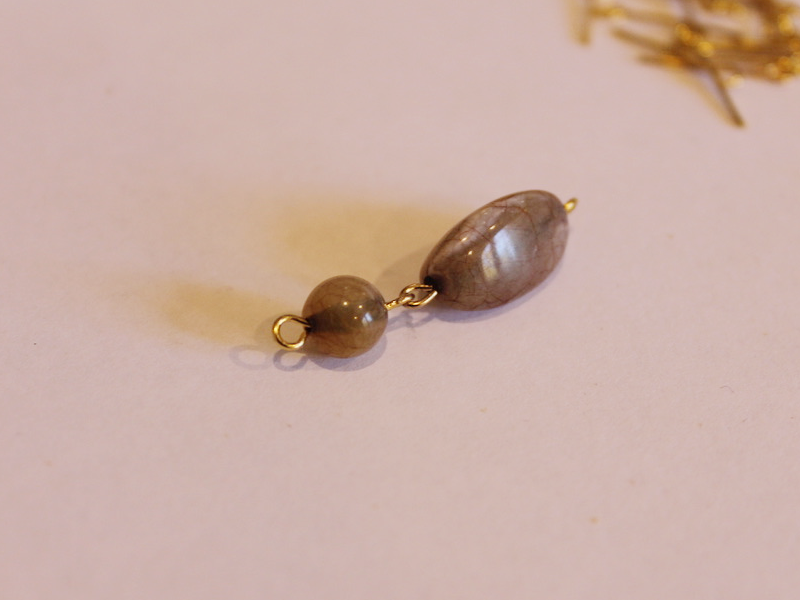
1: Add beads to the pins and loops the ends to secure them in place.
2: Start linking the beaded pins to form a chain.
3: Continue making the beaded chain links until your chain is at your desired length.
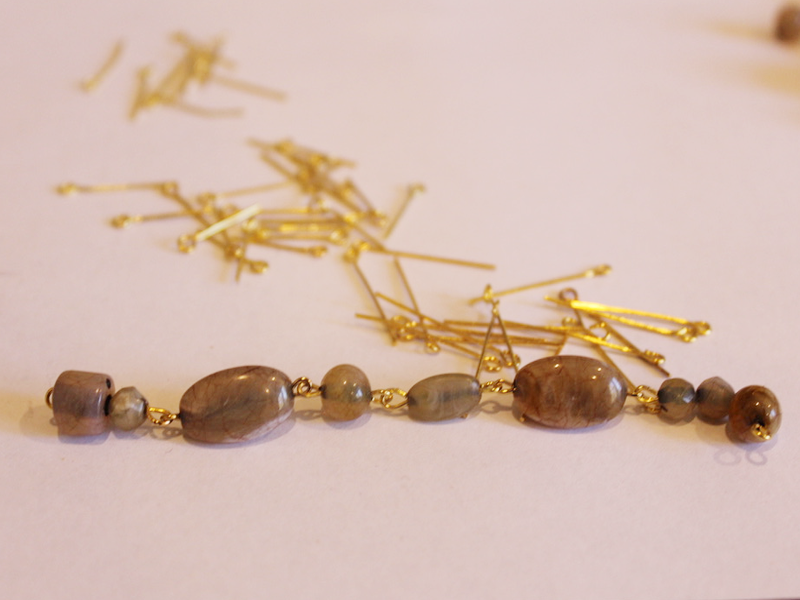
4: Attach a glasses holder to each end of the chain using the jump rings.
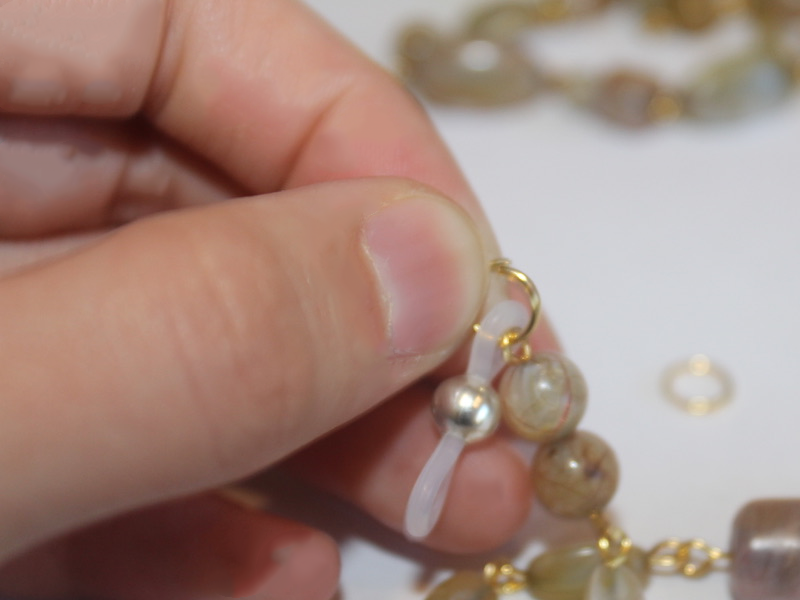
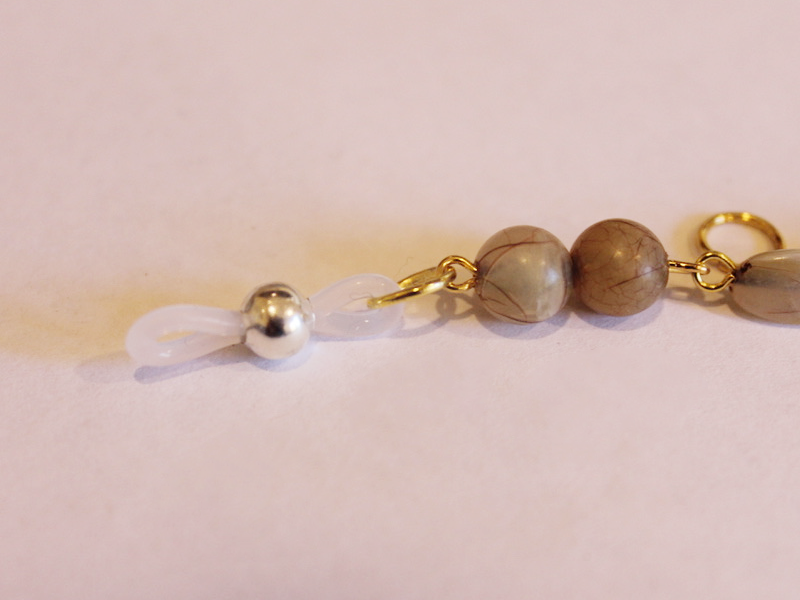
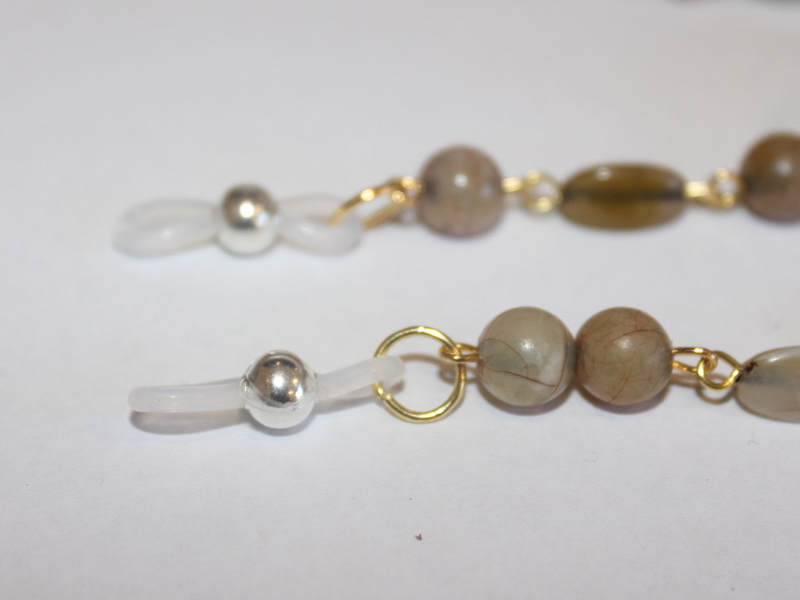
Now your glasses chain is finished and ready to use! Wonderful for keeping your glasses safe during summer activities.
-
Here’s another cute way to upcycle your broken headphones, a double strand necklace!
If you aren’t sick of my headphone recycling tutorials yet here is another way you can upcycle them into beautiful jewelry. This one gives you all the steps you need to take to make a double strand headphone necklace.
You will need the following tools and materials to make your double strand headphone necklace:
1: Pliers. You’ll need cutting pliers, flat nose pliers and round nose pliers
2: A pair of broken headphones. I used the top part of the headphones that I used in the finger knit bracelet tutorial.

3: Four crimp ends.

4: Four small pieces of chain, one pair longer than the other. My headphone cords weren’t quite long enough to fit around my neck so I added some small pieces of chain to the end of each to make them fit.

5: Two beads. I used these chunky wooden beads with big holes.

6: Four larger jump rings.

7: Four smaller jump rings.

8: A lobster clasp.

Follow these steps to make your double strand necklace out of recycled headphones.
1: Cut the headphone cords using the cutting pliers to separate them and remove the ear buds.


2: Add a crimp end to either end of the headphone cords, folding them in place using your flat nose pliers.


3: Add one pair of chains to either end of one of the cords using two of the larger jump rings.


4: Add the second pair of chains to the other cord using another pair of larger jump rings.

5: Add the beads to each of the strands.

7: Secure the chains together using a smaller jump ring on either side of the necklace.


8: Attach the clasp using another smaller jump ring.

9: Add the remaining jump ring to the other side of the necklace to finish it.
Now your double strand necklace made from recycled headphones is finished! I love coming up with creative ways to save broken products from the trash.

-
Anklets are set to be HOT in the summer months. Here’s one to add to your accessories collection.

According to this article, anklets are set to be the jewelry item that defines summer in 2019. This anklet is sparkly and summery, perfect for evening drinks or beach holidays!
You will need the following tools and materials to make your beaded anklet:
1: Pliers. You’ll need flat nose pliers and round nose pliers.
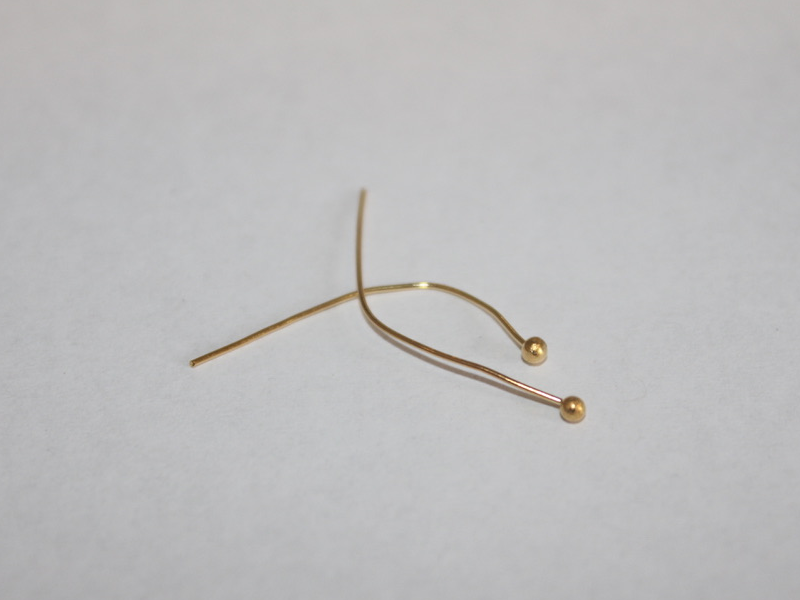
2: Eye pins.

3: Two jump rings.

4: A lobster clasp.
5: Two head pins.
6: Beads. I used some blue faceted plastic beads recycled from an old necklace, some glass seed beads and some other blue glass feature beads.


Follow these steps to make your beaded anklet:
1: Add beads to the pins and loop the tops. Attach each charm using the end loops to form a chain.


3: Continue making these charms and attaching them in a pattern until your chain is long enough to fit comfortably around your ankle.

4: Add a jump ring to one end of the chain and add the lobster clasp.

5: Add the remaining jump ring to the other side of the chain.

6: At this stage your anklet is ready to wear, but you can perform these extra steps to add some extra charms.
7: Add beads to the two head pins.

8: Curl the tops of the pins using the round nose pliers.


10: Add the charms to the jump ring that attaches the clasp to the anklet. Close the jump ring to secure the charms in place.


Now your anklet is finished with some cute little charms! How adorable is this design? Why not make a whole bunch and have a #ankleparty 😉