Step-By-Step Tutorials
-
Need something funky for your wrist stack? Make this sweet suede bracelet
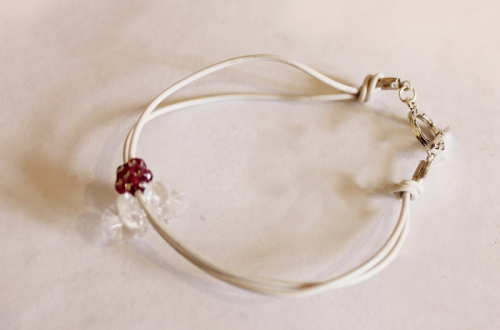
I’m really into creating accessories with leather and suede at the moment, leather bracelets are easy to make and they look really cool. Leather is the perfect accompaniment for stunning decorative beads. For my bracelet I decided to show off this pretty glass bead that has a cool cracked effect.
You will need the following tools and materials to make this simple suede bracelet:
1: Pliers. To make this bracelet you will need your cutting pliers and flat nose pliers.


2: A piece of suede jewelry cord.

3: Two silver colored leather crimp ends.

4: Two silver colored jump rings.

5: One silver colored lobster clasp.

6: A bead of your choice, make sure that it has a hole big enough to fit on the suede strand. I used this clear cracked glass bead.

Follow these steps to make this bracelet:
1: Cut your piece of suede to length using the cutting pliers. Make sure that it will fit comfortably around your wrist without being too big.
2: Add your chosen beads to the piece of suede.

3: Take one of the crimp ends to one end of the suede. Make sure it lines up properly before you squash it in place.
4: Use the flat nose pliers to squash one side of the crimp end in place.

5: Repeat step 4 for the other side of the crimp so that both ends have have been folded flat.


6: Add a jump ring to one end of the bracelet, close it with pliers to secure it in place.

7: Add another jump ring to the other end of the bracelet and add the lobster clasp. Secure the lobster clasp in place by closing the jump ring with your pliers.

8: Once your lobster clasp has been secured in place your bracelet is ready to wear. Stack it up with your fave bracelets for a fresh, cool look.

-
Want to make something sweet for Mom? How about a handmade heart?!
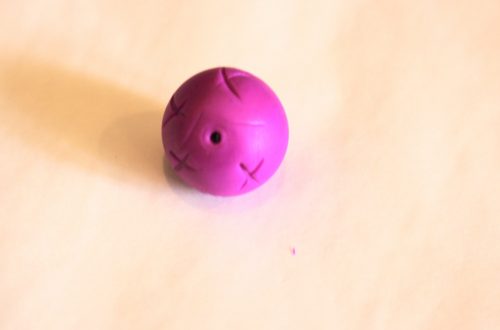
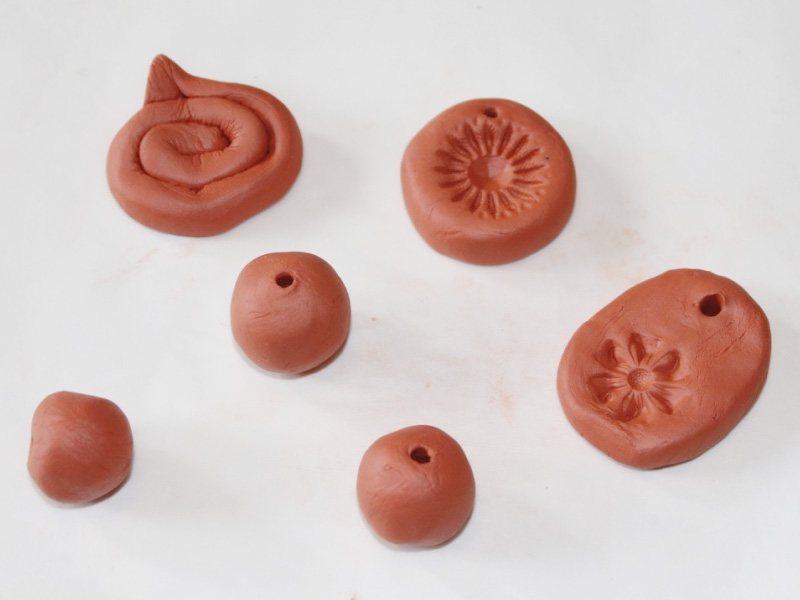
Mom’s love something that comes from the heart… so why not make her a pretty rustic handmade heart pendant or bead out of air dry clay? Here are some instructions for making handmade hearts two different ways to give to your mom this Mother’s Day.

You will need the following tools and materials to make these clay hearts:
1: Air dry clay.
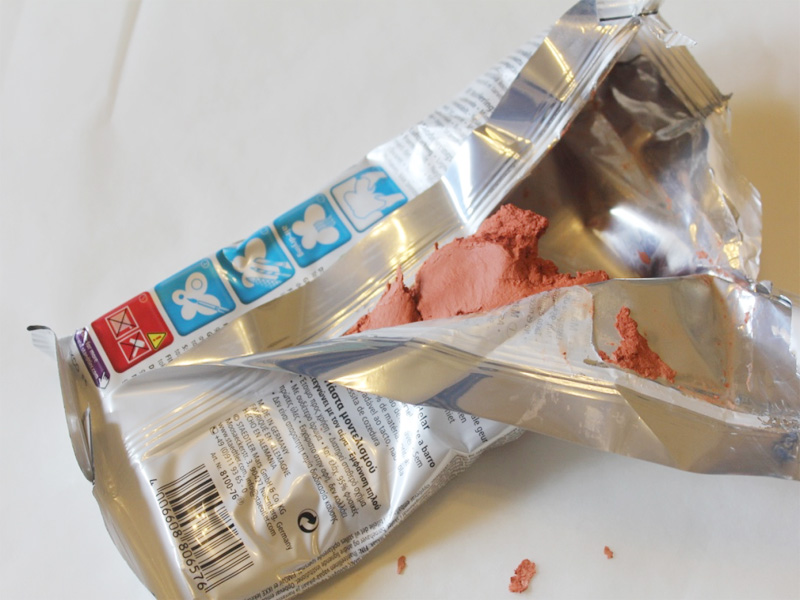
2: A skewer.

Follow these steps to make these cute clay hearts:
1: Pull out two small pieces of clay from the package.

2: Work the clay a little bit and form them into balls.
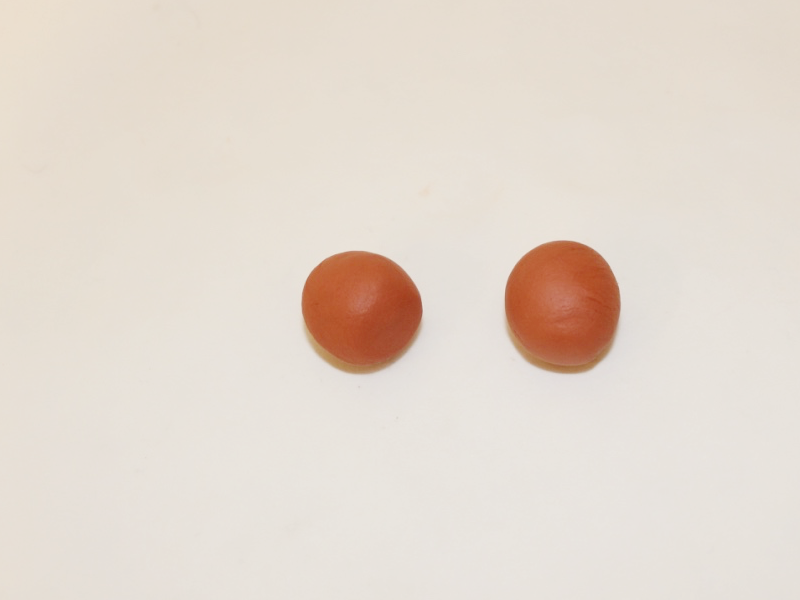
3: Take one ball and flatten it slightly.
4: Using your fingers form the flattened clay into a rough triangle shape.

5: Use the skewer to define the top of the heart.
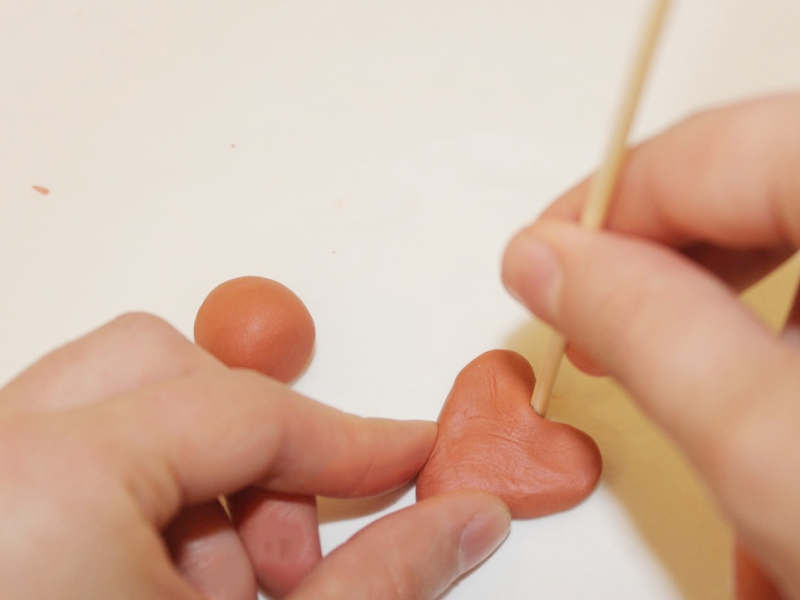
6: Poke the skewer through the top of the heart to turn it into a pendant.
7: Create your desired pattern on the heart pendant. I used the end of the skewer to create a polka dot effect.
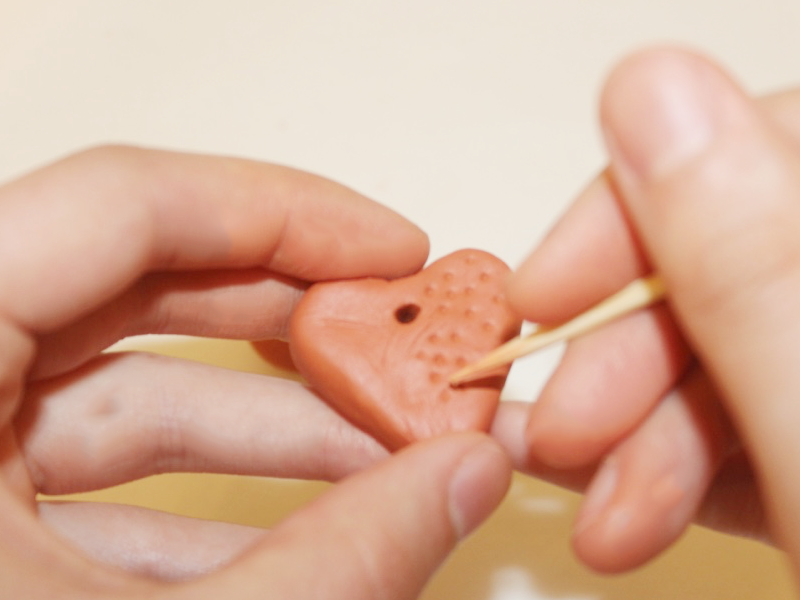
8: Repeat steps 3 to 4 to form the second heart shape.
9: Use the skewer again to make a hole through the center of the second heart that runs from top to bottom.

10: Create a pattern on the second heart.
11: Set both hearts aside to dry!

12:Now that your clay hearts are dry all that’s left to do is to add your new beads to some stunning jewelry designs. What will you make for your mom?
Here are a couple of pics to give you some heart-filled inspiration!


-
Add some fun to your wrist, make this fun pom pom bracelet

Sometimes you need a bit of fun and vibrancy in your life. Sometimes it can be hard to find but making this sweet pom pom bracelet might just do the trick! This bracelet is made using memory wire and some brightly colored pom poms.
You will need the following tools and materials to make this special pom pom bracelet:
1: Pliers. You will need your round nose pliers, cutting pliers, and flat nose pliers to make this bracelet.

2: Memory wire.

3: Pom Poms. I used five pom poms in pink and yellow.

4: Beads of your choice. I used some green glass e-beads and some purple glass seed beads.


Follow these steps to make your pom pom bracelet:
1: Cut some memory wire. The amount you cut depends on how many times you want the bracelet to wrap around your wrist.

2: Use the round nose pliers to curl one end of the memory wire into a loop. You might need to use your flat nose pliers to properly close the wire loop.


3: Begin adding beads to the memory wire in your desired pattern.

4: When you are ready, add your first pom pom.

5: Continue beading and adding pom poms until you are satisfied with the pattern you have created.

6: If you are like me you might have some excess wire to trim away before you can complete your bracelet.

7: Bend the wire at a right angle to the beaded section of the bangle using the round nose pliers.

8: Trim the wire approximately 1cm (0.4 inches) from the beaded part of your bracelet using the cutting pliers.

9: Create a loop at the other end of the bracelet using the round nose pliers again.

10: Once the final loop has been completed your bracelet is done! I hope making and wearing this bracelet design will give you a little happiness.

-
Add some edge to your look with this leather wrap necklace

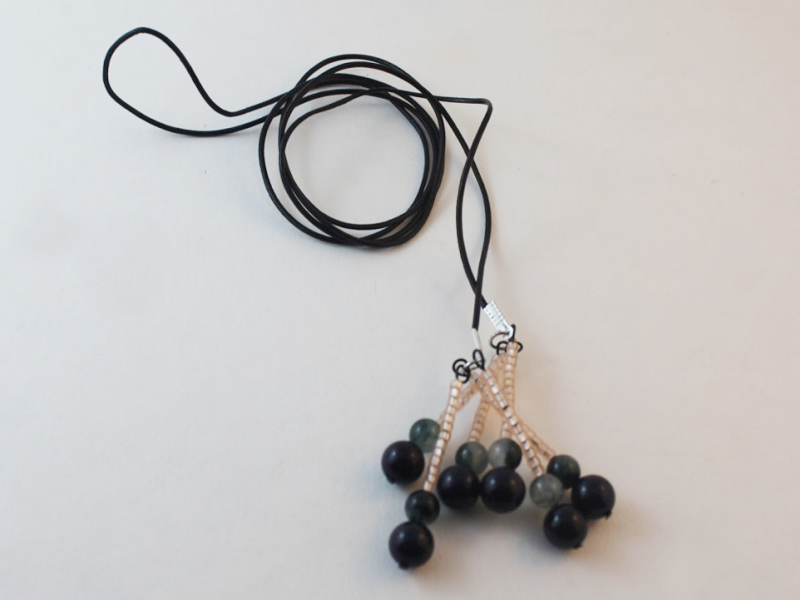
Are you interested in the current choker trend but don’t want to look like everyone else? Why not try making this edgy leather wrap necklace? This necklace is super simple to put together but it sure does make a statement. Add a bead tassel to each end and you’ll be onto a winner. (I will say, be careful wearing this piece, it could tighten and start to become uncomfortable around your neck depending on how you wear it).
You will need the following tools and materials to make this leather wrap necklace:
1: Pliers. You will need your round nose pliers, flat nose pliers and cutting pliers.
2: Leather cord. The cord should be long enough to wrap comfortably around your neck and hang down your front.

3: Two leather crimp ends.
4: Two jump rings.

5: Six head pins. I used these black painted head pins but you can use any color you like.

6: Beads of your choice. I used some blue goldstone beads, some green gemstone beads and pink glass seed beads.


Here are the instructions to make this cool leather wrap necklace:
1: Start adding beads to each of the head pins.


2: Once all of the beads have been added to each head pin, use the round nose pliers to bend the top of each pin at a right angle to the beaded section.


3: Create a loop at the top of each head pin using the round nose pliers to secure the beads in place.


4: Once all your pin charms have been completed you can trim the leather cord if you need to.

5: Take one of the leather crimp ends and squash one side around one end of the leather cord using the flat nose pliers.


6: Squash the other side using the flat nose pliers and secure the leather crimp end in place.


7: Repeat steps 5 and 6 for the other end of the leather cord using the remaining leather crimp end.

8: Add a jump ring to one of the leather crimp ends.

9: Add three beaded charms to the jump ring and close them to secure them in place.


10: Repeat steps 8 and 9 for the other side of the necklace.

11: Once all the beaded head pins have been secured in place your necklace is done. Have fun and make sure that you don’t let your necklace get too tight around your neck!
-
Chokers are right on trend, why not add one to your repertoire?

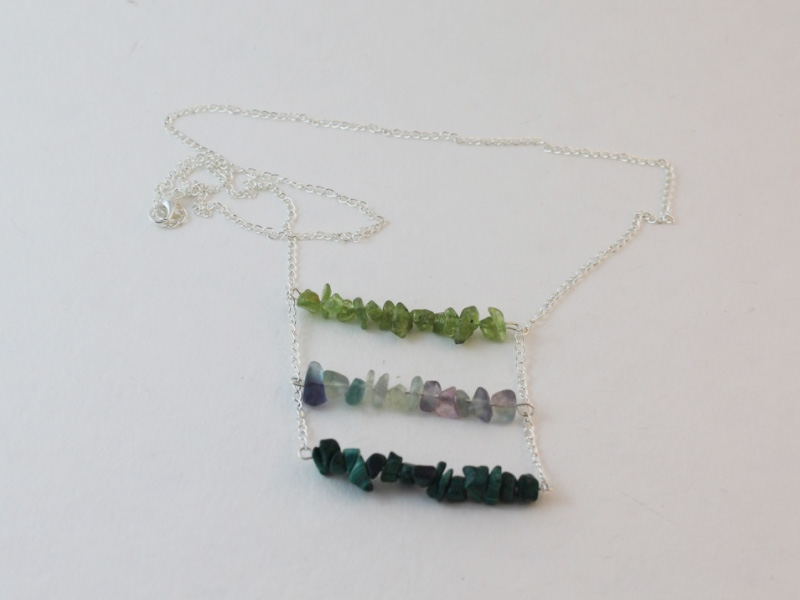
I’ve been noticing that chokers seem to be all the rage right now, so I decided to put together a new tutorial that shows you how to make this lovely little suede choker necklace. This necklace packs a visual punch, it is made with some suede cord and some carefully chosen charms. What charms will you use to make this choker necklace design your own?
You will need the following tools and materials to make this suede choker necklace:
1: Pliers. You will need your cutting pliers and flat nose pliers and round nose pliers to make this necklace.
2: Some black suede cord.

3: Two leather crimp ends.
4: One lobster clasp.

5: Three jump rings.

6: One small head pin.

7: Beads of your choice. I used these green peridot chip beads.

8: A charm of your choice. I used this silver colored cat charm.

Here are the steps to make your new choker necklace:
1: Measure a length of suede cord, a choker sits closely around the neck so make sure that your piece of cord feels comfortable while remaining close to your throat. There will be a little extra length at the end when your clasp has been added.
2: Cut the cord to length using your cutting pliers.


3: Set the cord aside and begin adding your beads to the head pin.

4: Once all the beads are added, bend the pin at a right angle to the beaded section using the round nose pliers.

5: Use the round nose pliers again to curl the end of the pin into a loop to secure the beads in place.


6: Add the charm and the beaded head pin to an open jump ring.


7: Close the jump ring using your pliers and then slide the charms onto the suede strand.


8: Once the charms are in the center of the suede strand take one of the leather crimp ends and hold it in place at the end of the strand.


9: Use the flat nose pliers to squash one side of the leather crimp end.

10: Squash the other side of the leather crimp end over the first side so that it lies flat.


11: Repeat steps 9 and 10 for the other end of the necklace strand.

12: Add another jump ring to one end of the choker and slide on a lobster clasp.

13: Close the jump ring to secure the lobster clasp in place.

14: Add the other jump ring to the other end of the choker necklace to finish it off.


DIY Jewelry Hub LOVES choker necklaces, so we have a bunch of tutorials for you, check them out!
- A rainbow beaded pendant choker
- A two-tone chain choker
- A beaded string braid choker
- A beaded chain choker
- A leather and smoky quartz crystal choker
- A lace charm choker
- A red ribbon and lace choker
- A two-tone velvet ribbon choker
- A leather statement bead choker
- A single beaded chain choker
- Convertible choker/bracelet
- Three ways to make ribbon chokers
- Simple ribbon charm choker
- Chunky silver chain choker
This tutorial contains affiliate links.
-
Add to your wrist stack, construct some charm connector bangles today!
Are your daily bangles feeling boring? Do you need something fresh to add to your accessories collection? Well then have I got the tutorial for you! This bangle featuring a chunky charm connector gives a stunning effect and looks incredible when layered with other different bracelets.
You will need the following tools and materials to make this charm connector bangle:
1: Pliers. You will need your cutting pliers and round nose pliers to make this bangle.

2: Wire. I used some thick malleable wire in a silver color.

3: A charm connector. I used this simple silver colored charm connector. Style your bangle with these pretty connector charms:
4: Beads of your choice. I used a selection of wooden beads in different shapes and colors.


Follow these steps to make your charm connector bangle:
1: Measure out a length of wire that will fit comfortably around your wrist. Cut it to length using the cutting pliers.


2: Bend a small section of the end of the wire into a loop. This will prevent your beads from falling off the wire.

3: Begin adding beads to the wire in the pattern of your choice.

4: Once your beading has been completed, use the round nose pliers to bend the end of the wire at a right angle to the beaded section.

5: Trim the excess wire using the cutting pliers and then use the round nose pliers to create another loop at the end of the wire to secure the beads in place.


6: Open one loop slightly using the pliers and place the charm connector onto one side of the bangle. Secure the charm connector in place by closing the loop again.


7: Repeat step 6 for the other side of the bangle, securing the charm connector in place.

8: Now your bangle is finished and ready to pop on your wrist. Will you stack your bangles high or let it shine on its own? Style it your way and make this design your own!

-
Here’s another delicate dangling beaded chain to add to your jewelry box!

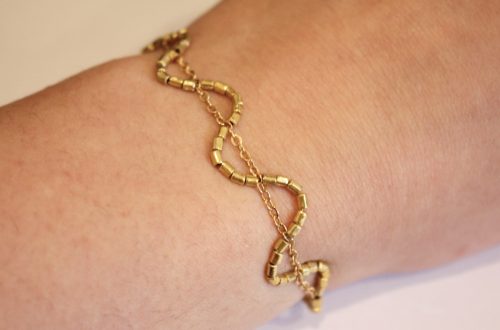
I love dainty chain necklaces that accentuate lovely beads. If you love to layer your beads and chains then why not add this dangling bead chain necklace to your personal jewelry collection. A special bead pattern will make this design really POP! What will you wear with your pretty new necklace? I can’t wait to layer mine with a lovely stack of delicate chain necklaces.
You will need the following tools and materials to make your dangling beaded chain necklace:
1: Pliers. You will need your flat nose pliers and round nose pliers.
2: A length of chain, make sure that it fits comfortably around your neck.

3: Eight small head pins.

4: One lobster clasp.

5: One jump ring.

6: Beads of your choice. I used some small gold bugle beads and eight blue faux pearl beads.


Here are the steps for making your delicate dangling bead necklace:
1: Add the beads in your desired pattern to each of the head pins.


2: Once all your head pins have been beaded, use the round nose pliers to bend the pin at a right angle to the beaded section.


3: Create a loop at the top of each pin using the round nose pliers. This will secure the beads in place.


4: Once all your pins have been looped you can prepare to attach them to the necklace chain.
5: Work out where you want to place the first bead charm.

6: Open the loop on the first bead charm and slide it onto a chain link close to the middle of the necklace chain.

7: Once the charm is in place, close the loop again using the round nose pliers to secure the bead charm in place.

8: Measure out the next point to which you will attach the next bead charm, I attached my beads 5 chain links apart. Attach the second charm.


9: Continue to attach the bead charms, placing the final 4 charms on the other side of the first charm you attached to ensure that they are placed evenly along the necklace chain.

10: Once all your bead charms have been attached, open a link at the end of the necklace chain and slide the lobster clasp onto the open link.

11: Close the link again to secure the clasp in place.

12: Open a jump ring and attach it to the other side of the necklace chain.

13: Once the final jump ring is in place your necklace is complete and ready to wear!

-
Need something to compliment your décolletage? Make this dainty chain drop necklace
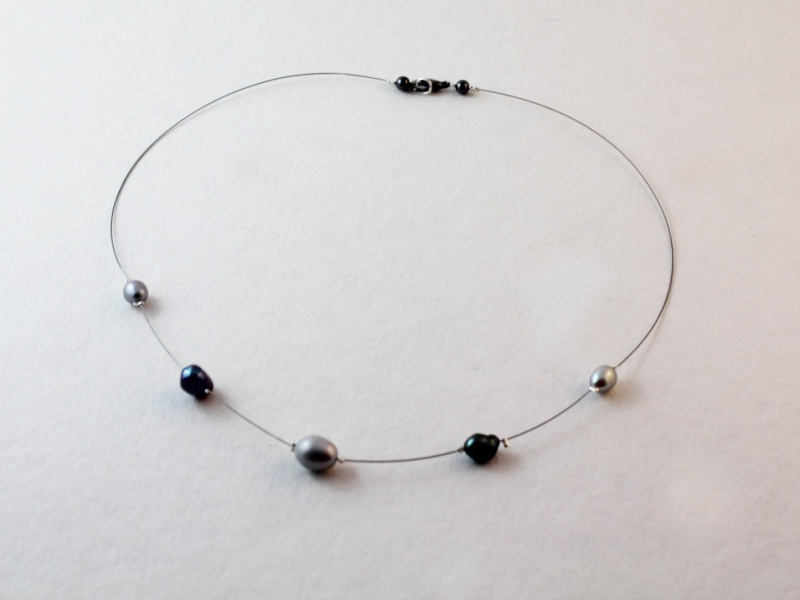
This delicate and dainty chain drop necklace is an absolute stunner! Using two pieces of chain and some cleverly placed jump rings you can create your own beautiful, modern necklace that is perfect for day and evening looks. And while it may look incredible, this necklace isn’t too complicated to put together.
You will need the following tools and materials to make this delicate chain drop necklace:
1: Pliers. You will need your round nose pliers and flat nose pliers to make this necklace.
2: Two pieces of chain. Cut one piece of chain so that it long enough to fit closely around your neck. The second piece of chain will be shorter, I made mine approximately 8.5cm (approx 3.3 inches) long.


3: Three jump rings.
4: One lobster clasp.
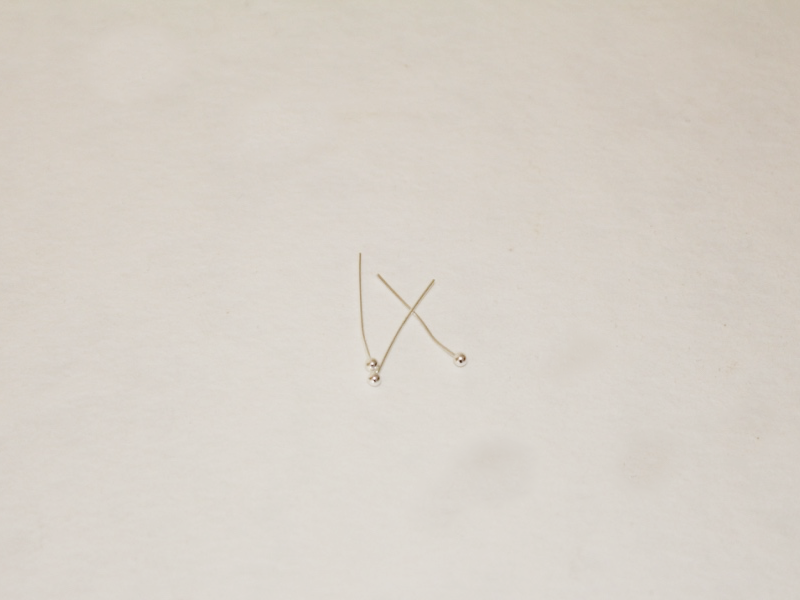
5: Three small head pins.
6: Beads of your choice. I used these different colored pearl beads.

If you love pearls as much as I do you can get some here to use in your own DIY jewelry designs:
Follow these steps to make your pretty chain necklace:
1: Open one jump ring using your pliers and add both ends of the long chain to it.


2: Add the short piece of chain to the same jump ring.

3: Close the jump ring using your round nose pliers and secure the chains together.

4: Take another jump ring and add the other end of the short piece of chain.


5: Add each of the beads to the head pins.


6: Take each of the pins and bend them at a right angle to the beads using the round nose pliers.


7: Use the round nose pliers to loop the tops of the head pins. Loop the pin a few times around the barrel of the round nose pliers so that the loop sits closely to the beads.


8: Use the round nose pliers to flatten down the ends of the pins so that they align with the loops.


9: Add all the beaded charms to the jump ring at the end of the short chain at the center of the necklace.

10: Close the jump ring to secure the beaded charms in place.

11: Find the center of the necklace loop and open a link to split the necklace ready to add the lobster clasp.

12: Add the lobster clasp to the open chain link and secure in place by closing it again using your pliers.


13: Add the third jump ring to the other side of the necklace to correspond with the lobster clasp. Once this jump ring is in place the necklace is complete!


How will you style your fabulous chain drop necklace? I love this design and I’m super excited to wear mine out day and night!


-
The Bows are Back! Make your ears Some Cute bow stud earrings
So I’m assuming that you’ve already made yourself some delightful dangly bow earrings, so how about making yourself some bow stud earrings too? These earrings are as cute as can be and sit comfortably on your ear lobes. These bow stud earrings are super easy to make, check out the instructions to see for yourself!
You will need the following tools and materials to make these adorable bow stud earrings:
1: Pliers. You will need your round nose and cutting pliers to make these earrings.
2: Two bows. I used some pre-fabricated plaid orange bows.

3: Two head pins.

4: Two flat bed stud earrings.

5: Beads of your choice. I used a selection of glass beads.


6: One bamboo skewer.
7: One piece of scrap paper.

8: Araldite glue.
 Araldite is so handy to have around, I highly recommend that you add some to your DIY jewelry making kit:
The steps:
1: Add the beads to each of the head pins.


2: Use the round nose pliers to bend each pin on a right angle to the beaded section.


3: Trim each pin approximately 1cm (0.4 inches) from the beaded section using the cutting pliers.


4: Use the round nose pliers to create a loop at the top of each beaded pin.


5: Open one loop slightly and slide it through the middle of the bow.


6: Close the beaded charm loop with the round nose pliers to secure it in place.

7: Repeat steps 5 and 6 for the second bow.

8: Squeeze out some glue onto the scrap paper and mix it using the skewer.


9: Apply the glue mix to the flat part of the stud earring.

10: Place the stud with glue on it to the back of one of the bows. You might need to hold it in place for a while to prevent the earring from slipping out of place.

11: Repeat steps 9 and 10 for the second earring.

12: Once the earring studs have been put in place all that is left to do is wait a little while for the glue to dry! What will you make during the drying time? Why not try making a quick ribbon choker necklace while you pass the time?
I hope you enjoy your cute new earrings!

-
Keep Your Rocks On Display, Make Your Own Clay Ring Holders!
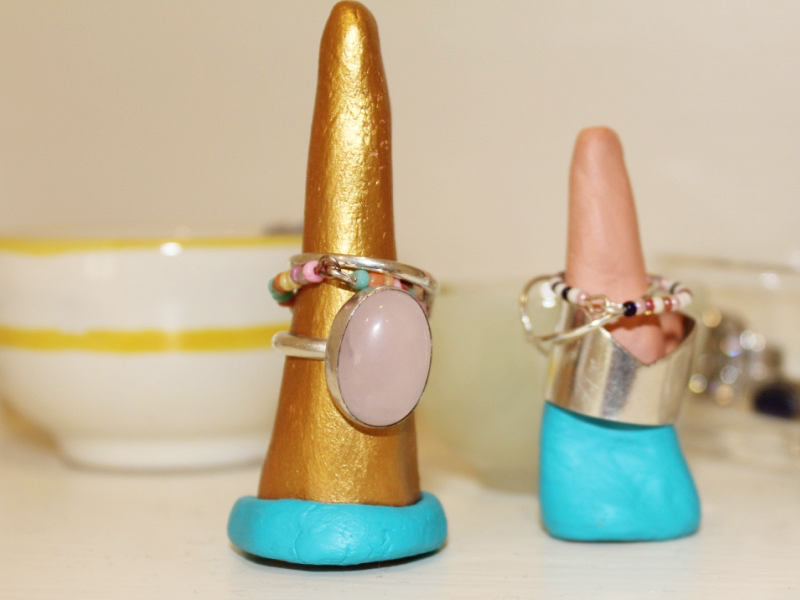
I love rings, and I have many more rings then I could ever wear at once. If you’re like me and you want your ring collection to stay on display so you can admire them all the time why not make yourself some ring holders? These ring holders are made out of air dry clay. Using clay gives you lots of scope for creativity, make your holders in any shape you like. This tutorial shows you the steps to make a simple ring holder.
You will need the following tools and materials to make a clay ring holder:
1: Air dry modelling clay.
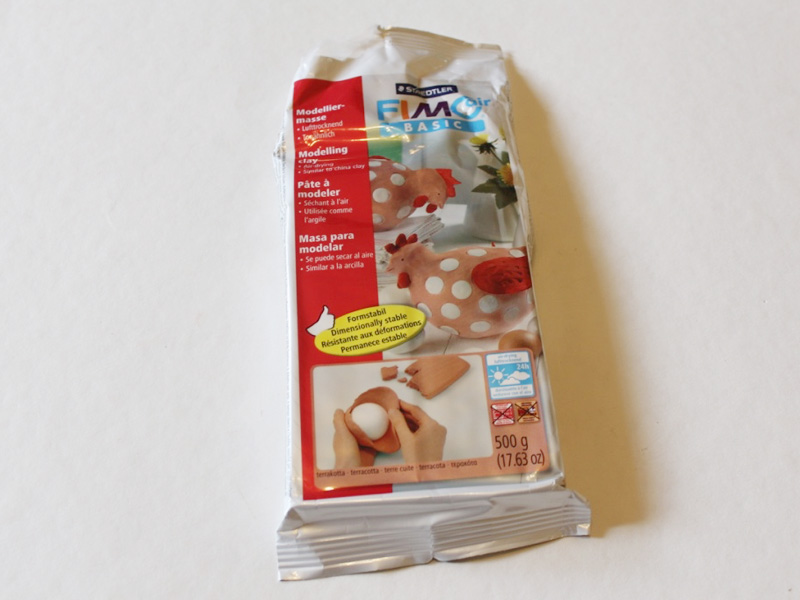
I used this terracotta colored Fimo air dry clay; however this DAS terracotta air dry clay will give a similar effect!
2: Some scrap paper or baking paper to work on (this clay can get a little messy).
Here are the steps for making a simple clay ring holder:
1: Take a portion of clay out of the package to work with.

2: Work the clay with your hands for a while so that it become easier to form into shape without any cracks.


3: Once your clay has become more pliable, roll it between your hands to form a slight cone shape. Make sure the cone is thin enough at the for you to fit your rings on. Make sure that the bottom of the cone is wide enough to stop your rings from falling off completely!

4: Make the base of your ring holder flat by carefully pressing it against your work surface so that it can stand on its own. Once you’ve got the basic shape you can add some decorative elements to your ring holders. I decided to keep these ones quite plain.


5: That’s it! How easy was that? Once you have formed all the shapes that you want, place the holders in a safe place, maybe out in the sun so they can dry.

6: Once your ring holder is dry (it may take a couple of days for your clay to dry completely) it is ready to use! You can also paint your ring holders with acrylic paint to add an extra element of style. I painted these holders using turquoise and gold colored acrylic paint.