Step-By-Step Tutorials
-
Get loopy! Make this beaded loop necklace
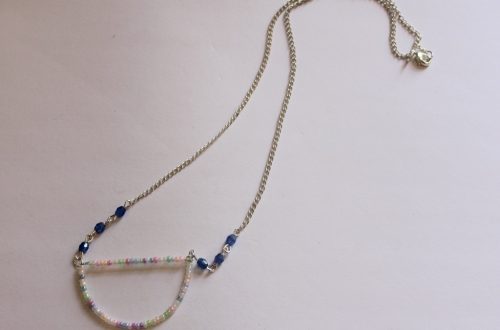
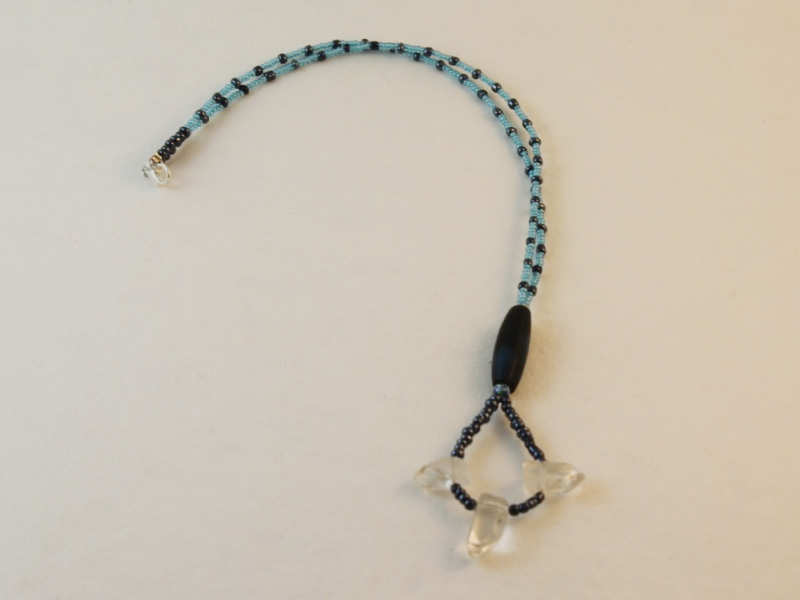
This necklace gives you the effect of a charm without actually adding one. By using some cleverly placed beads this necklace looks fancier than the effort it takes to make it! This technique allows you to experiment with, and show off your exotic and unique beads in a creative manner.
You will need the following tools and materials to make this beaded loop necklace:
1: Pliers. You will need your round nose pliers, flat nose pliers and cutting pliers to make this necklace.

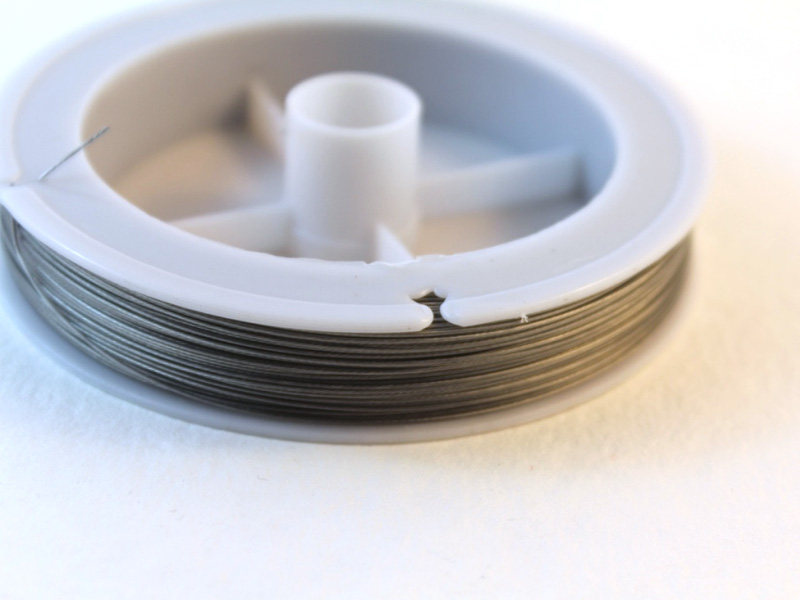
2: Tiger tail wire.
3: One lobster clasp and one jump ring.


4: Four crimp beads.

5: Beads of your choice. Make sure you pick one large bead to hold the loop in place. I used a long blue timber bead as my central bead. You might also want to choose some beads to feature on your loop pendant, I used three quartz beads.


The Steps:
1: Cut a length of tiger tail wire. Make sure it is long enough to fit around with the pendant loop.


2: Begin adding beads to the middle of the necklace. Add enough to form a small loop at the center of the necklace.


3: Once you have enough beads to form your loop, secure it in place by adding a glass e-bead.

4: After adding the e-bead, add your larger centerpiece bead.

5: Add another e-bead after the centerpiece bead.

6: After adding the second e-bead, begin beading one side of the necklace. I used some blue seed beads for the rest of the necklace.


7: Once your beading is complete, add two crimp beads and the lobster clasp.


8: Loop the wire back through the crimp and beads, pulling it tight using the pliers.


9: Squash the crimps using the flat nose pliers. After the crimps have been secured, trim the excess wire using the cutting pliers.


11: Repeat steps 6 to 10, adding a jump ring to the end of the strand instead of a clasp.

12: With both sides finished your necklace is ready to wear. I love this design and I hope that you do too.

-
This is a pendant with a twist… literally! Making one way too fun.
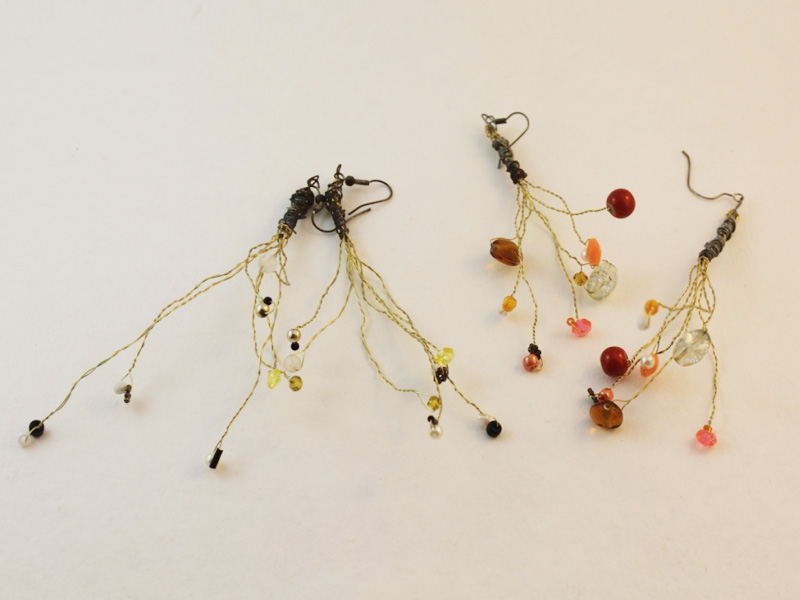
I recently rediscovered the earrings pictured above that I made way back when I was in high school (a fair few years ago now) and they inspired me to make this simple necklace pendant tutorial. Making this pendant requires minimal use of tools and extra findings. This pendant is made using 32 gauge wire which is fine enough to manipulate using your fingers! All you need are your cutting pliers to cut your wire to size. So grab a handful of beads and some cool colored wires and go make your own crazy, cute wire pendant.
You will need the following tools and materials to make this wire pendant:
1: Cutting pliers.

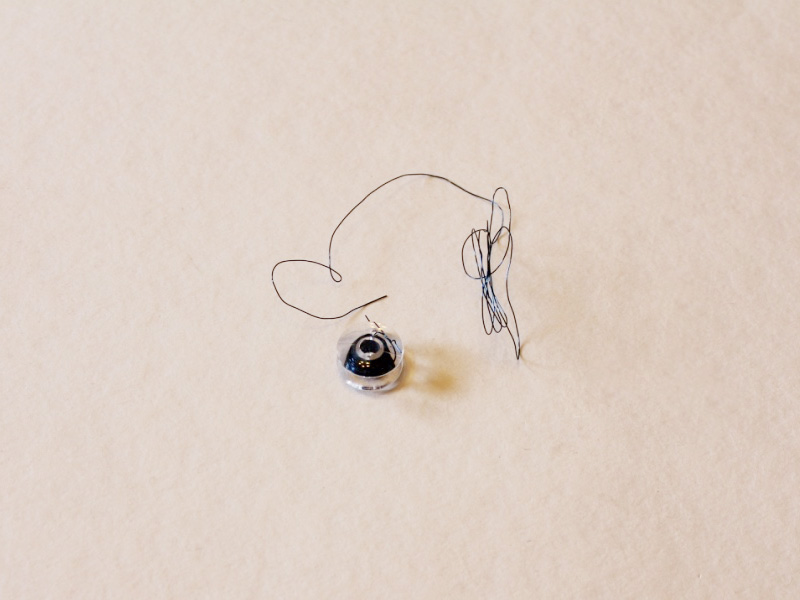
2: 32 gauge wire. I used this blue colored wire.
3: A selection of beads. I used this assortment of glass beads.
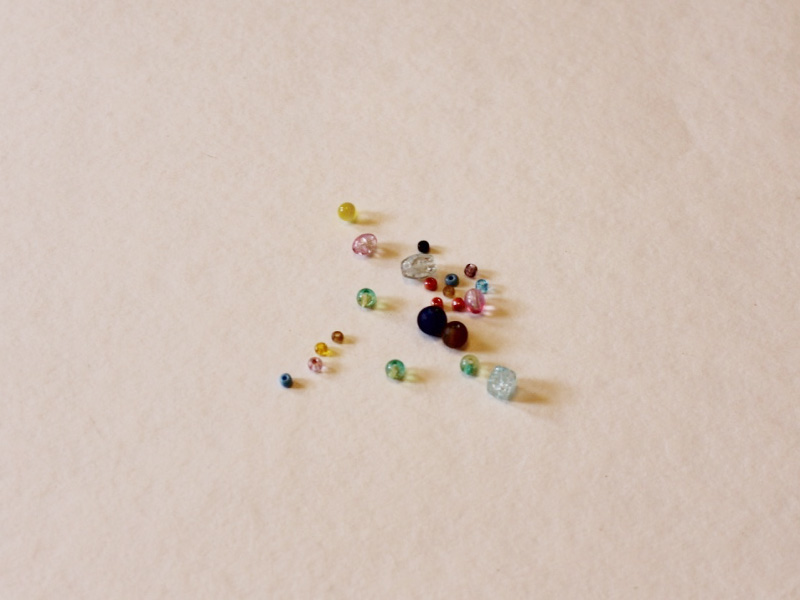
The Steps:
1: Cut the wire into different lengths using the cutting pliers. You can cut as many as you like. I cut eleven pieces of wire (one for finishing the top of the pendant).
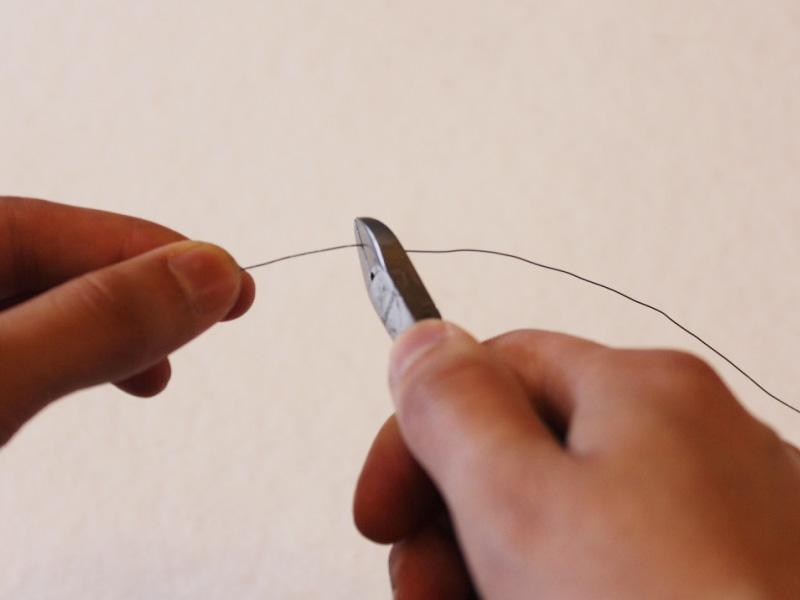
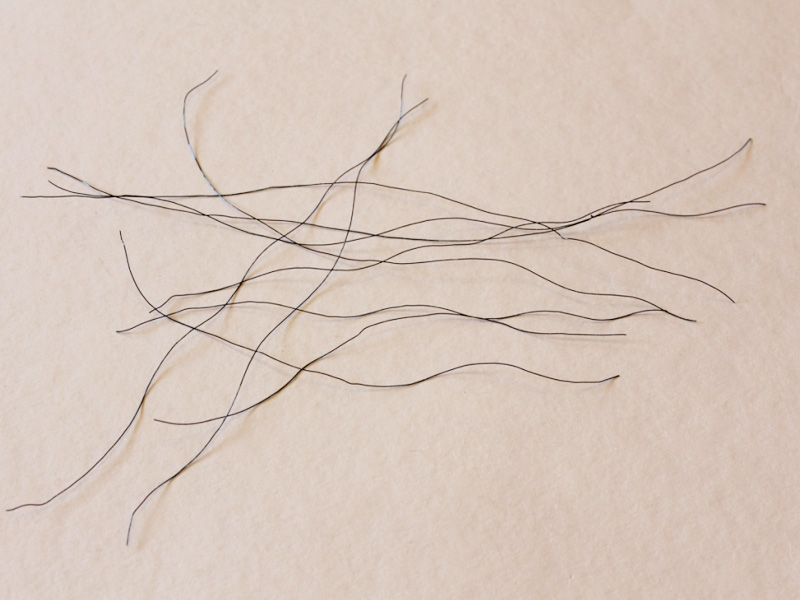
2: Take a bead or two and add them to the center of a piece of wire.
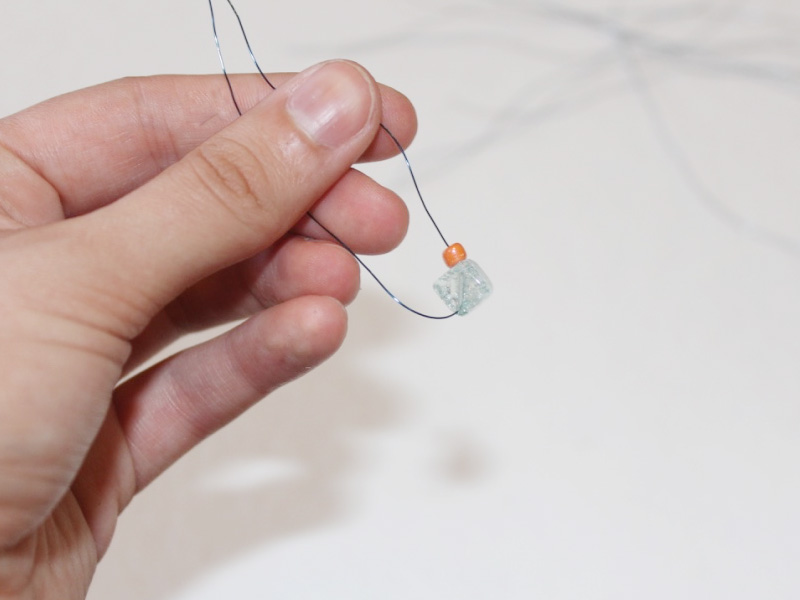
3: Twist the ends of the piece of wire together to hold the beads in place.
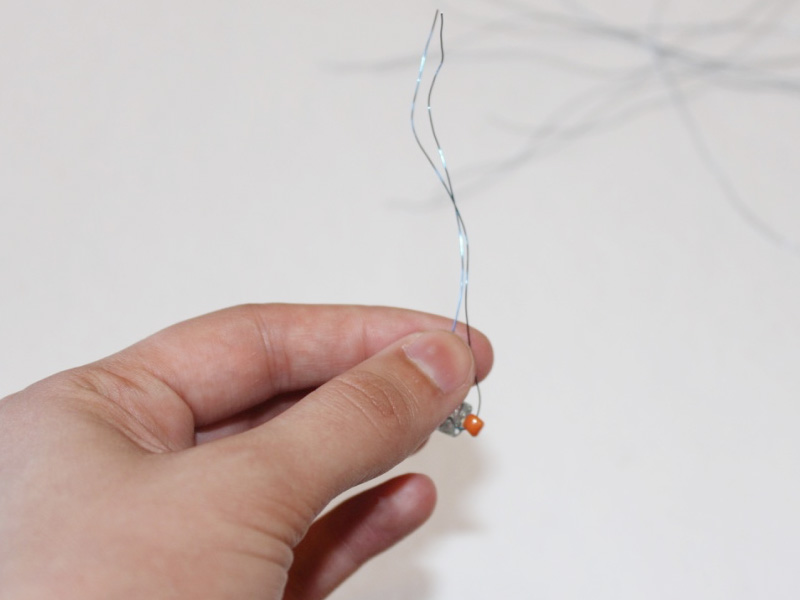
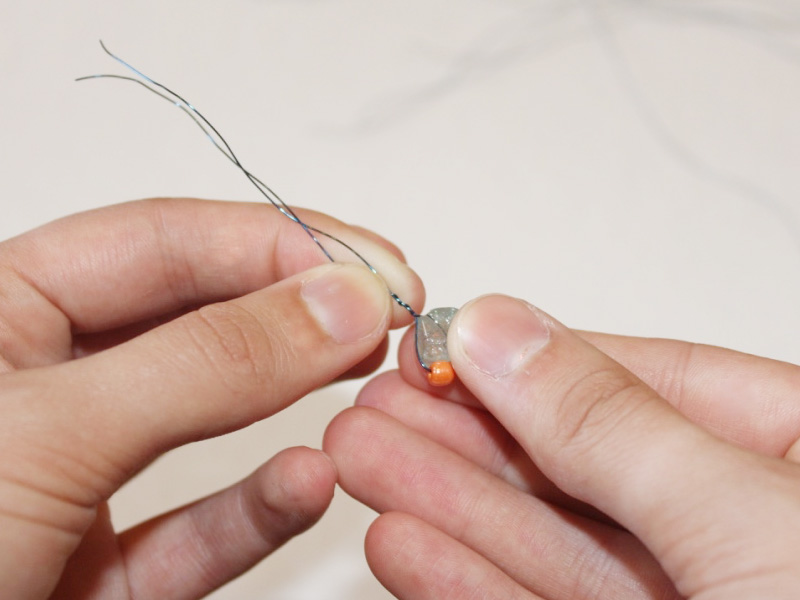
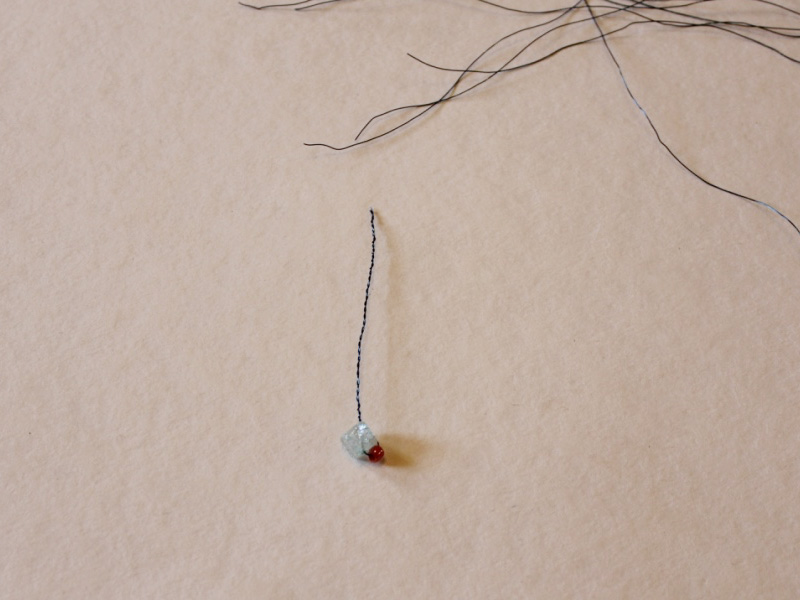
4: Repeat steps 2 and three until only one piece of wire remains.
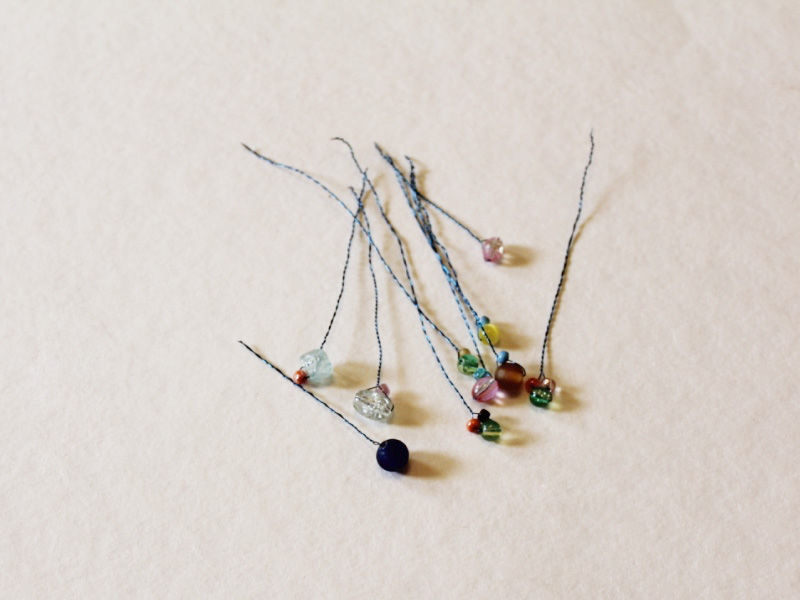
5: Gather all the wire pieces together and twist them together at the top.
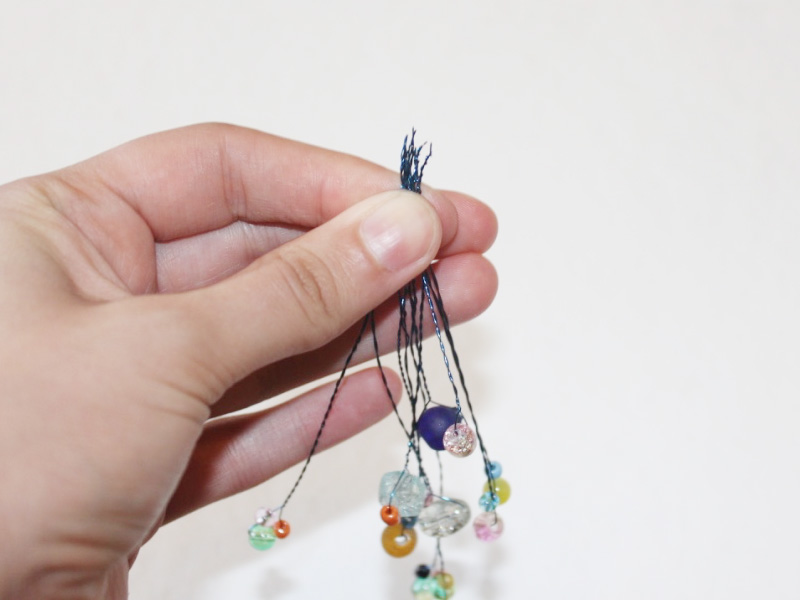
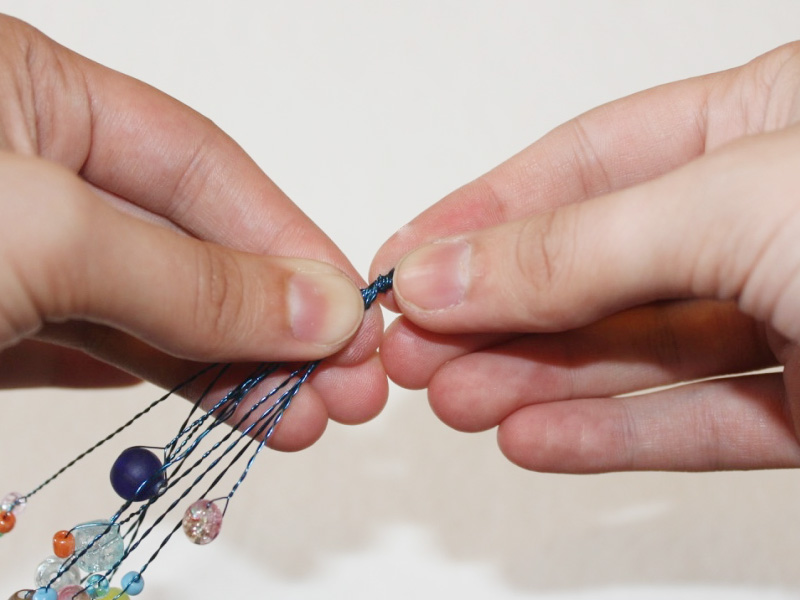
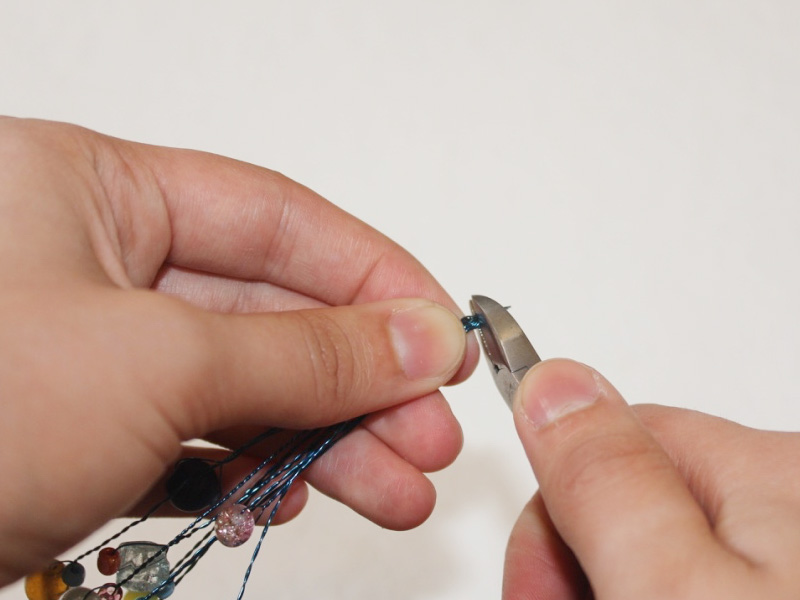
6: Trim the top of the bunch using the cutting pliers.
7: Take the remaining piece of wire and fold it in half.
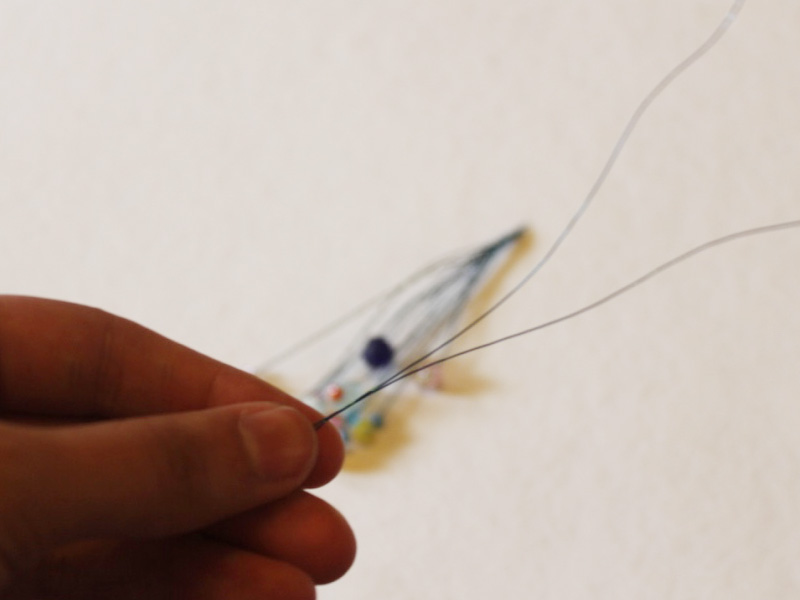
8: Place the loop at the top of the pendant and wrap the rest of the wire around the top to secure the bead bunch in place.
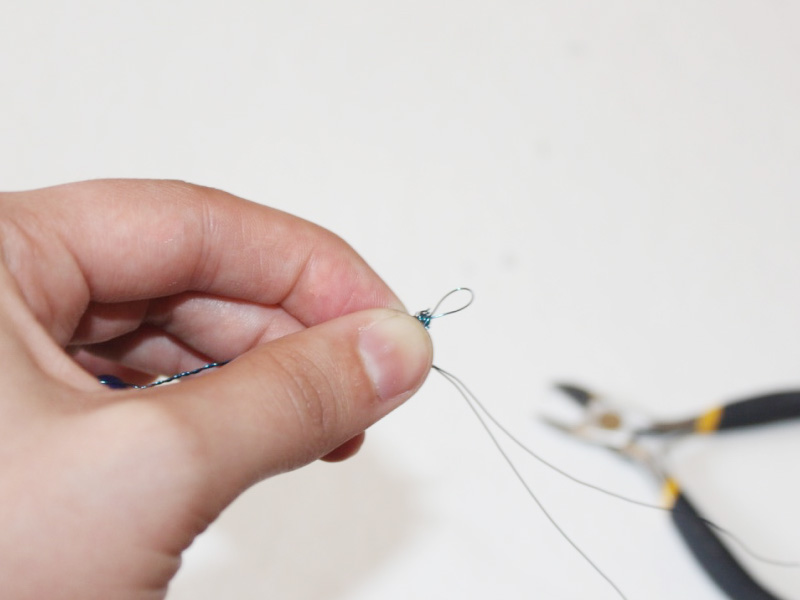
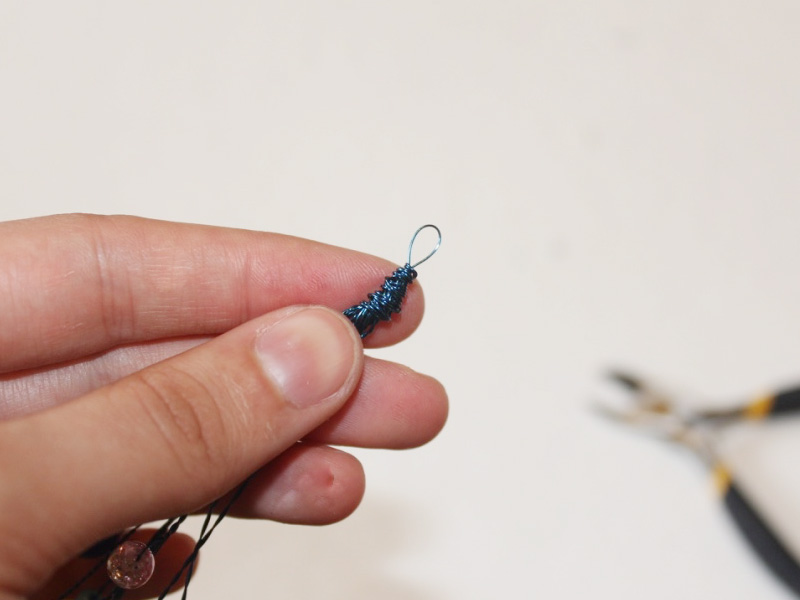
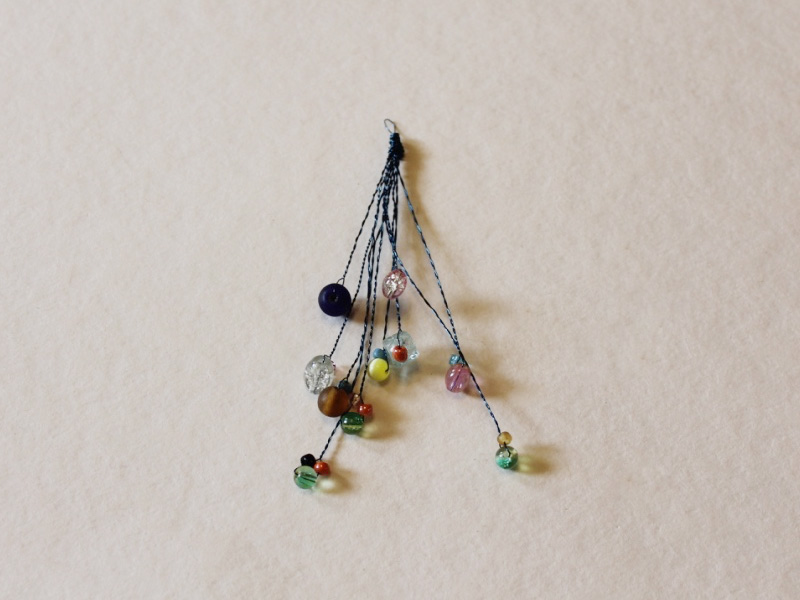
9: Once the pieces are secured at the top, gently pull and shape the bead wires into your preferred position to complete the pendant.
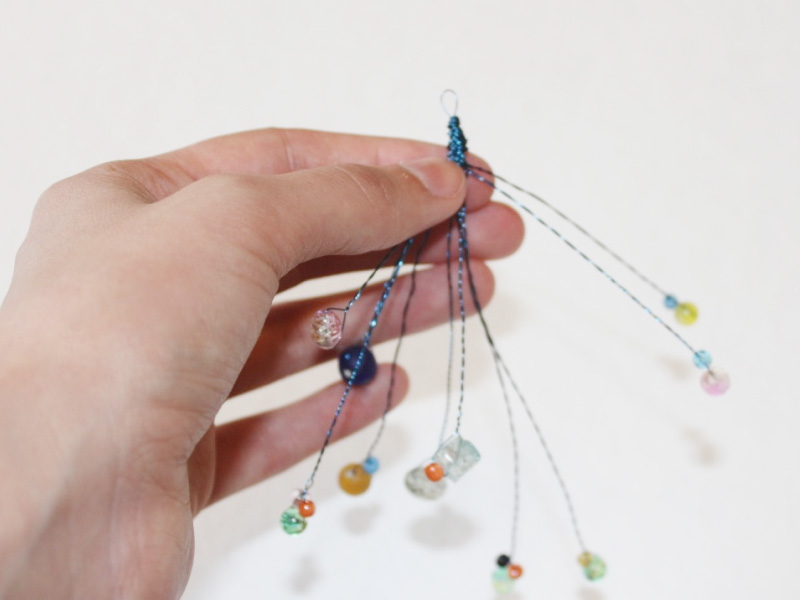
10: Once you have customized your pendant to your liking you can add it to a chain or cord and wear away!

-
Shine Bright with These Diamond Shaped Chain Earrings!
This stylish earring design is really just a variation on my triangle drop earring tutorial, the only difference is that you need a little extra chain, a couple more pins and a few more beads! I think this design is really beautiful, giving you maximum impact with just a few easy jewelry making steps. I would recommend experimenting with some fancy gemstone or glass beads when you are making these earrings. The simple design means that your choice of beads will really stand out and make a special sartorial statement!
You will need the following tools and materials to make these diamond chain earrings:
1: Pliers. You will need to use your round nose pliers, cutting pliers and flat nose pliers to make these earrings.
2: Chain.

3: Two eye pins.
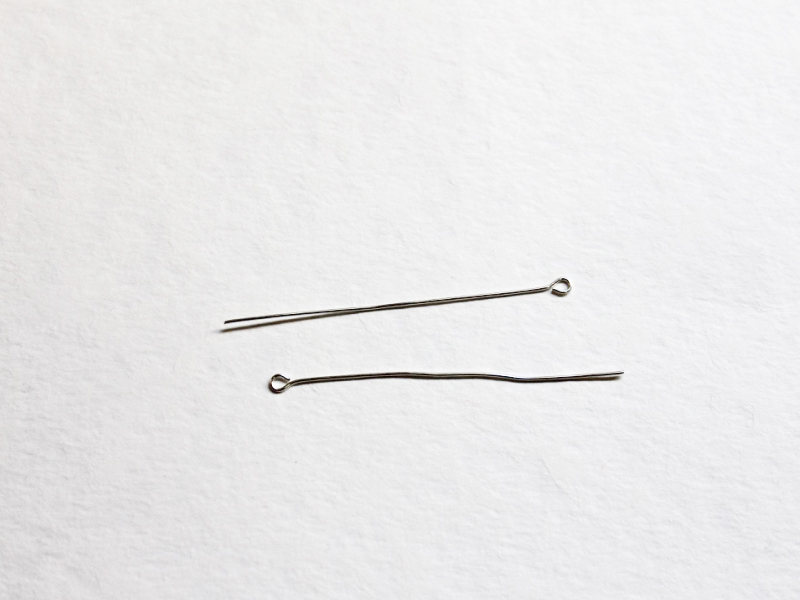
4: Two head pins.

5: Two Earring hooks.

6: Beads of your choice, for the center bar charm and bead drop at the bottom of the earring. I used a selection of gemstone beads.


The Steps:
1: Add your beads to each of the eye pins.


2: Once all the beads are added, bend the end of each pin at a right angle to the beads using the round nose pliers.

3: Create a loop at the end of each pin using the round nose pliers.


4: Add the remaining beads to the head pins.

5: Bend the head pins at a right angle to the beads using the round nose pliers.

6: Trim the head pins approximately 1cm (0.4 inches) from the bead using the cutting pliers.

7: Create a loop at the top of each head pin using the round nose pliers.

8: Separate the chain into four pieces, I used the shorter pieces at the top of the earring and the longer pieces at the bottom.

9: Take the beaded bar charms and open the loop slightly on one end. Slide a long and short piece piece of chain onto the open loop.


10: Close the loop to secure the chains in place and repeat to attach the chain on the other side. Make sure that the chains don’t cross over each other. Make sure you repeat steps 9 and 10 for both earrings.

11. Add earring hooks to the short chain at the top of the earring charms. Do this by opening the earring hook using your round nose pliers.

12: Secure the earring hook in place by closing the earring loop using the round nose pliers.

13: Open the loop at the top of the other bead charms. Slide the open loop into the center of the long bottom chain and secure it in place by closing the charm loop again.

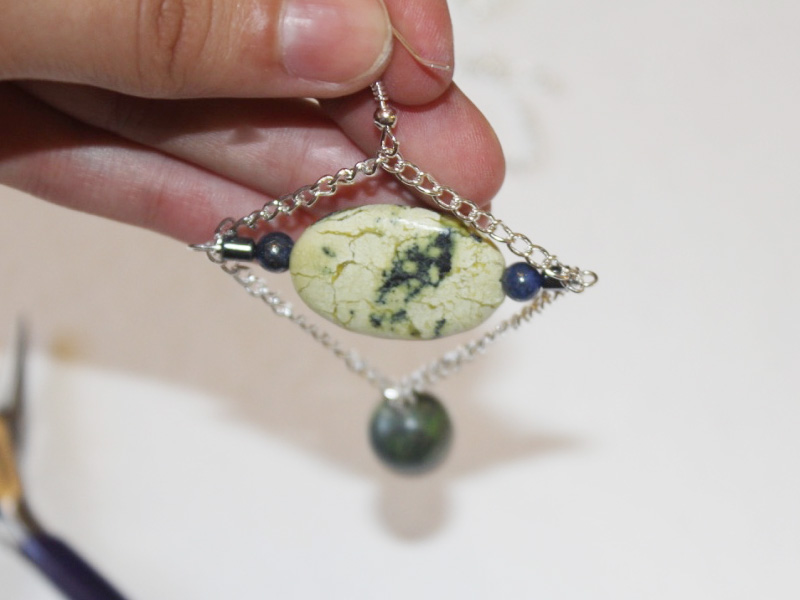
14: Repeat step 13 for the second earring. Now your earrings are complete! Wear these with your fave outfit, or use them to jazz up an old one. Get creative and wear them with pride.


You May Also Like

Got a pair of dangly earrings you aren’t quite in love with? This tutorial shows you how you can swap earring hooks for studs.

Do you like geometric jewelry? Here’s how to make a pair of square beaded earrings
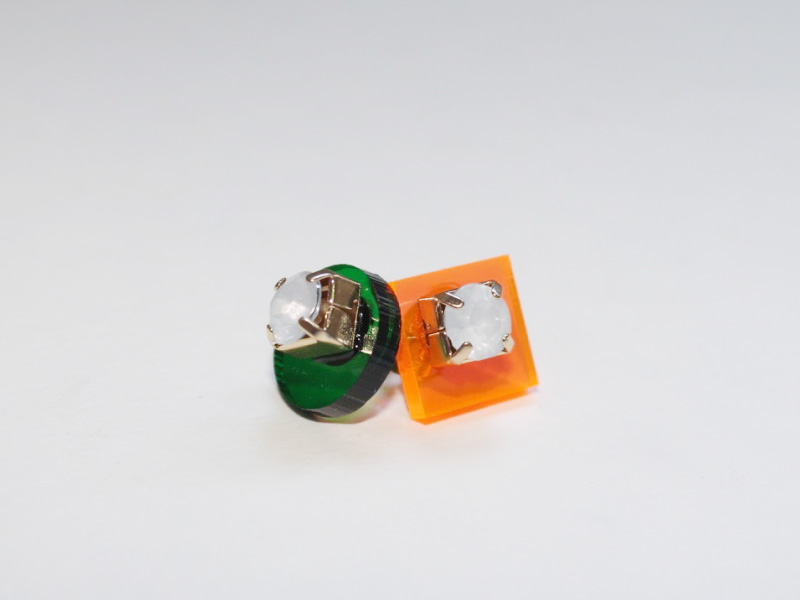
How to Make Stud Earrings. You’ll Wanna Get These Stunners on Your Ear Lobes!
-
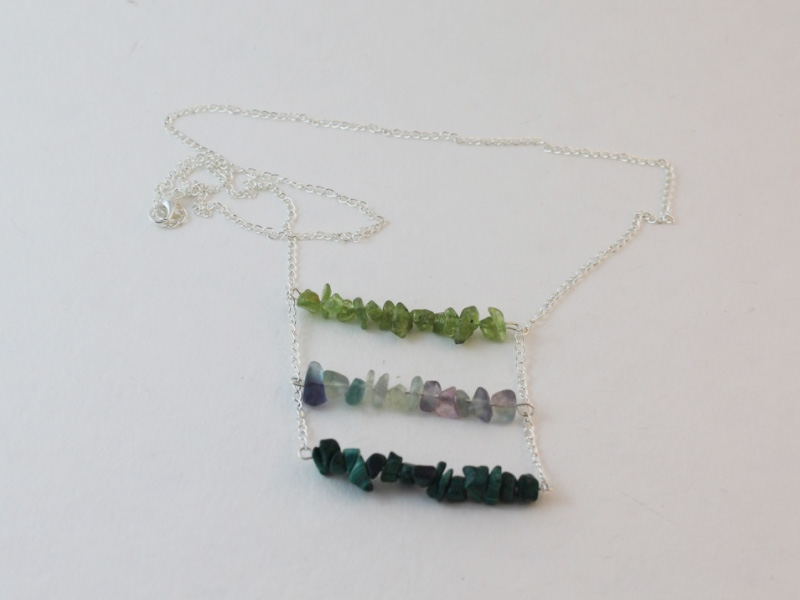
Step it up, here’s How to Make a Triple bar charm necklace.
Do you remember the bar charm necklace tutorial? Well this necklace is essentially the same design, with just a couple more charms on the chain! This necklace is delicate, cute and simple to make. I used some pretty green gemstone beads on this necklace, I think that this design looks great with some pretty, delicate beads rather than large chunky ones.
You will need the following tools and materials to make this necklace:
1: Pliers. You will need your round nose pliers and flat nose pliers to make this necklace.


2: Chain.
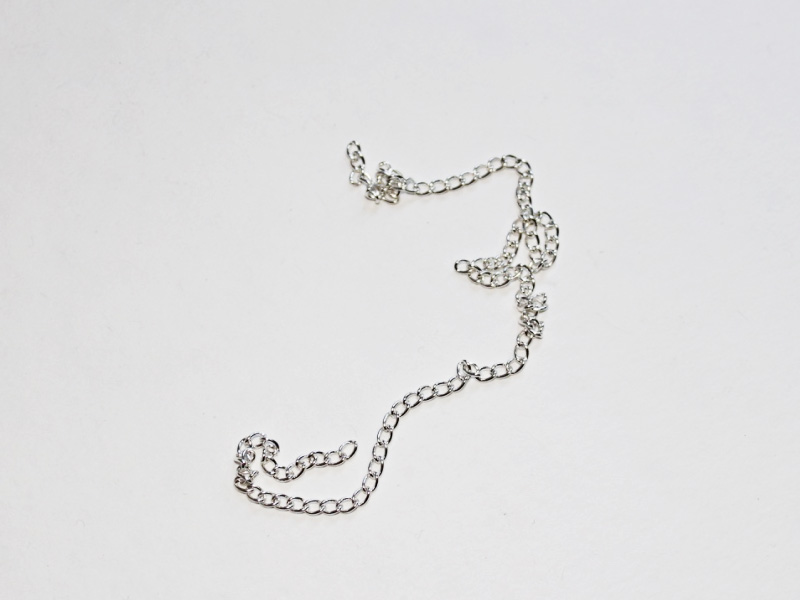
3: Three eye pins.

4: One Lobster clasp.
5: One jump ring.
6: Beads of your choice. I used these gemstone beads made with Peridot, Fluorite and Malachite.

The Steps:
1: Add the beads to all three eye pins.

2: Once all the beads are added, bend the end of each pin into a loop using the round nose pliers to secure the beads in place.


3: Add the first charm to the ends of the chain. Do this by opening each end of the charm and sliding the chain ends on. Secure the chains in place by closing the charm loops again.


4: Count ten chain links and attach the second bar charm in the same manner. Make sure the bar charm is attached evenly.


5: Attach the third charm in the same manner, ten chain links from the second bar charm.

6: Now all your charms should be attached.

7: Find the center of the chain opposite the charms and open a chain link.

8: Attach the lobster clasp to the open link and secure it in place by closing the link using your pliers.


9: Attach the jump ring to the other side of the chain.

10: Close the jump ring using your pliers to finish attaching the clasp.

11: Once you are happy with your clasp you can sit back and admire your handiwork! Your necklace is complete and all that there is left to do is wear your stunning triple bar charm necklace.
-
Give Your Jewelry a Unique Edge by Making Your Own Beads!
I love making jewelry with pretty beads and pendants made out of different materials like gemstones and glass, but sometimes I want to my jewelry designs to have a special, one of a kind edge. To make sure that my designs are truly unique, I sometimes make my own beads out of air dry clay. Using clay allows you to get really creative with the shapes and forms that you create. Not only can you make your own beads, you can made some beautiful pendants and charms as well. Using air drying clay requires a little bit of extra patience (As you wait for them to dry) but it is an easy fun (and slightly messy) material to work with!
In this tutorial I will show you a few different ways that you can make unique clay beads and pendants.
You will need the following tools and materials to make these clay beads and pendants:
1: Air dry clay. I used terracotta colored Fimo Basic air dry clay.
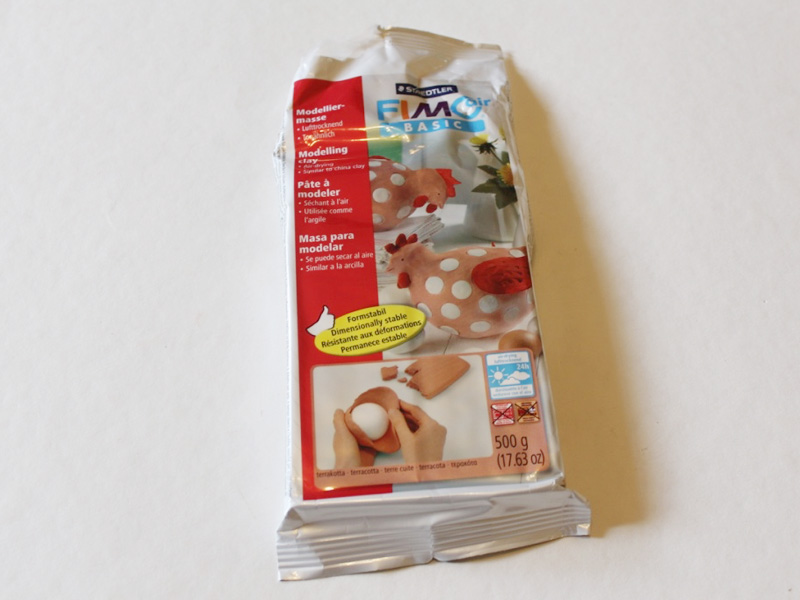
I used terracotta colored Fimo Basic air dry clay but this DAS air dry clay in terracotta gives a similar finish. You can also purchase it in white!
2: Baking paper. Baking paper is a great surface to work on and helps to keep your surfaces clean!
3: A skewer for making holes in your beads and pendants.

4: Buttons or other materials for adding pattern to your beads and pendants.

The Steps:
Here are the steps for making a round clay bead:
1: Lay down a piece of baking paper.
2: Take out a portion of clay.
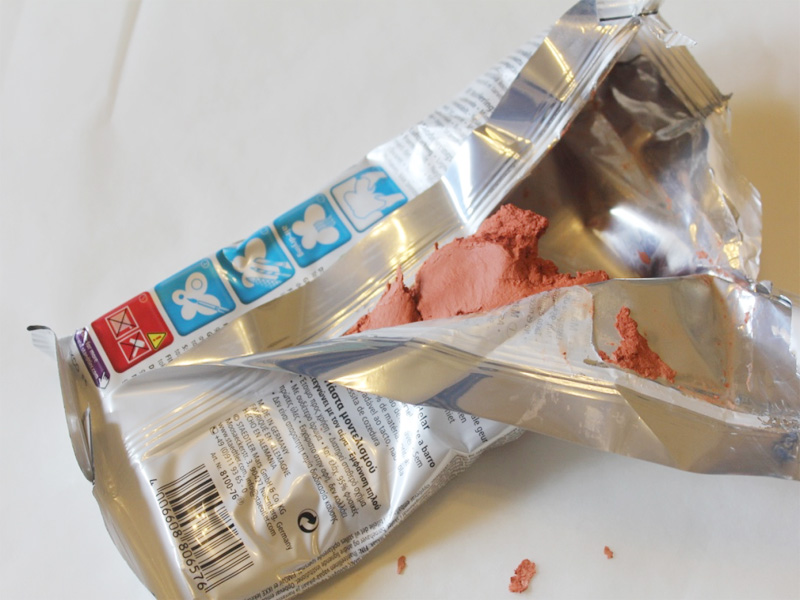
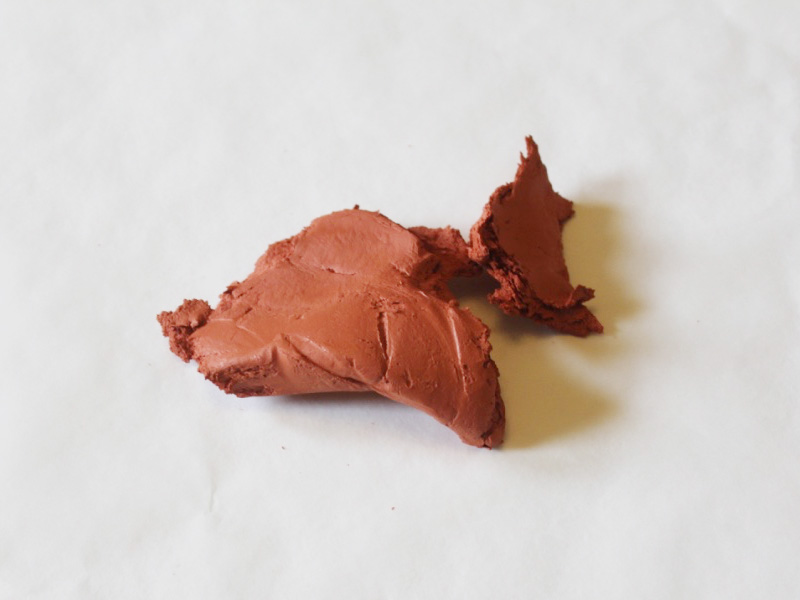
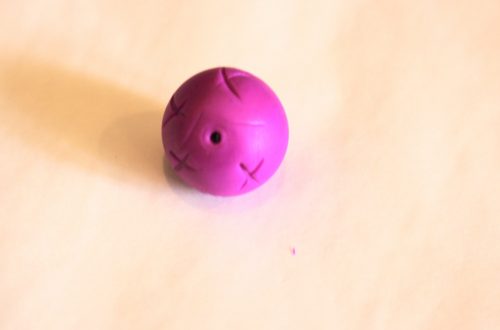
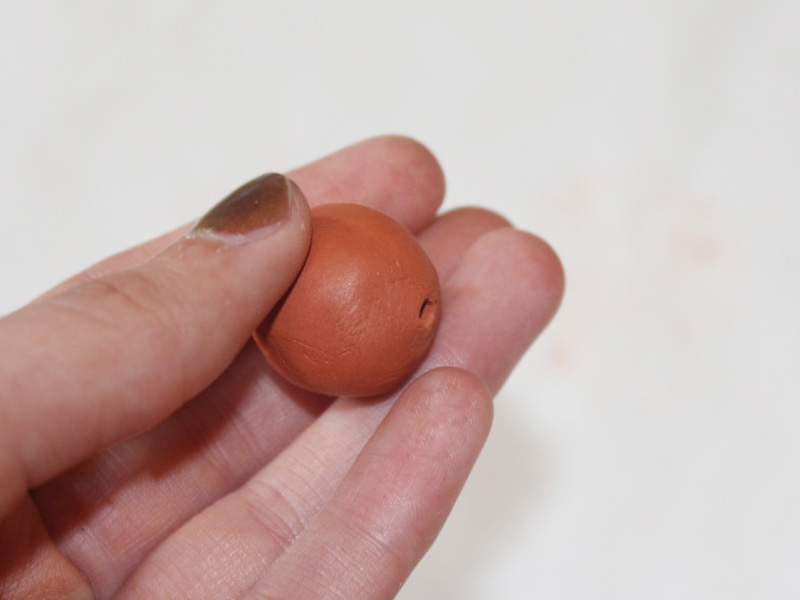
3: Begin rolling and shaping the clay in your hands. Forming a spherical shape can be easier if you roll the piece on a flat surface.


4: Once you are happy with the shape you have made, take the skewer and poke a hole through the center of the bead.


5: Your shape might be a bit disfigured after poking the skewer through, carefully reshape it again and poke the skewer through the hole from the other side. This will ensure that the hole is evenly shaped on both sides.

Here are the steps for making a textured round clay pendant:
1: Take another piece of clay and begin shaping it into a sphere.
2: Take the spherical shape and then flatten it between your palms to make a disk shape.

3: smooth the surfaces out by pressing each side lightly against a flat surface.
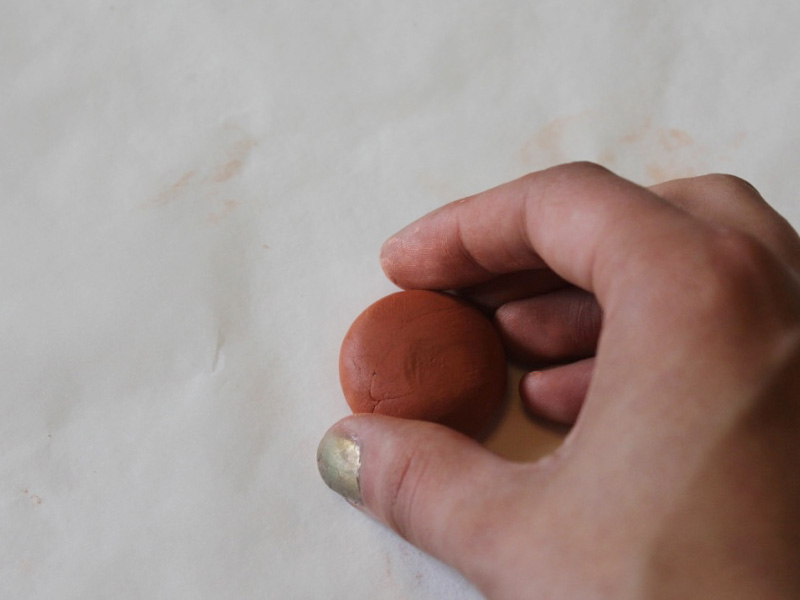
4: Once you are happy with your shape, take a button and press it into the upper face of the clay. Make sure you press down firmly to get a good impression in the clay.
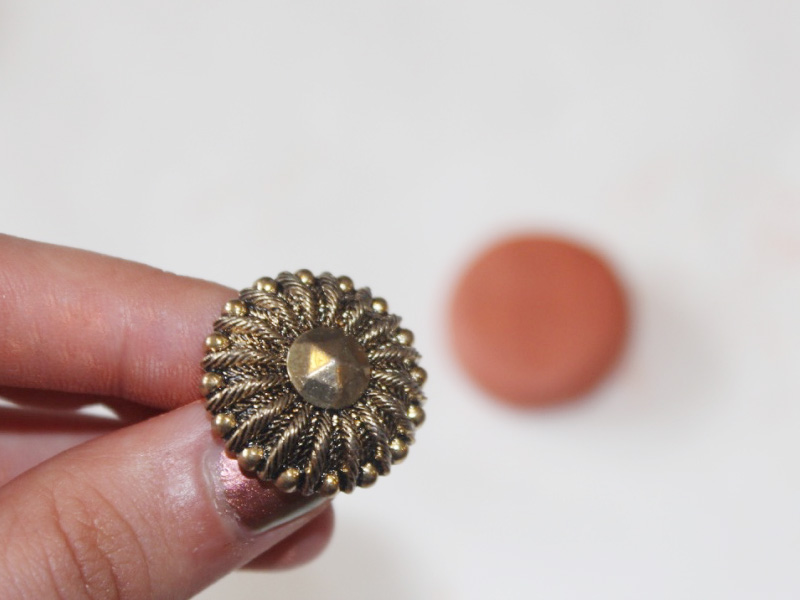

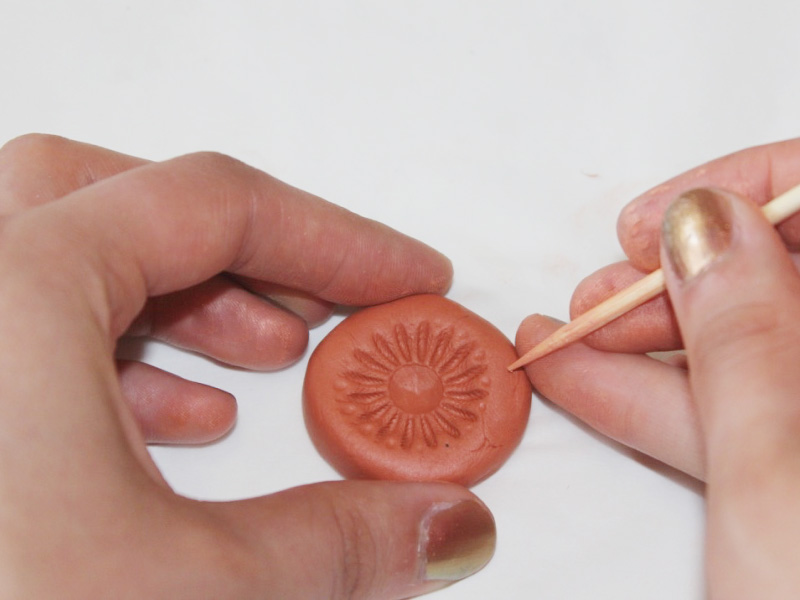
5: Remove the button to reveal the impression made in the clay.

6: Take the skewer and use it to create a hole in the pendant disk. As with the round bead, you may need to poke the skewer through from both sides.
Here are the steps for making a rectangular clay pendant:
1: Form a rectangular shape with a piece of clay using your fingers to make your desired shape.
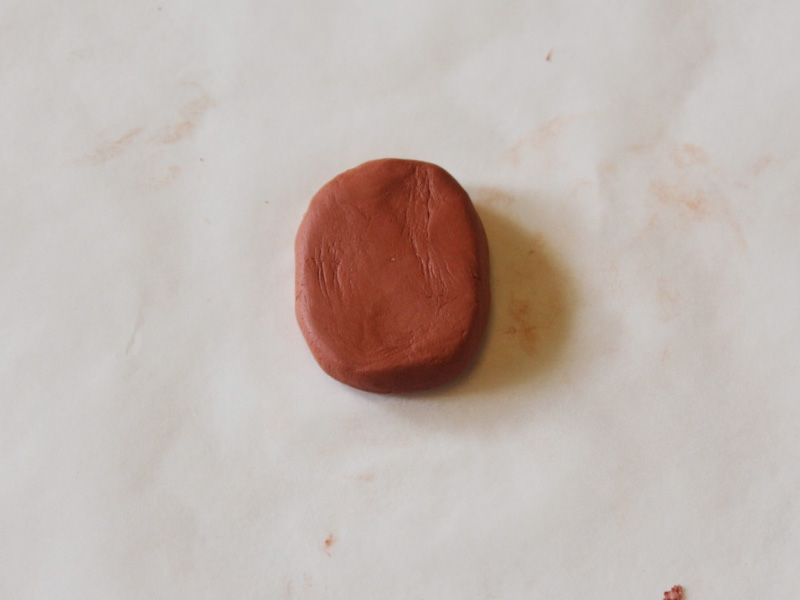
2: Take another button or charm and press it firmly into one end of the clay shape.
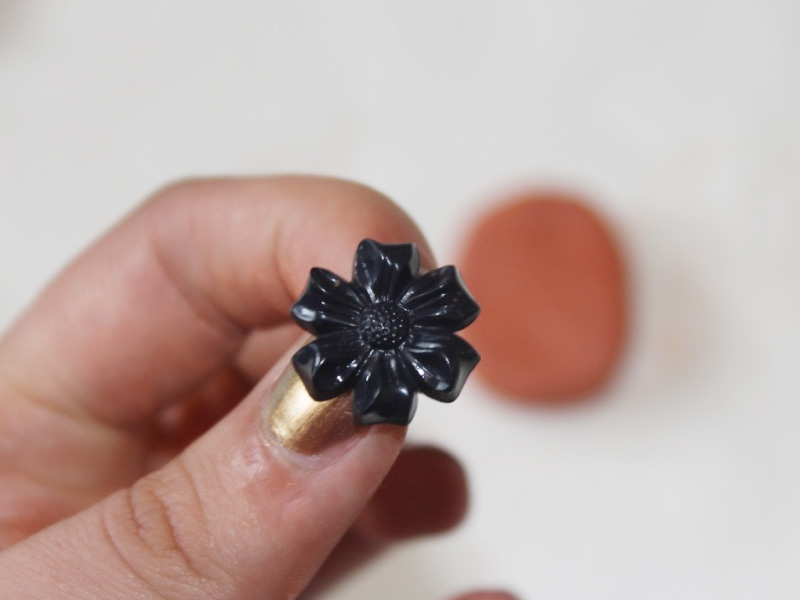


3: Remove the button to see the impression it has left in the clay.
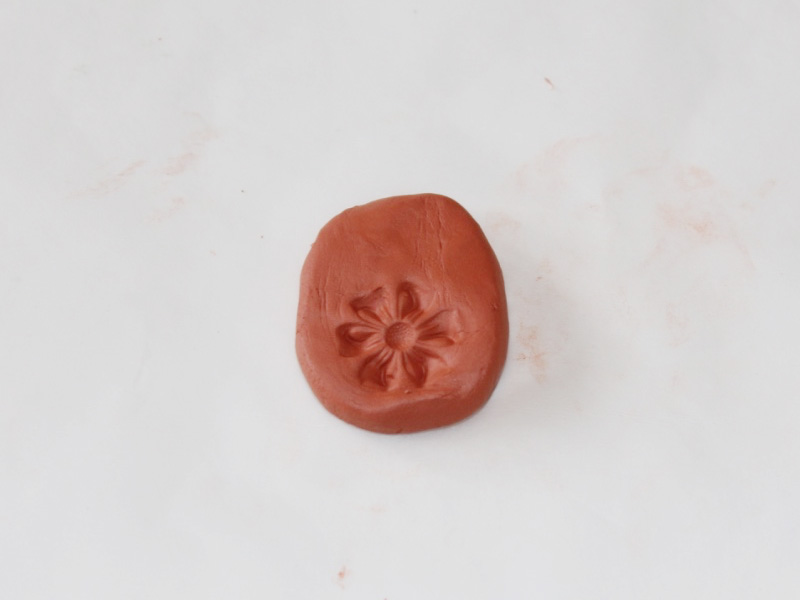
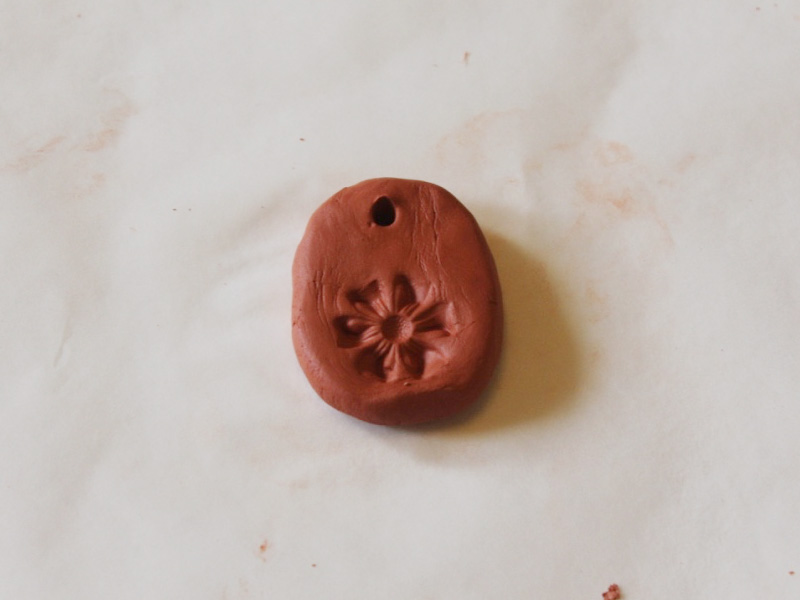
4: Use the skewer to create a hole at the top of the pendant. Make sure you poke the skewer through to create an even hole.

Here are the steps for making a coiled clay pendant:
1: Roll some clay backwards and forwards on a hard surface using your fingers.

2: Continue rolling until your piece of clay is a long flexible log shape.

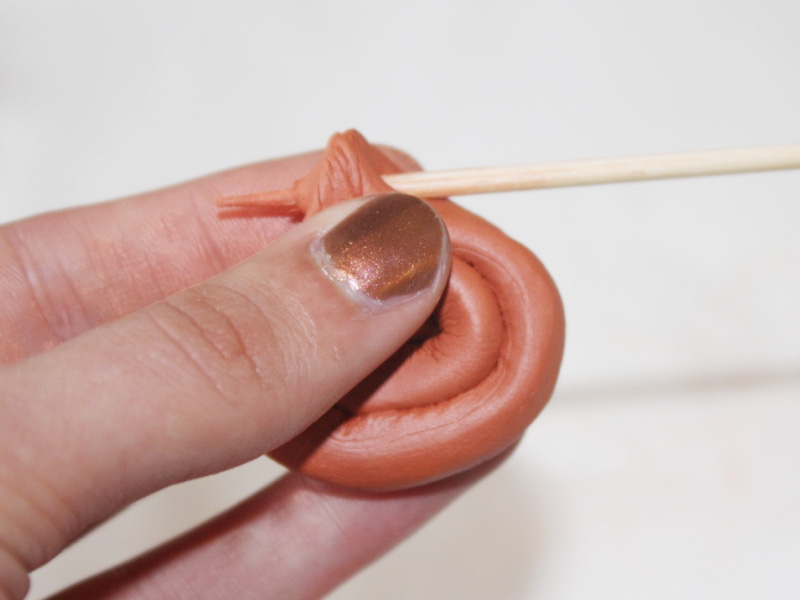
3: Coil the log into a spiral shape and pinch the end to create a space for the hole to be placed.

4: Poke the skewer through the top part of the pendant. Make sure to even out the hole on both sides.


When you have finished making all of your clay designs, pop them outside to harden in the sun. If that doesn’t suit you can leave them to dry inside.
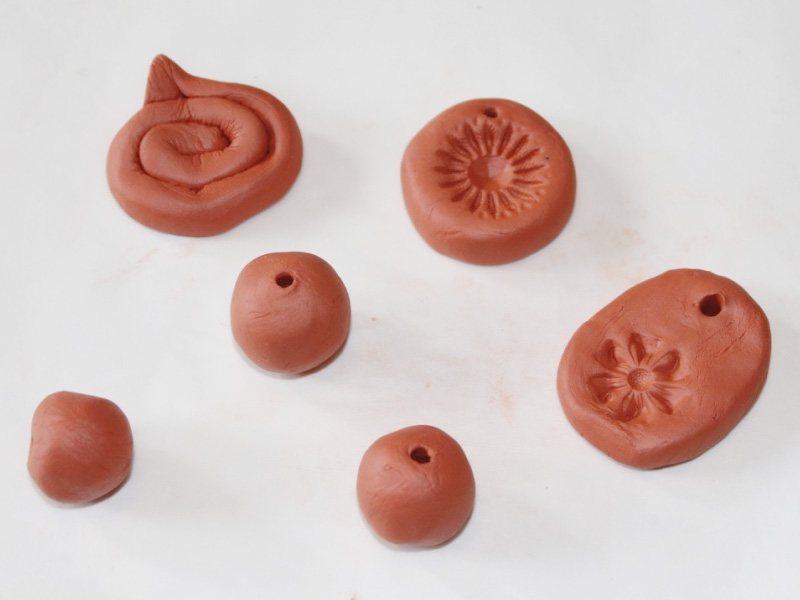

Once your pieces are dry you can get to beading with them right away or you can add some extra pizzazz by finishing them off with some paint.
Here are some tutorials that show you can use your handmade clay beads and charms:
- Turn your clay charms into scented diffusers
- Make a flower necklace with clay beads
- How to make clay love heart charms
- Make a double strand necklace with clay statement beads
Here is some more inspiration for making jewels out of your handmade clay beads and charms.
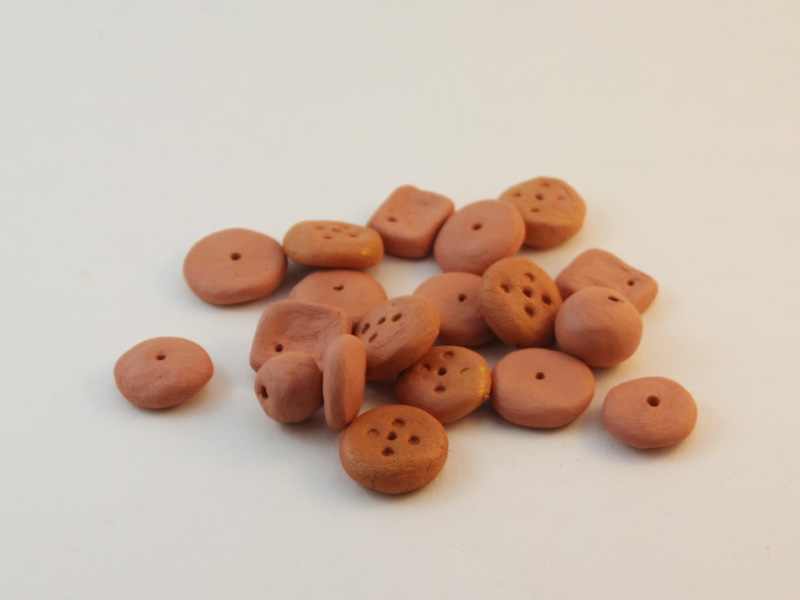
Some of these beads have a metallic finish that was achieved by mixing gold acrylic paint into the clay when it was still wet. 
These clay beads were painted with acrylic paints after they had dried. 


These hand formed cube beads were painted with red and gold acrylic paint. 

A memory wire bracelet made using hand painted clay beads and blue glass seed beads. 
Handmade clay buttons This tutorial contains affiliate links
-
Want the Perfect Accessory to Celebrate the Silly Season? You Need These Colorful Earrings
I’ve been thinking about making some earrings featuring pom poms for a while, and now, with the silly season upon us, it felt like the perfect time to create some cute pom pom dangle earrings. These earrings are fun and sophisticated, perfect for brightening up a festive winter evening or for adding a colorful accent to compliment a fresh summer frock. These adorable earrings are super easy to make, you’ll be knocking their socks off in no time.
You’ll need the following tools and materials to make these pom pom dangle earrings:
1: Pliers. I mostly used my round nose pliers to make these earrings but make sure you have all your pliers on hand to make these earrings.
2: Two earring hooks.

3: Six head pins.

4: Six pom poms in different colors.

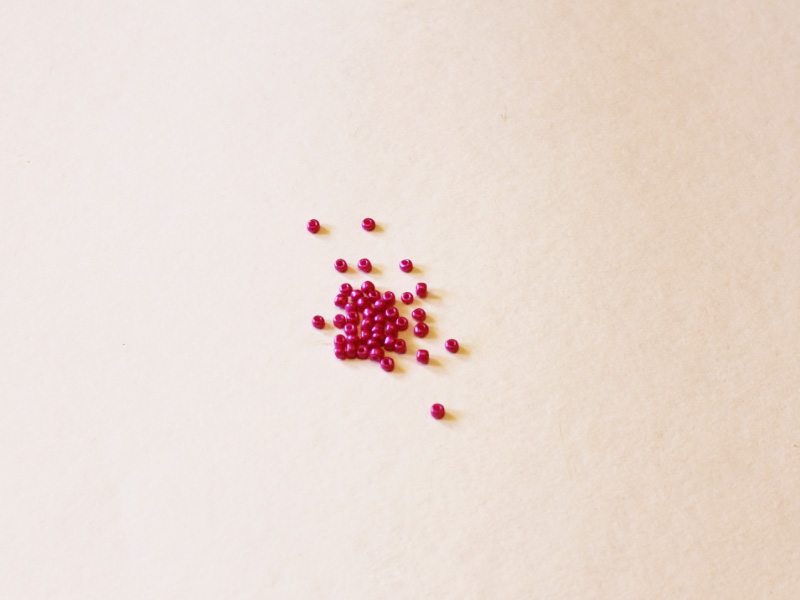
5: Beads of your choice. I used an assortment of differently colored glass seed beads.


The Steps:
1: Take one pin and begin adding beads in your desired pattern. For my first pin I added the pom pom after the first bead. Add the pom pom by piercing its center with the head pin. Make sure you make two of each pin design so that your earrings match.


2: Continue adding beads after you have added the pom pom.

3: Once you have added all your beads, use the round nose pliers to bend the pin at a right angle to the beaded section.

4: Use the round nose pliers to curl the pin into a loop in the opposite direction to the first bend you made in step 3.

5: Repeat steps 3 and 4 for all of you beaded head pins.

6: Sort your pins into the arrangement you would like to feature on your earrings.

7: Take an earring hook and use your pliers to open the bottom loop.

8: Slide three of the charms onto the open loop.

9: Use the pliers to close the earring loop and secure the charms into place. Repeat steps 8 and 9 for the second earring.
10: Now your earrings are ready to wear! I hope you have a fun festive season in these stunning dangle drop earrings.
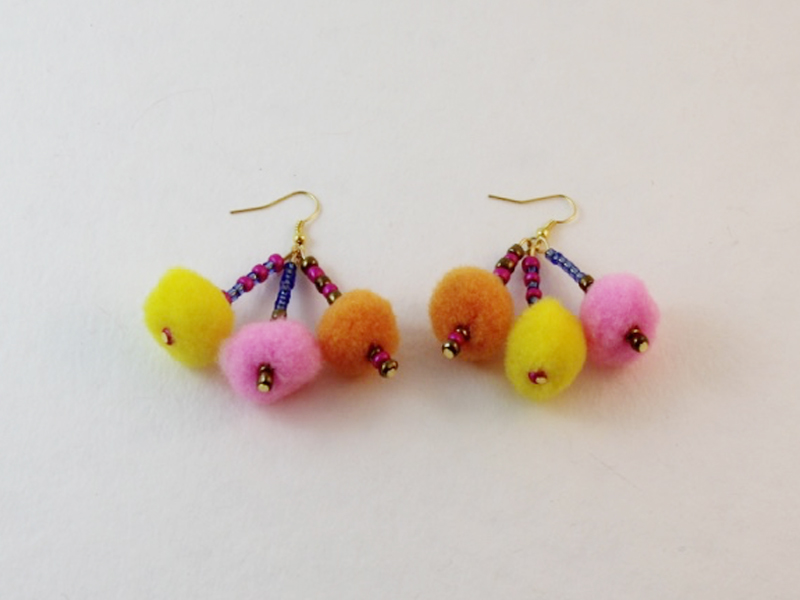
Here is another example of some cute pom pom earrings made with just one pin charm.

-
Make Your Garbage Glam With This Cute Ribbon Bangle
If you’re anything like me you’ve got all sorts of junk lying around just because it ‘might be useful’ one day. This tutorial shows you how you can make some sweet bangles using left over cardboard and some ribbon. This bangle design is a great way to recycle old tube and other bits and pieces into some stunning and very affordable jewelry.
You will need the following tools and materials to make these bangles:
1: Cardboard tube or anything you can find that is an appropriate bangle shape. I used tube that was leftover from some knitting yarn.

2: A few lengths of ribbon in different colors. I used some fluorescent green ribbon, pink spotty ribbon and hot pink ribbon.

Why not collect some neon ribbon to use in your own recycled jewelry designs?
3: A hot glue gun and a glue stick for securing the ribbon to the bangle base.
4: Scissors to trim the ribbon ends.

The Steps:
1: Heat up the glue gun. Place it on a safe surface and make sure you keep an eye on it so that you don’t end up with hot glue everywhere!
2: Once your glue gun is hot enough, squeeze a dab of hot glue onto the inside of the cardboard.

3: Carefully press the ribbon into the wet glue being careful not to get any on your fingers.

4: Begin wrapping the ribbon around the cardboard tube, being careful to pull it tight.


5: Continue wrapping in this manner until the whole tube is covered by the ribbon.


6: Add more glue to the inside of the bangle.

7: Attach the end of the ribbon to the inside of the bangle.

8: Trim the excess ribbon on the inside of the bangle.

9: Now the bangle is complete. So easy, cheap and stylish!

This bangle was made using the same steps as the cardboard bangle, but this time the bangle base is a large plastic ring.
1: Adding glue to the bangle ring.

2: Attaching the ribbon to the bangle base.

3: Wrapping the ribbon around the bangle base.


4: Adding glue to the bangle to secure the end of the ribbon.

5: Trimming the ribbon.

Here are all the completed ribbon bangles. Pretty cute for a bunch of junk!

-
Does Your Wrist Need Something Pretty and New? Here’s How to Make a Beaded Chain Bracelet
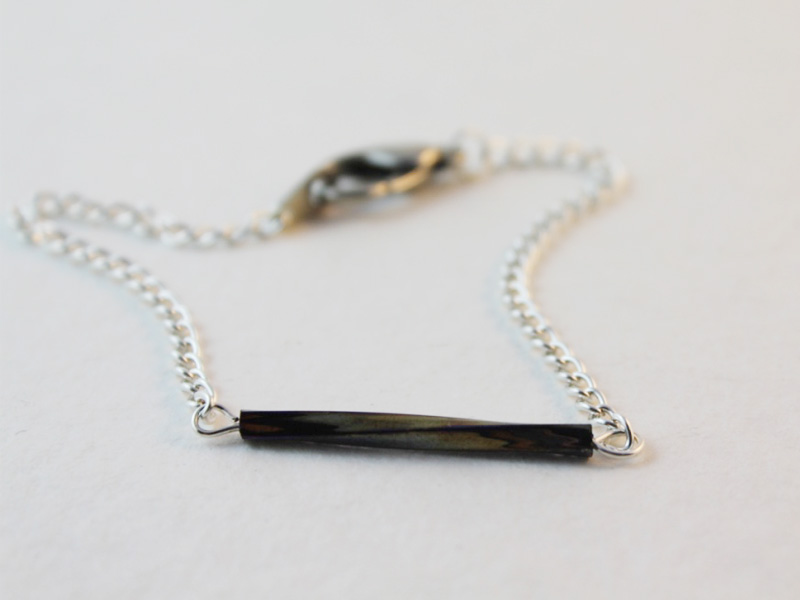
If you’ve already tried your hand at the beaded chain necklace tutorial you will notice that the steps for making this pretty beaded chain bracelet are very similar. Using chain allows you to create simple, delicate pieces that you can wear alone or stacked high with your other DIY jewelry creations. Take a few moments out from your day to make this beautiful beaded bracelet, as a present for someone special or maybe as a treat for yourself this festive season.
You will need the following tools and materials to make this beaded chain bracelet:
1: Pliers. To make this bracelet you will need your round nose pliers, flat nose pliers and cutting pliers.
2: Head pins.

3: Chain.
4: Beads of your choice. I used these gold colored enamel beads that feature a floral design.

The Steps:
1: Slide each bead onto a head pin.

2: Take each pin and using the round nose pliers, bend it at a right angle to the bead.


3: Use the round nose pliers again to create a loop and secure the bead onto the pin.


4: Once you have completed steps 1 to 3 for each bead, take your chain and count 5 links.
Open the 6th link and separate the pieces of chain.

5: Open one side of the first bead charm and slide the chain into the loop. Close it again using pliers.

6: Return to the other piece of chain and slide the open link onto the other side of the bead charm. Close the chain using your pliers.

7: Count three chain links and repeat steps 4 to 6. Continue in this pattern until all your beads have been added to the chain.


8: Count another 5 links from the last bead you added. Open the 6th link and remove the excess chain.

9: Take one end of the chain and slide an open jump ring through the end link. Close the jump ring again with your pliers.

10: Open a chain link at the other end of the bracelet, slide the lobster clasp onto the link and secure it in place by closing the link with your pliers.

11: Now your bracelet is finished! Put it on and wear it with pride. I love the sense of satisfaction I get knowing that I have made my own unique accessories.


You can adapt this design by experimenting with different beads. I made this bracelet using orange glass beads.


-
Twice as Nice: How to Make a Double Strand Bracelet
Do you remember the multi-strand bracelet tutorial where I showed you how to make a bracelet using some charm connectors? Well here is another way that you can make a beaded bracelet with more than one strand. This tutorial shows you how to make a pretty double strand bracelet without the use of any charm connectors at all!
You will need the following tools and materials to make this double strand bracelet:
1: Pliers. To make this bracelet you will need your cutting pliers, round nose pliers and flat nose pliers.
2: Tiger tail wire.
3: Eight crimp beads.

4: One toggle clasp.

5: Beads of your choice. I used some white frosted seed beads with some small garnet beads and some green square gemstone beads.


The Steps:
1: Cut two pieces of tiger tail wire. Make sure that you cut your pieces long enough to fit around your wrist. I recommend adding a little extra length to ensure a comfortable fit.


2: Take one piece of tiger tail wire and add two crimp beads to one end.

3: Once your crimp beads have been added you can add one part of your toggle clasp.

4: Once the toggle clasp and crimp beads have been added, take the short end of the wire and bend it. Thread the end around the toggle loop and back through the crimp beads. You might need to use your pliers to help you pull the wire through.


5: Once you’ve got your wire in place, use the flat nose pliers to squash the crimp beads.

6: Begin adding your beads in the pattern you have chosen. I decided to create two centerpiece features so I added my gemstone beads to the bracelet so that they were slightly off center.


7: Continue adding beads until the beaded section is long enough to fit around your wrist.

8: Once you are finished with your beading, add two more crimp beads and the other part of the toggle clasp.


9: Feed the end of the tiger tail wire around the toggle clasp loop and back through the crimp beads. You might need to use your pliers to pull the wire nice and tight.


10: Once your tiger tail wire has been pulled through, use the flat nose pliers to squash the crimp beads and secure the wire in place.

11: Trim any extra tiger tail wire using the cutting pliers. Once this wire has been trimmed you will be at the halfway point!


11: Add the second piece of tiger tail wire following the steps 2 – 5 that you followed for the first strand.

12: Bead the second strand as you did the first. I added my centerpiece beads off to the side so that my feature beads didn’t overlap.

13: When your beading is complete and both strands have reached the same length, secure the second bead strand in place following steps 8 – 10.

14: Trim any excess tiger tail wire after you have squashed the last of the crimp beads. Once you have your wire trimmed you will find that your bracelet is now ready to wear!


Here are a few other double strand bracelets I have made. I hope you decide to have fun and get experimental with your own double strand bracelet designs!


Here are some other ways to make multi-strand bracelets:
- A double strand bracelet made from recycled headphone cords
- 2 strand bracelet with a double hole statement bead
- Velvet and chain two strand bracelet
- Double chain charm bracelet
- Two color Christmas velvet bracelet
- Two chain beaded ladder bracelet
- Romantic double strand rose quartz bracelet
- Triple strand bead bracelet
This tutorial contains affiliate links.
-
This is the Easiest Necklace Ever! Learn How to Make a Leather Charm Necklace
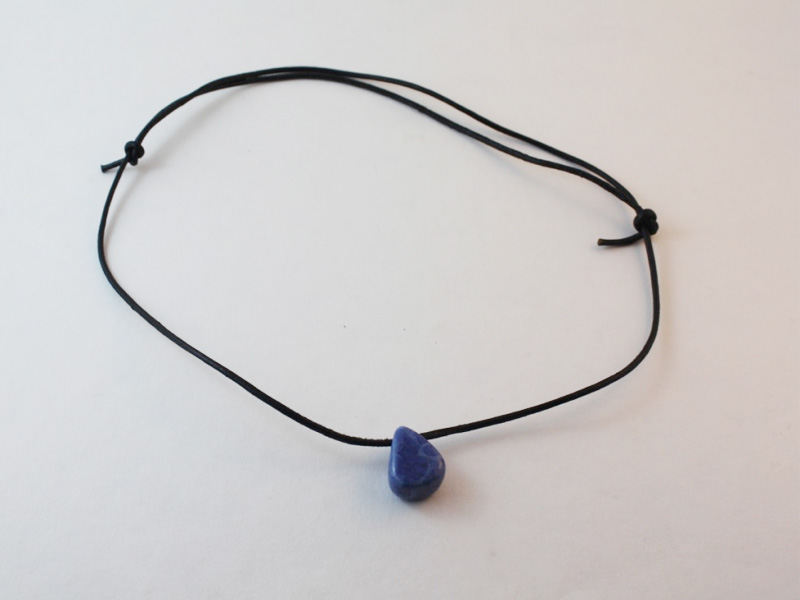
This necklace is probably the easiest piece of jewelry you will ever make. All you need to make this necklace is a length of leather string and a charm or bead of your choice. There are a few different ways that you can knot your string together, so get creative and tie it up your way!
You will need the following tools and materials to make this DIY leather necklace:
1: A bead or charm of your choice. I used this blue gemstone bead in a teardrop shape.

2: A piece of leather string.

Grab yourself some leather cord and get creative:
The Steps:
1: Add your bead or charm to the piece of leather string.


2: Tie your knot. Here are three ways to tie your necklace…
Knot 1:


Knot 2:


Knot 3:
This is my lazy approach to tying a sliding knot. For this knot you will need to tie each end of your string around a point further down the strand. These knots will be loose enough to move up and down the strand allowing you to adjust the length of your necklace. Make sure you use this knot on both ends of your leather necklace strand.