
Twice as Nice: How to Make a Double Strand Bracelet
Do you remember the multi-strand bracelet tutorial where I showed you how to make a bracelet using some charm connectors? Well here is another way that you can make a beaded bracelet with more than one strand. This tutorial shows you how to make a pretty double strand bracelet without the use of any charm connectors at all!
You will need the following tools and materials to make this double strand bracelet:
1: Pliers. To make this bracelet you will need your cutting pliers, round nose pliers and flat nose pliers.

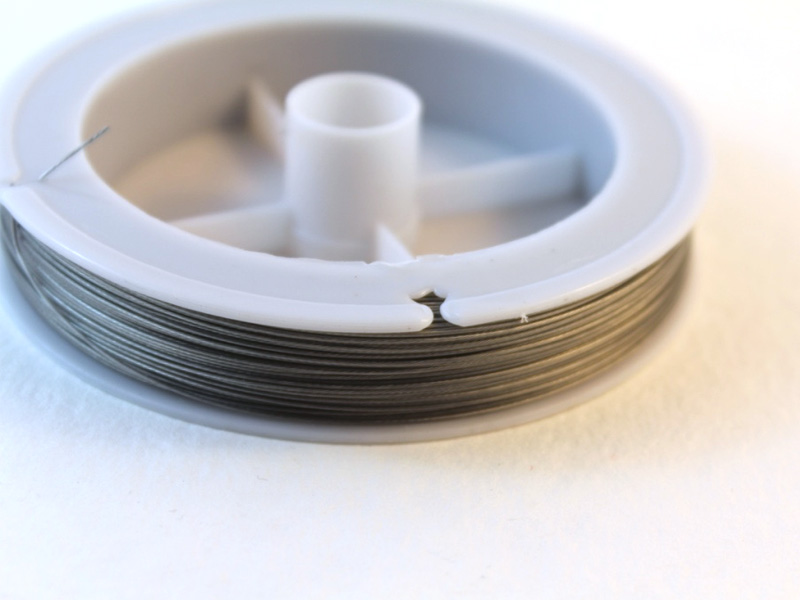
2: Tiger tail wire.
3: Eight crimp beads.

4: One toggle clasp.

5: Beads of your choice. I used some white frosted seed beads with some small garnet beads and some green square gemstone beads.


The Steps:
1: Cut two pieces of tiger tail wire. Make sure that you cut your pieces long enough to fit around your wrist. I recommend adding a little extra length to ensure a comfortable fit.


2: Take one piece of tiger tail wire and add two crimp beads to one end.

3: Once your crimp beads have been added you can add one part of your toggle clasp.

4: Once the toggle clasp and crimp beads have been added, take the short end of the wire and bend it. Thread the end around the toggle loop and back through the crimp beads. You might need to use your pliers to help you pull the wire through.


5: Once you’ve got your wire in place, use the flat nose pliers to squash the crimp beads.

6: Begin adding your beads in the pattern you have chosen. I decided to create two centerpiece features so I added my gemstone beads to the bracelet so that they were slightly off center.


7: Continue adding beads until the beaded section is long enough to fit around your wrist.

8: Once you are finished with your beading, add two more crimp beads and the other part of the toggle clasp.


9: Feed the end of the tiger tail wire around the toggle clasp loop and back through the crimp beads. You might need to use your pliers to pull the wire nice and tight.


10: Once your tiger tail wire has been pulled through, use the flat nose pliers to squash the crimp beads and secure the wire in place.

11: Trim any extra tiger tail wire using the cutting pliers. Once this wire has been trimmed you will be at the halfway point!


11: Add the second piece of tiger tail wire following the steps 2 – 5 that you followed for the first strand.

12: Bead the second strand as you did the first. I added my centerpiece beads off to the side so that my feature beads didn’t overlap.

13: When your beading is complete and both strands have reached the same length, secure the second bead strand in place following steps 8 – 10.

14: Trim any excess tiger tail wire after you have squashed the last of the crimp beads. Once you have your wire trimmed you will find that your bracelet is now ready to wear!


Here are a few other double strand bracelets I have made. I hope you decide to have fun and get experimental with your own double strand bracelet designs!


Here are some other ways to make multi-strand bracelets:
- A double strand bracelet made from recycled headphone cords
- 2 strand bracelet with a double hole statement bead
- Velvet and chain two strand bracelet
- Double chain charm bracelet
- Two color Christmas velvet bracelet
- Two chain beaded ladder bracelet
- Romantic double strand rose quartz bracelet
- Triple strand bead bracelet
This tutorial contains affiliate links.
DIY Jewelry Hub
Welcome to DIY Jewelry Hub. If you’ve ever wanted to learn how to make your own jewelry this is the place to start! Jewelry is a great way to show off your individuality and style. You’ll be surprised at how easy it is to create your own unique pieces! DIY Jewelry Hub will equip you with all the knowledge and inspiration you need to make your own jewelry.


You May Also Like

Make your jewellery work for you, this necklace is also a bracelet!

Make this cutie-pie bracelet using a charm connector today!
