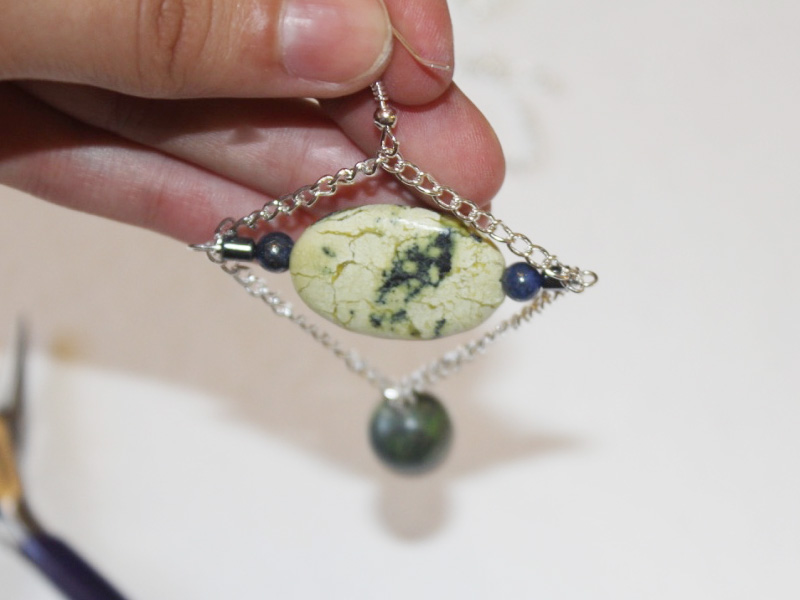
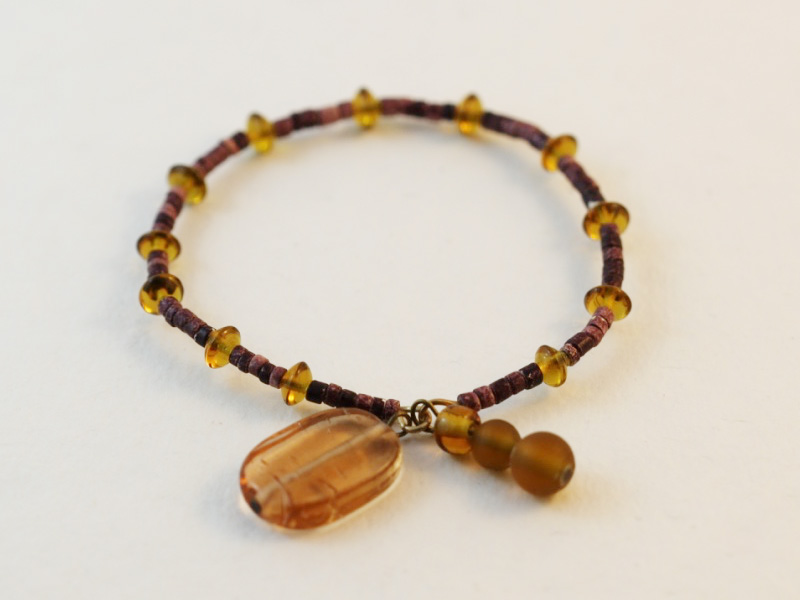
-
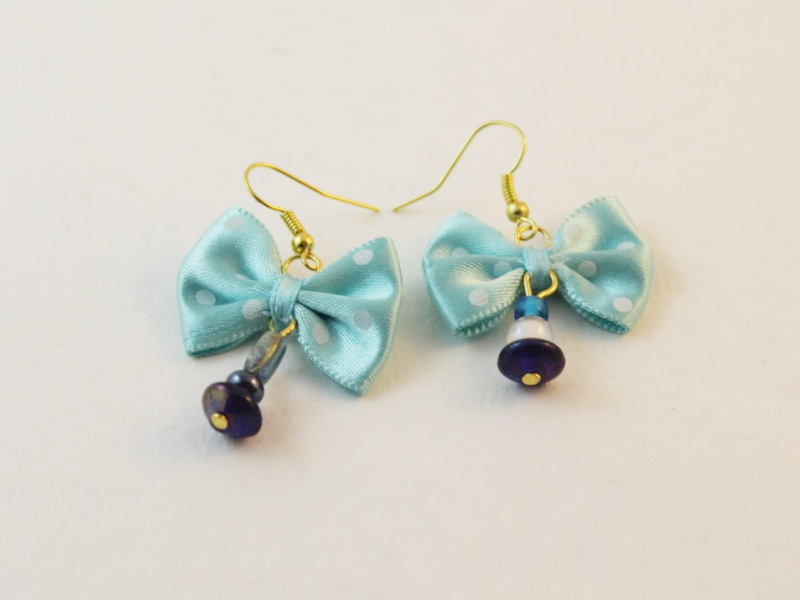
Seeking Some Kitschy Cute? You Need To Make These Adorable Bow Earrings!
Sometimes, there is nothing I like more than some adorable kitsch to top off my outfit. These earrings are SUPER cute and very easy to make. Dangle some beautiful earrings from the bottom of some precious little bows and you’ll be looking as sweet as can be.
You will need the following tools and materials to make these cutie pie bow earrings:
1:Pliers. You will need your round nose pliers and cutting pliers to make these bow earrings.


2: Two pre-made fabric bows.

Here are some bows to purchase to make your own lovely bow and bead earrings.
3: Two earring hooks.
You can grab a whole load of earring hooks to create with right here:
4: Two jump rings.

5: Two head pins.

6: Beads of your choice. I chose from this assortment of blue and clear glass beads.

Feeling the blue? Get stuck into this assortment of blue glass beads:
The Steps:
1: Add your chosen beads to each of the head pins. I decided to use blue beads in different shapes for a mismatched look.

2: Bend the pins at a right angle to the beads using the round nose pliers.


3: Trim each pin approximately 1cm (0.4 inches) from the beaded section using the cutting pliers.


4: Use the round nose pliers again to create a loop at the top of each beaded pin. This loop will help to keep the beads in place and allows you to attach the bead charm to the bows.


5: Take a jump ring, open it slightly and carefully push it through the middle section of the bow.

6: Add an earring hook to the ring and secure it in place by carefully closing the jump ring using your pliers.


7: Take one of the bead charms and add it to the opposite end of the bow’s center section. You can do this by carefully it pushing the open charm loop through the middle section of the bow.

8: Close the bead charm loop again using your pliers.

9: Repeat steps 5 to 8 for the second earring. Once you’ve got the second one done your earrings are ready to wear. throw them on to add an adorable and unique element to your daily style.
-
Step it up, here’s How to Make a Triple bar charm necklace.
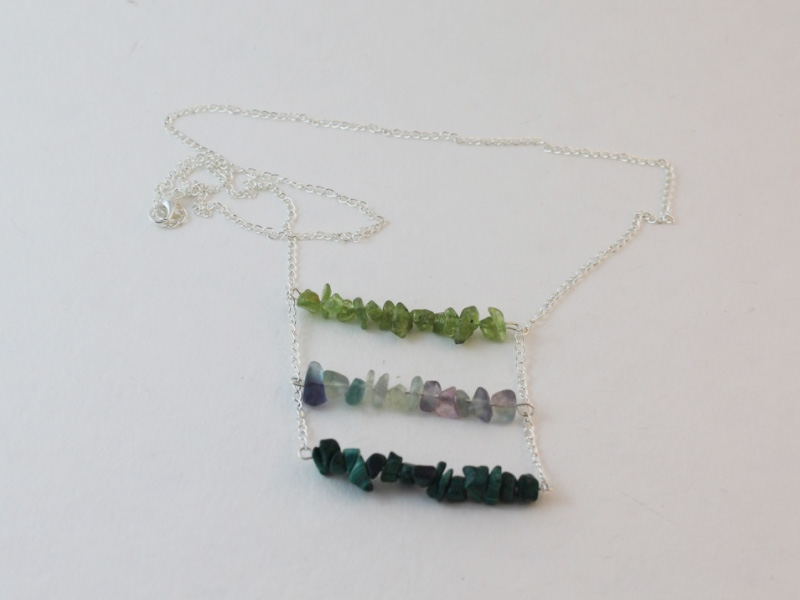
Do you remember the bar charm necklace tutorial? Well this necklace is essentially the same design, with just a couple more charms on the chain! This necklace is delicate, cute and simple to make. I used some pretty green gemstone beads on this necklace, I think that this design looks great with some pretty, delicate beads rather than large chunky ones.
You will need the following tools and materials to make this necklace:
1: Pliers. You will need your round nose pliers and flat nose pliers to make this necklace.

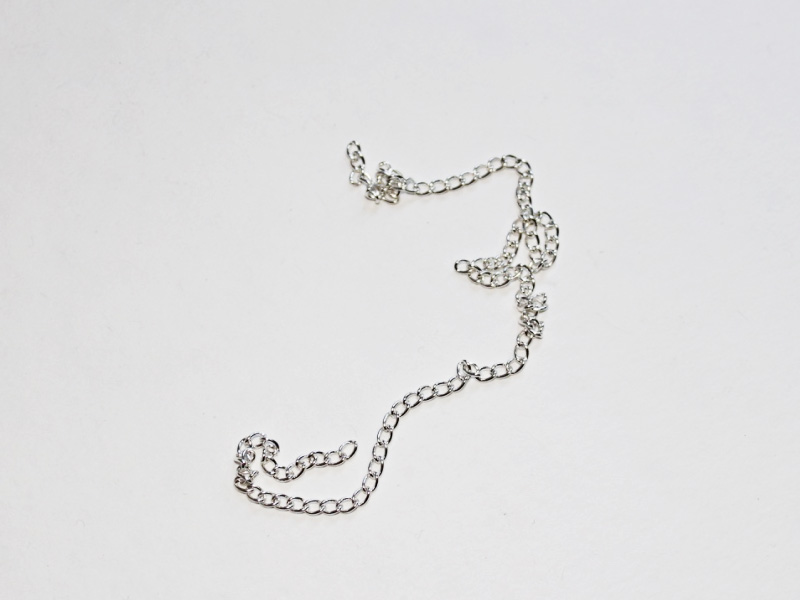
2: Chain.
3: Three eye pins.

4: One Lobster clasp.

5: One jump ring.

6: Beads of your choice. I used these gemstone beads made with Peridot, Fluorite and Malachite.

The Steps:
1: Add the beads to all three eye pins.

2: Once all the beads are added, bend the end of each pin into a loop using the round nose pliers to secure the beads in place.


3: Add the first charm to the ends of the chain. Do this by opening each end of the charm and sliding the chain ends on. Secure the chains in place by closing the charm loops again.


4: Count ten chain links and attach the second bar charm in the same manner. Make sure the bar charm is attached evenly.


5: Attach the third charm in the same manner, ten chain links from the second bar charm.

6: Now all your charms should be attached.

7: Find the center of the chain opposite the charms and open a chain link.

8: Attach the lobster clasp to the open link and secure it in place by closing the link using your pliers.


9: Attach the jump ring to the other side of the chain.

10: Close the jump ring using your pliers to finish attaching the clasp.

11: Once you are happy with your clasp you can sit back and admire your handiwork! Your necklace is complete and all that there is left to do is wear your stunning triple bar charm necklace.
-
How to Make a Beaded Chain Anklet, Because Ankles Need Some Bling Too!
I didn’t think that I would be making another anklet tutorial… but then inspiration struck and here we are. This anklet is super easy to make with minimal materials required. I used a piece of silver chain, a small eye pin, a clasp and some lovely fluorite beads. You can make this design your own by using a different assortment of beads or maybe even by adding an extra piece of chain to create a layered look… the options are only limited by your creativity! All that aside, here are the instructions for making your own beaded chain anklet.
You will need the following tools and materials to make this anklet:
1: Pliers. You will need to use your round nose pliers, flat nose pliers and cutting pliers to make this anklet.

2: Chain. Make sure it is long enough to fit comfortably around your ankle.

3: One eye pin.

4: One lobster clasp.
5: One jump ring.
6: Beads of your choice. I used these fluorite chip beads.

The Steps:
1: Start by adding your beads to the eye pin.

2: Once all your beads are in place, use the round nose pliers to bend the pin at a right angle to the beaded section.


3: Depending on the length of your pin, you may need to trim it a little before forming your loop. I used a short head pin for this anklet so no trimming was required.
4: Use the round nose pliers to curl the pin into a loop, securing the beads into place.


5: Once your charm has been completed, open one end slightly and slide the end of the chain onto the loop. You can then close it again using your pliers.

6: Once your charm has been securely attached to the chain, open the loop on the other end and slide on the lobster clasp. Be sure to close the loop again using the pliers once your clasp is in place.


7: Open the jump ring using your pliers and slide it onto the other end of the chain. Close the ring again once it is in place using the pliers.

8: Once the jump ring has been secured your anklet is complete! Pop it on and show it off!


And that is how you make a beaded chain anklet. I hope you have lots of fun making your own!
-
How to Make Chain Back Earrings AKA The Prettiest Earrings Out
These earrings didn’t turn out quite how I had hoped but I’m still pretty excited about these asymmetrical chain-back drop earrings. These simple earrings are made using charm connector earrings and a simple piece of chain that is attached to the butterfly back of the earrings. Add your choice of beads to make these special earrings your own. I used a pair of stunning green fire agate beads.
You will need the following tools and materials to make these chain back earrings:
1: Pliers. You will need round nose pliers, flat nose pliers and round nose pliers to make these earrings.
2: Two charm connector stud earrings.

3: One head pin.

4: One eye pin.
5: Two jump rings.

6: Two pieces of chain. The pieces I used already had jump rings attached, however, depending on the chain you use you might need some extra jump rings.

7: Two feature beads. I used these green fire agate beads.

The Steps:
1: Add one bead to the eye pin.

2: Use the round nose pliers to make a loop at the other end of the pin, securing the bead in place.


3: Add the other bead to the head pin.

4: Bend the pin at a right angle to the bead using the round nose pliers.

5: Trim the pin using the cutting pliers.

6: Create a loop with the end of the pin using the round nose pliers.

7: Now you both of your bead charms are complete.

8: Take the double looped charm and attach it to one of the earring studs. Make sure you close the loop again to secure the earring in place.

9: Add a piece of chain to the other end of the charm.

10: Slide an open jump ring into a loop of a butterfly earring back.

11: Slide the end of the chain into the same jump ring. Close the jump ring using pliers.

12: Now one of your earrings is complete.

13: Take the other bead and attach it to the end of the second chain. Close the bead charm loop using your pliers.

14: Attach a jump ring to the middle of the chain.

15: Slide the earring charm onto the open jump ring and then close it using pliers.

16: Now your second earring is complete!

17: Now your earring set is complete. Head out and wear your new earrings with flair!

-
Braiding the Night Away… How to Make A Braided Charm Bracelet
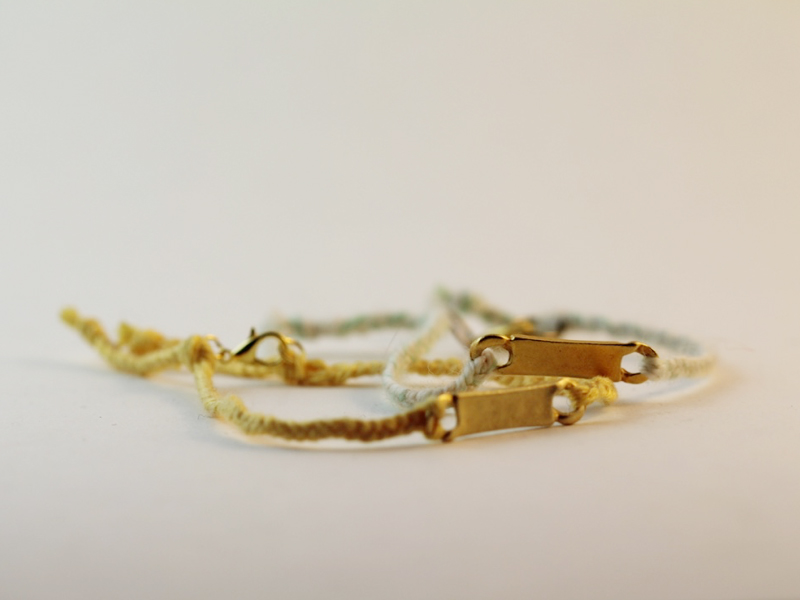
This braided charm bracelet is really simple to make. I think that mixing cotton thread with metal findings makes for some sweet and wearable accessories. You could use a pre-fabricated charm connector, or maybe try making your own beaded charm bar to wear across your wrist! Get experimental and make lots to stack up your arms.
You will need the following tools and materials to make this bracelet:
1: Scissors.

2: Flat nose pliers.
2: Colorful cotton thread cut to length. I used three long pieces of yellow cotton so that I could create a double thickness braid. Make sure you add a little extra length before you cut your thread to make sure that your bracelet fits.

3: One charm connector.

4: One Lobster Clasp.

5: Two Jump Rings.

The Steps:
1: Thread the cotton yarn through each end of the charm connector.


2: Separate the thread into three sections and begin braiding. Try to keep the braiding tight at the start to make sure that the braid is consistent. Continue braiding until the braid is long enough to wrap halfway around your wrist.

3: Once the braid is long enough, secure the end with a knot.


4: Repeat steps 2 and 3 for the other side of the bracelet.

5: Open each jump ring and carefully slide it into the knot at each end of the bracelet.


6: Slide the lobster clasp onto one jump ring and secure them both closed using your flat nose pliers.

7: Once the clasp has been secured, begin braiding again starting from the end knot. Braid for approximately 1.5cm (0.6 inches) and then secure again with a knot.

8: Trim the excess cotton thread using the scissors.

9: Once the ends have been trimmed your bracelet is complete!
Click here to buy this yellow braided beauty!

-
How to Make Beaded Tassel Earrings, Because This Tassel Is Worth the Hassel
In this video I go though all the steps you need to take to make your own beaded earrings that feature a cute tassel detail. This design is simple, but you can change it up easily with your choice of beads! For these earrings I used an assortment of gemstones and glass seed beads. This design is perfect for exploring your creative side, choose different beads and make it your own.
I hope you enjoy my latest video tutorial. Happy making!
-
When A Ring and A Bracelet Unite What Do you Get? A Ring Bracelet
Ring bracelets are such cool accessories. They adorn the whole hand and seem to add a certain special flair to your jewelry repertoire. You don’t need any special materials to make this ring bracelet design, just some chain, an eye pin and some beads. I used some stunning peridot beads for my design. What will you use to make your own, unique ring bracelet?
You will need the following tools and materials to make this ring bracelet:
1: Pliers
For this design you will need to use the round nose and flat nose pliers. I didn’t use my cutting pliers this time but keep them on hand just in case!
2: Chain

3: One eye pin

4: One lobster clasp

5: One jump ring
4: Beads
In this design I used some Peridot chip beads.

The Steps:
1: Add your beads to the eye pin.

2: Using the round nose pliers, bend the top of the pin at a right angle to the beaded section.

3: Now use the round nose pliers again to create a loop at the end of the pin to secure the beads.

4: Take the chain and create a small loop that is large enough to slip over your finger. Try not to make it too tight. Secure this small loop by opening a link using the pliers closing it again so that it is attached to the point you would like your loop to end.

5: Once the small ring loop has been formed, trim the chain so that the piece reaches the bottom of your middle knuckle, you can do this by carefully opening a chain link using the pliers and sliding the other link out.

6: Now it is time to attach the bead charm you made earlier. Slide one of the looped ends into the chain link you opened in step 5. Once the charm is in place you can use your pliers to close the chain link again.


7: Add the remaining chain to the other end of the charm in the same manner.

8: Your chain might be a little long at this stage. To form the bracelet you will need to let the chain fall to the base of your hand and then wrap it loosely around your wrist. Once you’ve got this measurement, open the link as you did earlier to trim the chain.
9: Attach the end of the chain to the point where the chain meets the base of your hand. At this point the bracelet section will be an unbroken loop.

10: Open the bracelet loop at the halfway point. You can do this by carefully opening a link using your pliers. Once the bracelet has been split, you can start attaching the clasp.
11: On one side of the bracelet, carefully open a chain link (if not already open) and slide on the lobster clasp. Close the link again to secure the clasp in place.


12: Take the jump ring, opening it using your pliers, and attach it to the other side of the bracelet by sliding on the chain link loop. Close the jump ring again using your pliers.

13: Now your ring bracelet is complete! Wear it anytime you want to add a little ‘something special’ to your outfit.

-
What do I do with these things? Here’s How to Make Earrings Using Charm Connectors
I’ve already showed you how you can use charm connectors to make a multi-strand bracelet, but I thought I would show you how to use them to make some pretty earrings as well! I like using charm connectors because they make simple pieces appear more intricate and complicated. So here we go… check out these steps to make your own cute earrings using charm connectors.
You will need the following tools and materials to make these earrings:
1: Pliers.
To make these earrings you will need to use round nose pliers, flat nose pliers and cutting pliers.
2: Two charm connectors.

3: Two head pins.

4: Two pieces of chain.
These pieces are each 9cm (3.5 inches) long.

5: Four jump rings.

6: Two earring hooks.

7: Beads of your choice.
For this design I used two purple jasper beads and four round snowflake obsidian beads (unfortunately the spots don’t show up very well in this image but they are very pretty).


The Steps:
1: Start by threading the beads onto each of the head pins.

2: Once the beads have been threaded, use the round nose pliers to bend the remaining pin at a right angle to the beads.


3. Trim the pins to approximately 1cm (0.4 inches) from the top of the beads using the cutting pliers. Be careful and try to hold the pin on either side of the pliers to prevent the trimmed end from flying away!


4. Use the round nose pliers to create a loop at the end of the head pins and secure the beads in place. Repeat this step for both of your beaded head pins.

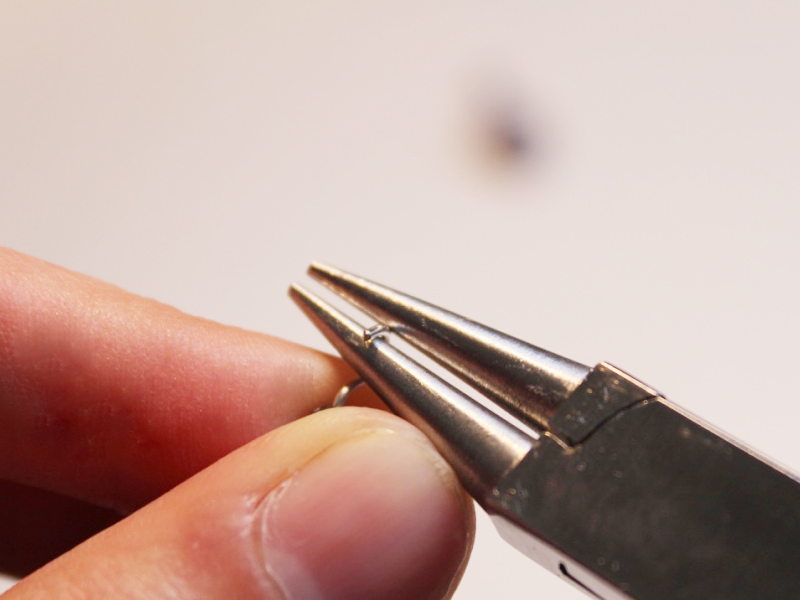
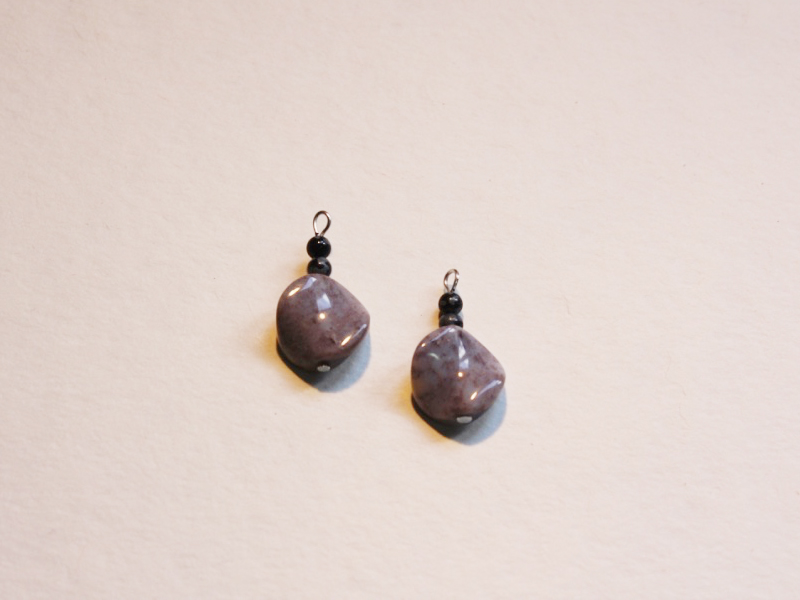
5. Open each loop slightly and slide one head pin onto the center loop of each charm connector.


6. Use the round nose pliers again to close the loop and secure the pin onto the charm connector.

7. Open a jump ring using the round nose pliers (and the flat nose pliers if it is a strong one) and slide it onto one of the loops on the charm connector.

8. Leaving the jump ring open, slide one end of a piece of chain onto the ring. Once the chain has been attached, close the jump ring again using the pliers.


9. Repeat steps 7 and 8 to secure the opposite end of the chain to the last loop on the charm connector.
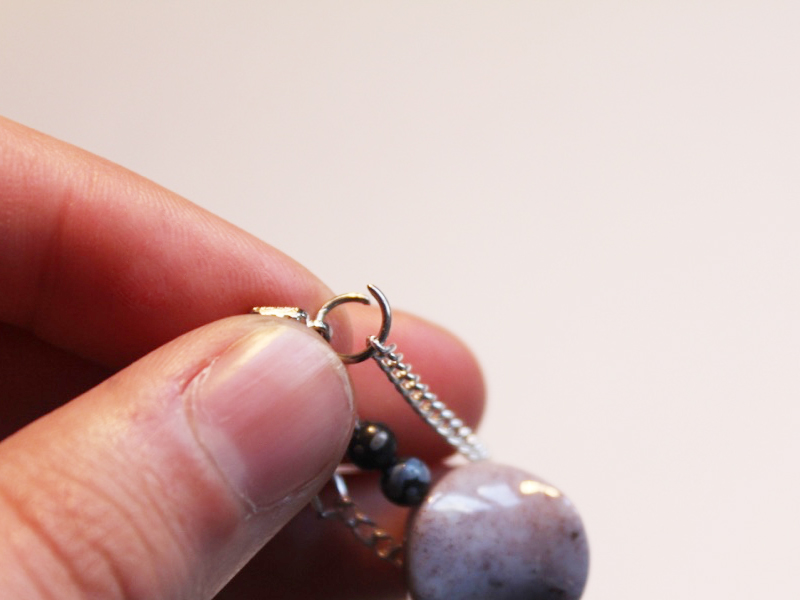

10. Repeat steps 7 to 9 for the other earring charm.

11. Use the round nose pliers to open the loop on one earring hook.

12. Slide the completed charm onto the earring hook loop and then close again using the round nose pliers. Repeat steps 11 and 12 for the remaining earring.

13. Now your charm connector earrings are complete and ready to wear with flair!

Here are some more charm connector tutorials that you can try:
- A delicate charm connector anklet
- a beaded bangle featuring a charm connector
- a charm connector toggle bracelet
- a braided charm connector stack bracelet
- Using charm connectors to make a multi-strand bracelet
- A multi-strand charm connector choker
This article contains affiliate links
-
Because More Is Always Better, You Need to Know How to Make a Multi-Strand Bracelet
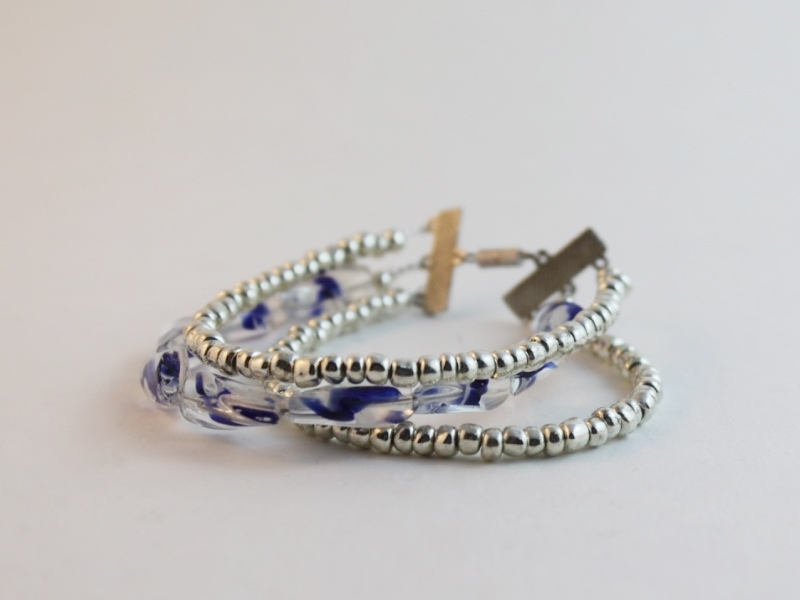
Multi strand bracelets are great for giving the illusion of a wrist that is stacked full of bracelets without having the hassle of putting them all on! The three-strand bracelet featured in this tutorial is so easy to make thanks to the use of some handy charm connectors. Follow these DIY jewelry instructions and you’ll be sporting an arm full of beads in no time.
You will need the following tools and materials to make this bracelet:
1. Pliers.
For this DIY jewelry project you will need your round nose pliers, flat nose pliers and cutting pliers.
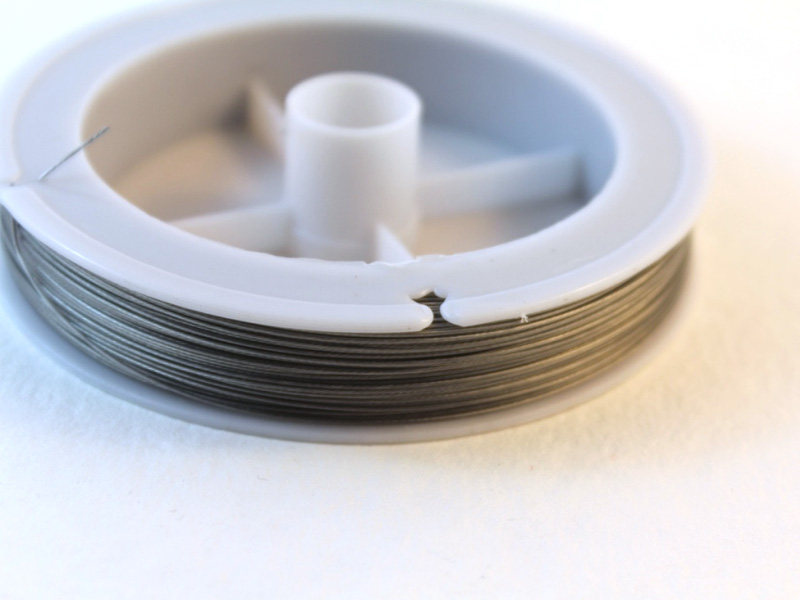
2. Tiger tail wire.
3. 12 crimp beads.

3. 2 charm connectors.
4. A clasp. For this bracelet I used a screw clasp but I usually use a toggle clasp when I am making bracelets as they are easier to operate with one hand.

5. Beads of your choice. In this design I used some silver e beads for the two outer strands and some twisted glass beads for the center strand.


The Steps:
1. Cut three strands of tiger tail wire so that they are slightly longer than the length you would like your bracelet to be. You can measure your tiger tail by wrapping the wire loosely around your wrist.

2. Once all the wire has been cut to size, start to attach the ends to one of the charm connectors. Do this by poking one of the wire through the hole and then bending it around the connector.


3. Add two crimp beads so that they sit close to the charm connector.

4. Once the crimps are in place use the flat nose pliers or round nose pliers to squash them and secure them in place. Repeat steps 2 to 4 for the two remaining strands so that all the wire pieces are secured to the charm connector.

5. Start adding beads to the first strand and continue beading until you have reached your desired length.


6. Once you’ve completed the beading add another two crimp beads to the strand.

7. After you have added the crimps, thread the end of the tiger tail wire through the second charm connector and pull the end back through the crimp beads.


8. Once the wire has been fully pulled through, use the round nose pliers to squash the crimp beads and secure the strand in place.

9. Use the cutting pliers to trim the excess wire.

10. Repeat steps 5 to 9 for the remaining strands.


10. Once the strands are secured to the charm connectors on both ends it is time to add the clasp. Open one end of the clasp using the round nose pliers.
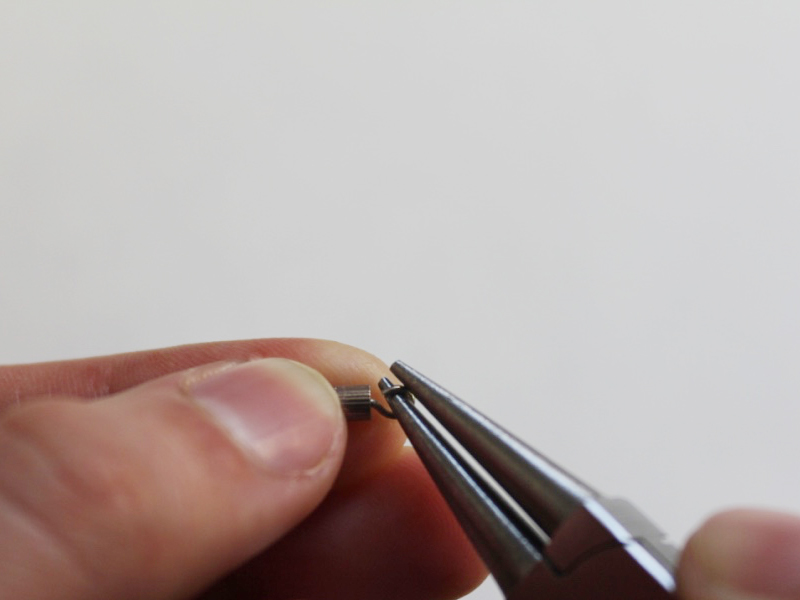
11. Slide the open loop onto the end of the bracelet and then close the clasp loop again using the round nose pliers.

12. Repeat steps 10 and 11 for the other end of the clasp to complete the bracelet.

13. Now you are done, wear and enjoy!
-
Charm Connectors

Charm connectors are pre-fabricated jewelry findings that feature loops, hooks or holes that can be used to attach your own charms or beaded head pins. They are great for making your DIY jewelry designs appear more complicated and professional.

Charm connectors can also be used to combine strands in necklaces and bracelets.
Here are some charm connector tutorials: