Step-By-Step Tutorials
-
What do I do with these things? Here’s How to Make Earrings Using Charm Connectors
I’ve already showed you how you can use charm connectors to make a multi-strand bracelet, but I thought I would show you how to use them to make some pretty earrings as well! I like using charm connectors because they make simple pieces appear more intricate and complicated. So here we go… check out these steps to make your own cute earrings using charm connectors.
You will need the following tools and materials to make these earrings:
1: Pliers.
To make these earrings you will need to use round nose pliers, flat nose pliers and cutting pliers.

2: Two charm connectors.

3: Two head pins.

4: Two pieces of chain.
These pieces are each 9cm (3.5 inches) long.

5: Four jump rings.

6: Two earring hooks.

7: Beads of your choice.
For this design I used two purple jasper beads and four round snowflake obsidian beads (unfortunately the spots don’t show up very well in this image but they are very pretty).


The Steps:
1: Start by threading the beads onto each of the head pins.

2: Once the beads have been threaded, use the round nose pliers to bend the remaining pin at a right angle to the beads.


3. Trim the pins to approximately 1cm (0.4 inches) from the top of the beads using the cutting pliers. Be careful and try to hold the pin on either side of the pliers to prevent the trimmed end from flying away!


4. Use the round nose pliers to create a loop at the end of the head pins and secure the beads in place. Repeat this step for both of your beaded head pins.

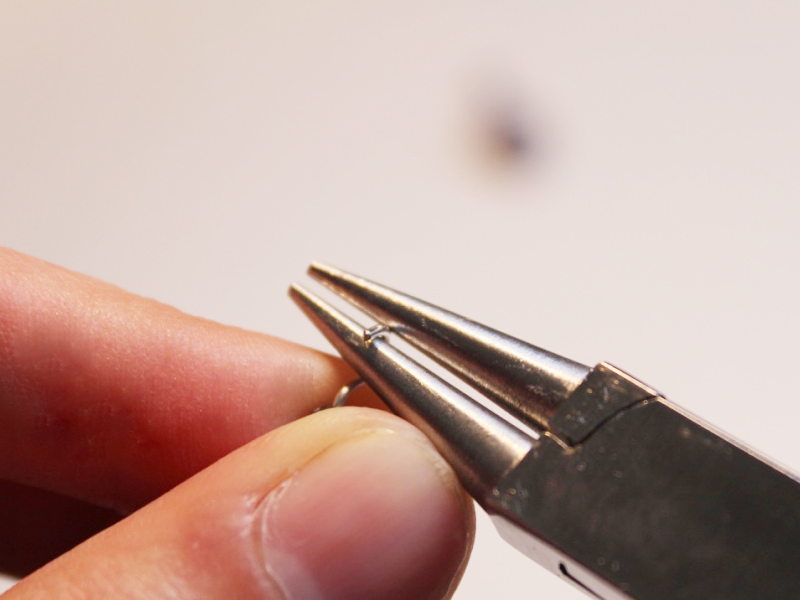
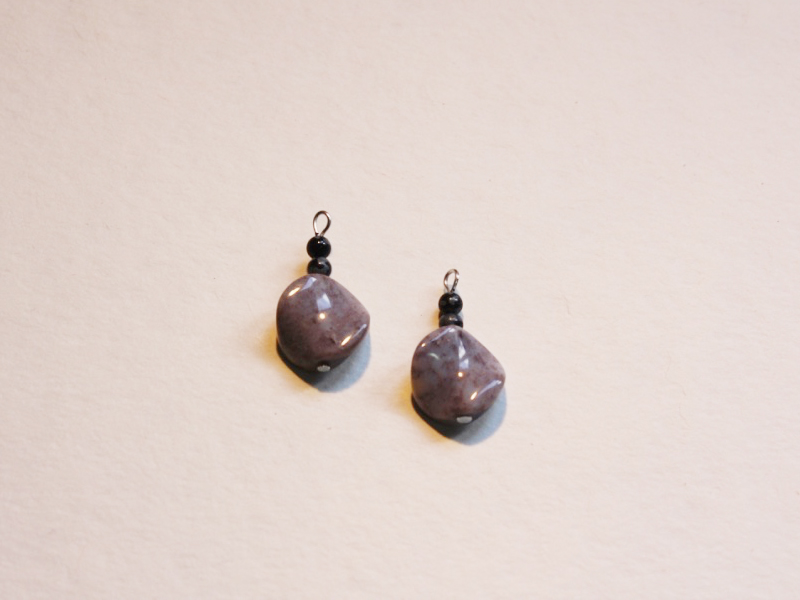
5. Open each loop slightly and slide one head pin onto the center loop of each charm connector.


6. Use the round nose pliers again to close the loop and secure the pin onto the charm connector.

7. Open a jump ring using the round nose pliers (and the flat nose pliers if it is a strong one) and slide it onto one of the loops on the charm connector.

8. Leaving the jump ring open, slide one end of a piece of chain onto the ring. Once the chain has been attached, close the jump ring again using the pliers.


9. Repeat steps 7 and 8 to secure the opposite end of the chain to the last loop on the charm connector.
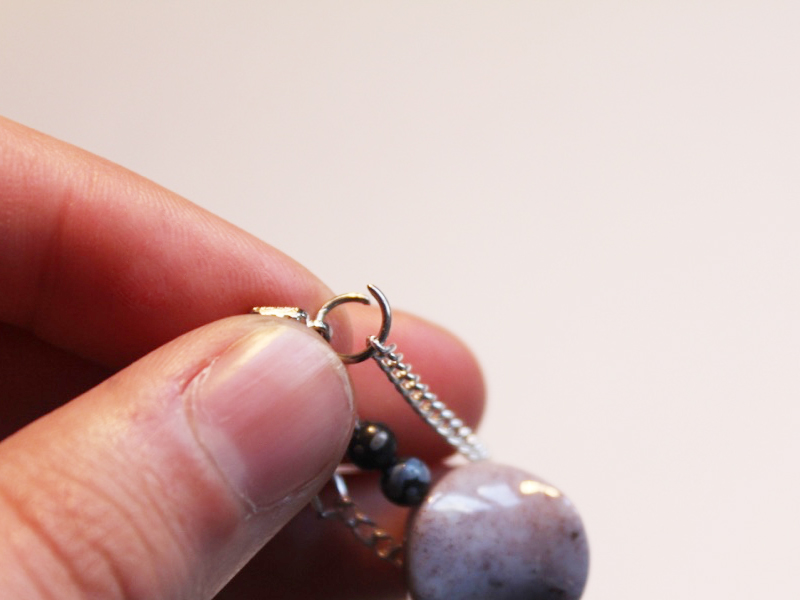

10. Repeat steps 7 to 9 for the other earring charm.

11. Use the round nose pliers to open the loop on one earring hook.

12. Slide the completed charm onto the earring hook loop and then close again using the round nose pliers. Repeat steps 11 and 12 for the remaining earring.

13. Now your charm connector earrings are complete and ready to wear with flair!

Here are some more charm connector tutorials that you can try:
- A delicate charm connector anklet
- a beaded bangle featuring a charm connector
- a charm connector toggle bracelet
- a braided charm connector stack bracelet
- Using charm connectors to make a multi-strand bracelet
- A multi-strand charm connector choker
This article contains affiliate links
-
You’ll be jumping to make these cute little triangle Earrings
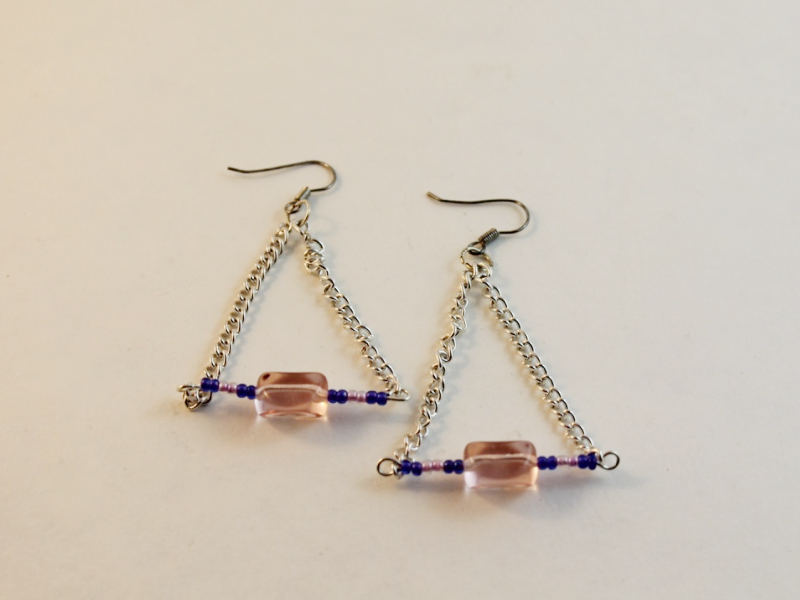
Want to get a bit more adventurous with your earring designs? Try making these triangle chain drop earrings. The process is simple but the results are incredible. All you need to make these elegant chain earrings is some jewelry chain, a couple of eye pins and some beads. Follow the step-by-step instructions below to learn how to make these earrings.
You will need the following tools and materials to make these earrings:
1.Pliers
To make these earrings you will need to use some round nose pliers, flat nose pliers and cutting pliers.
2. Four pieces of chain.Each of these pieces is 5cm (2 inches) long.

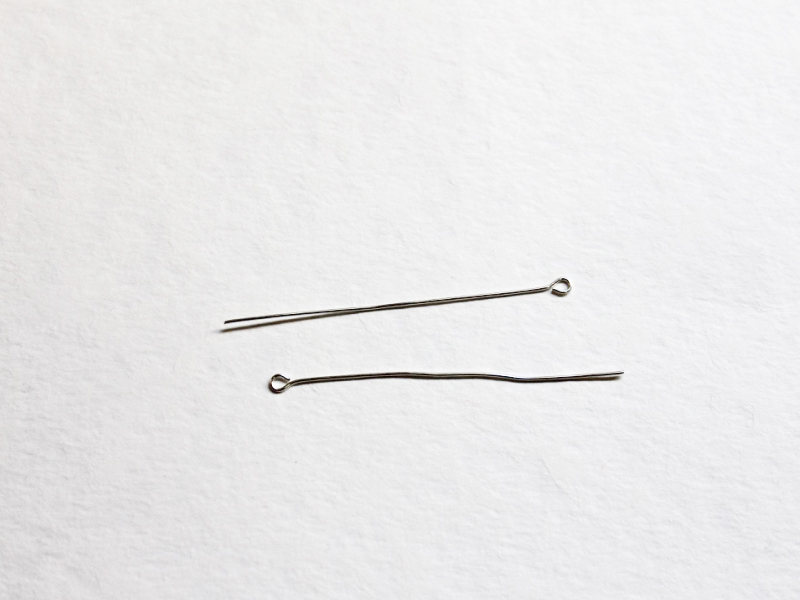
3. Two head pins.
4. Earring hooks.
5. Two jump rings.

6. Beads of your choice.
For this design I used two large pink glass beads and some pink and purple seed beads.


The Steps:
1.Thread your chosen beads onto each eye pin.


2. Using the round nose pliers, bend the top of the pin at a right angle to the beaded section.


3. Once the pins have been bent, use the cutting pliers to trim them so that the ends are approximately 1cm (0.4 inches) long. Be sure to hold the pin on either side of the pliers to that the end doesn’t go flying. Repeat this step for both pins.

4. Use the round nose pliers to form a loop on the straight end of each pin to secure the beads in place.


5. Open each loop slightly using the round nose pliers.

6. Slide on a piece of chain to each end and use the pliers again to close the loop.


7. Add both loose ends of the chain to an open jump ring to form a triangle shape. Once you have done this you can close the jump ring again using the pliers. Repeat this for both earrings.
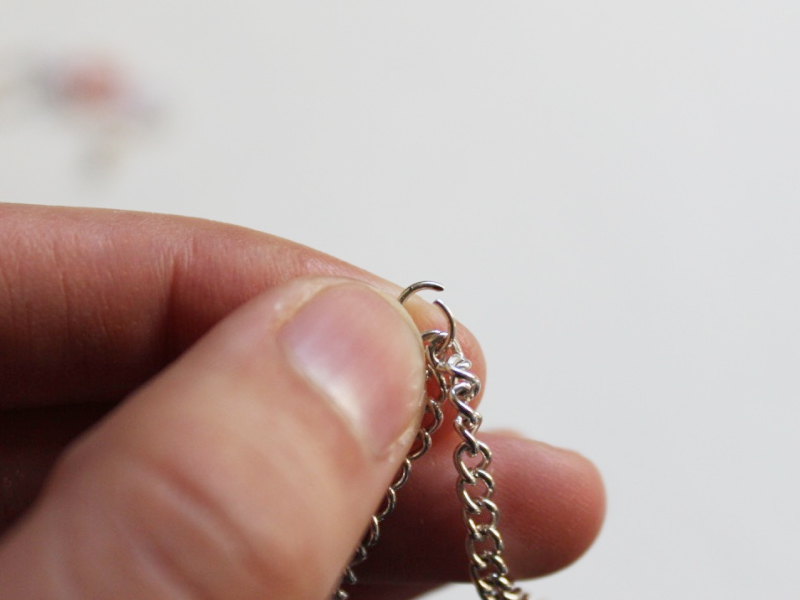


8. Open the loop at the end of the earring hooks using the round nose pliers.

9. Add the jump ring end to the earring hook and then close again using the round nose pliers. Repeat this step for both earrings.

10. Now your triangle chain drop earrings are complete. Is there anything more satisfying than a project that you can make and then wear in one day?!
-
Because More Is Always Better, You Need to Know How to Make a Multi-Strand Bracelet
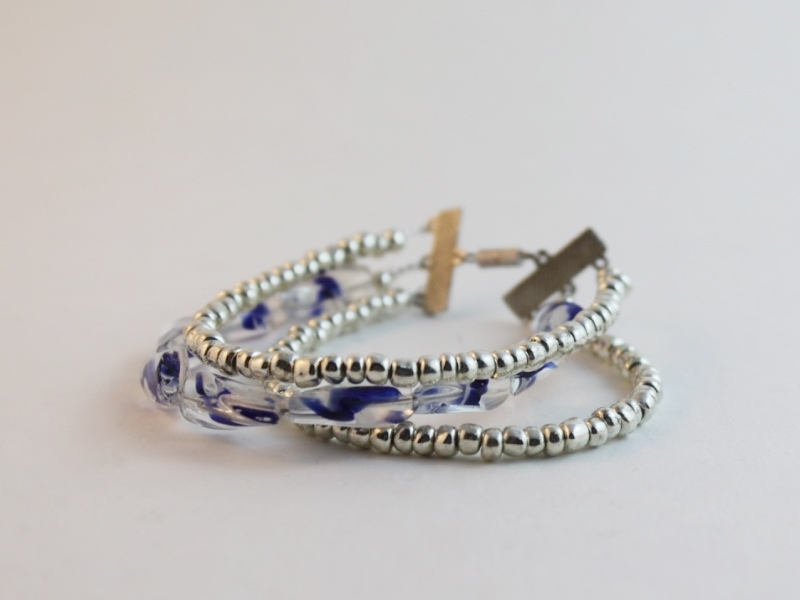
Multi strand bracelets are great for giving the illusion of a wrist that is stacked full of bracelets without having the hassle of putting them all on! The three-strand bracelet featured in this tutorial is so easy to make thanks to the use of some handy charm connectors. Follow these DIY jewelry instructions and you’ll be sporting an arm full of beads in no time.
You will need the following tools and materials to make this bracelet:
1. Pliers.
For this DIY jewelry project you will need your round nose pliers, flat nose pliers and cutting pliers.
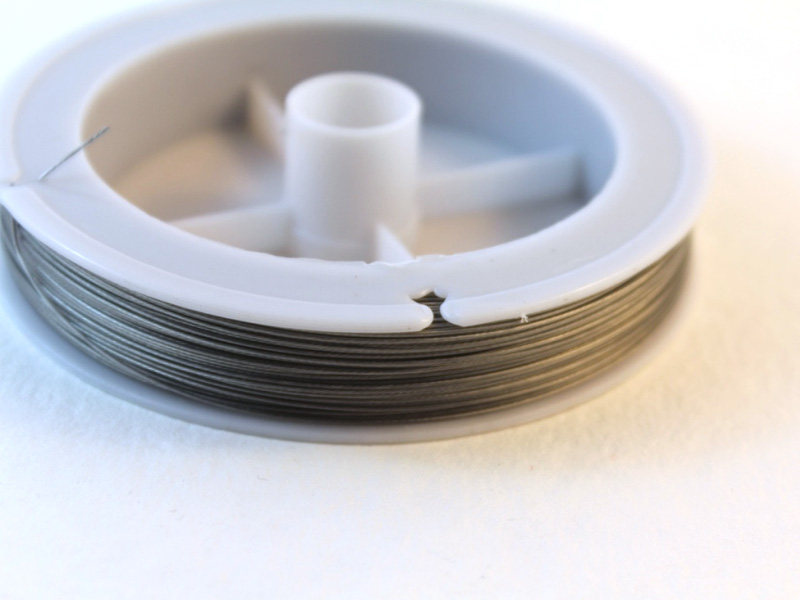
2. Tiger tail wire.
3. 12 crimp beads.

3. 2 charm connectors.
4. A clasp. For this bracelet I used a screw clasp but I usually use a toggle clasp when I am making bracelets as they are easier to operate with one hand.

5. Beads of your choice. In this design I used some silver e beads for the two outer strands and some twisted glass beads for the center strand.


The Steps:
1. Cut three strands of tiger tail wire so that they are slightly longer than the length you would like your bracelet to be. You can measure your tiger tail by wrapping the wire loosely around your wrist.

2. Once all the wire has been cut to size, start to attach the ends to one of the charm connectors. Do this by poking one of the wire through the hole and then bending it around the connector.


3. Add two crimp beads so that they sit close to the charm connector.

4. Once the crimps are in place use the flat nose pliers or round nose pliers to squash them and secure them in place. Repeat steps 2 to 4 for the two remaining strands so that all the wire pieces are secured to the charm connector.

5. Start adding beads to the first strand and continue beading until you have reached your desired length.


6. Once you’ve completed the beading add another two crimp beads to the strand.

7. After you have added the crimps, thread the end of the tiger tail wire through the second charm connector and pull the end back through the crimp beads.


8. Once the wire has been fully pulled through, use the round nose pliers to squash the crimp beads and secure the strand in place.

9. Use the cutting pliers to trim the excess wire.

10. Repeat steps 5 to 9 for the remaining strands.


10. Once the strands are secured to the charm connectors on both ends it is time to add the clasp. Open one end of the clasp using the round nose pliers.
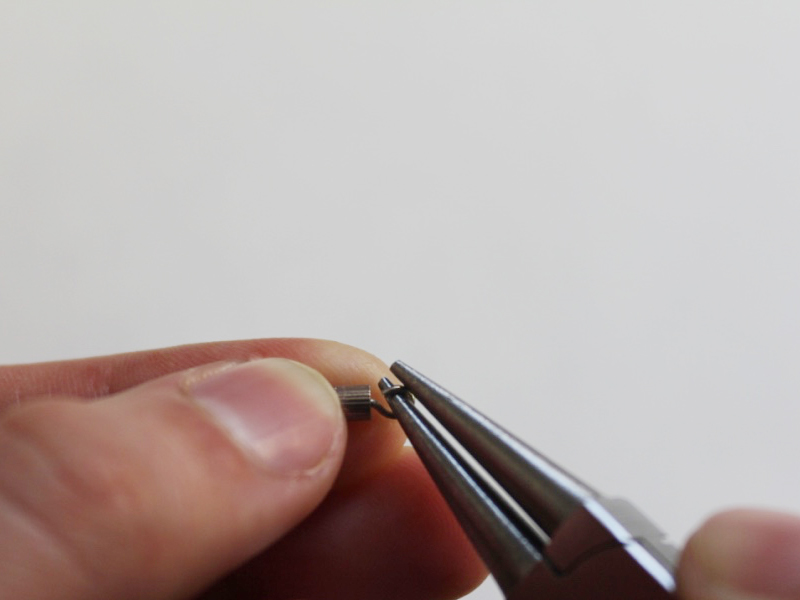
11. Slide the open loop onto the end of the bracelet and then close the clasp loop again using the round nose pliers.

12. Repeat steps 10 and 11 for the other end of the clasp to complete the bracelet.

13. Now you are done, wear and enjoy!
-
How to Make a Chain Bracelet… with a twist!
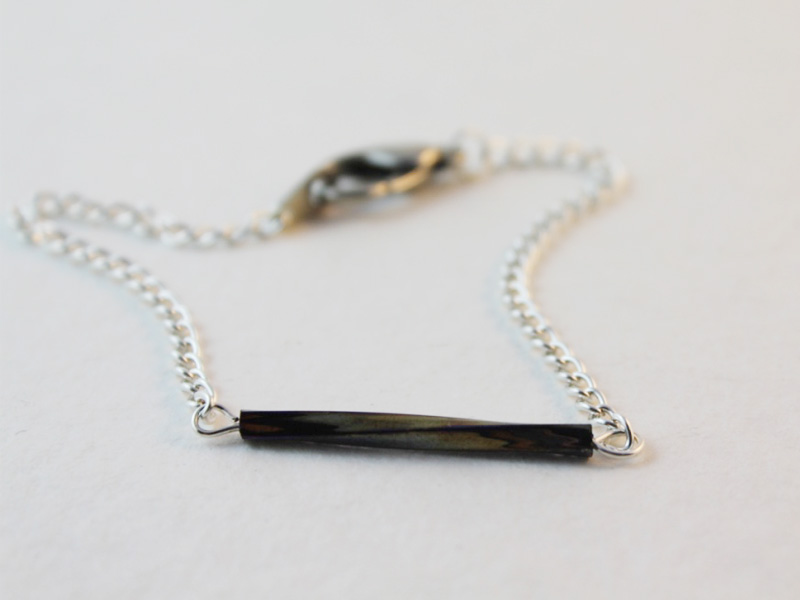
This chain bracelet features a pretty beaded bar charm. This DIY bracelet really couldn’t be any more simple to make, all you need is some chain, a clasp, an eye pin, a jump ring and your choice of beads! All you need to do now is follow these simple instructions and you’ll be well on your way to having some brand spanking new arm candy.
You will need the following tools and materials to make this bracelet:
1. Pliers
to make this bracelet you will need to use some round nose pliers, cutting pliers and flat nose pliers.
2. One eye pin.

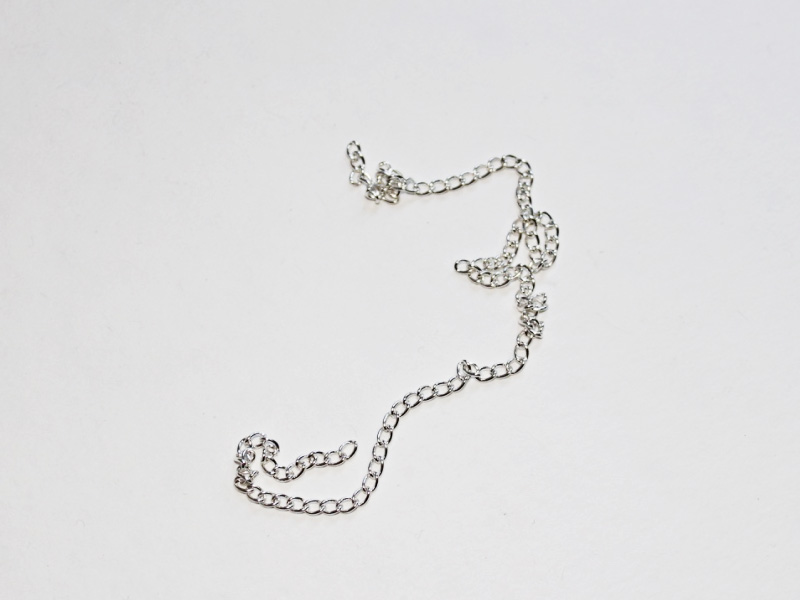
3. Jewelry Chain.
4. One lobster clasp.

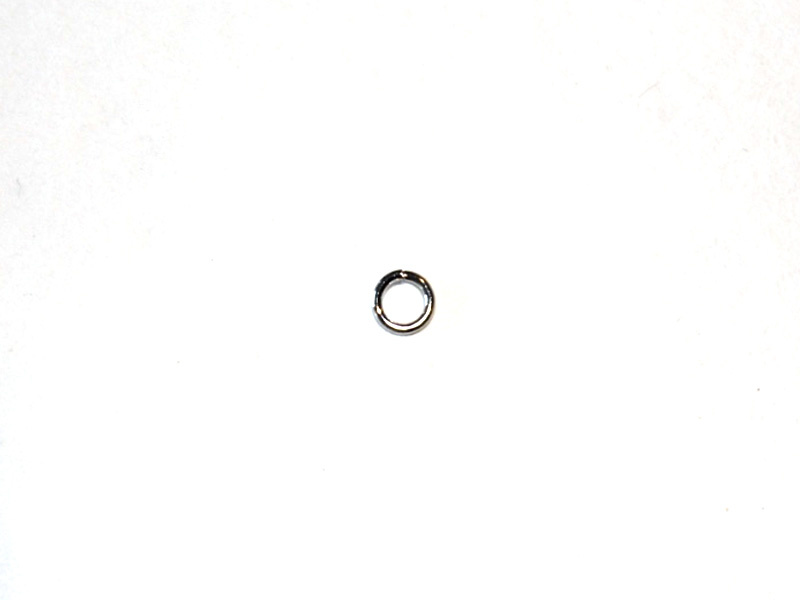
5. One jump ring.
6. Beads of your choice.
For this bracelet I used this long glass tube bead.

The Steps:
1. Thread your chosen beads onto the eye pin.
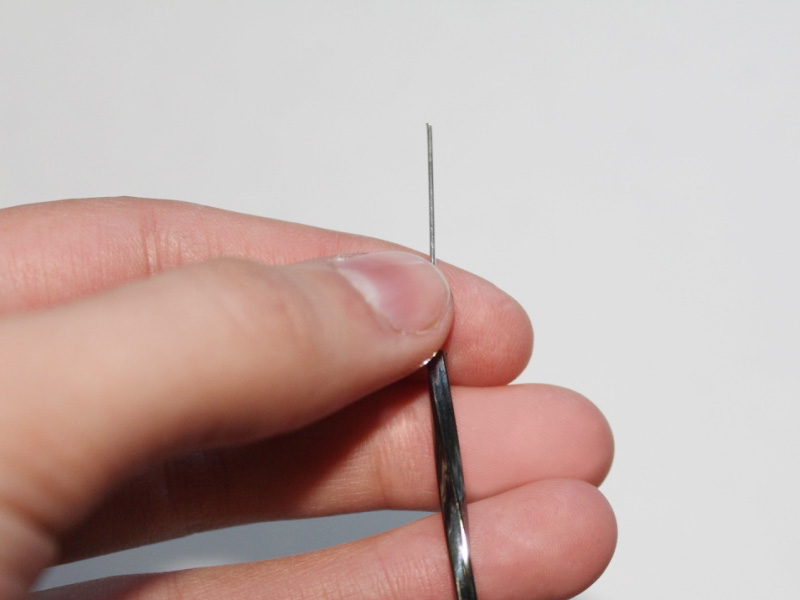
2. Use the round nose pliers to bend the pin at a right angle to the beads.


3. trim the pin approximately 1 cm (0.4 inches) from the end of your beads. Make sure you hold both sides of the pin so that it doesn’t go flying!

4. Use the round nose pliers to make a loop at the end of the pin.
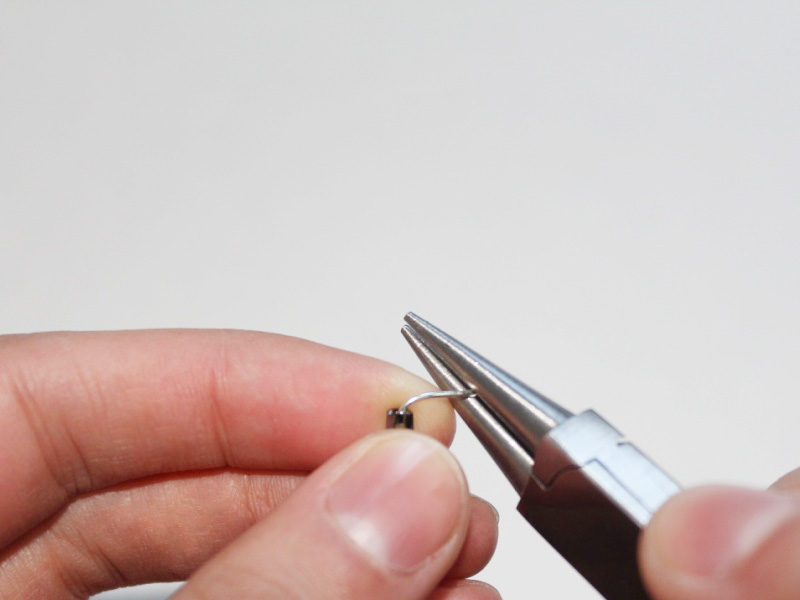
5. Open the loop again slightly using the round nose pliers and slip on one end of your chain.
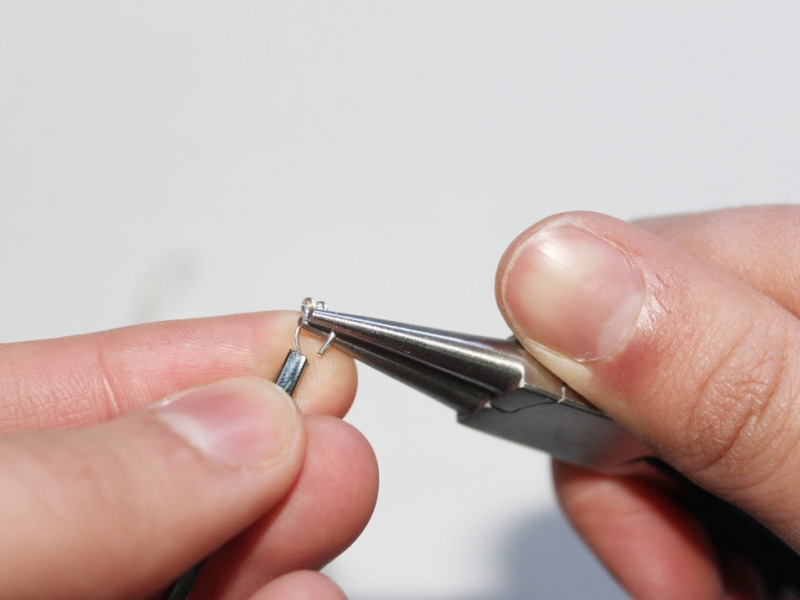

6. Now you’ll have to split your chain so that you can add the clasp to the middle. Do this by measuring out the length you want (you can take a rough measurement by holding the beaded pin at the top of your wrist and then wrapping the chain around to the underside of your wrist) and then use your round nose or flat nose pliers to open one link and separate the chain.

7. Repeat step 5 for the other end of the eye pin. Now you will have chain attached to both ends of the eye pin.
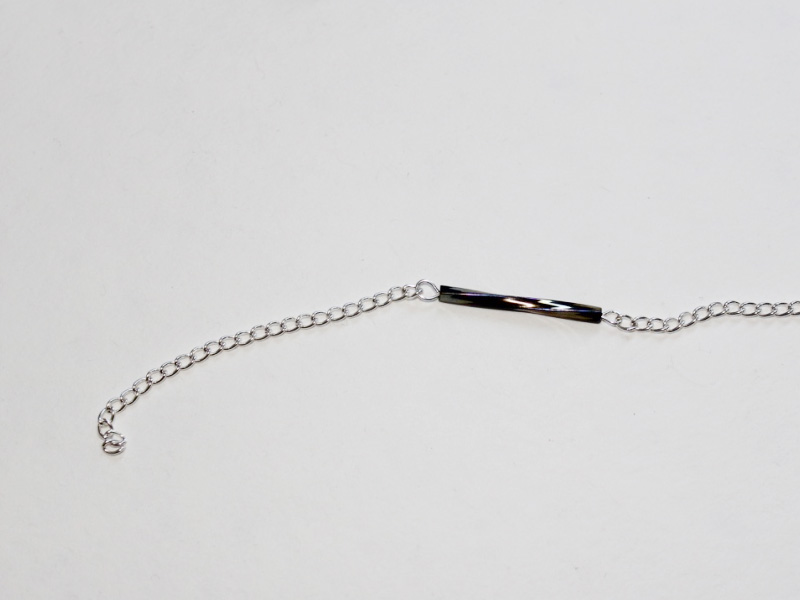
8. Use your pliers to open a chain link at one end of the bracelet, then slip on the clasp tag and close the link to secure the tag.
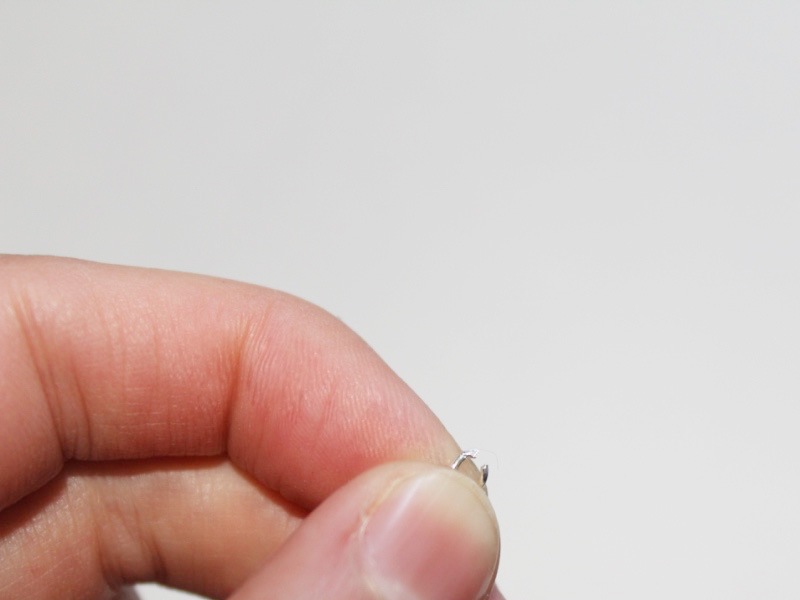

9. Attach an open jump ring to the other end of the bracelet. Keeping the jump ring open, slide on your lobster clasp. Once the clasp is in place, close the jump ring using your pliers.


10. Once the jump ring is closed your bracelet is complete. Now all that is left is sit back and admire it… and maybe wear it as well!

-
How to Make a Bracelet Using Memory Wire. No Findings Required!
Here’s another way that you can make a bracelet, this time using memory wire. Memory wire is another type of jewelry making wire that is able to hold its shape. You don’t need any extra findings for this bracelet, just your beads, wire and your pliers!
You will need the following tools and materials to make this bracelet:
1. Pliers
You will need round nose pliers, flat nose pliers and cutting pliers.
2. Memory Wire.

3. Beads.
In this design I have used these pink enameled beads and some green seed beads.


The Steps:
1. Cut the memory wire to your desired length. You can check this by trying the wire on and seeing how many times you would like it to wrap around your wrist (make sure you are careful if you measure your bracelet this way, memory wire can have very sharp ends).
Take care when cutting your wire, memory wire can be tough to cut through, make sure you hold both ends of your wire firmly and away from your face.
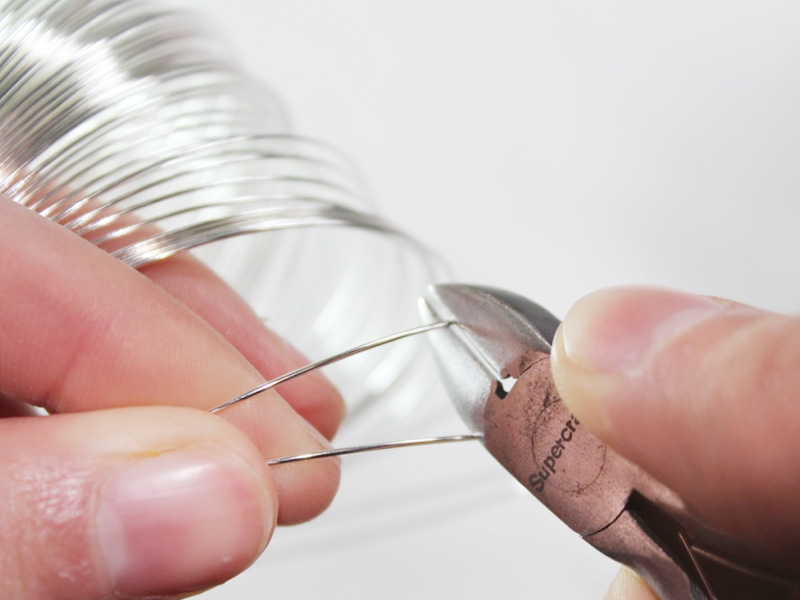

2. Use the round nose pliers to loop one end of the trimmed memory wire coil.


3. Begin beading your wire.
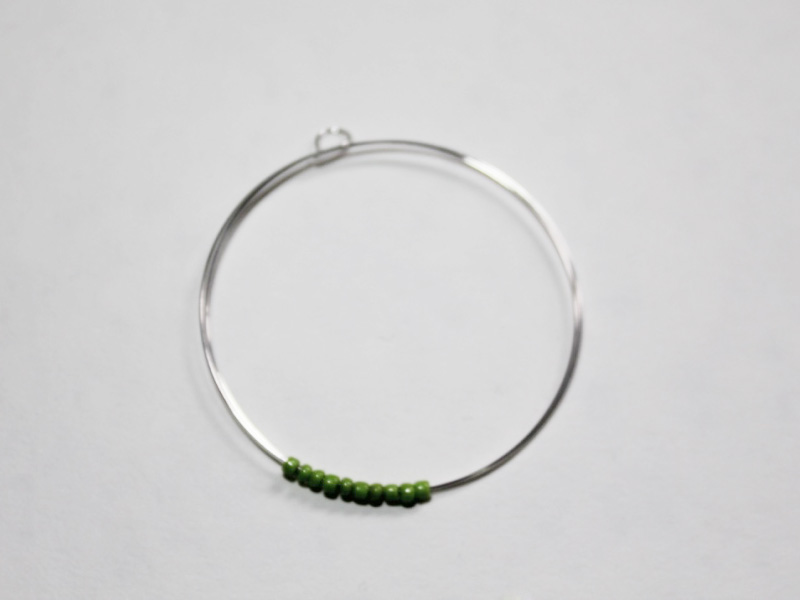
4. continue beading until you only have a small length left that doesn’t have beads.

5. Use the round nose pliers to bend the wire so that it is at a right angle to the beads.

6. Trim the end of the memory wire so that you have 1cm (0.4 inches) remaining. Be careful here, try holding the piece of wire against a soft surface to prevent the trimmed piece from flying away or cutting your fingers.

7. Once the wire has been trimmed you can use the round nose pliers to make a loop to stop the beads from falling off.

8. And now your bracelet is done! For a little something extra, you can also add some beaded head pins or charms to the looped ends of your bracelet.

-
How to Make Hoop Earrings And Then Kill it in the style stakes!
Want to take your DIY earring designs to the next level? DIY Jewelry Hub has another tutorial on how to make earrings. Follow these step-by-step instructions to make your own dangly beaded hoop earrings.
You will need the following tools and materials to make these earrings:
1. Pliers
To make these earrings you will need flat nose pliers, round nose pliers and cutting pliers.
2. Two head pins.3. Two hoop findings.

4. Two earring hooks.

5. Feature beads for the hoops.
In this design I used six coral beads, three on each hoop.

6. Seed beads.
I used white seed and clear seed beads in this design.


7. Two feature beads.
I used two green labradorite beads in this design.

The Steps:
1. Open one of the earring hoops.

2. Begin adding beads to the hoop. Continue adding beads to create your desired pattern.


3. Continue beading the hoop until only a small part is left bare and then lace this end back into the top attachment. Tip: Add a little glue to this end to ensure that it doesn’t pop out while you are wearing your earrings! Repeat these steps for the second hoop.

4. Once your hoops have been completed, take your feature beads and thread them onto the head pins.


5. Bend each pin at a right angle to the bead using the round nose pliers.

6. Trim both pins so that there is approximately 1cm (0.39 inches) protruding from the bead.
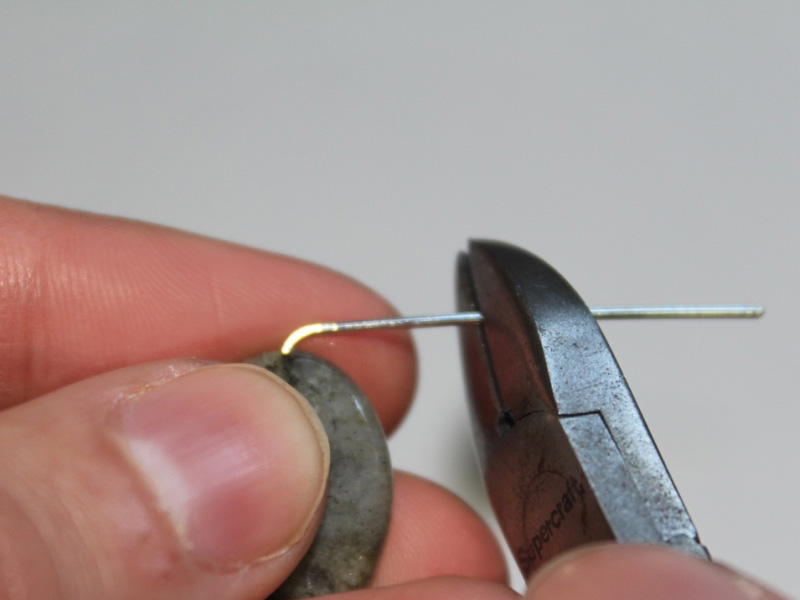
7. Once your pins have been trimmed, create a loop using the round nose pliers.


8. Once you loops have been created, open them slightly and slide the feature bead into the center of your earring hoop.

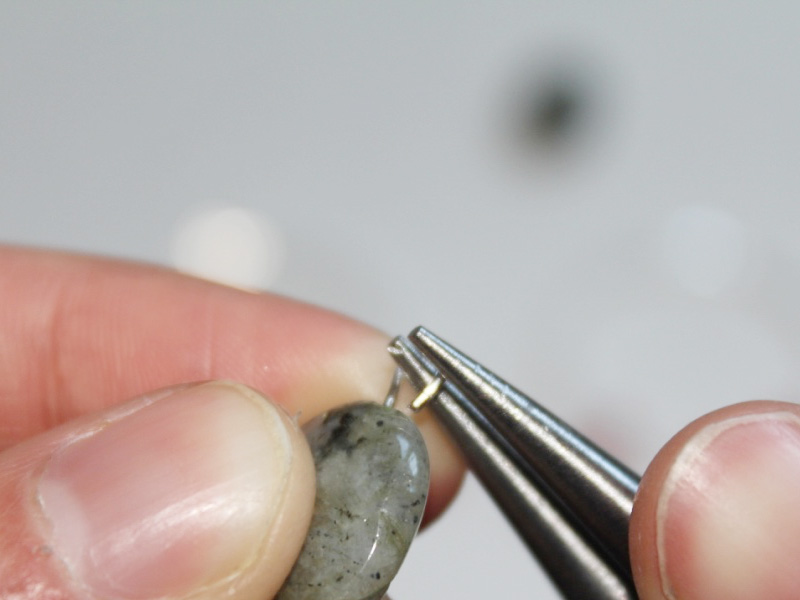
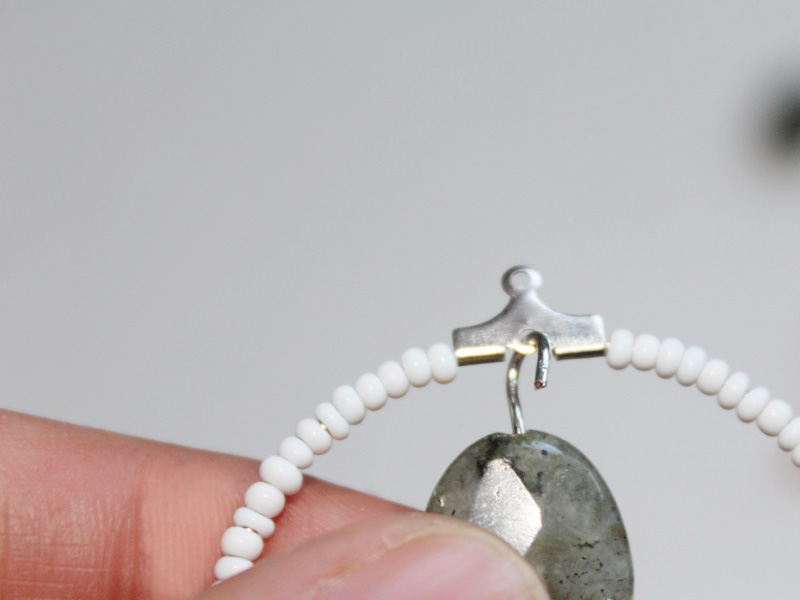
9. Close the bead loop using the round nose pliers. Make sure you repeat this for both of your earrings.
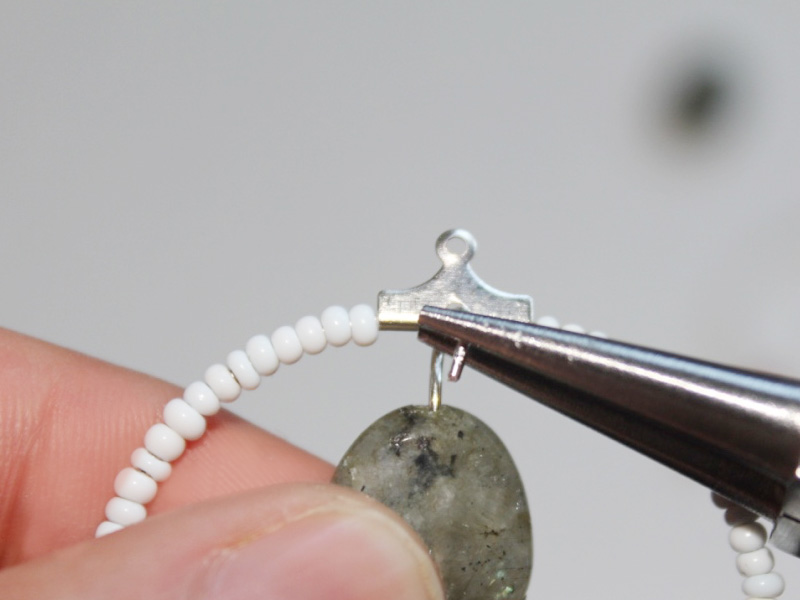

10. Open the loop at the bottom of the earring hooks using the round nose pliers.


11. Slide the open loop into the top of your beaded earring hoop and then close. Repeat this step for both earrings.
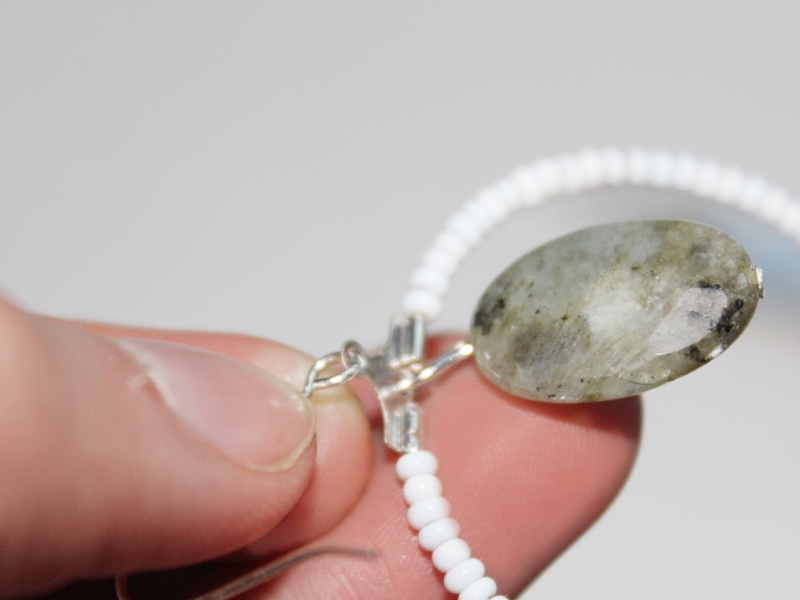
12. Your earrings are done! Now all that is left to do is wear them.

-
How to Make a Chain Necklace (With A stunning pendant in the middle)
Here’s another way to make a necklace. Using some chain and a handful of beads, this pendant necklace is quick to make and lovely to look at!
You will need the following tools and materials to make this necklace:
1. For this necklace you will need the round nose pliers, flat nose pliers and cutting pliers.
2. Some jewelry chain.

3. Three eye pins.

4. Two head pins.

5. A lobster clasp.

6. Beads for the body of your pendant.
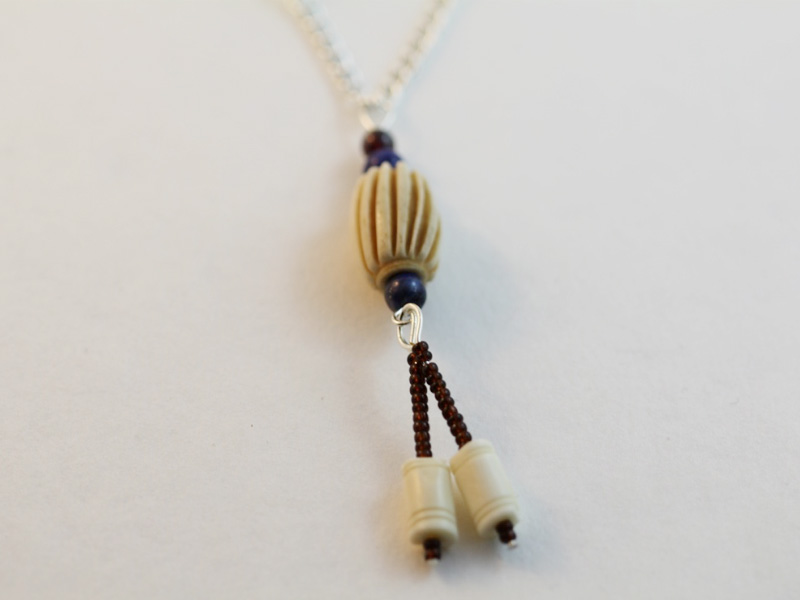
I used a carved bone bead, two round lapis lazuli beads and one round garnet bead for my pendant.

7. Beads for the tassels that will be attached to the body of the pendant.
I used some black seed beads and two carved bone beads to make my tassels.


8. Two accent beads that will be added to the length of your chain.
I used two lapis lazuli tube beads as my accent beads in this necklace.

The Steps
1. Start with threading the pins. Thread your two accent beads onto two of the eye pins.


2. Then thread the beads you’ve chosen for the body of your pendant onto the third eye pin.


3. Finally, you need to add the leftover beads onto the two head pins so that they match.


4. Once all your pins have been beaded, bend the tops of the pin at a right angle to the beaded portion. Make sure you do this for all the pins.


Here are all my beaded pins with the ends bent at a right angle, ready to trim. 5. Trim the pins using the cutting pliers so that you can curl the ends into a small loop. I try to leave approximately 1centimetres (0.4 inches). Make sure you hold onto the pin on either side of the pliers to prevent it from flying away from you.


6. Once all your pins have been trimmed, use the round nose pliers to curl them into a loop that ends close to the bead.

7. once all your loops have been formed you can start putting the charm together. Take one of your beaded tassels and open the loop slightly.

8. Slide the pendant body onto this loop and then close it. Repeat this step for the second tassel as well.


9. Now your beaded pendant is complete!

10. Now you can start preparing your chain to form the necklace. My chain came in a loop, so I had to open two links to form two separate pieces of chain. Open the chain link like you would a jump ring, using round nose and flat pliers to pull the ends apart.


11. Open the top loop on your beaded pendant and slide one end of both pieces of chain onto the loop. When you have added the pendant to the chain you can close the pendant loop again.


12. split the chain again on both sides, keeping close to the center pendant.


13. Open the loops on the accent beads and add them to the gaps you have made in the chain. Once you have done this you can close the loops on the pin. Make sure you add the bead to both sides of the necklace.

14. Now all that is left to do is add the lobster clasp! If you make your necklace long enough you can slip it over your head and skip the clasp all together (you’ll have to rejoin the chain links instead). Otherwise, take the jump rings and open them so that they can slide over the final links of your chain.


15. Slide the clasp and tag onto each of the jump rings and then close them using your pliers.

16. And you are done! Now you can head out wearing your freshly made charm necklace!

-
You’ll wanna Make so many of these beaded rings. Here’s how to make them…
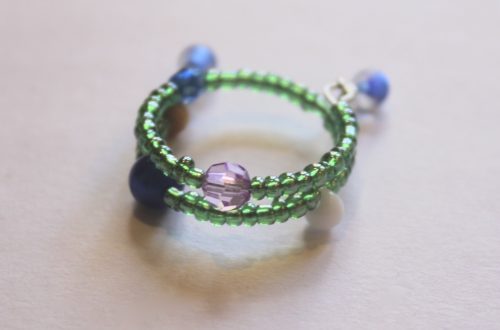
Here’s another method you can use to make a ring! This DIY beaded ring is easy to make because it requires no findings at all, just some beads and wire. This beaded ring design is perfect for layering along with your favorite jewelry to create a look that is uniquely you. Please note that this tutorial contains affiliate links. I hope you fine some fun beads to make this design :).
You will need the following tools and materials to make this ring:
1. Cutting pliers

2. Fine metal wire. I used 32 gauge wire but you can use something thicker if you prefer.

3. Assorted seed beads. I used two different colours to make a simple pattern.


The Steps
1. Cut some wire. Measure the length you need by wrapping it around your finger. Remember to add a little extra to make sure it fits. I cut my wire to 12cm long (4.7 inches)

2. Add the first bead.

3. Thread the other end of the wire through the bead in the opposite direction forming a loop. Pull on one end so that the loop closes and the bead is fixed into place.

4. Add the rest of the beads to your desired length in your chosen pattern.

5. Thread the short end of the wire through the last bead you threaded.

6. Loop the long end around the opposite side of the bead and then pull it tight like you did on the first bead.


7. wrap the ends of the wire securely around the ring on either side of the fixed beads. Trim off any excess wire. Dab on some clear nail polish to each wrapped end to help keep them secure.

8. Now your beaded ring is finished. These DIY rings are so easy to make you’ll run out of fingers to wear them on!

A completed DIY ring You can find some more DIY rings here 😉
-
How to Make a Beaded Feature Ring and Make Your Finger’s Feel Fancy
Ever wanted to know how to make a ring? This ring is pretty easy to make, the ring finding really does all the work for you! The techniques needed to make this ring are pretty basic, but the results are nothing short of stunning.
You will need the following tools and materials to make this ring:
1. Pliers
To make this ring you will need your flat nose pliers, round nose pliers and cutting pliers.2. A ring finding with loops on it. 3. Head pinsFor this particular ring finding I needed to use nine head pins.
 4. A selection of beads.For this design I used a variety of glass beads.


The Steps
1. Add the beads to all the head pins. 2. Bend each pin at a right angle to your beads using round nose pliers.


 3. Once all your pins have been bent, trim each pin using cutting pliers. Leave approximately 1cm (0.4 inches) protruding past the beads. Remember to hold the end of the pin when you are cutting so that it doesn’t fly away from you.

 4. Once each pin has been trimmed you can start bending the charm loops. To do this you need to bend the pin around one of the round nose barrels in the opposite direction to the previous bend you made. Keep each loop slightly open, this will allow you to easily attach the beaded pin to the ring.
 5. Attach the beaded pin to the ring finding. Slide the pin on and then close the loop using the round nose pliers. Repeat this step for all your beaded pins until all the loops on the ring finding have been filled.

 6. That’s it, all done! The burst of beads on this ring is so bright and cheerful, people won’t be able to tear their eyes away from your fingers!

-
How to Make a Beaded Necklace (Just quietly, It’s really easy)
Do you want to learn how to make a necklace? Well then you have come to the right place! Making your own necklace doesn’t to be an intimidating task… it’s easy as! In this DIY jewelry tutorial you’ll learn all the steps you need to make your own beaded necklace with the beads of your choice.
You will need the following tools and materials to make this necklace:
1. Pliers
To make this necklace you will need flat nose pliers, round nose pliers and cutting pliers.
2. Tiger tail wire.
3. Four crimp beads.

4. A lobster clasp.

5. A jump ring.
6. A selection of beads.
In this design I have used three turquoise beads as feature beads and a selection of e beads, seed beads and metal beads.

The Steps
1. Cut wire the tiger tail wire to the length you want it. You can quickly measure and test your length by pulling the wire around your neck and checking where it falls on your chest before cutting. For this necklace I cut my wire to 46cm (approximately 18 inches). Remember to cut it slightly longer than you want the length of your necklace to be.
2. Add two crimp beads and the lobster clasp to the end of your tiger tail wire.

3. Bend the tiger tail wire around the clasp and into the crimp beads.

4. Squash the crimp beads using the round nose pliers to secure the clasp in place.

5. Start threading your beads.

6. When you start getting close to the middle of your length of wire, add the first of the three feature beads.

7. Continue your beading pattern until all feature beads have been added.

8. Continue beading until the necklace is beaded up to the length you want it and the middle feature bead hangs in the middle of your wire. It helps if you keep count of the number of beads you have used before the first feature bead to ensure that your necklace looks even.

9. Once the beading has been completed, add another two crimp beads and a jump ring. Bend the wire around the jump ring and back through the crimp beads and a few necklace beads.


10. Use round nose pliers to pull the wire tight.

11. Once the wire has been pulled all the way through, secure it in place by squashing the crimp beads using your round nose pliers.

12. Once your crimps have been secured you can trim the extra tiger tail wire.

13. Open the jump ring using your pliers and slip on the clasp tag. Close the jump ring once the tag has been put into place.

14. Now your necklace is complete. How easy was that?!